
Chapter 6 Walkthrough - Engine Room
More Machinika: Atlas
This is a walkthrough and guide for Chapter 6 of Machinika: Atlas. Following the previous game in the series, Machinika: Museum you play as a researcher whose escape pod has arrived at an abandoned spaceship on Atlas a moon of Saturn.
In Chapter 5 you reached a room that contained a gravity device that needed activating. Once it activated the ship has taken off and now you need to find a way to start the engines.
Chapter 6a Walkthrough
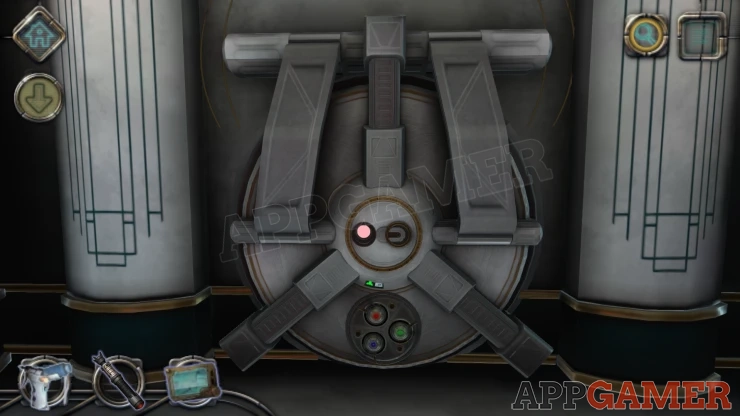
You pass through a vent to reach a chamber with a large round door.
You cannot activate the lock in the center. But below it is a small green symbol for the drone. And 3 colored dials.
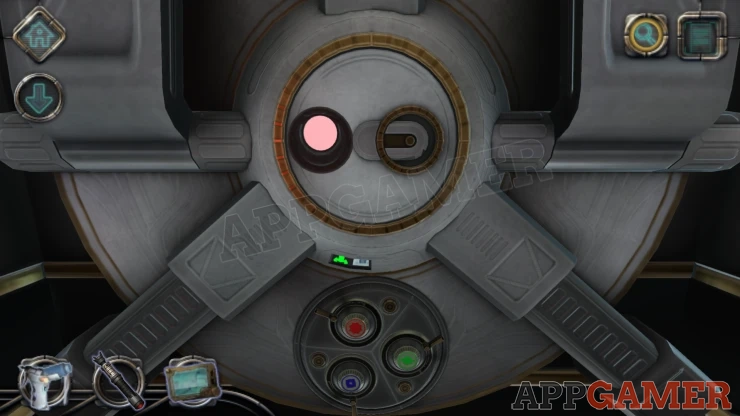
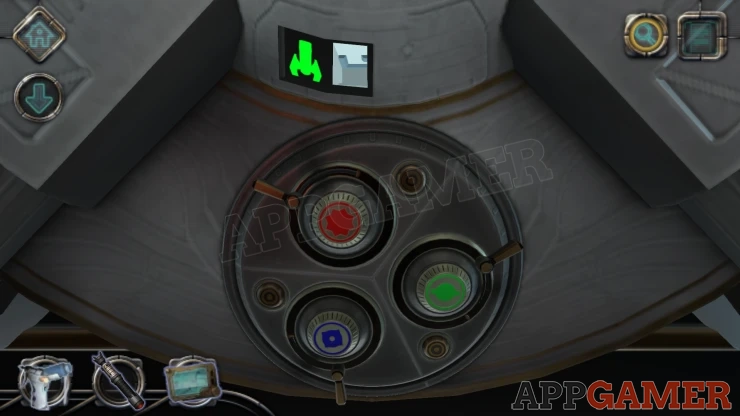
Use the drone on this to activate it and the controller.
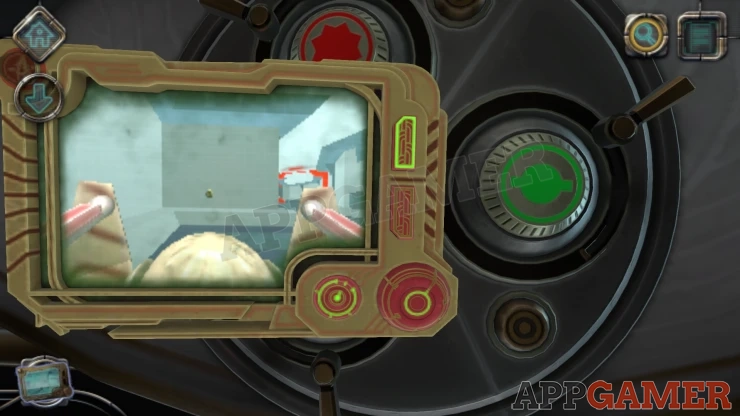
Move the drone forwards to reach a junction with 3 paths. These match the colors of the dials.
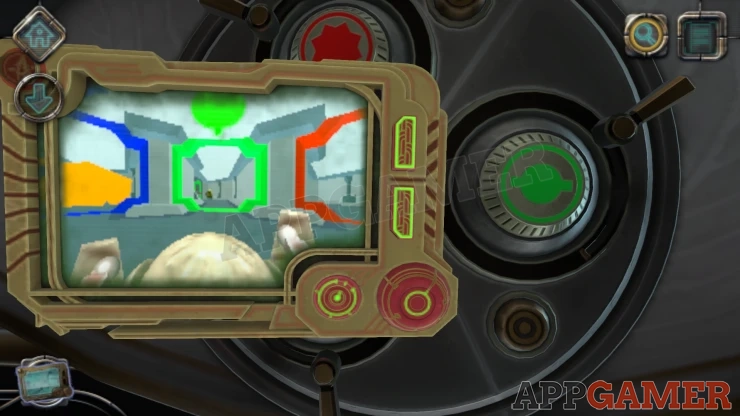
The dial we can see is green so move through the green path to reach some gears. There are 2 gear wheels in a row and another one above.
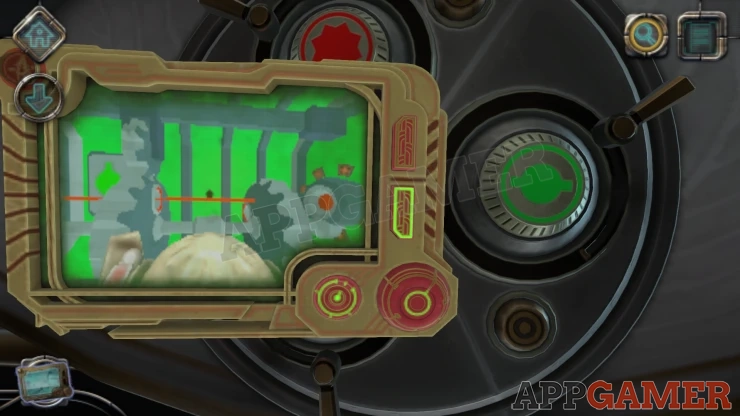
On the door to the right of the green dial is a handle, you can move this to move the upper gear and place it on any of the lower gears.
Then you can turn the dial to rotate the gear.
On the left is a laser that is passing though the first gear.
Move the gear on the right with the dial until the laser passes through it as well.
This opens the green lock.
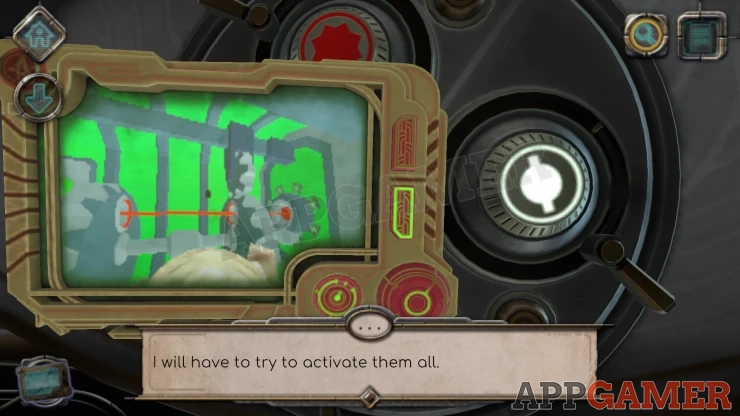
Now we need to repeat this with the other 2 colored dials.
Tap a button below the green lock dial (now white) on the door to turn and reveal the blue dial. Control the drone and move it through it back to the junction and then into the Blue section.
There is some stuff in the way, but you can use the laser on this to remove it.
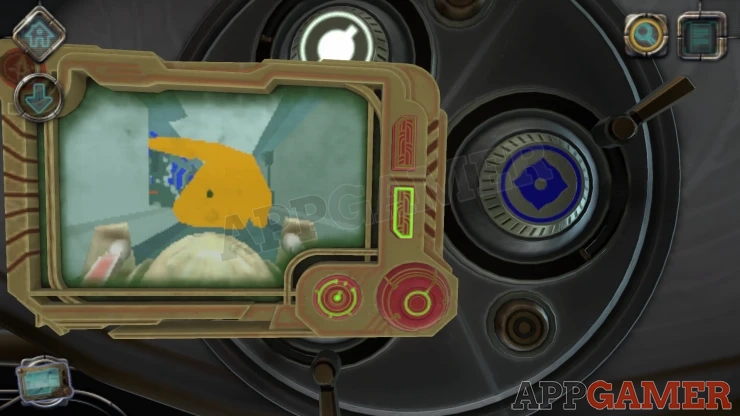
Look at the gears in this section and repeat the same process to connect to each gear wheel in turn and turn it to let the laser pass through.
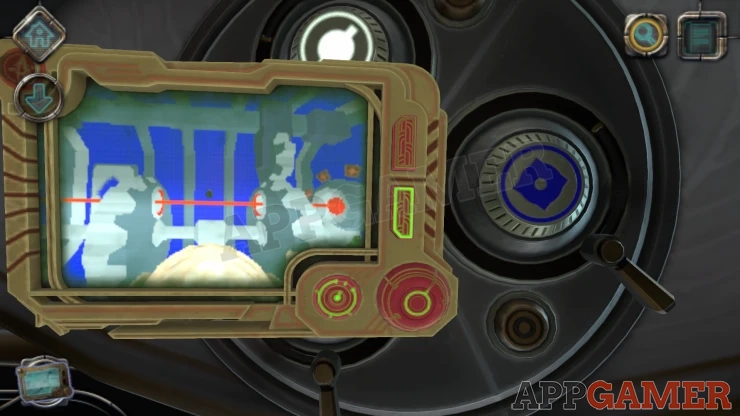
Once the blue lock is opened you can then move the drone through to the red path.
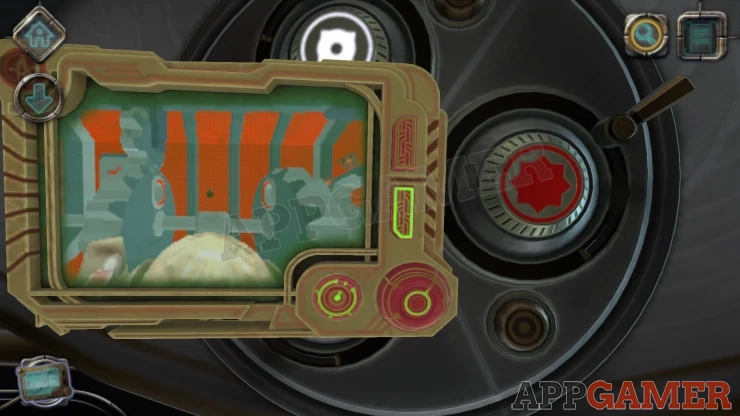
In the red section we see that the laser is not working. Instead you can point the drone at the target on the right and use the laser on the drone to activate it. This will open the red lock and now the door it activated.
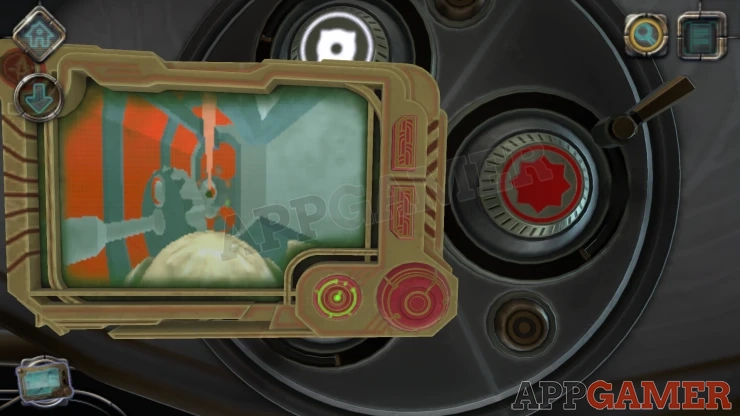
Back up and look at the dial in the center of the door.
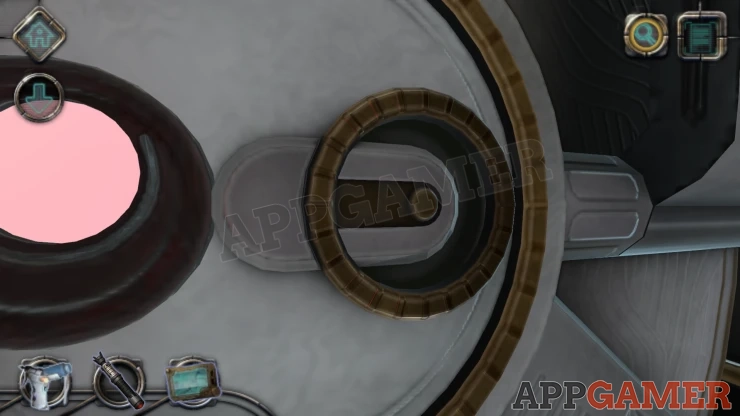
First turn the small wheel around once. This activates the larger wheel.
Turn this as well and the full door will open.
Enter the Engine room.
Chapter 6 - Engine Room Walkthrough
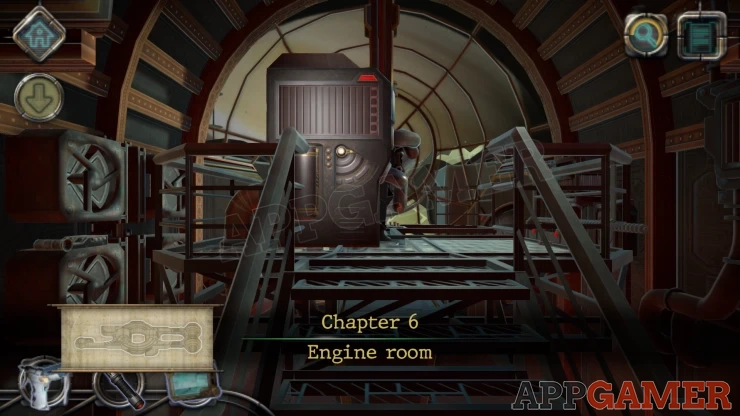
Move up the steps and look on the right side of the large engine in front of you. You need to tap on the floor next to the engine block.
View the panel near the bottom with the curved lines.
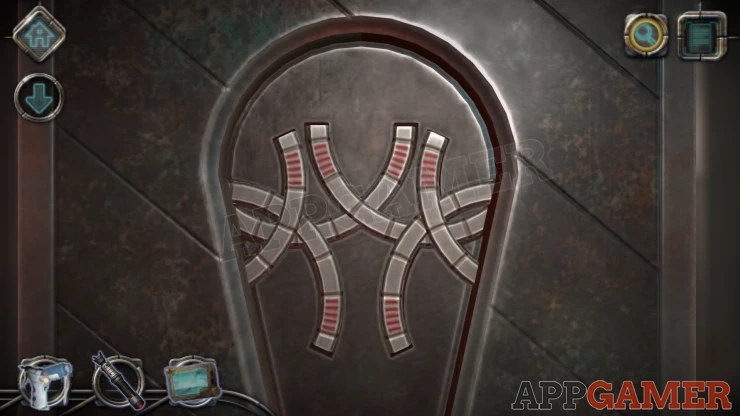
Slide each of the lines away in the correct order to open the panel.
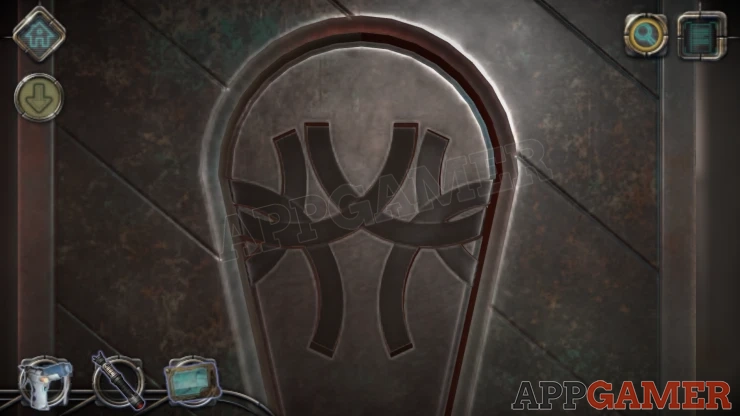
Once open collect a Strange Item.
Letter: Also inside the opened panel.
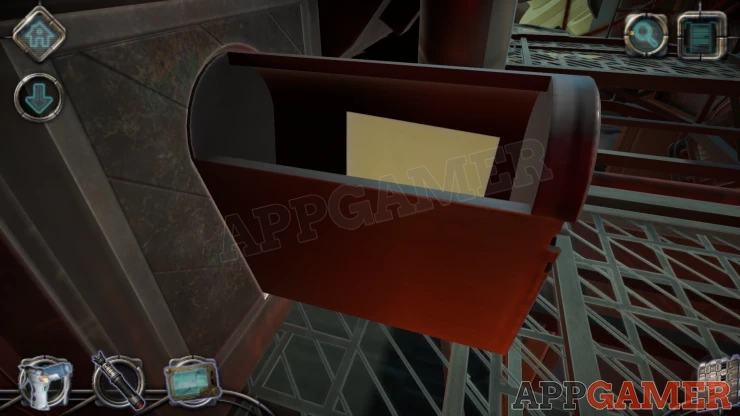
View the Strange item in your inventory and turn it around. Then you can rotate the center section a quarter turn to activate it.
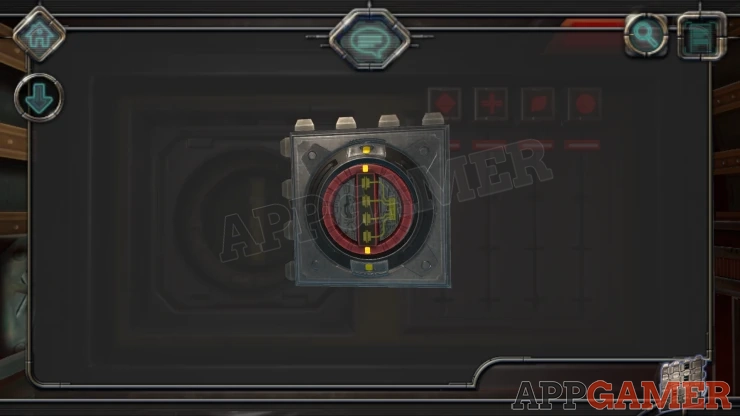
Move back to the end of the engine and view the large panel at the top.
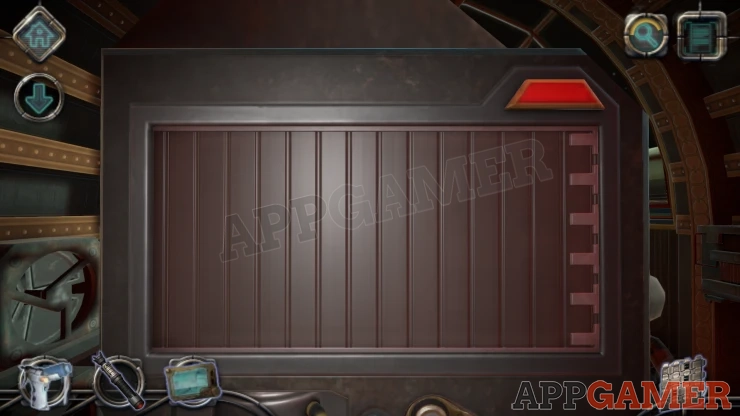
Press the red button to open it. Then you can place the strange item into the slot on the left side.
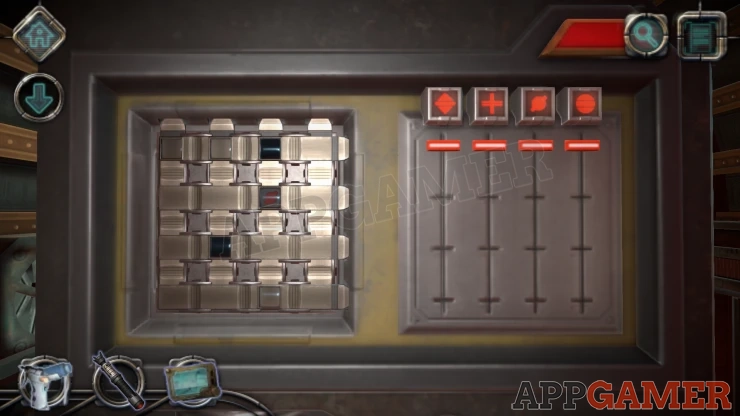
The strange item has vertical and horizontal sliding section that have holes in them.
You can move these about to reveal red symbols in different positions.
The symbols match those on the right side above the sliding switches.
Set the heights of each of the switch to the same position as the matching symbol on the left.
Solution: Show
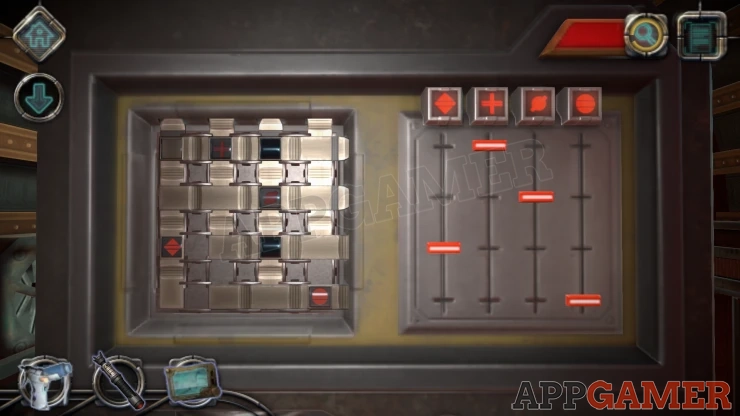
Now look below and a handle appears.
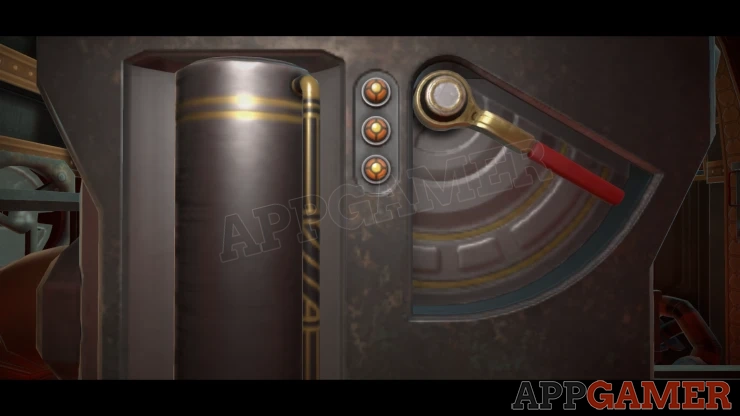
Tap the handle to pull it, you will need to do this 3 times.
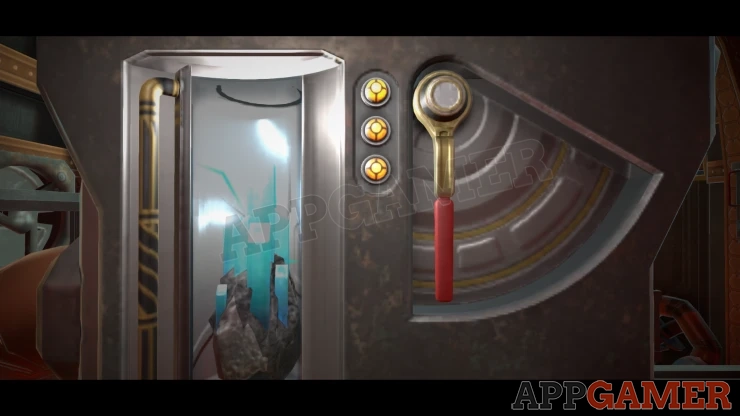
This starts the engine working and reveals some broken mechanisms in further areas of the room.
Now look on the floor to the right of the walkway and collect a small Gear wheel.
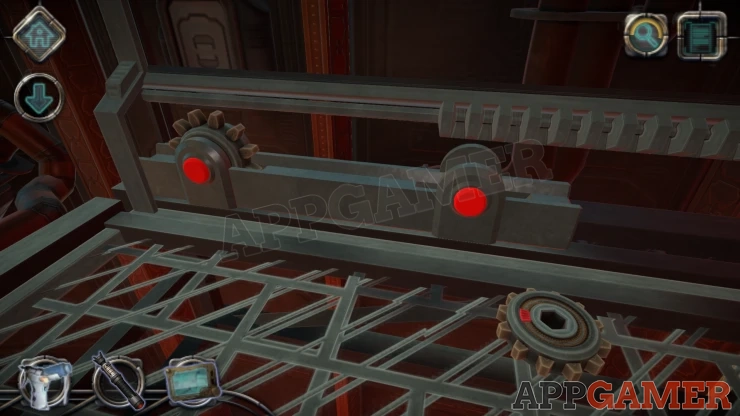
View this in your inventory and turn the red dial to extend the teeth, collect it again.
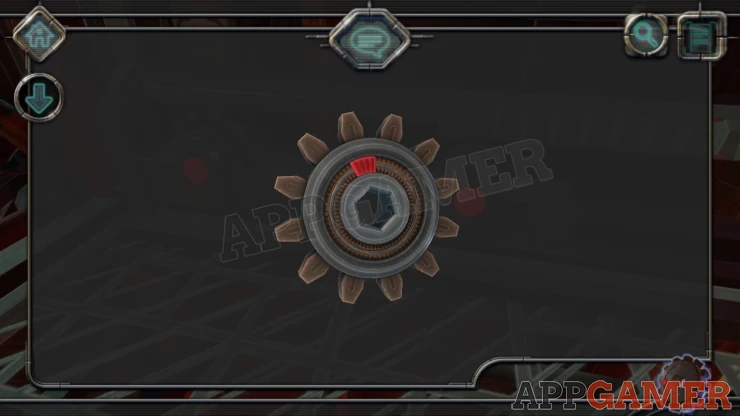
Now look on the floor again and place the gear wheel into the gap on the right. You can then tap this gear wheel and then the one on the left to fully extend the walkway and allow you to cross to the next area.
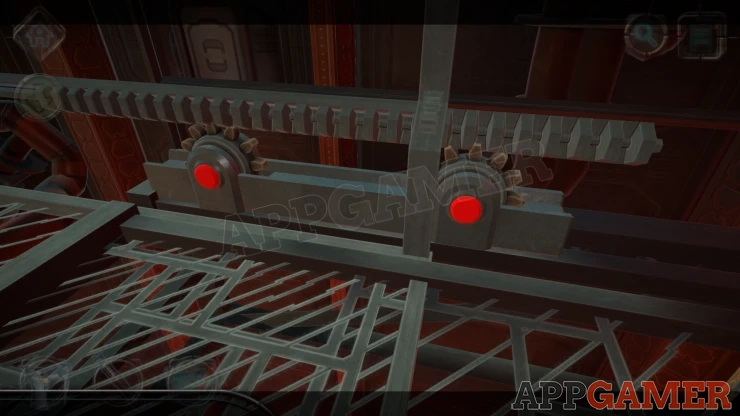
Look on the floor now and collect a Pulley.
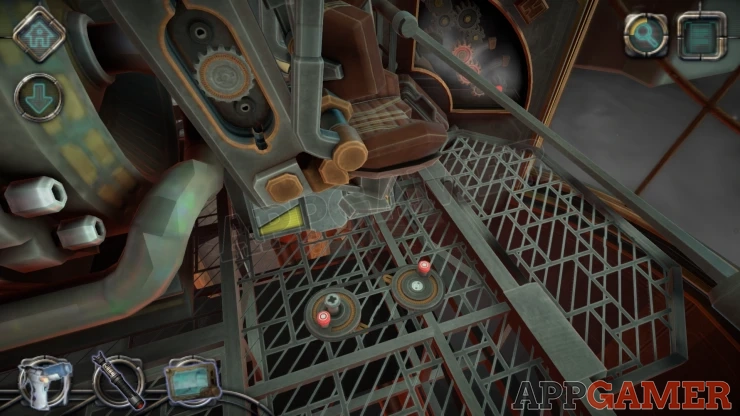
View the pulley in your inventory and then you can turn the red handles to alight the top and bottom wheels so that the pegs on the top and bottom wheels are pointing straight up and down.
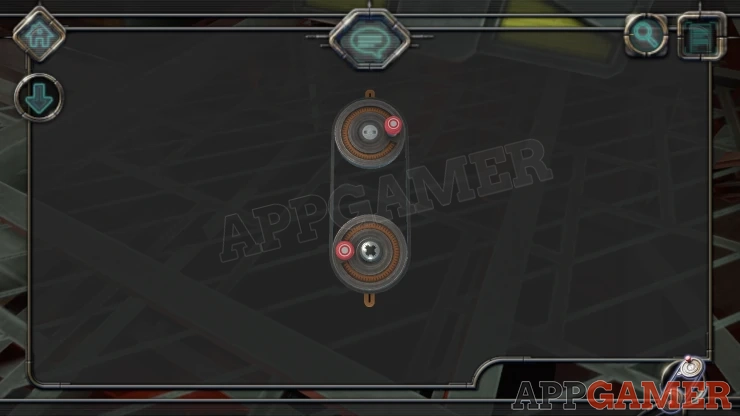
Now you can view a slot in the machinery in front of you and place the Pulley into it.
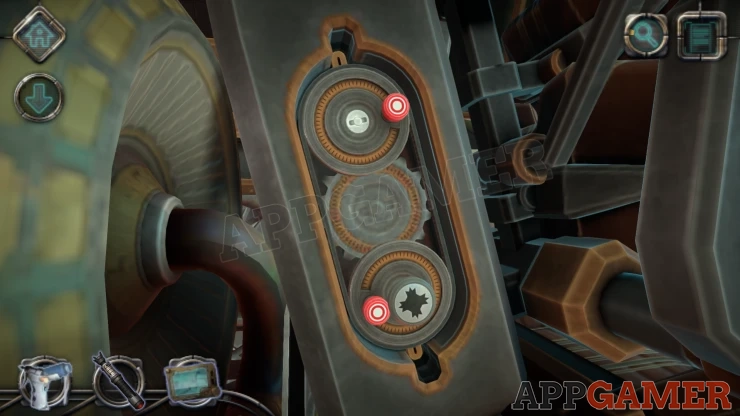
Use the screwdriver tool on the lower pulley wheel and match the symbols as before.
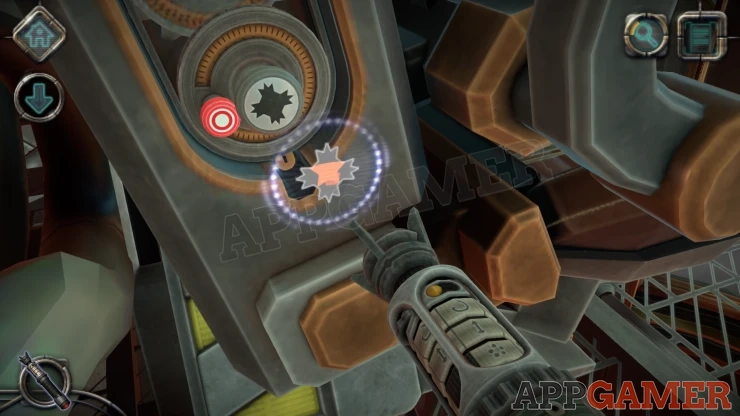
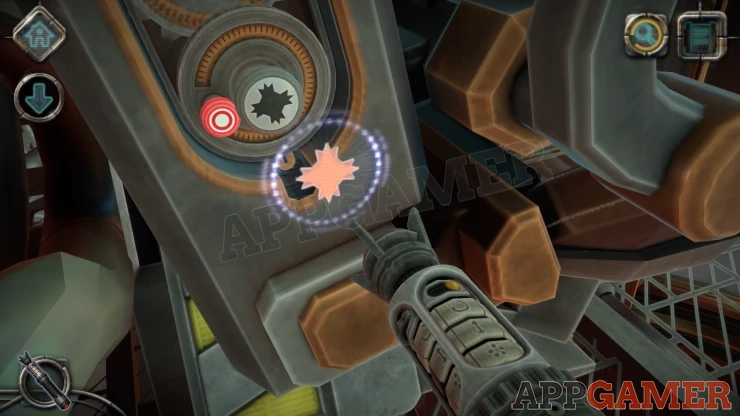
This fixes the pulley into place and then activates a chair.
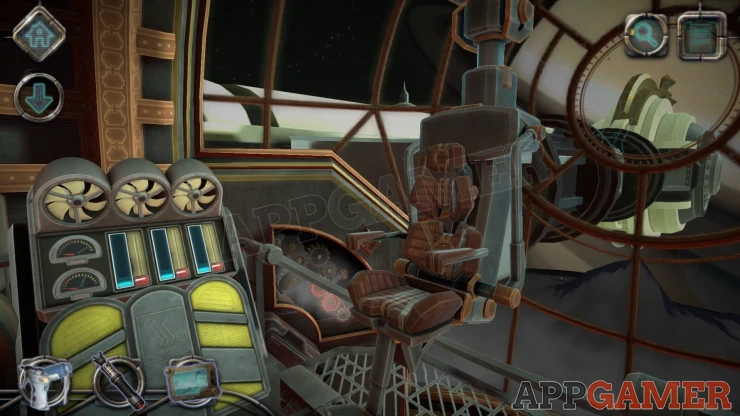
First look at the panel to the left with the fans above and the dials.
Power Puzzle
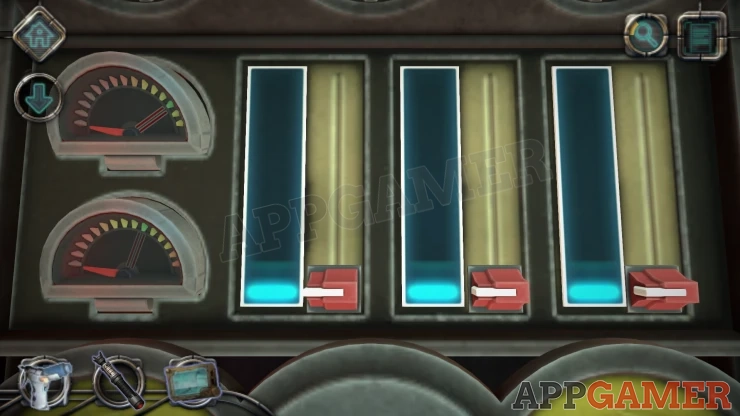
- On the left side are 2 dials, the needles are on 0 but there is a marking in each dial for a required position.
- Moving the sliders on the right will affect the position of the needles.
- Find the correct levels for each of the 3 sliders to set the dials to the required positions.
Solution: Show
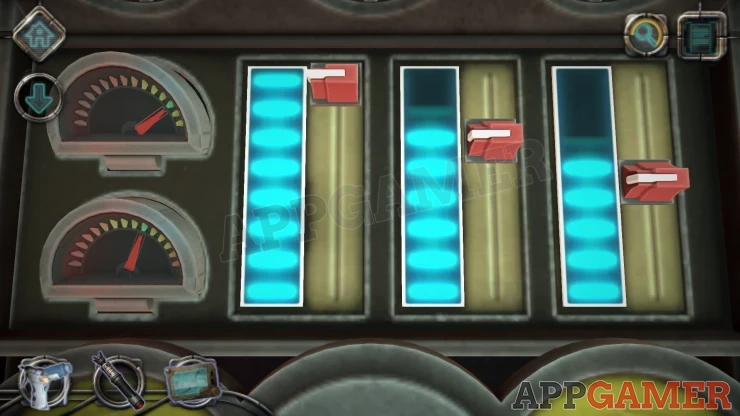
This clears the steam from the mechanisms. You can now get into the chair.
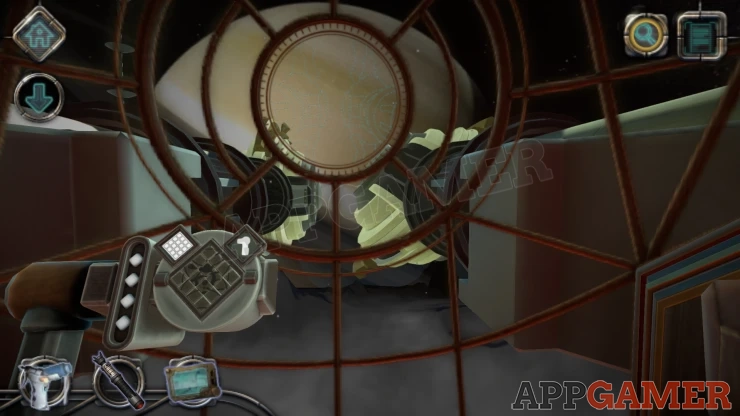
View the console on the arm that appears in front of you.
Chair Puzzle
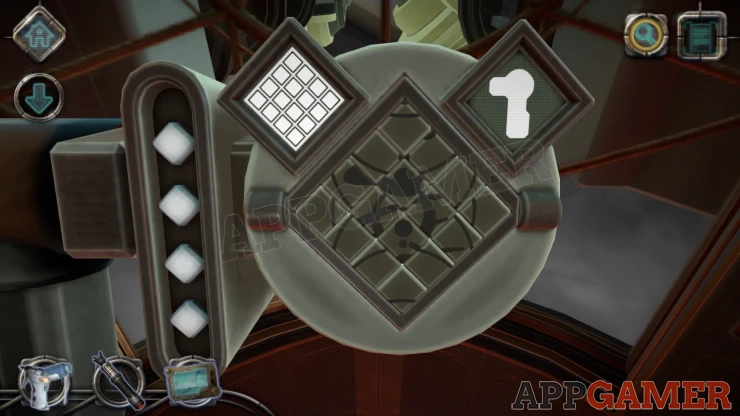
- In the center is a 4x4 grid of pieces that you can tap.
- This will turn over the piece that you tap and those that are next to it.
- The pieces are grey on one side and white on the other.
On the top left is a image that you need to copy. On this first level the image is fully white.
Solution 1: Tap each of the 4 corner pieces to turn all of the pieces over.Show
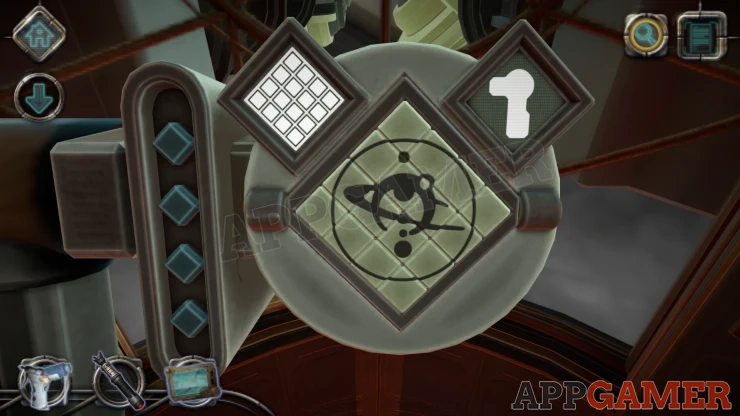
For the second level you need to replicate a different pattern shown on the top right.
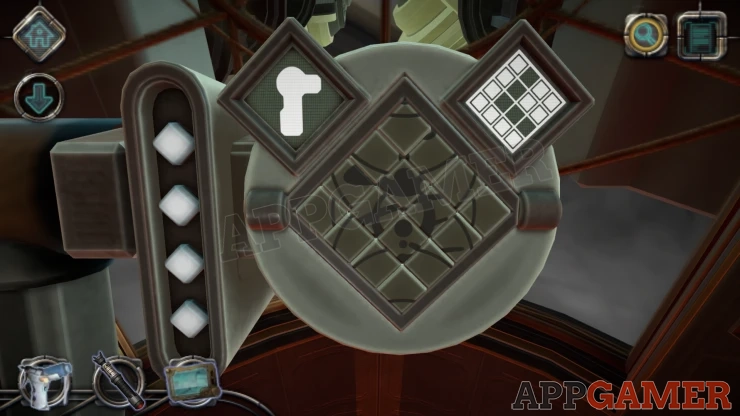
Solution 2: Tap the Cop corner, the left corner and the bottom corner. Then tap the grey piece on the left of the remaining grey square.Show
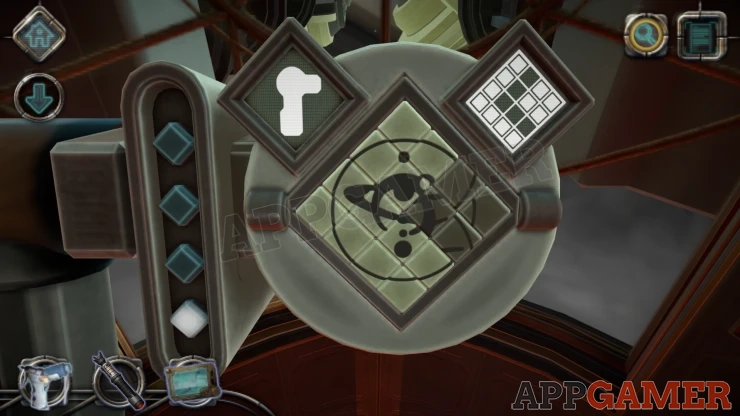
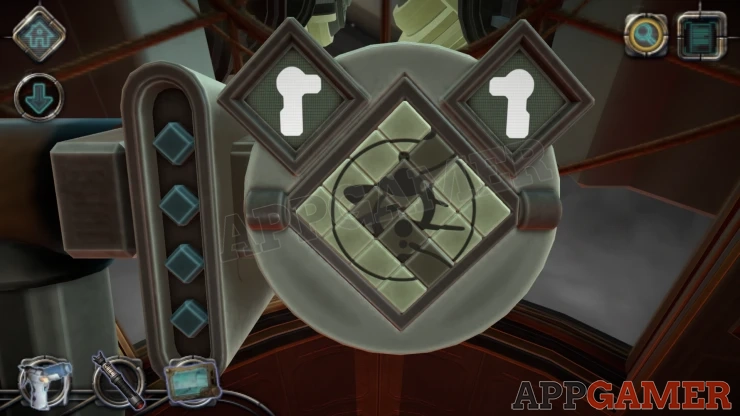
You can now use the console to access area on the left and right of the chair. First tap the left arrow to look on the left side.
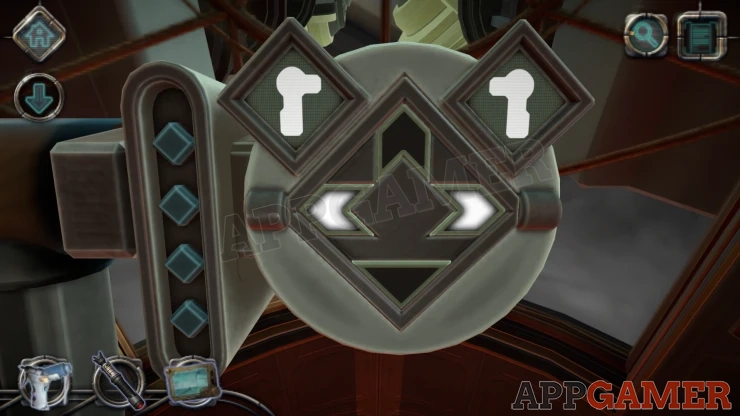
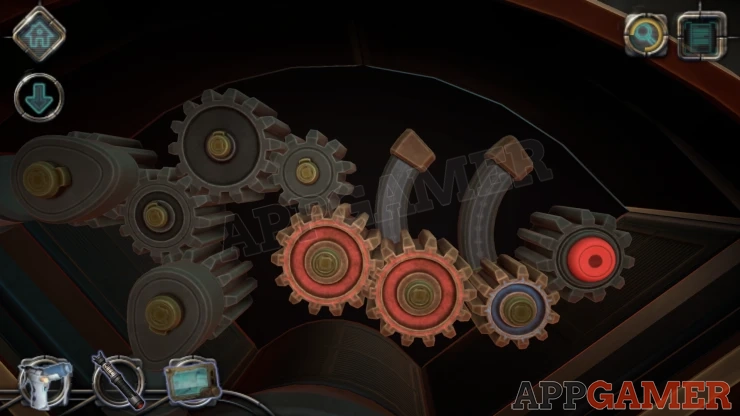
Tap on the 3 larger Gears to collect them. Then you can move the 2 sliding spindles upwards and place the 2 red gears back into place. Tap the red button to activate the machinery on this side.
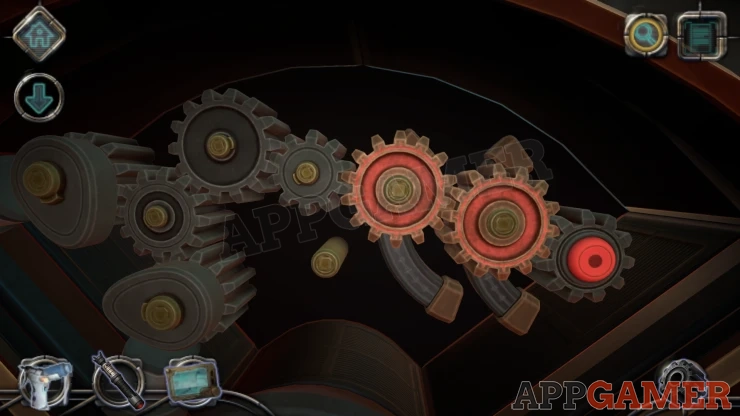
Now back up and view the controls again to select the down arrow to move back to the center, and then go over to the right side.
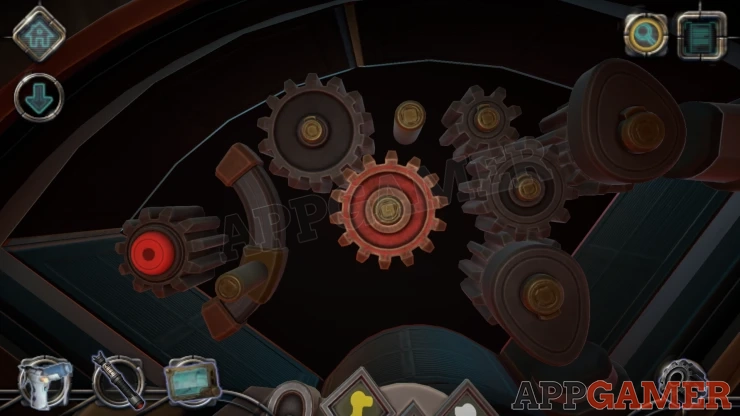
Collect the red gear that is here, then you can move the spindle up and put the read and blue gears in place to connect them. Tap the red button on the left to start this machinery working.
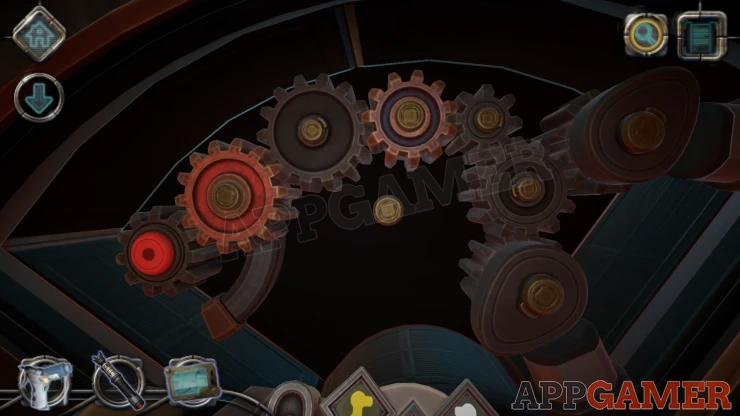
Go back to the center and now you can tap an up arrow on the console to move forward.
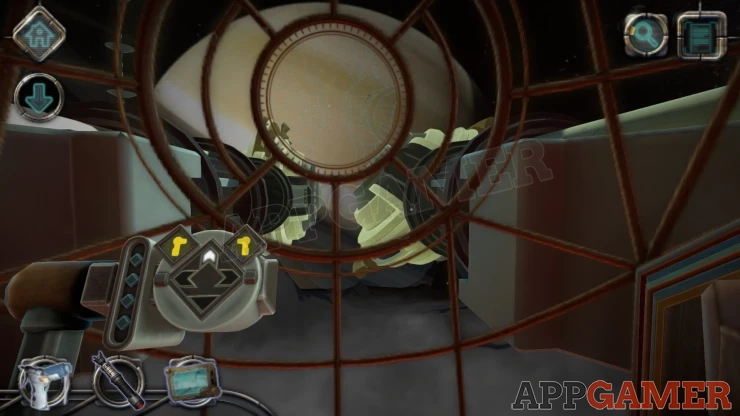
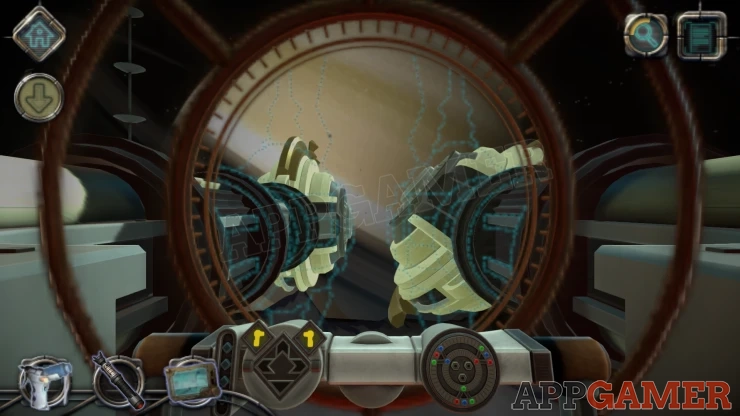
When you get to the front you can then view a new arm that appears on the right with another puzzle.
Circles Puzzle
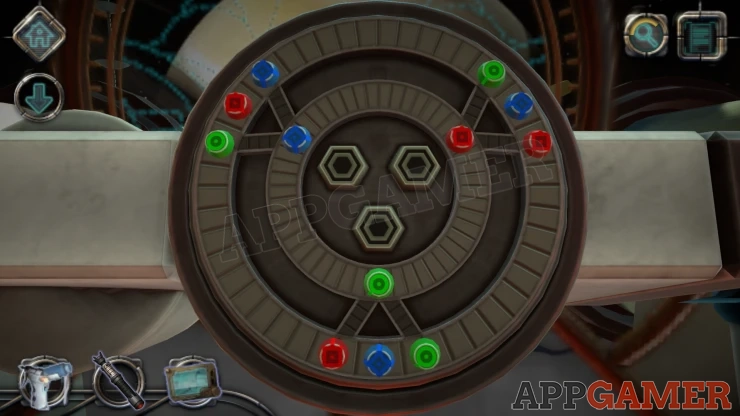
- There are 2 rings that are joined by 3 triangles.
- On the rings are colored pieces of Red, Blue or green.
- You can rotate the rings to move pieces between the triangles and also tap the 3 buttons in the center to move the pieces around the adjacent triangles.
- Arrange the pieces so that all of the same colors are together around a triangle.
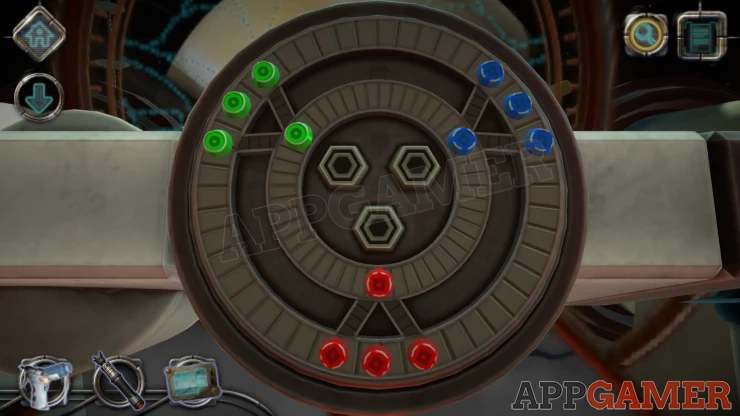
Once done the tail sections of the ship will be activated. Then the console flips over and you can see the controls on the other side.
Align the Tails
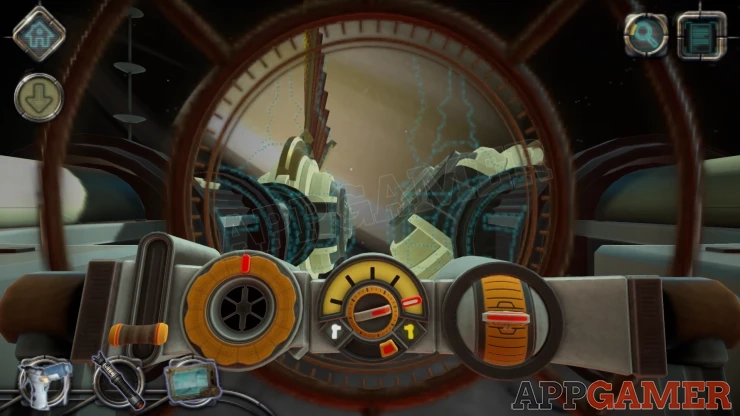
- The tail is in 2 sections, left and right.
- You can switch between the 2 by moving the red switch below the center control
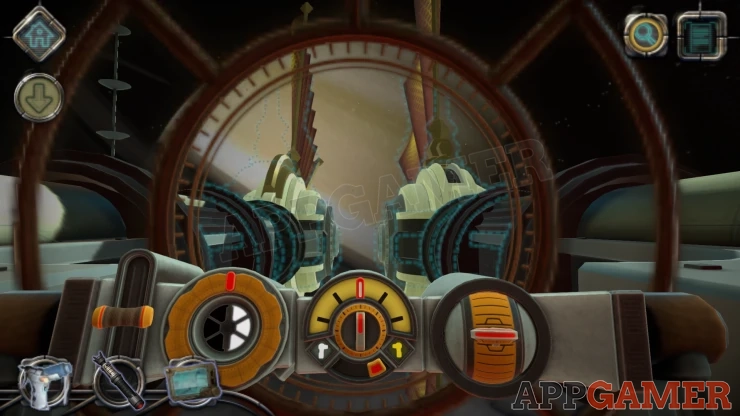
- Use the 3 controls to move and align each tail section to match the outlines that you can see on the windows.
- You can move them in and out, rotate them left and tight and also raise and lower the large sail structures.
Right Side
Show
Left Side
Show
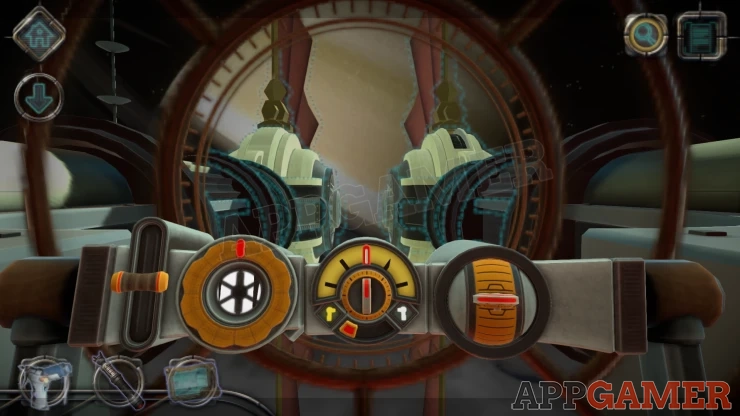
Once done the ship is ready to fly.
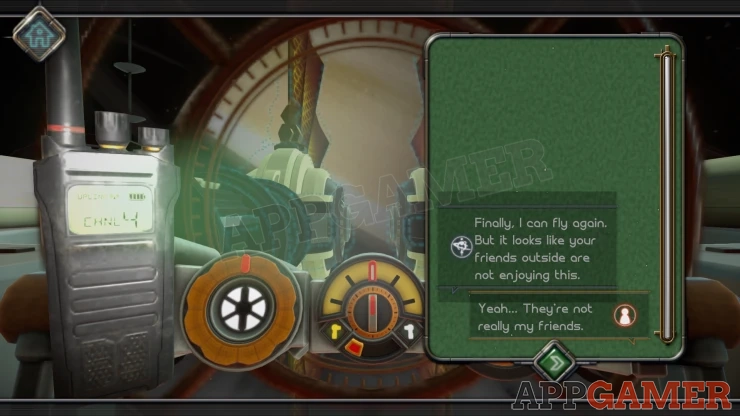
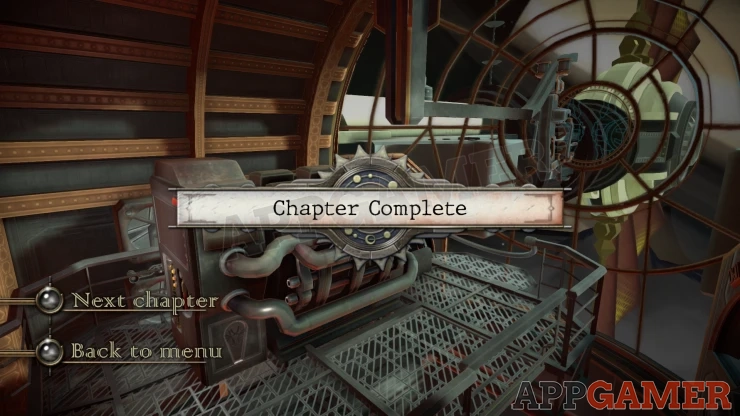
This completes Chapter 6, move on to Chapter 7.
We have questions and answers related to this topic which may also help you: Show all
 With 20 years of experience in creating video game content for the internet and over 30 years as a gamer, Mark is now a passionate mobile App Gamer. Loving a challenge, he is always ready to get stuck in to both survival builders and puzzle solving games. He has been providing content for AppGamer since 2014.