
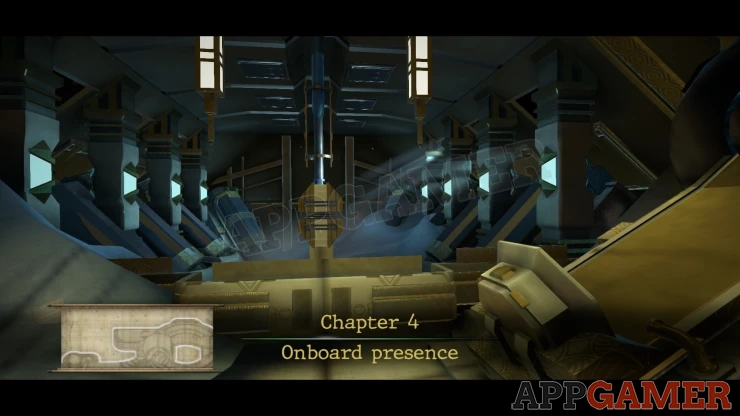
Chapter 4 Walkthrough - Onboard Presence
More Machinika: Atlas
This is a walkthrough and guide for Chapter 4 of Machinika: Atlas. Following the previous game in the series, Machinika: Museum you play as a researcher whose escape pod has arrived at an abandoned spaceship on Atlas a moon of Saturn.
In Chapter 3 you found a large meeting room in the ship and then used the equipment there to reveal a problem with another area of the ship. Now you move on to this area to find out what is wrong.
Chapter 4a Walkthrough
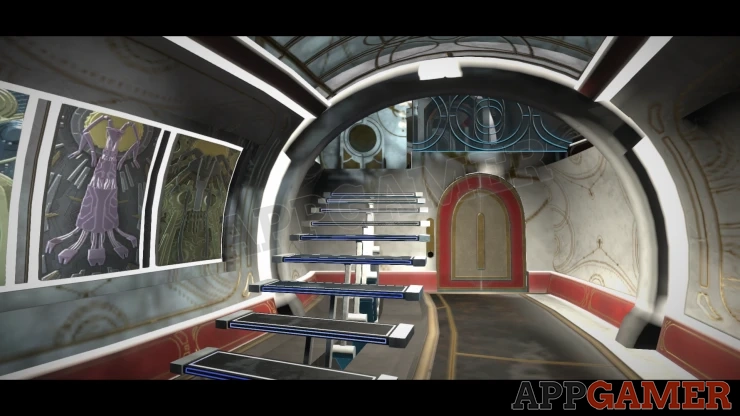
Move through the connecting passage way and then down some steps to another corridor. The steps will close away.
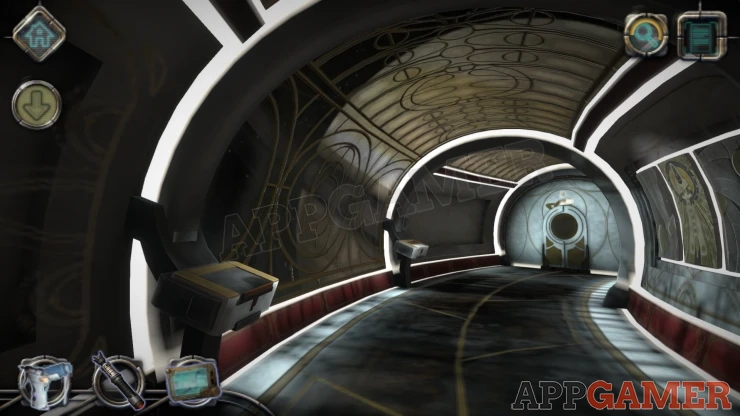
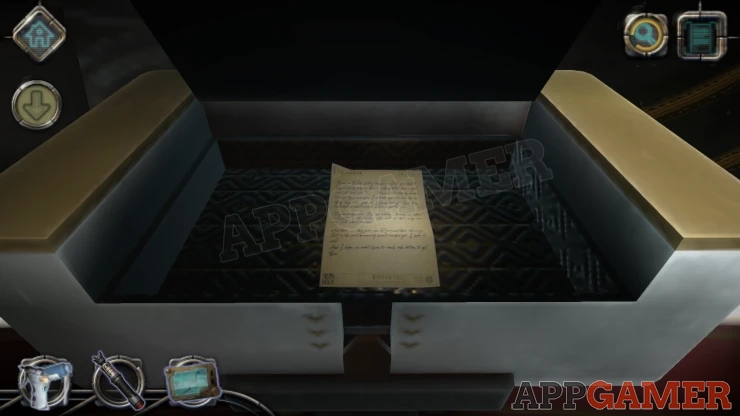
Letter: Open the first wall box that you see on the left wall to find this.
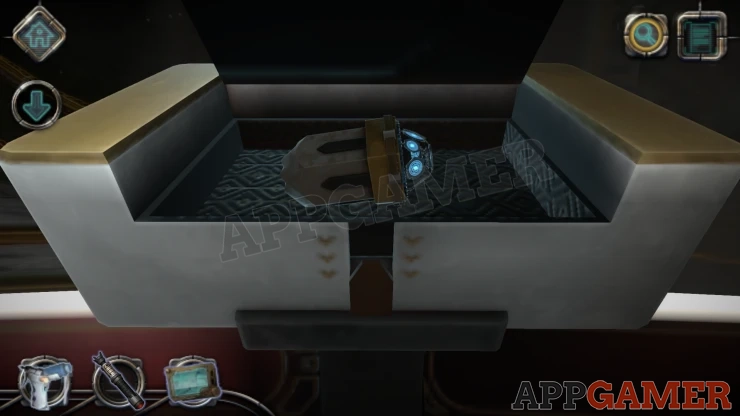
Move on to the second wall box on the left and open it to collect a Mechanical Part.
To go back to where the steps were that you came down and view the door on the right.
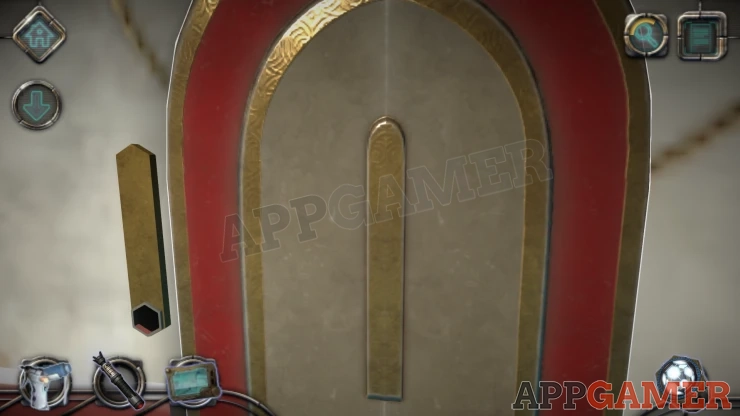
Place the mechanical part into the round slot on the left of the door and view it for the door lock puzzle.
Door Lock Puzzle
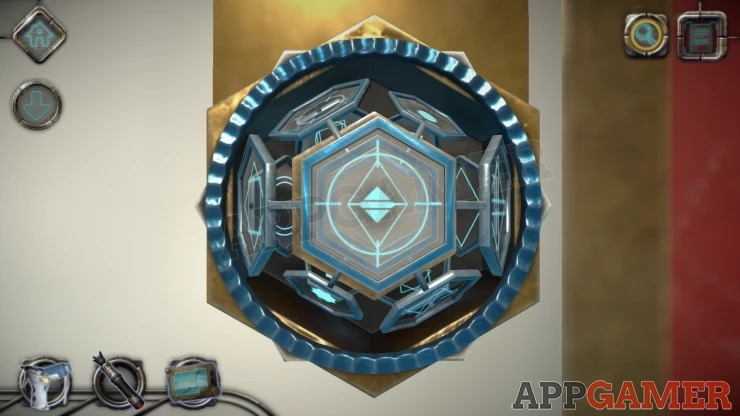
- The part has a number of hexagonal pieces that you can drag into the center.
- Each piece has a shape on it that will combine in the center
- There are 3 layers of shapes that can be combined by dragging the 3 wheels of pieces to move them around.
- Turn the outer blue wheel of the part and it will show you a shape in the center, you need to combine the correct 3 pieces to replicate the same shape in the center.
Solution: Show
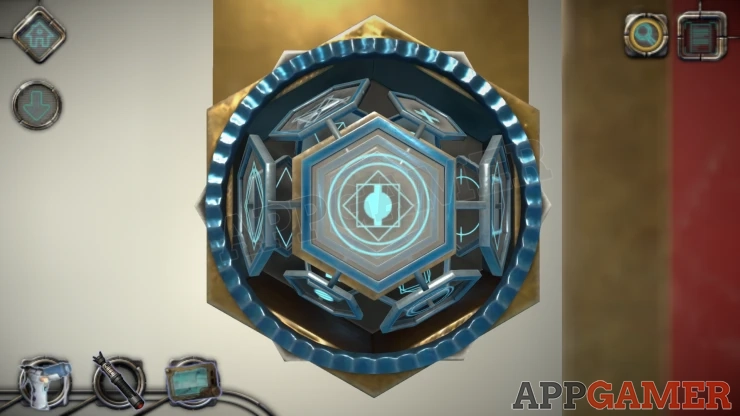
The door opens and you can enter an elevator / transporter.
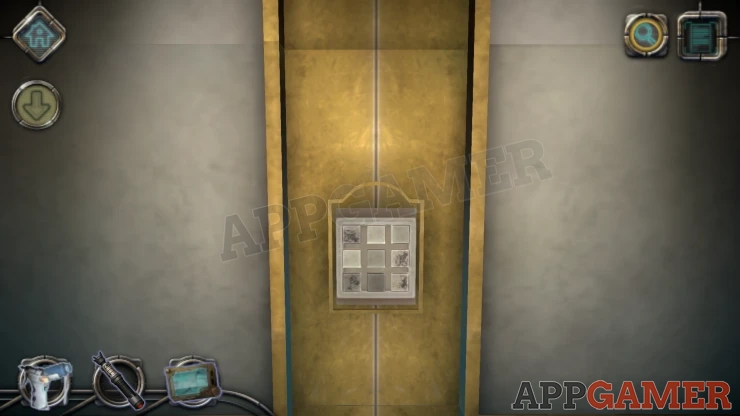
On the back wall is a keypad, there are no markings.
Notice though that four of the buttons are dirty having been used. Tap these 4 buttons.
You now enter a Large Room
Chapter 4 - Onboard Presence Walkthrough
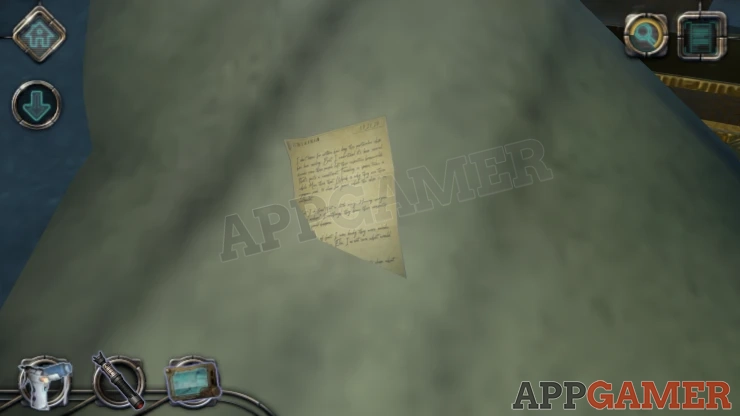
Letter: Look in a large pile of sand / dust on the left behind the pod.
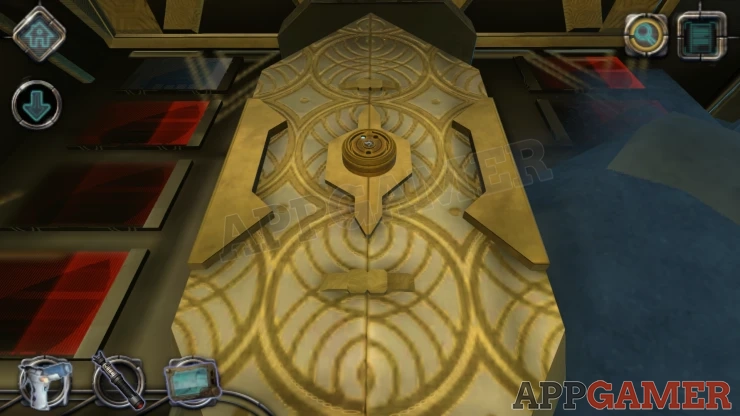
Now view the large pod on the left of the room and the dial in the center.
As before rotate the dial until you can see 3 lights.
When the pod opens look on the left side to see a puzzle.
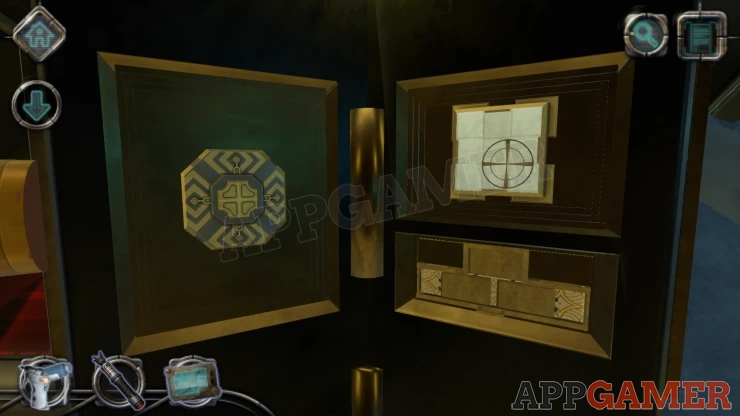
Pod Puzzle 1
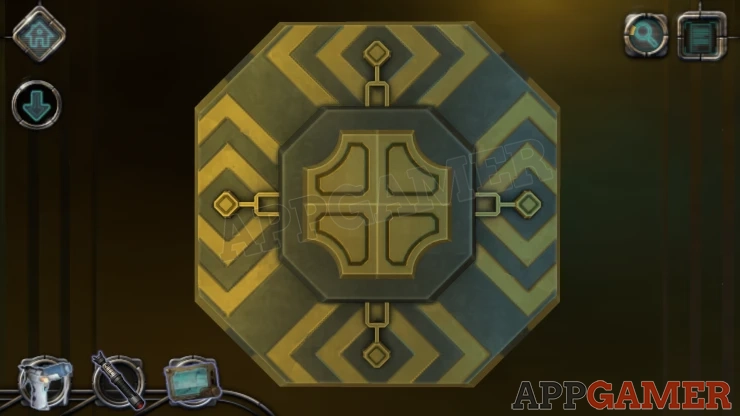
- There are 4 sections to the center shape and 4 small buttons arranged around the outside.
- Tapping a button will rotate the adjacent 2 sections
- Arrange all of the section to form a square with a circle in the center
Solution: Show
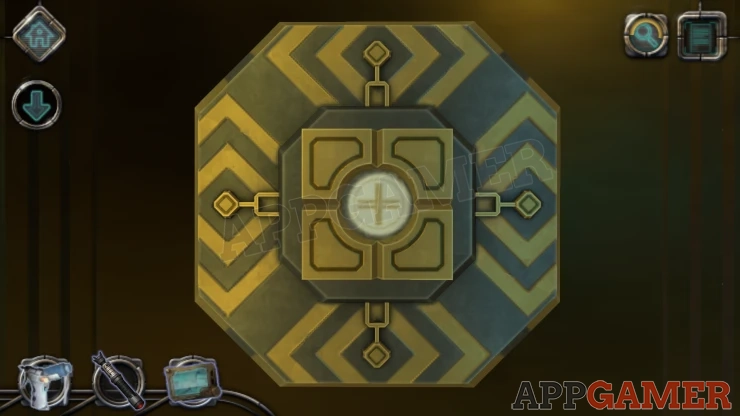
Collect the Lens.
Now look on the right side of the pod, at the top is another puzzle.
Pod Puzzle 2
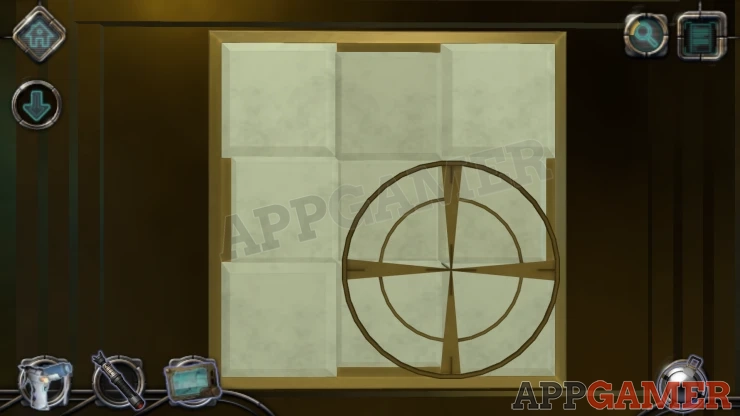
- There is a 3x3 grid of white blocks.
- Place the lens on the circle and you will see parts of a pattern on some of the blocks.
- You can move the lens around to examine each block.
- Tap any empty block to turn it and reveal another part of the pattern.
- The patterns on some blocks will match up while others are incorrect. Change these until they fit with the rest of the pattern.
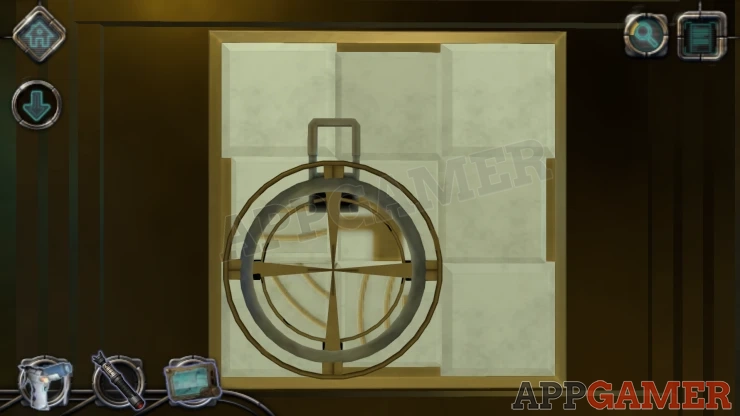
Once the pattern is complete the puzzle is solved and you will collect a Metallic Item.
Next look a a drawer that is below this puzzle.
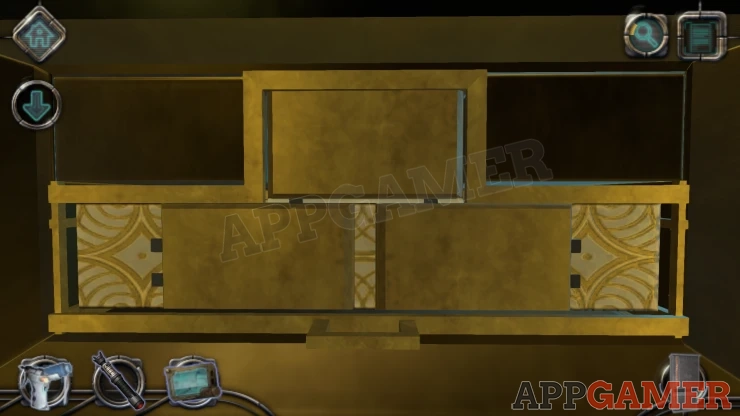
Slide the 2 lower pieces to the left and right and then you can slide the top piece down into the gap
The drawer opens and you can collect a Mysterious Cylinder.
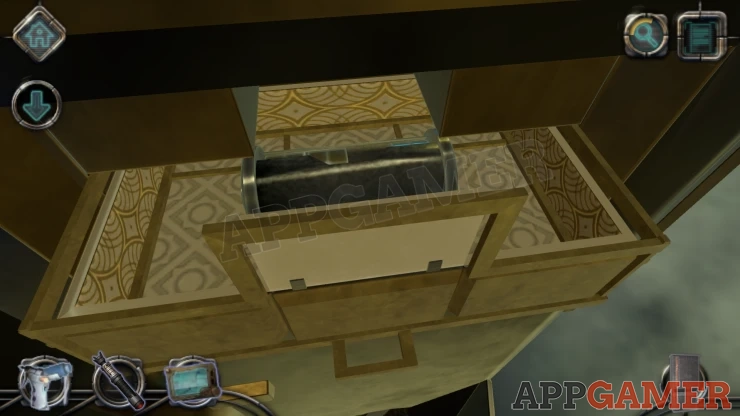
The pod will close. Now look in the large store area of the room to see more pods and in the center is a crane.
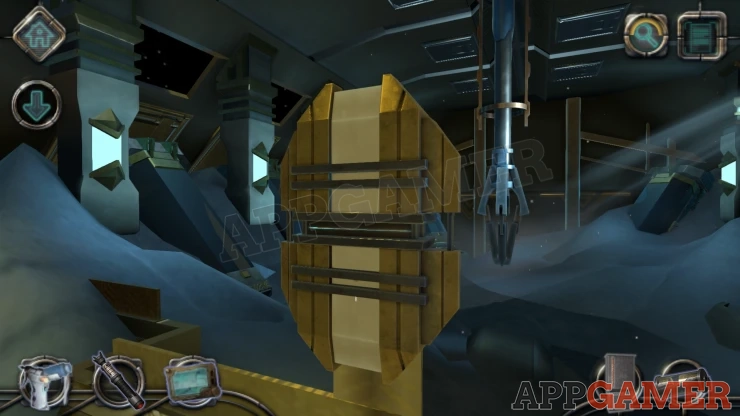
Next look at the panel in the middle. This a a crane
Slide the top and bottom sections apart to find a crane control system.
Crane Control Puzzle
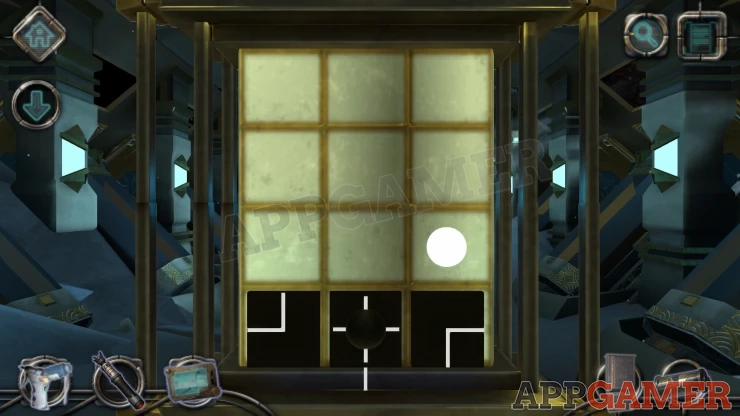
- The puzzle has a grid and black squares that you can drag around to position them.
- The squares will fall to the bottom unless supported by other squares.
- The squares have lines on then to form a set of direction instructions.
- On the grid is a quite circle, you need to make a path to the circle and place the black square with the hole in it on top.
- There are 3 sections to this puzzle, after completing each one the crane will move.
Solution 1:
Show
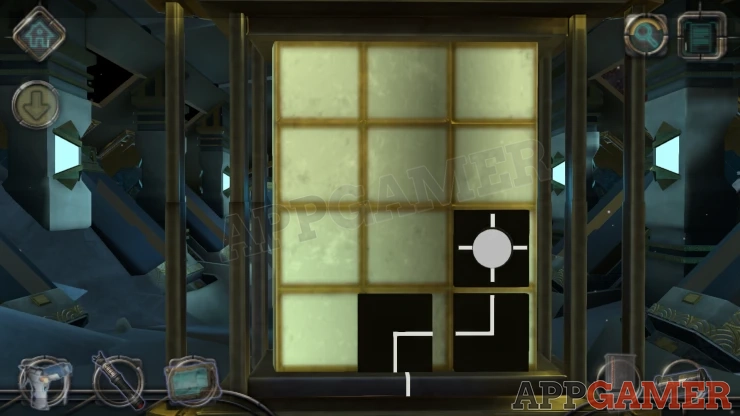
Solution 2:
Show
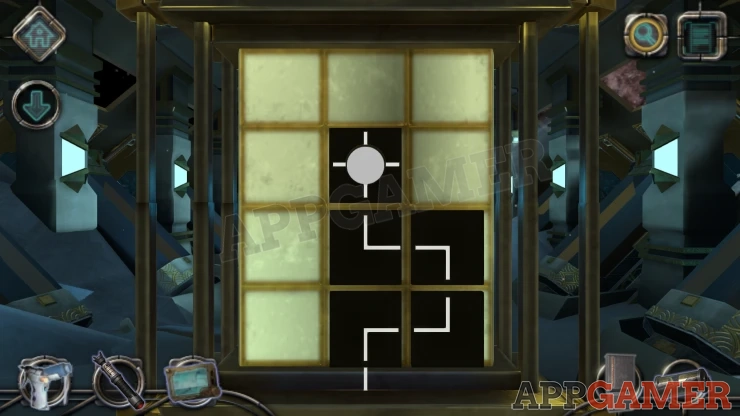
Solution 3:
Show
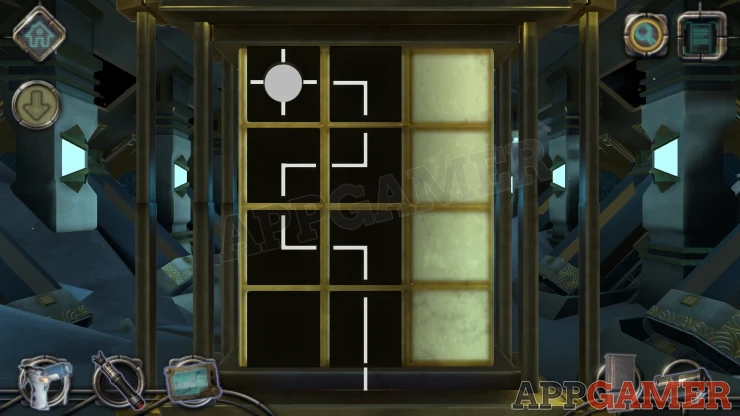
This will now bring a new pod over to the right side.
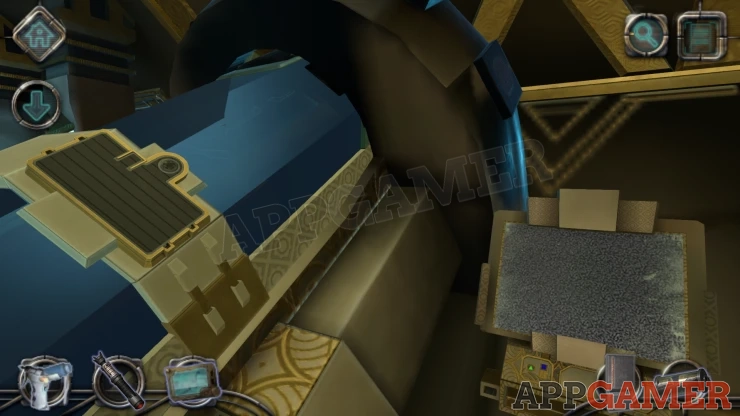
View the panel on the right side of the pod.
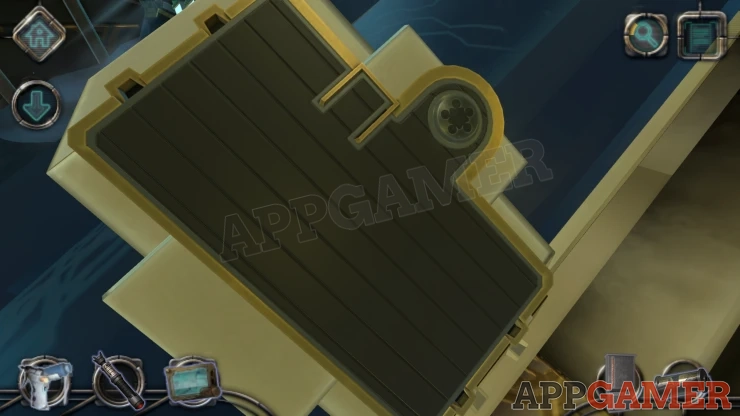
Use your screwdriver tool on the screw to open it.
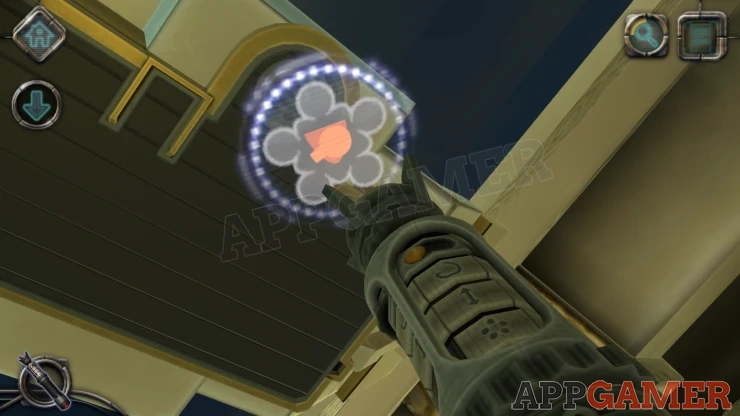
[img=https://resource.appgamer.com/library/2024/machinika-atlas-chapter-4_20.png title= alt=Chapter 4 Walkthrough Machinika:
Atlas]
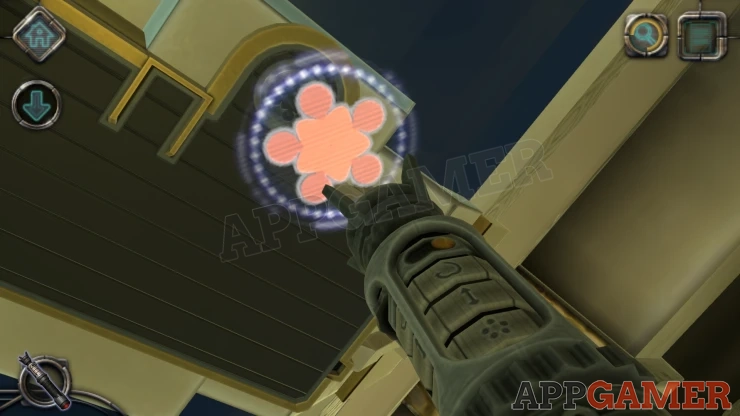
Second Pod Puzzle
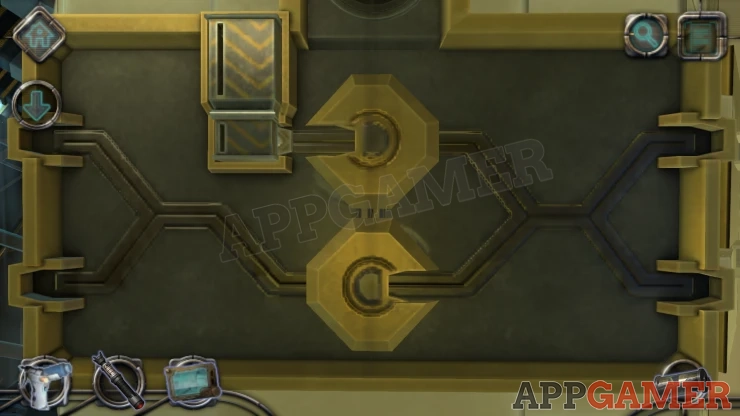
First place the Metallic Item into the slot on the top left.
A small block will appear at the bottom. You can slide the block around on the lines and use the 2 dials in the center to move it and turn it is required.
Place the block into one of the 4 slot son the left and right. It must be aligned with the arrows in the same way.
After adding the block another will appear, repeat this until all 4 blocks are places int the 4 slots.
Once done the pod cover will open.
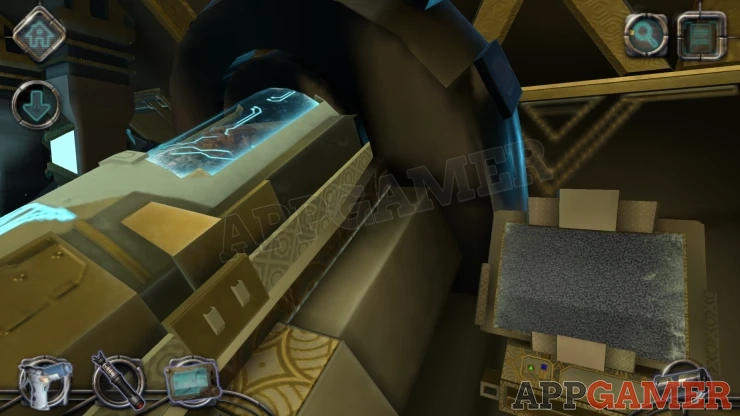
Now look at the screen on the right of the pod. It is not working.
Look below and you can see a panel with a green drone symbol.
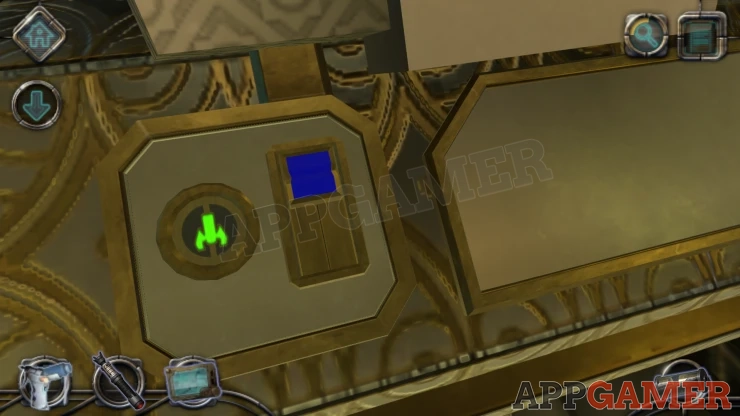
Use the miniature drone / tablet here and you will start to control the drone.
As before you need to direct it through some passages and fire the laser at the green targets.
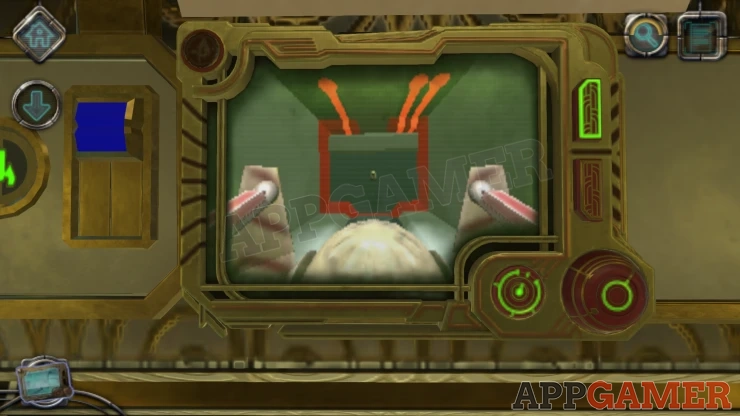
Directions:
First slide the blue switch on the console (to the left) down to turn it red, this will open a red door in front of the drone.
Move forward to see the first green target,
Use the laser
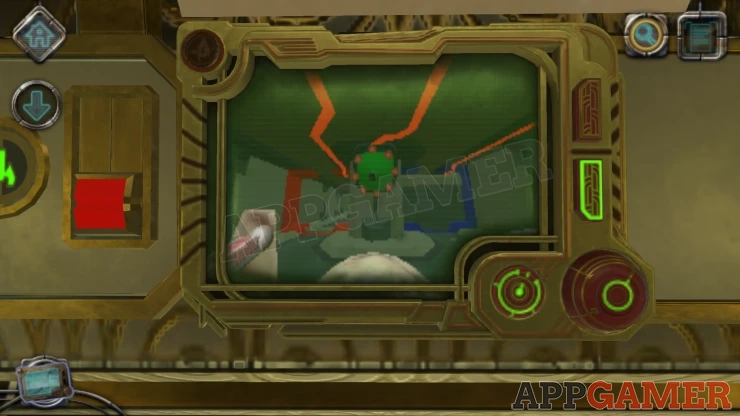
Now you can look a little to the left and pass through the open red pathway on the left.
Move though this passage way and move forward past a junction until you reach the end.
Turn to the right and move forward, then right again and move forward. You will see the third green target on the left.
Use the laser.
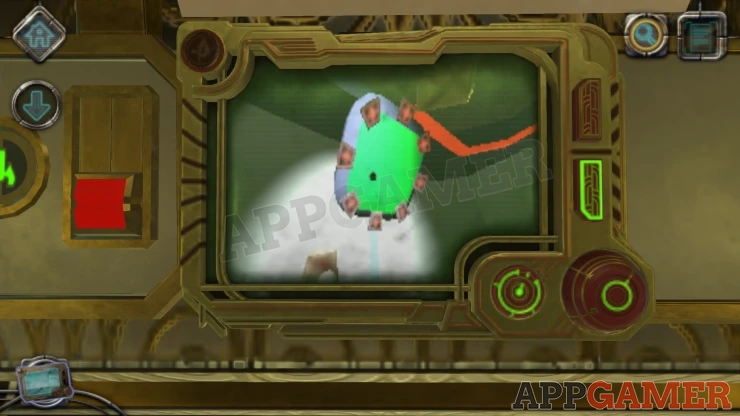
Back up to the junction with the first green target and now on the console you can slide the button back up to make it blue again.
This will close the red path and open the door to the blue path on the right.
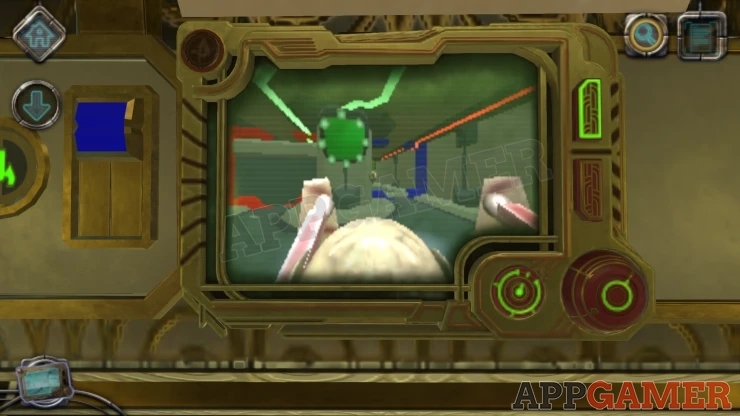
Move forward again to see the next green target, use the laser.
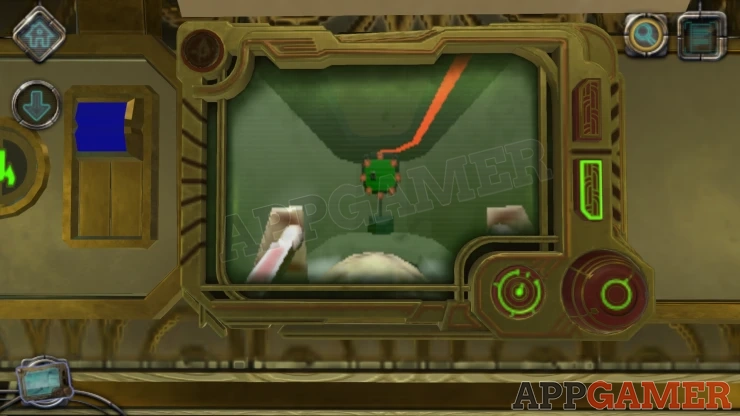
This will now activate the screen.
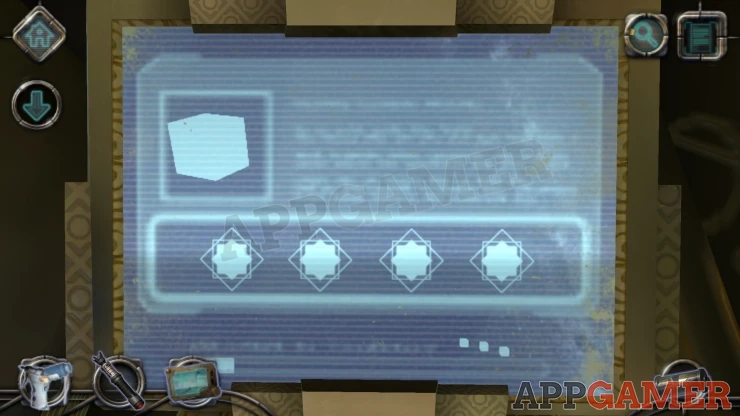
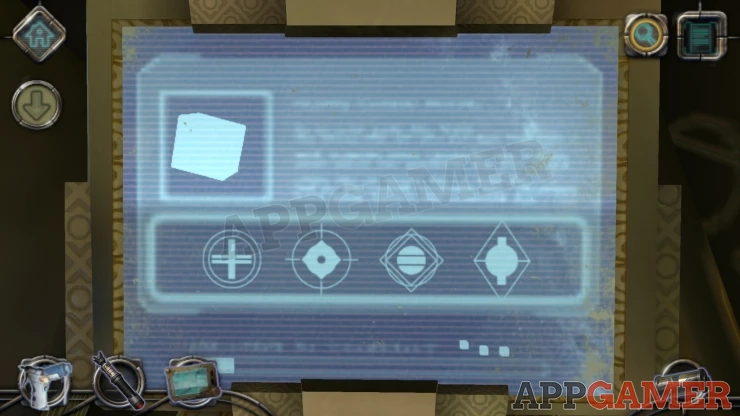
Screen Symbols
- The screen requires you to set 4 symbols as a code to unlock it.
- You can tap to change each of the 4 shapes.
- Find the clue to solve this.
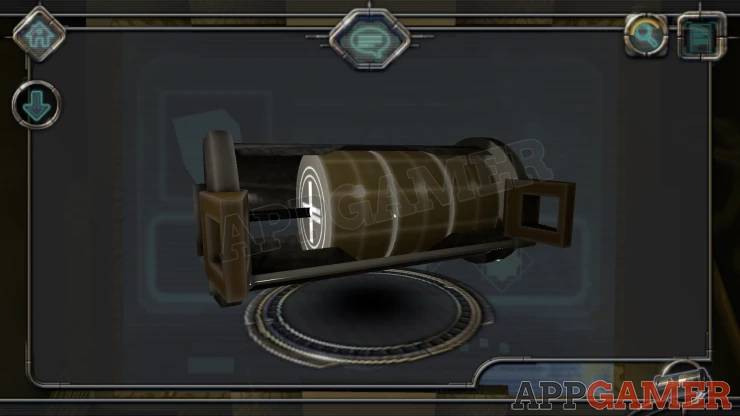
Solution: Examine the Mysterious cylinder that you have in your inventory. You can slide each of the 3 sections inside it to look on the sides of them. Start by looking on the far left to see the first symbol and then look between the sections and on the right to find the rest.Show
Code: Show
When the screen unlocks you see a diagram of the pod. On the right are some circles.
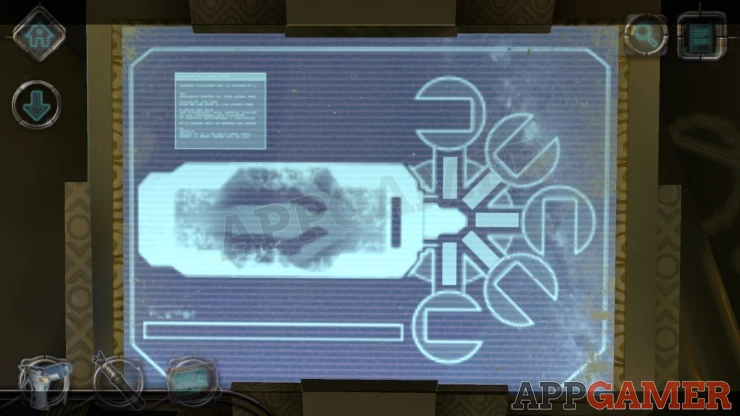
Turn the 5 circles to line them up with the blocks and it will complete the puzzle.
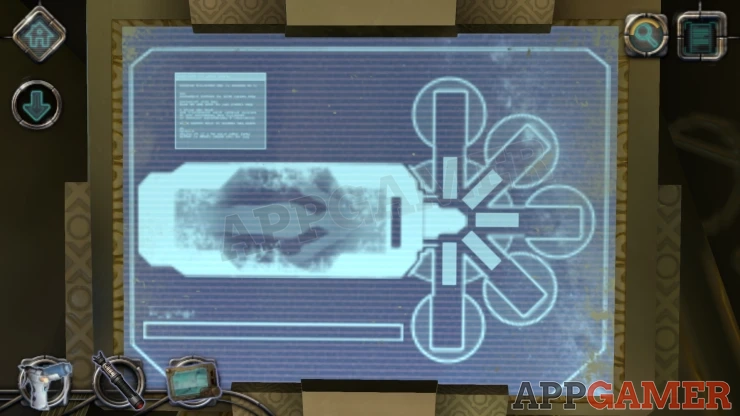
Now you see heating rings on the pod
Pod Puzzle
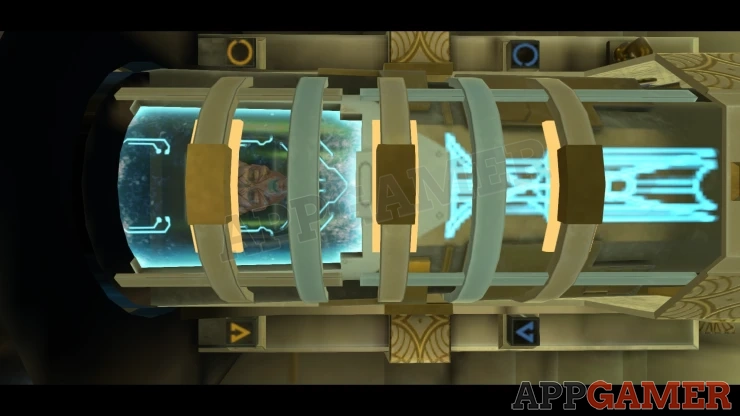
- There are 5 rings, you will see 3 of them have the orange heating lights.
- At the top are 2 buttons that will turn the rings
- At the bottom are 2 buttons that will move blue and yellow colored bars left and right.
- Move the bars to separate the 5 rings into 2 sections, with on the yellow bars or the blue bars.
- The bars on each section will turn in opposite directions.
- You need to arrange the rings so that all 5 of the heading orange lights are on top of the pod.
Once complete the Alien inside will wake up. It talks to you and ask you to help repair the ship.
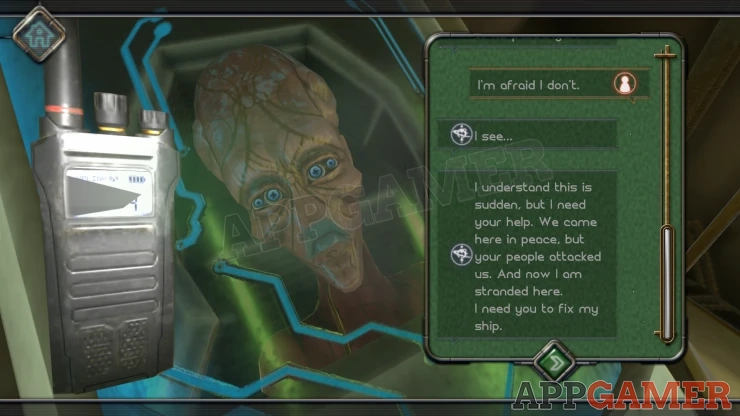
This completes chapter 4. Move on to Chapter 5.
We have questions and answers related to this topic which may also help you: Show all
 With 20 years of experience in creating video game content for the internet and over 30 years as a gamer, Mark is now a passionate mobile App Gamer. Loving a challenge, he is always ready to get stuck in to both survival builders and puzzle solving games. He has been providing content for AppGamer since 2014.