
Chapter 2 Walkthrough - First Contact
More Machinika: Atlas
This is a walkthrough and guide for Chapter 2 of Machinika: Atlas. Following the previous game in the series, Machinika: Museum you play as a researcher whose escape pod has arrived at an abandoned spaceship on Atlas a moon of Saturn.
In Chapter 1 you entered the ship from the Escape pod and then restored power to the room and opened the door to the corridor. Now you proceed into the next aree of the ship.
You can complete the first part of this chapter for free but the second part and the rest of the game need to be bought to unlock.
Chapter 2a Walkthrough
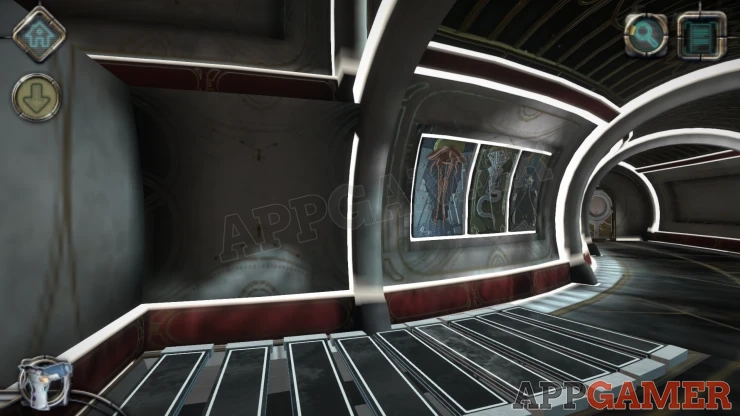
Make your way through the doors until you reach a wide hallway.
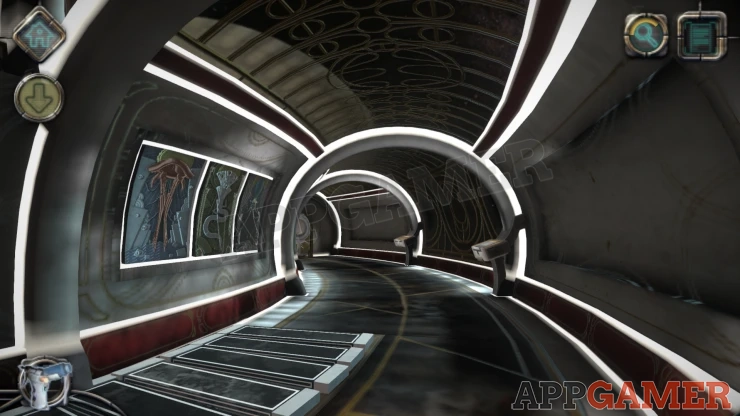
Double tap to move down the hallway towards the door at the end. There are 2 boxes on the wall on the right, move forward until you reach the second one. Then tap to view the images on the wall on the left.
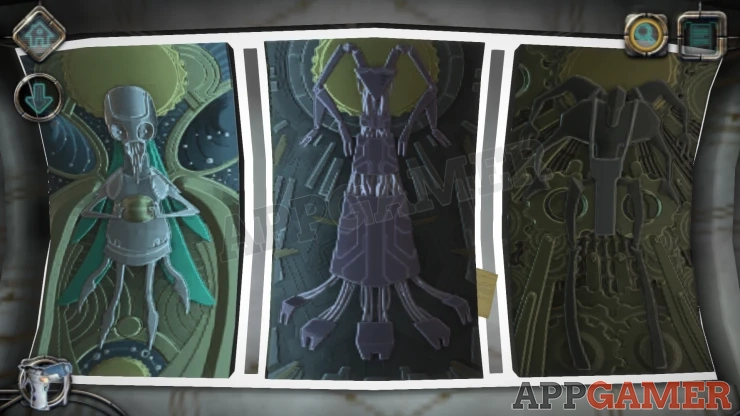
Notice there is another letter here stuck on the right side of the middle image.
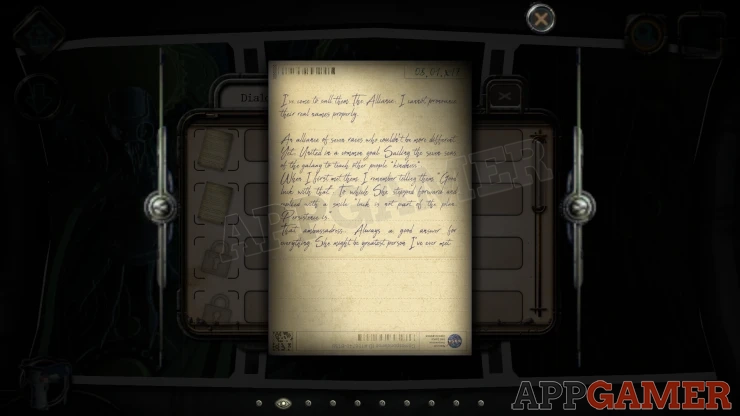
Collect the Letter.
Now back up and turn to the right to see the box on the wall.
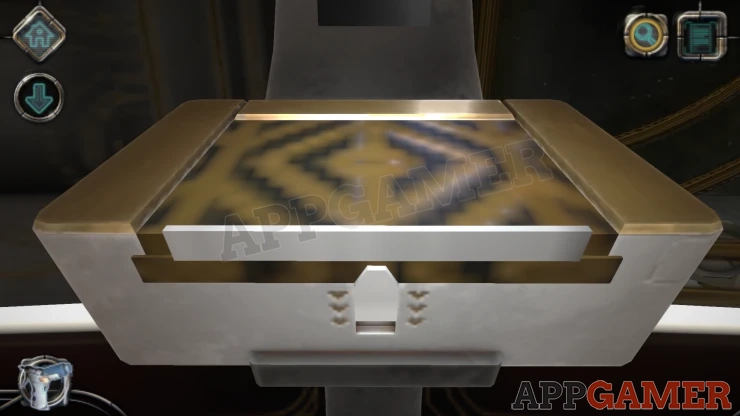
Pull down the catch to open the box and then you can view and collect an Engraved Plaque. from inside.
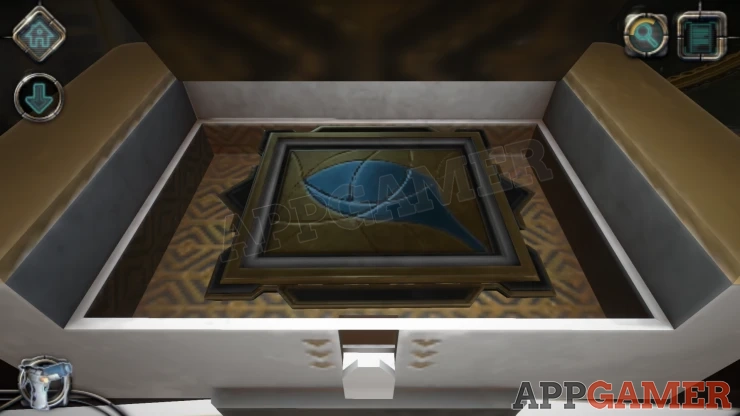
now move back up the corridor to the first box that you passed. View this and open it in the same way.
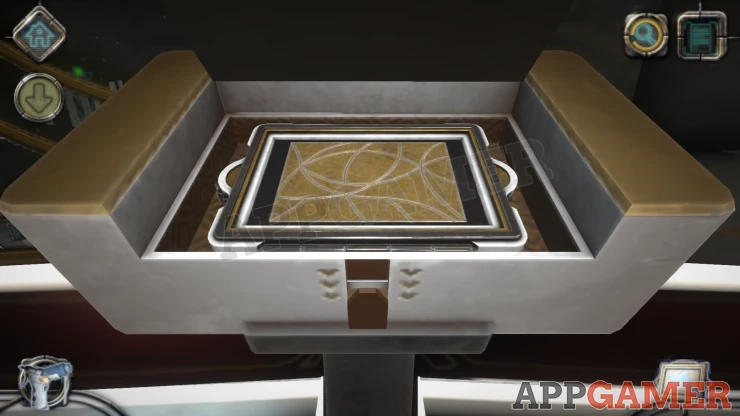
Inside is another engraved plaque. This time you do not take it but you can tap it to change the colors of the sections.
Match the pattern on the plaque to the one you collected.
Solution: Show
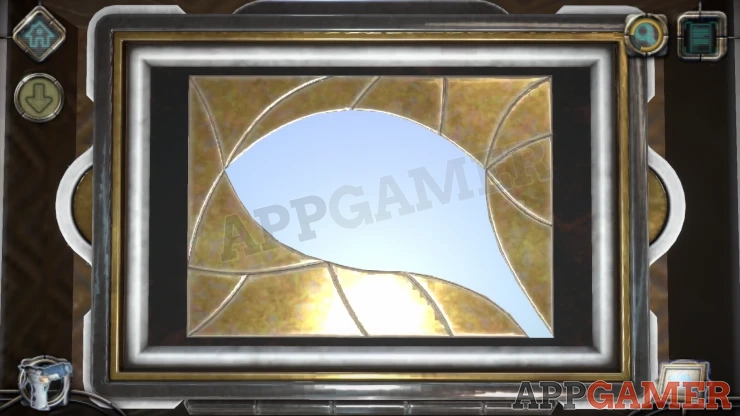
Some steps begin to rise but they are broken.
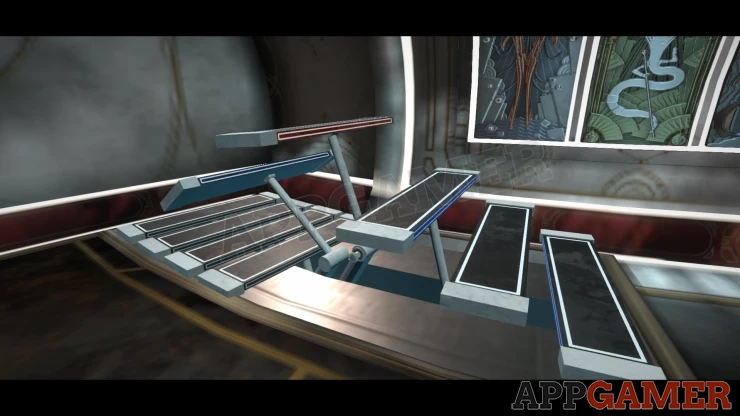
Examine the unusual screw that is on the broken step. You will then be able to access a screwdriver tool.
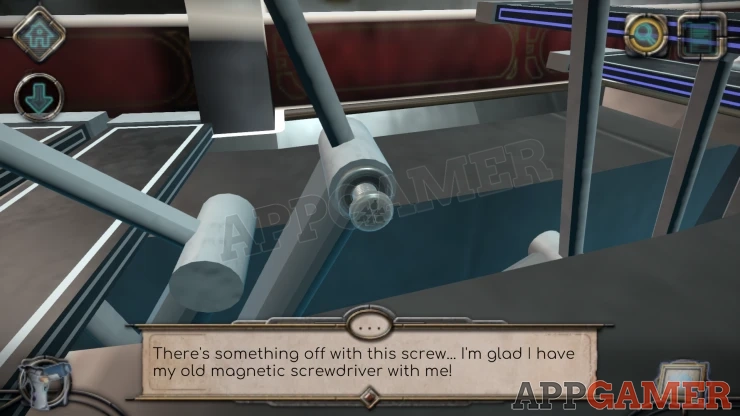
Drag on the screwdriver to start a puzzle.
Screwdriver Puzzle 1
- The tool has 3 wheels that you can change to set the pattern of orange lights that you see.
- The first wheel controls the rotation of the orange shape, the second wheel controls its distance from the center and the third wheel controls the number of the the shapes that appear.
- You need to match the layout of the grey pattern to fit the screwdriver to the screw.
- There are 2 stages to the puzzles.
First you are controlling the triangular shapes.
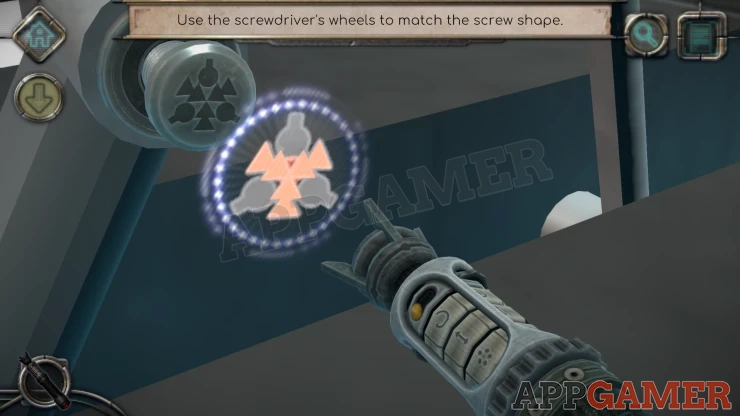
Then you need to tap the yellow switch to allow you to control the outer circular shapes.
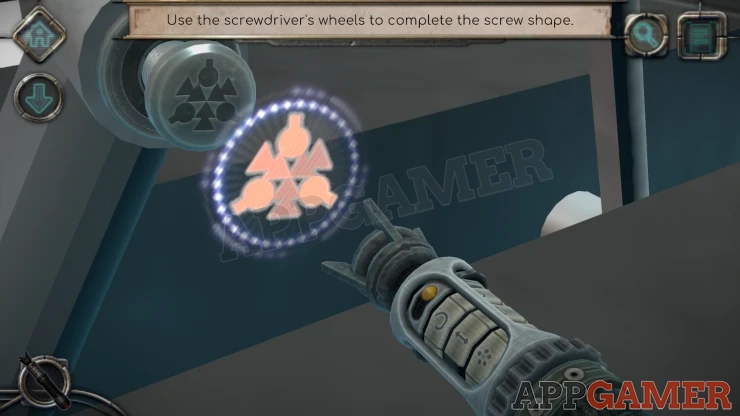
This fixes the steps and now you can open the door at the top.
Chapter 2b - First Contact Walkthrough
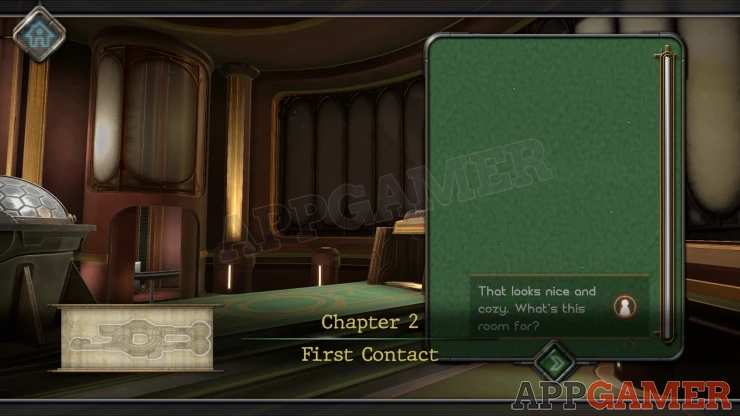
You enter a new room and you start to get a message on your Walkie Talkie.
First move toward the hemisphere on the table to the left.
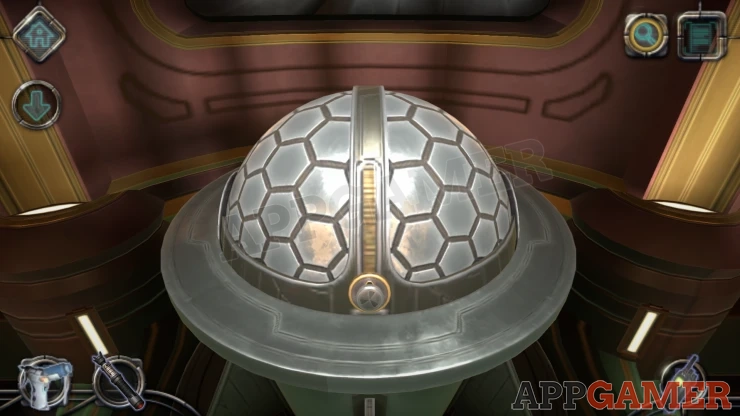
View the screw head on the front of the hemisphere and use the Screwdriver tool on it.
Screwdrier Puzzle 2
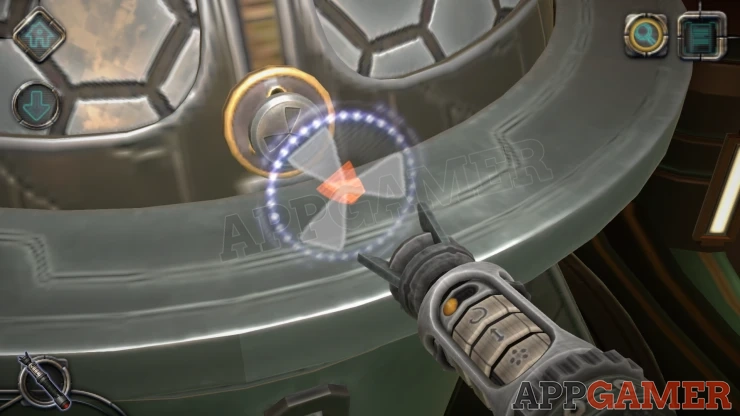
Repeat the process as above to set the orange lights for the screwdriver.
There are 2 settings to make to complete the pattern.
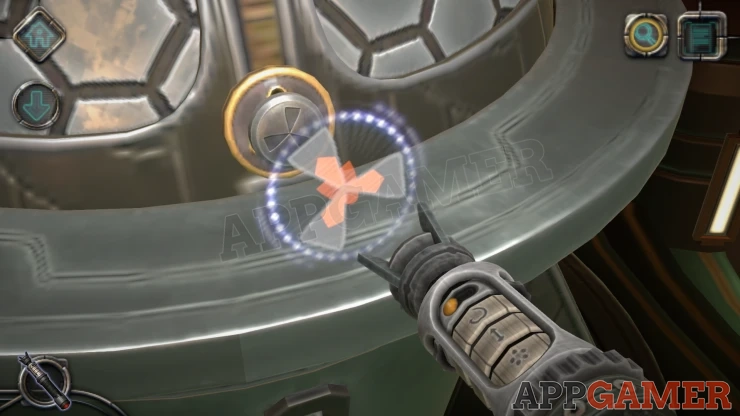
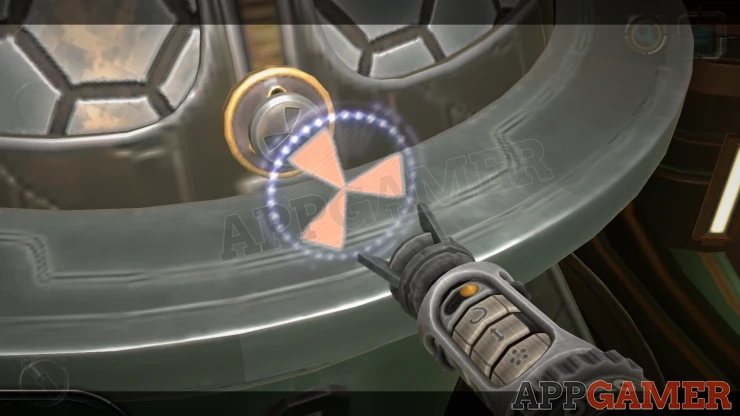
Now you can swipe up on the catch to lift it. And the dome will open.
Inside is a another puzzle.
Dome puzzle
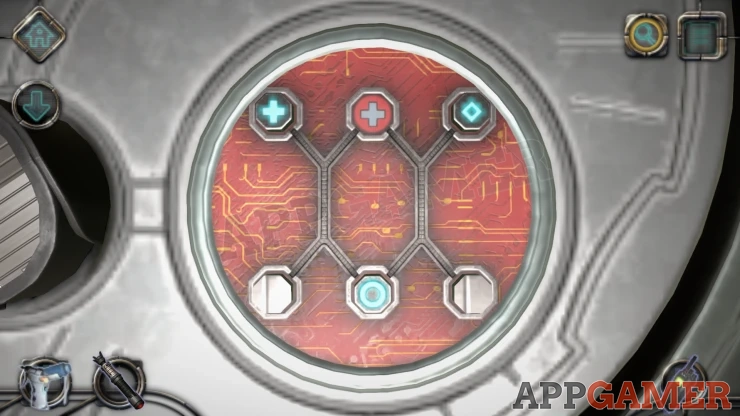
There are 3 blue symbol pieces (blue) that you can slide around.
There are 3 red symbols sockets that you need to move the blue pieces to.
There are also 2 blank pieces that you need to move out of the way.
Slide the pieces around until the symbols are aligned.
Solution: Show
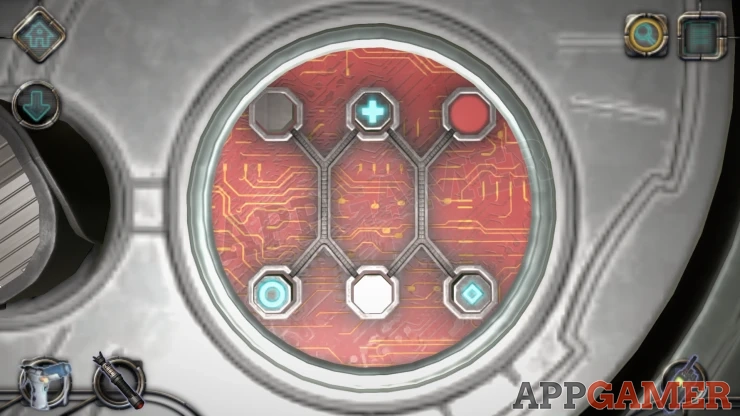
You can now place the Walkie Talkie into a slot that appears.
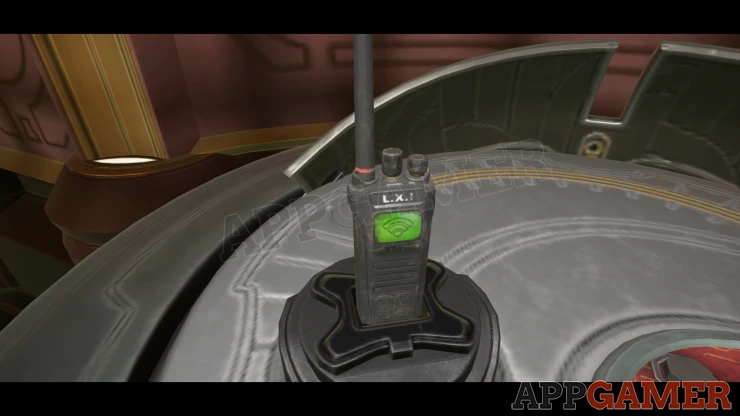
This activates a puzzle
Waveform Puzzle
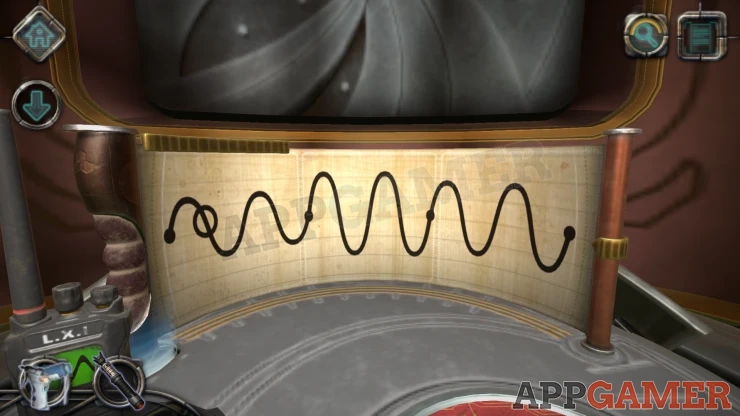
On the screen you will see a wave form and a moving circle.
You need to adjust the wave line to match the movement of the circle.
The slider on the right side will make a section of the waveform change in amplitude.
A slider at the top will let you select one of the 3 section of the screen.
Solution: On the first section move the right slider up a little. Then slide the top slider to the middle and then use the slider on the right to reduce the height of the wave. Then on the third section you need to increase it a little.Show
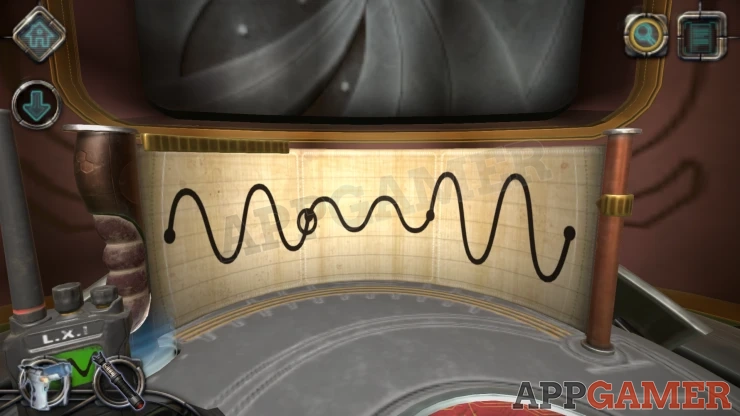
This will now begin to synchronize your Walkie Talkie. Collect the Walkie Talkie Again.
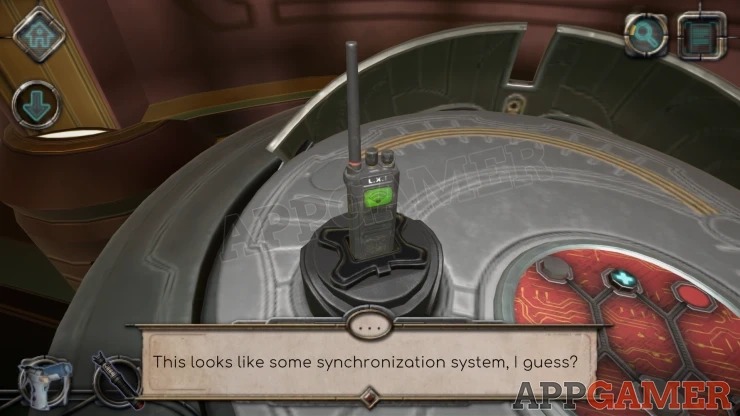
Now turn to the opposite side of the room. View the 'Piano' console that is there.
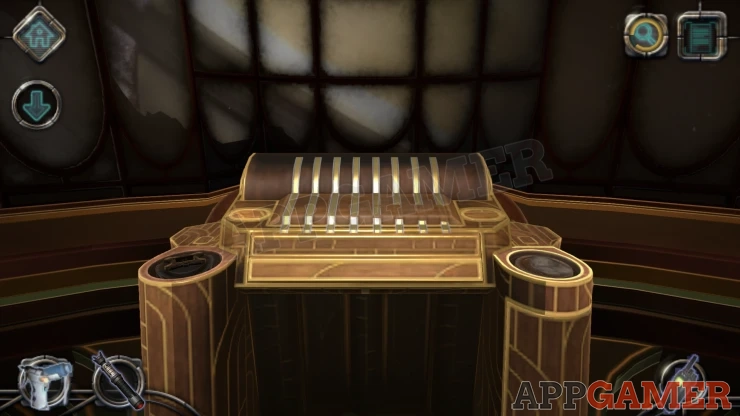
Add your Walkie Talkie to the slot on the left side and a drawer will open and a screen will appear.

Before you can solve this puzzle. back up and look on the left side of the unit behind the walklie talkie.
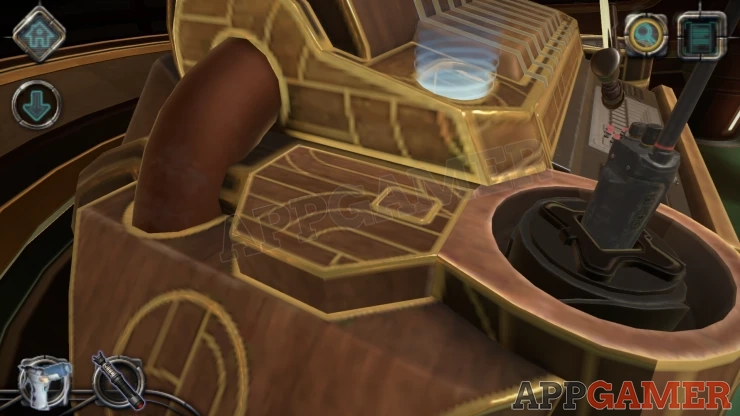
Tap on a small button in the wood, this will open a compartment with a block puzzle.
Block Puzzle 1
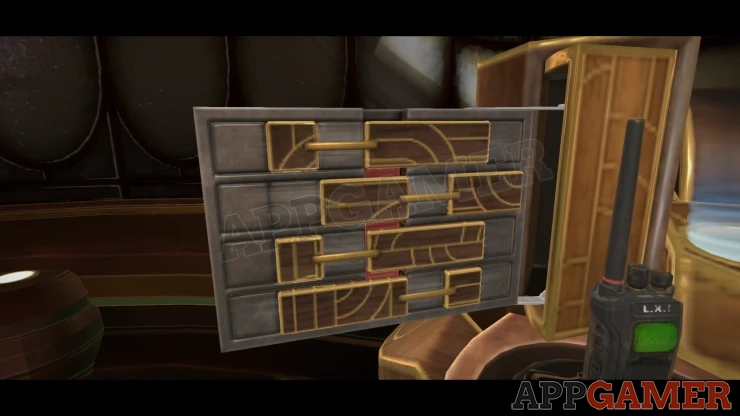
Slide the brown, connected blocks to the left or right to reveal the large red block behind. You can then slide this up to reveal a hidden area.
Solution: Show
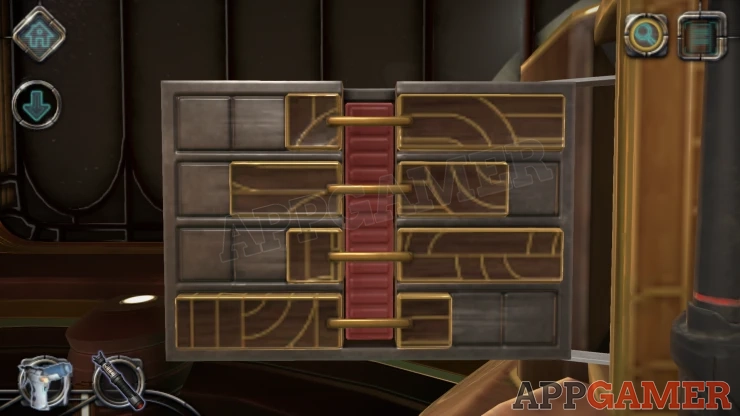
Collect a Light Bulb.
Now do the same on the right side of the unit. There is another block puzzle
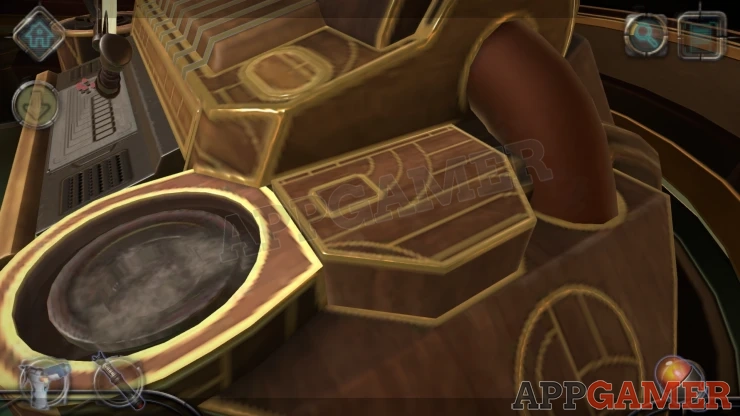
Block Puzzle 2
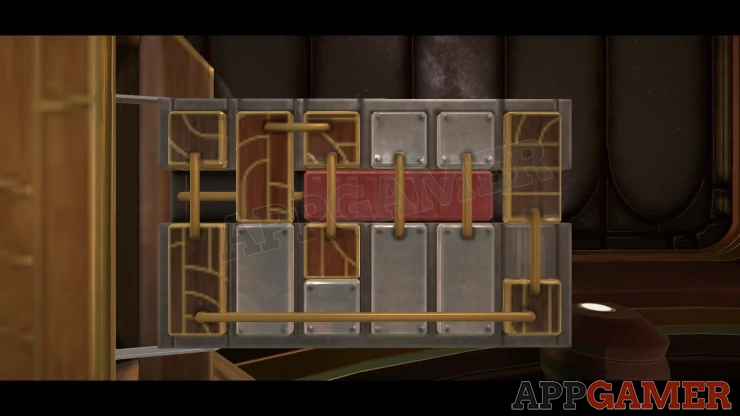
Complete this puzzle in the same way as the first, it is a little harder.
Solution: Step 1: Show
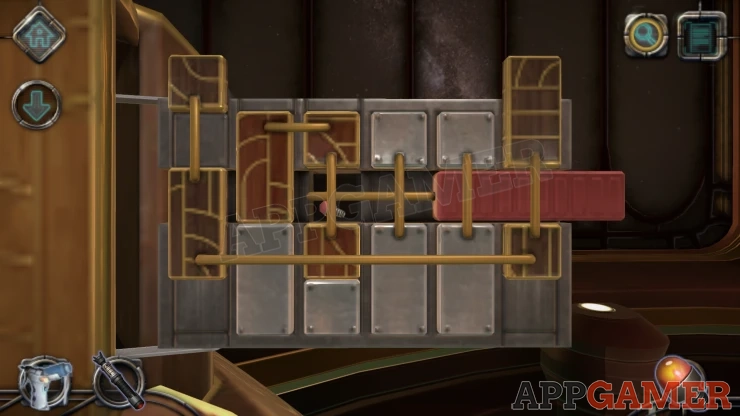
Step 2:
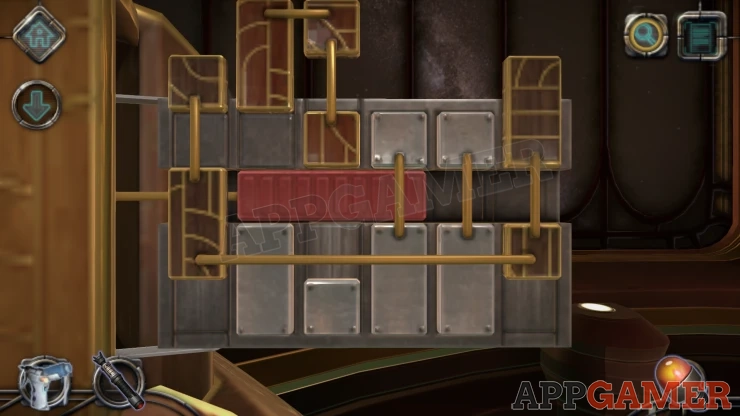
Step 3:
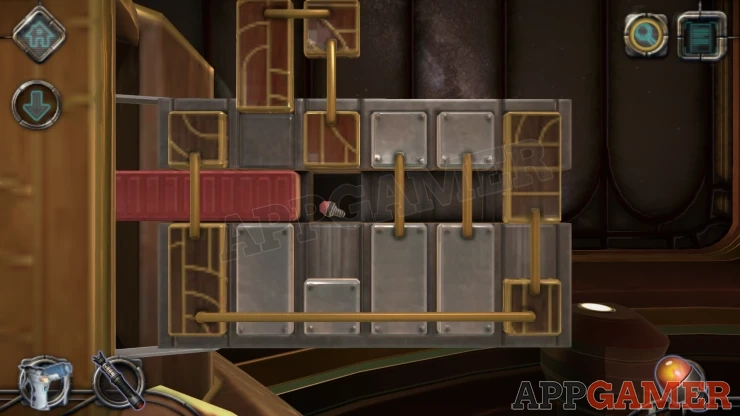
Collect the second Light Bulb.
Now you can return to the draw that opened. There is a ring of light bulbs on the left. Add the 2 that you have collected to it.
Light Bulb Puzzle
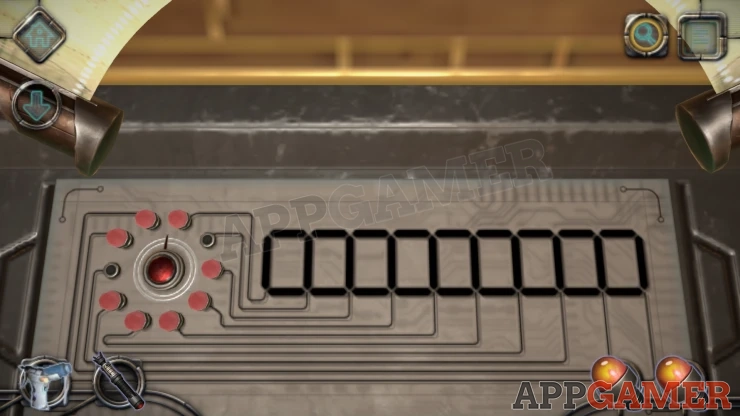
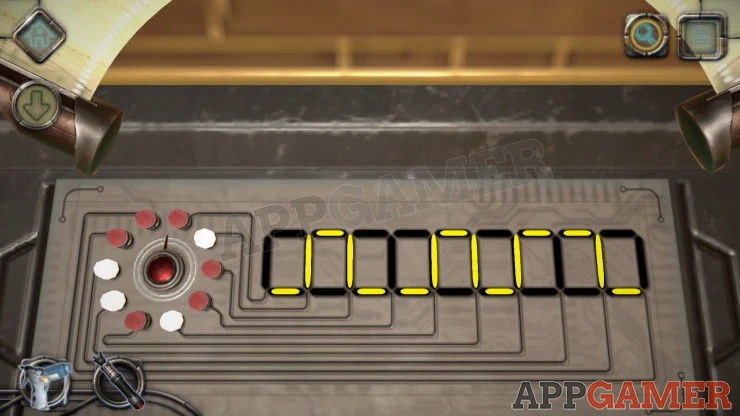
Tapping the button in the center of the light bulbs ring will cause lights to appear on the right in a pattern.
Tap the light bulbs to turn then on and off this will affect how the line of lights appears on the right.
Above this on the screen is a pattern that you need to match.
Adjust the light bulbs to show the correct pattern.
Solution: Turning on a light bulb will make the line of lights move to the top row at that related position.Show
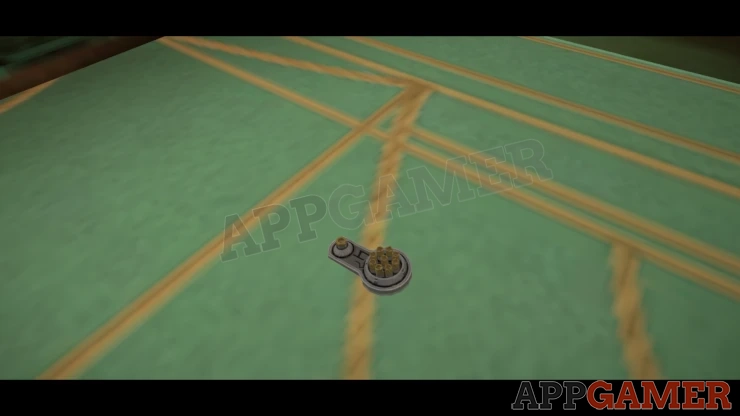
A second drawer will open and an object will fall to the floor. Collect this Key.
View the Key in your inventory, it is damaged.
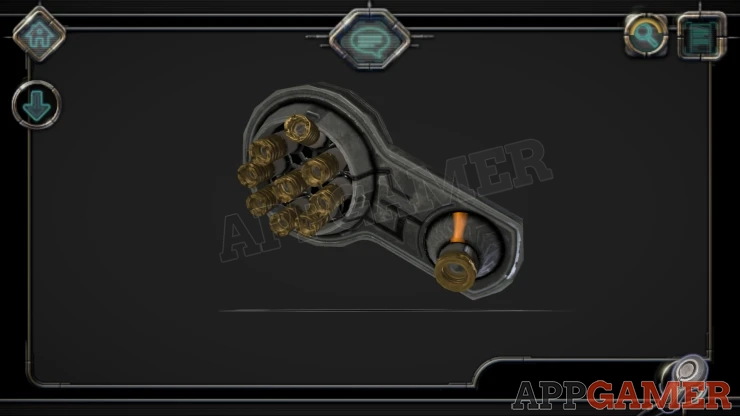
Move the bent pin at the top to adjust it back in line and then turn the dial on the right until the orange lines light up.
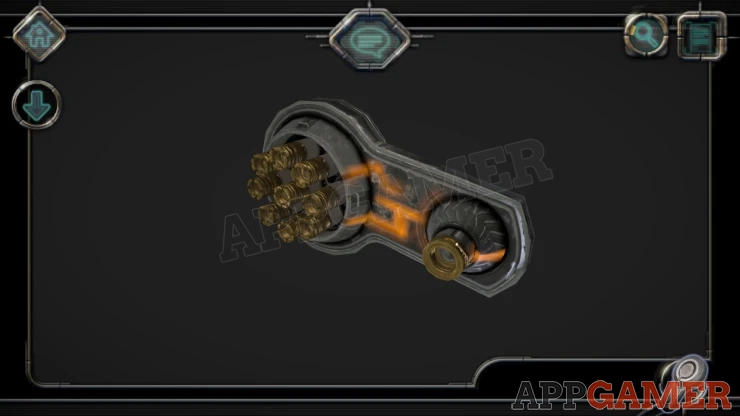
Now view the opened drawer and you can place the repaired key into the slot on the right.

Next look on the right of this Key board to see a dirty area. Use the air duster on this to clean it.
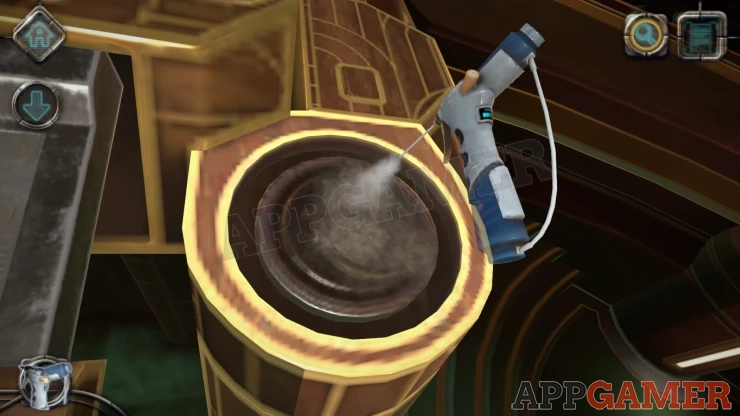
Rotate the cleaned circle piece until it slots into place.
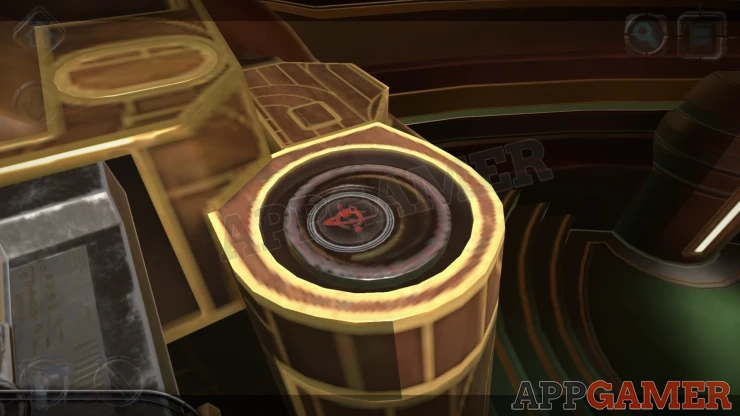
A door will open below and a large lever will appear.
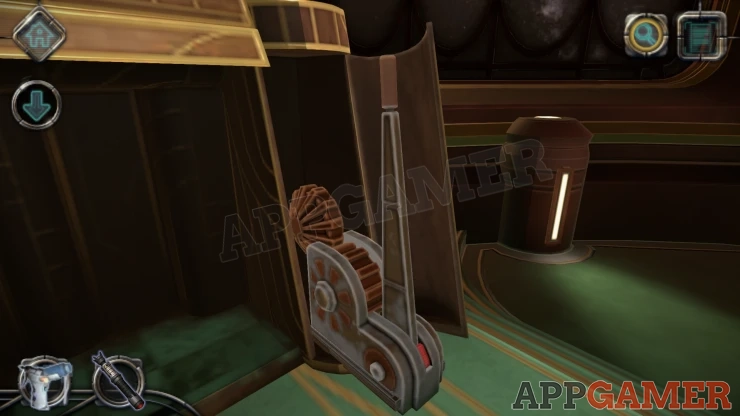
Pull the Lever and then the cop of the instrument will open up to reveal a maze of lines.
Piano Puzzle
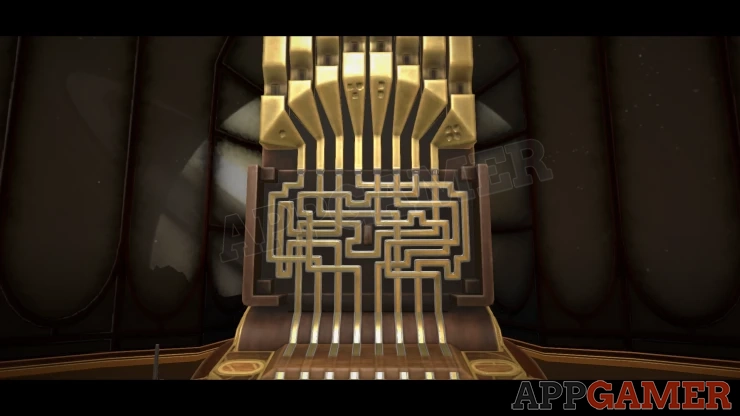
You now need to tap the correct key to play some notes on the instrument.
First look at the maze of lines and then look up to see the tubes above. Notice that some have dots on them.
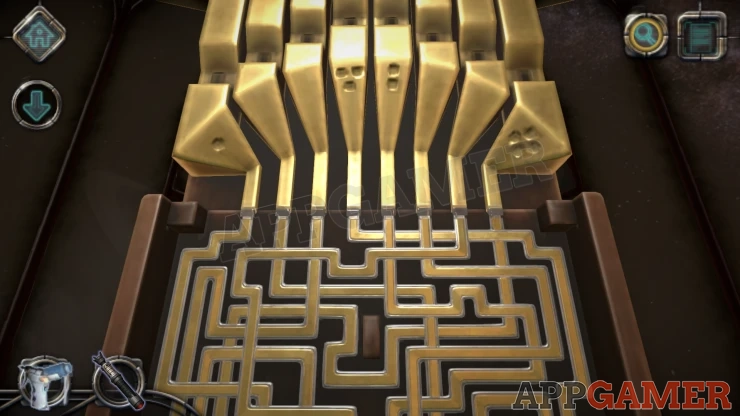
Solution: Find the single dot and trace the lien back down to the matching key, then repeat this with the 2 dots, then 3 and then 4.Show
Code: From left to right tap on the second key, the 5th key, the 7th key and then the first key.Show
This makes progress with the Synchronisation. Collect the Walkie Talkie again.
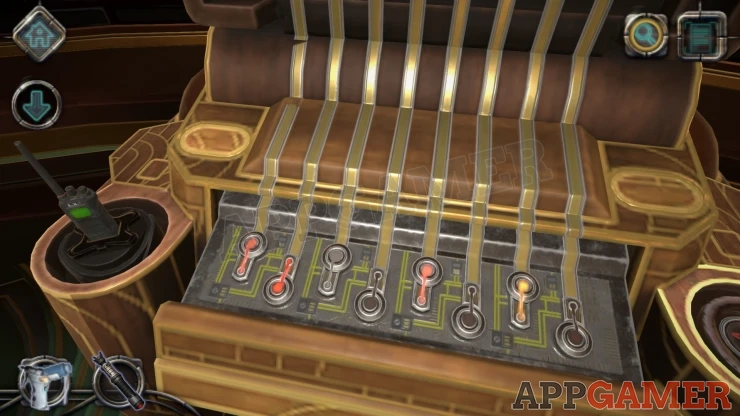
You will now see an elevator area open. Enter this and place the walkie talkie in the slot. Notice that it show 3 antennae.
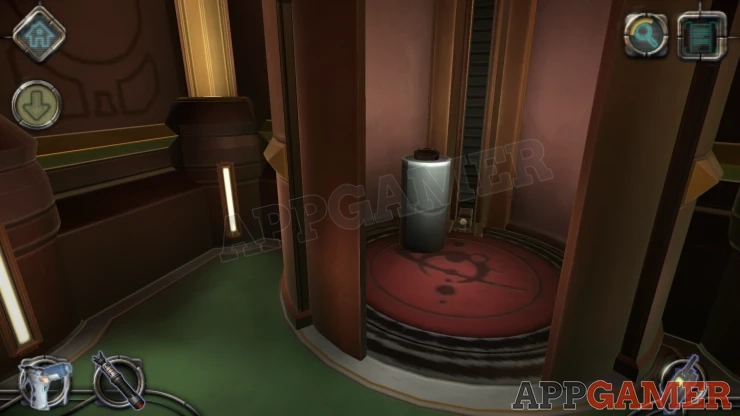
Another lever appears, pull this to travel up to a room above.
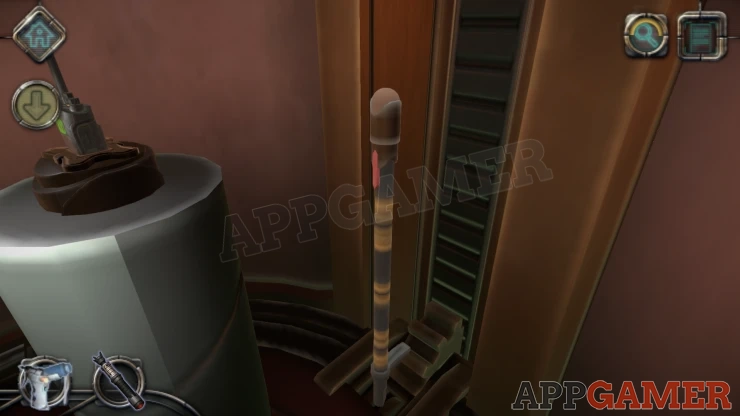
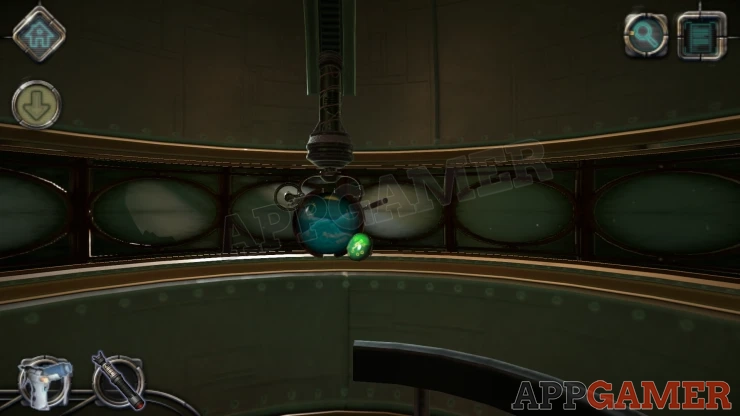
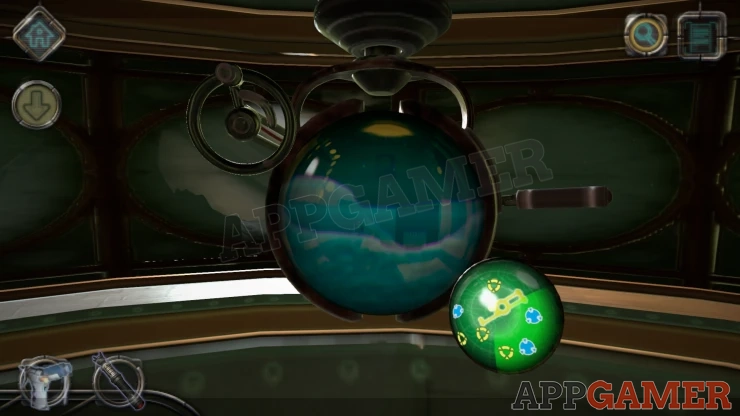
There is a scope device in front of you and the walkie talkie is down to the left.
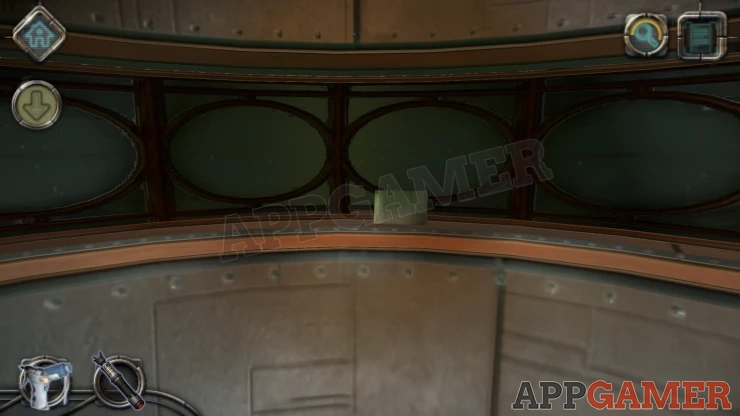
First turn around to look on the wall behind you, there is another Letter to read and collect.
Turn back to the screen and look at it.
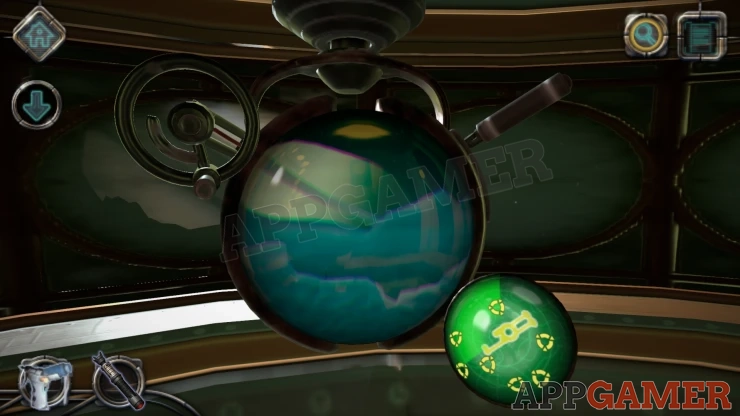
On the top left is a wheel that will rotate the view on the screen.
You can use it to look around outside the ship.
The direction of view is shown on the lower right. This smaller screen also shows some moving indicators.
On the top right of the screen is a lever. you can move this to adjust the height of the view.
As you move the view around you will see green lights on the screen. You may need to adjust the height to find them.
There are 3 sets of green lights to find.
When you find them tap on the associated indicator on the lower right screen.
Find and mark all 3 to complete the next stare of the synchronisation.
Show
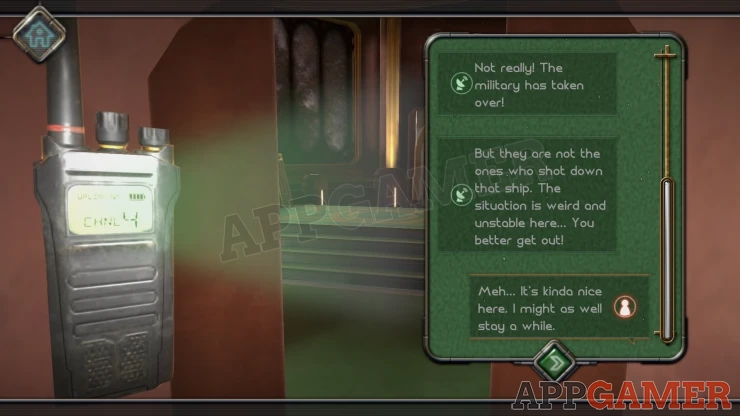
You will travel back down the elevator now and then have a conversation on the Walkie Talkie.
This completes chapter 2. Move on to Chapter 3.
We have questions and answers related to this topic which may also help you: Show all
 With 20 years of experience in creating video game content for the internet and over 30 years as a gamer, Mark is now a passionate mobile App Gamer. Loving a challenge, he is always ready to get stuck in to both survival builders and puzzle solving games. He has been providing content for AppGamer since 2014.