Room 5
Can You Escape 2 Guide
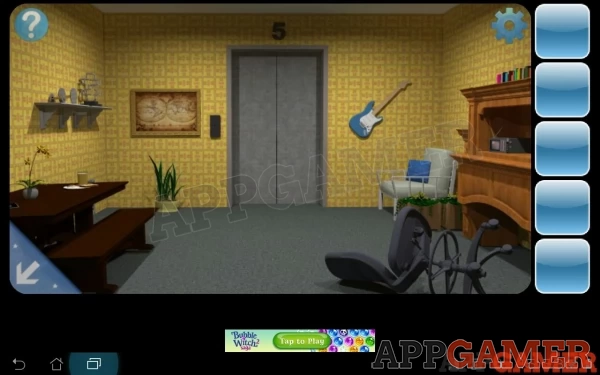
Room 5 or Level 5
This room has 2 views. The first view with the door has a large wooden unit to the right with ornaments on it and a table, shelf and picture on the left with a keyhole in a small black panel by the door.
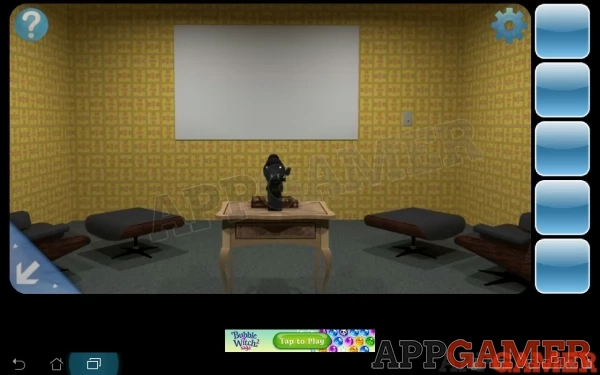
The second view has a projector on a small table with a draw, a screen and a light switch on the back wall.
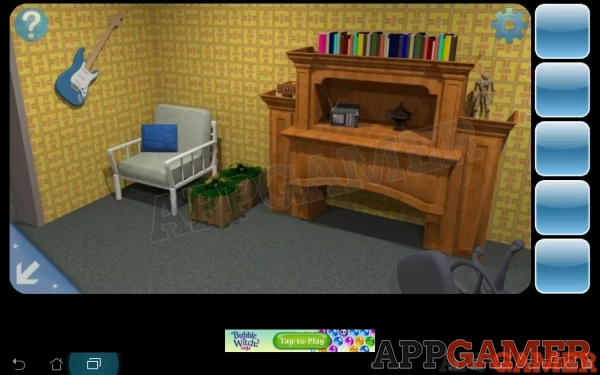
Step 1: In the first view tap on the right hand side to view the large unit.Tap on the centre of the unit to view it closer and then tap on the urn to move it. Behind is a torch. Tap to collect it.
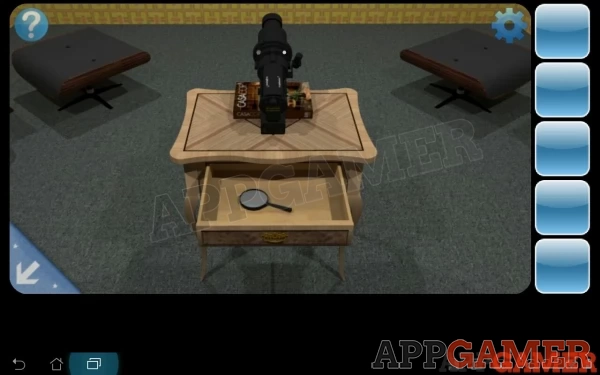
Step 2: In the second view of the room (with the projector). Tap on the small table and then again on the draw to open it to find a magnifying glass. Tap to collect it.
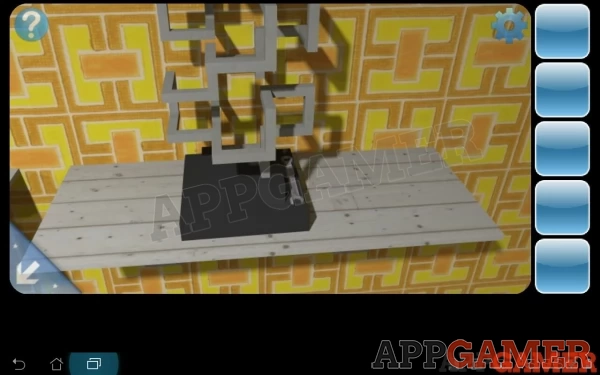
Step 3: Return to the first view and tap to the left of the screen and then on the shelf with the geometric ornament to find a spanner next to it. Tap this to collect it.
Step 4: Also in the left view of the screen Tap the picture on the wall to view it closer. Then select the magnifying glass from the inventory and tap the picture to view a 4 digit code.

Step 5: Back in the left hand view tap on the ipad that is on the table to get closer and then tap again to play the 'Star Game'
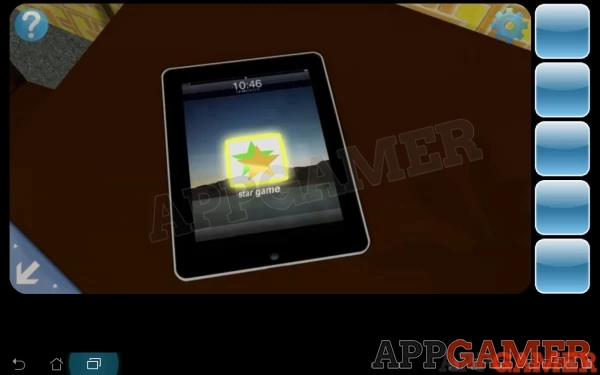
In the game tap on each of the 8 stars hidden in the picture to collect them. This will reveal a circular pattern of stars. Remember this pattern.

Step 6: Return to the first view of the room and tap to the right to view the large unit again. On the left most shelf is a small box. Tap this top view it. It has a 4 digit entry which you need to enter the 4 numbers above.
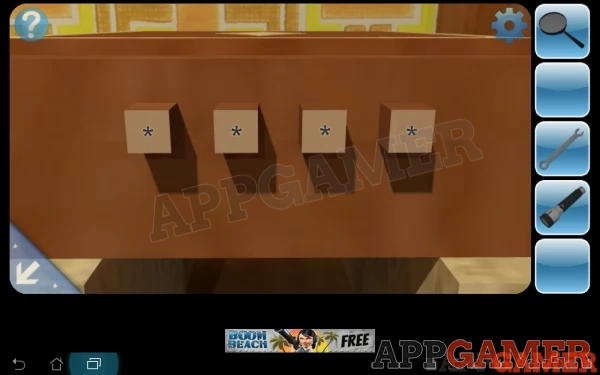
The box will open and inside is a photo slide. Collect this.
Step 7: Go to the second view of the room and tap the projector to get a close view. Select the photo slide and tap the projector again to insert it. A green light will show.
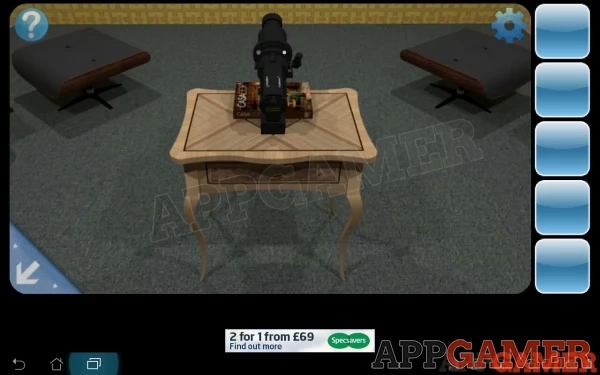
Step 8: Back in the second room view. Tap the light switch to turn off the lights. Then tap the projector to turn it on, and once again to show the photo.

Remember the sequence of colours of clothes worn by the 3 people in the photo. Light blue, red, dark blue.
Step 9: Return to the first room view and tap to the left to view the table area. Tap on the Vent behind the table to get closer. Then select the Spanner and tap the 4 bolts to remove them. Tap again to open the vent.
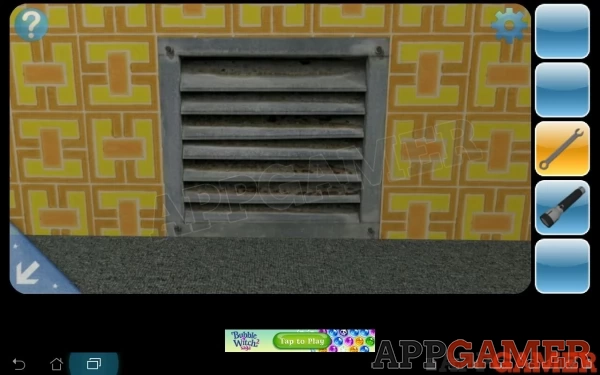
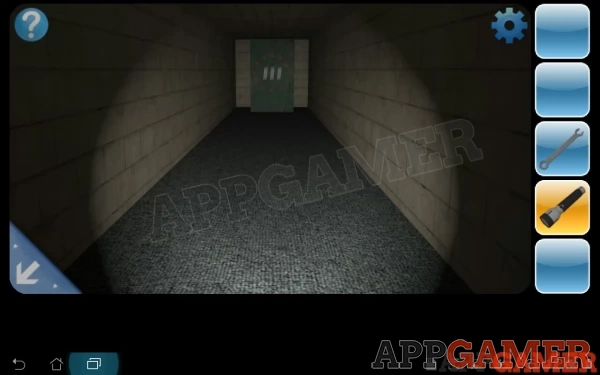
Step 10: Select the torch from the inventory and tap on the dark area behind the vent to look inside. Then tap again to view the panel at the back closer.
To complete this puzzle tap the stars to form the same pattern from Step 5. above. And then tap the 3 stripes to set their colours to match the 3 colour code from the photo in step 8.
The safe will open and a key is inside. Tap to collect it.
Step 11: Return to the first view, to the left and tap on the small black panel by the door. Select the key from the inventory and tap the panel to open the door.
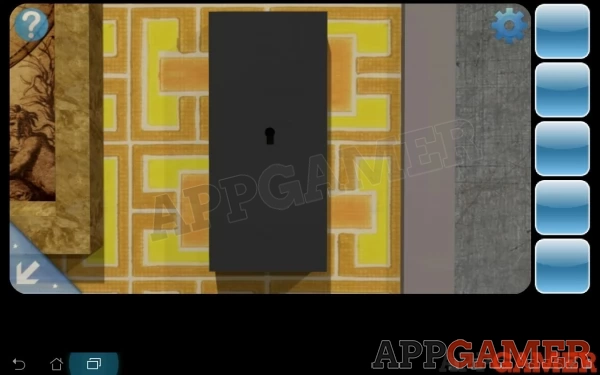
You can now escape this level.