Unsolved Case Episode 2 - Deadly Exhibition Walkthrough
More Unsolved Case: All Episodes
Unsolved Case Episode 2 Deadly Exhibition is the second of the series of mystery puzzle adventure games from Do Games. In this game you play as a successful Detective called to investigate another murder scene and follow the leads to solve the crime.
You will need to check everything in the scene to spot clues and gather the evidence you need. Then also solve tricky puzzles to help you progress. This game also offer the option to place through match 3 puzzles in some areas instead of completing puzzles, we will focus on guiding you through the puzzles here in this walkthrough.
Deadly Exhibition Walkthrough
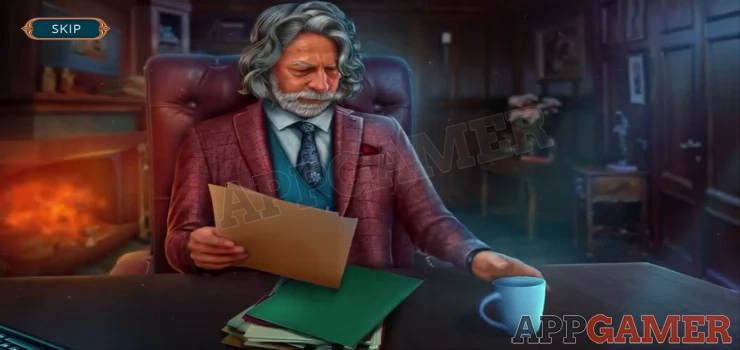
In Deadly Exhibition the story starts with a death in a Museum. The Director has been murdered. We then find ourselves talking to a therapist who will ask a series of questions.
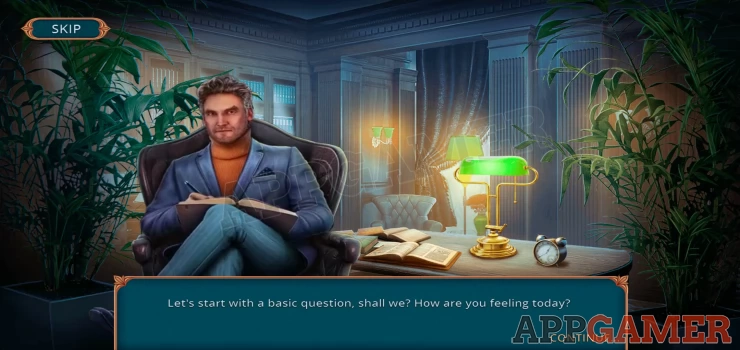
Initially you can answer in any way you want. He will then ask some more advanced questions about your detective abilities.
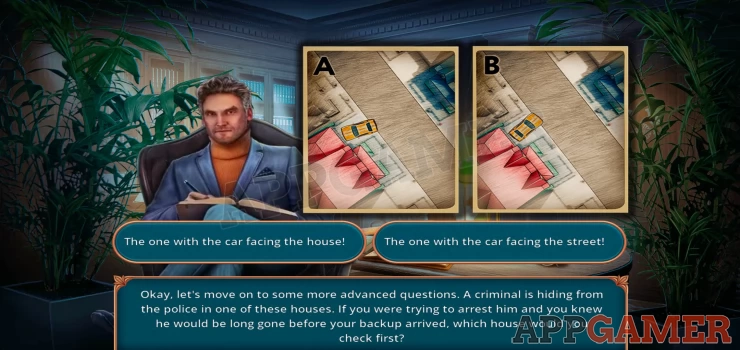
This one is glitched as the game tells you that answer A is correct, but that the criminal will want to have the car facing the street.
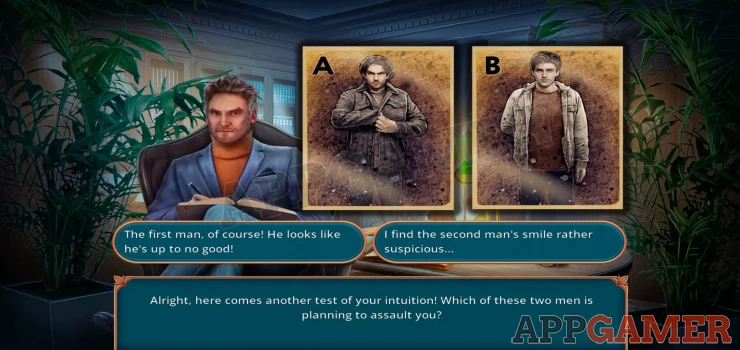
Correct Answer is B : I find the second mans smile rather suspicious.
After taking the call from your fellow detective you will need to head to the Museum. But first collect your bag of detective equipment.
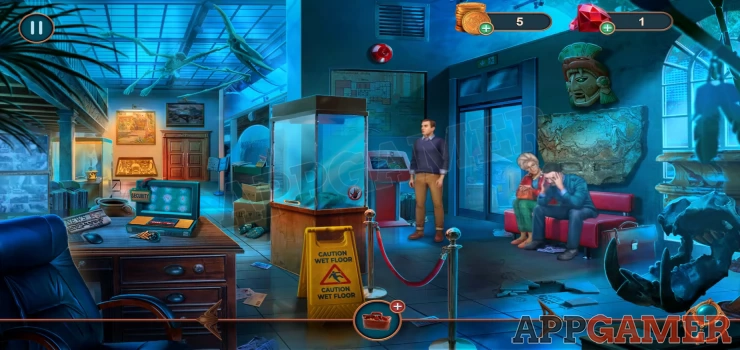
Task - Question the Witnesses
First open the bag in your inventory to find some useful items.
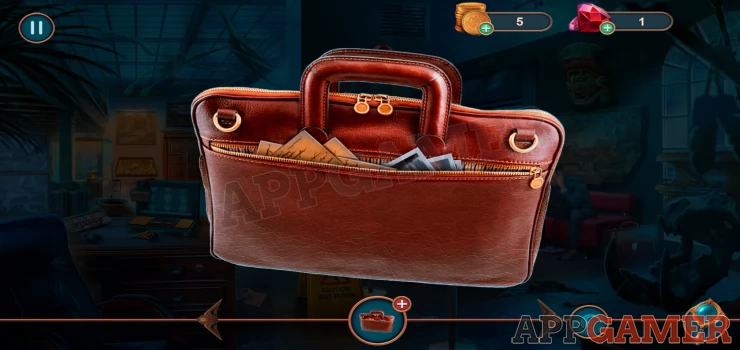
Take out the Journal to use to collect your notes and then also a 'Picklock' 1 of 2 (Lock pick), a fan and a screwdriver. Next tap to view the desk on the left. Collect the arrow head (Arrowheads 1 of 2) and the the speaker (Spare parts).
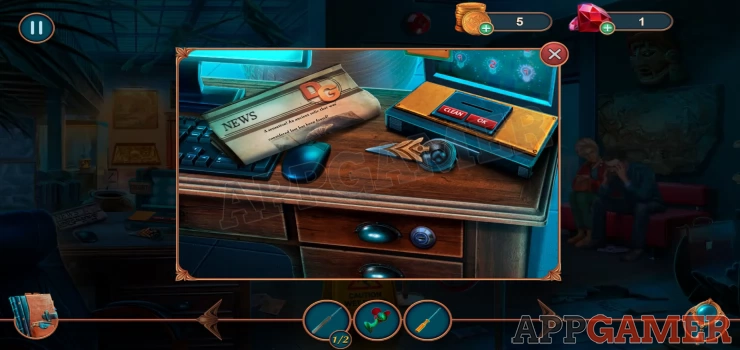
You can also view the newspaper on the left, this will be added to your notes in the journal. Next to the left of the witness standing up is a small red display case on the wall. (below a map). View this.
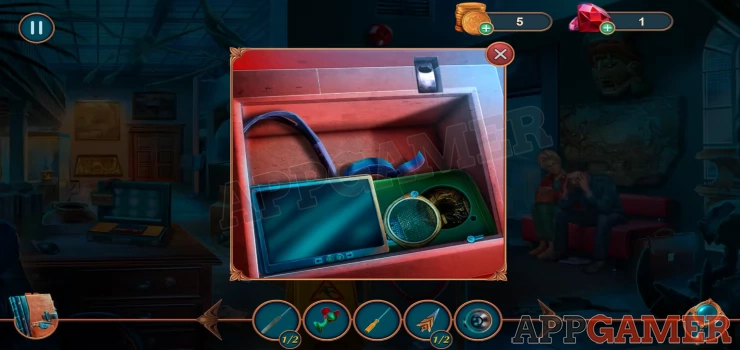
Collect the tablet device on the left, this is a map that you can then access later. Then add the spare parts (speaker and the screwdriver to the broken audio tour guide in the case. The device will be fixed and you can then collect the improvised tape recorder.
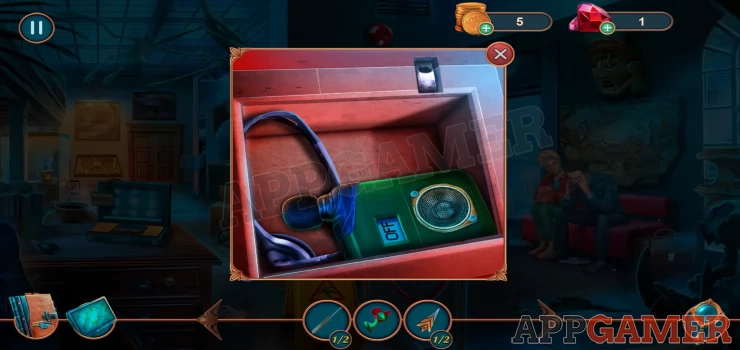
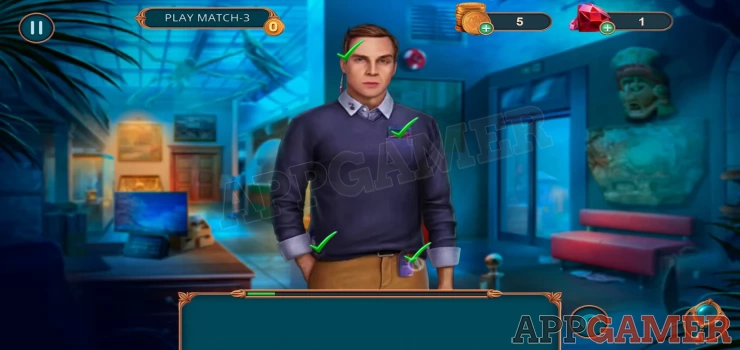
Use the device on the three witnesses to begin the interviews. During each one you need to identify clues on the person to see if they are telling the truth. Spot 4 items and you will then have a flashback scene with each one to place the items to see if the story fits.
Witness 1
Tap the marked locations to find the evidence
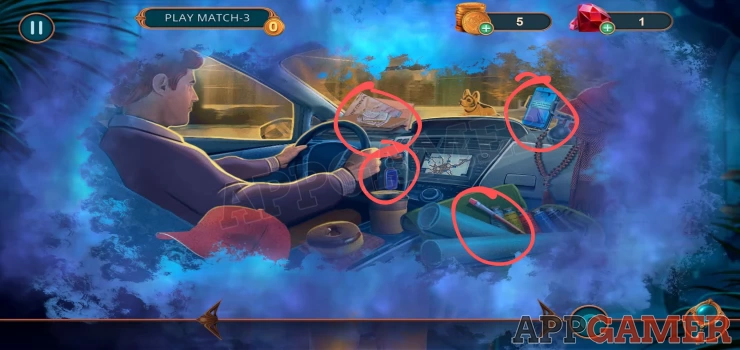
Next place the 4 items in the car as shown.
Witness 2
Tap the marked locations to find the evidence
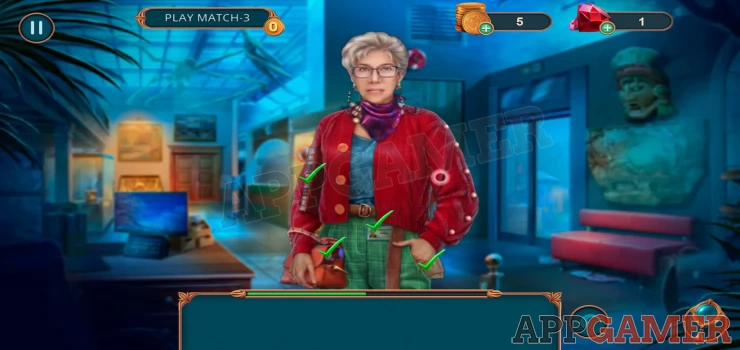
Next place the 4 items in the scene as shown.
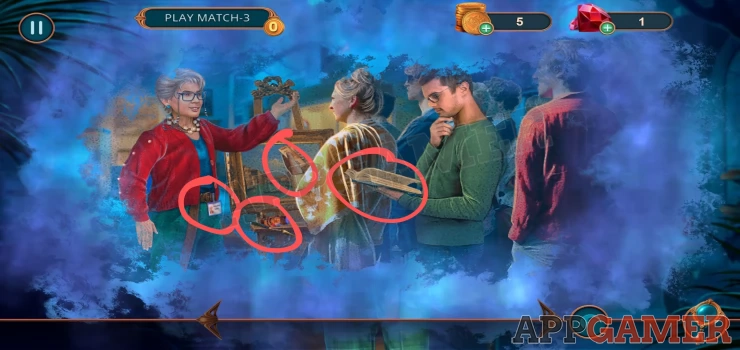
Witness 3
Tap the marked locations to find the evidence
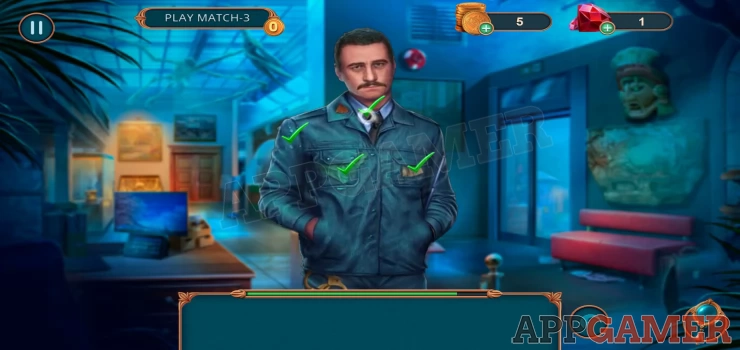
Next place the 4 items in the scene as shown.
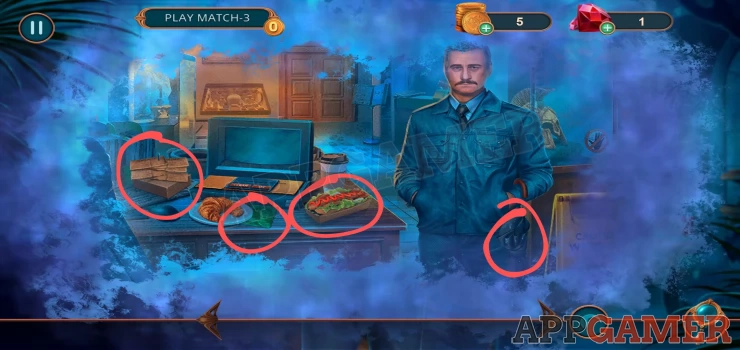
Once done the alarm in the building will sound and the doors will lock down. Take the key card from the witness.
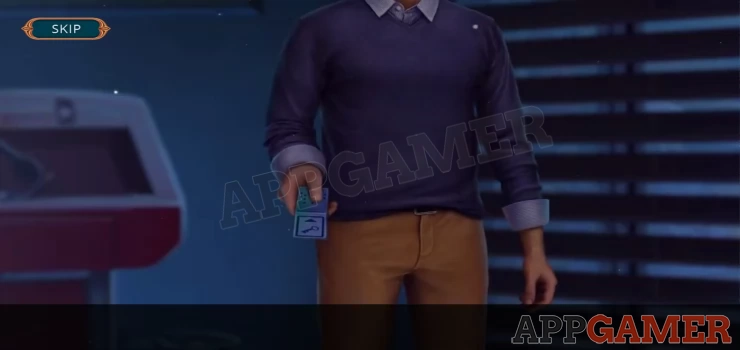
Task - Disable the Security Alarm.
The power is out but you can tap on the desk on the left, and then use the key card on the security console on the right to start a puzzle.
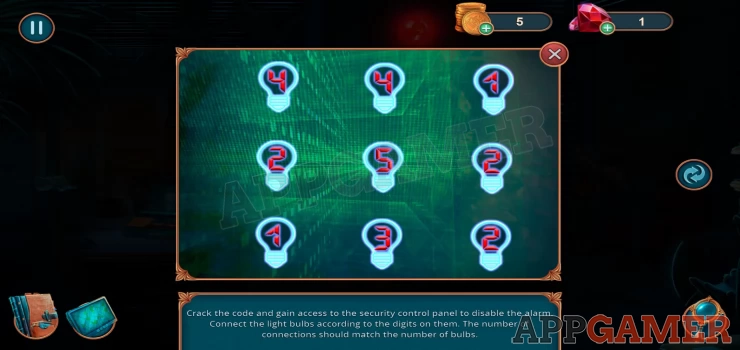
Security Alarm Puzzle
Hints:
- Tap pairs of light bulbs to make connecting lines.
- Each bulb has a number on it and you need to attach the same number of lines to it as the number shown.
- As you attach lines the numbers will go down, When all numbers reach 0 the alarm will be deactivated.
- There is more than one way to do it. Check below for 1 solution.
Solution: Show
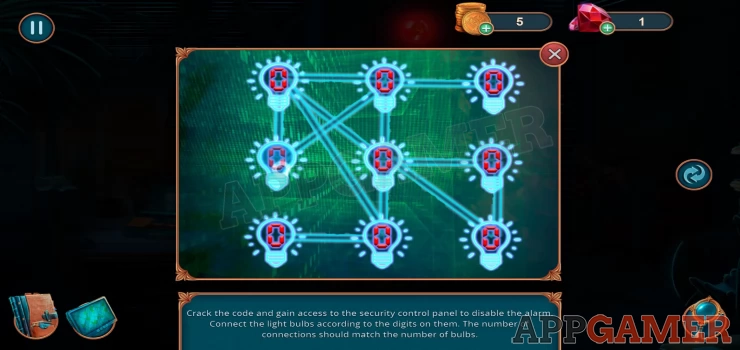
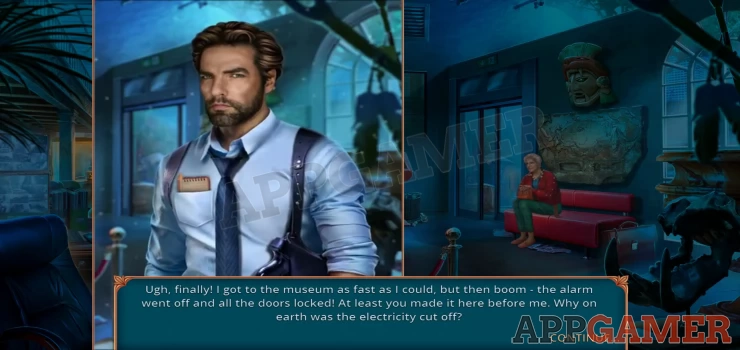
With the alarm stopped and the doors opened you are joined by Scott the other detective.
Task - Determine the Cause of Death
First tap on the opened doors on the left to go through to the directors office. The crime scene.
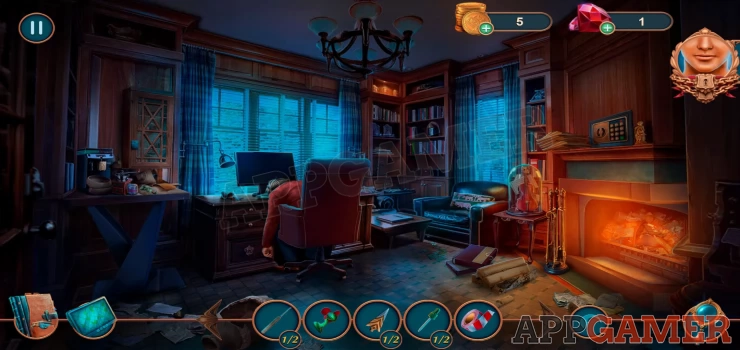
Tap on the table on the left of the room.
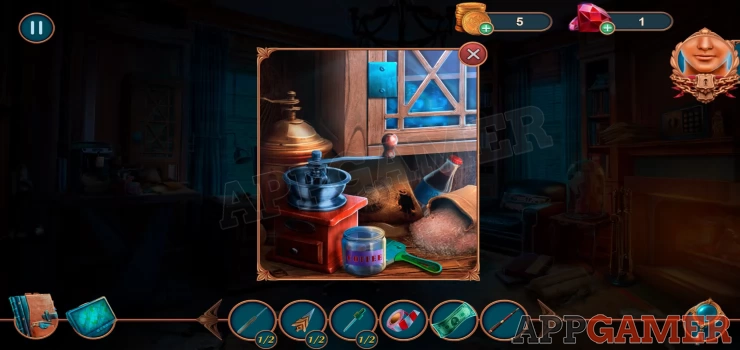
Collect the Five-dollar bill and a Pen from the right. Then use the fan on the pile of sugar that the pen was on top of. You can then collect a Scraper.
Now back up to the lobby and use the doors on the right to exit the museum.
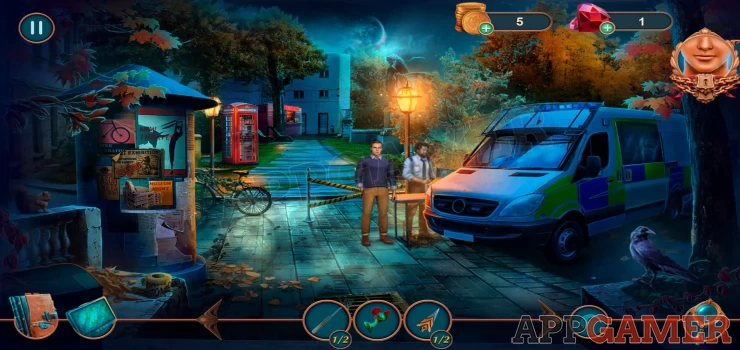
There is a police van on the right, view this and tap the side door to open it.
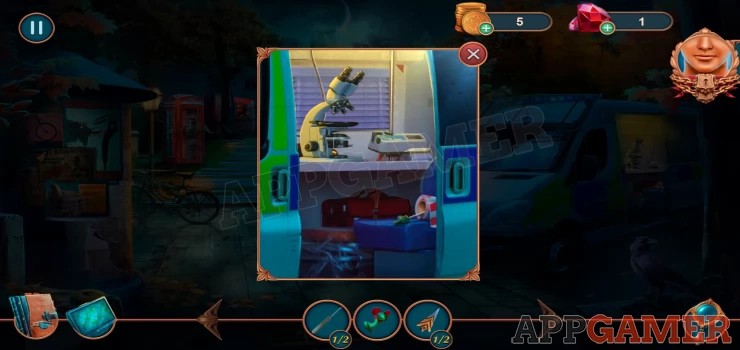
Collect a dropper (liquid collecting kit 1 of 2) and the police tape. Next tap on the sign board on the left of the scene to see some posters.
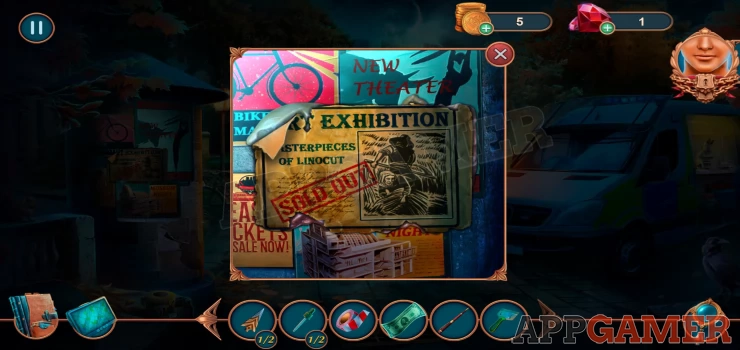
Use the scraper on the central poster to remove it. Then tap to collect a hook. Now tap on the red phone box on the left to view that.
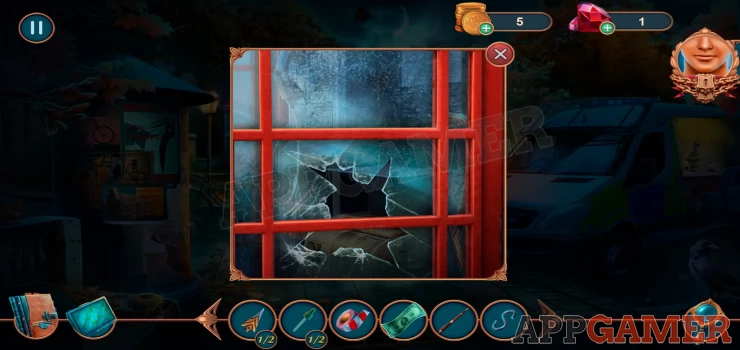
Use the hook on the door to open it.
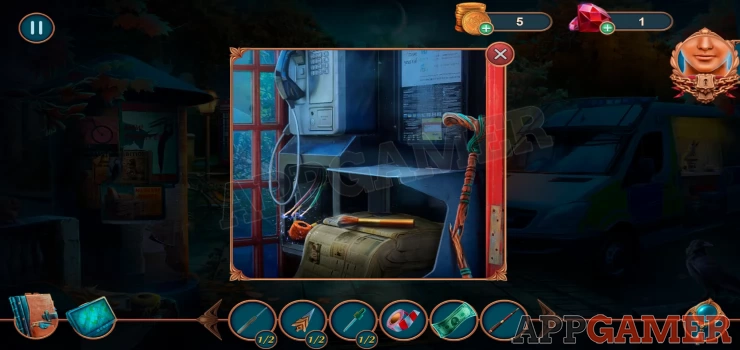
Now collect the Powder brush from the phone book and then use the police tape on the broken cane to repair and collect it. Back up again to re enter the lobby. Then tap just to the right of the office doors where there is a cloakroom for the coats.
You can tap on the calendar to note that it is the 30th Sept. Then use the cane on the rack on the back to pull it towards you.
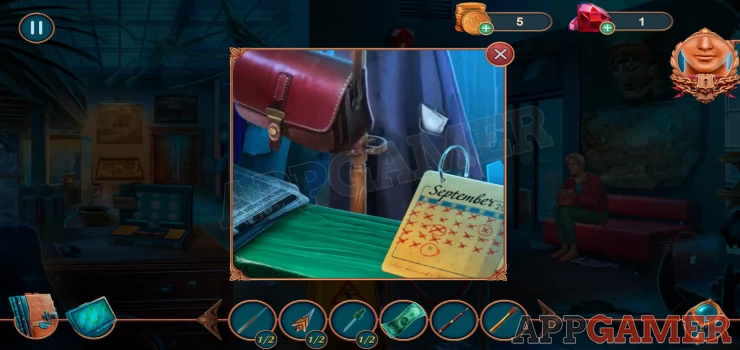
Collect a note from the coat pocket. And then also collect an arrow head from the same pocket (2 of 2).
Then open the bag to look inside. Cap to view a book in the bag and open it to read about wolf's bane.
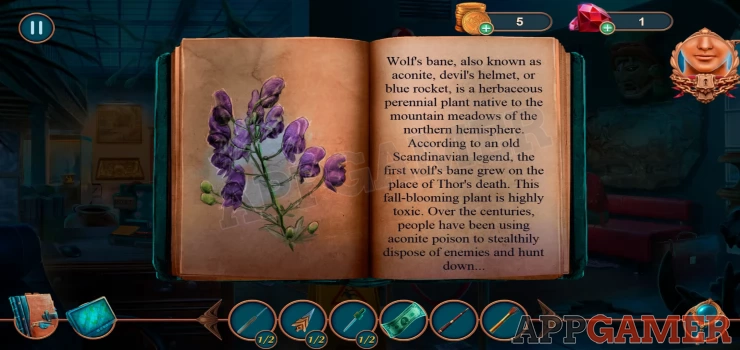
Now view the large display case in the center of the room (behind the wet floor sign)
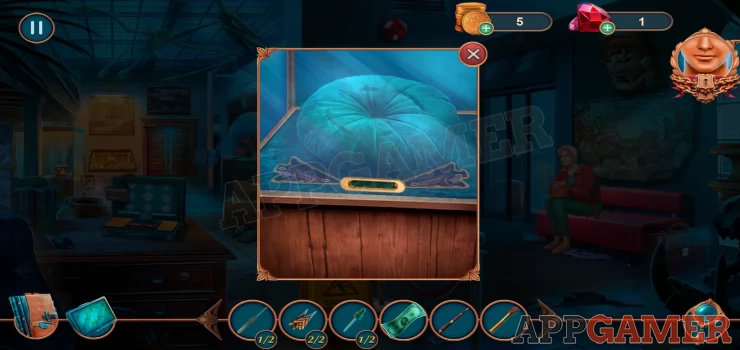
Lift the glass and then add the 2 arrow heads to the slots inside. A panel will open and you can collect a Souvenir Magnet.
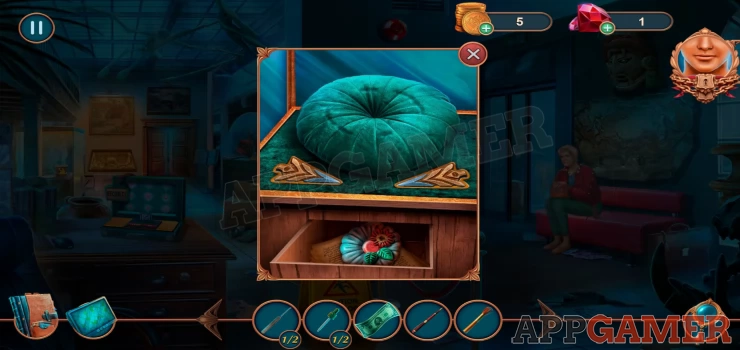
Now re enter the office, and view the table on the left again. Use the magnet on the metal place on the cupboard at the top to open the door.
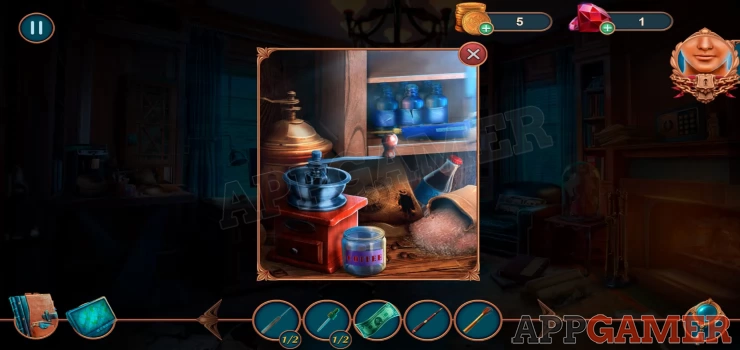
Collect a soldering iron from inside and then use the pen on the center bottle to remove the label and then you can collect it (Liquid collecting kit 2 of 2)
Now view the desk with the body.
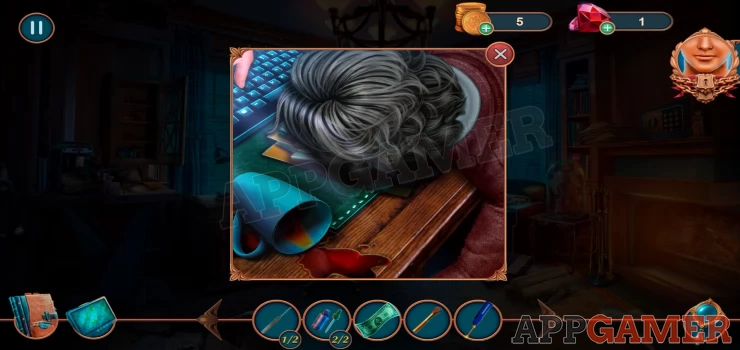
Use the liquid collecting kit on the spilled coffee to collect some. Now back up and return to the police van outside.
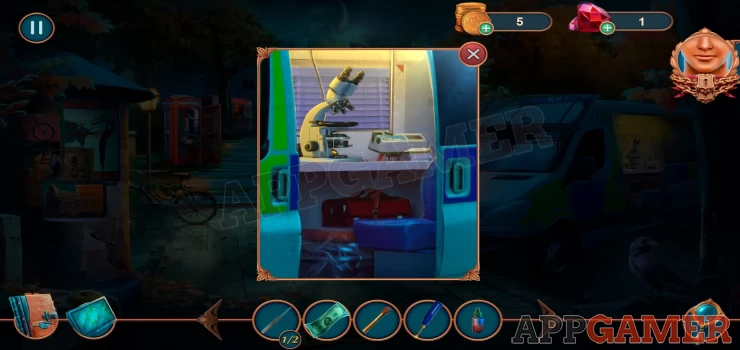
Add the coffee in test tube to the microscope in the van to begin a puzzle.
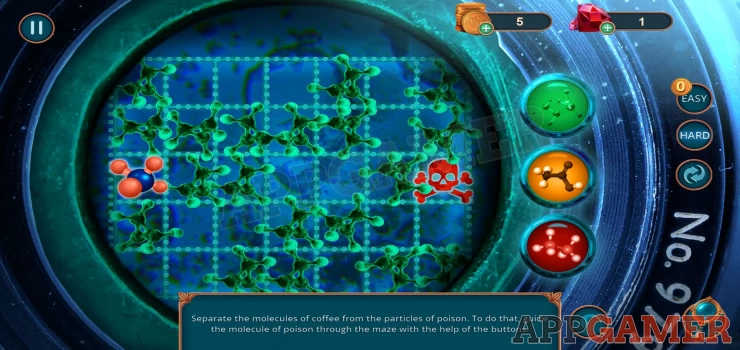
Coffee Analysis Puzzle
Hints:
- You need to move the poison (skull) molecule fro the right side of the grid to the target on the left.
- You can only move it to empty squares.
- You can select from 3 color filter on the right (green yellow, red) to reveal different paths through the grid.
- Check the video below for help

You will next receive some wire cutters from the detective. That completes the task to determine the cause of death.
Task - Crack open Malcolm's Safe.
View the Phone box again and use the wire cutters to remove the sparking wires. You can then collect the smoking pipe.
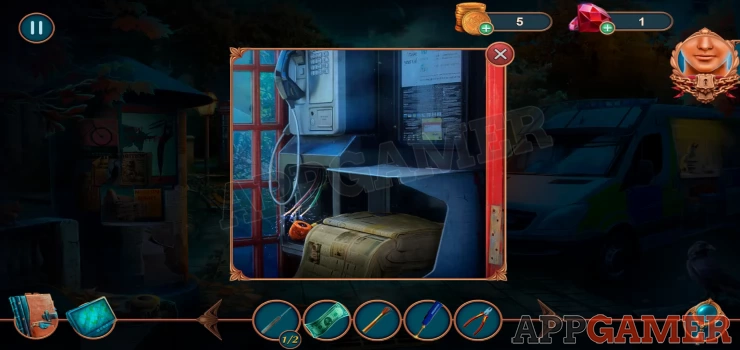
Go back into the lobby and view the small red case by the door again. Use the pipe in the small hole at the top to open a secret compartment. Collect a picklock (2 of 2)
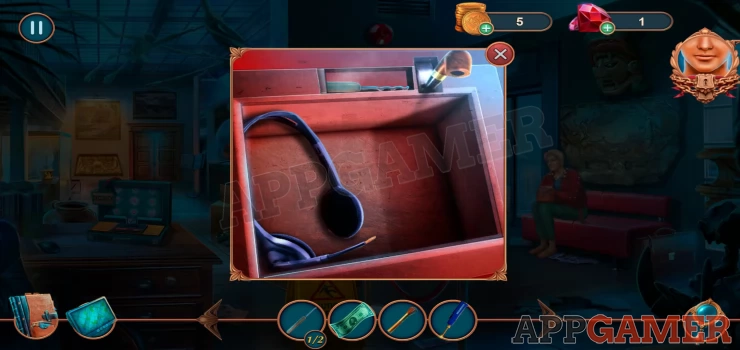
Now return to the desk on the left and use the lock picks to open the drawer.
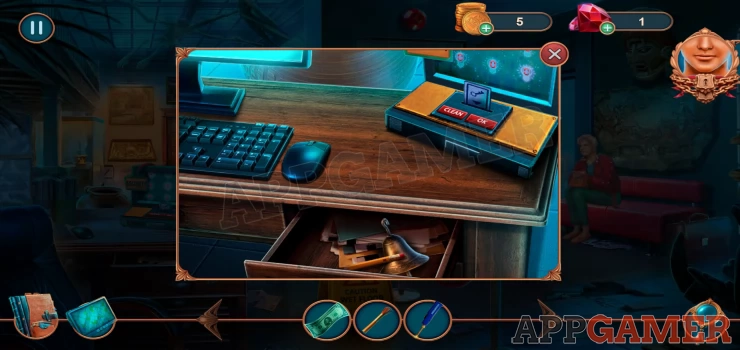
Collect a Broken Pencil and a Bell (Entrance Alert Chime). Go back outside and tap at the end of the path (to the right of the phone box) To see a coffee seller.
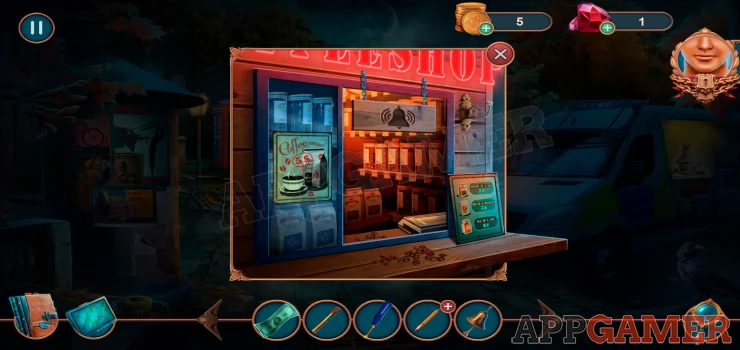
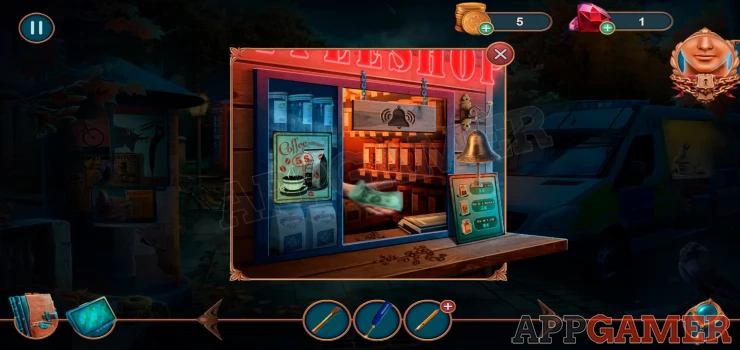
Add the bell to the hook on the right and ring it to attract the seller to the window.
Give the 5 dollar bill to the hand and you will receive a bag of coffee.
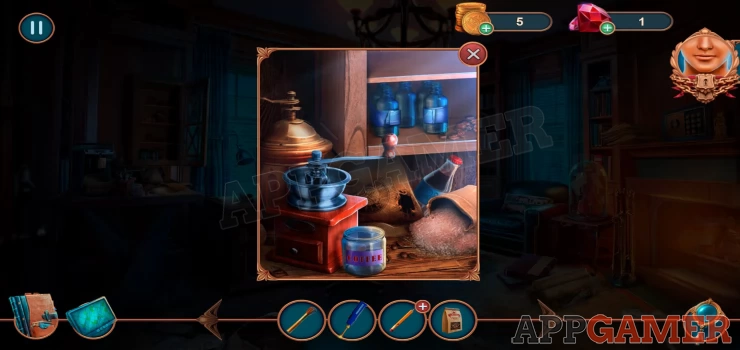
Now head back inside to the office. View the table on the left again. Add the coffee to the grinder and you will then collect a jar of Ground Coffee.
Next Tap on the safe that is above the fire place on the right. Add the coffee and the brush to the safe and it will be used to reveal finger prints on the buttons.
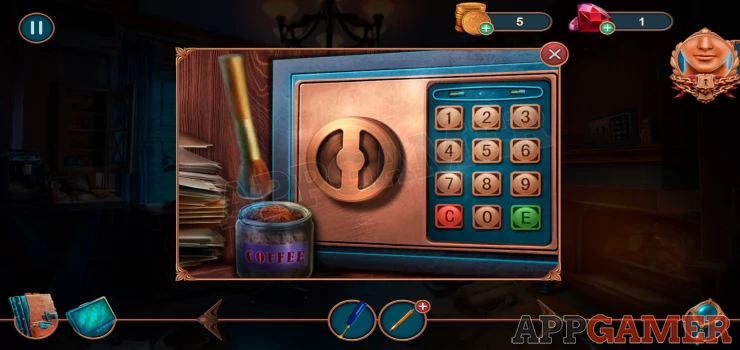
You can now use this to workout the code to open it.
Show
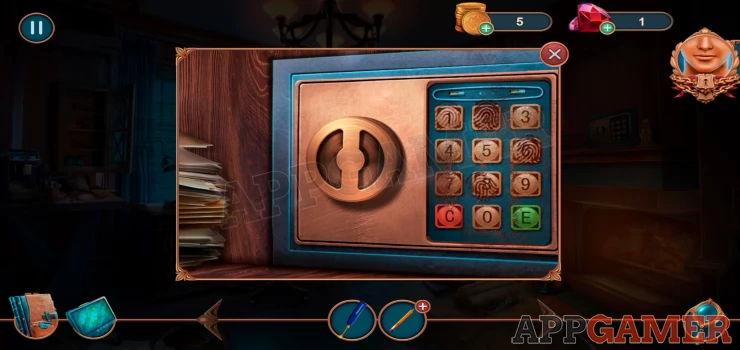
Hint: Tap the 4 buttons with fingerprints in the order of the strongest print to the lightest. Then tap the green button.
Code: 2681Show
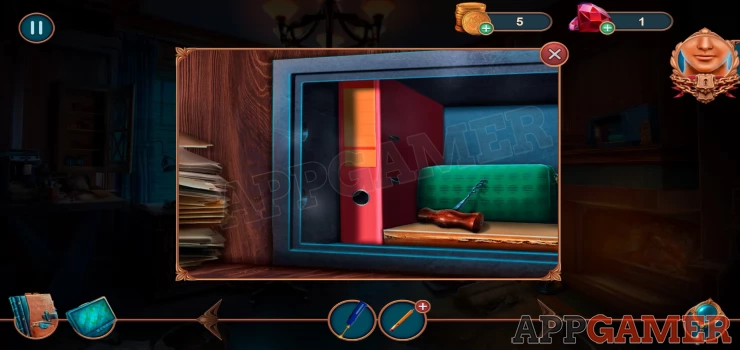
Collect the corkscrew. Then tap the folder at the bottom to look inside and collect a bottle opener.
You will now get a cut scene where the helpful witness McKaley take the files from you and burns them. He then escapes, but is he the killer?
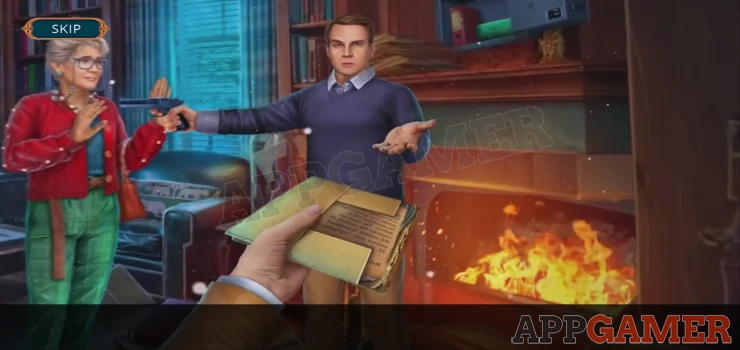
Task - Pull the evidence out of the fire
View again the table on the left and use the bottle opener on the bottle with the red cap to open it.
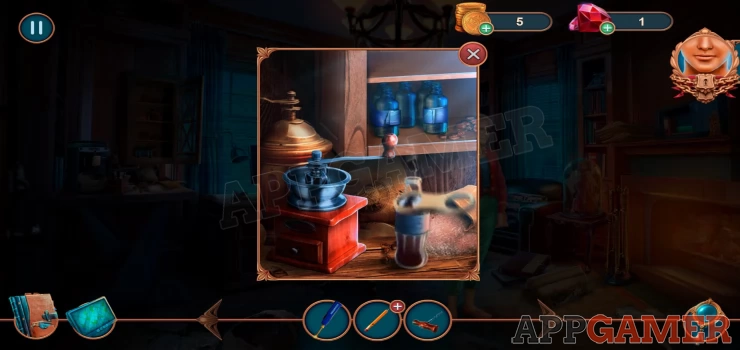
Take the bottle and then view the fire on the right. Use the bottle to put the fire out, this will then start a mini game.
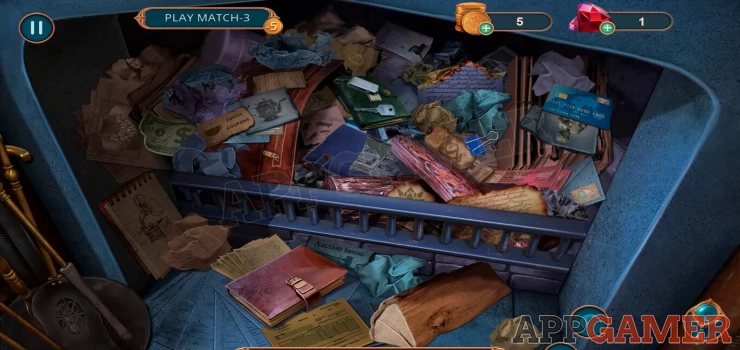
Fireplace Paired Items Puzzle
Hints:
- You are looking for matching pairs of items. There are 6 to find
- The items maybe papers that look the same, or matching images.
- Some items are hidden under others or on papers that are balled up so tap around to see what you can move or open.
- Watch the video below for help.
- I had some trouble tapping on some of the items. They do work eventually though.

Once done you will be able to collect the Charred Document. You will then return to the police station to study the evidence.
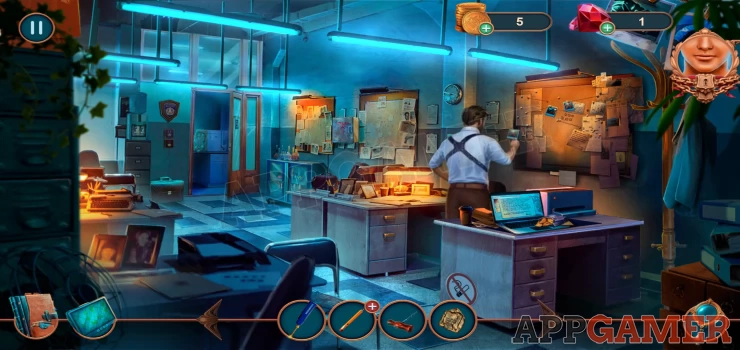
Task - Make a thorough study of all the evidence in the case
First tap on the notice board on the wall on the right that Scott is looking at. Collect the round pencil sharpener.
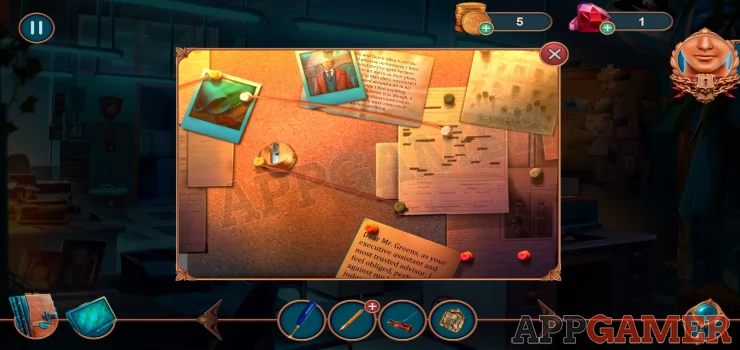
Now view the pencil in your inventory and add the sharpener to it to get a sharpened pencil.
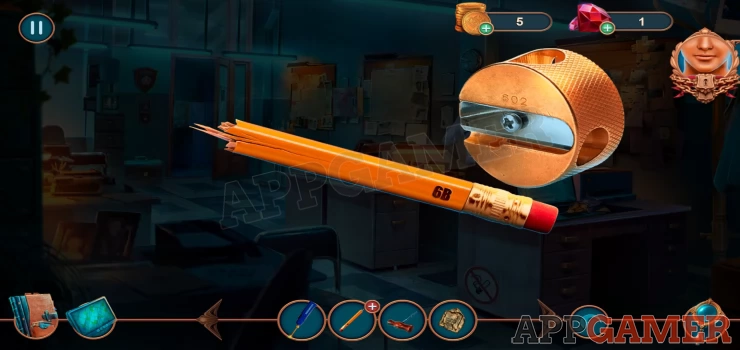
Next view the desk on the right with the open laptop.
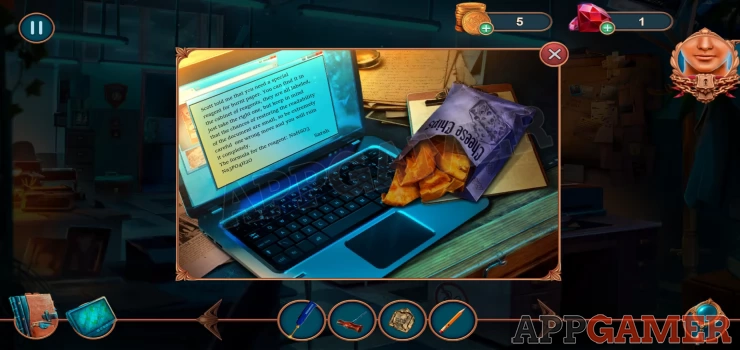
Collect the Cheese crisps, then view the message on the screen. Now use the pencil on the paper on the right and you will write down the reagent chemical formula and collect it.
Next there is a small glass cabinet to the right of the door at the end of the room. View this and open the doors
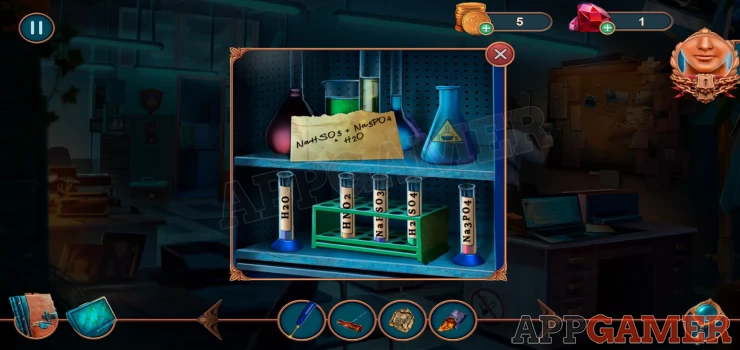
Add the paper with the forumla on it to the top shelf and then select the correct 3 tubes to place them in the flask at the top.
Solution: Take the middle one, then the right side one and then the left side one.Show
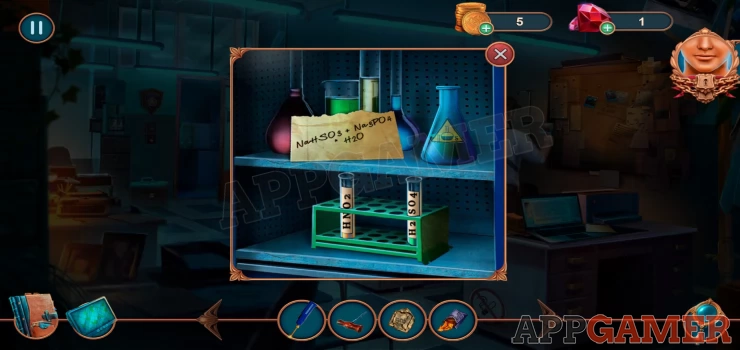
Now that you have the Reagent tap on the open door at the end of the room to move through to a lab to restore the document.
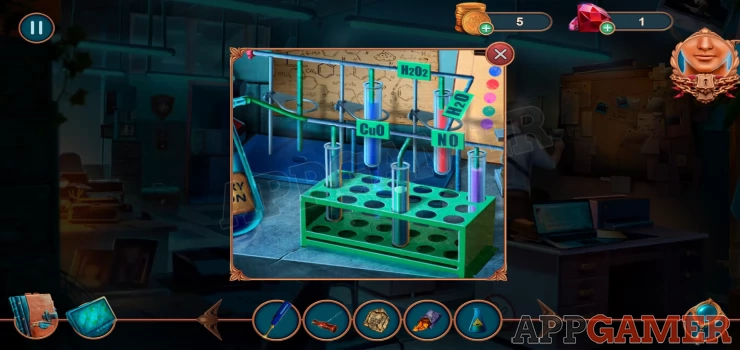
Use the reagent on the rack to place it in one of the tubes, then add the charred document to start a mini game.
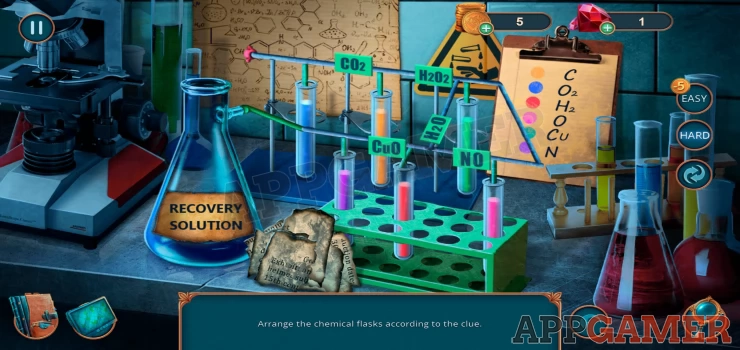
Arrange the chemical flasks
- The tubes are connected together with a pipe.
- The chart on the back will tell you what the colors on the tubes mean
- Arrange the connected pairs of tubes so that they match the formulae on the pipes between them.
- Check the solution below.
Solution: Show
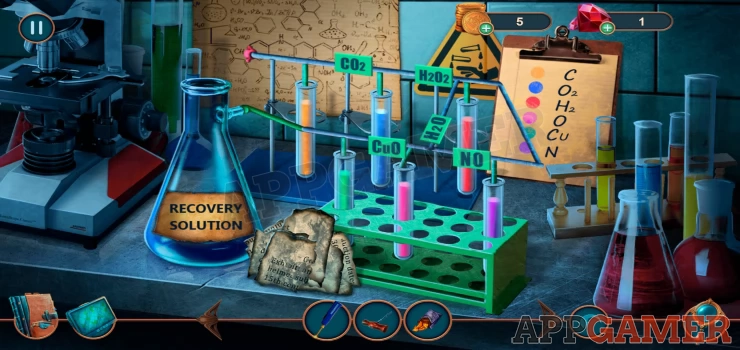
Once done you need to reassemble the document. This is a simple jigsaw.
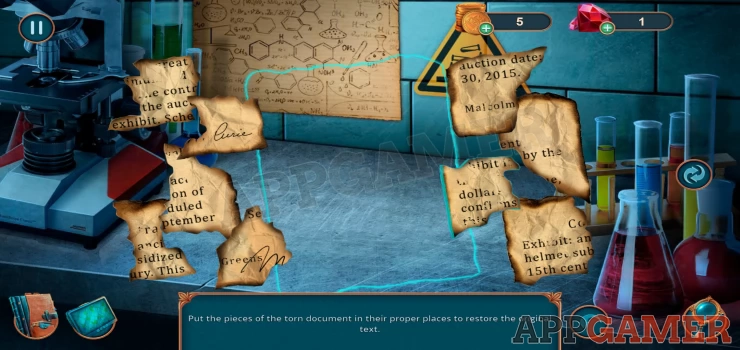
Solution: Show
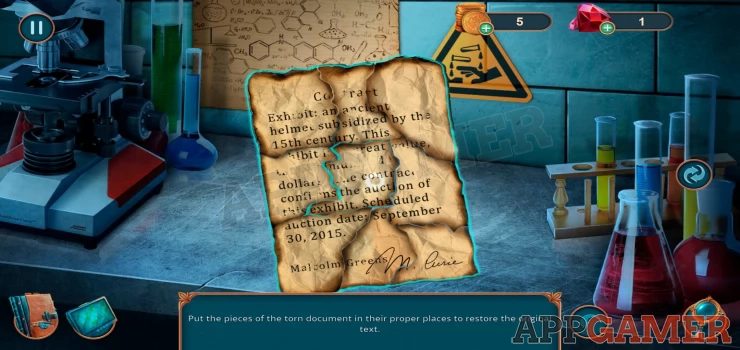
You now have the restored document Now view the notice board on the right again and place the restored document there.
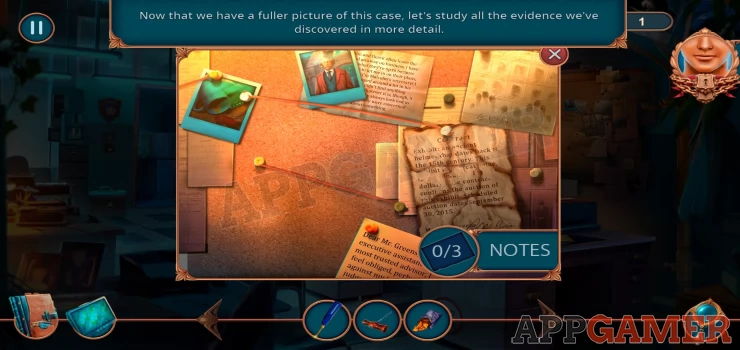
View each of the 3 notes on the board to review the evidence. This will lead you to some new information and a trip to an auction house.
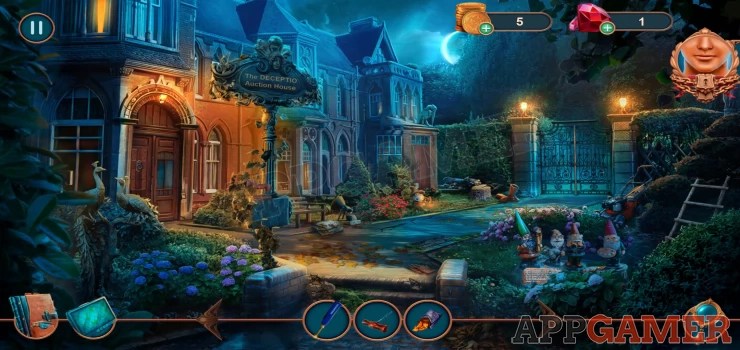
Task - Get on Derek's Trail
You can try the main door on the left but without an invitation you can not get in.
Tap on the Gnomes that you see on the lower right and you will see a plinth with items.
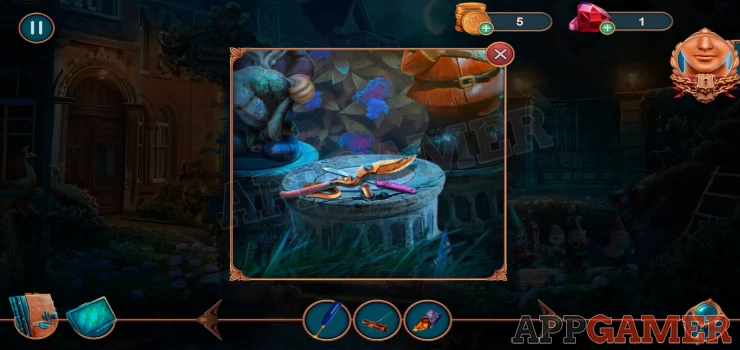
Collect the 'Broken Pruning Shears' and a 'Nail file'. Then use the soldering iron on the broken parts of the key to fix it and collect the Iron key. Now view the large gate on the right and use the Iron key to open it.
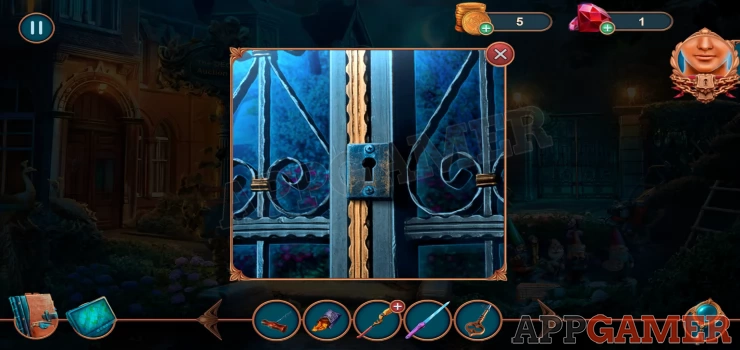
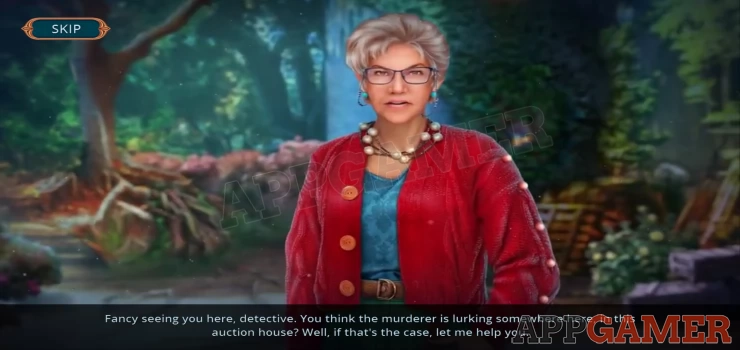
Go through to find Grace there, she offers to help but then double crosses you and locks you in a basement.
Task - Get out of the Trap
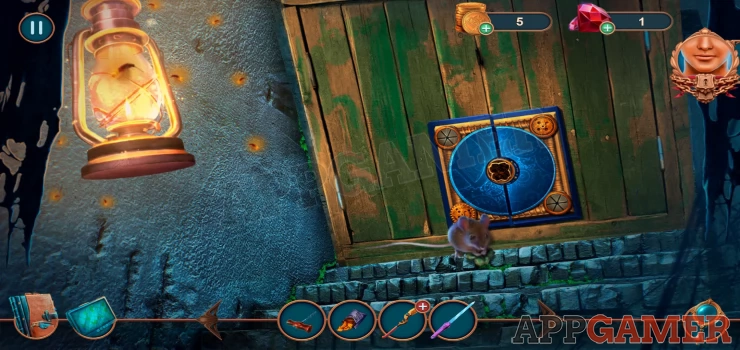
First place the Cheese crisps on the ground to move the mouse and then you can pick up and drag a small green item that the mouse was holding up to the puzzle on the door.
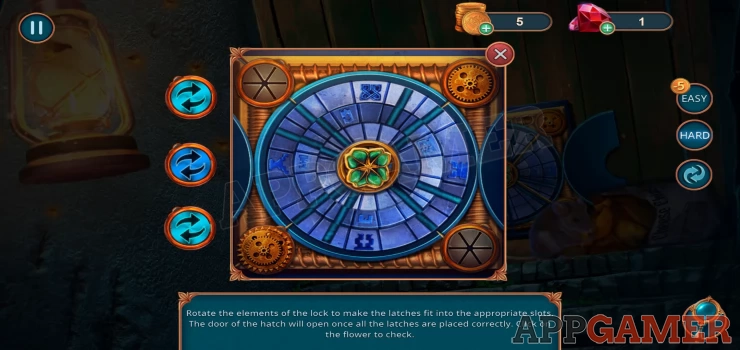
Trap Door Puzzle
- Use the buttons on the left to rotate the 3 rings.
- Line them up so that the blue slots allow direct line from the 4 corners to the center. When you have them lined up correctly you can tap the center to activate 4 pins.
- If all 4 pins make it to the center then the lock will open.
- Each control will move 1 or more rings.
- Check the video below for help

Once done You will escape from the trap and find Derek on the ground.
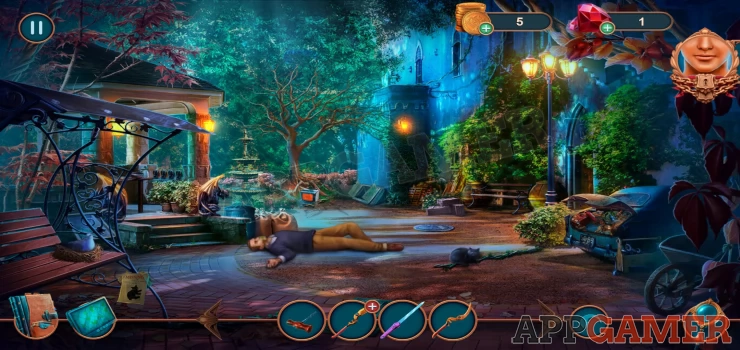
Task - Revive Derek
At the base of the large tree just above Derek is a glowing orange box. view this.
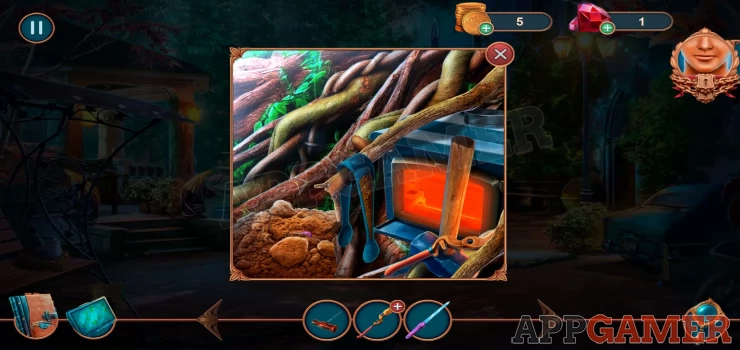
It is some sort of furnace, collect from the lower right the Pruning shears part and also a sledge hammer. Next view the back of the car on the right of the scene. Use the sledgehammer on the trunk to open it.
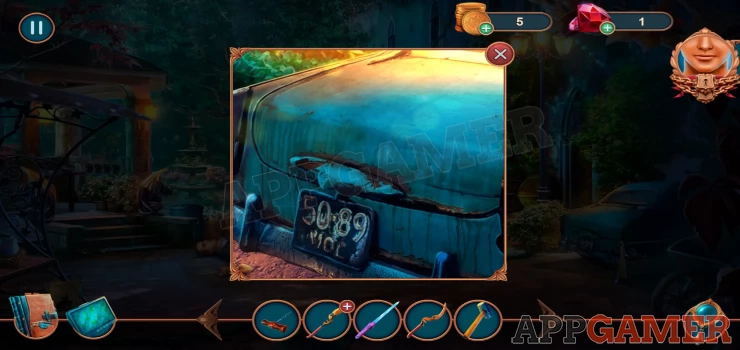
This reveals a hidden object scene to find the parts of a first aid kit.
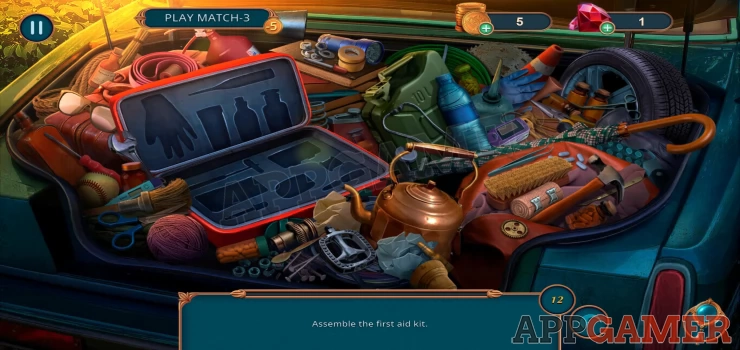
Assemble the First Aid Kit
- Find items in the car that will fit in the spaces of the box on the left.
- There are 12 items to find.
- The items are all in view but may be partially hidden behind other items.
- Check the video for help

Once done tap the kit to collect it. Use the First Aid Kit on Derek to revive him. He will then explain his part in the scheme and why he is there.
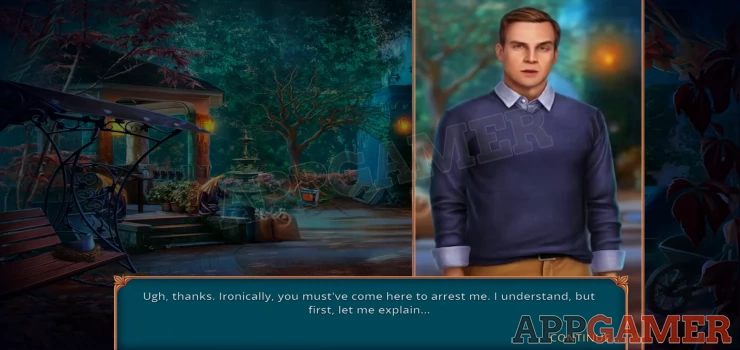
You need to find the Helmet, Derek Gives you an invitation pass to the auction.
Task - Locate the Medieval Helmet
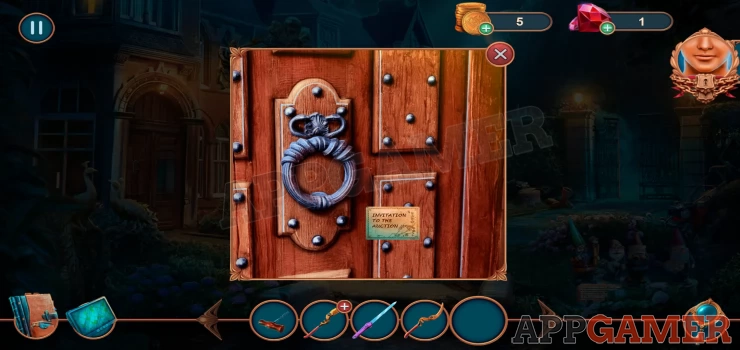
Back up to the front of the building and use the invitation on the front door. You will be let inside.
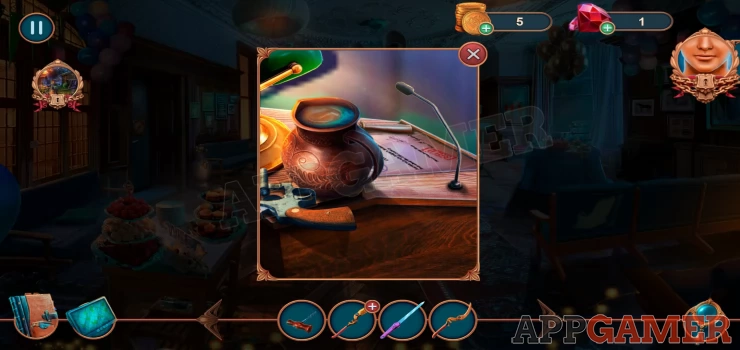
Tap to view the auctioneers lectern that is on the right of the stage. Collect the gun (unloaded revolver) and the jug of water.
Then use the corkscrew on the hole on the left side to open a panel.
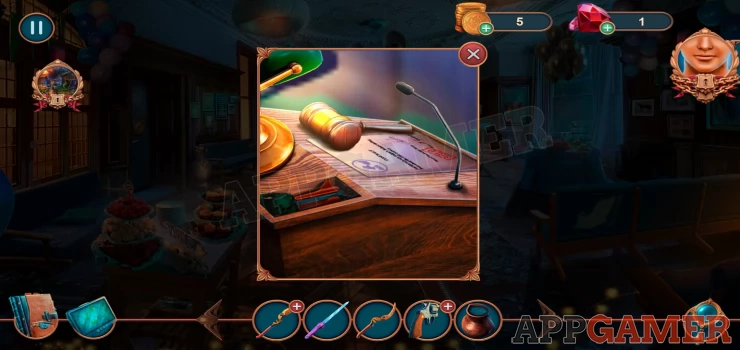
Collect the staple remover. Next tap to view the sofa seat on the far left of the scene. Next to a blue balloon. Use the staple remover on the seat to open the cover. you can then collect a spring from inside (pruner).
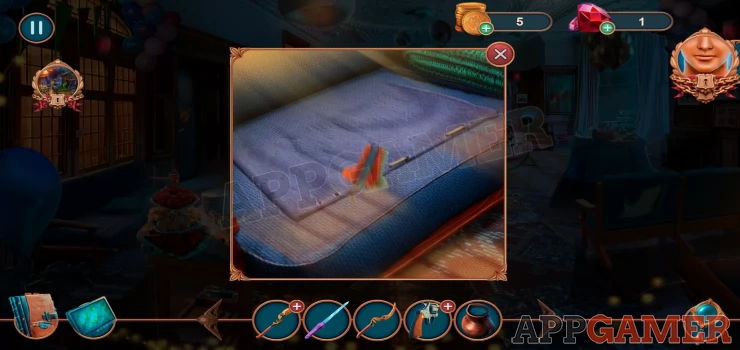
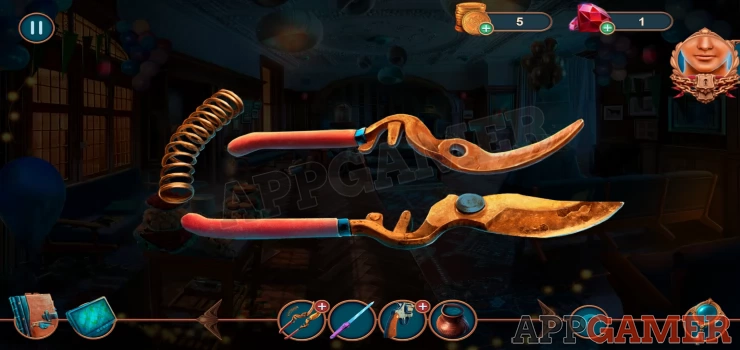
View the first part of the pruning shears in your inventory and then add to it the second part and the spring. This will assemble the full pruning shears.
Now exit the building and go though the gate to the back again. Near the center of the scene is a wall with Ivy growing on it, below an orange lamp. Tap on this to view it.
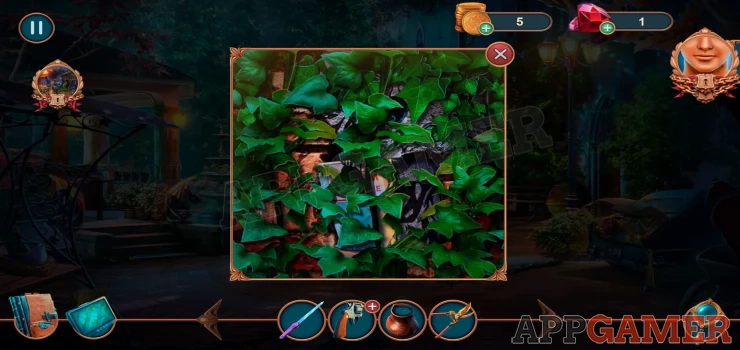
Use the shears on the ivy to cut it away and you will find a bag of Gypsum adhesive. Collect this. Next, on the left of the scene is a covered area with some steps, tap to look inside this area. There are 4 small gargoyles and a broken gnome.
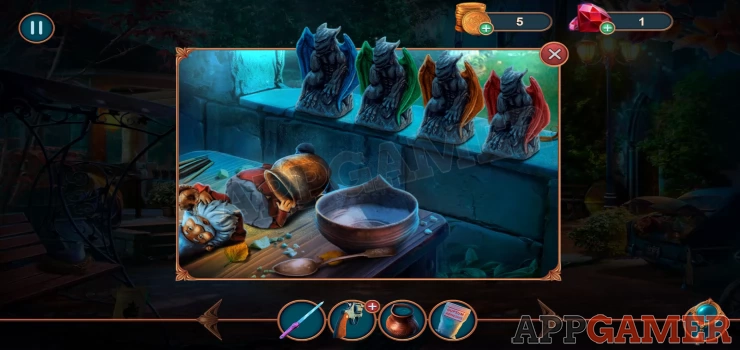
Add the water jug and the adhesive to the bowl on the table. Then drag the spoon to the bowl to scoop some of the glue onto the gnome to repair it. Collect the gnome.
Go back to the front of the building again and view the area with the gnomes. Place the fixed gnome on the empty plinth.
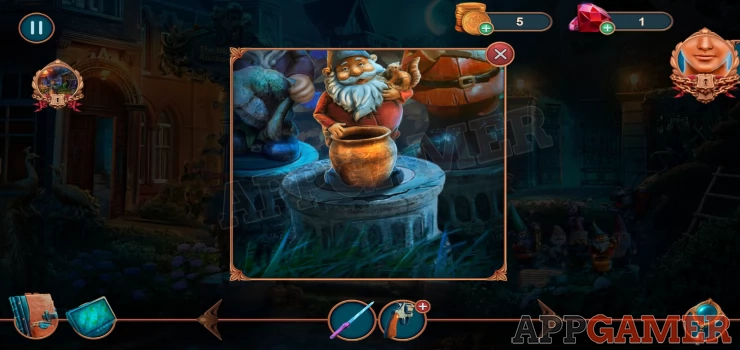
You now have a puzzle to arrange the gnomes in the correct order.
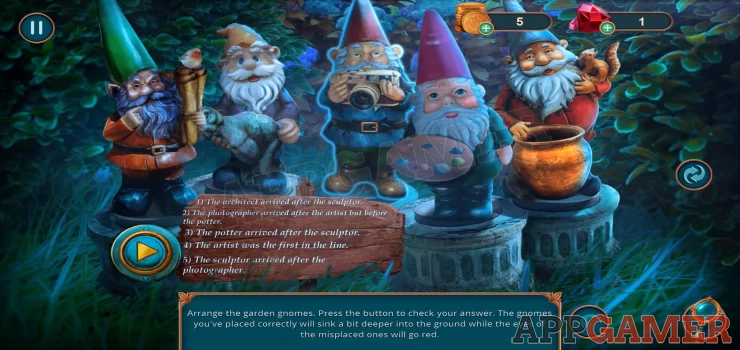
Gnome Puzzle
- Follow the written clues to work out the order.
- The first gnome in the story should be on the left.
- When you have the order correct tap the play button on the left to check.
- Check the solution below for help.
Solution: Show

Collect the loaded slingshot. Now Tap the top of the large Auction house sign to view it.
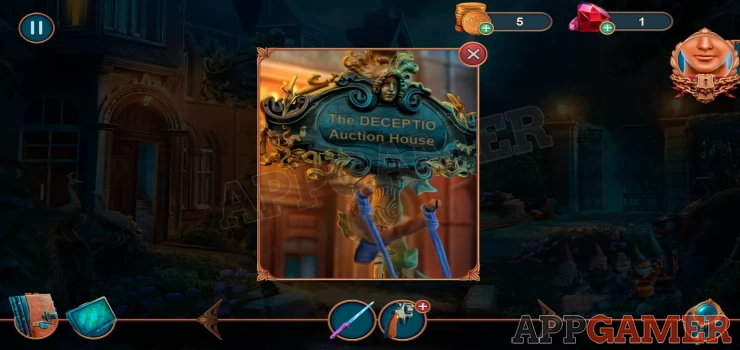
Use the slingshot on this to knock down and then collect a 'Fleur-de-lis' .
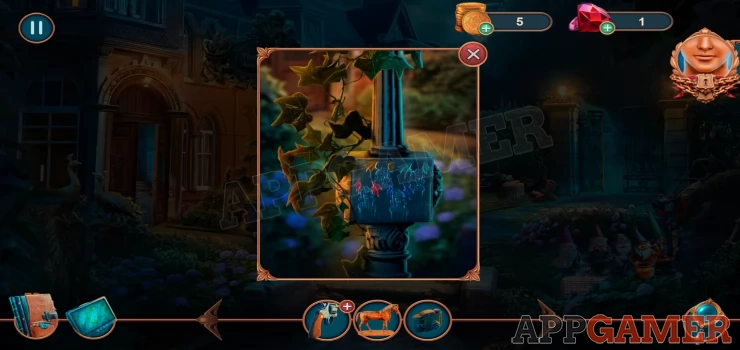
Notice the box with the image of 4 gargoyles. Also use the nail file to collect from the top of the box a Metal Figurine.
Go back inside and view he round table on the right of the hall.
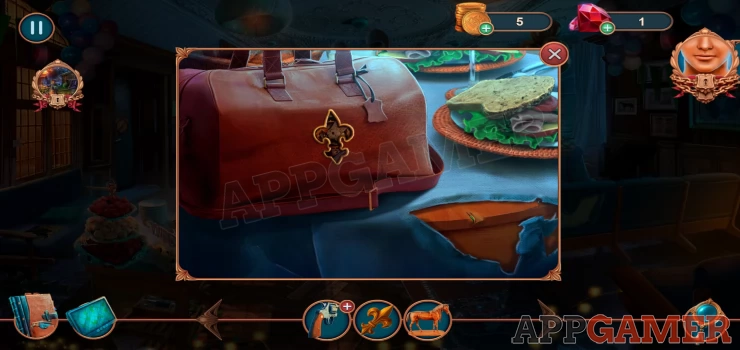
Use the Fleur-de-lis on the bag to open it. Collect an Iron Crown. Now view the stand on the left of the stage to see a class case.
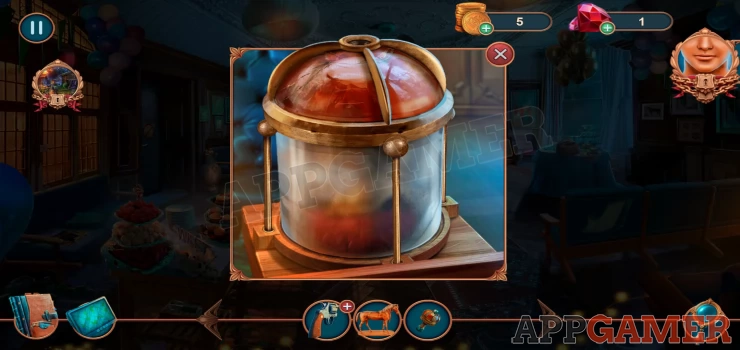
Place the crown on top and the case will open to find the Medieval Helmet.
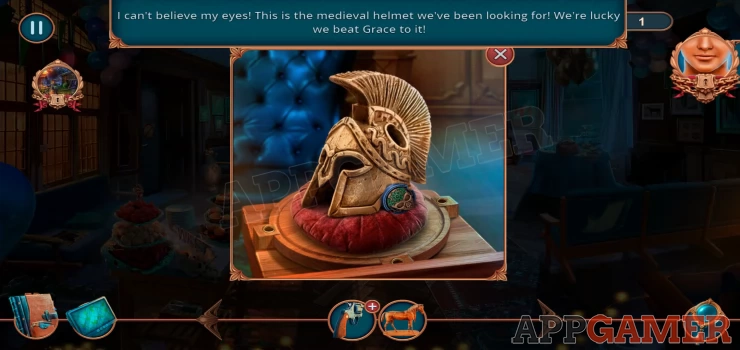
Collect the blue Marked Key from the side and you will then get a cut scene with Grace.
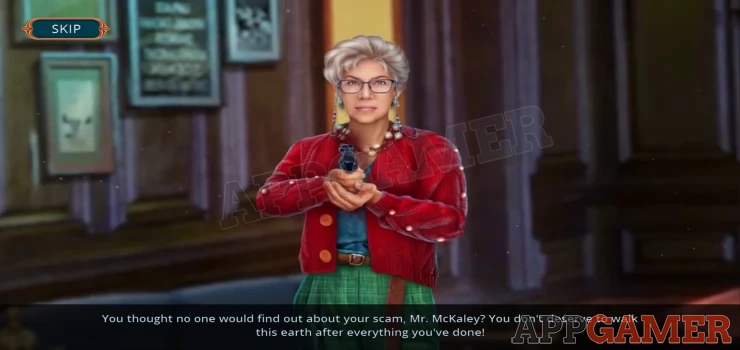
Task - Thwart Grace's Plans
Now we know that Grace is the Murderer and we need to stop her from killing Derek. Back out of the building and then tap to view a locked door to the right, on the left of the gate.
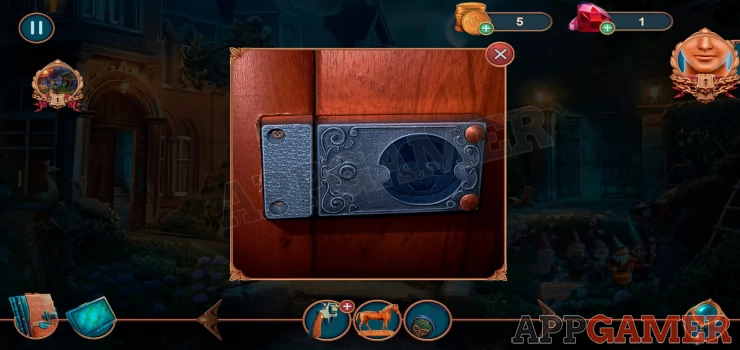
Use the Marked Key on this to open the door and go in side the store room. There is now another hidden object scene.
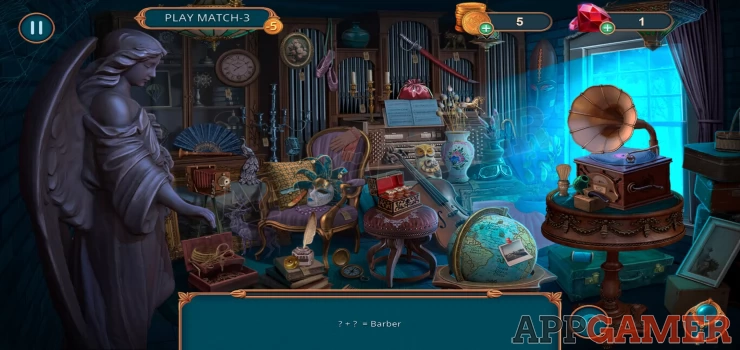
Auction House Store Room Hidden Objects
- The clues will give you a profession an you will need to find 2 objects that are associated with it.
- You can see the list of items below.
- Watch the video for more help.
Item List:
Show

Once done you will then be able to collect a Vintage Polaroid camera from the center of the scene. Now back up and view the box at the bottom of the sign post again with the gargoyle images.
Use the camera on it to take a photo. Go through the gate to the back again and view the area on the left with the Gargoyle statues. Add the photo to the Gargoyles.
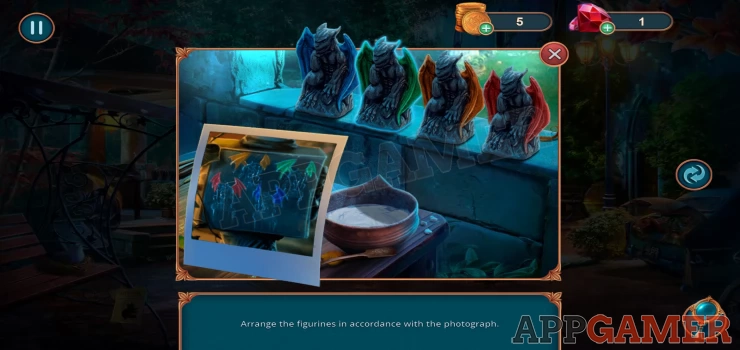
Arrange the gargoyles
Swap the gargoyle figurines to match the order in the photo.
Solution: Show
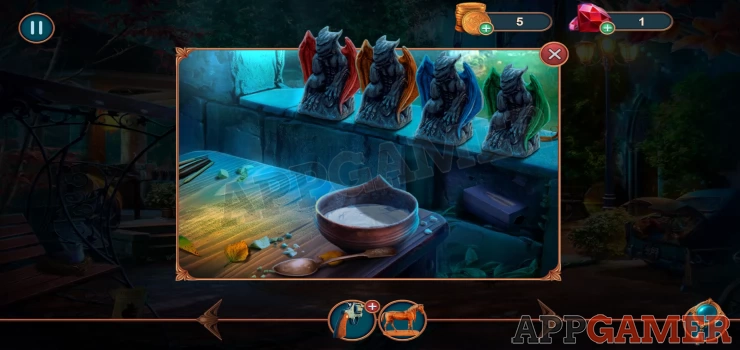
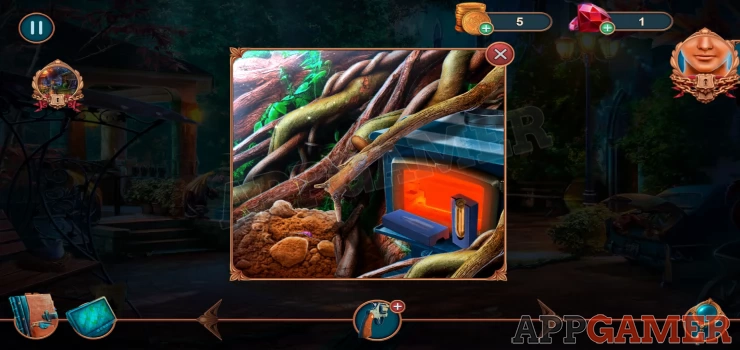
Now you can collect a Bullet Mold. Now view the Furnace in the center below the tree. Add the bullet mold to it and then the metal figurine.
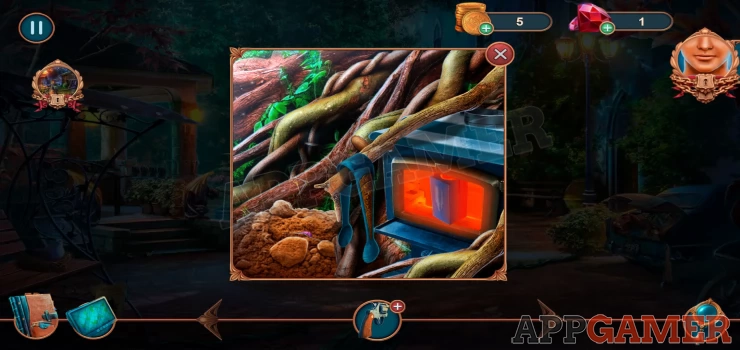
Drag the tongs to the mold in the furnace to take it out and then you can collect a Cartridge.
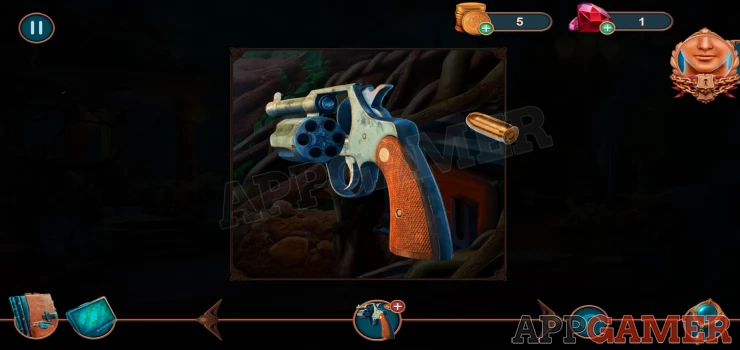
Now view the gun on your inventory and add the cartridge to it to load it.
Now go back into the building and use the gun on Grace to start a gun fight puzzle.
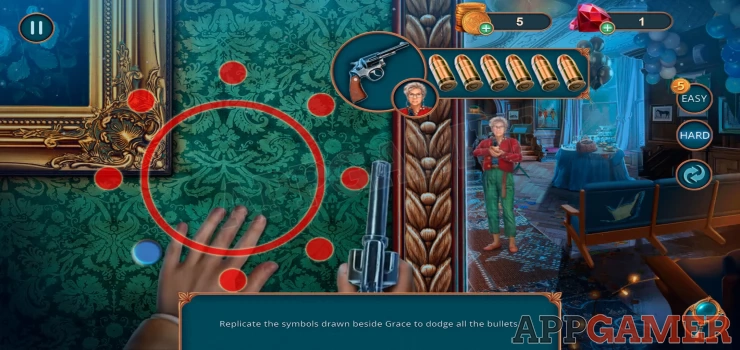
Gunfight Puzzle
- You will see line symbols drawn on the right where Grace is, you need to copy these using the dots on the left.
- Start with a White dot and follow the pattern of lines.
- If you are correct you will dodge the bullet fired by Grace.
- Repeat it 3 times to exhaust Graces bullets.
- Check the 3 images below to see the patterns to copy.
Pattern 1: Show
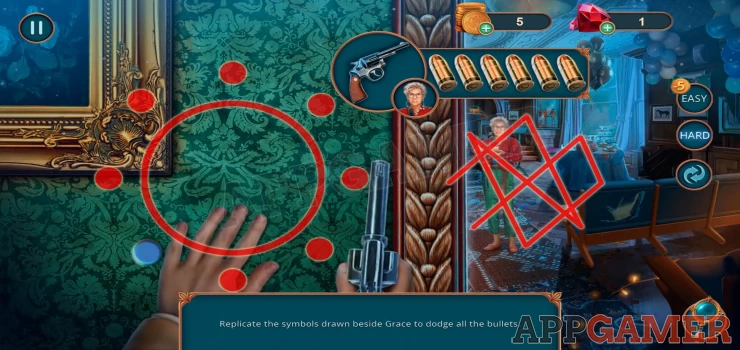
Pattern 2: Show
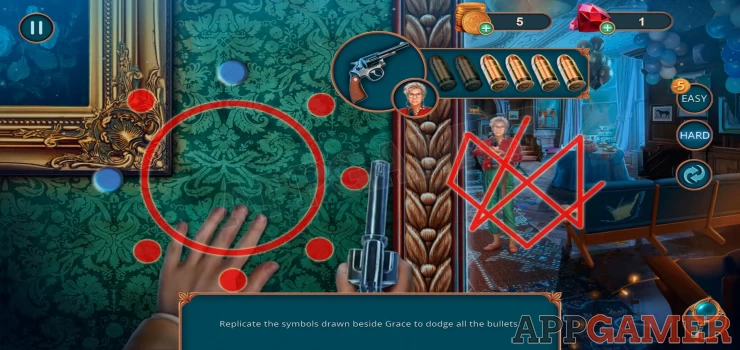
Pattern 3: Show
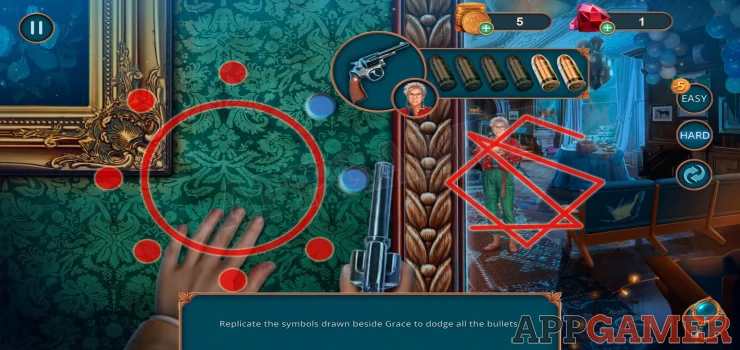
You will then fire back and disarm Grace.
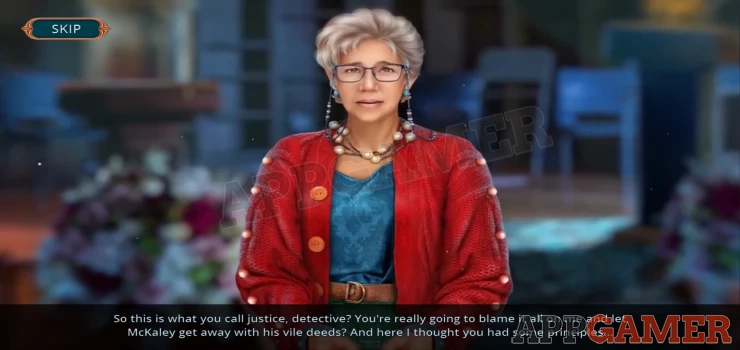
Watch the closing scenes to find out what happens.
That completes the mystery of the Deadly Exhibition, Episode 2 of Unsolved Case. We hope the guide was helpful to you. You can head over to the Answers Page if you have any question about the game.
We have questions and answers related to this topic which may also help you: Show all
 With 20 years of experience in creating video game content for the internet and over 30 years as a gamer, Mark is now a passionate mobile App Gamer. Loving a challenge, he is always ready to get stuck in to both survival builders and puzzle solving games. He has been providing content for AppGamer since 2014.