
Tricky Doors Walkthrough Level 23 - Haunted Castle
More Tricky Doors
Haunted Castle is the twenty-third level in Tricky Doors, an escape room adventure game from Five-BN Games. In each chapter of Tricky doors you will find yourself lost in mysterious locations, find the clues and solve the puzzles to escape.
In chapter 23, you find yourself in a castle after crossing an empty wilderness, The only escape is to explore the castle and look for the exit.
Tricky Doors Level 23 - Haunted Castle Walkthrough
You are in front of the castle gate.
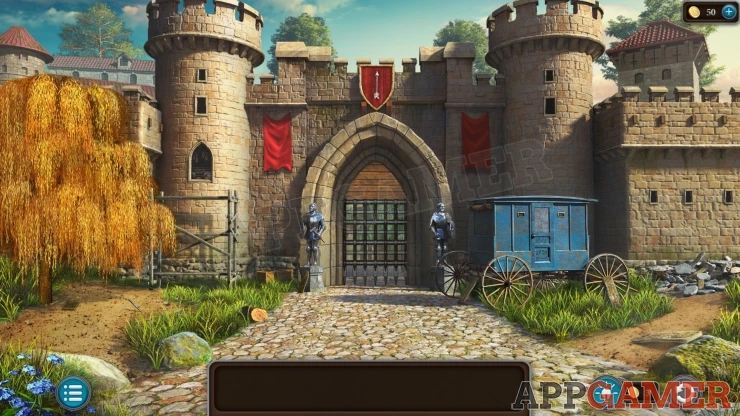
Collect a Log from the left side of the path. Then collect a Plank (1 of 8 from the side of the statue on the left of the gate.
Find another Plank (2 of 8) on the ground under the yellow tree on the left.
Collect another Plank (3 of 8) from the right wheel of the blue carriage on the right side. Then view the back of the carriage and collect a Plank (4 of 8) and a Saw.
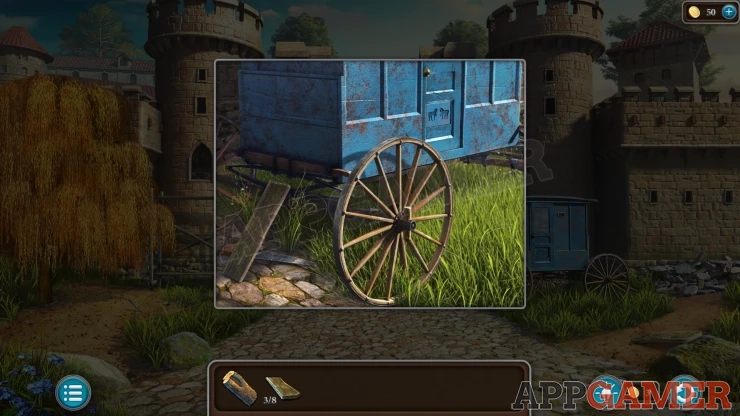
Collect one more Plank (5 of 8) from the small path on the bottom right and then look on the far right to see a pile of stones. You can collect 2 more Planks here from the pile.
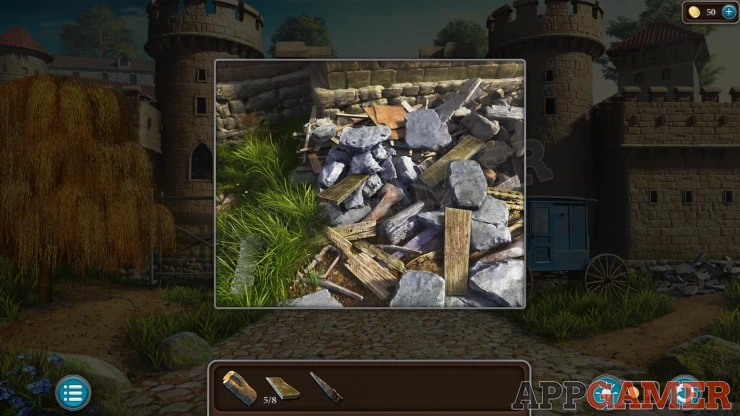
Then use the saw on one that is stuck under a rock to collect one more (8 of 8).
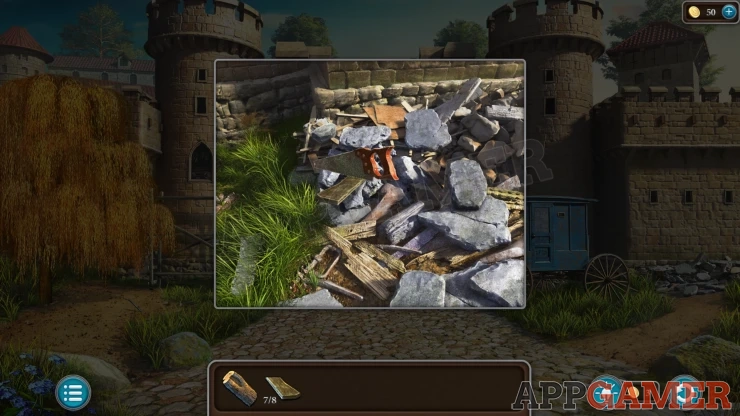
Now that you have all of the planks tap on the scaffold structure under the tower windows on the left. Add the Planks here to start a puzzle.
Castle Gate Scaffold Puzzle
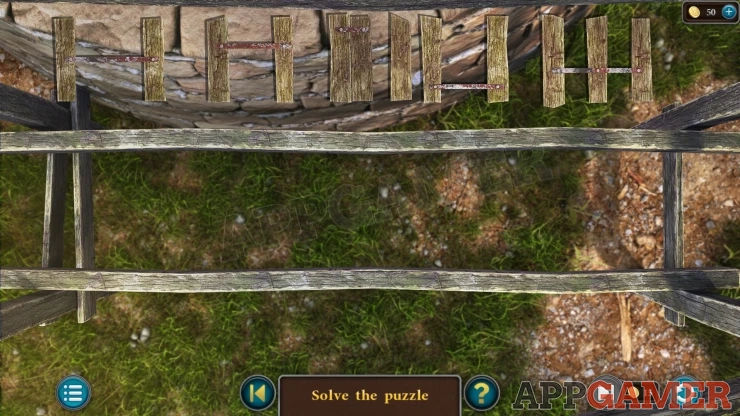
- You will have a set of planks in various formations.
- Place these onto the cross bars to make a complete platform.
- You will need to work out how these fit together with no overlaps or gaps.
- After solveting the first level there are two more levels to complete.
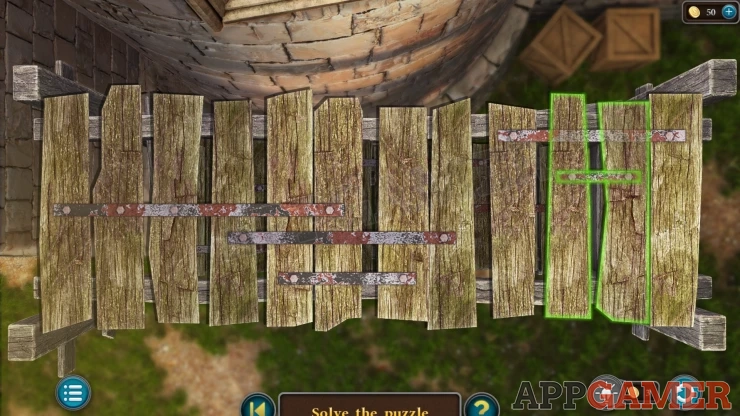
Once done you will be able to see a mechanism through the tower window. Collect an Oil can. You can tap the lever to see that there is a broken wheel.
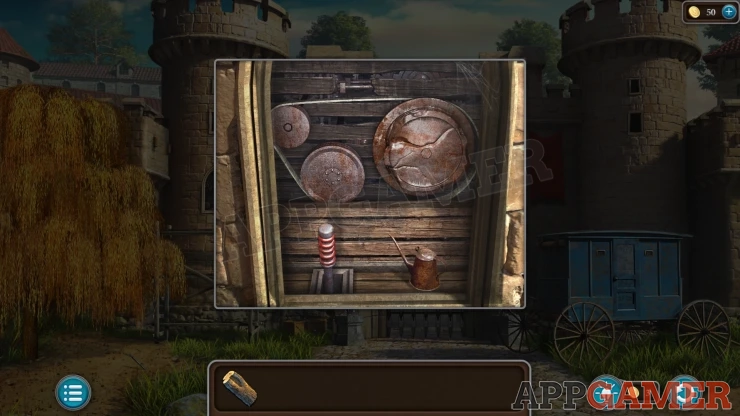
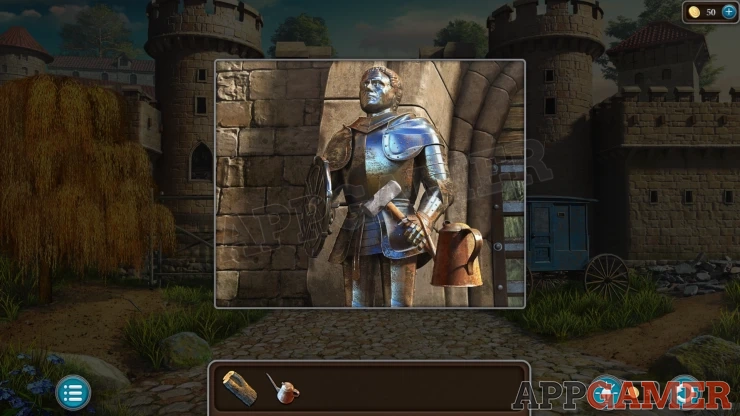
Next view the statue on the left of the gate again and use the Oil Can on the hand to release it and collect the Hammer.
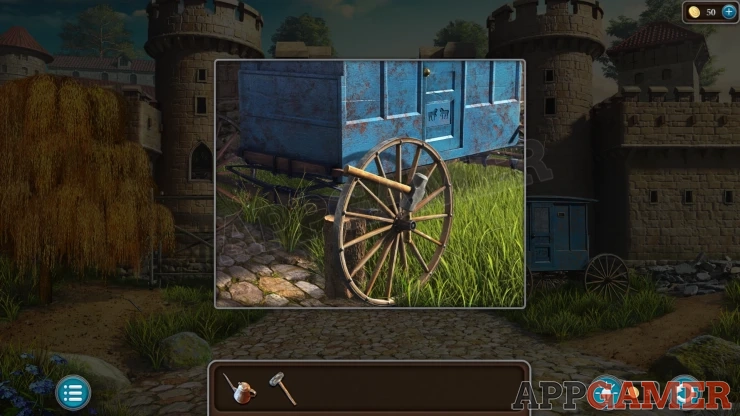
Now view the back wheel of the carriage again. Place the Log under the axle and then use the hammer to remove the pin and collect the Wheel.
View the mechanism in the tower window again and remove the broken wheel. Add the new Wheel and then you can use this to open the gate.
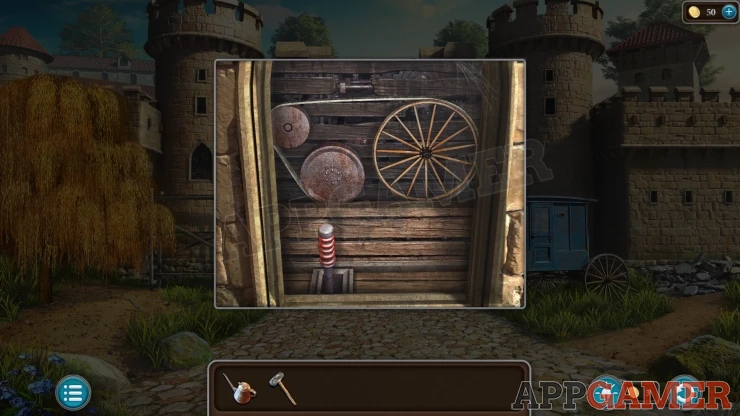
Now you can enter the courtyard.
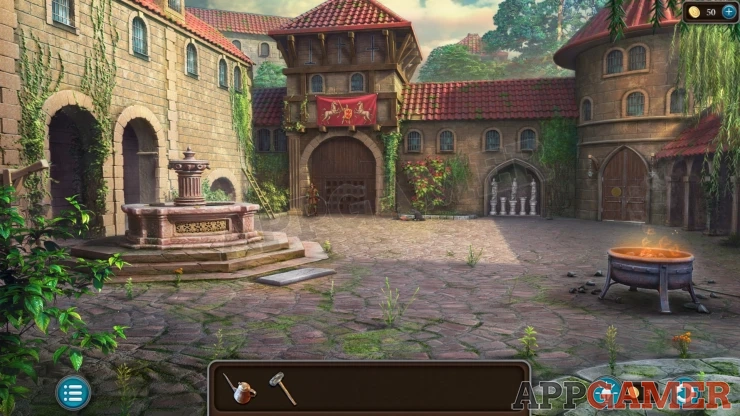
Talk to a person who is waiting inside.
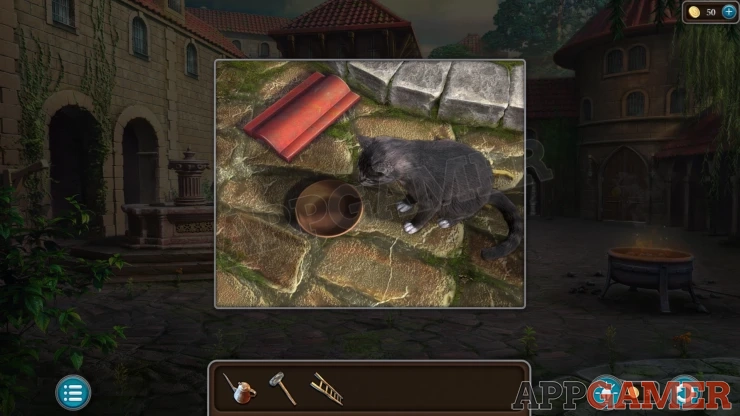
Collect a Ladder from the wall to the left of the person. Then look on the ground to the right of the person to see a cat. Collect a Roof Tile.
Then view a fire pit on the right and collect a Stick.
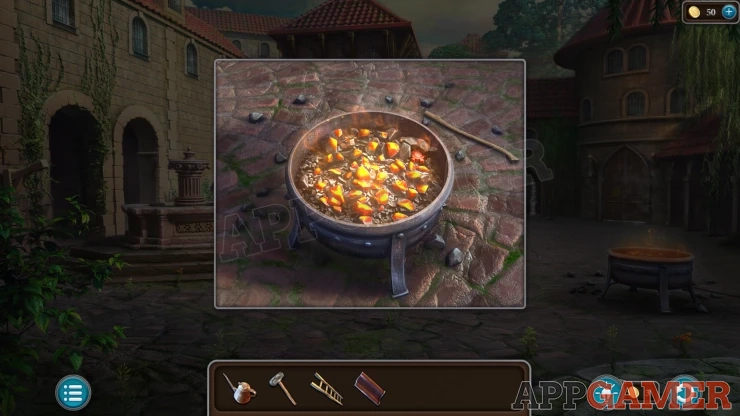
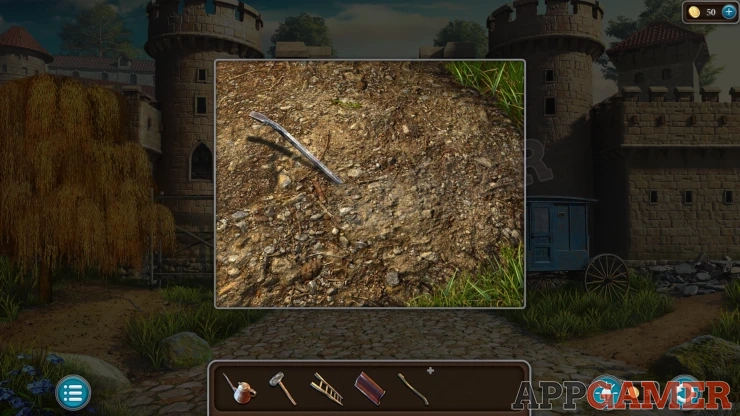
Now back up to the entrance and view the ground on the left under the tree, there is something buried.
Use the roof tile here to help you dig it out, then collect the Crowbar.
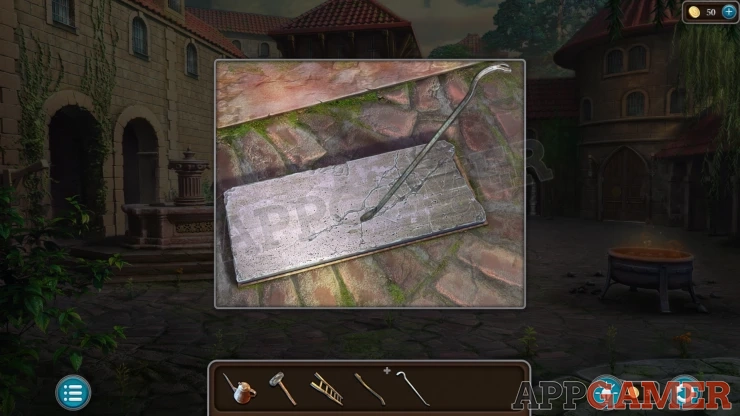
Go back into the courtyard and view a stone slab on the ground in front of the fountain. Use the crowbar on this to move it and then you can collect a Rag and a Key.
View some doors on the tower on the right. Use the key here to unlock them and find a puzzle.
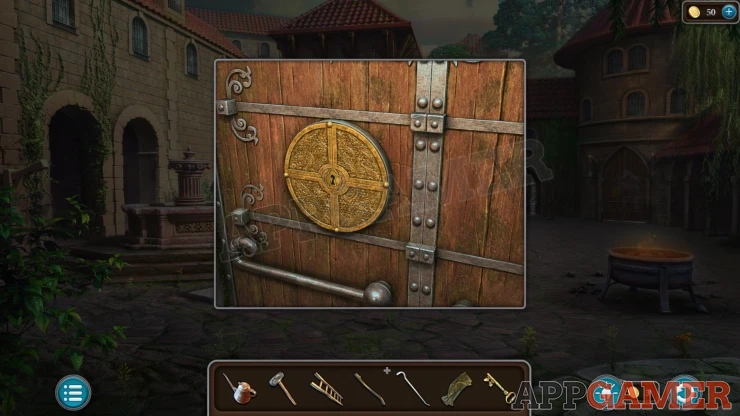
Courtyard Doors Gems Puzzle
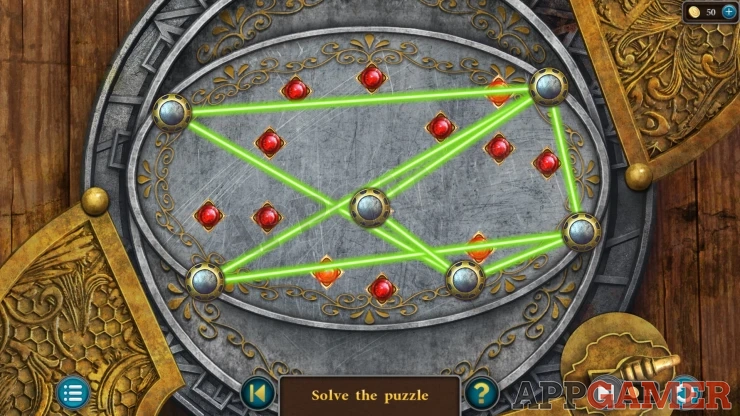
- There are a number of round shields with green lines connecting them.
- In the center are some red gems.
- Move the shields to change the layout of the lines.
- Arrange them so that the lines pass through and illuminate all of the red gems.
Solution: Show
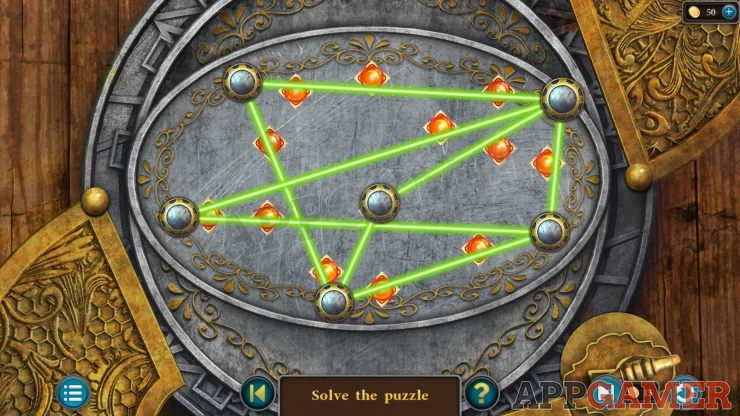
Then the doors open enter a dark armoury. You need light.
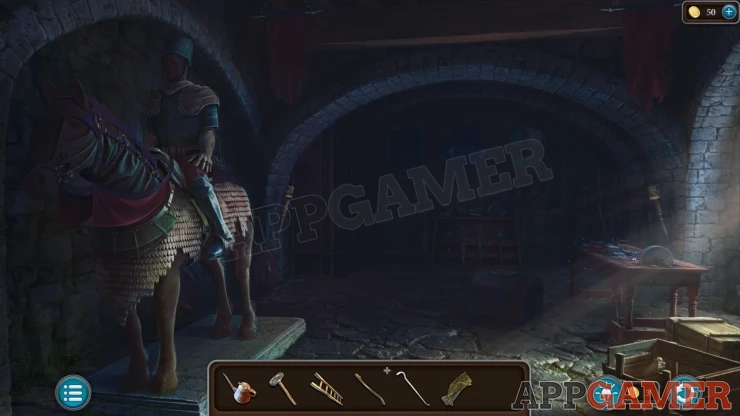
View the Stick in your inventory and add the Rag to it. Then use the Oil can on this to collect a Torch.
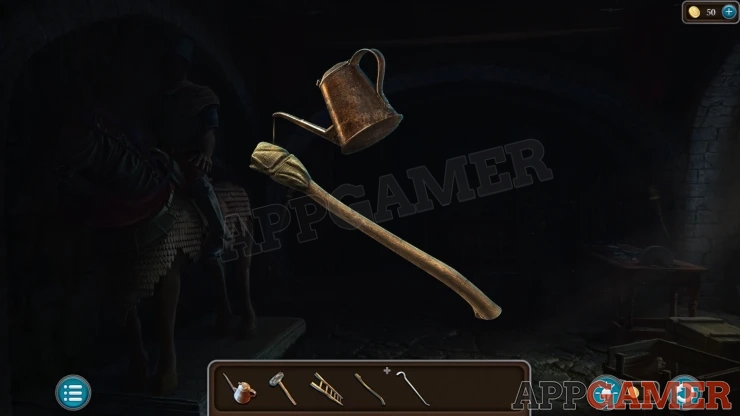
Back out to the courtyard and use the torch on the fire pit to light it.
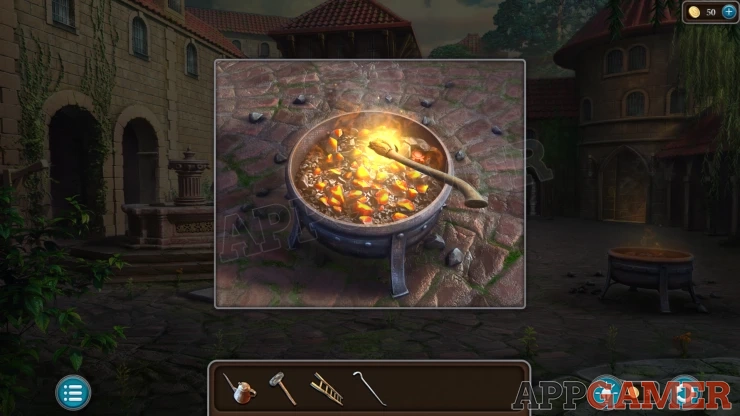
Then go back into the armoury and use the lit torch on the ones on the walls.
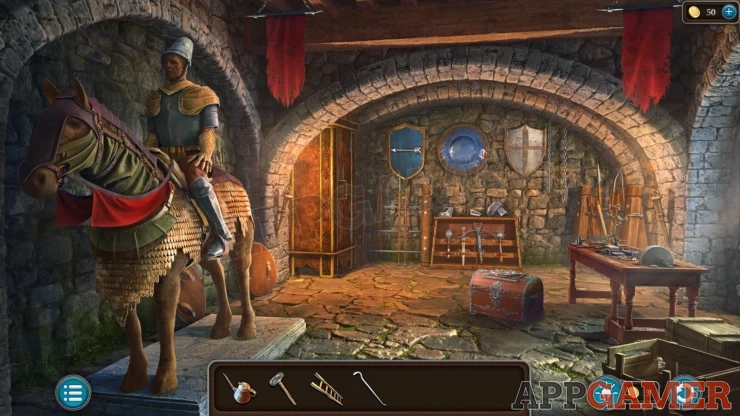
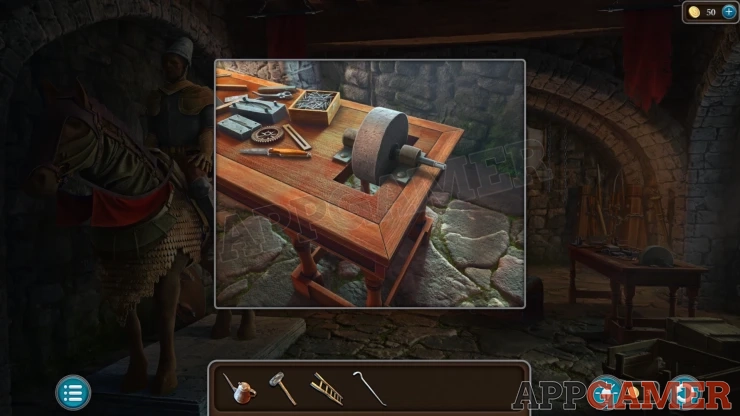
View the workbench on the right and collect a Gear (1 of 4).
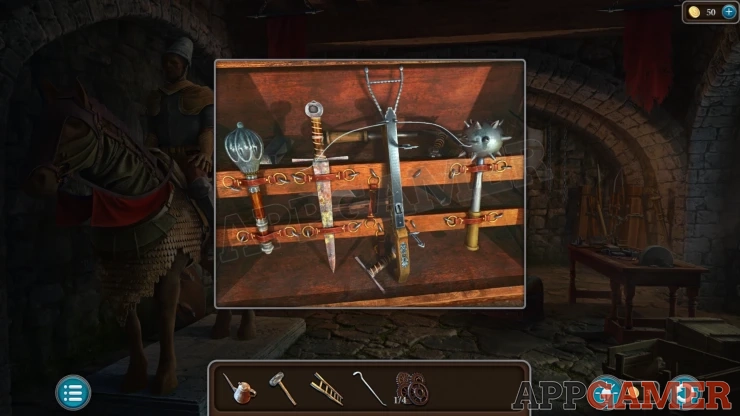
Then view a rack on the back wall to collect a Crossbow.
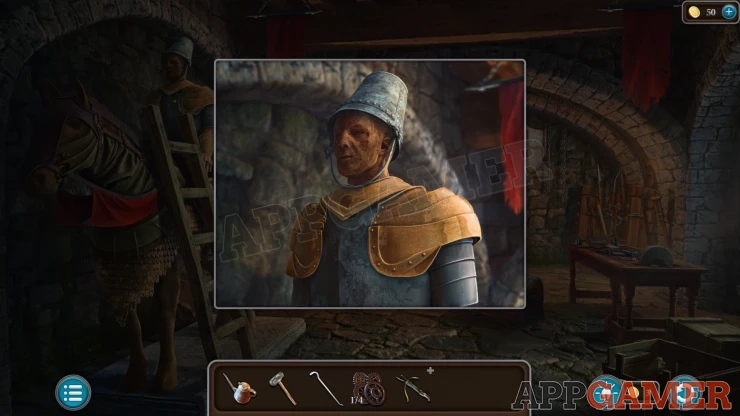
Then use the Ladder on the model horse on the left. You can then view the figure on it and collect Bucket from its head.
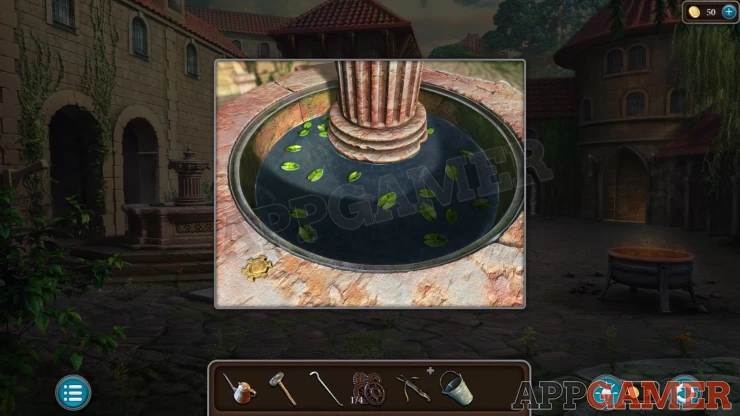
Back out to the courtyard and view the fountain on the left, collect a Gear Figurine (1 of 2) from the side and then use the bucket on the water to collect a Bucket of Water.
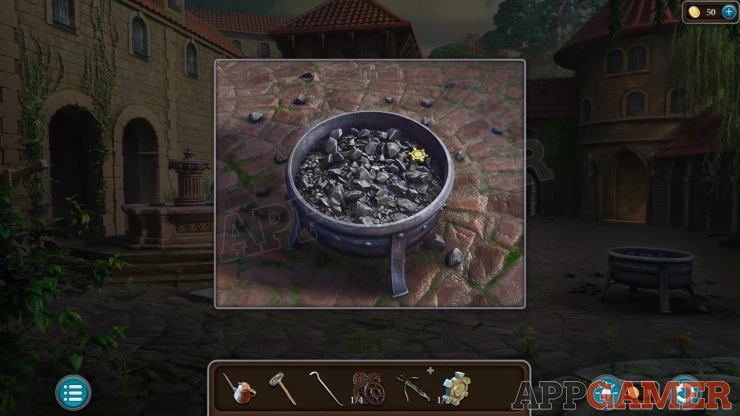
Now view the firepit again and use the bucket of water to put the fire out. You can then move some coals and collect another Gear Figurine.
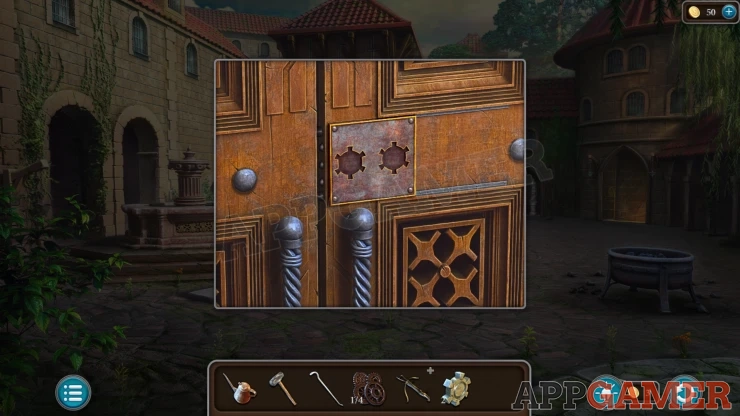
Now view the doors next to the person, you can place the tow gear figurines here to reveal a puzzle.
Courtyard Doors Gear Puzzle
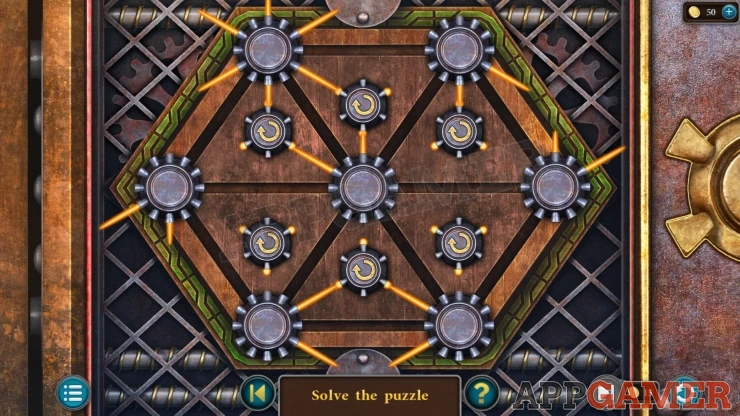
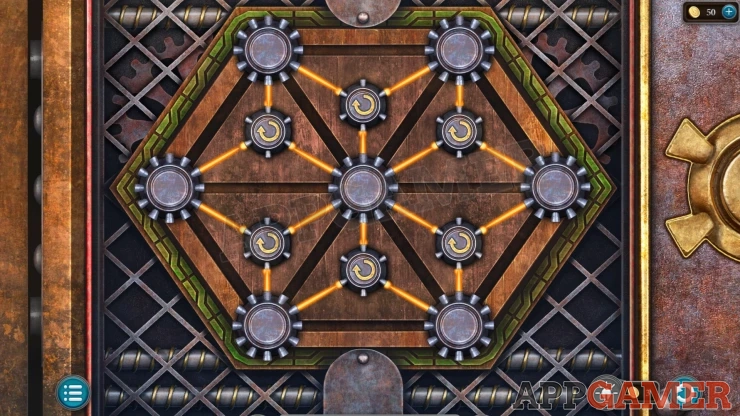
- There are seven gear shapers arranged around a hexagonal board divided in to triangles.
- Each of the gears has a number of orange lines projecting from it.
- Use the arrow buttons in the center of each triangle to move the gears around the board.
- Arrange them so that all of the orange lines connect to the other gears in a pattern.
Solution: Show
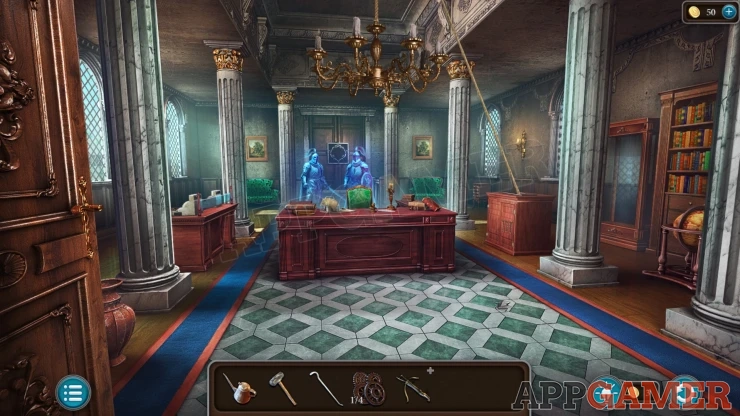
The doors open and you can enter a large hall with a desk. There are ghosts here.
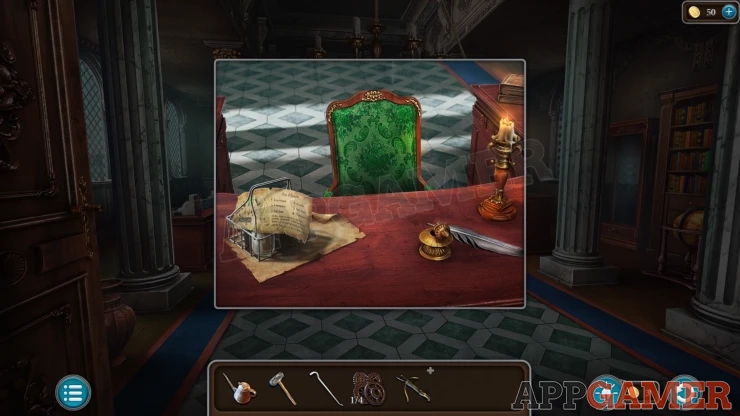
View the large desk in the center and collect from it a paper: Recipe for Ethereal Fire. Then also collect a bottle of Milk.
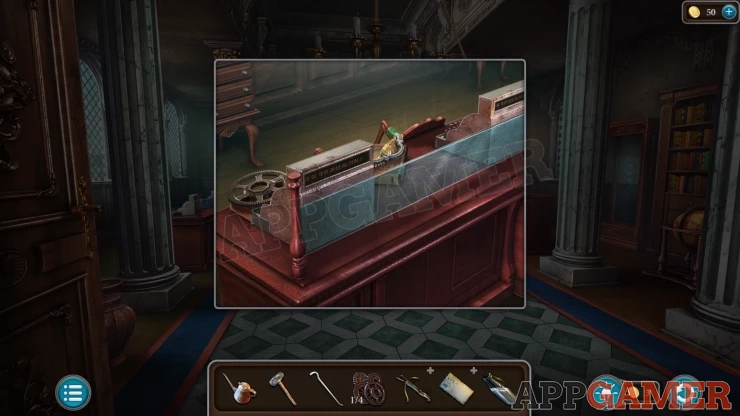
Then view a desk on the left with two cash registers. Collect from here another Gear (2 of 4) and a Relief Fragment (1 of 2)
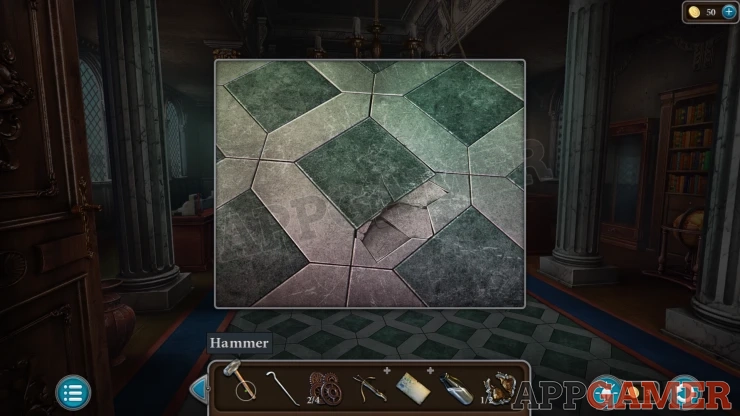
Next look on the floor to the right to see some broken tiles. Use the Hammer on these to make a hole and then collect a Handle.
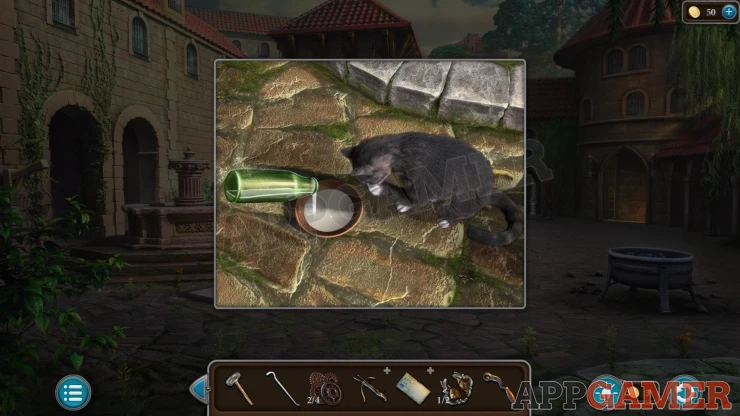
Back out to the courtyard and view the cat again. Add the milk to the bowl and then when it leaves you can collect a Woven Pattern and some Cat Fur.
Go back into the armoury and view a cabinet on the back left. Use the Woven pattern on the door to reveal a puzzle.
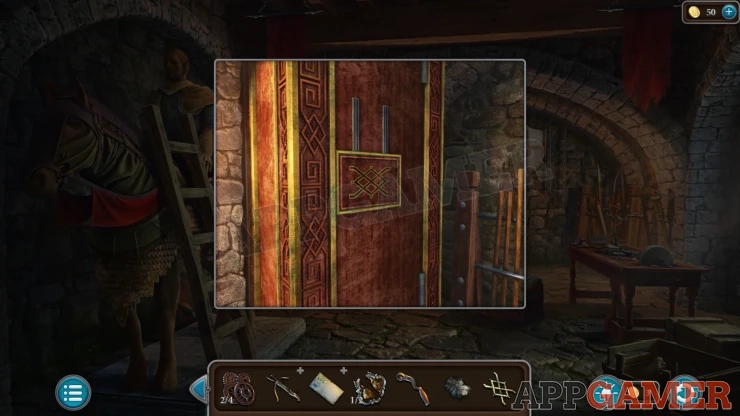
Armoury Woven Pattern Puzzle
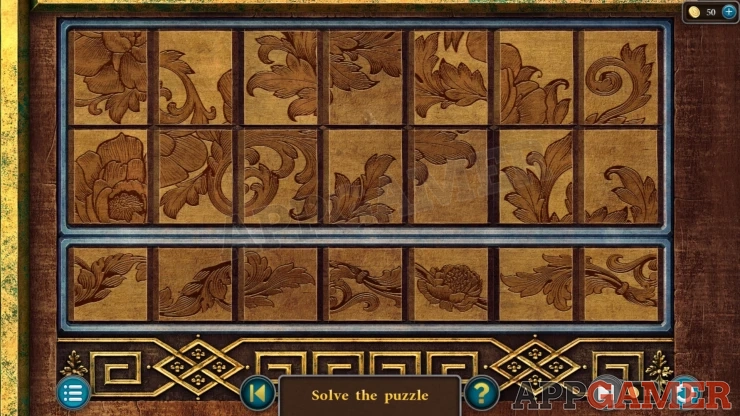
- There are two panels with carvings of a flower design.
- In each panel tap pairs of blocks to swap their positions.
- Arrange them in the correct locations to assemble the complete images.
Solution: Show
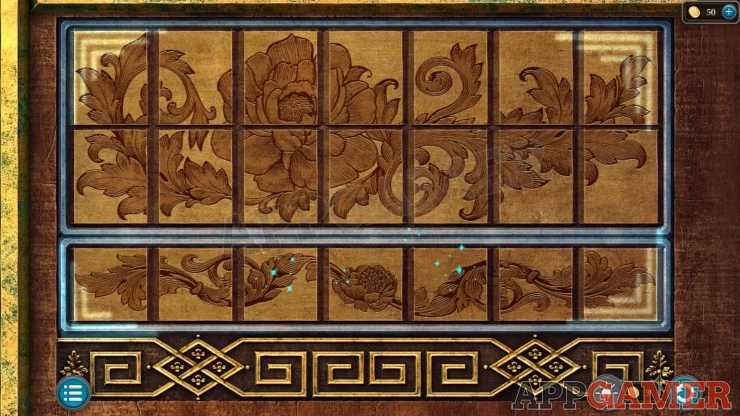
When the door opens collect some Arrows, the Violet Potion and a Valve wheel.
Then view the workbench again. Add the Handle to the grinding wheel and then tap the knife on the table. It will be sharpened and you can collect the Knife.
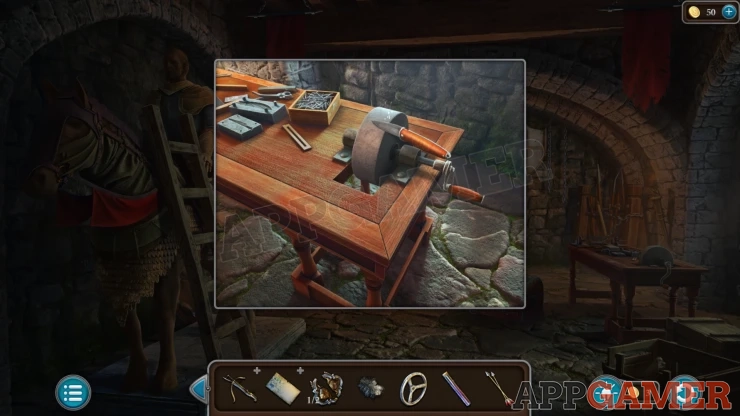
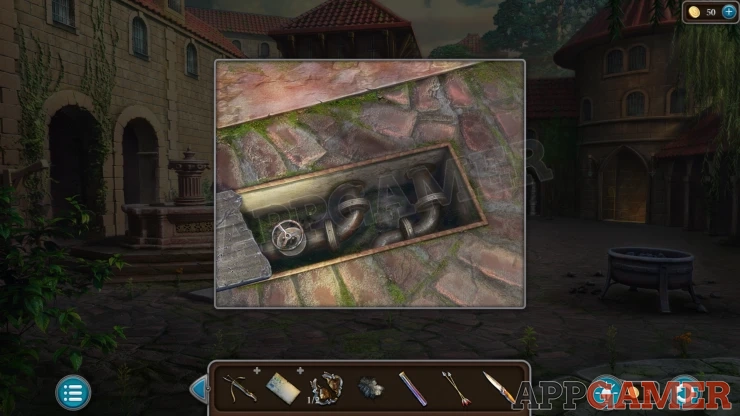
Back out to the courtyard and then view the pipes in the ground in front of the fountain again. Add the Valve here and turn it.
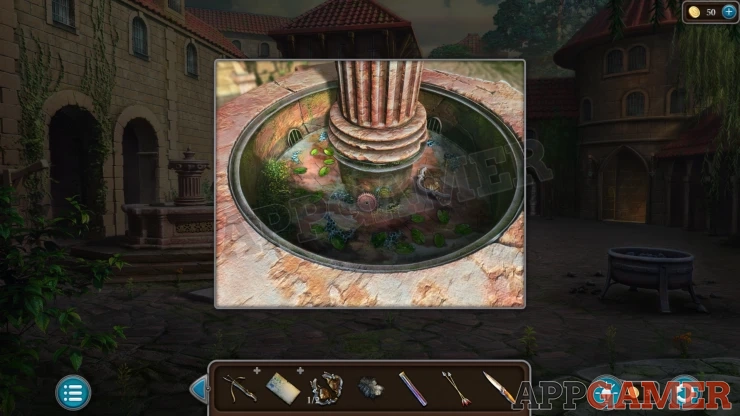
Look on the fountain to see that it is now empty. Collect another Gear (3 of 4) and another Relief Fragment (2 of 2).
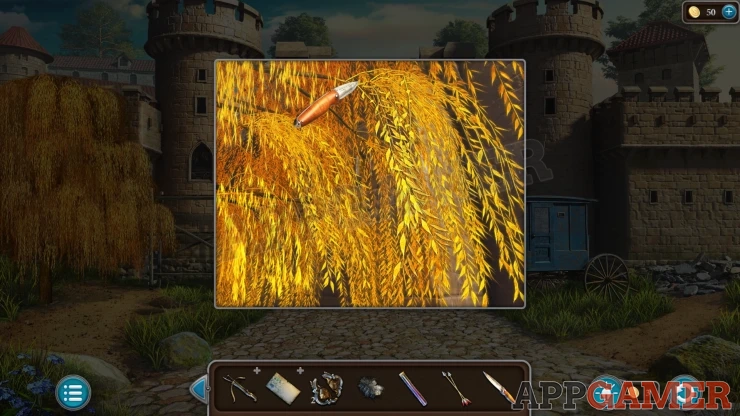
Then back out to the entrance. View the yellow tree on the left and use the knife on it to collect some Golden Willow Branches.
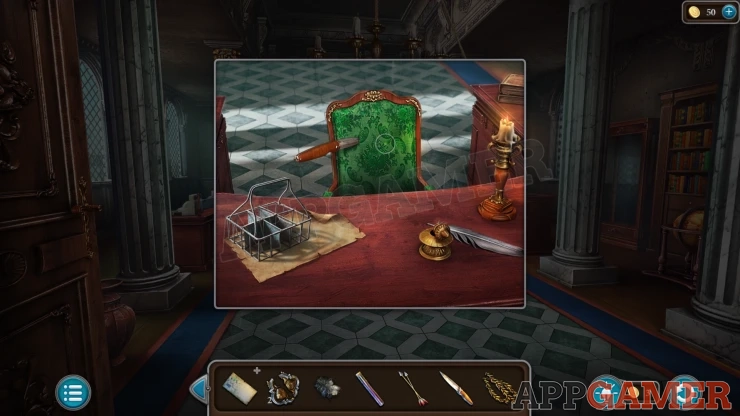
Go back in to the hall with the desk and view the green chair behind the large desk. Use the knife on this to cut and collect a Piece of Brocade. Then also collect another Gear (4 of 4).
On the right of the desk is a cabinet with a puzzle lock.
Office Cabinet Puzzle
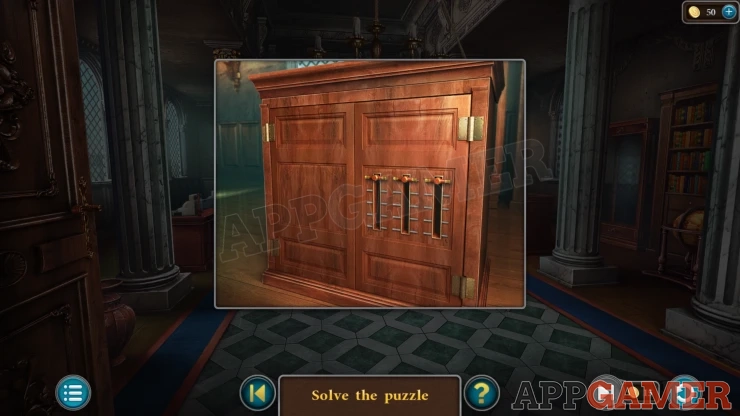
- There are three sliders that you need to set correctly.
- For the clue exit to the courtyard and view the arrow window slits above the red banner that is above the office door. You can zoom in to see them more clearly.
- Set the sliders to match the horizontal slit positions.
Solution: Show
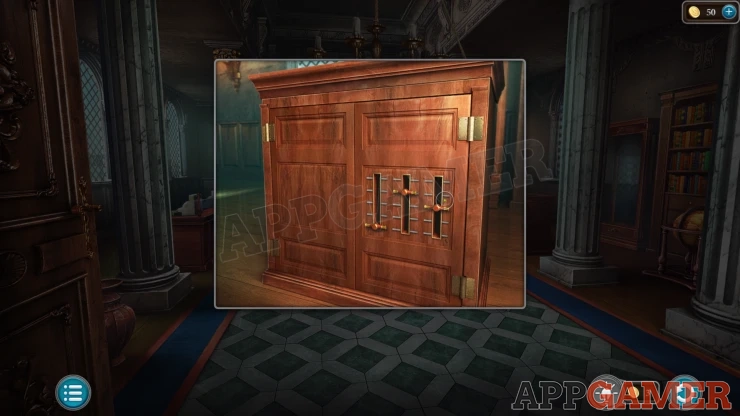
Once the cabinet is open there is another puzzle. First add the four gears.
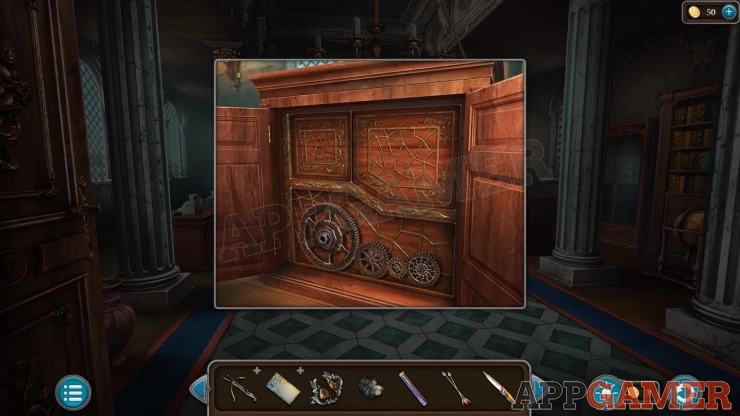
Then you will need to return to the armoury and collect the Handle again from the grinding stone on the workbench.
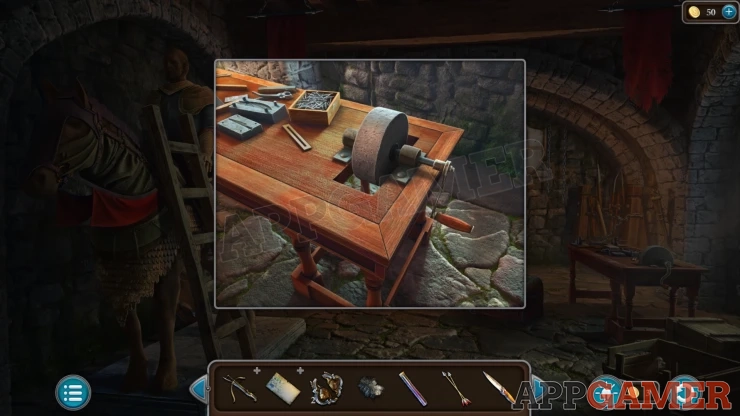
Once you have it add the handle to the gears mechanism in the office. This starts the puzzle.
Office Gears Puzzle
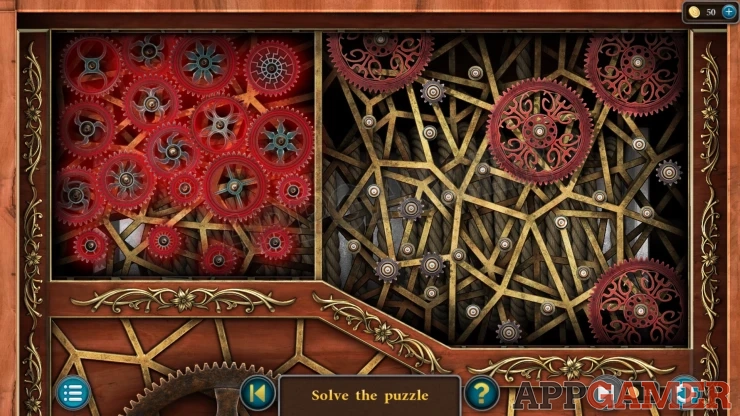
- On the right is a mechanism with one moving gear wheel.
- On the left are many gears of different sizes that you can drag onto the spokes on the right to fit them and connect the gears together.
- You will need to fit all of the gears onto the right side so that they all connect and turn.
Solution: Show
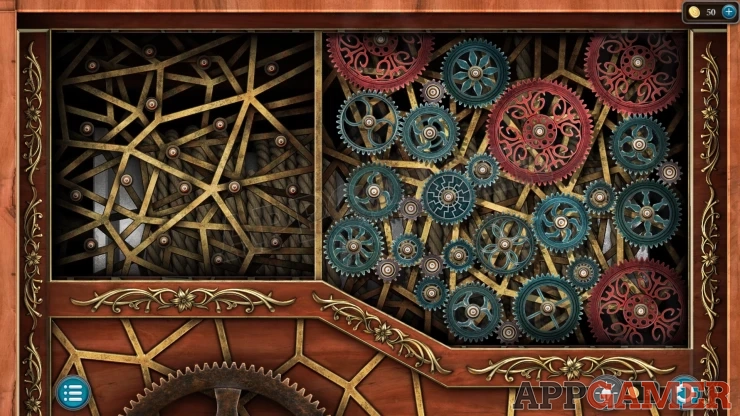
This will lower the chandelier. View this.
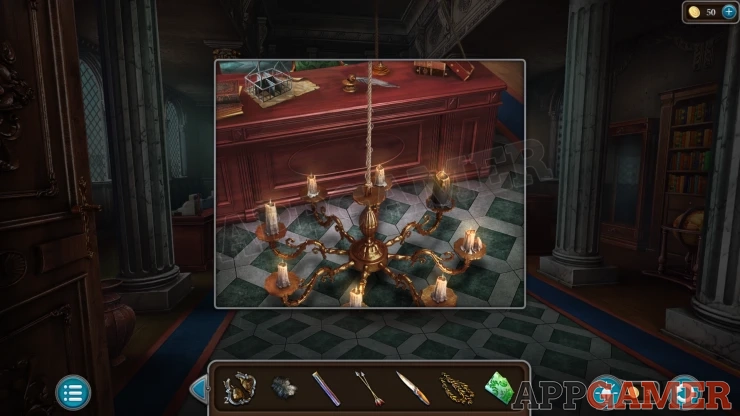
Collect the Black Ashen Candle. Then use the knife to collect the Rope.
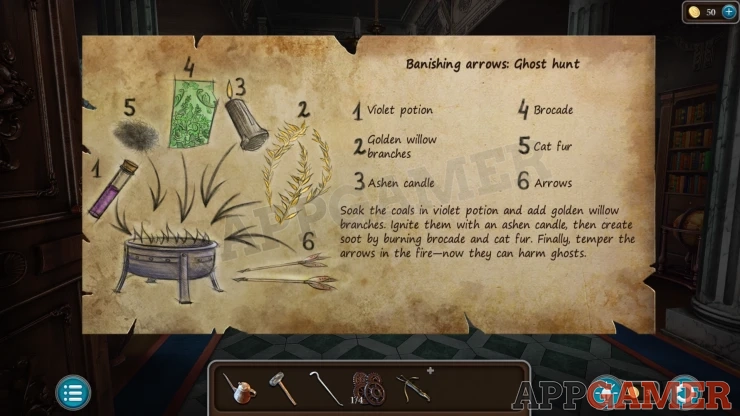
Now you can view the Recipe paper in your inventory and add the six items to it. You will collect the Magical Ingredients.
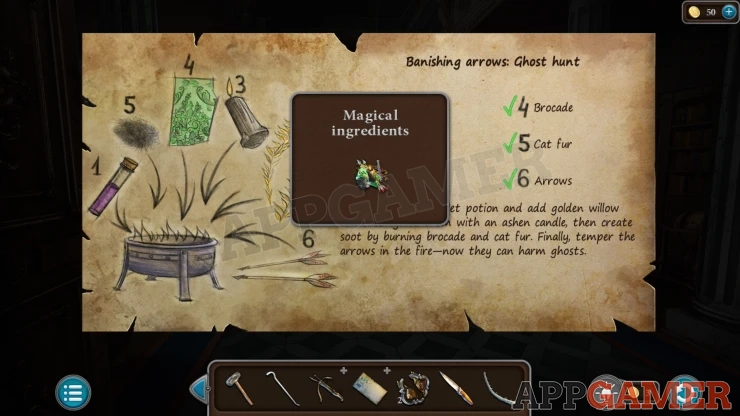
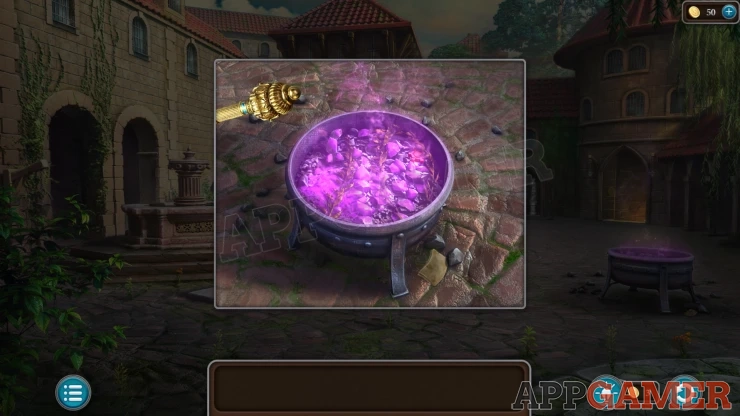
Go to the courtyard and view the extinguished firepit. Add the Magical ingredients to it.
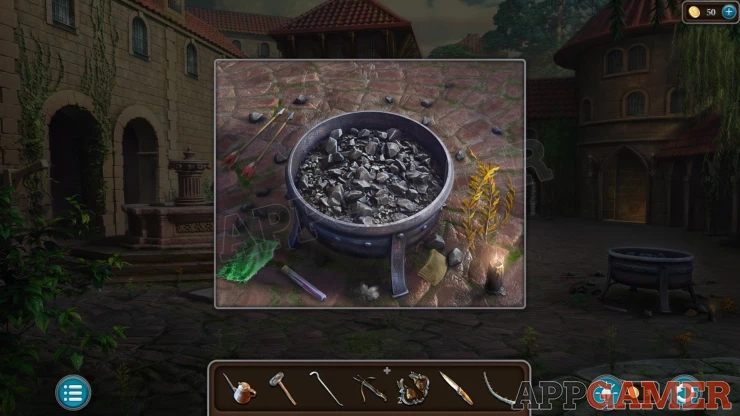
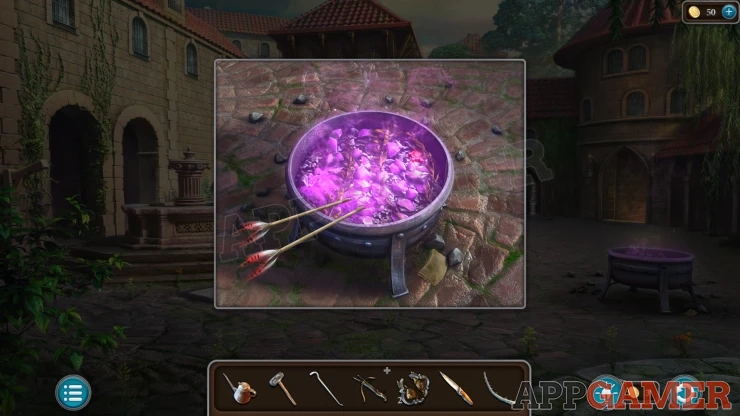
Now follow the recipe. Add the Violet potion to the coals, followed by the Willow Branches.
Next use the Ashen Candle to light these.
Then add the Brocade and the Cat Fur.
Finally place the arrows to temper them. Collect the Ethereal Arrows.
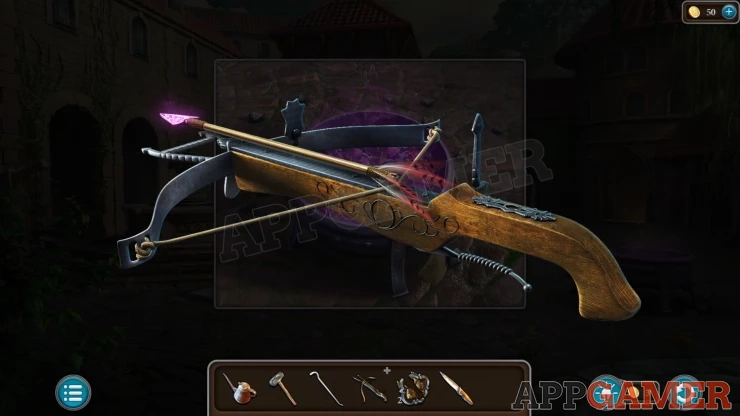
View the crossbow in your inventory. Add the Rope and the ethereal arrows. You collect the Crossbow.
Go back into the hall with the desk and use the crossbow on the ghosts. They will be banished.
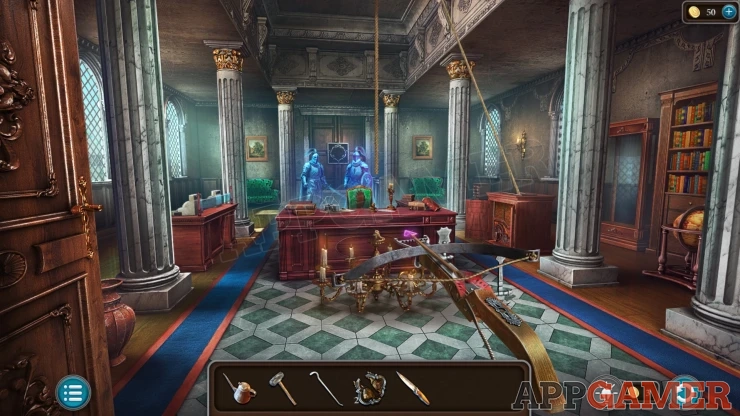
Now you can view a panel at the back of the room. Add the Relief fragments here.
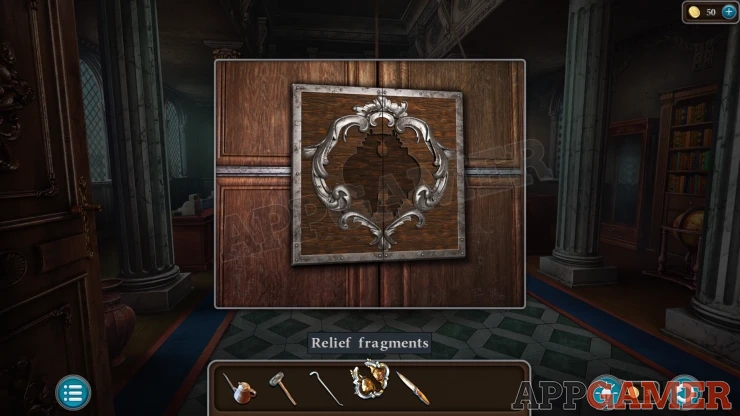
Office Relief Fragments Puzzle
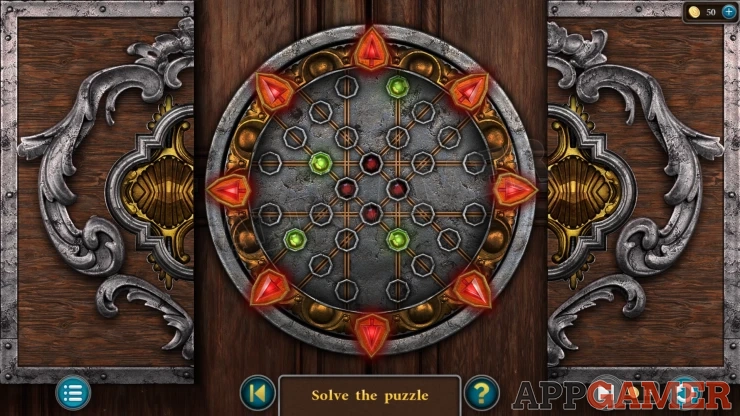
- There are four green gems on the board arrange on lines that you can move.
- Use the red gem arrow buttons to slide pairs of lines in the chosen direction. This will move any green gems that are on the lines.
- Slide the green gems to arrange them over the four red slots in the center of the board.
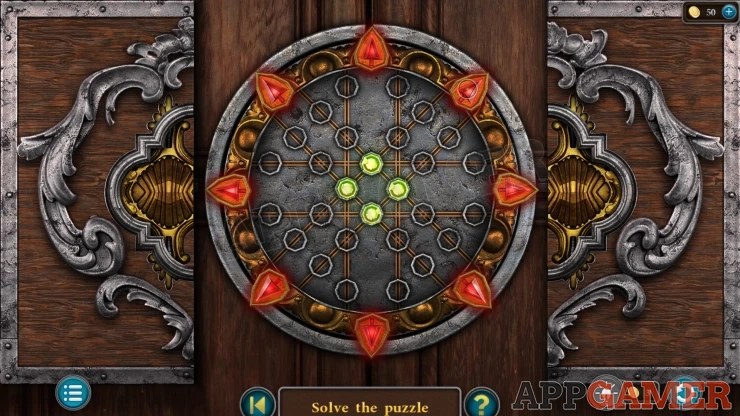
This opens a door and you can enter a hall with 6 more doors.
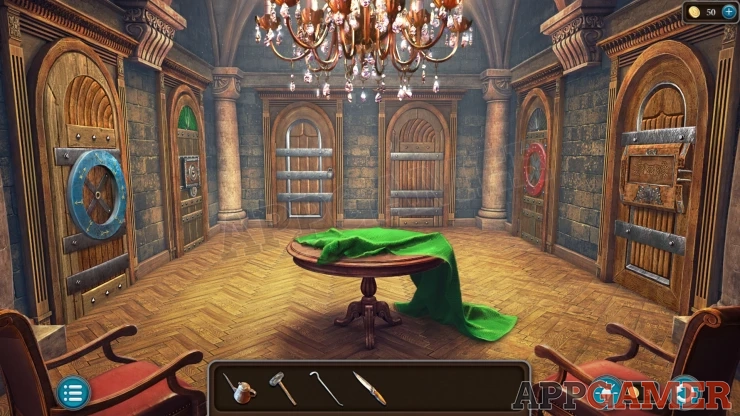
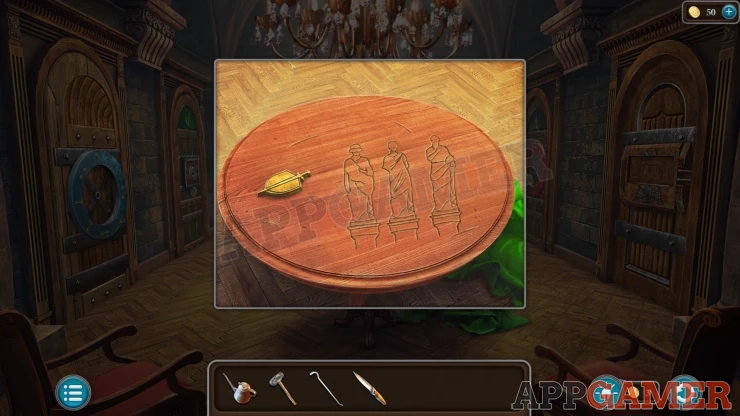
View the table in the center and remove the green cloth. You can then collect a Shield and Sword emblem.
Notice the figures marked on the table this is a clue.
Back up to the courtyard and now view a set of three statues on the back wall.
Marble Statues Puzzle
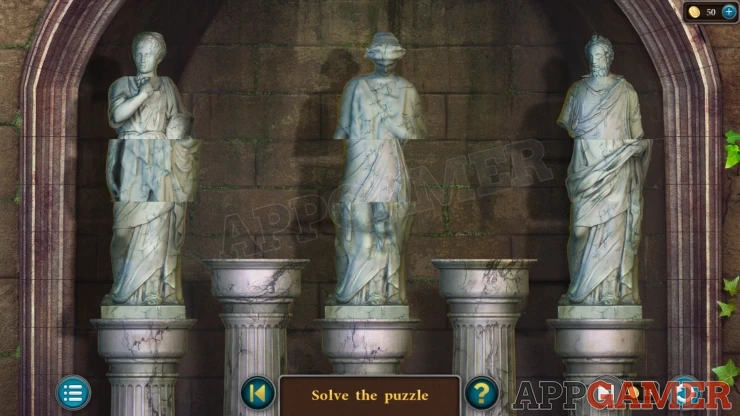
- Each statue is made up of four jumbled parts.
- Move the parts using the two empty columns. You cannot place a body part on top of a head.
- Arrange the parts in the correct order and on the correct column (left, center, right) according to the clue seen above.
Solution: Show
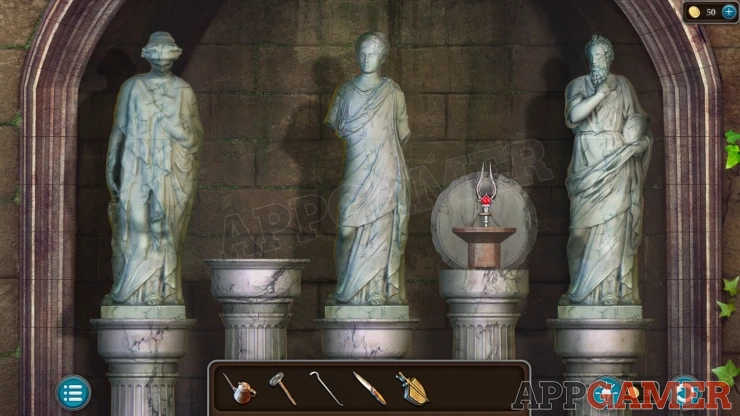
Once this is done collect the Lever.
Return to the Hall of doors and then view the second door on the left with a green top section.
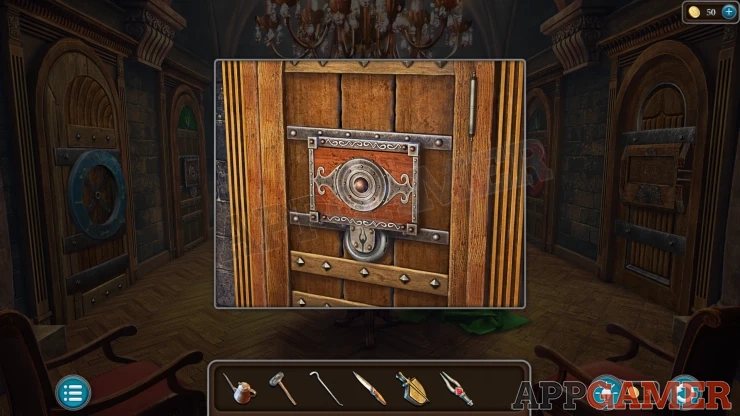
Add the Lever to this and you will reveal a puzzle.
Hall of Doors - Block Puzzle
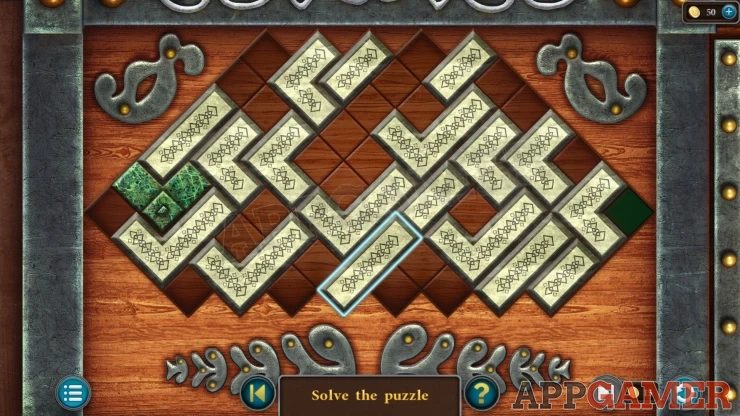
- There is a green block on the left side of the board, you need to move this to the green slot on the right side.
- Move the other blocks around to make room and create paths to move the green block into.
- Keep moving the white blocks around to allow the green bock to reach the right side.
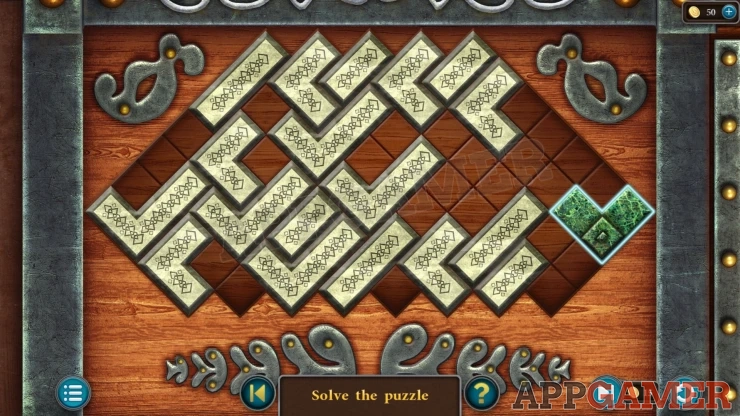
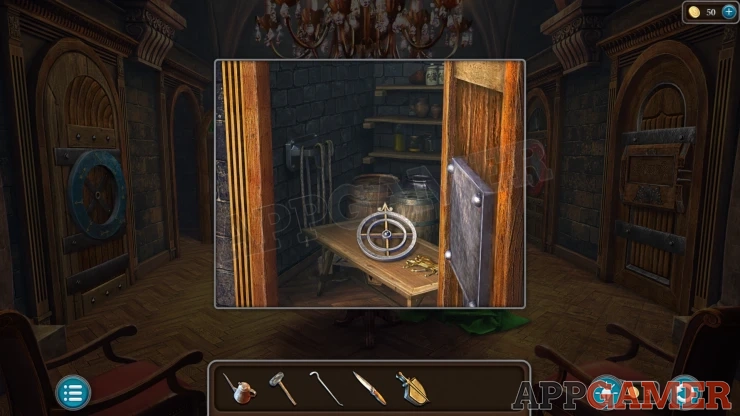
Once done the door opens to a store room and you can collect a Fly Wheel and a Horse (1 of 2).
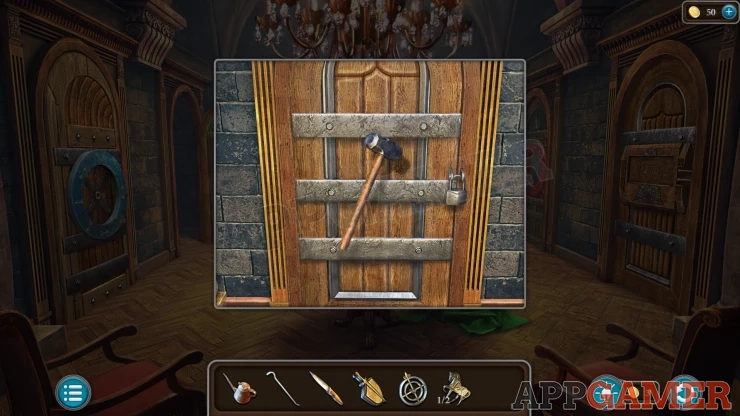
Next view the door to the right of this with a padlock on it. Use the Hammer on this to break it open. Collect another Horse (2 of 2).
Return to the outer entrance area and view the door on the side of the blue carriage on the right.
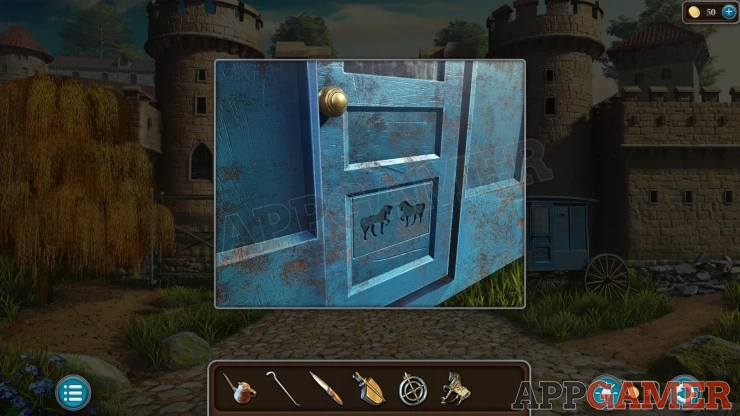
Add the two horses here to find another puzzle.
Carriage Horses Puzzle
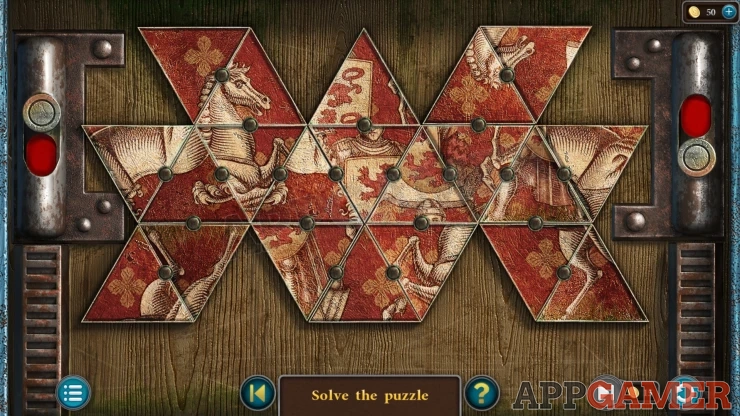
- The board has a number of triangle pieces making up a jumbled picture.
- Arrange them to make a complete picture that is the same as one you have seen on the banner in the courtyard.
- Tap the small buttons between the triangle to rotate and swap the adjacent ones.
- Complete the picture to solve the puzzle.
Solution: Show
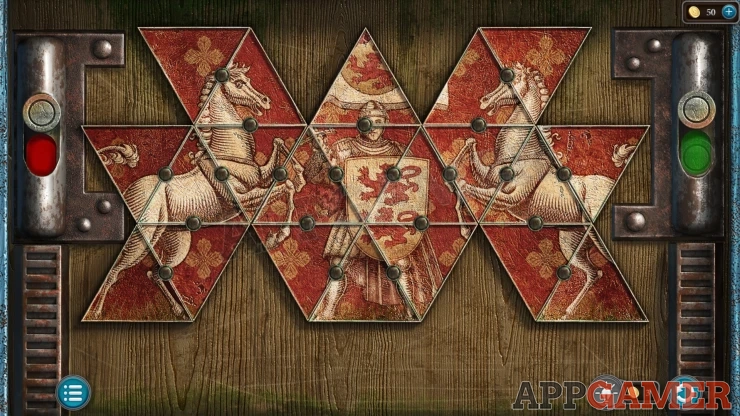
Once done the door opens and you can collect some Matches, another Fly Wheel and another Shield and Swords Emblem.
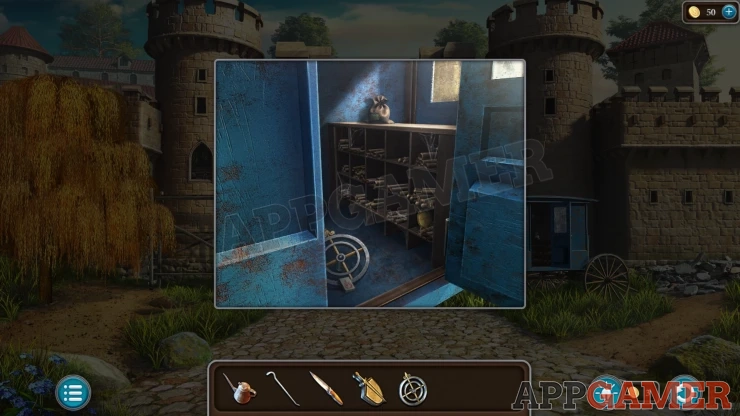
Go back to the hall of doors and view the first door on the left with a blue circle.
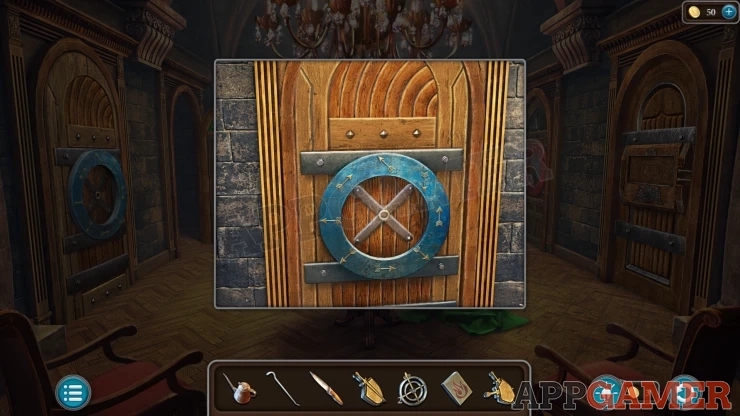
Add the Fly wheel to this, then use the oil can to loosen it.
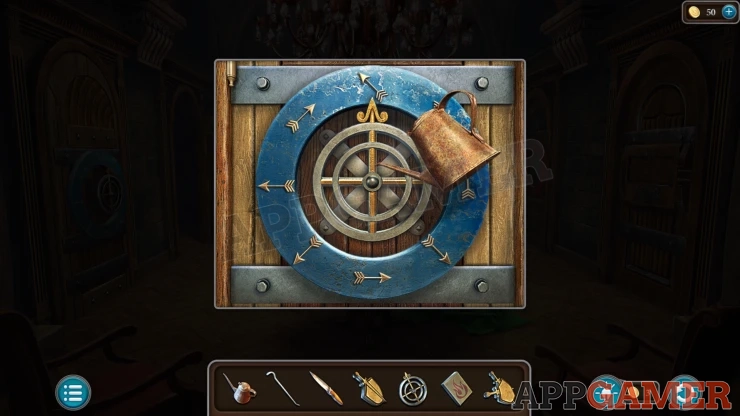
Then view the second door on the right of the room, this has a red circle. Add the other flywheel and use the oil can again.
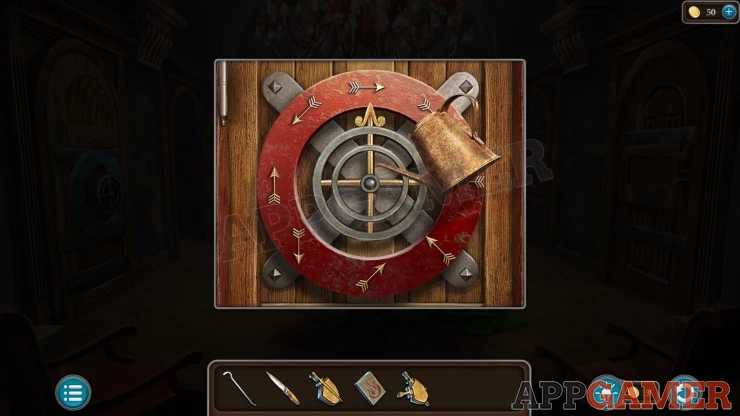
Fly Wheel Puzzle
- You need to turn the two wheels to point to the correct arrow direction.
- There are two clues around the castle to tell you the solutions.
Solution: Red banner above the entrance (Up), Blue Shield in the Armoury (Left).Show
This will then open another door int he hall. Go through to a room with many drawers.
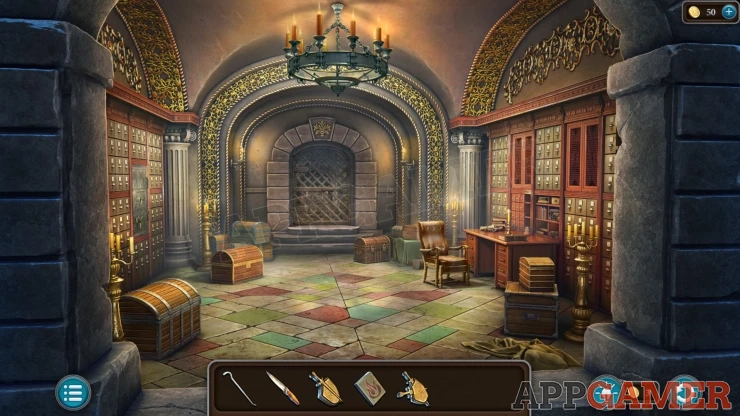
View the desk, then you can use the Knife to open the book.
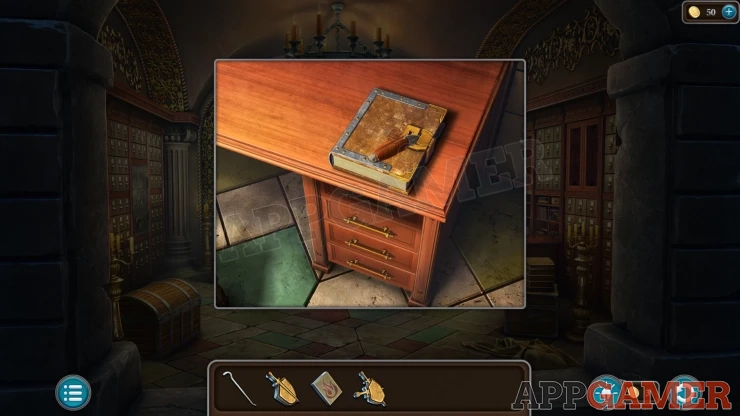
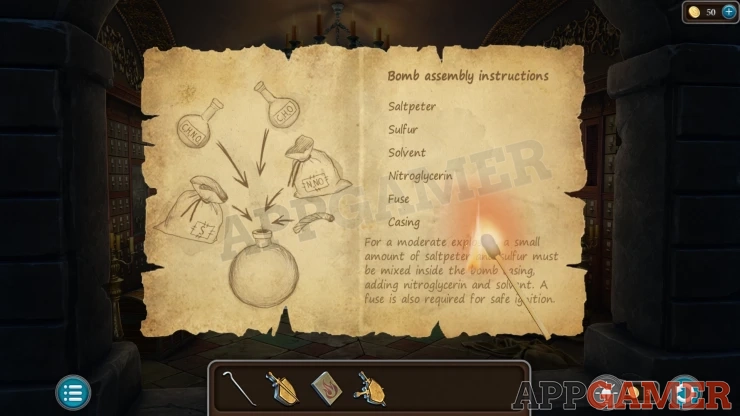
View a Paper that is inside, then use the matches on this to reveal the invisible text. Collect the Bomb Assembly Instructions.
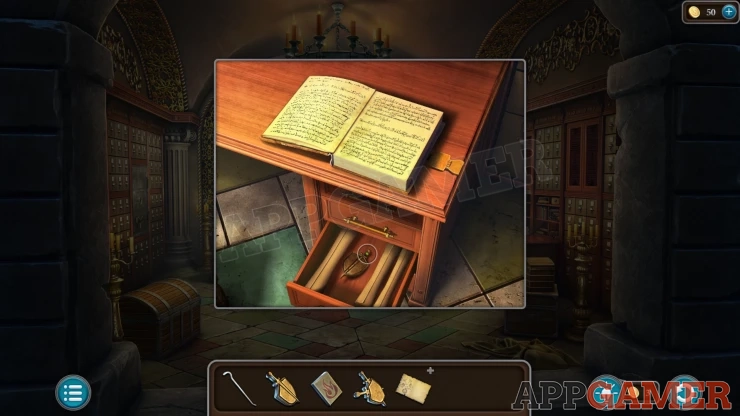
Next check though the drawers of the desk and move some scrolls to find another Shield and Sword emblem.
Now go back to the Armoury and view a large chest on the floor.
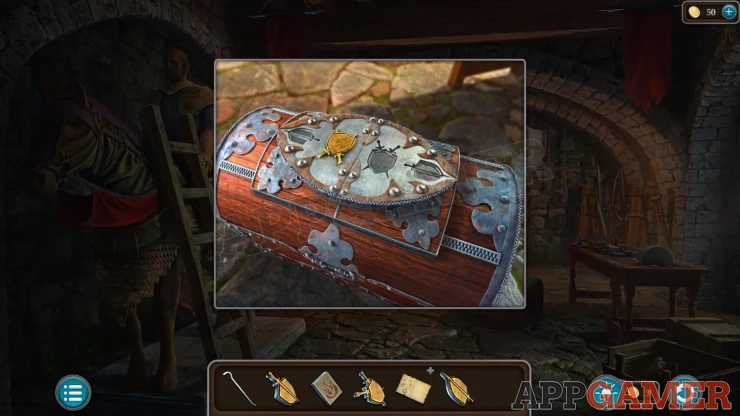
Add the three shield and sword emblems to it to reveal a puzzle.
Armoury Chest Puzzle
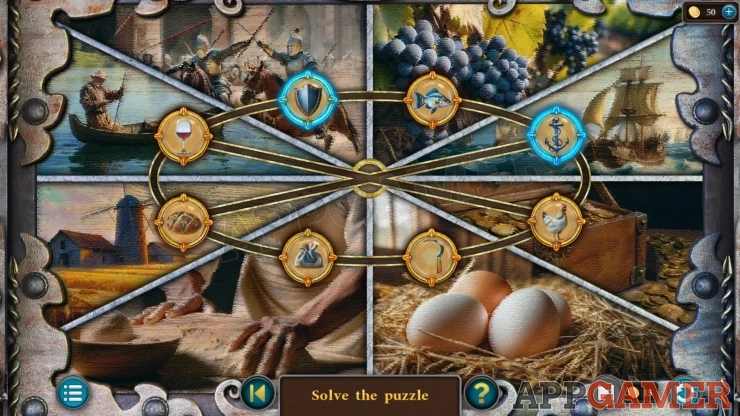
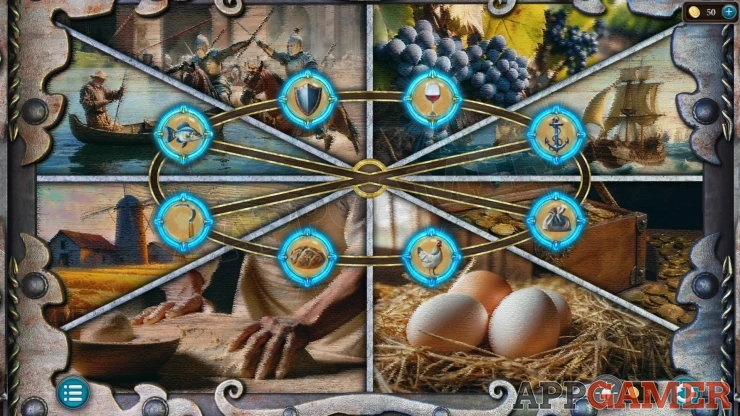
- There are eight tokens on the board with different symbols.
- The background is split into eight parts with different images on them.
- Use the connecting lines to slide the tokens around and swap their positions.
- Arrange the tokens so that they are placed on top of the related images. They will highlight when they are in the correct places.
Solution: Show
When the chest opens collect a bag of Sulfur, a Fuse and a Cross-shaped Handle
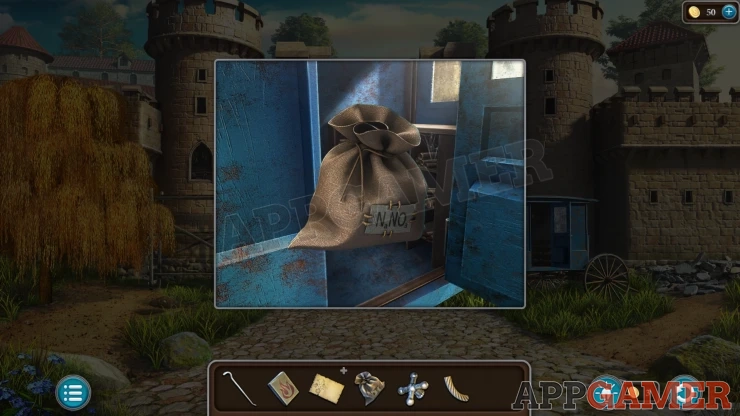
Next go back to the blue carriage outside the entrance and collect a bag of Saltpeter.
Return to the hall of doors and view the door on the right. Add the cross shaped handle to the center.
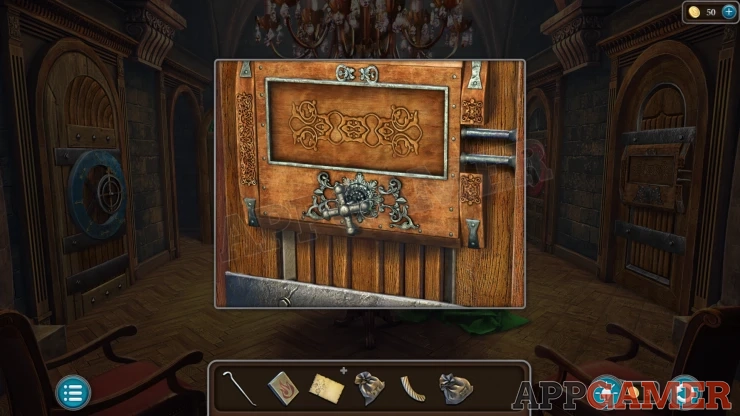
Hall of Doors Symbol Maze Puzzle
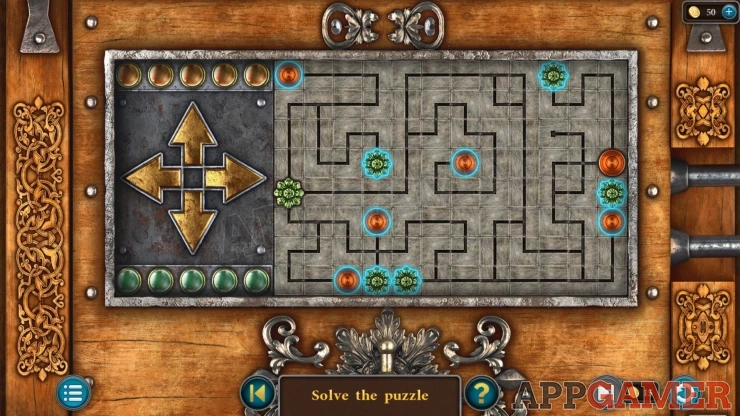
- The board has a maze of paths and two different types of symbol.
- For each symbol there is one token that you can move using the arrows and five target locations.
- Using the arrows will move both of the tokens at the same time if there is a path to move on in the chosen direction.
- Move both of the two tokens to a matching symbol of the same time to clear them both.
- Then repeat this with the other four slots.
- Once they have all been cleared the puzzle is solved.
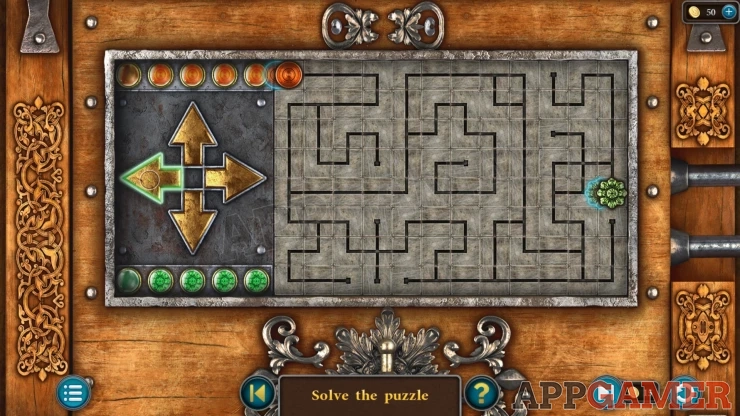
Once this is done you can look in another store area and collect a Star and some Solvent.
Go to the room with the drawers and look on the left wall, there is a safe with a star shaped slot.
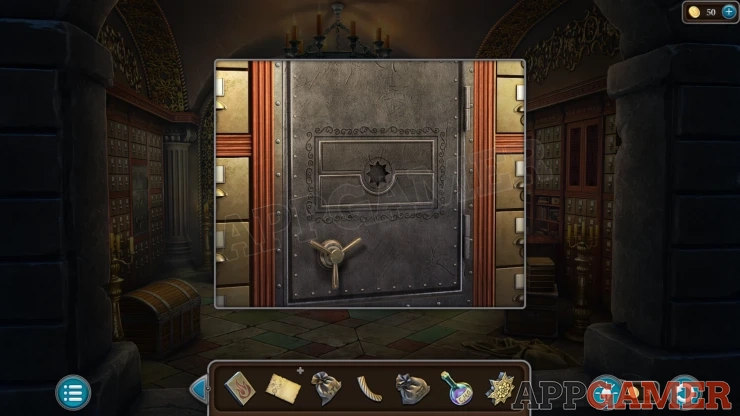
Add the Star here to find a puzzle.
Star Safe Puzzle
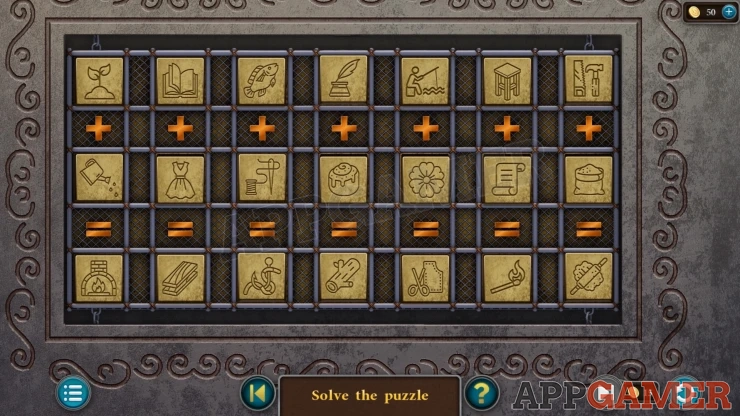
- The board contains 3 rows of 7 symbols.
- Tap pairs of symbols to swap their positions.
- Arrange the symbols into columns so that the top two items will combine to produce a third item in the bottom row.
Solution: Show
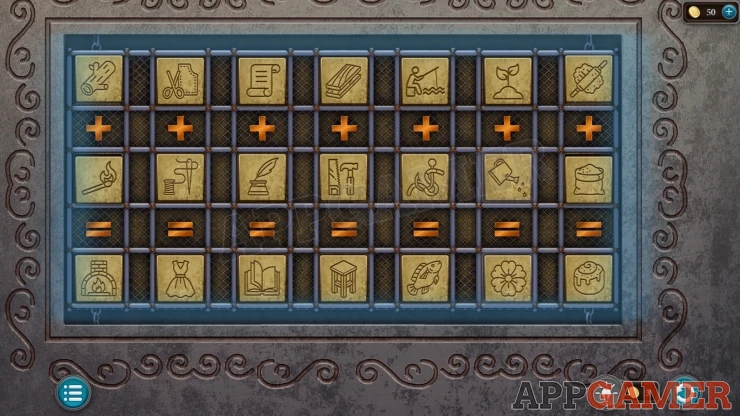
Once done collect a Mounted Gem, a Bomb Casing and the Nitroglycerin.
Now you can view the Bomb Instruction paper in your inventory and add the six items to it. Collect the Bomb.
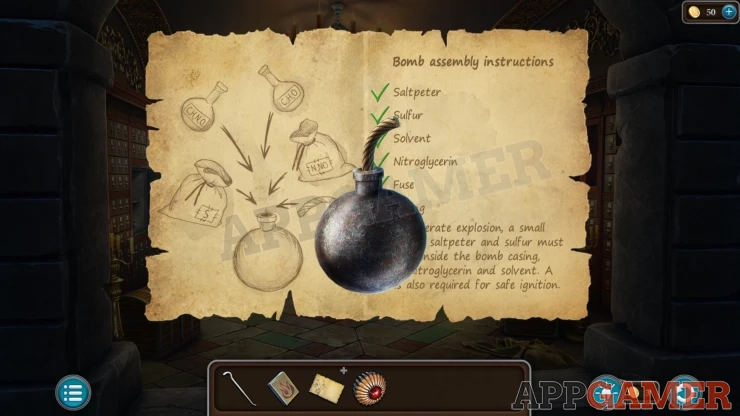
View a doorway at the back of the room and place the Bomb on to it. Then use the matches to light it.
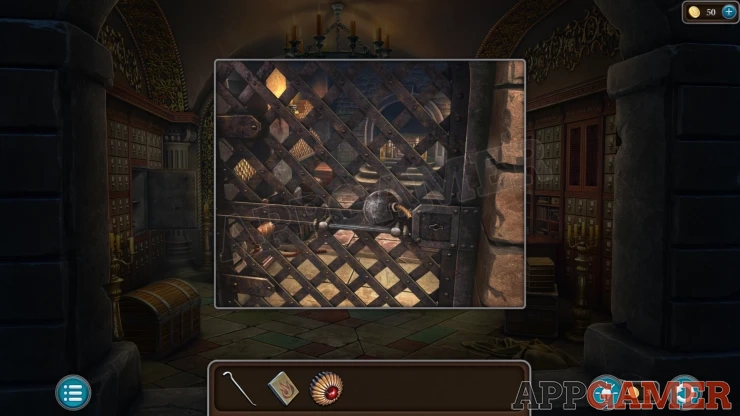
Once it explodes use the Crowbar on the door to open it.
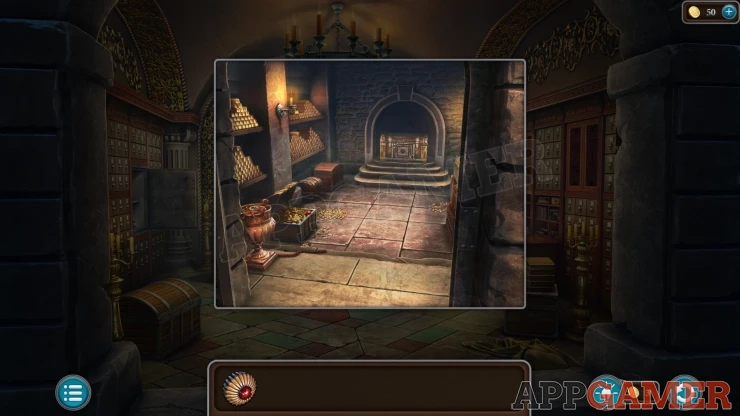
View the Chest at the back of this treasury room. Place the Mounted Gem on to it.
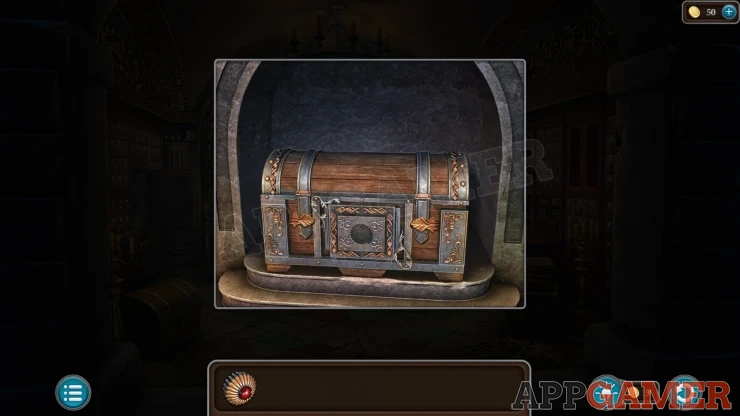
Mounted Gem Chest Puzzle
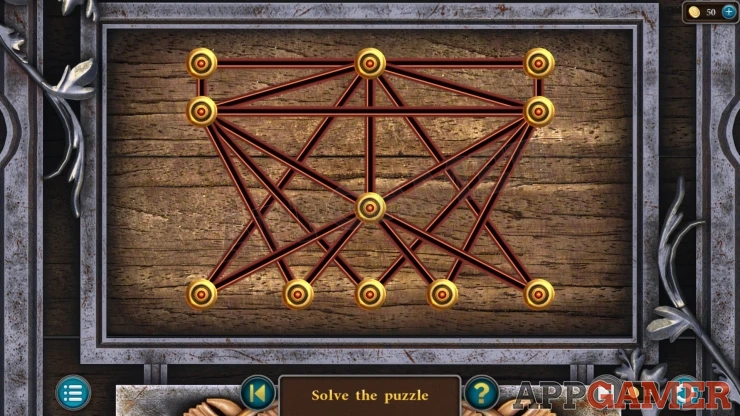
- There is a pattern of circles connected with lines.
- Tap any circle to start the path and then tap a connected circle to fill in the blue line between them.
- Continue the path to fill in all of the blue lines. You cannot use the same line twice.
Hint: Start in the center or top center.Show
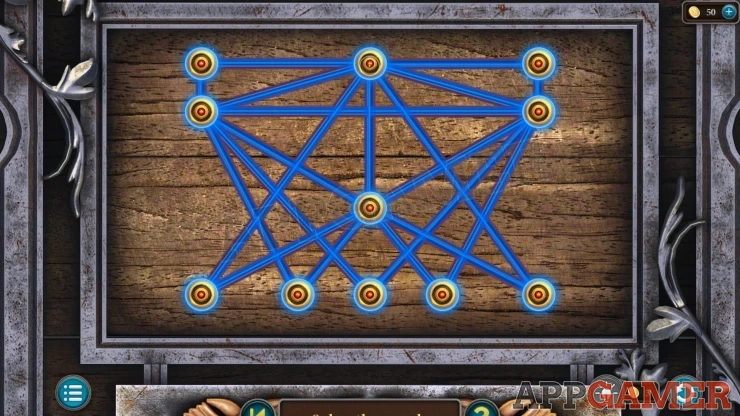
Once done the chest opens and you can collect the Portal Staff.
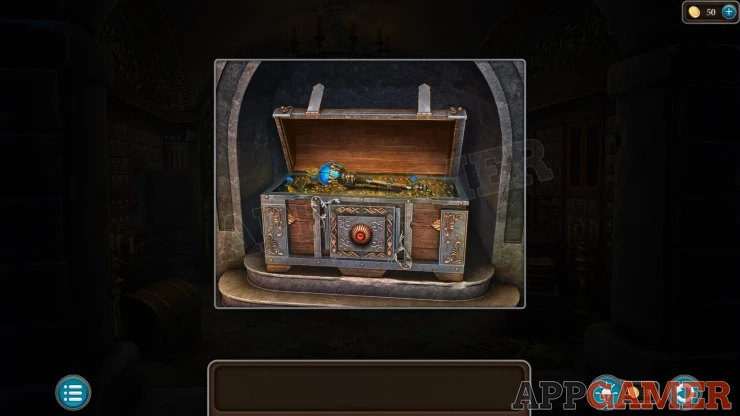
Return to the Courtyard to talk to the wanderer again.
Then use the Portal staff on the fire pit. This will open the portal to escape and complete the Level.
Level 24 is coming soon.
We have questions and answers related to this topic which may also help you: Show all
 With 20 years of experience in creating video game content for the internet and over 30 years as a gamer, Mark is now a passionate mobile App Gamer. Loving a challenge, he is always ready to get stuck in to both survival builders and puzzle solving games. He has been providing content for AppGamer since 2014.