
Level 20 Walkthrough
More The Vault: Logic Puzzle Box
This is a walkthrough for Level 20 of The Vault: Logic Puzzle Box, a challenging safe opening puzzle game from Peaksel Games.
After collecting the artifact in Level 19 you now move on to the next safe to open.
Level 20 Walkthrough

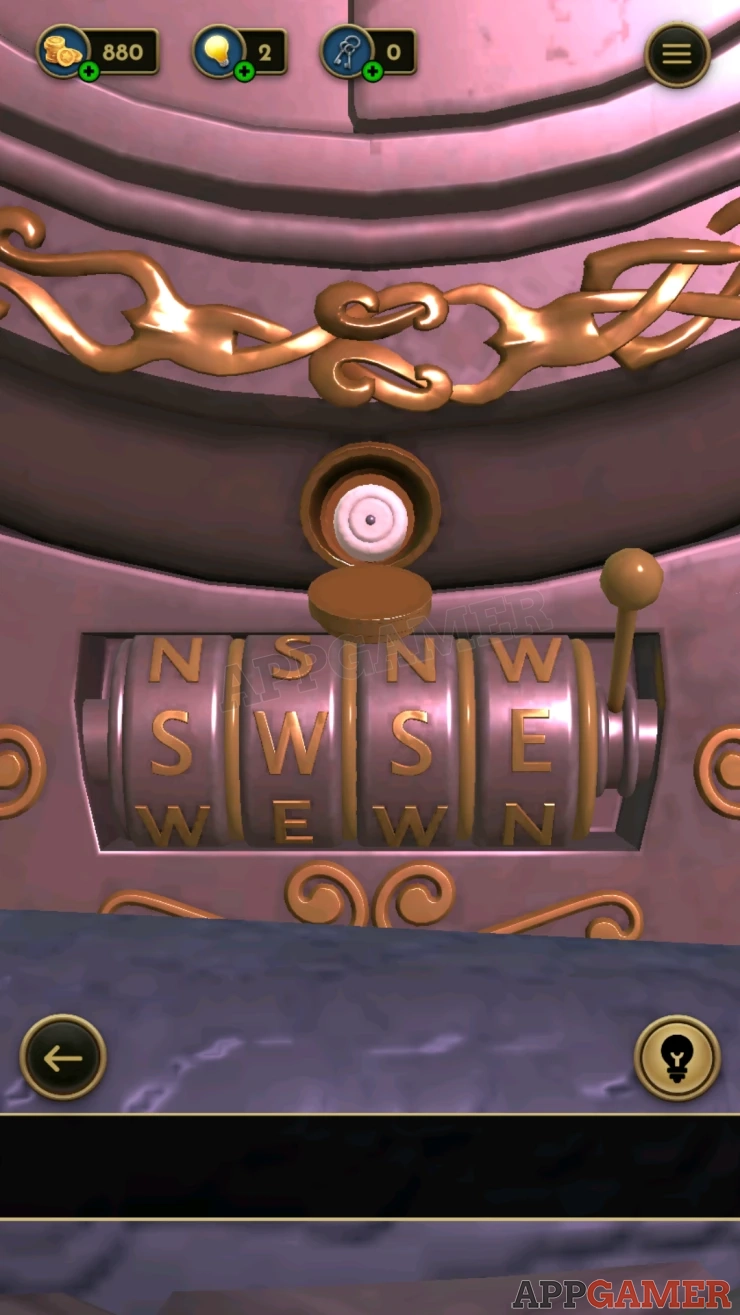
First look on the front of the safe, at the bottom. There is a combination with four letters and a lever on the right.

Pull the lever to spin the wheels an get a new set of letters, remember this. Then you can also collect a Gong Mallet.
Show
Look on the back of the safe at a panel at the top.
This has a small maze puzzle. Move the slider over to the right side.
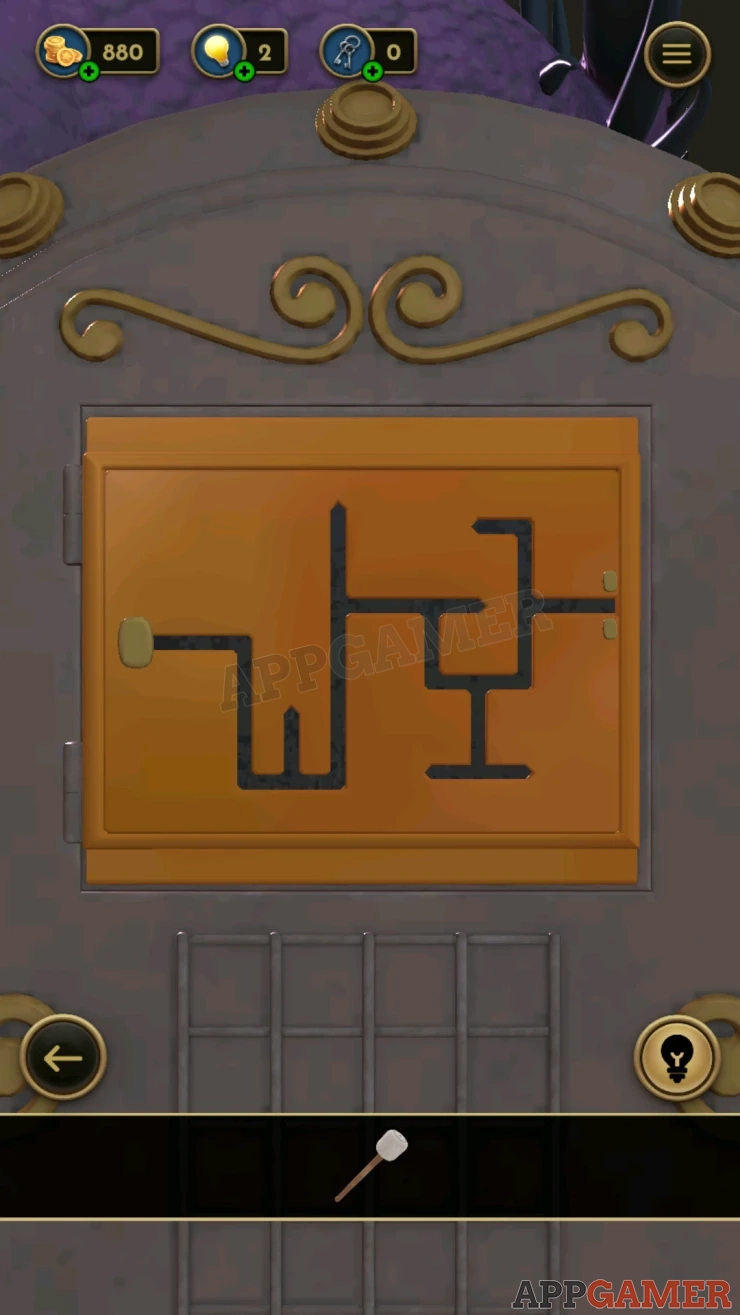
When it opens collect a Telescope[/strong and you will see a Gong.
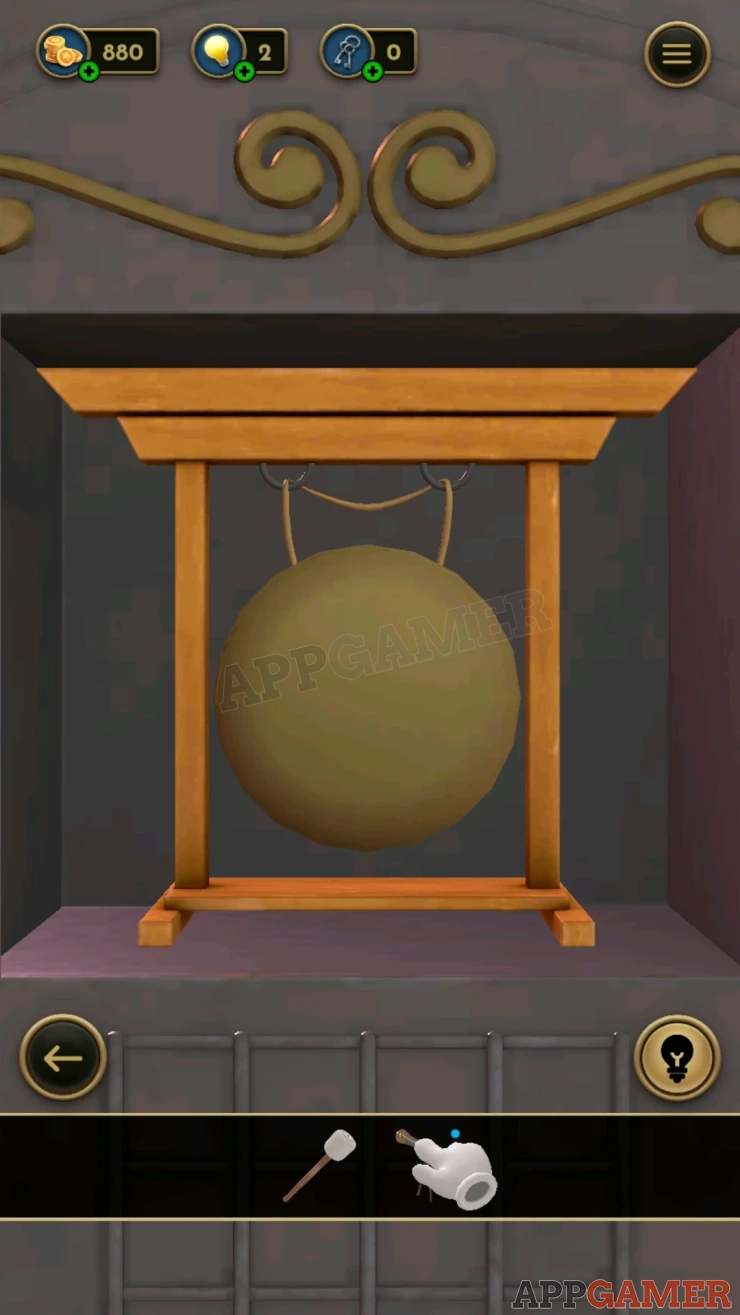
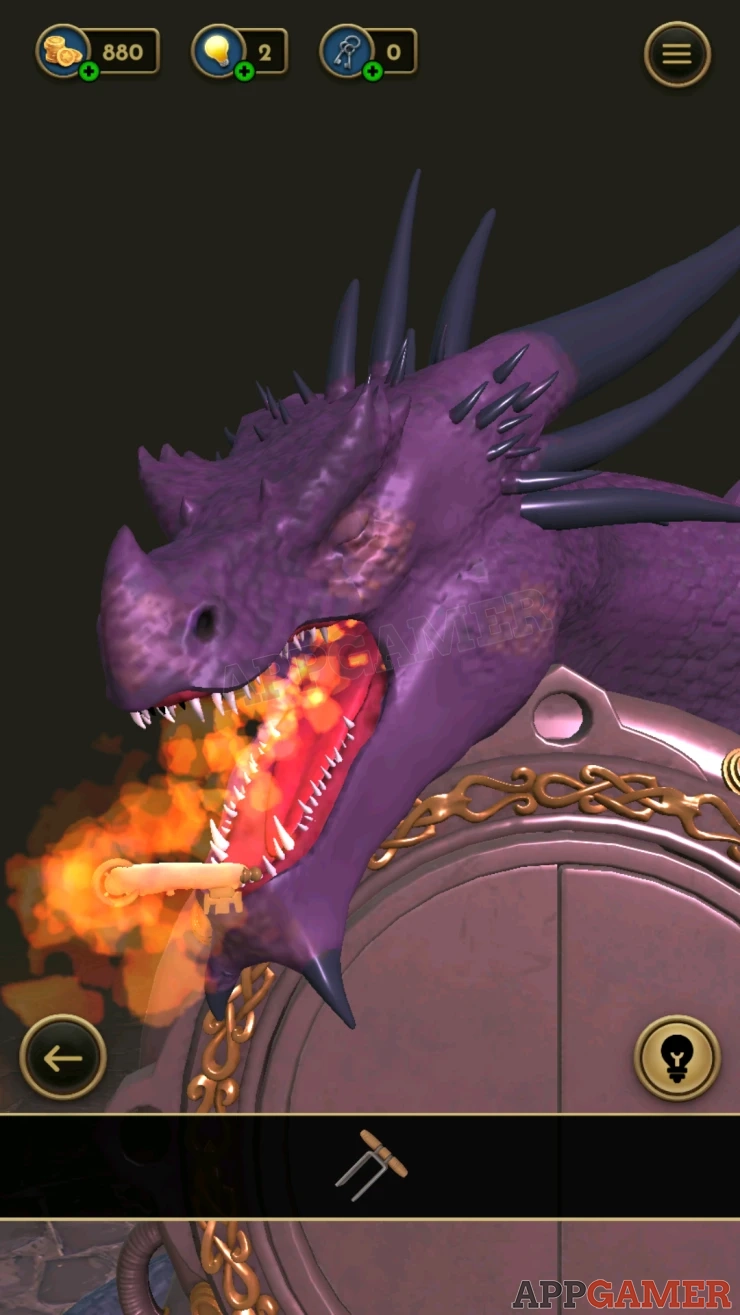
Use the Mallet on the gong to ring it, the dragon will breathe fire. View the head and you will then collect an Eye from the dragon.
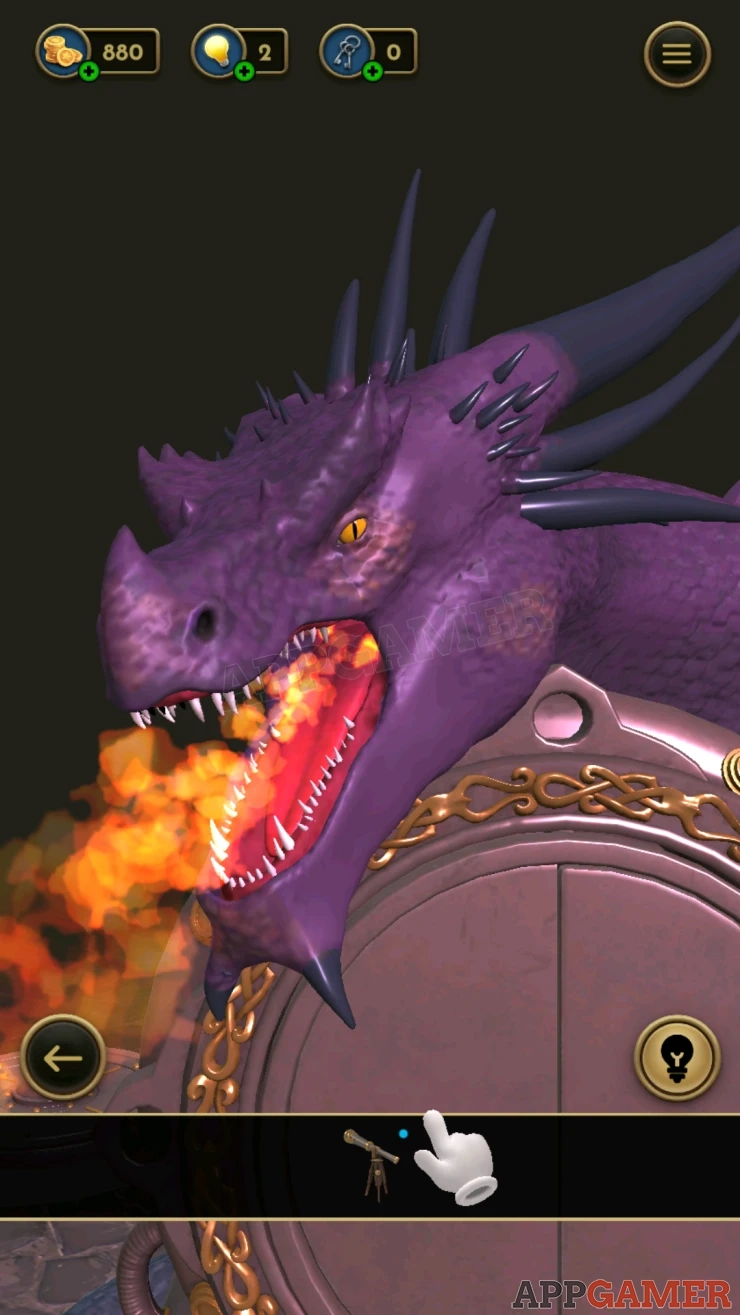
Return to the back of the safe and, then view the telescope in your inventory, you will see four towers of different heights.

Then look at the panel below the gong. There is a grid with four points at the bottom.
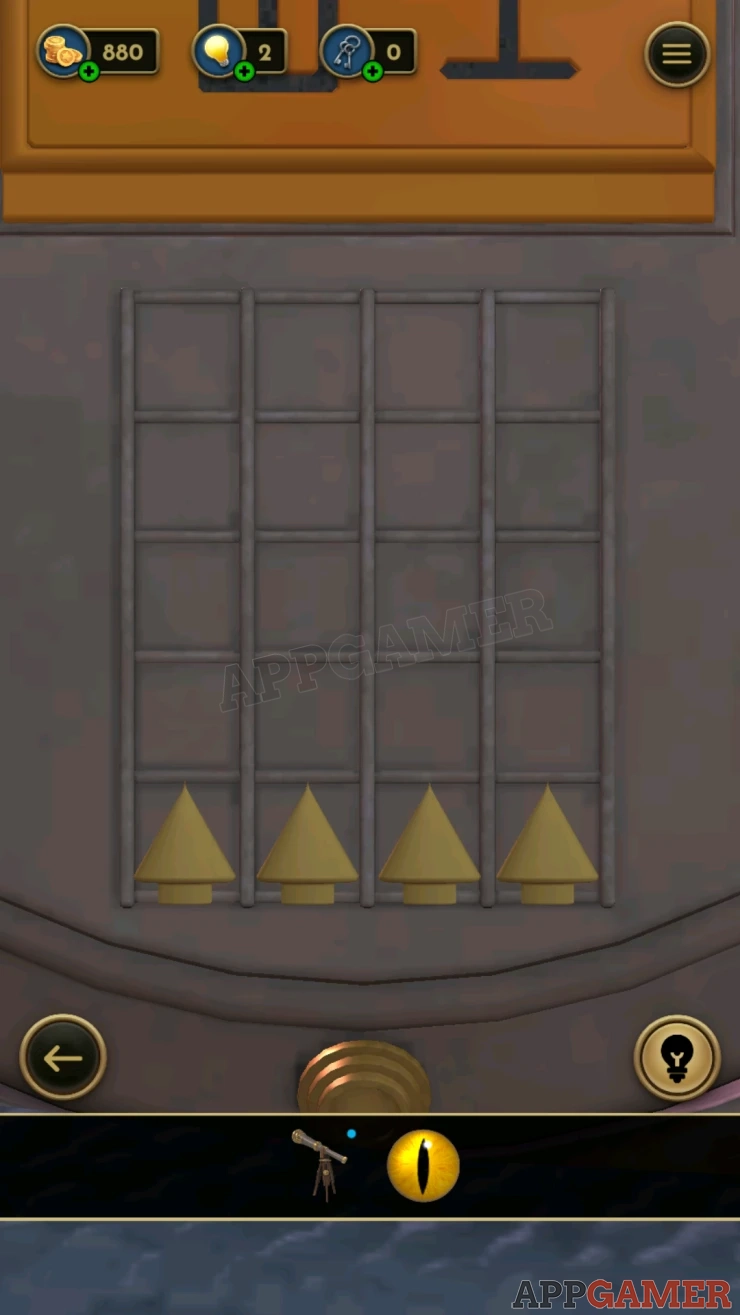
Tap each of the points to lift up a tower, match the heights to the ones seen int he telescope.
Solution: Show
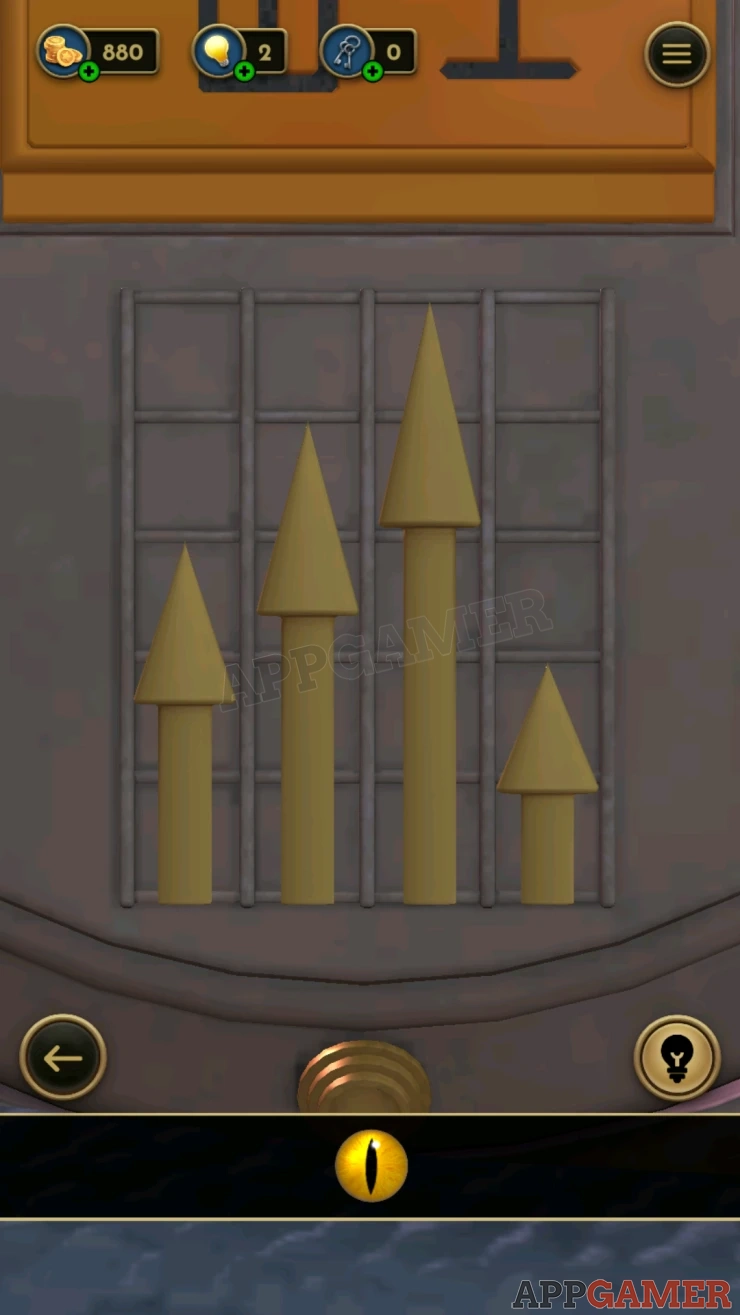
Once done you can collect a Lever.
Now turn to the left side of the safe. Press the red button in the center of the star. This will open the large panel.

On the opened flap you will see a compass. View this and place the Eye in the center.
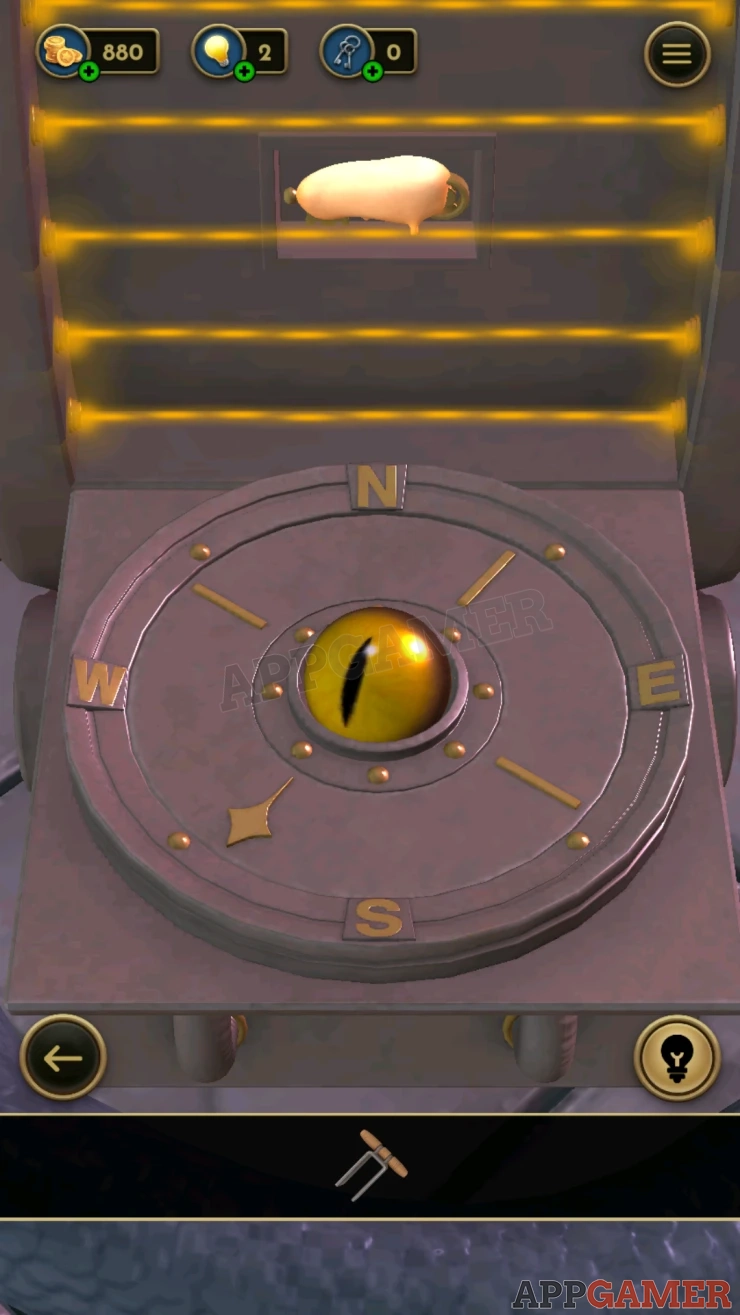
Now you can turn the compass points to the directions according to a clue.
Solution: The clue is the letters from the front. SWSEShow
After doing this you can collect the Waxed Key.
View the dragon on top of the safe that is breathing fire. Place the Waxed key here to melt it and collect the Key.
Turn back to the front of the safe and turn the left section of the top circle panel to open it.
Level Puzzle

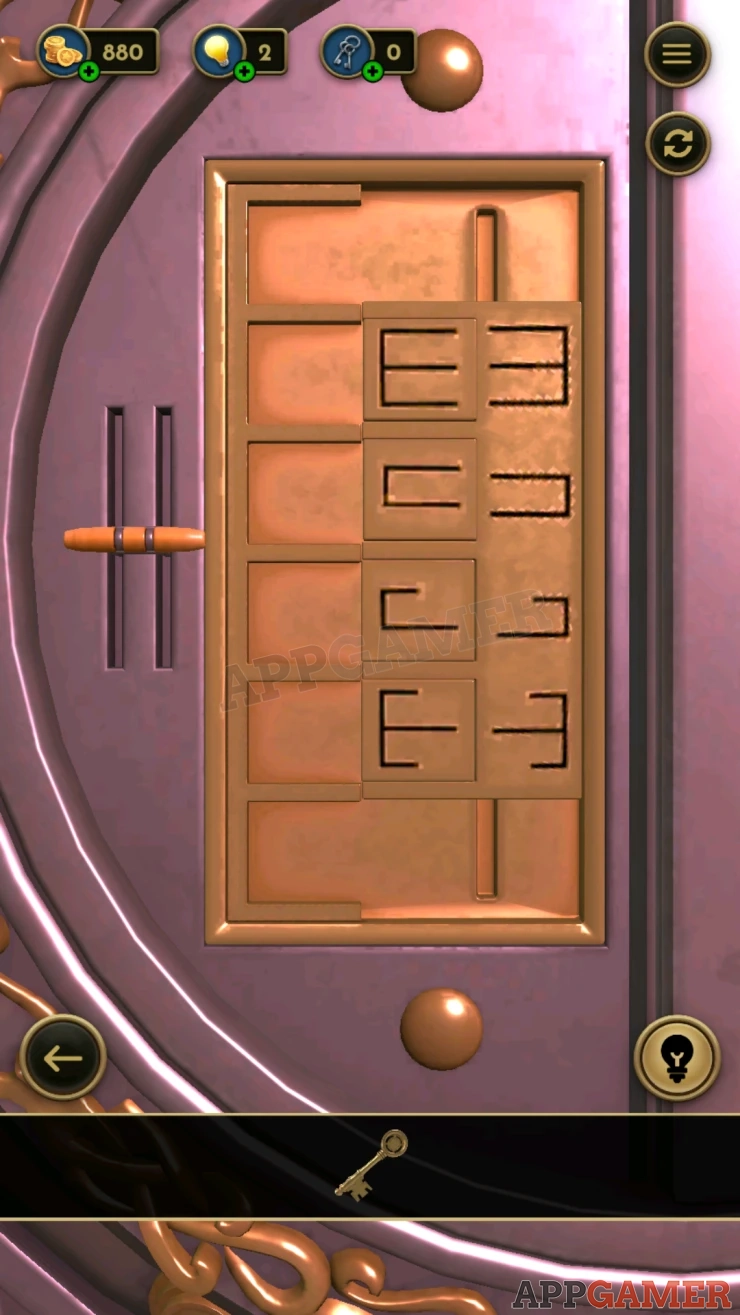
The puzzle has a board on the right that has two sections / columns.
On the right are four fixed line symbols. On the left are four matching symbols that are out of line.
Place the lever in the slot on the left. You can then move the lever up and down to move the right section of the puzzle board.
Use this to let you move the left set of symbols blocks and arrange them to line up with the ones on the right.
Solution: Show
Now the right side is open, there is a panel with triangular pieces and a key hole shape in the center.
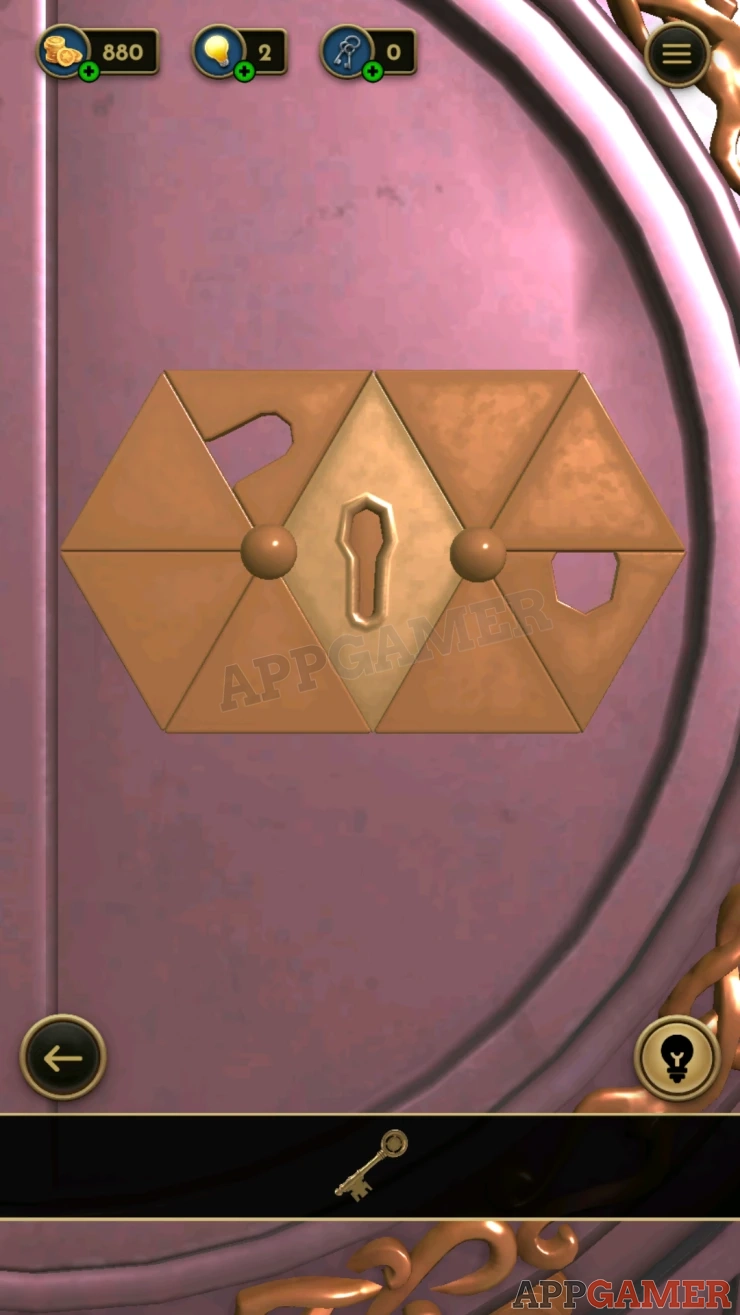
Rotate the triangles around the pivot points until the triangle with the gaps in the are aligned in the center, this will open the key hole.
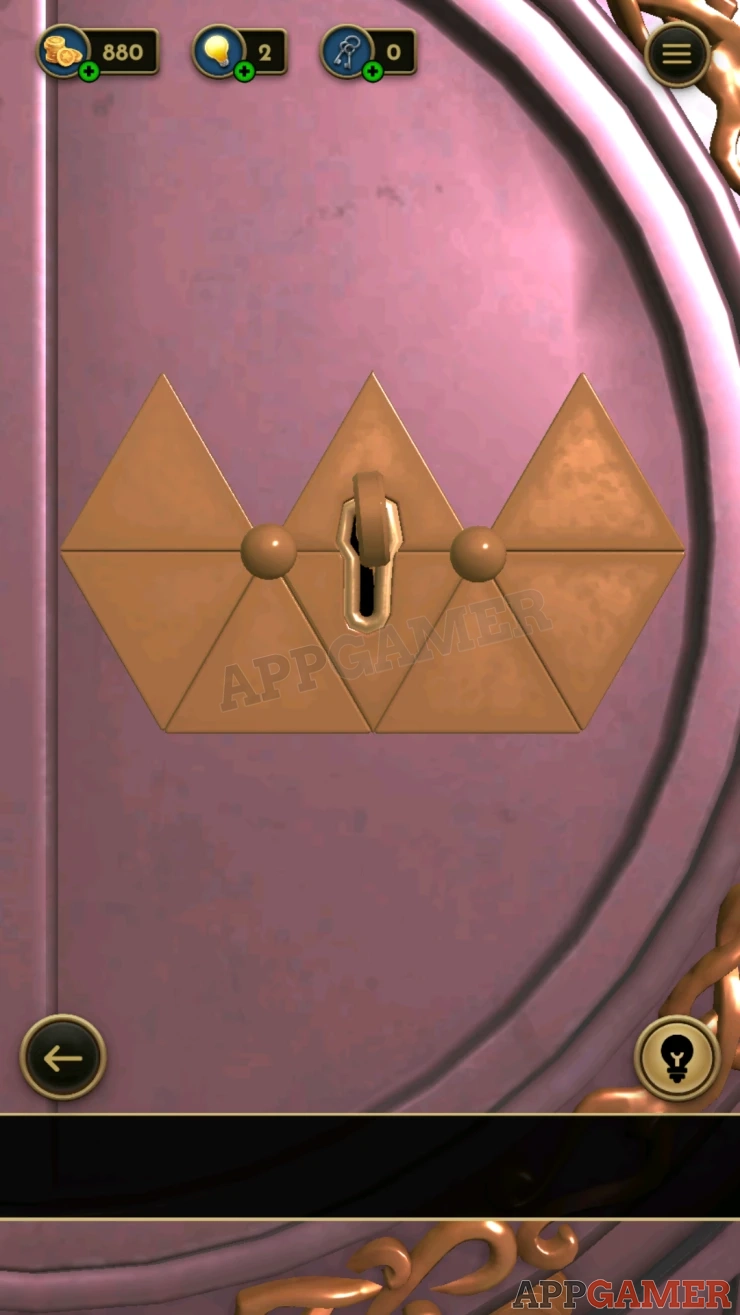
Now use the Key on the keyhole and the safe will open. You will collect another artifact, the Fauna X-ray.
Move on to level 21
We have questions and answers related to this topic which may also help you: Show all
 With 20 years of experience in creating video game content for the internet and over 30 years as a gamer, Mark is now a passionate mobile App Gamer. Loving a challenge, he is always ready to get stuck in to both survival builders and puzzle solving games. He has been providing content for AppGamer since 2014.