Chapter 2 - Horror House - Part 2
More Scary Horror 2: Escape Games
This is part 2 of our full walkthrough of chapter 2 - Horror House of Scary Horror 2: Escape Games. A second Scary escape room game from developer Escape Adventure Games.
You have just broken through the boarded up doorway into a corridor.
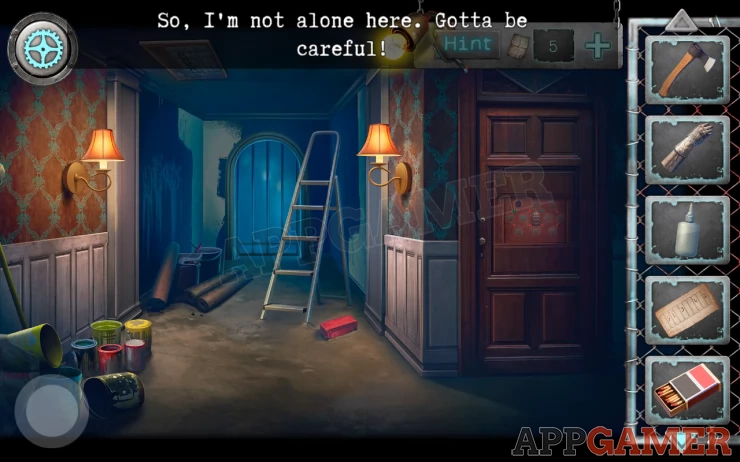
View the paint cans on the bottom left. Then move them to find and collect some wire cutters.
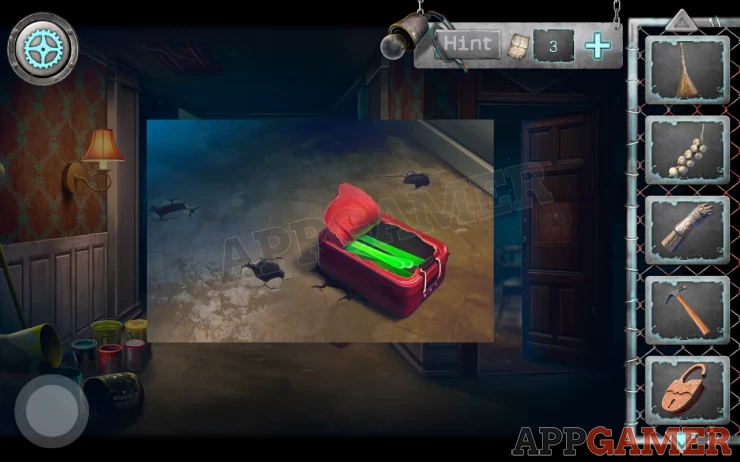
Tap to view the red box and the ladder on the floor in the center. They are stuck in the ground.
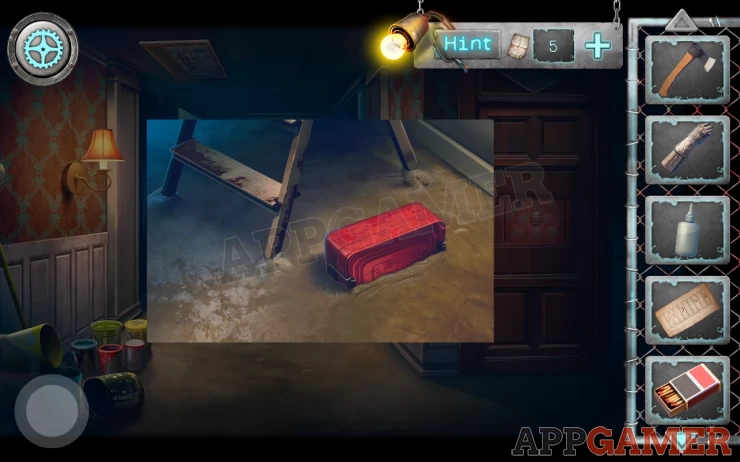
Use the hammer to break the ground and get out both the box and the ladder. (hit 3 legs for the ladder)
You cannot open the box yet. But you can tap on the ladder to move it to the left under a puzzle on the ceiling. View this.
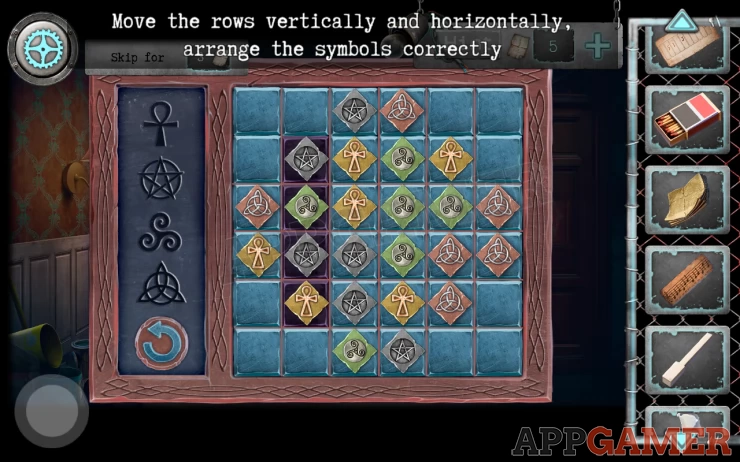
Solve this puzzle by arranging the symbols so that the 4 shown on the left are in the 4 vertical black squares on the board. (you don't need to arrange all the pieces)
Once done a panel opens and you can collect a saw for metal, and a second 'half lampshade'.
Go back to the Library room.
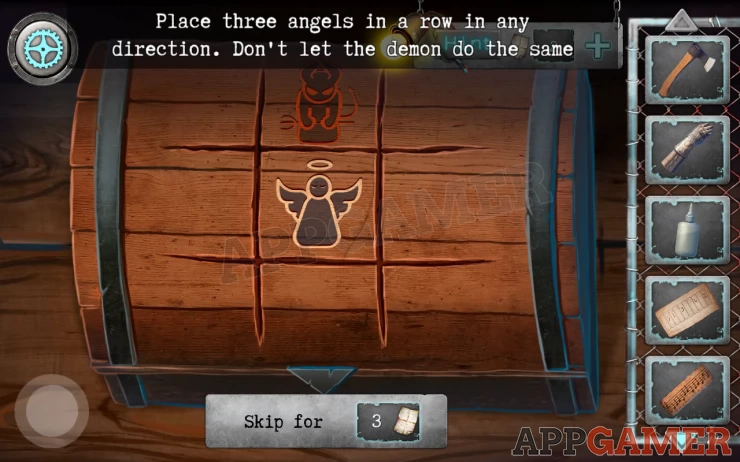
On the bookshelf on the lower left is a box, tap this to find a game of naughts and crosses (with angels and demons). Play the game to open the box and collect a key.
Next tap to view the fireplace.
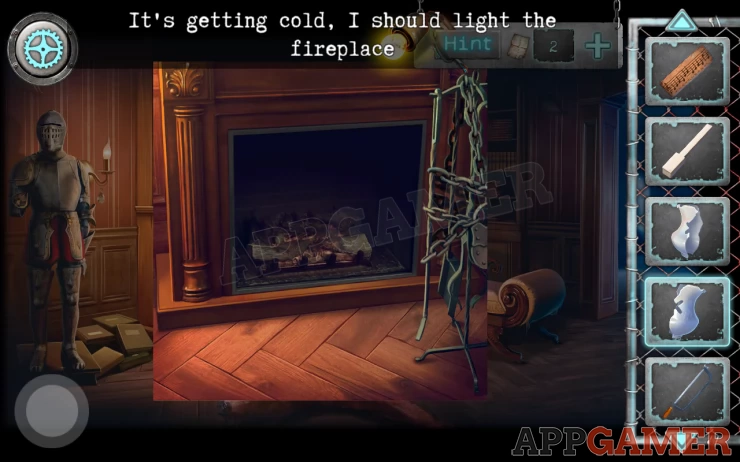
Add the newspaper to it an then use the matches to light it.
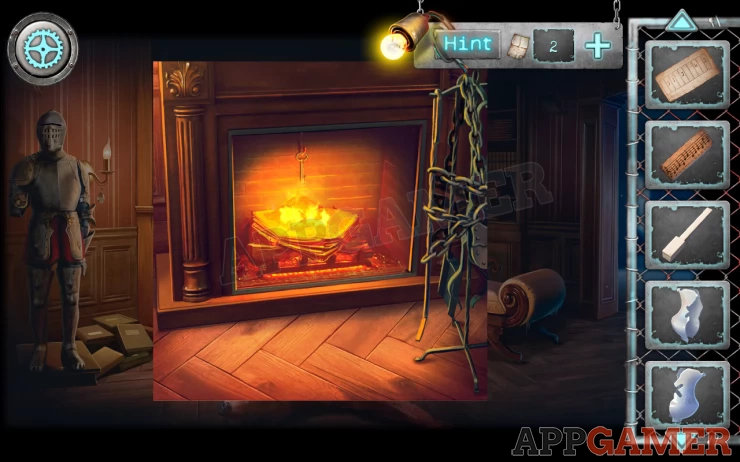
Use the key you have on the chains on the right to unlock a padlock. Collect the poker then use this to collect the key from the back of the fire.
Now rotate the view to the piano. On the left is a small table, view this to see a Ouija board and collect the folding knife from it.
Rotate the view again and view the sofa to see the lump in it. Use the knife here to cut open the fabric.
Collect the padlock from inside.
Now back out to the hall and tap to view the low table on the left again. There is a wrapped box.
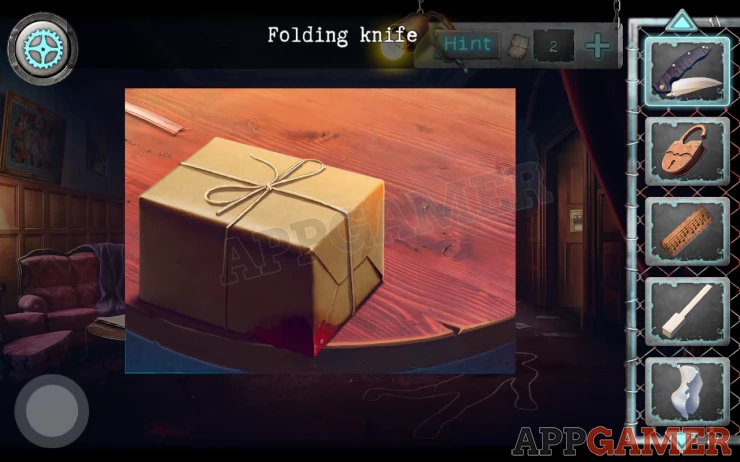
Use the knife to open the box and collect a Ouija Pointer.
Go back into the library and find the Ouija Board. Add the pointer to it.
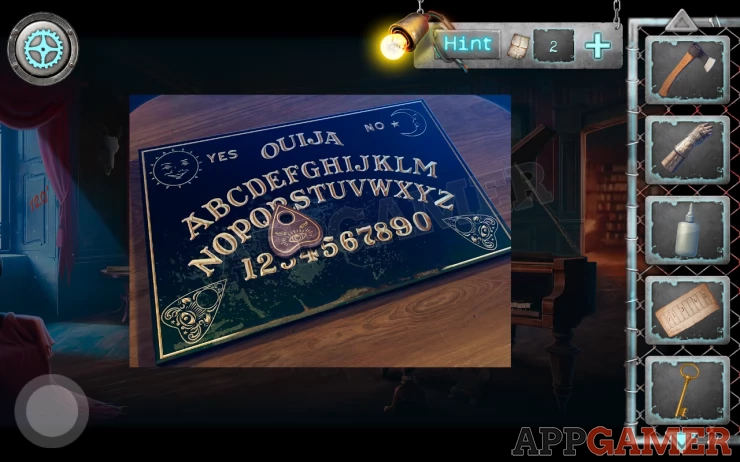
Tap the symbol on the right to make the pointer move and watch the word it spells out.
DEATHShow
Rotate the view again and tap to view the cylindrical Cryptex box on the bear rug in front of the fire.
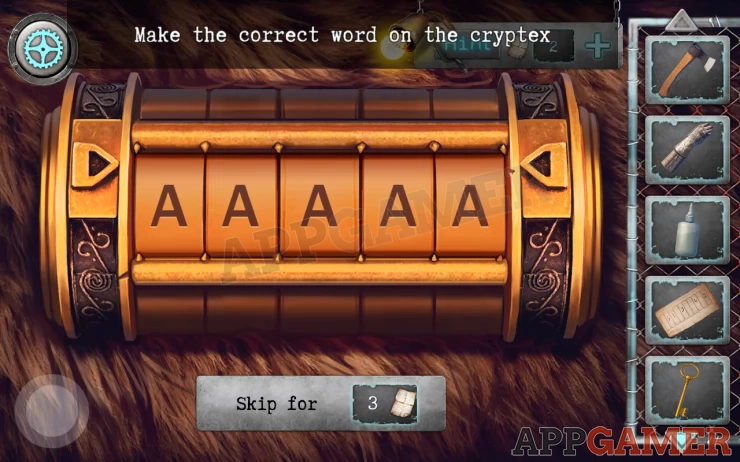
Use the clue from the board to set the correct code to open it. Collect a 'Detail' button.
Now back out and go through to the corridor. (with the ladder) On the right is a door with a puzzle panel, view this.
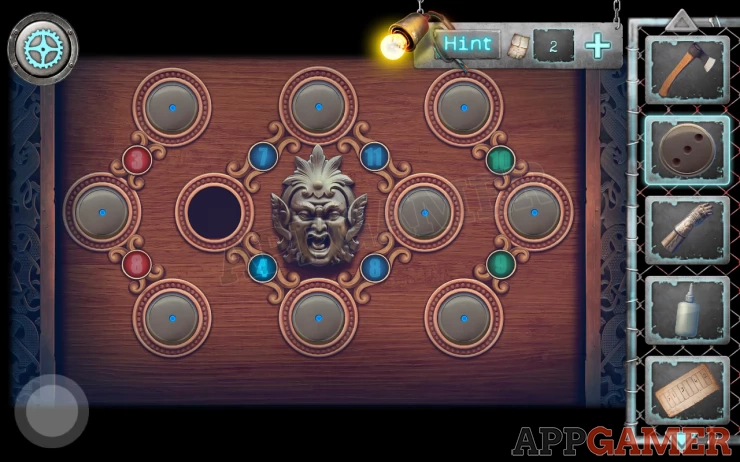
Add the Detail you have just collected to start the puzzle.
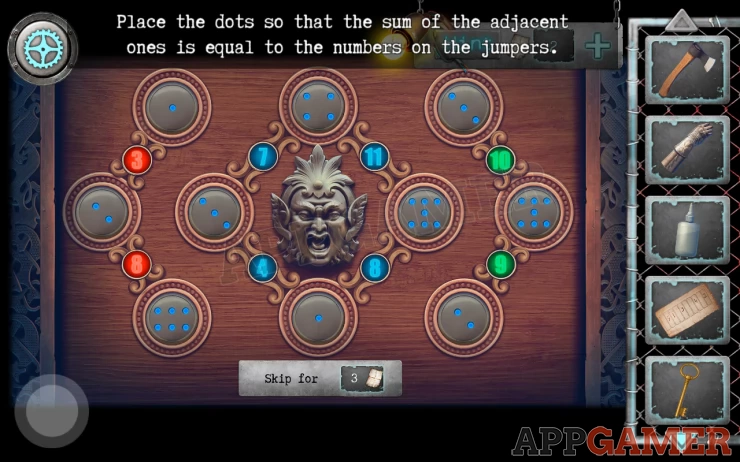
Hint, tap each button to set it from 1 to 7. Set them all so that the sum of the 2 adjacent ones matches the number between them. This can be solves in many ways.
Solution: Show
Now enter the study room.
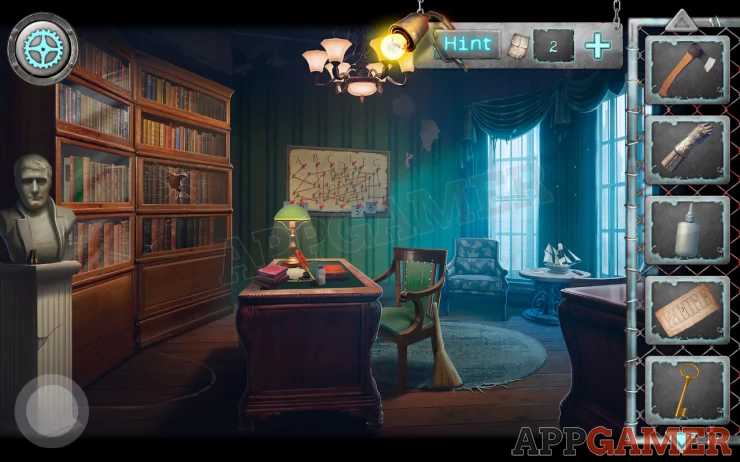
View the statue on the far left and collect from it some batteries. Then in the center of the room by the chair collect a broom.
Nov view the desk.
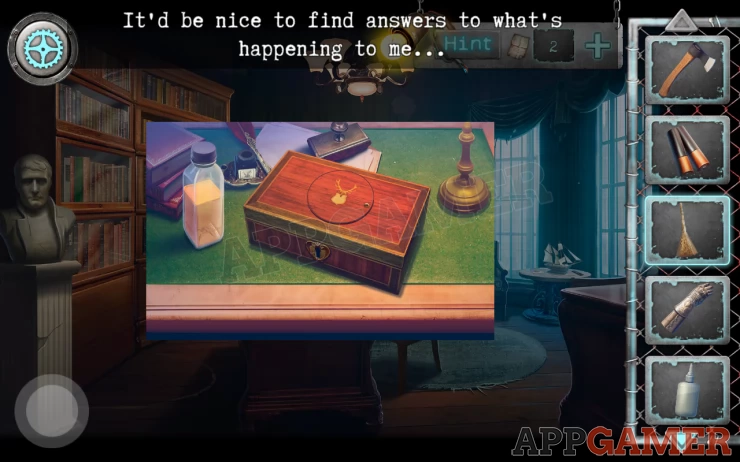
Collect the bottle of developer and then use the golden key to open the wooden box.
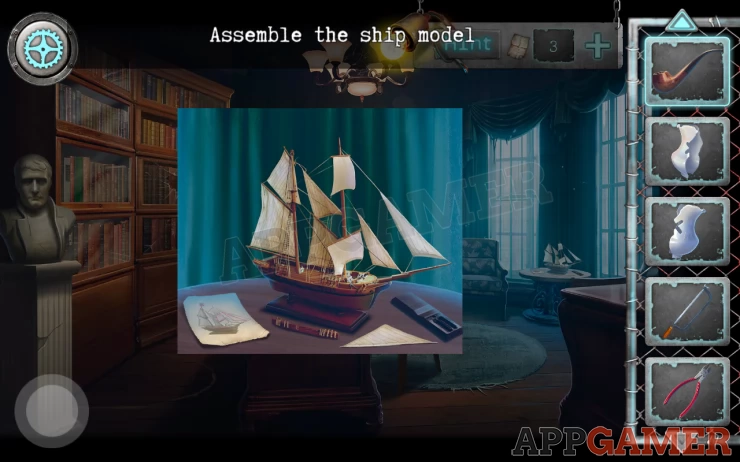
This will start a puzzle to arrange the parts of an image, it is a ship.
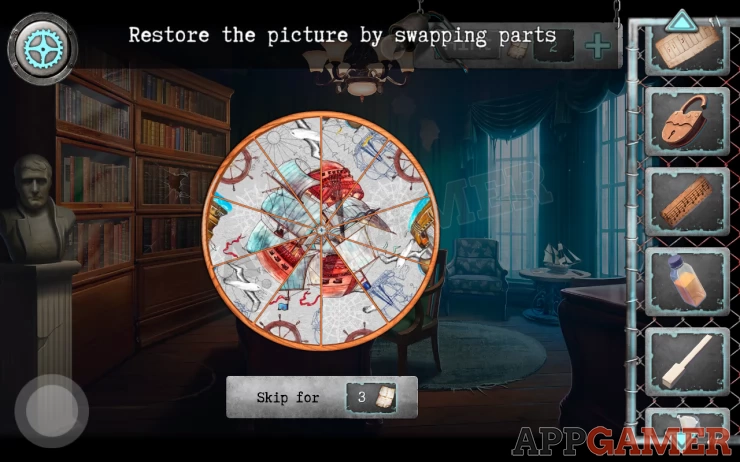
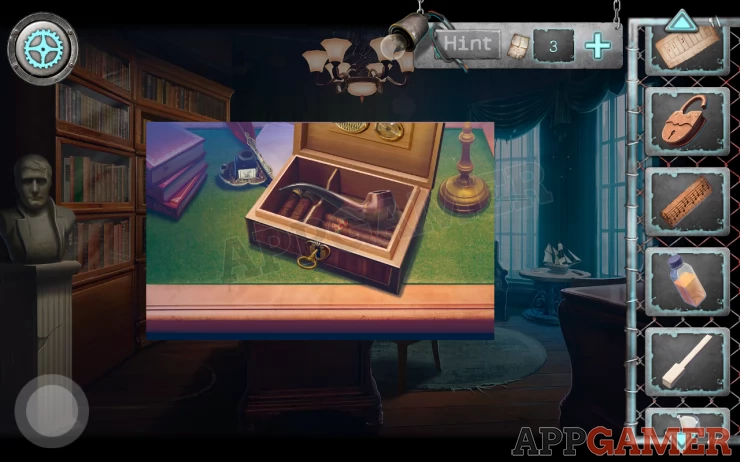
Once done you can collect a Smoking pipe (tube) from the box.
Next tap the table by the window with the model of the ship on it.
Collect the remote control from the table and then combine this with the batteries.
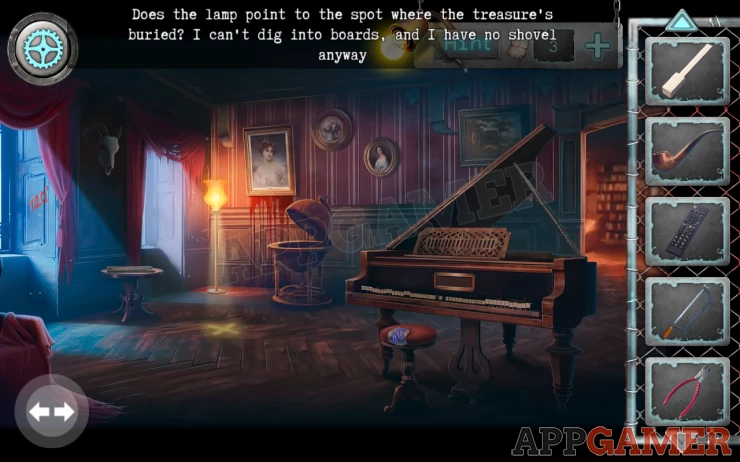
Back out to the hall and then go through to the room with the piano.
If you have not already done so combine the 2 half pieces of lampshade, then also add the glue to them to complete the Lampshade.
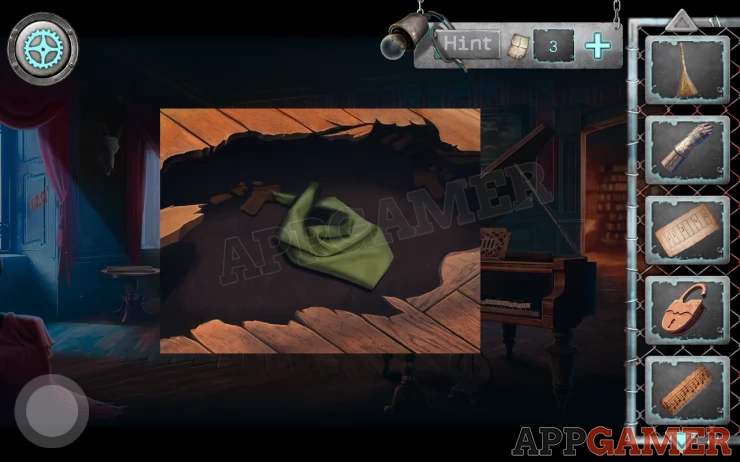
Yo can now add this to the lamp bulb in the back corner. This will cause an X to shine on the floor.
Next use the Axe on the floor at the X mark until the hole is large enough (3 hits) to find and collect a green Neckerchief.
Back out to the hall and then through to the corridor with the ladder. At the end is a doorway blocked by bars.
Use the 'Saw for metal' to remove a bar and move through to a medieval style room.
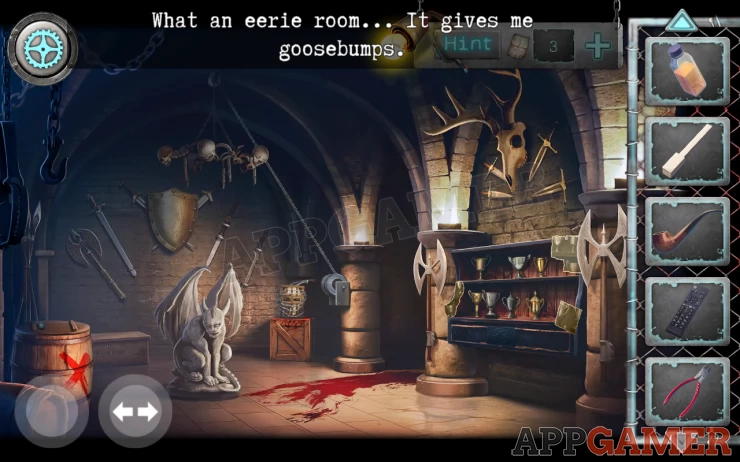
At the back center of the room is a box with a head on top. View this.
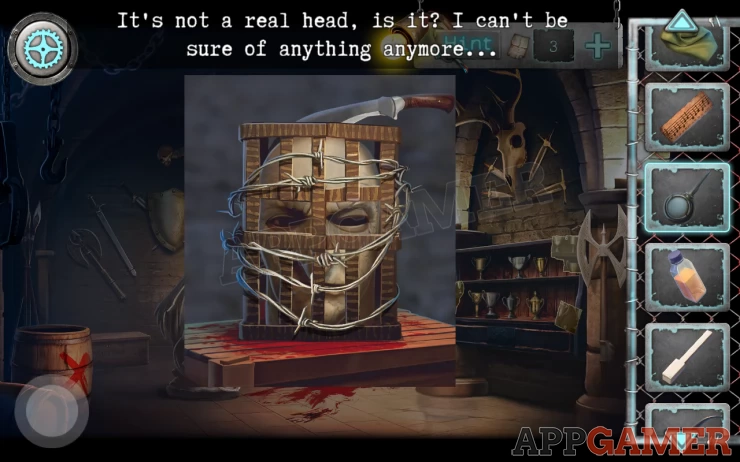
Use the wire cutters to cut all the wire loops then tap to remove them. Remove the knife from the top of the head and it will fall apart. You can then collect a bottle of paint remover.
Next tap to view the animal skull on the right wall. There is a puzzle to solve.
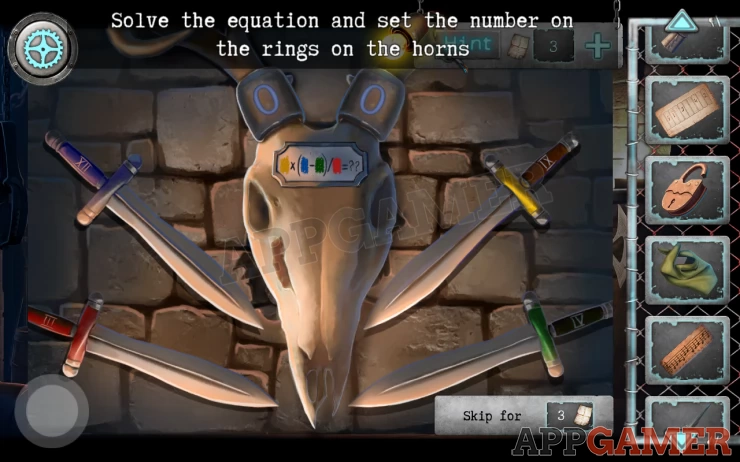
Hint: note the numerals on the sword handles with colors.
Solution: IX x (XII - IV) / III = 24Show
Collect the bunch of garlic.
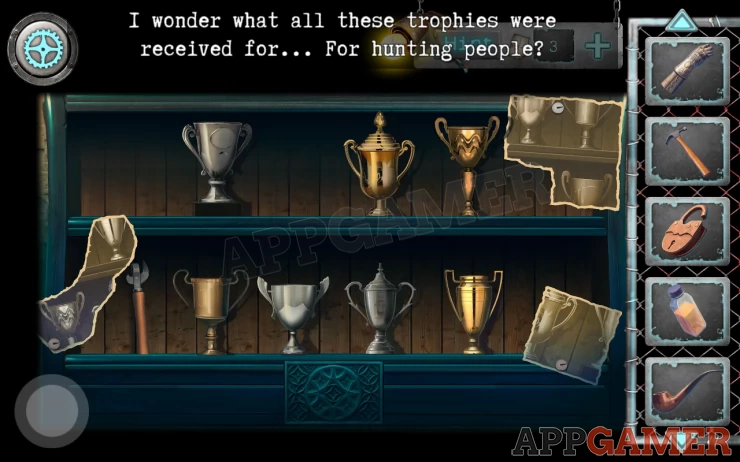
Now tap to view the shelves below this with trophies. Collect a can opener from the lower left.
Finally, in the bottom left is a barrel with an X. View this and collect an Oiler (oil can) from the top.
Exit the room and return to the corridor with the paint cans. View the paint cans to see the blue paint on the floor.
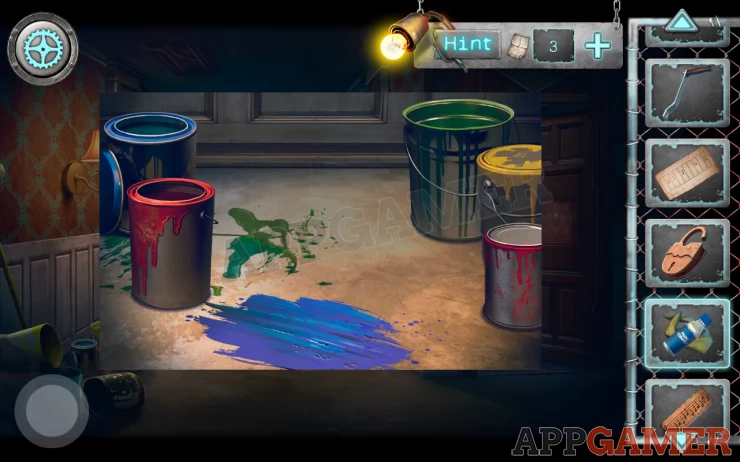
Combine the paint remover and the green neckerchief in the inventory and then use this on the blue paint to clean it. It will reveal a code 8162Show
Next view the red box on the floor again. Use the can opener on this to open it and collect some neon sticks.
Next back out to the hall and enter the library area. View the suit of armor again on the left.
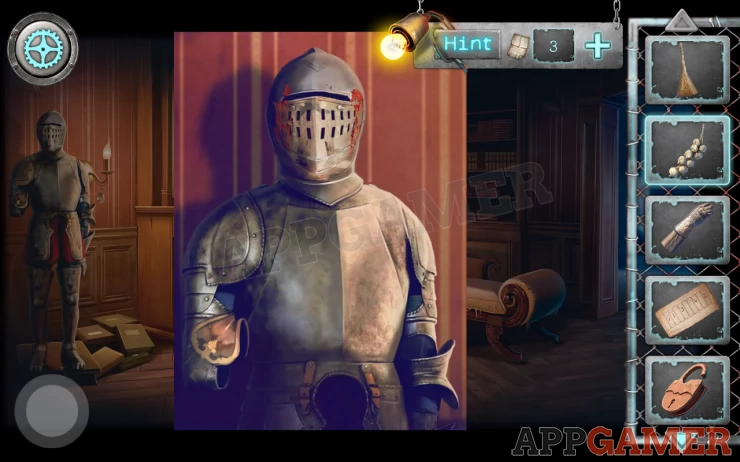
Use the oiler on the rusty face plate and then open it to collect a handle.
Then view the book case (center) to see this line of books.
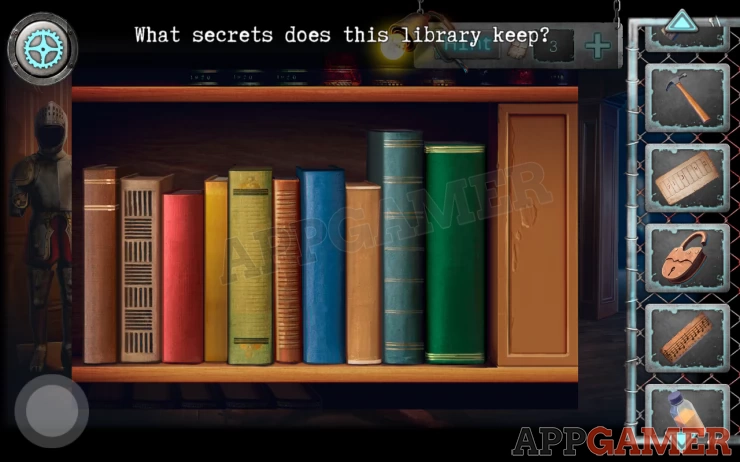
Add a clue paper (sheet with book order) from your inventory to this and use it to tap the books in the correct order.
Once done you can collect a second piano key.
Rotate to view the piano area and then tap on the keyboard.
Add the 2 keys to fill the missing slots. Then add the music paper clue.
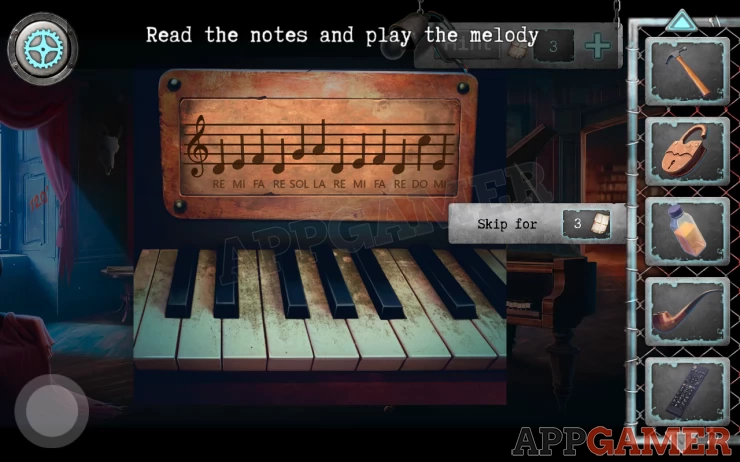
You now need to play the notes on the paper. They will light up when you get the correct ones
Once done you can collect a trophy.
Go back through the corridor to the medieval room. There is a pulley with a chain in the center.
Add the handle to the pulley. This will destroy the gargoyle figure.
View the remains and then clean the until you find and collect a hammer.
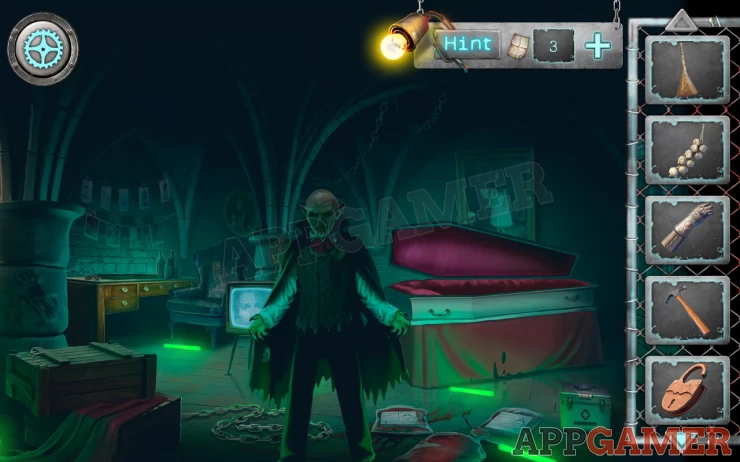
Use the arrows to view the other area of the room. It is dark.
Use the Neon sticks to light up the room. A vampire will appear.
You need to quickly use the garlic on the vampire before it reaches you.
First collect the large chain from the center of the floor. Then add it to the coffin, and add the padlock to it to secure the lid. You are safe.
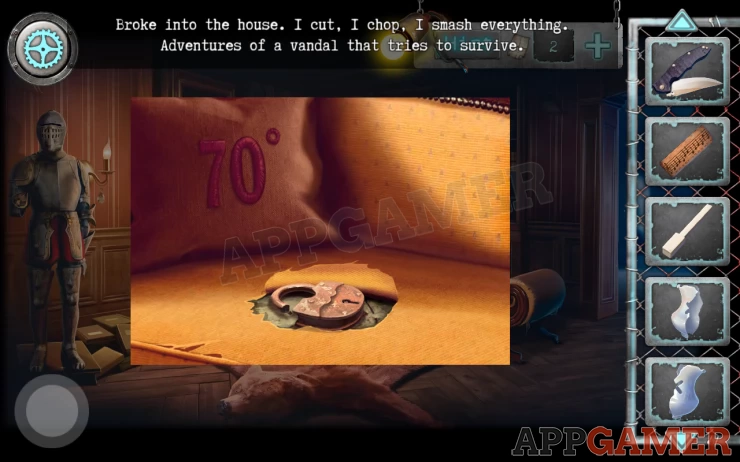
Next view the metal medical box on the lower right. This requires a 4 digit combination.
Use the code found above to open it. Collect a Sail (model ship part).
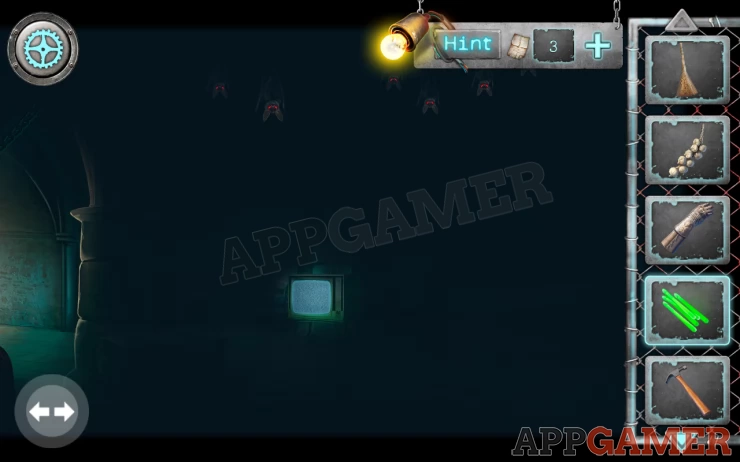
Now tap to view the TV.
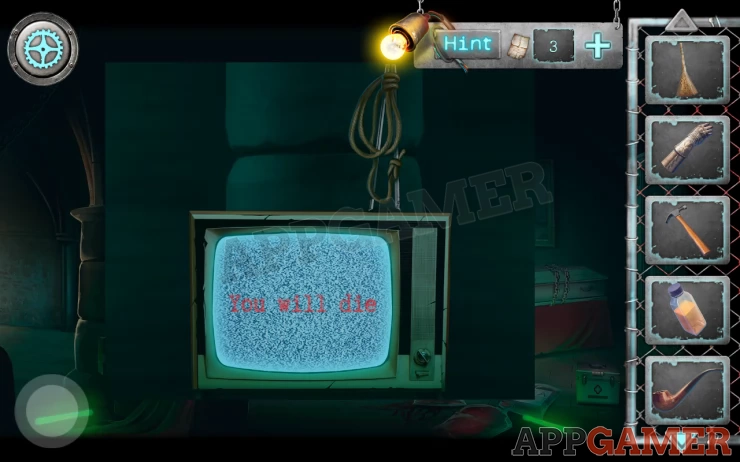
Collect the rope from the antenna. and then move the it around to adjust the picture until you see an image of a remote control.
Show

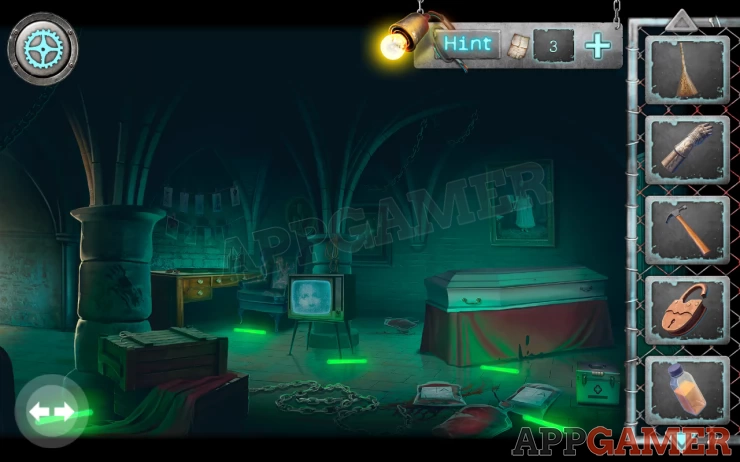
Use the remote control that you have on the TV and the screen will fall to reveal a Three-cornered hat. Collect this.
Now view the desk on the back left. There are photo developing trays here.
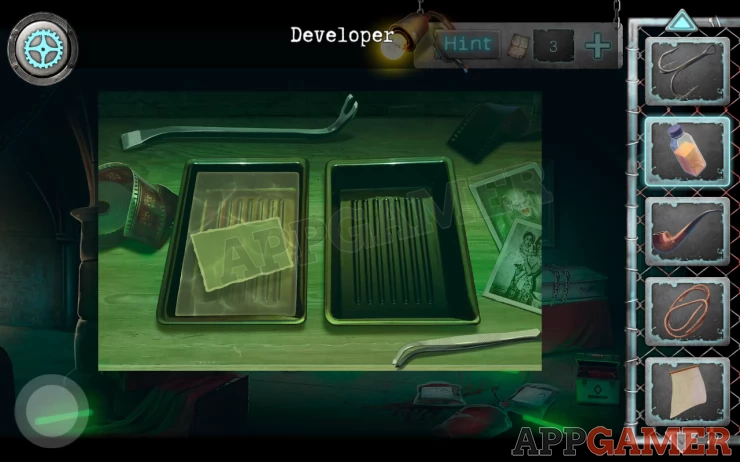
Collect the small crowbar from the top.
Use the bottle of developer on the empty tray to add it. Then drag the tweezers at the bottom to photo on the left. When it develops on the right collect it.
Next tap the wooden box on the left to view it and collect a Hook.
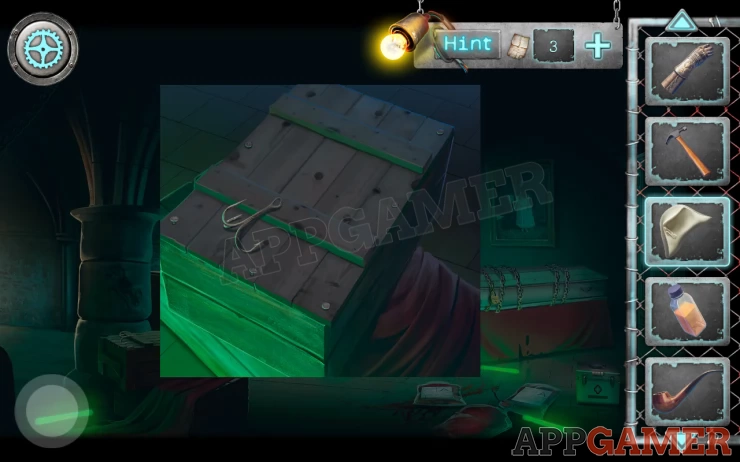
Then use the small crowbar to open it. Move the packing material and collect a Chisel.
Now use the arrows again to view the other are and tap again to view the shelves with the trophies.
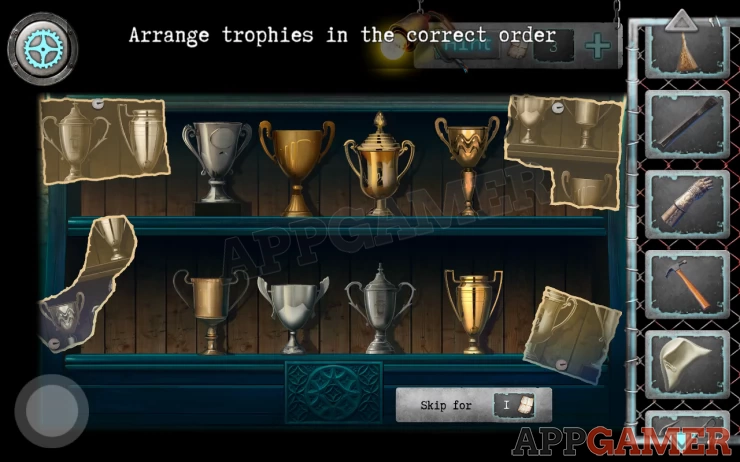
Add the trophy that you have and the developed photo. You now need to solve the puzzle by arranging the trophies according to the photo clues.
Solution: Show
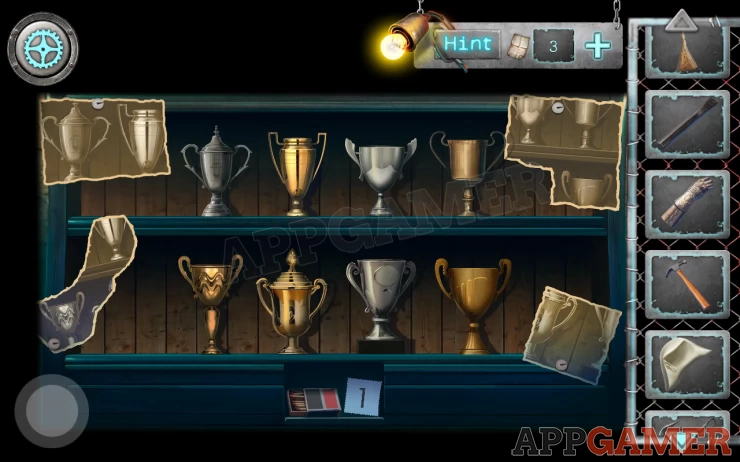
Collect the matchbox and the sheet with number 1
Next view the barrel on the left of the room again. Open the lid to look inside.
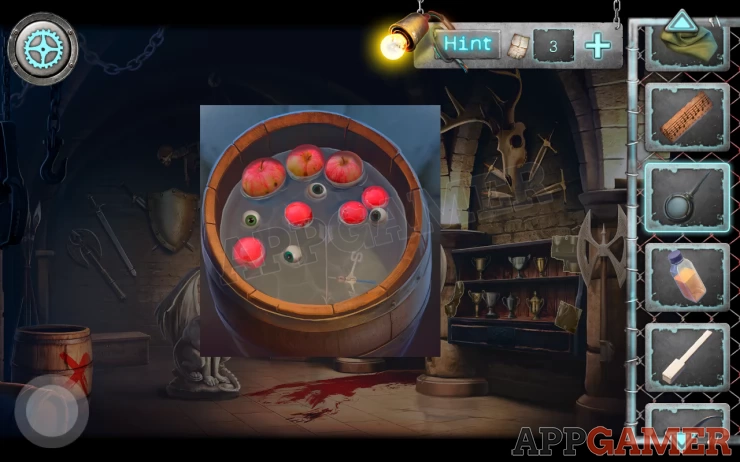
Combine the hook and the dope in your inventory and then use this to collect the Vane from the water.
Now back out to the corridor and enter the Study.
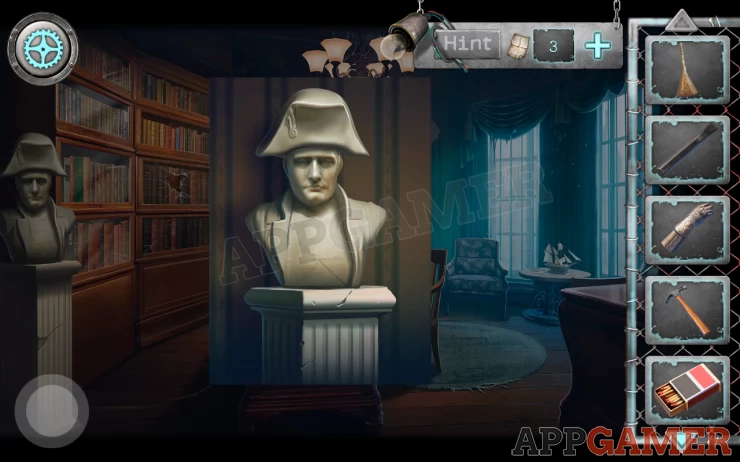
View the Napoleon Bust on the left again and add the three pointed hat. This opens a door to a secret room.
Continue in Chapter 2 Part 3
We have questions and answers related to this topic which may also help you: Show all