Chapter 1 - Kidnapping - Part 2
More Scary Horror 2: Escape Games
This is part 2 of Kidnapping - Chapter 1 of the Scary Horror 2 puzzle game.
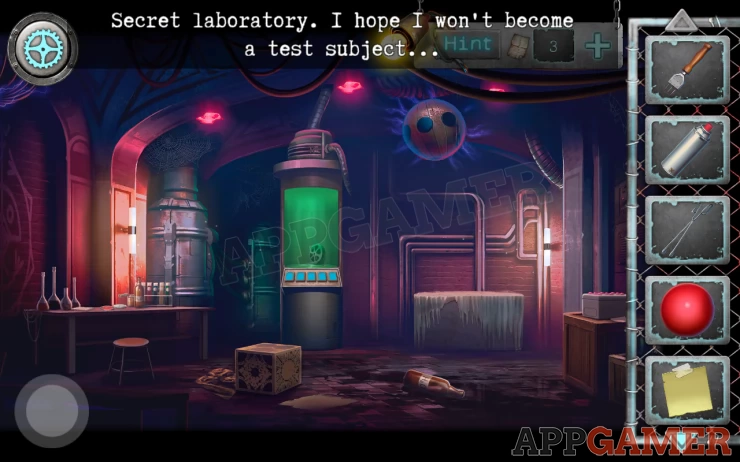
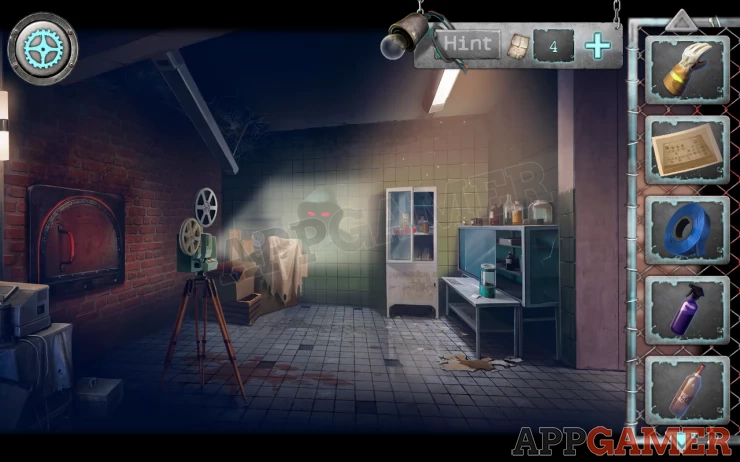
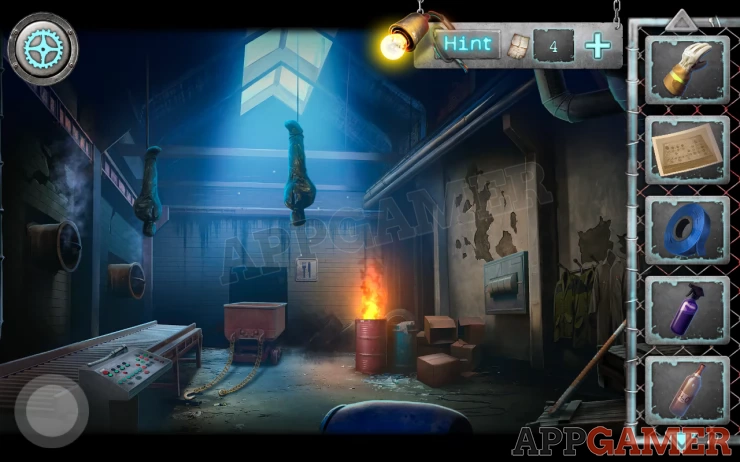
From the hallway you have found your way into a secret laboratory.
First collect the empty bottle from the floor.
Next, below the blue glowing sphere is an iced up freezer. View this.
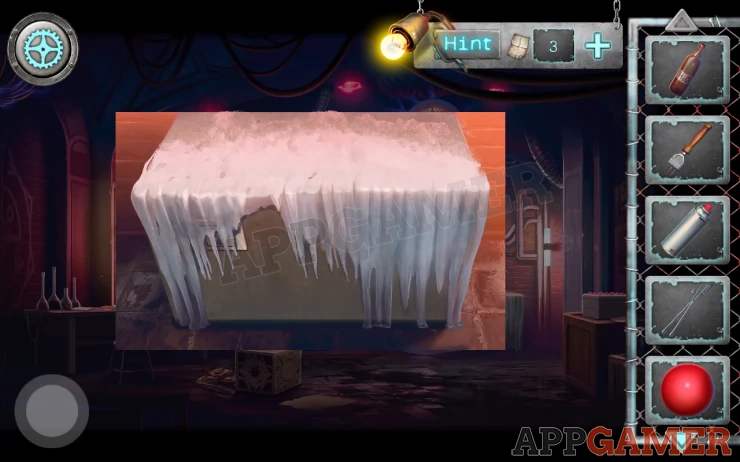
Use the ice breaker on it to clear some ice and then press the green button to defrost it. Open it and collect a hose.
Now on the far right of the room is a box with a puzzle on top with red balls.
Add the red plastic ball to it and then follow the instructions to solve it.
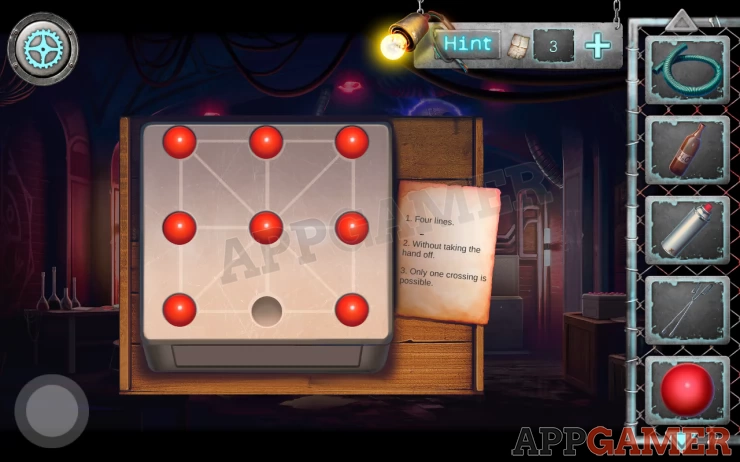
Hint: when you start you will see more dots appear around the outside. You can use these but you only need to cover all red balls.
Solution: Show
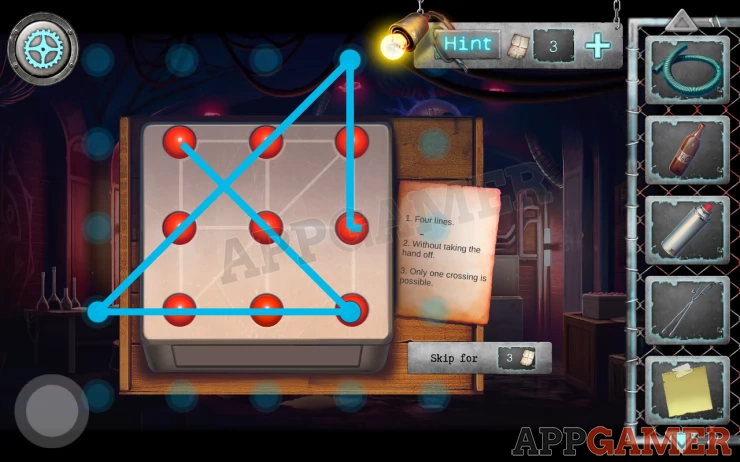
Collect the pencil (non-sharpened)
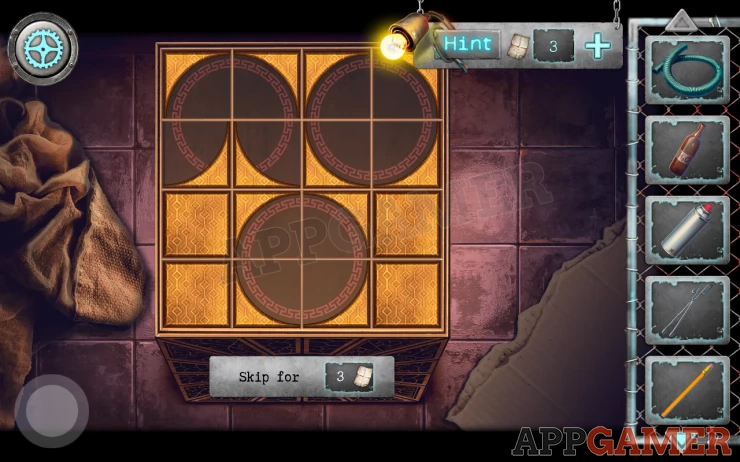
Now view the cube box on the floor. It has a puzzle.
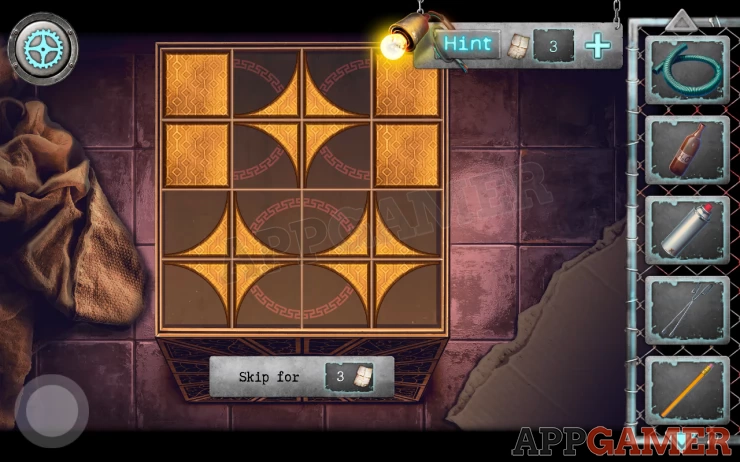
Tap pairs of gold shapes to swap positions. Arrange them to match the 3 circles.
Solution: Almost complete, swap the last two on the left.Show
Collect a bottle of H2O2
Now tap to view the table on the left.
Use the pencil on the sharpener on the back left to sharpen it.

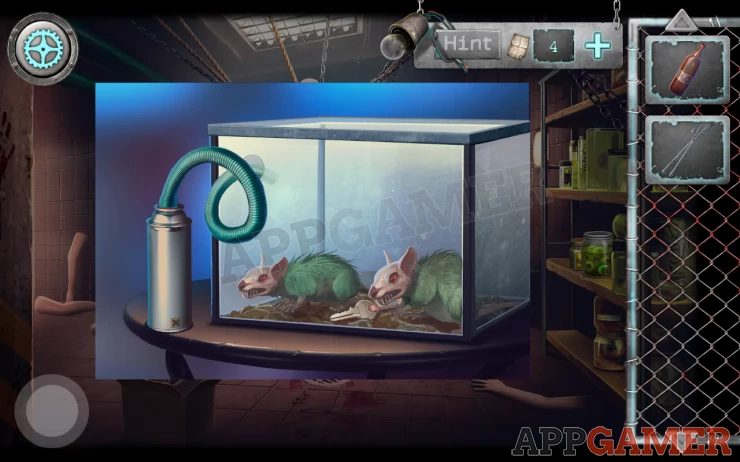
Back out to find the room with the hanging body and tap to view the glass cage with rats in it.
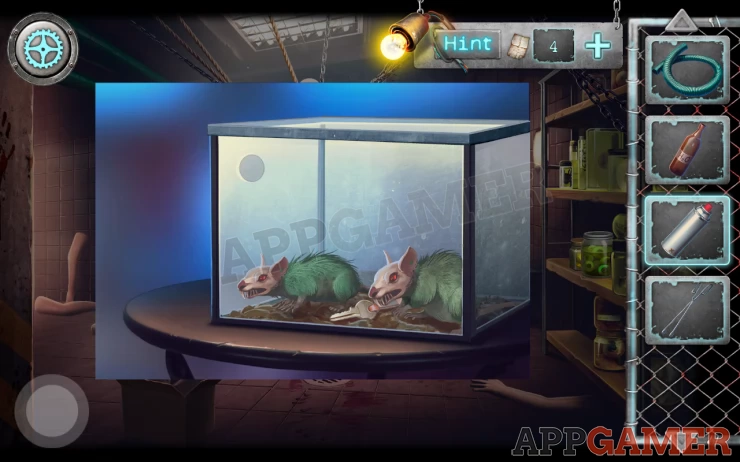
Combine the corrugated hose with the sleep gas cylinder in your inventory. Then use this cylinder of sleep gas on hole in the glass cage. You can then open the lid and use the forceps to collect the key.
Next move to the left to the room with the dentist chair. View the chair then add the yellow sticky note on the chair.
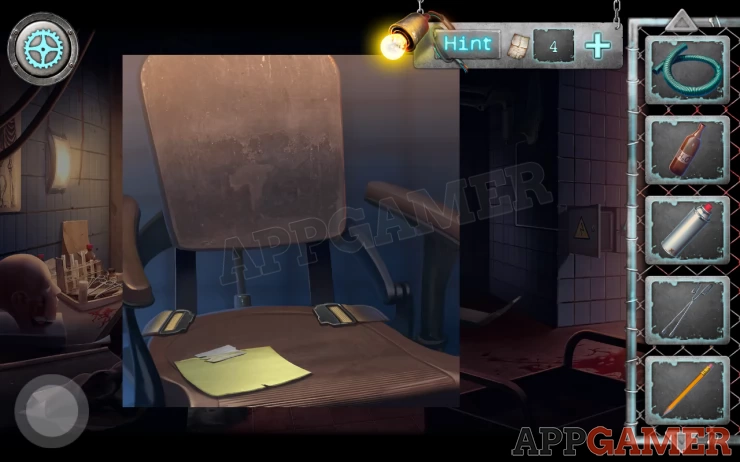
Use the pencil on the note to reveal a code: 681537Show
Collect the note.
Go back to the hallway with the wheelchair. At the end is a double door with a keypad.
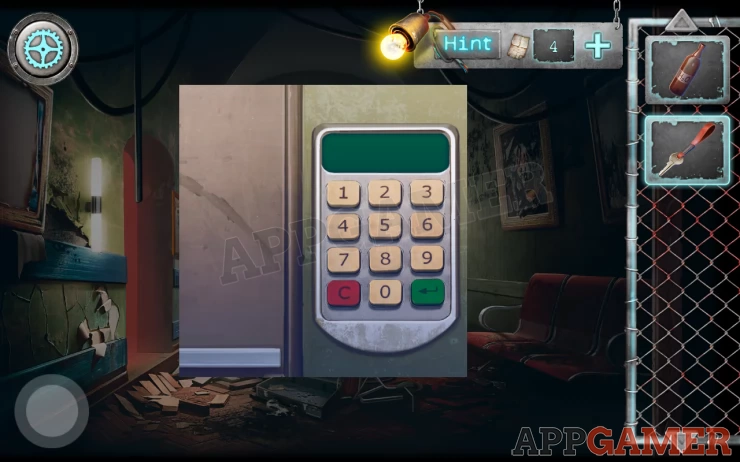
Use the code found above on the keypad to open the doors. (if you cant enter the code then you forgot to pick up the note).
You go through into a morgue.
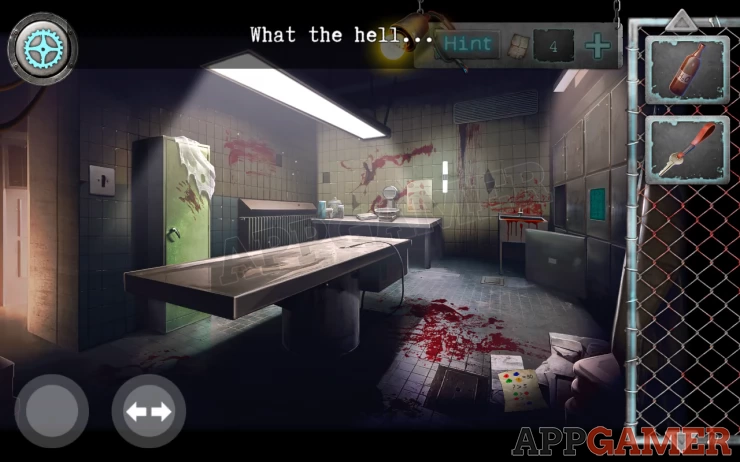
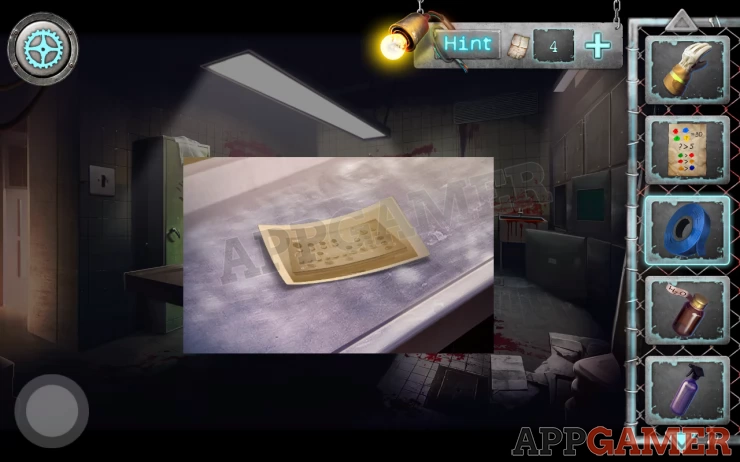
First tap to view the autopsy table. Suspiciously clean. Collect from it an instruction leaflet.
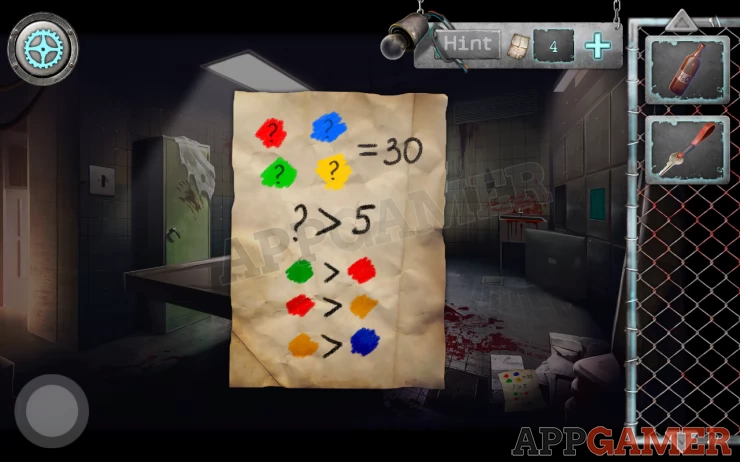
Next, on the paper on the floor bottom right to collect it. This is a clue.
Just above this on the far right on one of the doors is a green panel. This is a maths puzzle.
Drag the 5 numbers on the right to complete the correct sums on the grid.
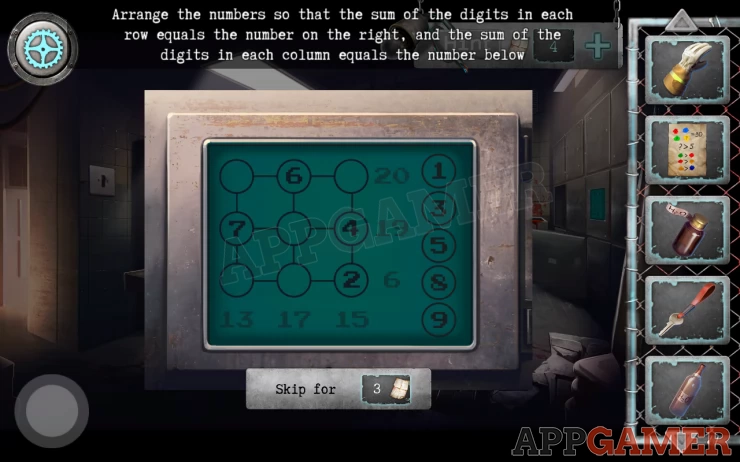
Solution: Top: 5+6+9=20. Middle: 7+8+4=19. Bottom: 1+3+2=6Show
Collect a spray bottle.
On the back right is a sink. Tap to view this.
Collect a fire glove. Then click the tap to make the water run and then use the empty glass bottle to fill it with water.
Next tap to view the table to the left at the back. It has a scale.
Use the key on the locked box to the left to open it and collect Insulating tape.
Now back up and move to the left area. A crematorium.

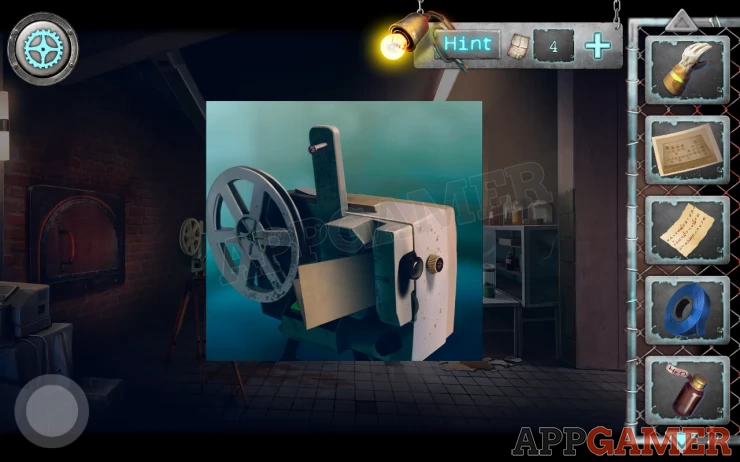
First tap to view the projector on the left. collect from it a note, this is a clue.
Next, on the back wall is a white cabinet. View this to see a padlock with 4 colored dials.
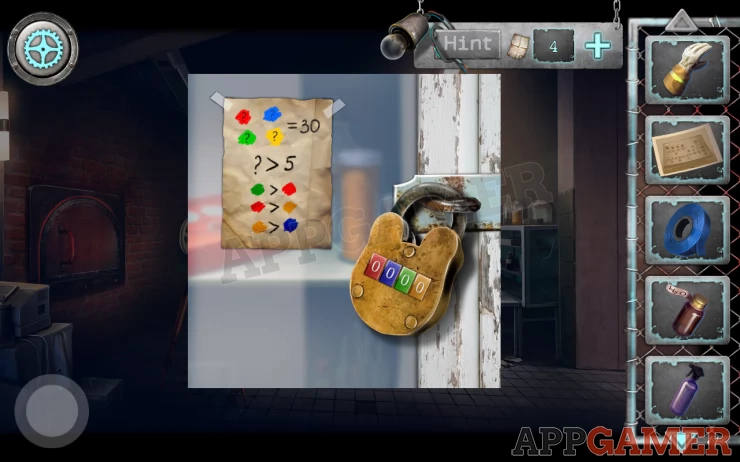
Use the paper clue you found to get the combination.
Hint. 4 numbers that add up to 30, All are above 5.
Solution: 8697Show
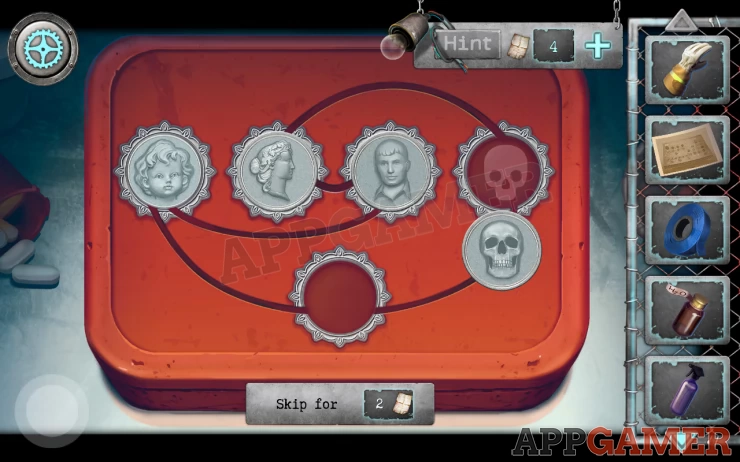
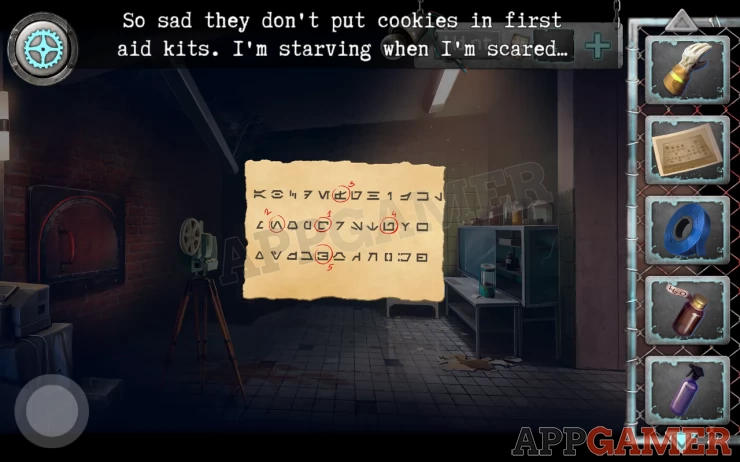
Open the cabinet and view the red box inside. This is a puzzle.
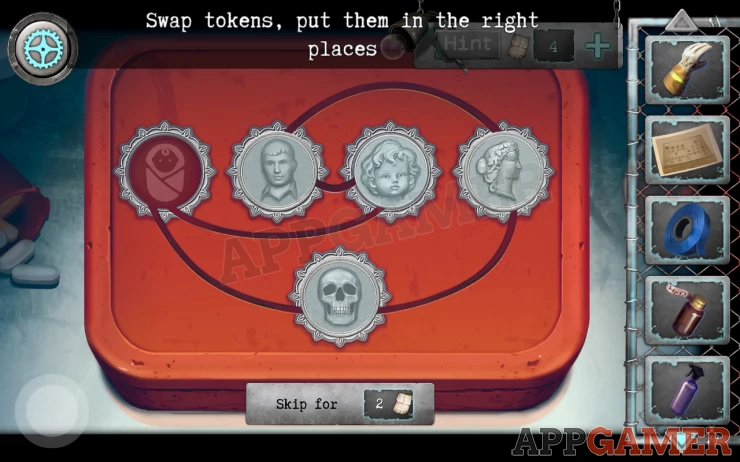
Move the tokens to arrange then in the correct order.
Solution: Show
Inside is a clue. Note the highlighted symbols and number order.
Show
Back out to the hallway and then into the secret room on the left.
View the green glowing cabinet on the back wall.
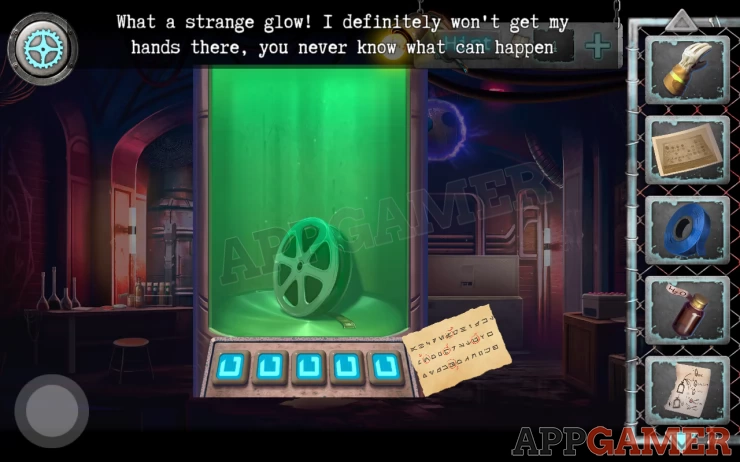
You can now use the symbols clue to enter the combination.
Solution: Show
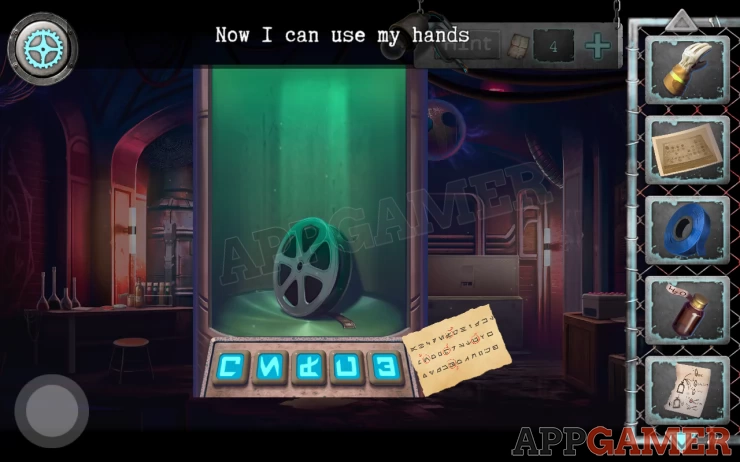
The glow fades and now you can take the film reel.
Now view the table on the left of the room again. It has chemicals.
Place the bottle of H2O2 on the table and also the spray bottle. Then add the paper clue to the torn notebook.
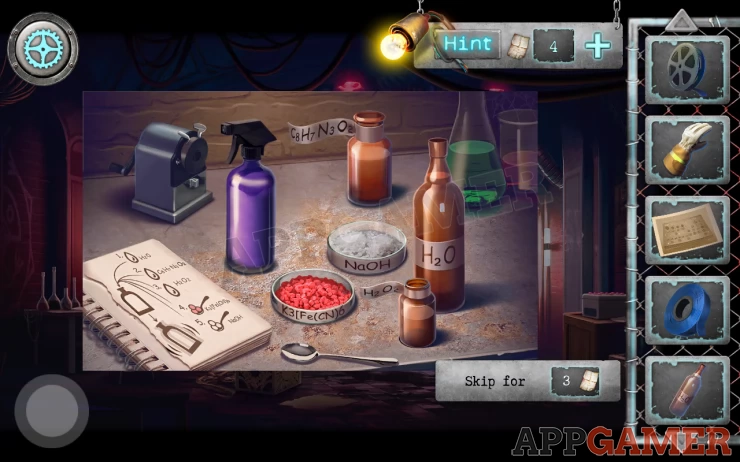
Open the spray bottle and then add in the required ingredients from the note list.
(use the spoon for the 2 powders)
Close the spray bottle and then shake it. You now have Luminol.
Go back to the crematorium area.
Add the film reel to the projector and press the green button to turn it on.
After the show you will see the back left corner illuminated. Tap to view this.
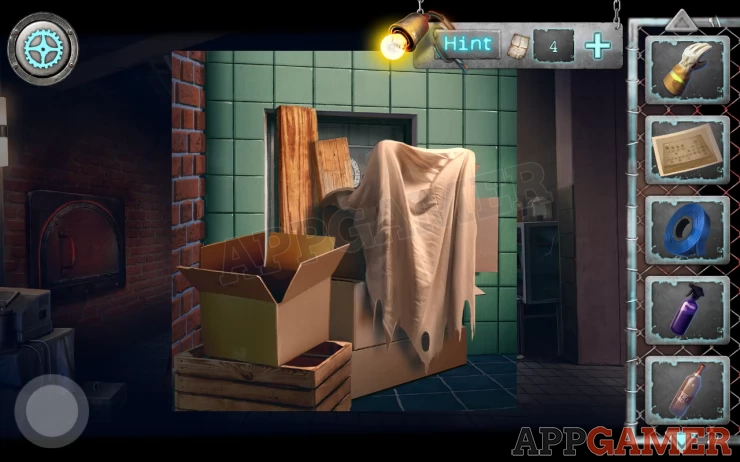
Move the boxes and other items to find a hidden door with a code lock.
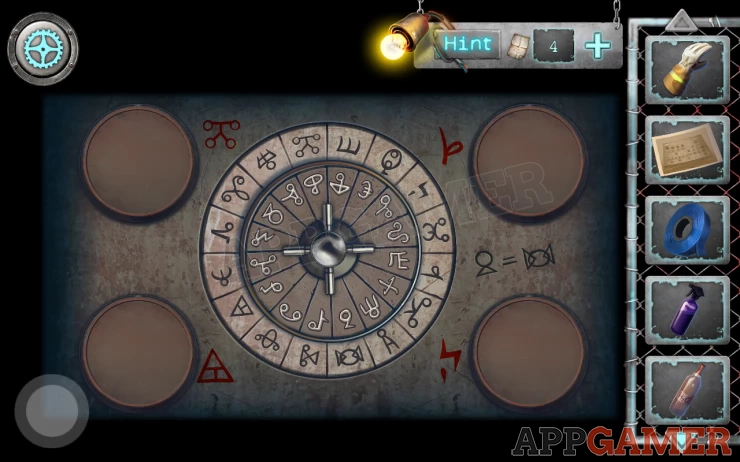
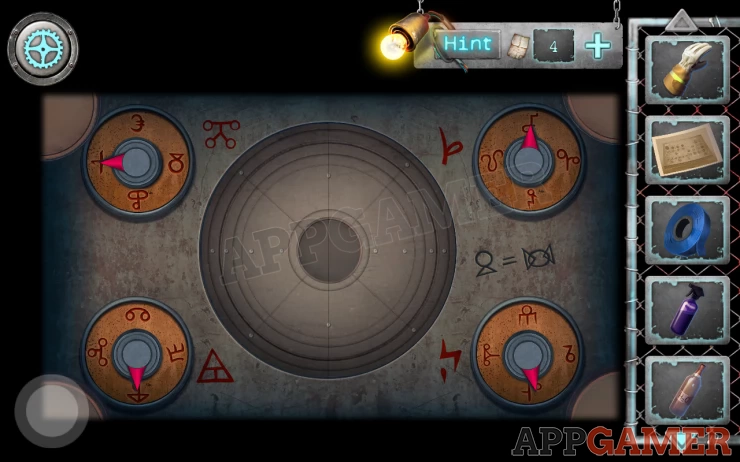
Hint: Note the 4 symbols in red. And the clue on the right. You need to turn the inner circle to match the clue (line up the correct symbols. You then have a few seconds to see the correct matching symbols for the 4 written ones in red. Then set these on the 4 dials that appear. It is easier if you don't line it up completely to begin with.
Solution: Show
Move through into a factory.
First collect a metal bar from the bottom right.
Then, by the burning barrel on the right are some boxes, view these.
Open the box and collect a hook.
Then use the insulating tape on the shard of glass on the floor. You can then collect a Glass knife.
In the center is a mine cart with 2 chains hanging. Use the hook in your inventory on these to attach it, then tap to place he chains on the conveyor belt on the left.
Now view the control panel on the left. The instruction note will be added.

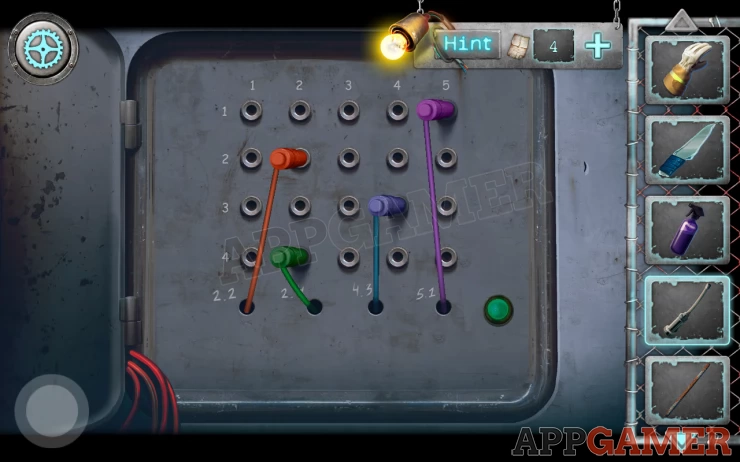
First collect a spray hose from the top. Then tap to view the wires at the bottom.

There are 4 wires. Each has co-ordinates above it. place the plug for each in the correct hole.
Solution: Show
The control panel can now be used. Follow the numbers sequence on the instruction note to activate the correct switches.
Once done the conveyor will activate and move the mine cart from the doorway.
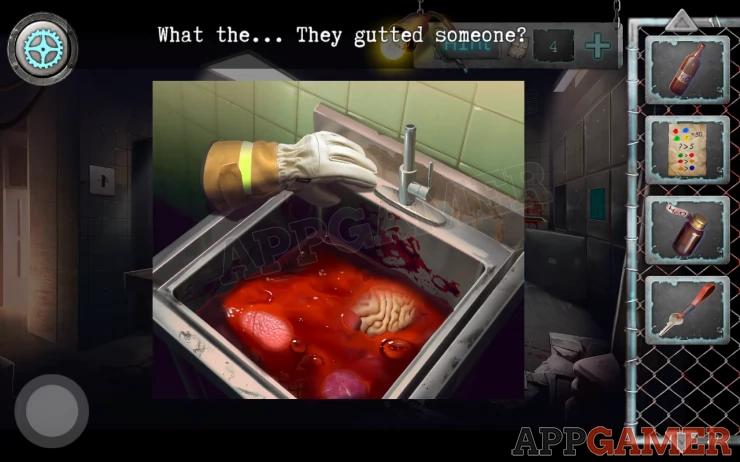
Before moving through, back out to the morgue and view the sink in the back right again. It is full of blood and organs. Add the spray hose to the water outlet, then turn on the water.
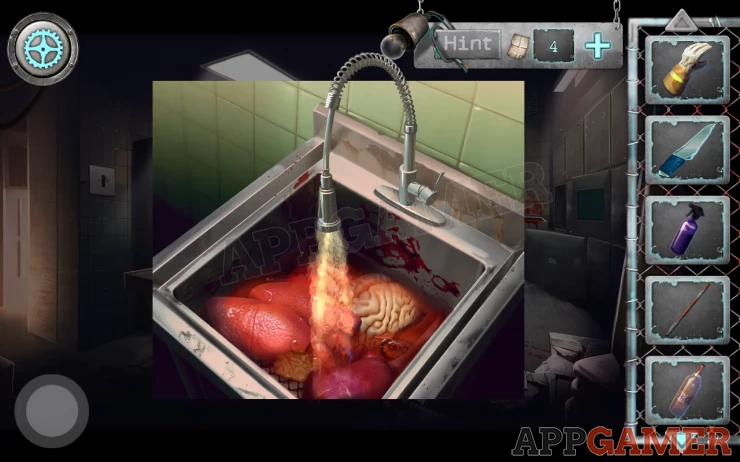
Once the blood washes away you can turn off the water and then collect the (plastic) organs.
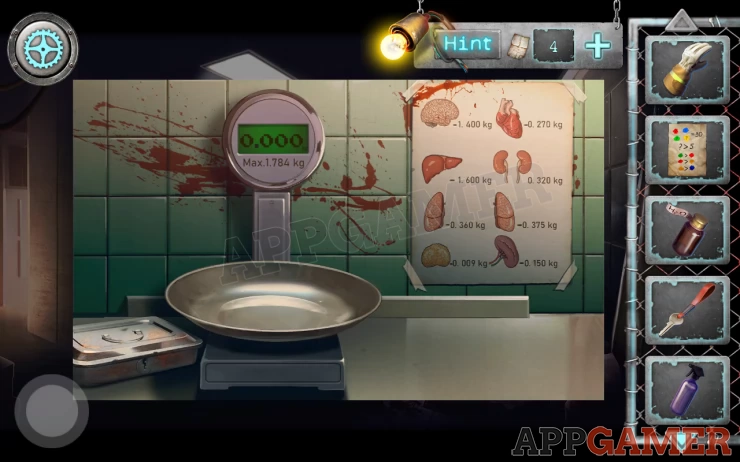
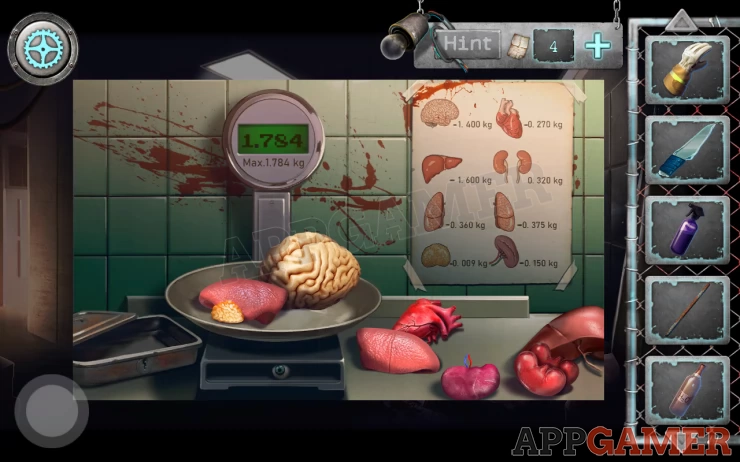
Move to the table with the scale. Place the organs on the bench to the right. This is a puzzle.
Hint: note the max weight limit. Place organs on the scale to reach the max. Use the weight chart to work out the right ones.
Solution: Show
Once done you can collect a glass eye.
Now go back to the factory and through to the next area. A cafeteria.
Continue in Kidnapping Part 3.
We have questions and answers related to this topic which may also help you: Show all