Chapter 1 - Kidnapping
More Scary Horror 2: Escape Games
This is our full walkthrough of chapter 1 - Kidnapping of Scary Horror 2: Escape Games. A second Scary escape room game from developer Escape Adventure Games.
The first chapter starts with you on your 30th birthday. But your day does not go well when you are kidnapped and drugged.
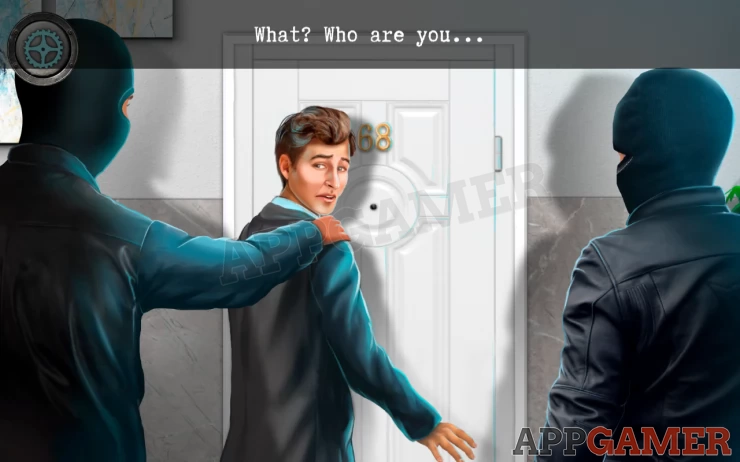
You wake up in derelict bathroom, with a body and a hole in the floor.
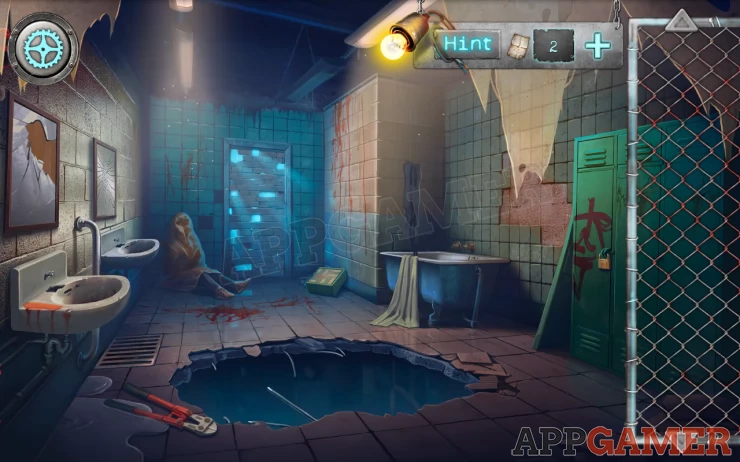
First collect the bolt cutters (metal nippers) from the floor. You can then use these on the padlock on the lockers on the far right.
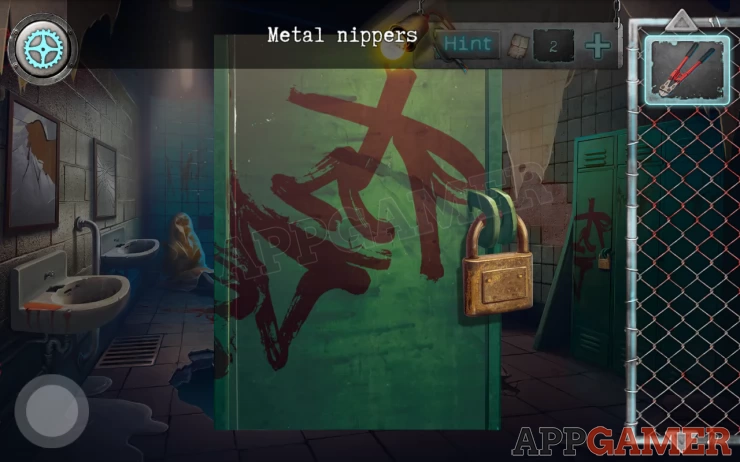
Collect a blue hose from the locker
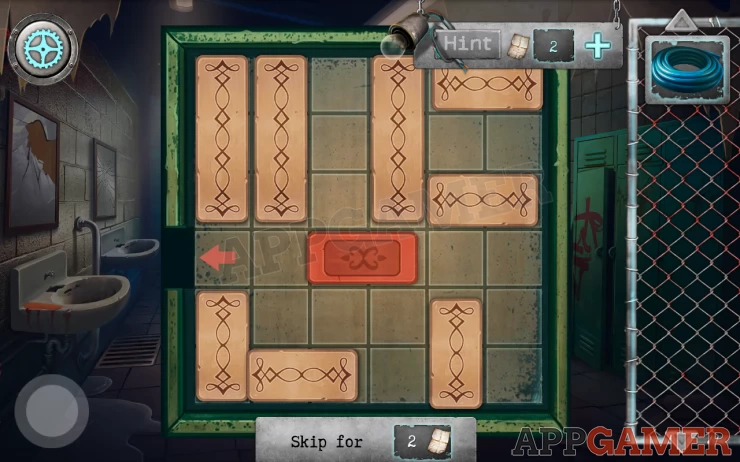
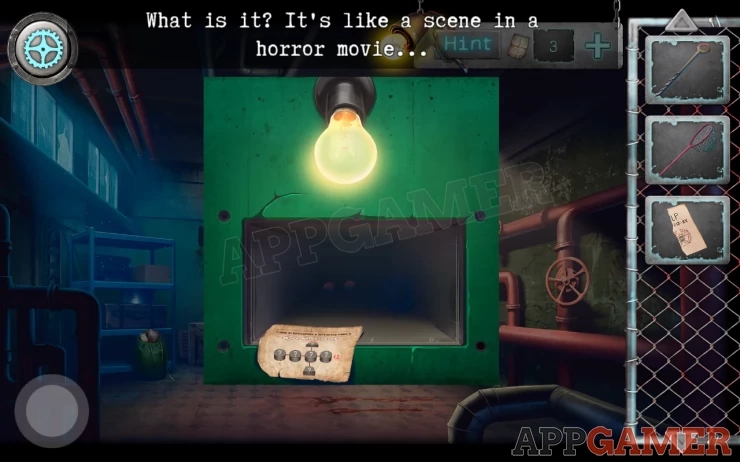
Next, on the floor by the bricked up door is a green box, view this to see a puzzle.
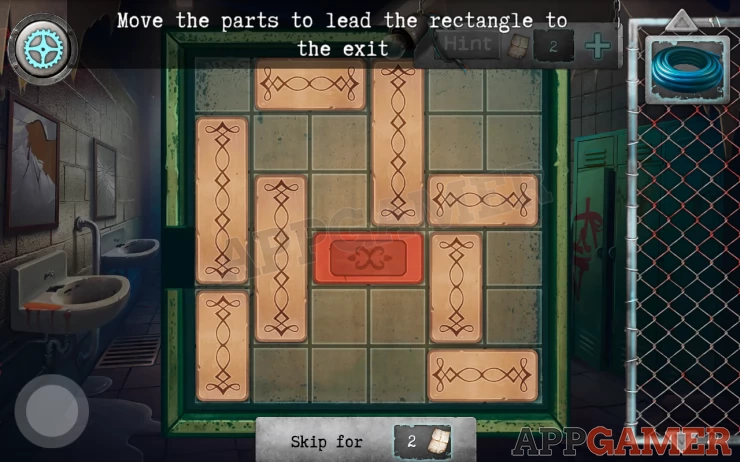
Rearrange the blocks to let you slide the red one out to the left. Open the box to collect a pipe clamp.
Show
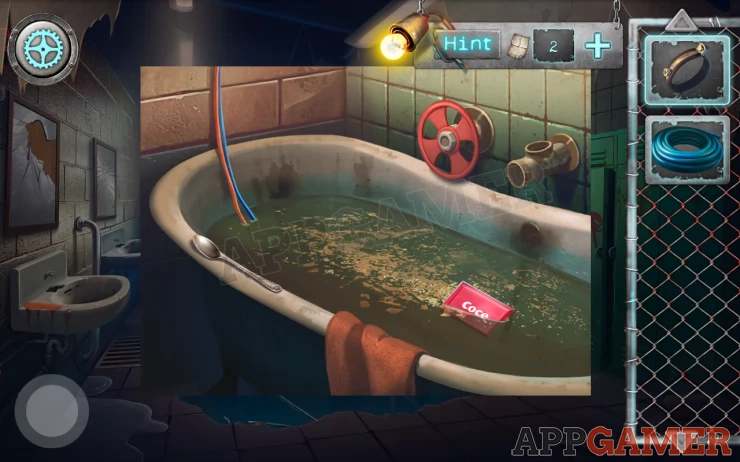
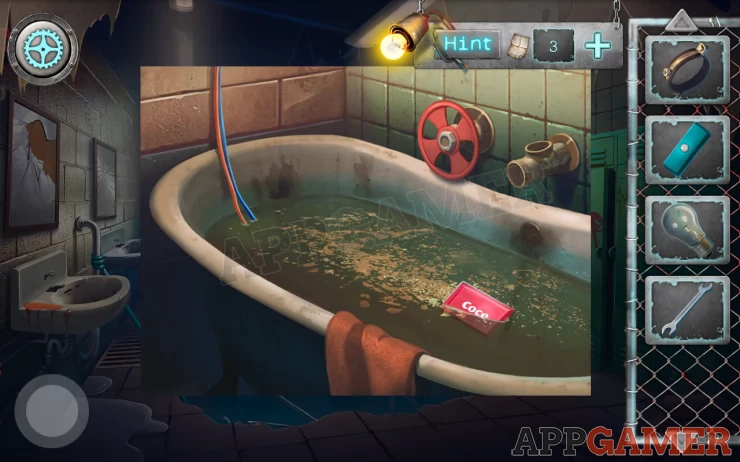
Next tap to view the bath. Collect the spoon from the side.
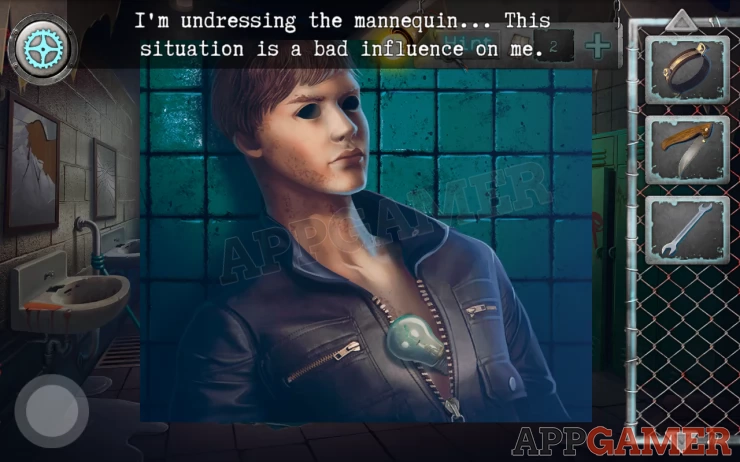
Now view the body, you can tap to remove the sheet.
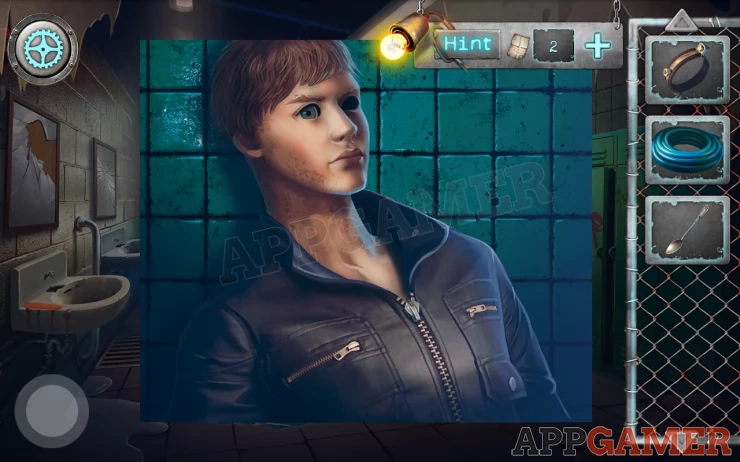
It is just a mannequin. Use the spoon on the remaining eye to remove it. You can then collect a key.
Now use the hose on the handle that is on the left wall between the sinks. This will tie it on. Then tap the hose on the floor to lower it into the hole.
You can now tap the hole to go down to the next level
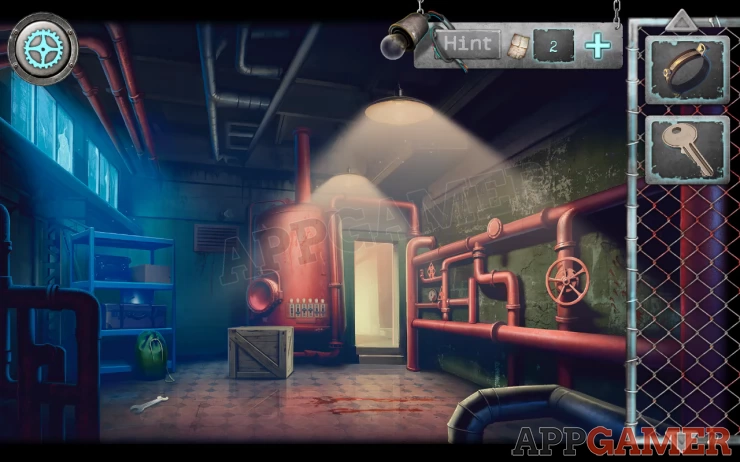
Collect the wrench from the floor. Then tap on the green bag behind it.
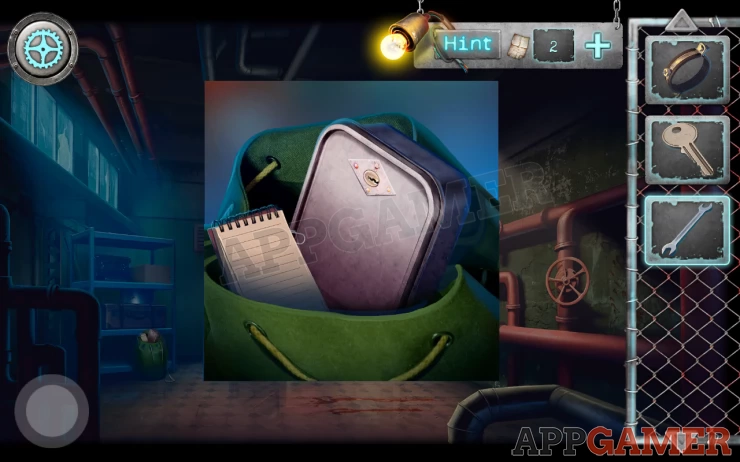
Tap the notebook to find a message and then collect the paperclip. Then use the key to open the lunch box and collect a knife from inside.
Now use the back option to go back up to the bathroom area.
View the mannequin again, add the paperclip to the broken zipper and open the jacket. You can then collect a light bulb.
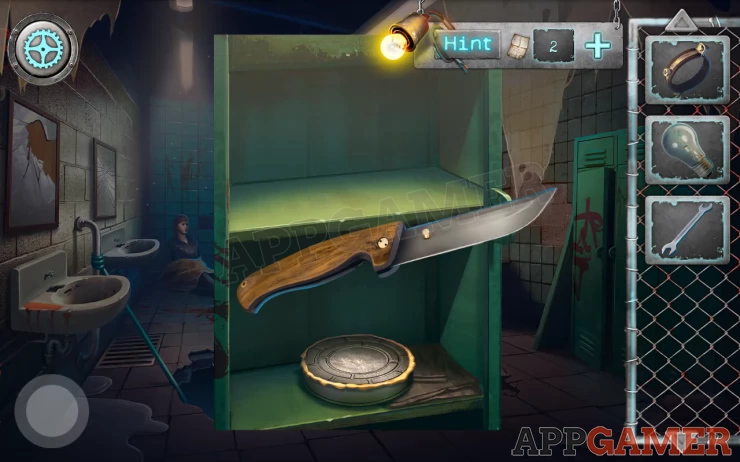
Now back up and view the locker on the right again. Use the knife on the round can on the lower shelf to open it. You can then collect a blue button. (boiler lever)
Tap to view the bathtub again and use wrench to remove the nut on the red valve. Then collect the red valve.
Next go back down to the boiler room and tap to view the control panel on the front of the boiler.
Add the blue button to it to start a puzzle.
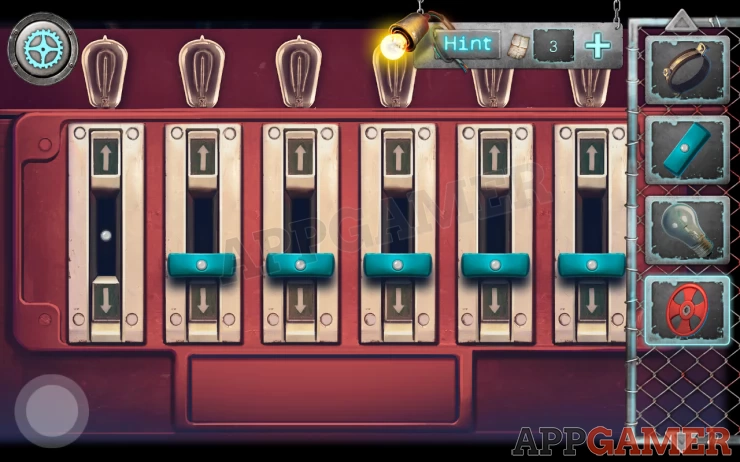
Hint: Swipe up to turn on all of the switches. You need to find the correct order to make them all stay on.
Solution: 1, 3, 6, 2, 5, 4Show
You can then collect a Fire box key
Now tap on the pipes on the right to see this pressure gauge.
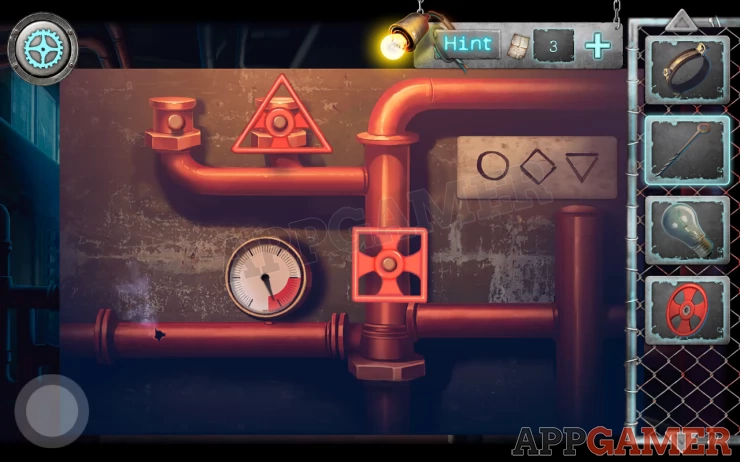
Add the round valve to the top left.
Hint follow the diagram on the right to set the 3 valves. to the correct positions. Turn the round one until the pressure gauge drops to 0.
You can then place the pipe clamp over the hole on the lower left.
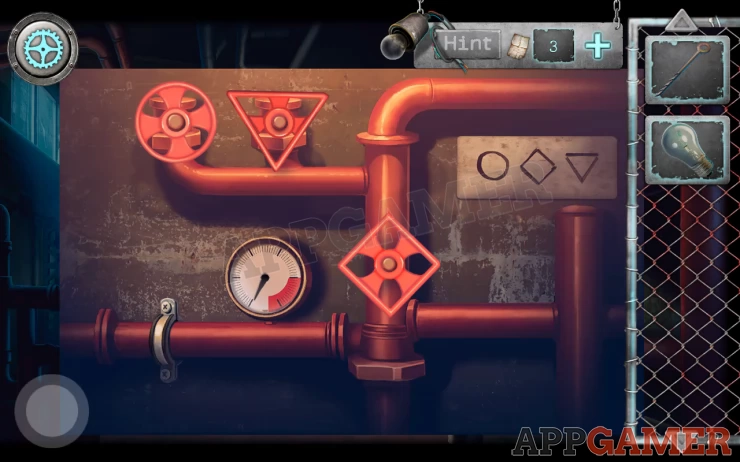
Once done correctly the doorway to the next room will now be accessible (no longer blocked by steam).
Move though to the next room.
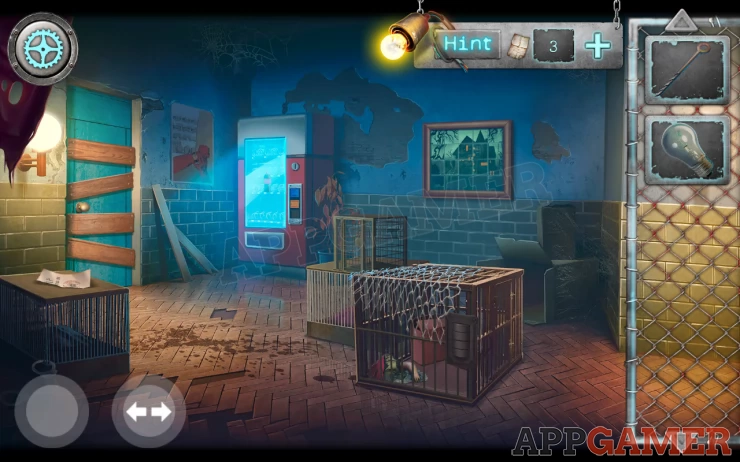
First tap on the left cage/box to collect a scrap of paper.
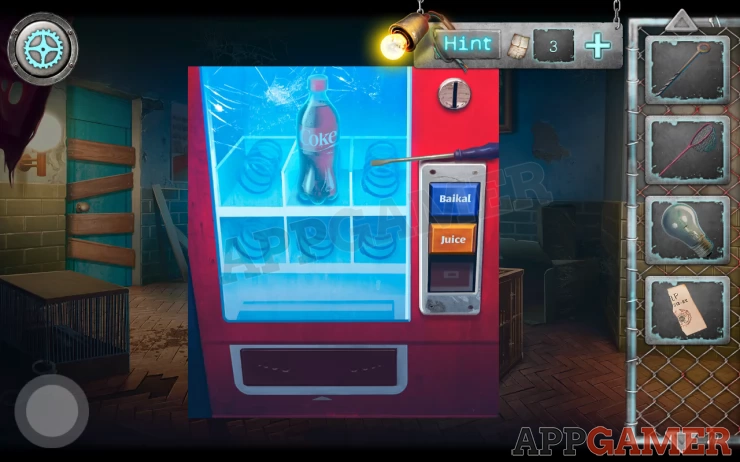
Then view the drink vending machine at the back. Collect a screwdriver.
Then Tap to view the picture on the back right wall. This is a puzzle.

Rotate the pieces to complete the picture.
Show
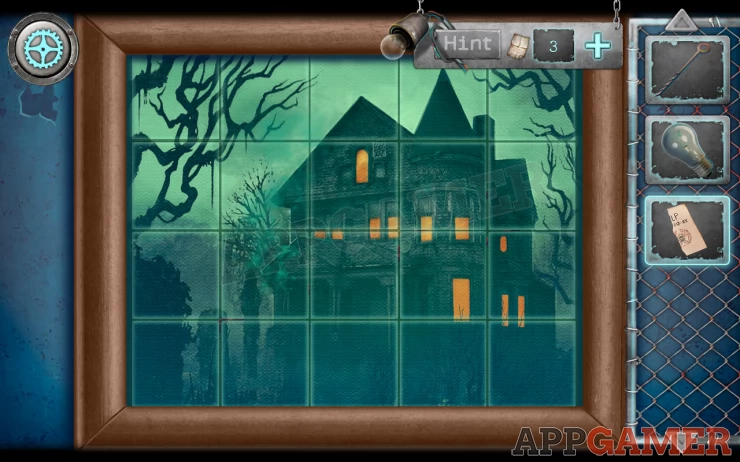
Once done you can collect a net hoop without a net.
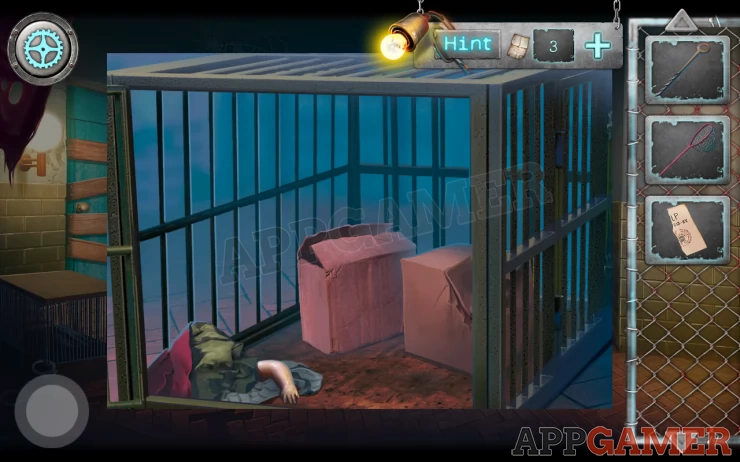
Now tap to view the cage in the center of the room and collect the net from the top if it.
Combine the net with the hoop to make a butterfly net.
Go back to the boiler room and tap on the metal grill above the wooden box.
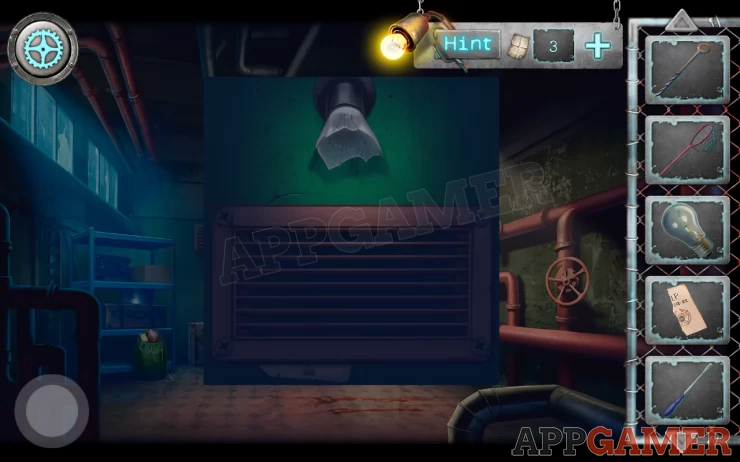
First tap to remove the broken light bulb and then insert the one you have.
Then use the screwdriver to remove the screws and remove the vent cover. To find a clue
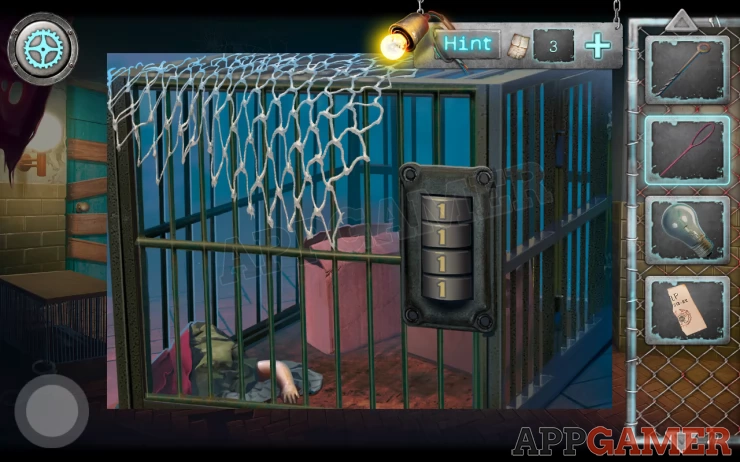
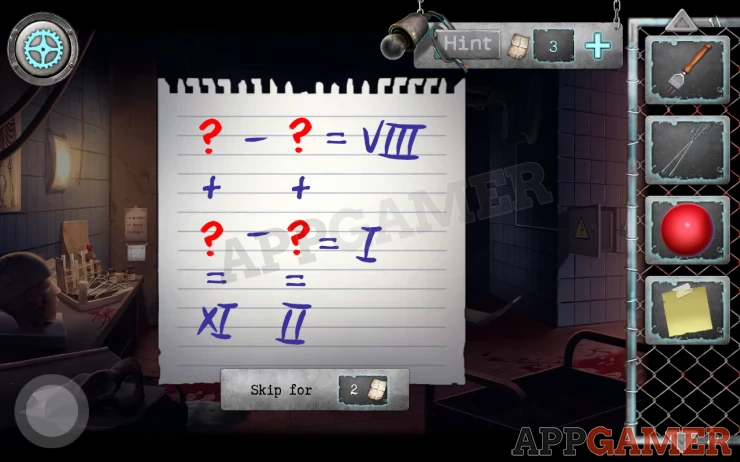
Hint: work out the placement of the numbers 1 to 6 to complete the sum to 12 in both directions. This gives the 4 digits for the combination to the cage.
Solution: The 4 horizontal digits are 1 2 3 and 6. (the vertical ones are 4 3 and 5. You need to find the correct order for this for the lock.Show
Code: 2631Show
Use this to unlock the cage.
Collect the doll hand. Then move the 2 boxes so that you can collect a crowbar.
Now view the blue door on the left of the room and use the crowbar to remove the planks.
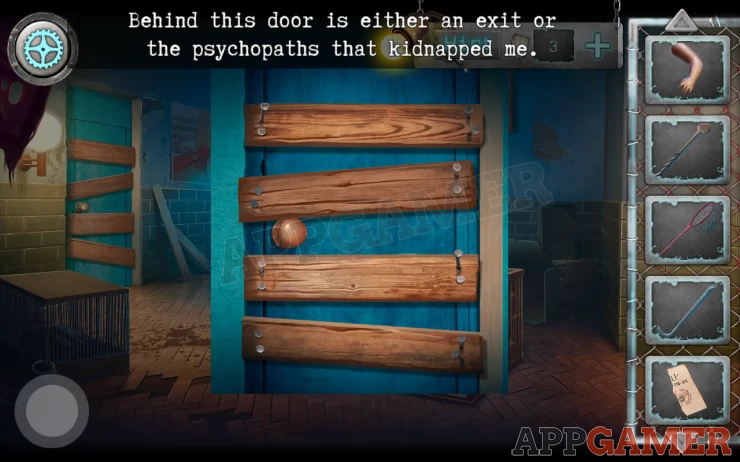
Open the door and move through to the next room.
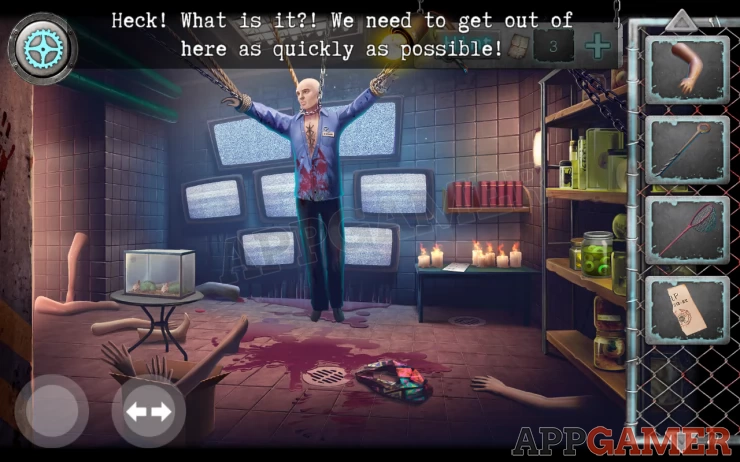
Another creepy room with another mannequin.
First collect the colorful neckerchief from the floor. Then tap on the hanging mannequin to view it and collect a triangular key from the pocket.
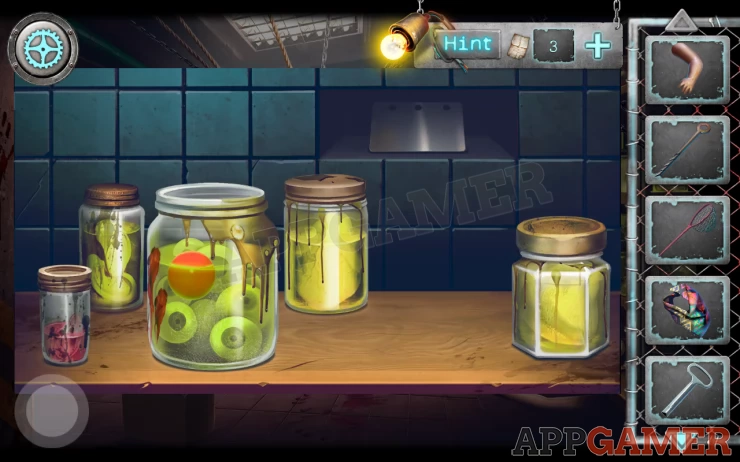
Now view the shelves on the right wall to see a puzzle with some jars.
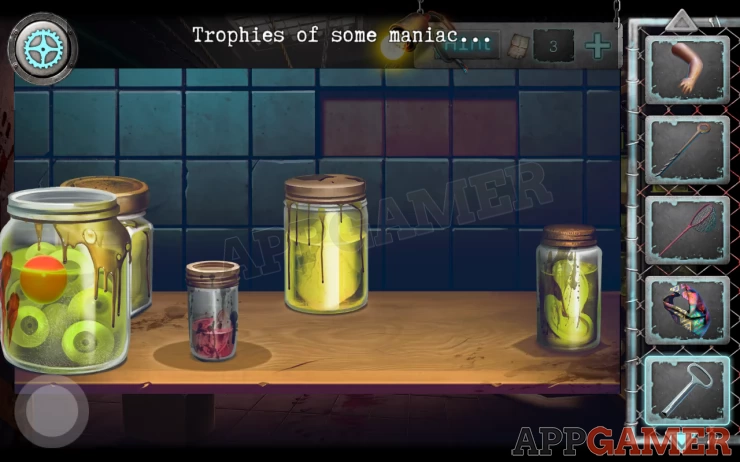
Arrange the jars in to the correct positions.
Solution: Show
Collect the key card from the opened wall panel.
Now tap the arrow button at the bottom to view the other side of the room.
View the small electrical panel on the right and use the triangular key to open it.
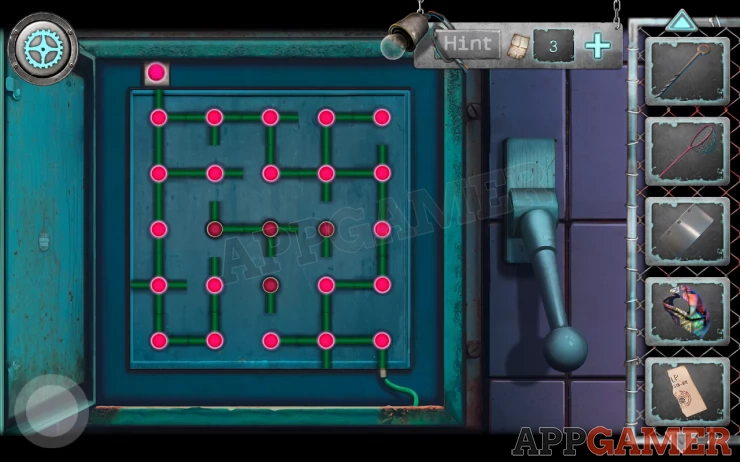
You then get a puzzle to connect the wires.
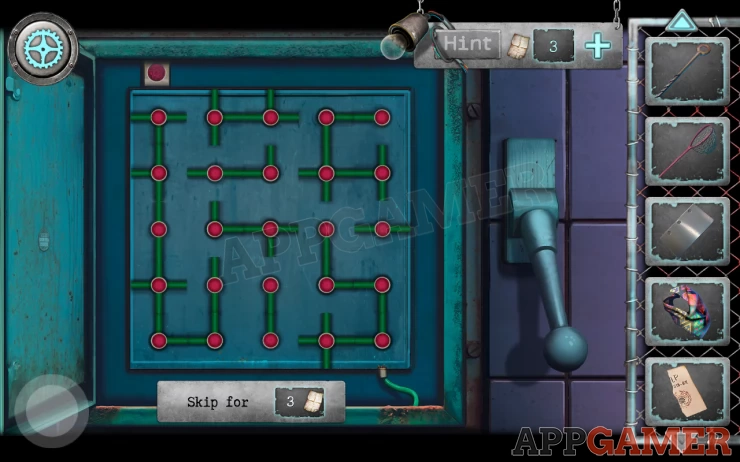
Hint: you don't need to connect every node, just complete a circuit from bottom right to top left.
Solution: Show
Then tap the lever to activate the light.
Tap the cloth on the floor to move it and then collect the dolls head that was underneath.
Now view the chair where the light it on.
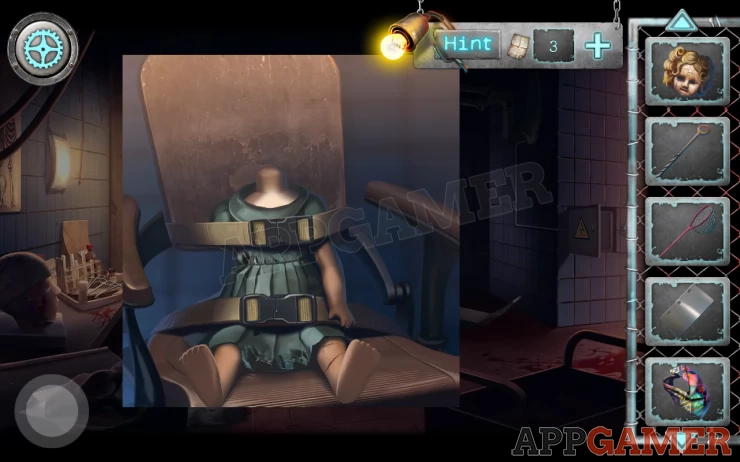
Add the head and the arm to the doll, then tap to release the straps and collect the doll.
Now tap to view the table on the far left.

Collect the "sternum expander" tool.
Next back right out until you get back to the bathroom. and tap to view the Bath again.
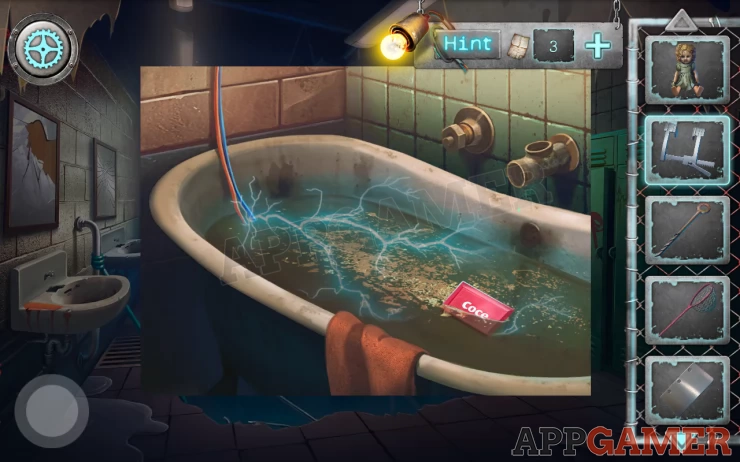
Use the butterfly net on the water to collect a Coce (Coke) button. Then go back down and through to the hall (with the cages).
Tap the arrows button to view the other side of the room. There are some traps.
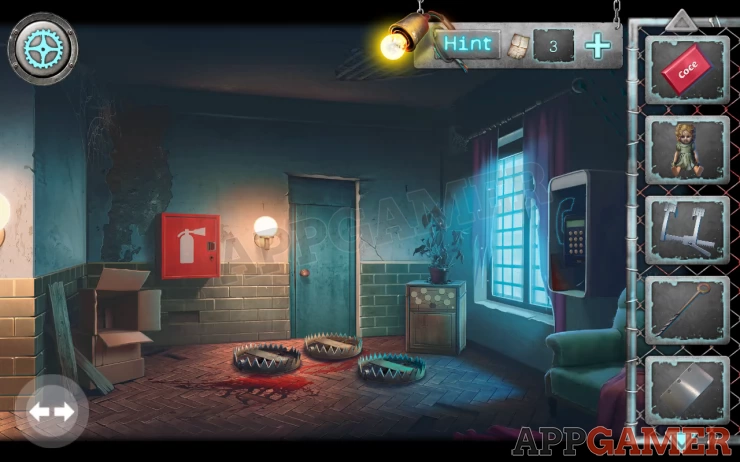
To the right of the door is a small cupboard with a plant on top. View this to see a puzzle.
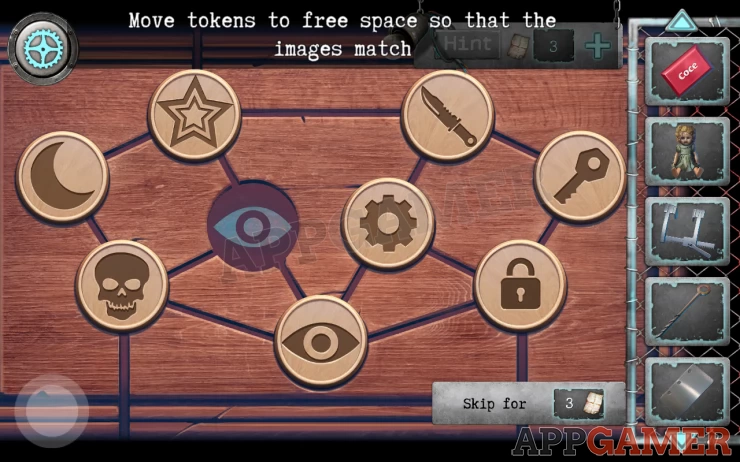
Arrange the symbols to the correct positions to solve it.
Show
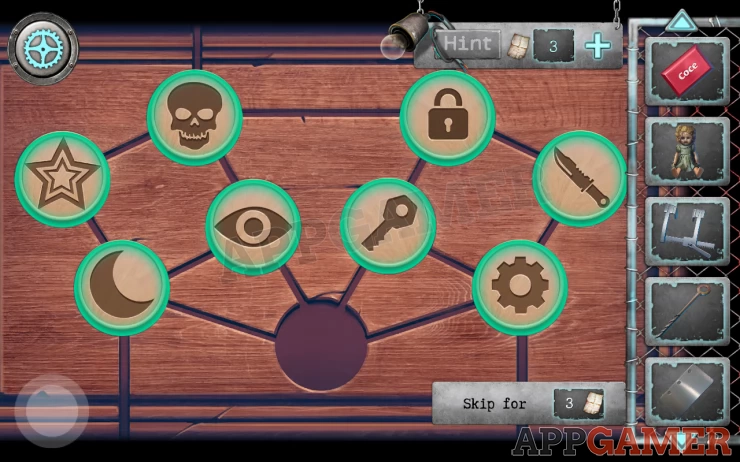
You can then collect medical scissors.
Tap to view the phone on the right and then tap on the book to open it.
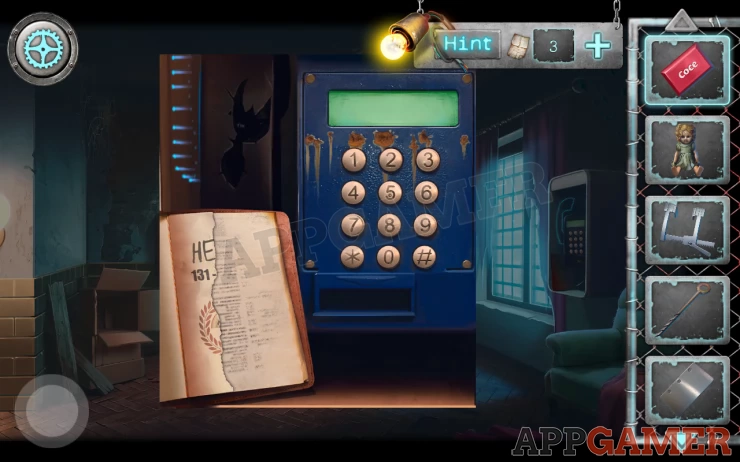
Add the scrap of paper you have to this to get a phone number. Dial the correct number on the phone.
Solution: the X is 10 => 131-313-910Show
Collect a coin.
View the other side of the room and tap on the vending machine again.
Add the Coce button. Then insert the coin and press the Coce button to collect the bottle of Coke.

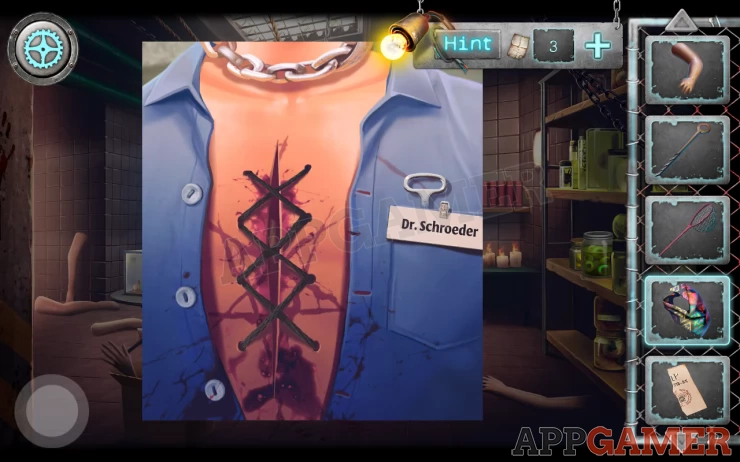
Return to the room on the left with the hanging mannequin and view this.
Use the scissor on the stitching and then use the expander on the opening.
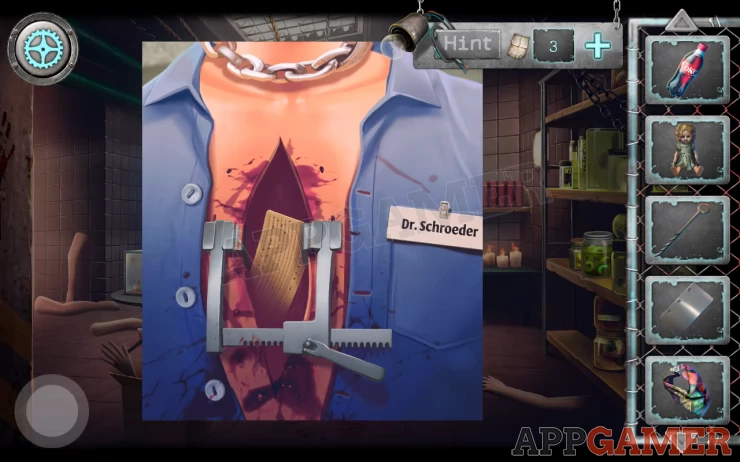
Collect the punched card from inside.
Back up to the hall area and view the other side with the traps on the floor.
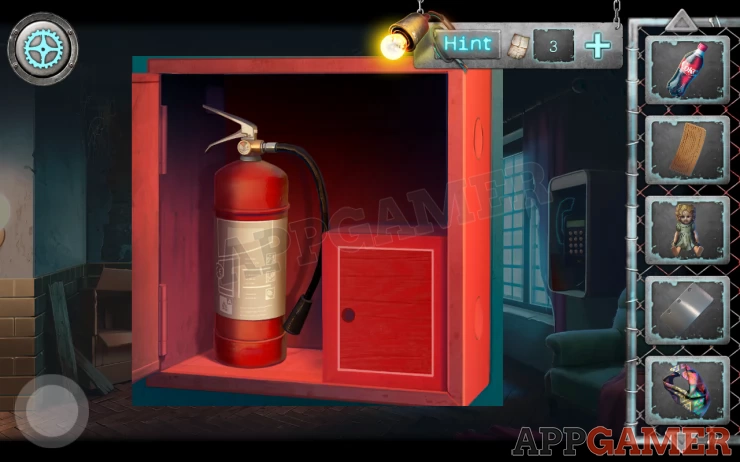
First view the fire box on the left and use the fire box key to open it. Collect the fire extinguisher.
Next use the doll and the bottle of Coke on the traps. This throws then and triggers the traps.
You can now open the door and move through to the corridor.
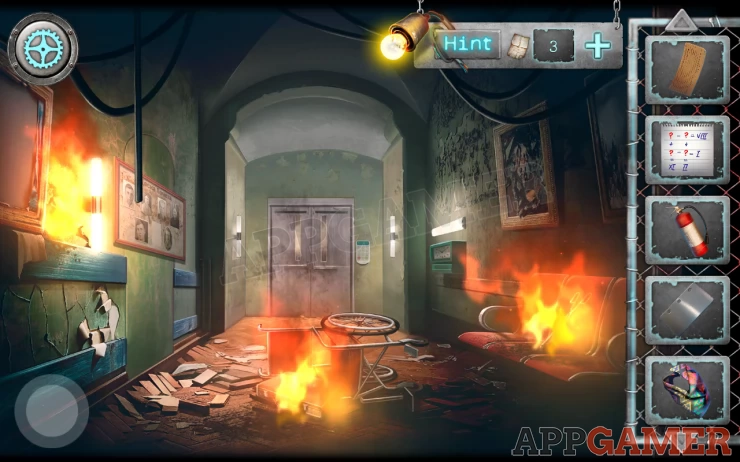
Collect the forceps from the chairs on the right, then tap to view the board on the left wall with the photos.
Collect a yellow sticky note.
Now view the briefcase on the floor.
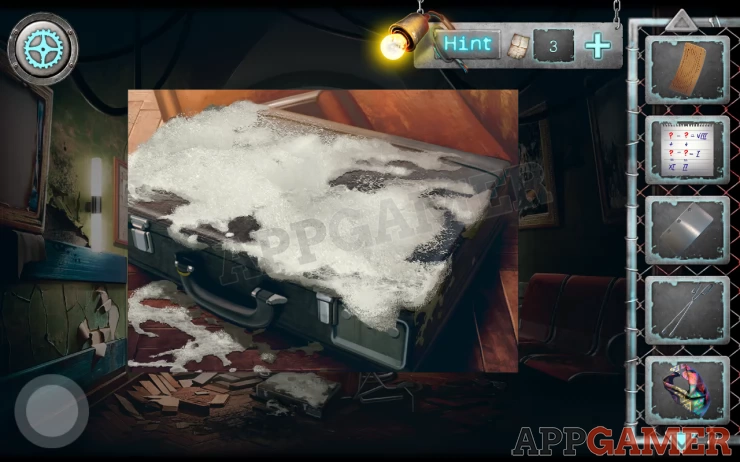
Use the neckerchief to clean it, then use the key card to open it.
Collect a book and note the time on the piece of paper (2:45).
On the right wall is a time clock, view this.

Add the punch card to it and then set the time to the one shown on the paper (2:45)
You can then collect a round handle.
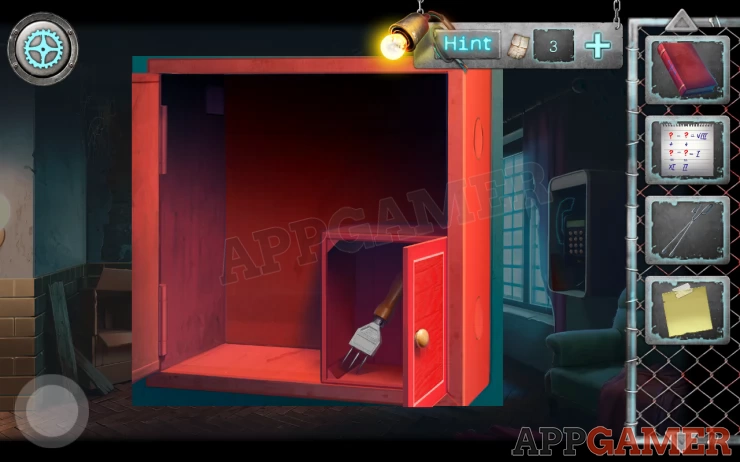
Back out to the previous room and view the fire box again.
Add the handle to the small door in the box and open it to collect an Ice breaker.
Now move to the room with the hanging mannequin. First view the shelves on the far right again with the jars.
Use the forceps on the jar with the red ball to collect a red plastic ball.
Then tap on the small shelf above the candles with books on it. There is a gap.
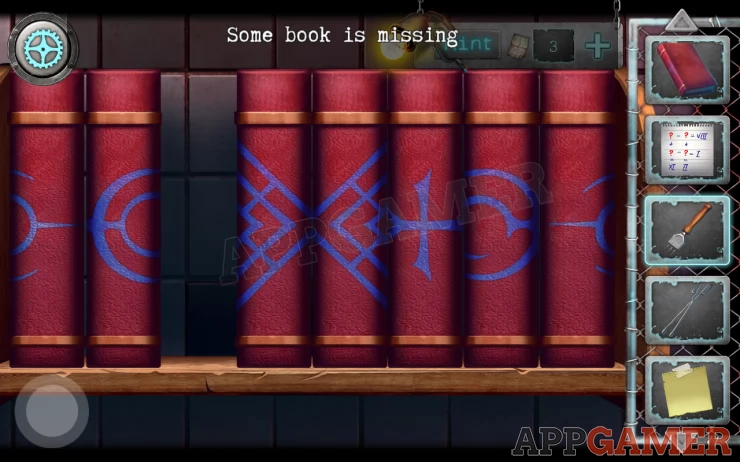
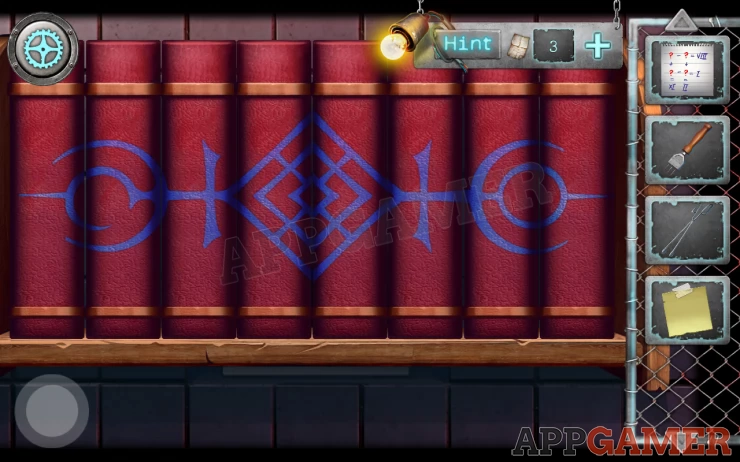
Add the book you have to the gap and then solve the puzzle by rearranging the books.
Solution: Show
Once done you can collect a name tag. Dr. Kilstomery
Then from the table with the candles collect a paper with a clue on it.
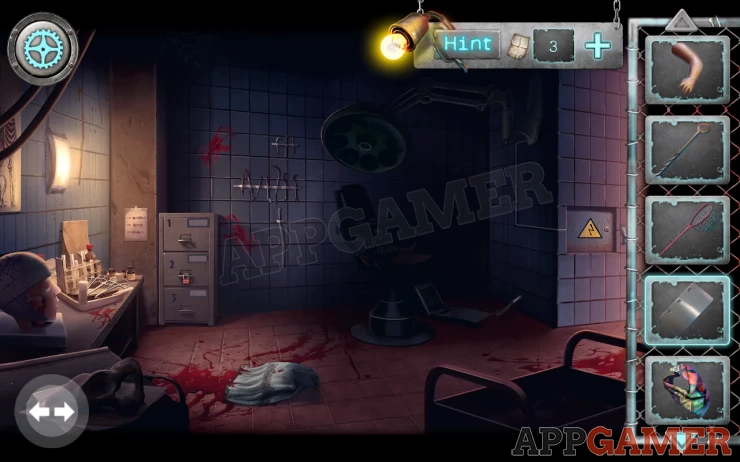
Move to the left side of this room with the dental chair. On the left is a filing cabinet with 3 drawers. View this
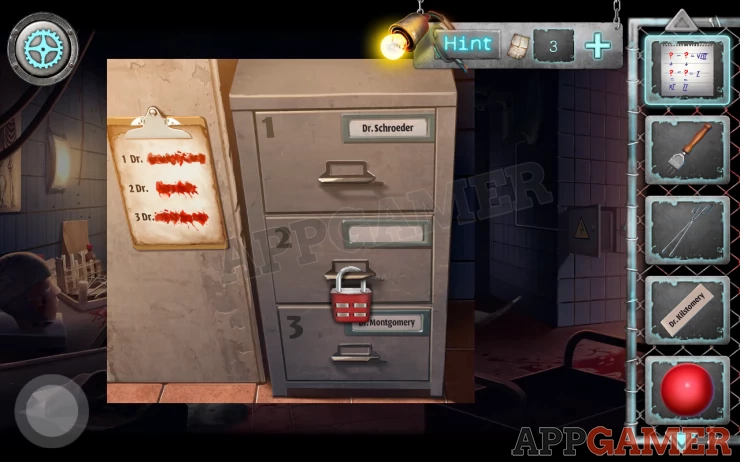
Add the name tag to the drawers to start a puzzle. You need to arrange the names in the correct order.
Solution: Dr.Montgomery (top), Dr.Schroeder (middle), Dr.Kilstomery (bottom)Show
You then add the paper clue to the left and you can use this to get a code for the padlock.
Solution: 9 -1 = 8, 2 - 1 = 1 , 9 + 2 = 11, 1 + 1 =2Show
Code: 91 21Show
Use this code on the padlock, open the drawer and collect a scalpel.
Also open the top drawer and collect a sleep gas cylinder.
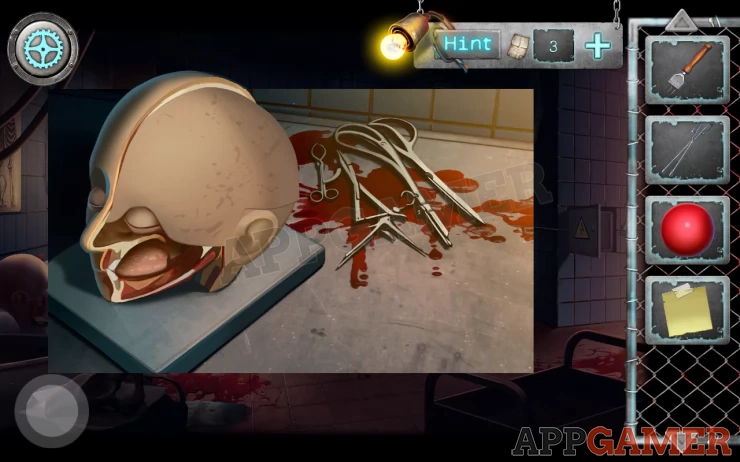
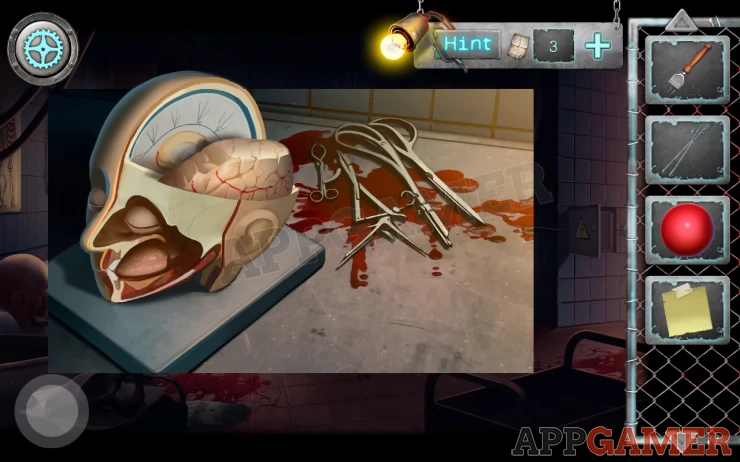
Now view the table on the left of the room again with the head.
Use the scalpel on the head to cut away the bandages, then tap to remove the layers of the model until you find a lighter to collect.
Return to the boiler room and view the open wall vent again.
Use the lighter on the event to left you see inside, you can then collect a roll of tape.
Go back to the room with the dentist chair and the filing cabinet.
Open the bottom drawer and click on the folder to see a torn photo.
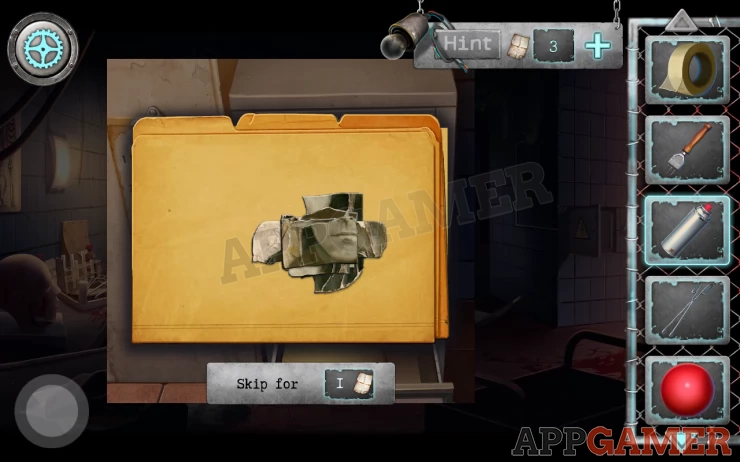
Arrange the pieces and then use the tape to fix the completed photo. Collect this.
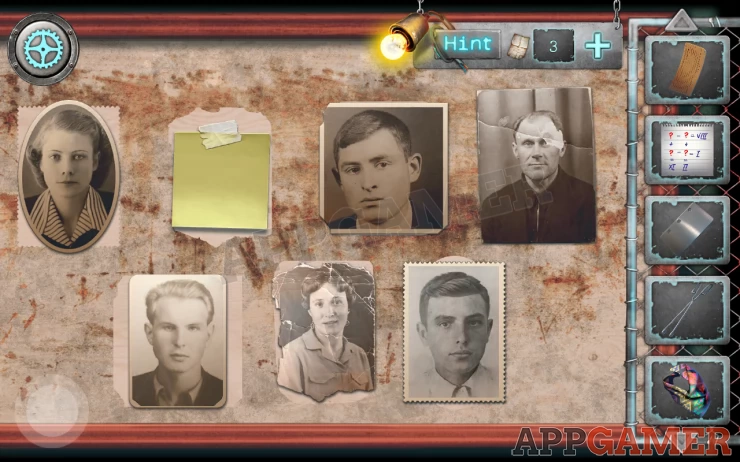
Move back through to the corridor with the photo board on the left. View this.
Place the fixed photo on the board to start a puzzle.
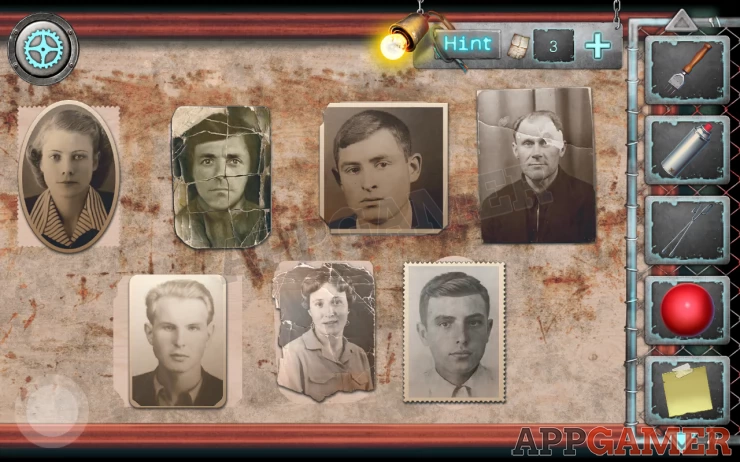
Hint: the photos are in the wrong places. you need to match them to the outlines on the board behind each.
Once done a hidden doorway opens. Go through to a secret laboratory.
Continue in Kidnapping Part 2
We have questions and answers related to this topic which may also help you: Show all