
Chapter 6 Walkthrough - Ashes to Ashes
More Detective - Escape Room Games
This is a walkthrough for Chapter 6 of Detective - Escape Room Games. Detective Simmons has been kidnapped by the Collector and in Chapter 5 you found out that Detective Leslie is involved.
In Ashes to Ashes you head to the Oceanside Cemetery to investigate the Crypt where you think the Collector is holding Detective Simmons.
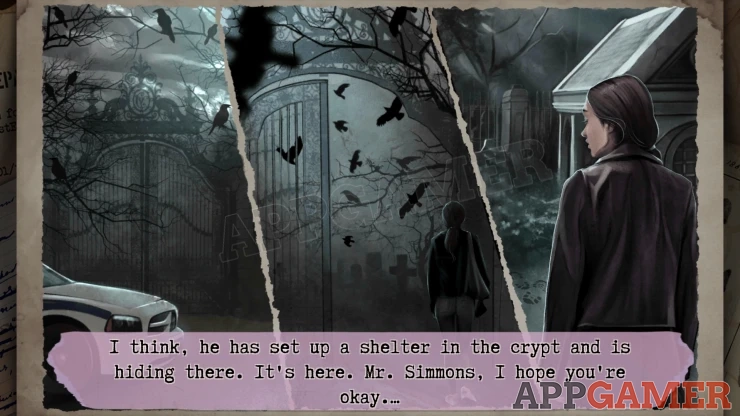
Case 6 - Ashes to Ashes Walkthrough
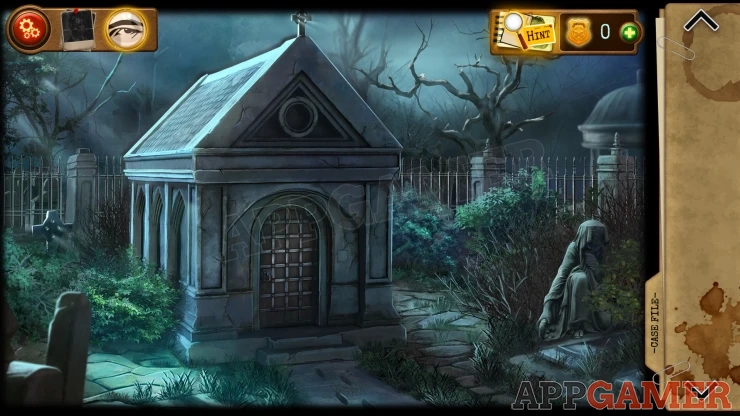
Tap on the path leading to the crypt to find the first of the Evidence board items, Footprints.
Next, look in the bushes to the right of the crypt.
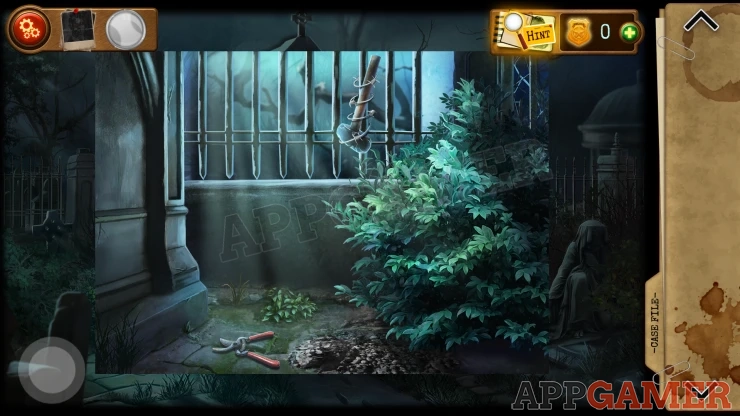
Collect the Garden Shears. Then look in the bushes on the left side of the crypt.
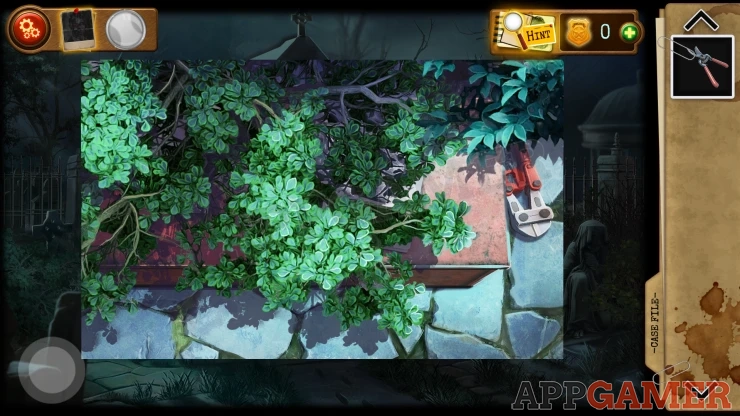
Use the Garden shears here to cut back the bush. Then collect the Wire cutters and open the book on the red box to see a clue.
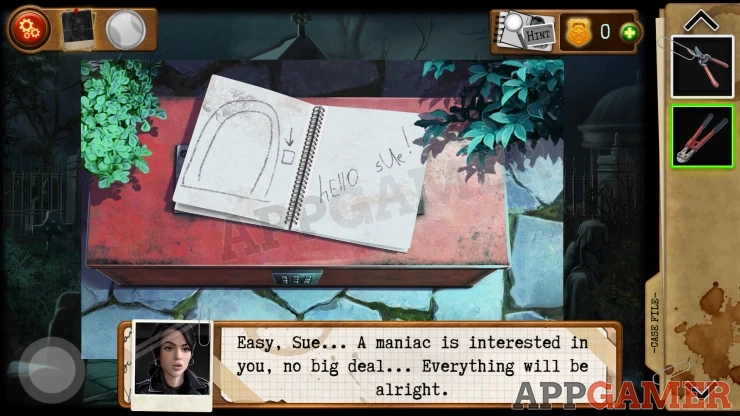
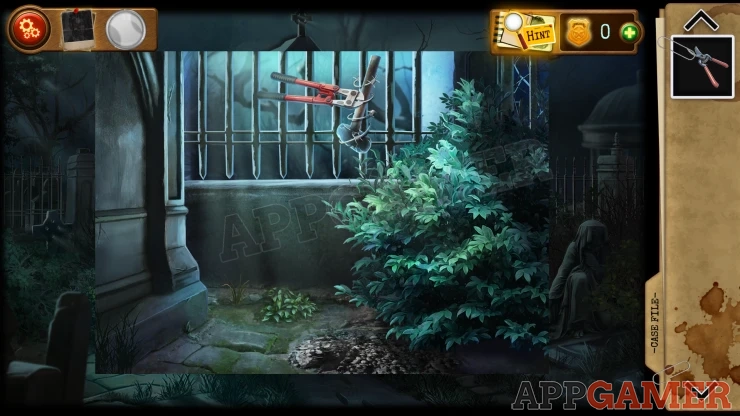
Go back to the right side of the crypt and you can now use the wire cutters to collect the Hammer from the metal railings.
View the front of the crypt again and use the hammer on the small square on the right of the door. This will reveal a button.
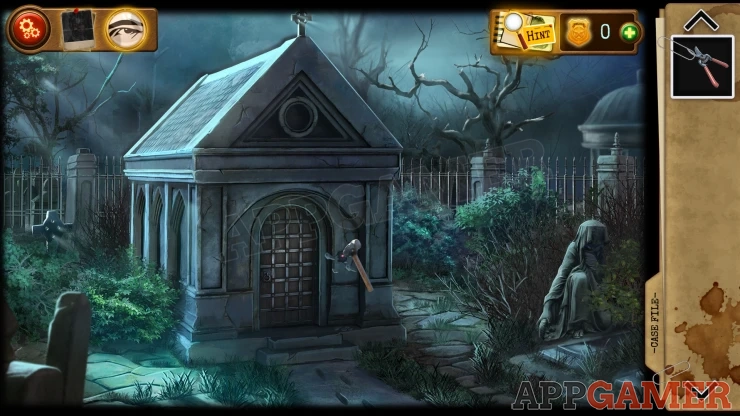
Press the button to open the door and go inside.
Crypt
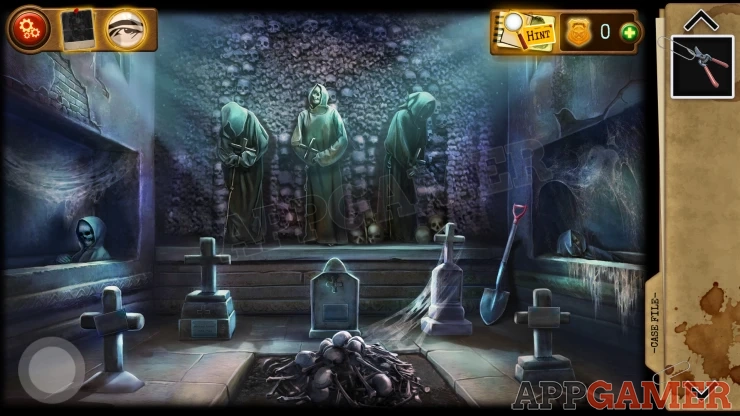
Collect a shovel from the right side. Then tap on the three standing skeletons in robes, they will each drop a key, Collect the three Keys. (Key 1, Key 2, Key 3)
Then look in the niche on the left. Move the robes of the skeleton and you will find a box, and a Blue number seven.
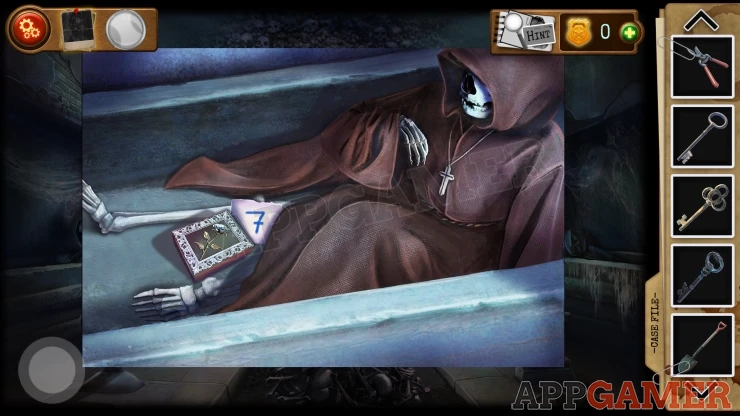
View the box for a puzzle.
Skeleton Picture Box puzzle
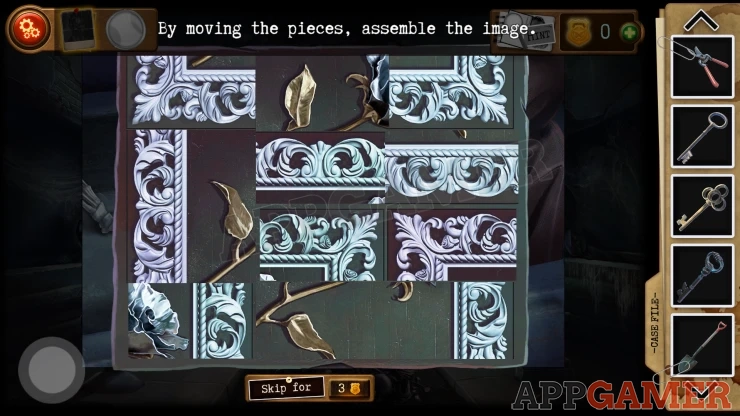
Drag the pieces of the picture puzzle to rearrange them.
Complete the image to open the box.
Show
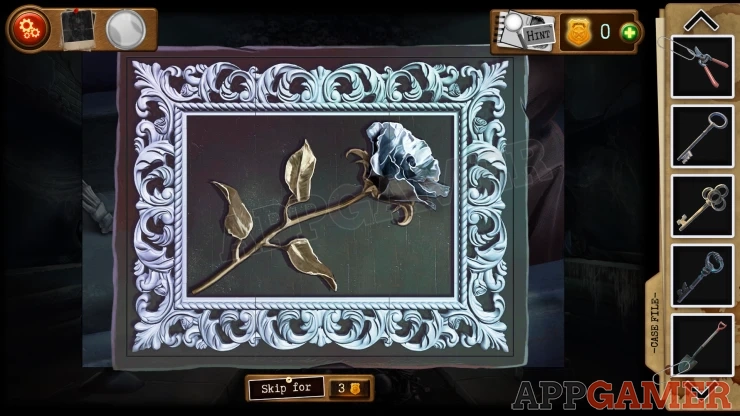
Collect the Epinephrine.
Next look in the niche on the right. Move the robes again to find a paper with a clue and another box.
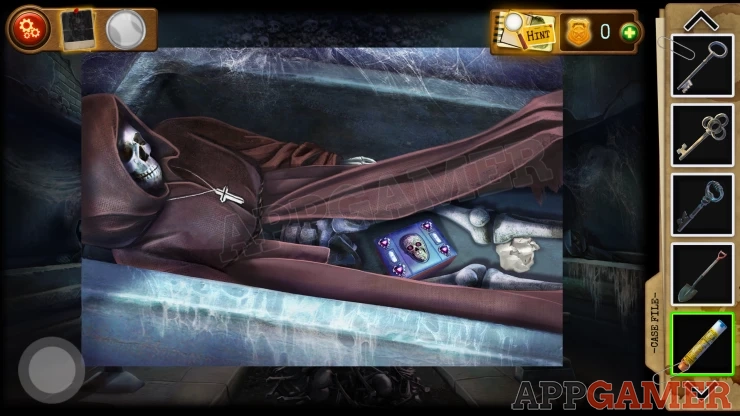
The paper has colors on it that we will need later. View the box for the puzzle.
Skeleton Hearts puzzle box
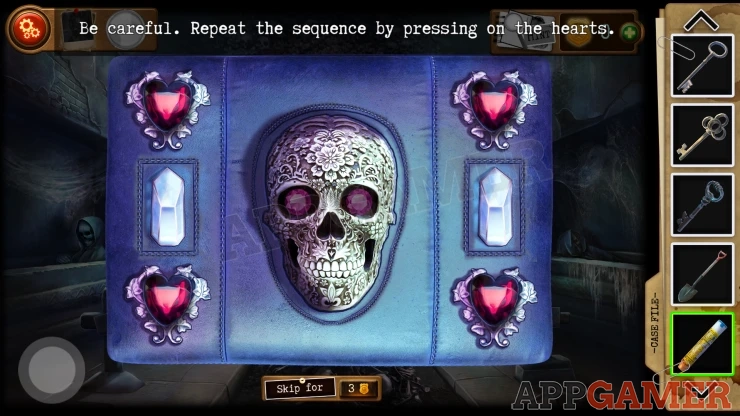
- This is a pattern repeating puzzle.
- Watch the hearts flash in a a sequence and then tap the hearts to repeat the sequence.
- You need to complete 4 sequences to full up the crystal on the left and then another 4 for the right side.
- The sequences are random and increase with difficulty. If you get one wrong you will go back a step and need to try again.
Once done you can collect a head lamp.
Back out to the cemetery and look in the bushes on the right again. Use the shovel here to dig under the bush.
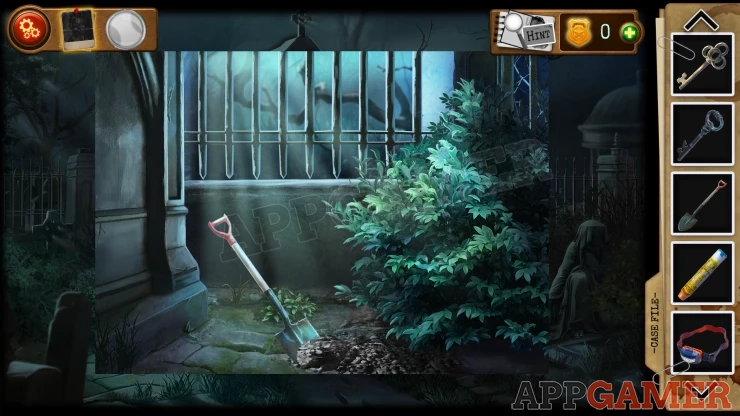
Then use the garden shears to cut open a bag that you uncover.
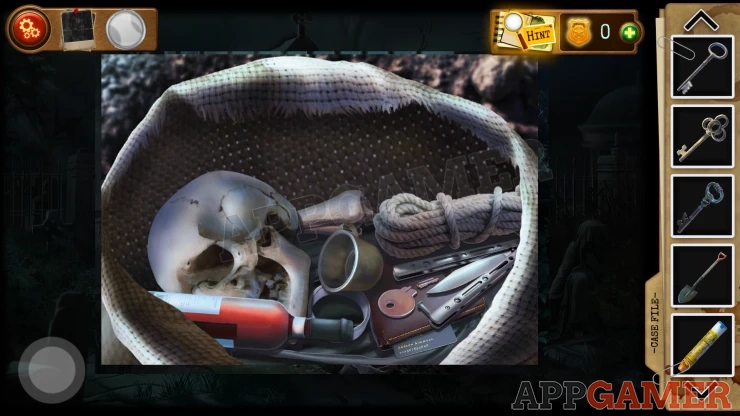
Look in the bag and move the items from inside until you find a Wallet, this is another evidence board item. Then also collect a Key (Old Key) and a Swiss knife.
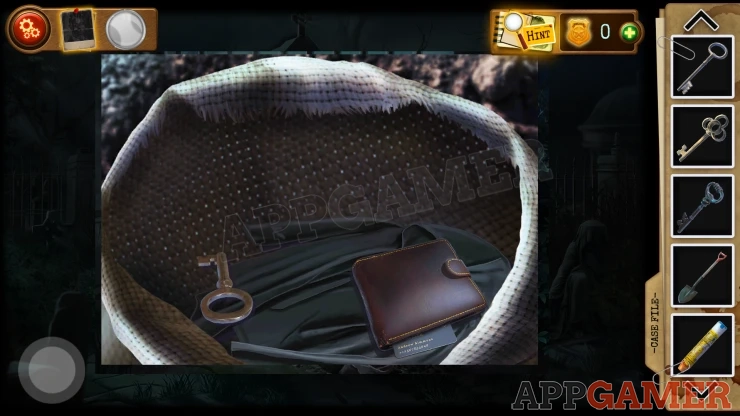
Notice in the bottom of the bag is a Red number nine.
Go back into the crypt and use the shovel on the pile in the center. You will uncover a hatch.
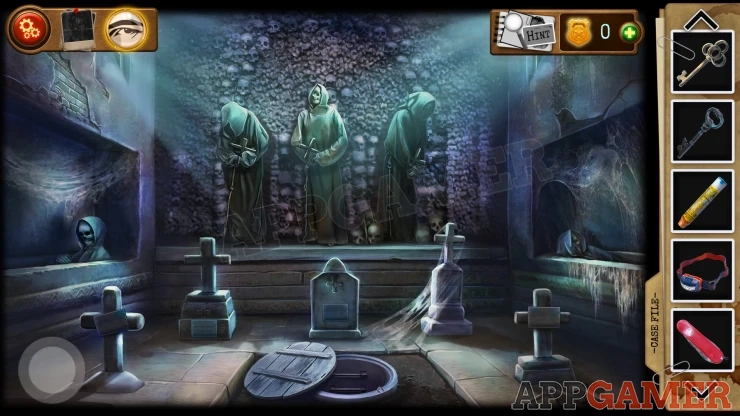
Use the Old Key to open it and then you can go down into a basement.
Basement
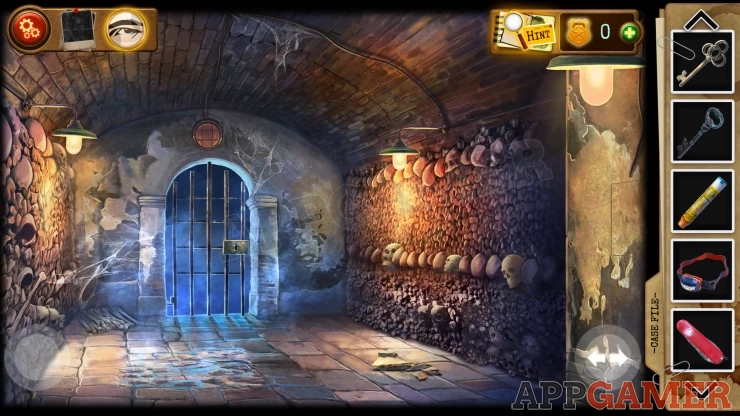
Collect 3 skulls from the row of skulls on the right wall. You will then see a clue about numbers from young to old.
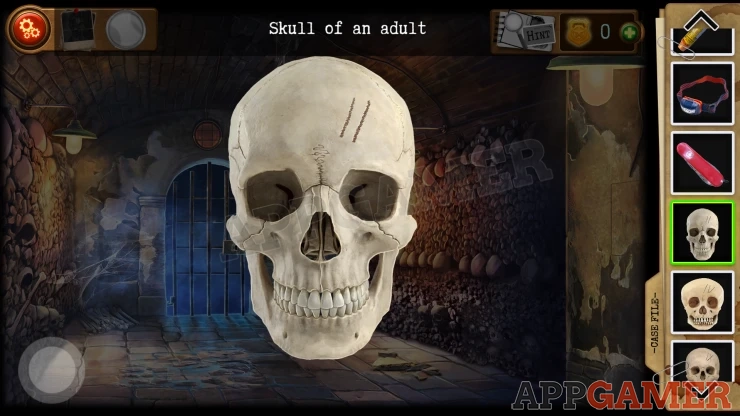
View each of the skulls in your inventory, each one will have a Roman numeral on it and also you will be told is it is a baby, adult or old skull.
Exit to the cemetery and look in the bushes on the left to see the red box, this requires a 3 digit code to open.
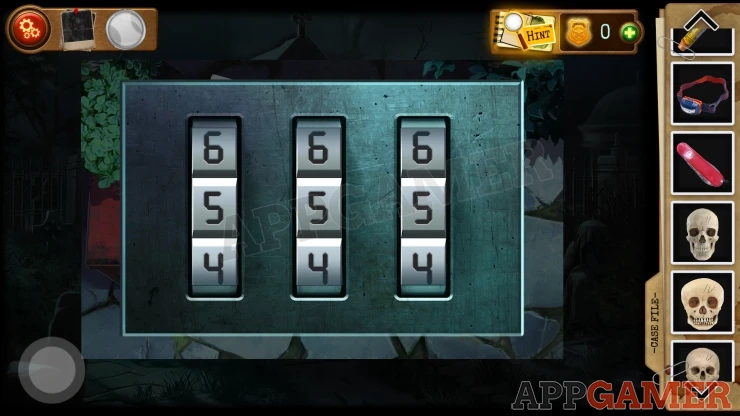
Use the code from the Skulls clue but putting the numbers in order of skull, youngest to oldest.
Code: 4 2 9Show
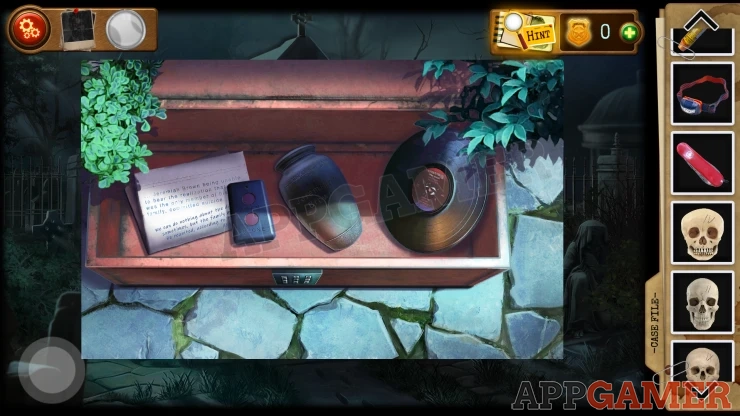
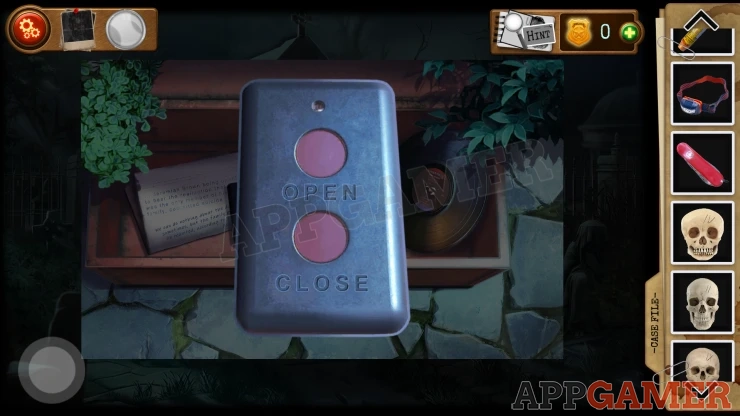
Collect the Jar of ashes. View the Record on the right to see a clue about a song title. Then view the remote control and press the Open button.
Finally view the report paper on the left. There is another clue written on it saying that the family must be reunited.
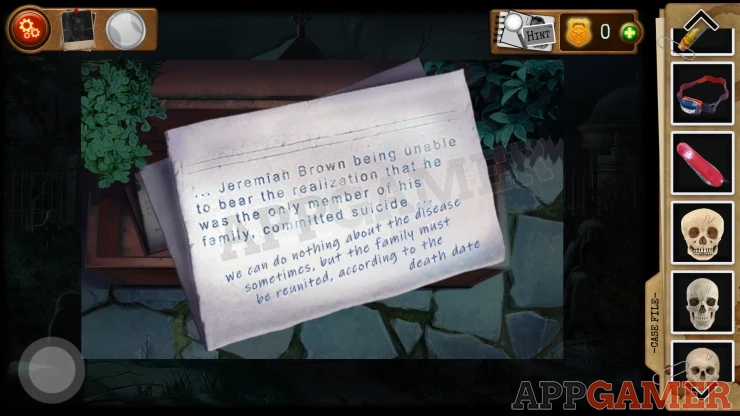
Reunite the Brown family
Go back into the crypt and view the graves stones, there are 5 of these.
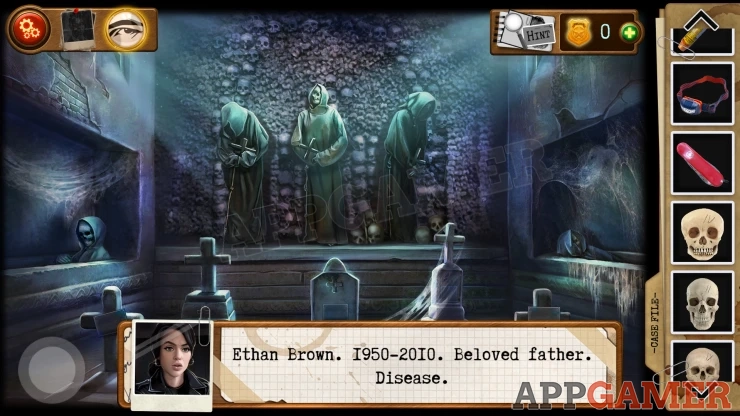
Look for the ones for members of the Brown family and then use the dates to work out the age of the deceased.
Notice the Yellow number 6 on one of the grave stones.
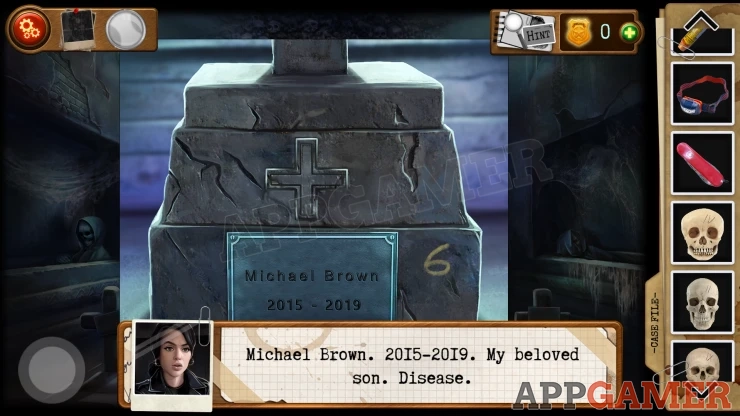
Now go back down to the basement and then tap the arrows button on the right to turn and view the other side of the basement.
In the center is a large bowl and at on the back wall you will see three openings.
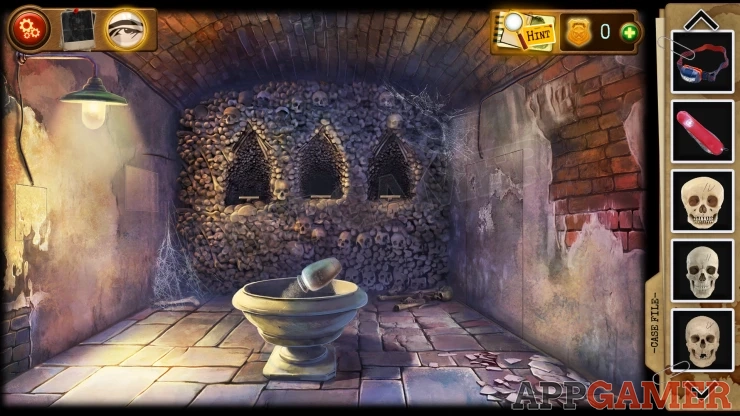
Place the jar of Ashes into the bowl and then add the three skulls to the openings. You need to place these in the correct order from left to right.
Solution: Copy the positions of the gravestones. Left: Ethan Brown. Age 60 (Old skull), Center: Michael Brown. Age 4 (Baby Skull), Right, Enith Brown Age 35 (Adult Skull).Show
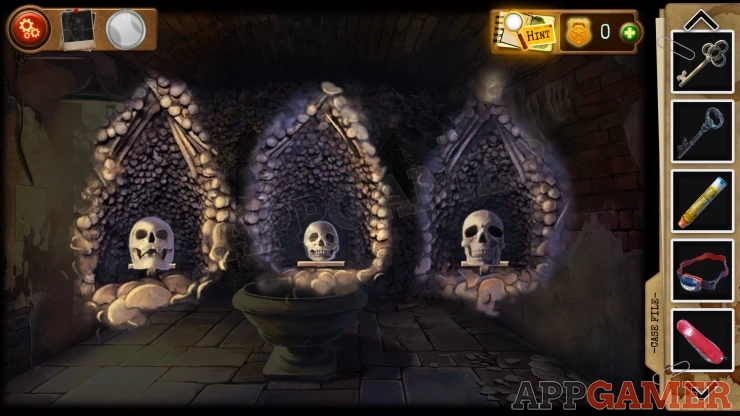
A panel will open on the right. Inside is a keypad.
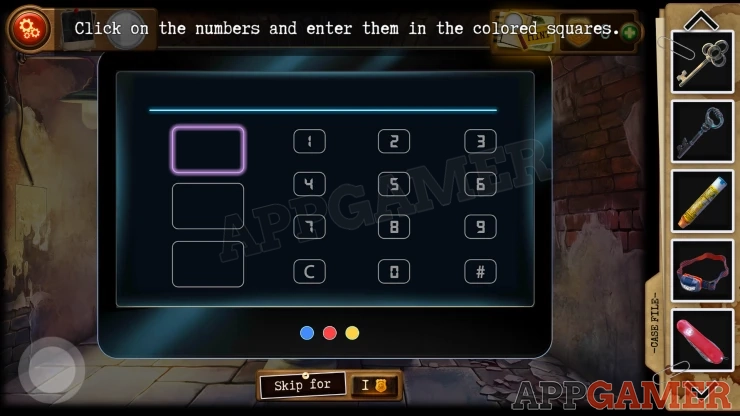
Basement Keypad
You need to enter 3 numbers. Notice the top box on the left is purple and there are three colors at the bottom, this is a clue.
You have found 3 colored numbers so far. Re check the paper that is with the skeleton in the niche on the right side of the crypt above.
The paper show sums with colors. Use the three colors that you have to complete the numbers on the left.
Solution:
Purple = 9 + 7 = 16 Green = 7 + 6 = 13 Orange = 6 + 9 = 15Show
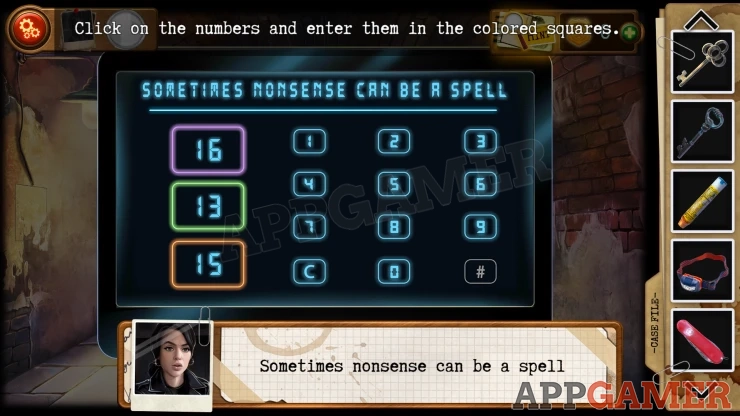
Enter these three results into the keypad.
You will now see a light switch on the wall.
Face the gate and turn of the lights. You can see glowing letters on the left.
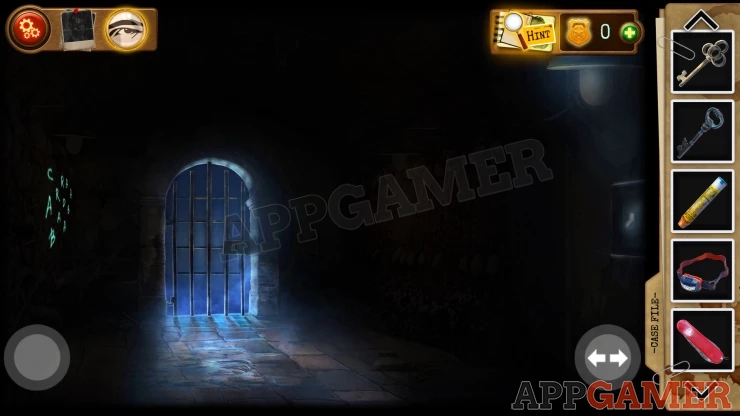
Glowing Letters
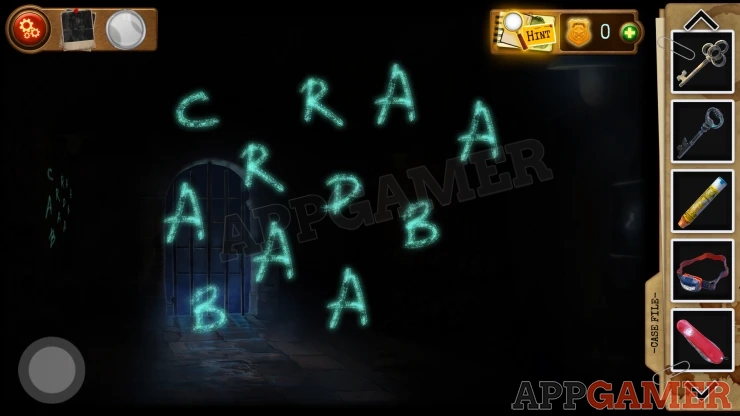
- View the letters, these will spell out a word.
- Tap the letters in the correct order to spell the word
- The cue was seen earlier on a Record.
Solution: ABRACADABRAShow
Some bones fall from the left wall. Turn the lights on again and you can collect a Paper clue from the bones on the floor. This is another evidence board item.
Look in the hole on the left wall to see 2 buttons. Only the right one is active.
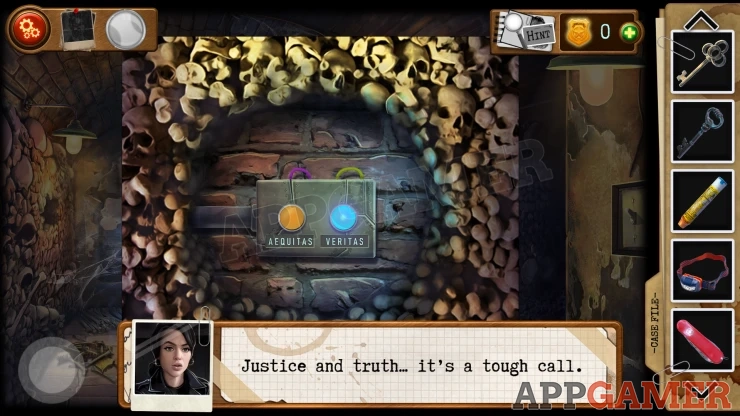
Tap on 'Veritas' (Truth). Turn to the other view now an you will see a secret door has opened. Go through.
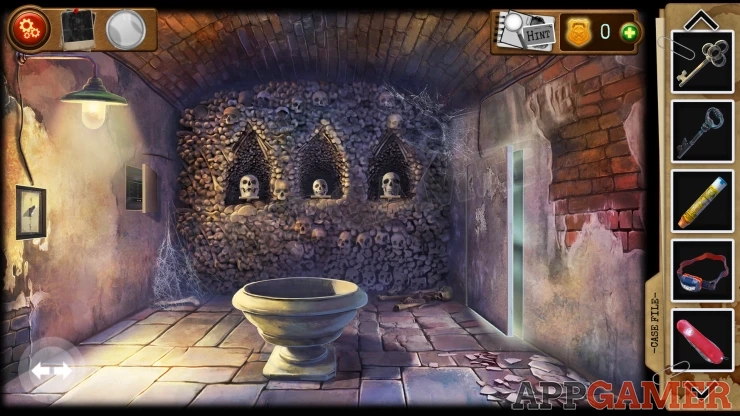
Secret Room
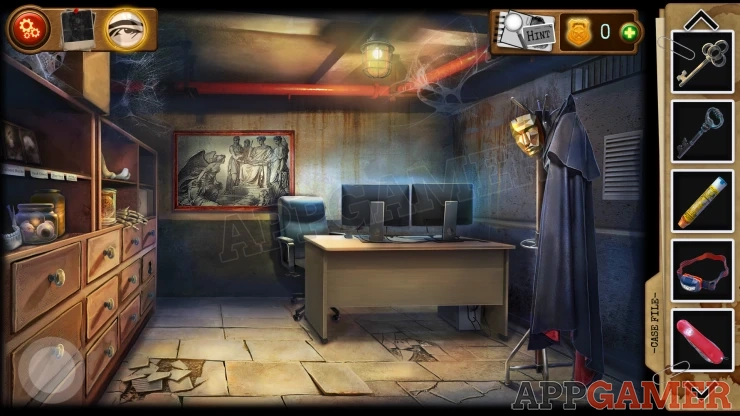
Tap on the mask and cape on the right to get a photo for the Evidence board.
Now tap on the Computer screen. You will need to enter a password.
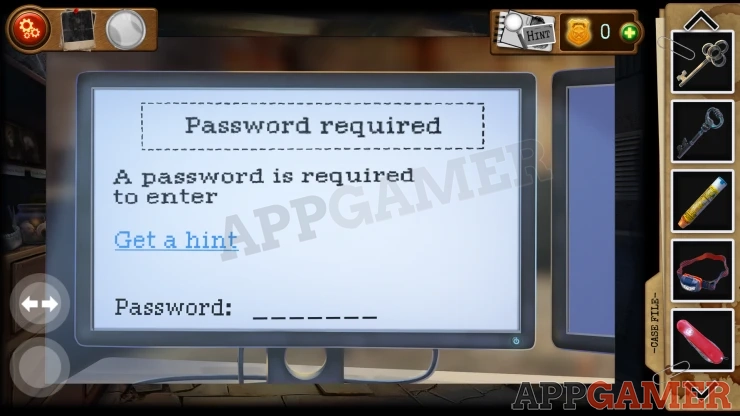
Tap on Get a hint, to see 'In vinio..'. You will be told that the answer is Truth in Latin. We already know this one from the buttons.
Code: VERITAS
Use the Button to Unlock the cache, this is in the cemetery outside.
Then use the arrow button to switch to the right monitor and tap the Start the Camera button.
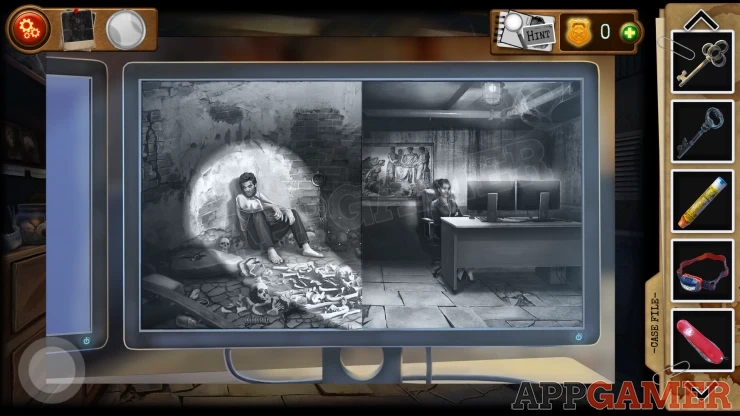
Next look on the shelf on the far left, you will see five photos with names, but the photos are mixed up.
Arrange them into the correct places by dragging them.
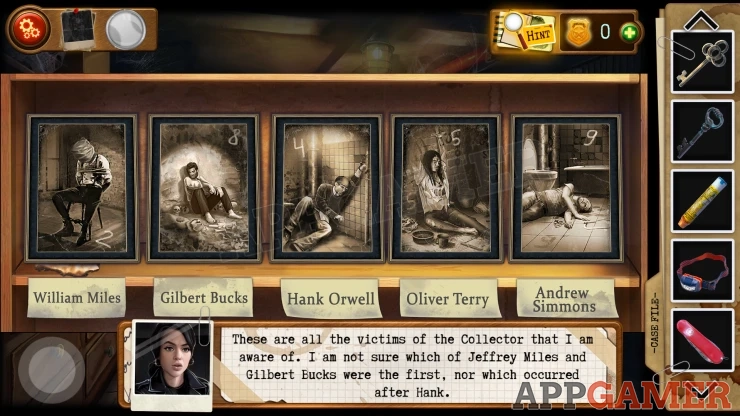
Solution: Show
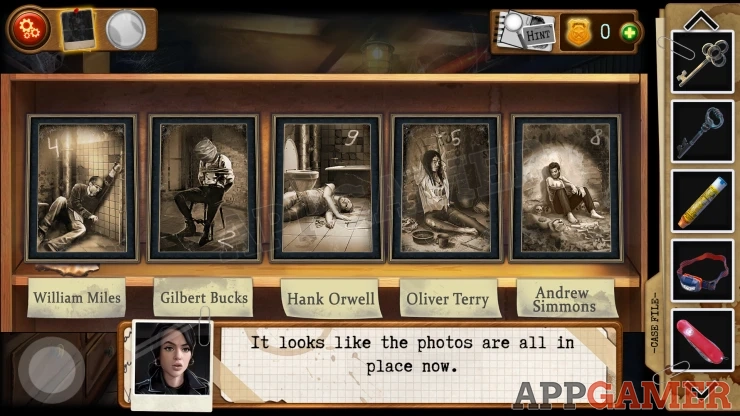
Once done collect another Evidence board clue from under the left photo. Next look on the back wall of the room to see a safe. This requires a 3 digit combination.
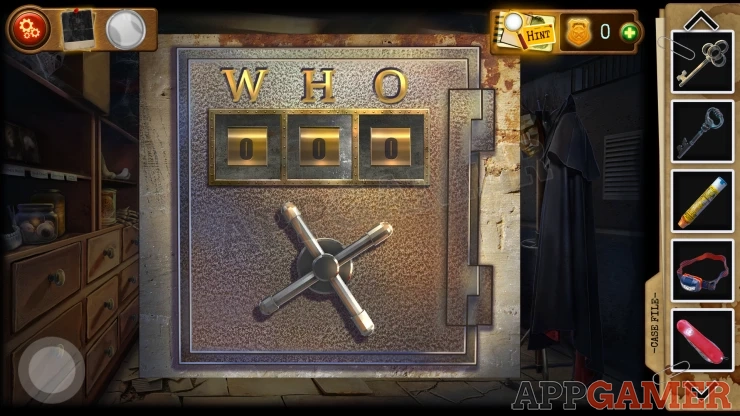
Notice the 3 letters above.
Solution: Look at the photos and find the 3 with names that start with the letters on the safe. Then get the numbers from the photos.Show
Code: 495Show
Collect a Grapnel (Hook and Rope) from the safe.
Back out to the cemetery now and view the Cache that was opened. You will need to use Key 3 to unlock the box.

Cache Puzzle

Tap the clock to turn them and also drag them to new locations.
Complete the circuit to tun on the light.
Solution: Show

You can now go back to the basement and view the buttons on the left wall again. The left button 'Aequitas' is now active. Tap this.

Next use Key 1 on the gate and it will open.

Use the Grapnel on the opened gate and you will lower yourself into the pit below.
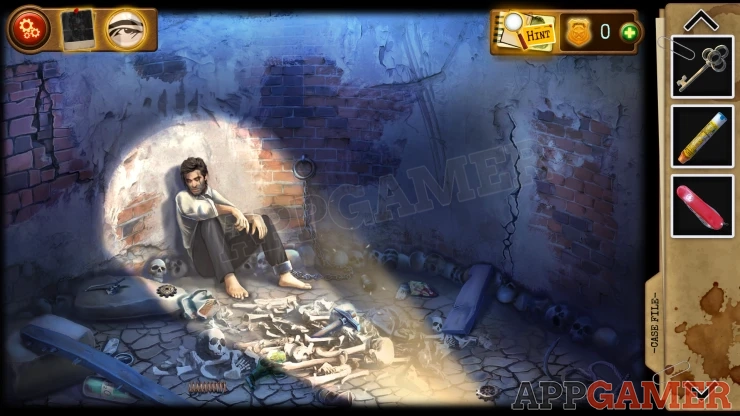
Tap on Detective Simmons to see the chains and use the Key 2 to unlock them.
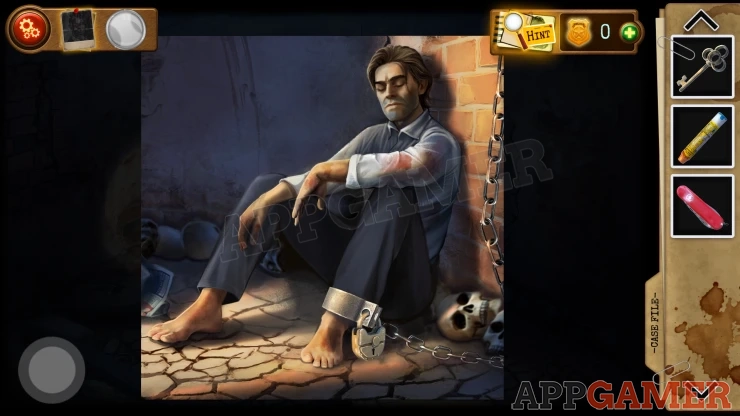
Then use the Epinephrine on him to wake him up. Next collect from the ground a bottle of water, and Pickaxe, a spring and two gears.
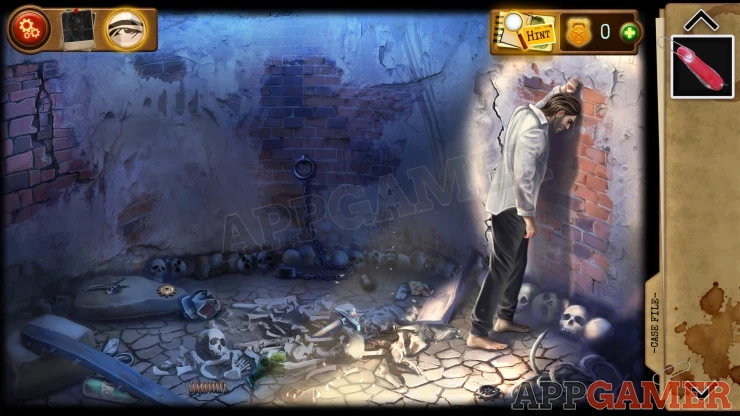
Combine the bottle of water with the pocket know to open the bottle and then give it to Detective Simmons
When he recovers give him the pickaxe and he will make a hole in the wall to reveal a door.
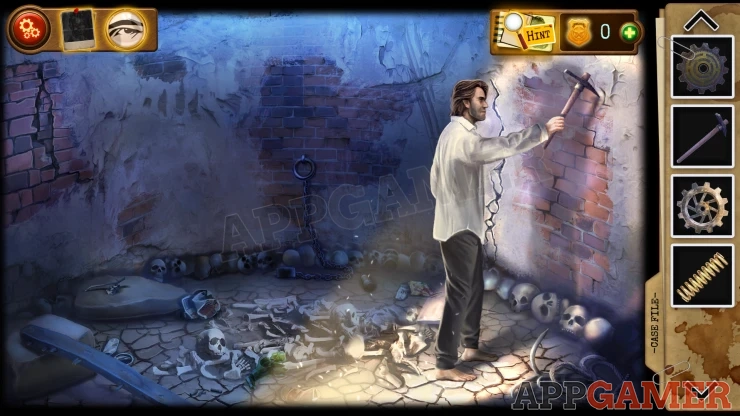
Next use pickaxe yourself on the left side of the pit to make a small hole and reveal a Safe.
https://resource.appgamer.com/library/2024/detective-escape-room-chapter-6_6.png?d=1920x1080
Safe
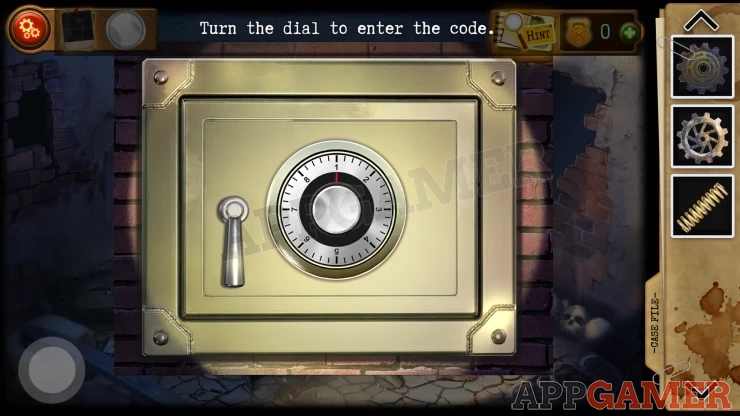
Tap in the center of the floor to see a clue with Skulls. There are five skulls of different sizes with numbers and arrows on them.
Use this clue to open the safe
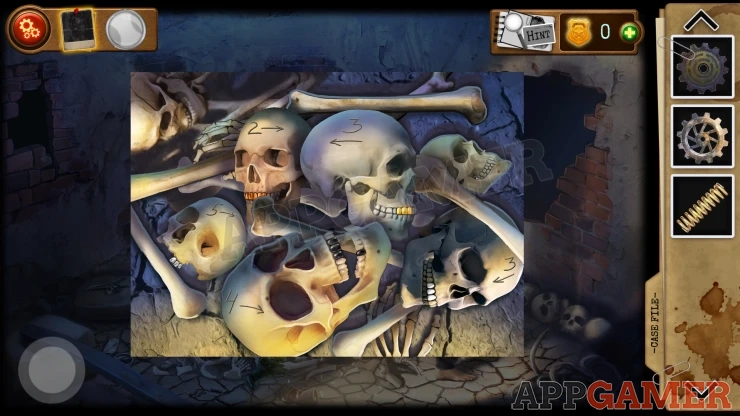
Solution: Using the numbers from smallest skull to largest. 5 Right : clockwise to number 5 2 Right : clockwise to number 2 3 Left : anticlockwise to number 3 3 left : anticlockwise to number 3 4 right : clockwise to number 4Show
Open the safe and collect a screwdriver and two more gears.
Now view the door again. At the top is the opening mechanism. Use the screwdriver on this top open the cover.

Look inside, then place the spring and the 4 gears.

You will need to arrange the gears into the correct positions.
Solution: Show
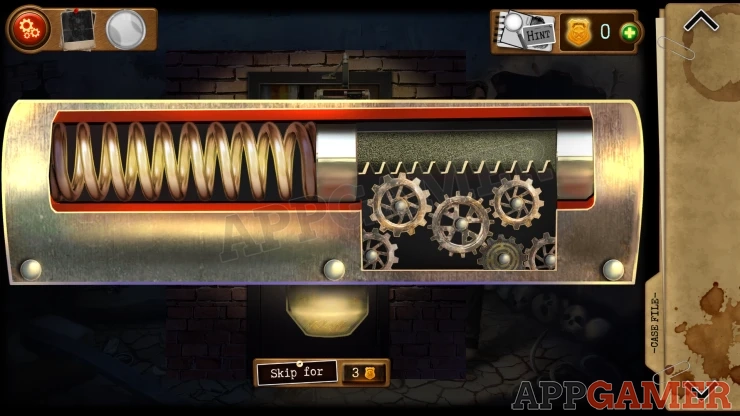
This will open the door and you can both escape.
This completes chapter 6, move on to chapter 7.
We have questions and answers related to this topic which may also help you: Show all
| Chapter 5 Walkthrough - A Wolf in Sheep's Clothing | Back to Top | Chapter 7 Walkthrough - The Sins of the Father |
 With 20 years of experience in creating video game content for the internet and over 30 years as a gamer, Mark is now a passionate mobile App Gamer. Loving a challenge, he is always ready to get stuck in to both survival builders and puzzle solving games. He has been providing content for AppGamer since 2014.