
Chapter 3 Walkthrough - God Is Not Here
More Detective - Escape Room Games
This is a walkthrough for Chapter 3 of Detective - Escape Room Games. After catching the Collector in Chapter 2 your next case is now in the hands of a new recruit.
The new detective is sent to an abandoned house to investigate some suspicious activity
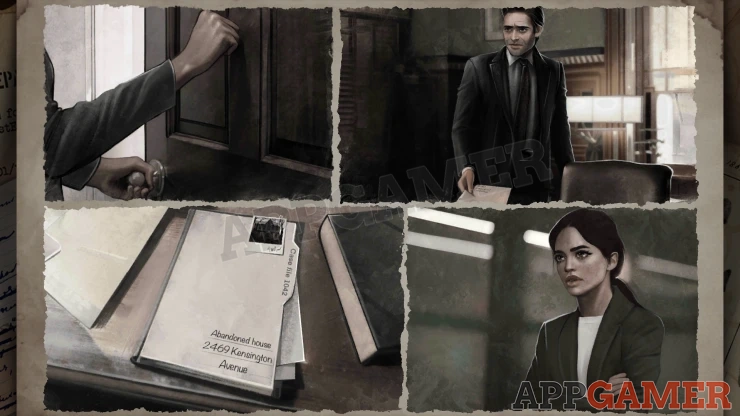
Case 3 - God is not here Walkthrough
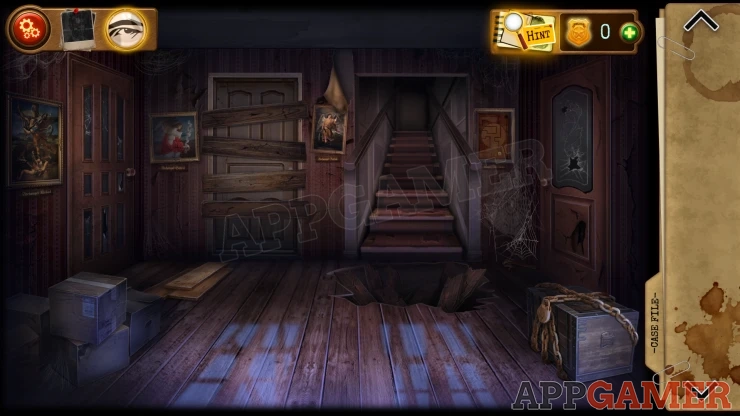
First collect some Boards from the floor on the left. Then tap on the painting on the wall in the left corner of the room. Collect the box cutter that falls from it.
Next view the cardboard box on the lower left and use the box cutter to open it.
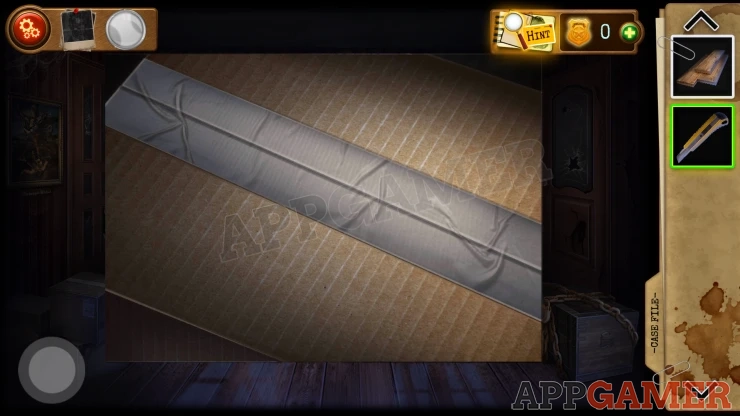
Move all of the items inside until you collect a roll of Electrical Tape and then also some straw.
Then tap on the paper with a strange Prayer. This is the first evidence board clue.
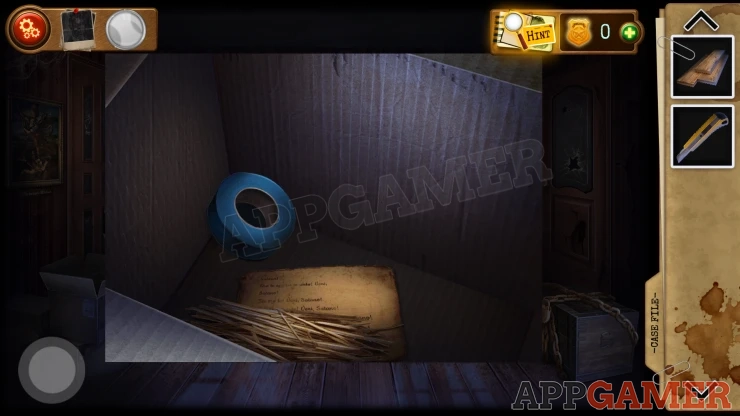
Combine the Straw with the Tape to make a Broom. Then use the broom on the cobwebs in the back right corner of the room by the hole in the floor.
You can then collect a Hammer and Nails. Place the boards over the hole in the floor and then use the nails on these, followed by the hammer. This will let you cross to the stairs.
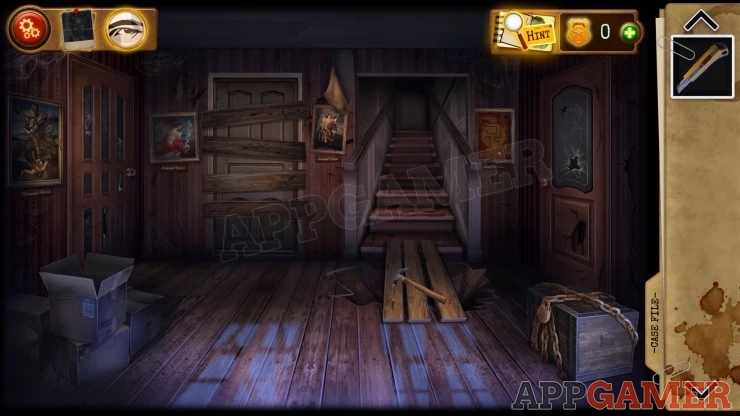
Go up to the second floor.
Second Floor
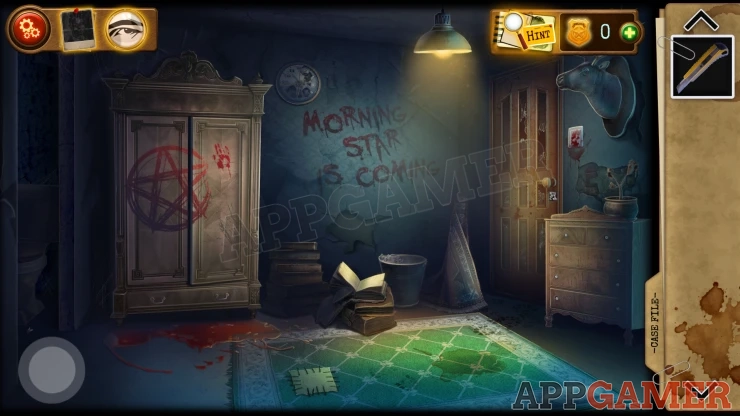
Lift the right corner of the rug and collect a Flashlight.
Then view a square patch on the rig. Use the box cutter to remove it.
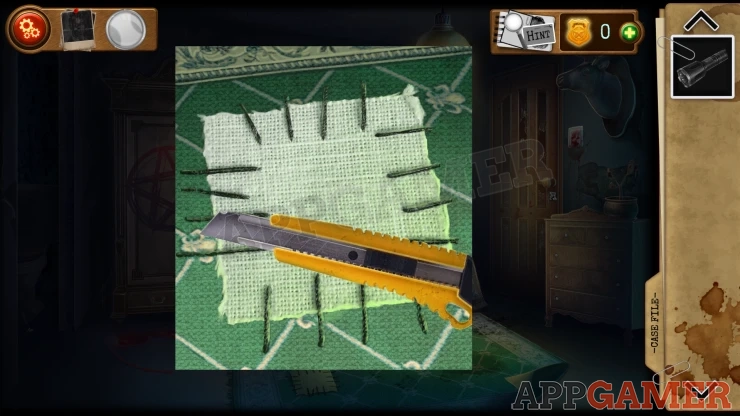
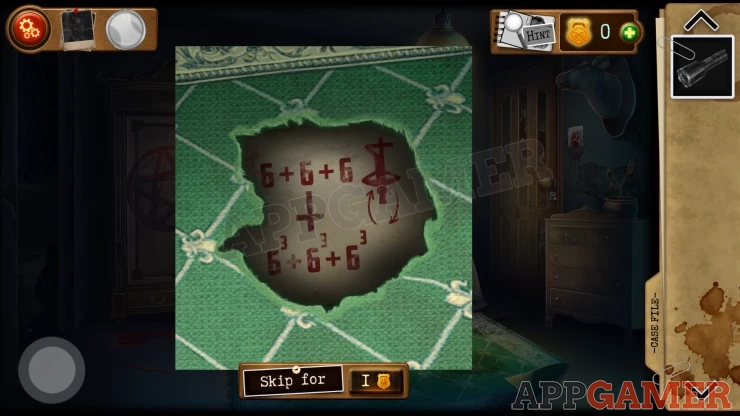
This reveals a clue.
Show
Open the wardrobe, then tap on the blood dripping onto the floor by the wardrobe, this is another evidence clue.
You can then collect a Key from the upper shelf (Pantry Key).
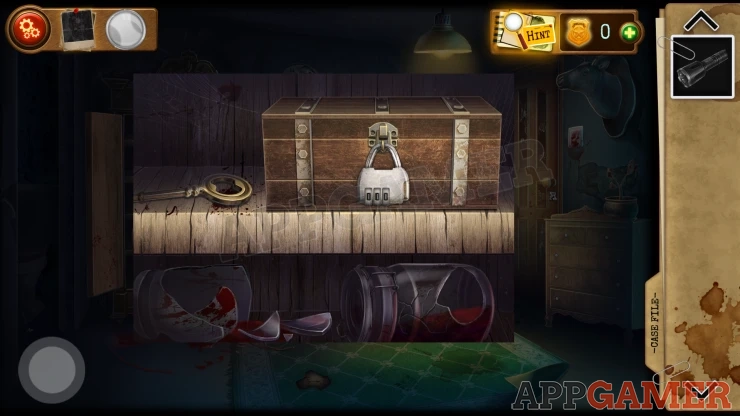
Then tap on a box on the same shelf to see a padlock with a 3 digit code.
The clue for this is in the rug.
Solution: The clue shows the number 666 but the person is upside down and has arrows indicating that it should be rotated.Show
Code: 999Show
Collect another key from the box (Chest Lock Key).
Go back down to the entrance hall and use the Chest lock key on the large box on the right.
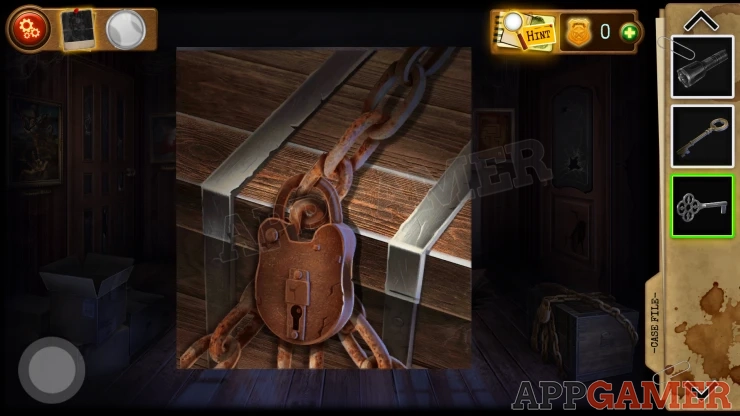
Collect a Battery, A Gear and a Sheet with symbols.
Combine the battery with the flashlight and it will then be a working flashlight.
Next use the Pantry Key on the door on the right to open it. Enter the Pantry.
Pantry
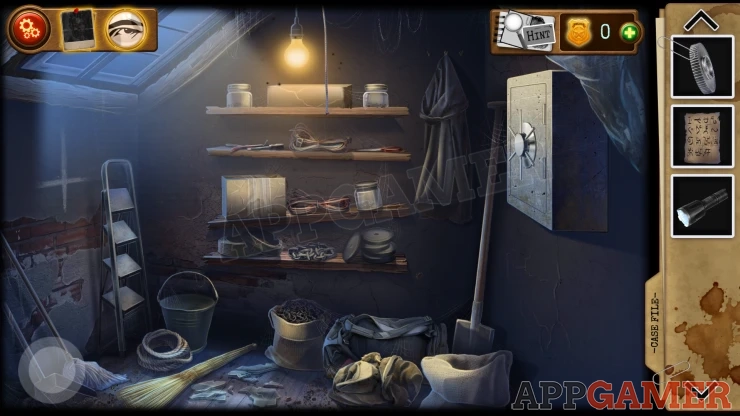
Collect the stepladder from the left wall and then tap on the inverted cross to collect another evidence board item.
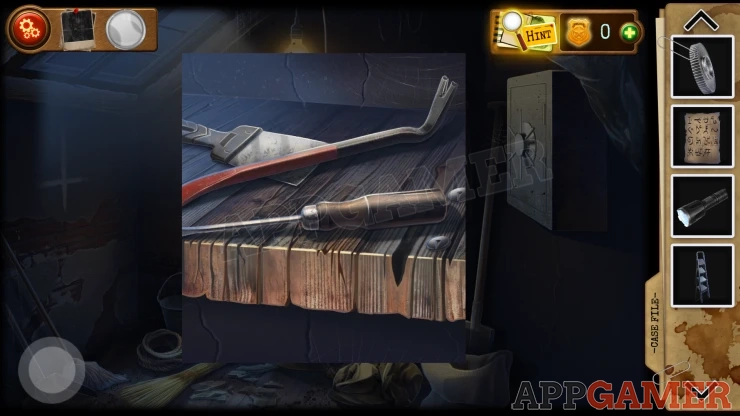
Next view the broken shelf on the back wall and collect from it a crowbar and a screwdriver.
Go back up to the second floor, on the left is a dark bathroom. Use the flashlight on this to see inside. .
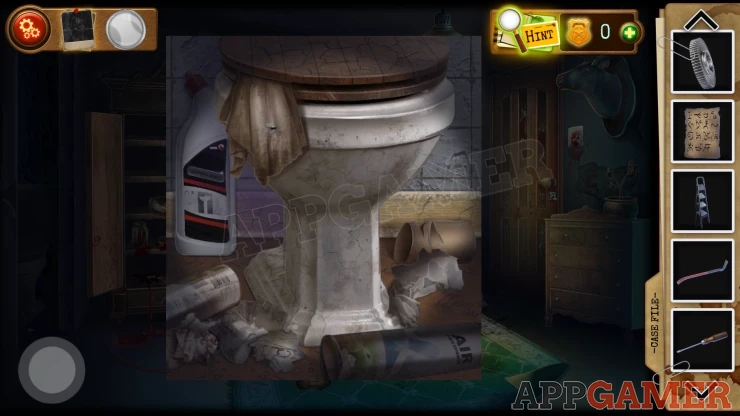
Remove all of the rubbish from around the toilet and then you can collect the First Part of the Picture.
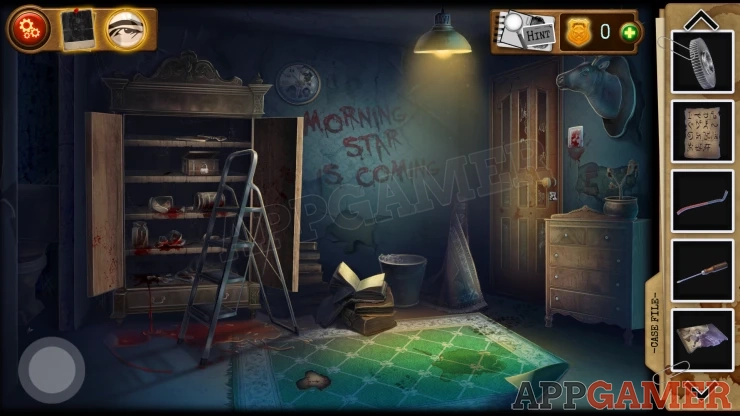
Then use the stepladder on the top shelf of the wardrobe, you can then reach it and collect another key (Living room Key) and another part of the picture.
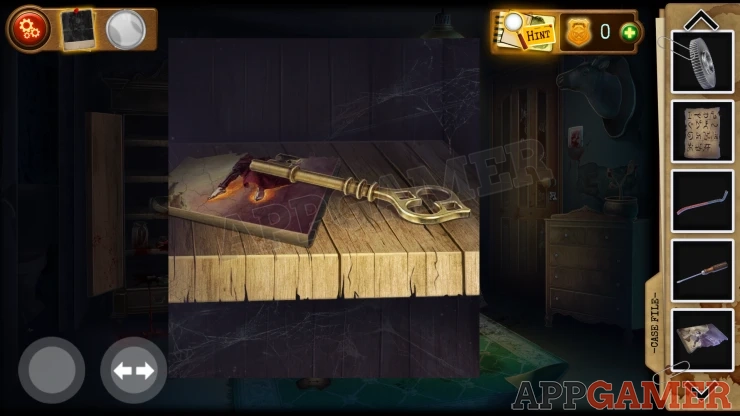
Go back downstairs and use the living room key on the door on the left. Enter the Living Room
Living Room
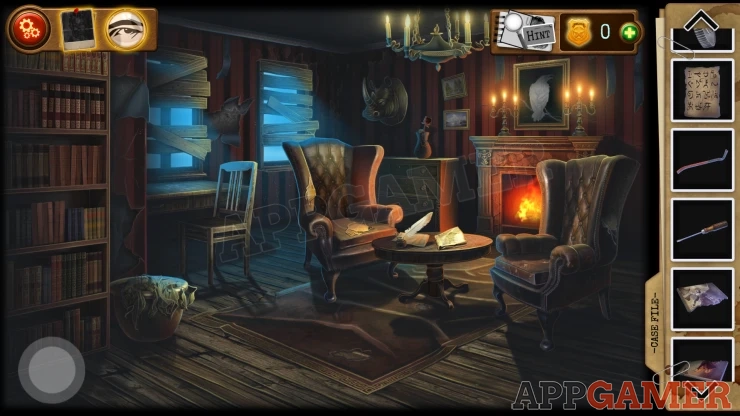
View the rug on the floor and lift it to find broken floorboards.
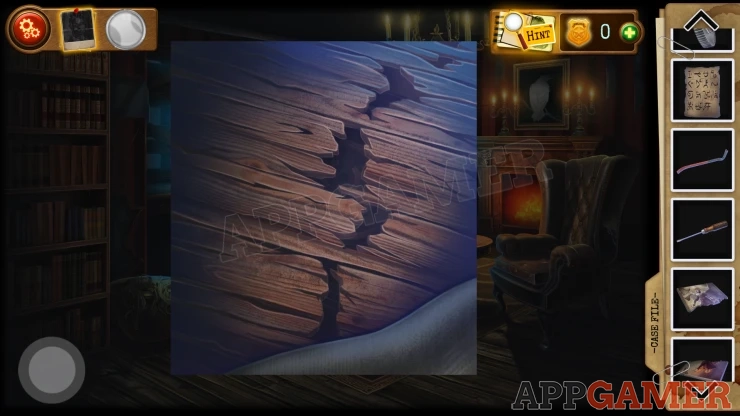
Use the crowbar here to break them open and find a puzzle.
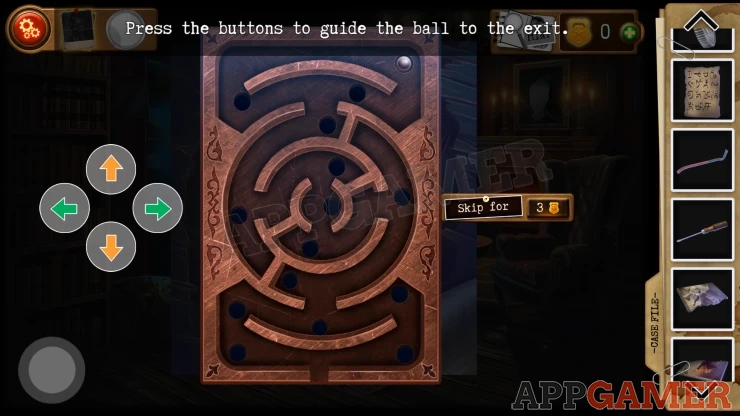
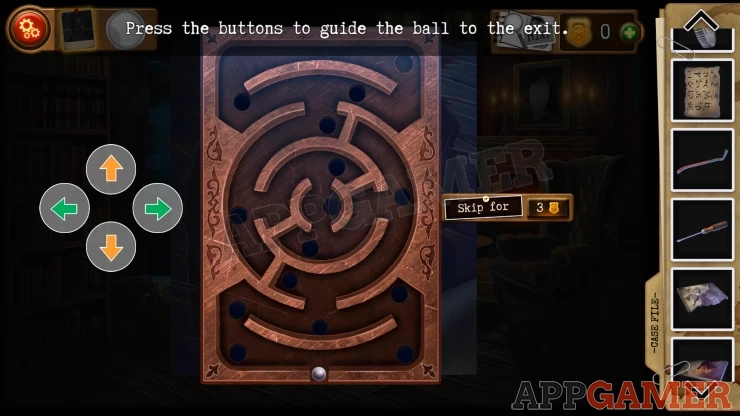
Tilt your device to move the silver ball from the top to the gap in the bottom of the game board.
If you Are not able to use tilt controls on your device then you can turn off the tilt option in the Settings but un-checking the 'Use Accelerometer' option. You can then use arrow buttons to direct the ball.
Avoid falling into the holes along the way.
You can then read a diary that will be included as another evidence board item.
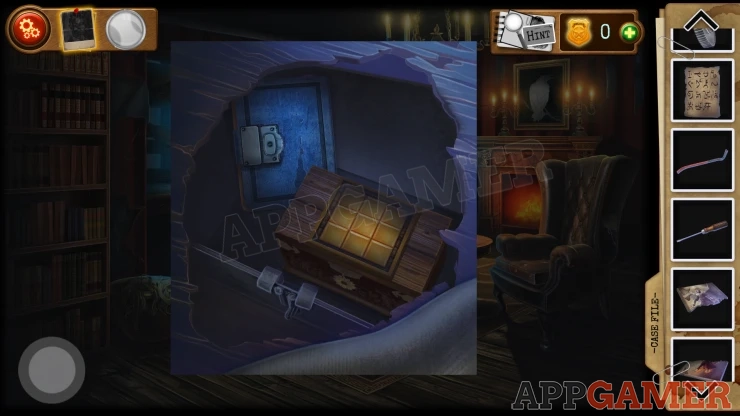
Then view the box on the right to see another puzzle.
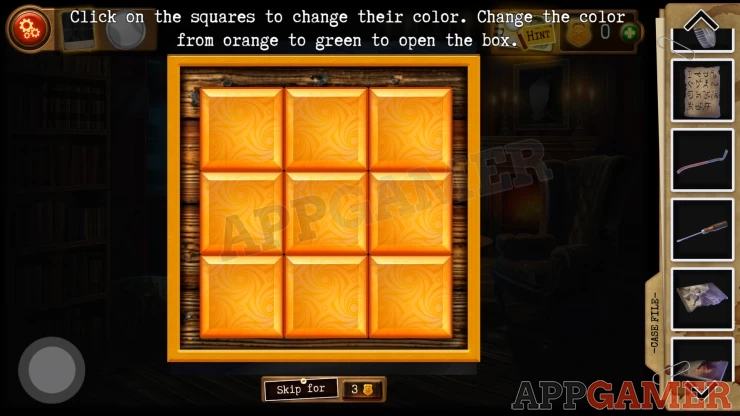
This is a lights out puzzle.
Tap the squares to turn them from orange to green. Each tap will also change the ones that are next to it.
You need to get all of them green.
Solution: Tap each of the corners first and then tap the center.Show
Collect a Pocket watch.
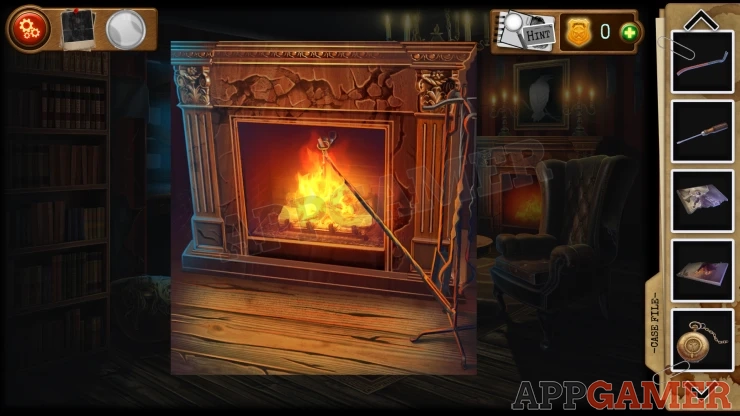
Next view the fireplace, collect a poker from the right side. Then use the Poker to collect a Key from the fire (Dresser key).
Next view the book case on the left of the room.
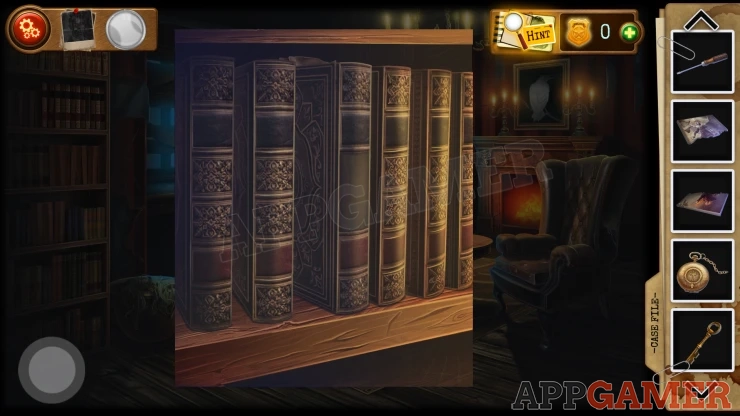
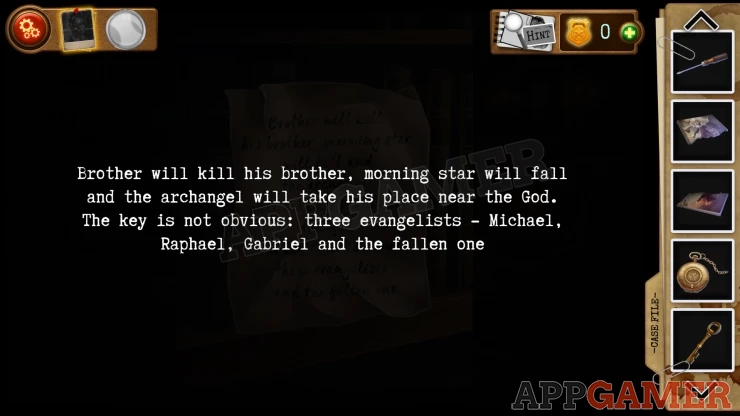
Move the center book and a paper will fall. View this for another clue. Notice the names of the 'Evangelists'.
Show
Go back to the entrance hall and first view a panel on the wall to the right of the stairs. There is a puzzle here.
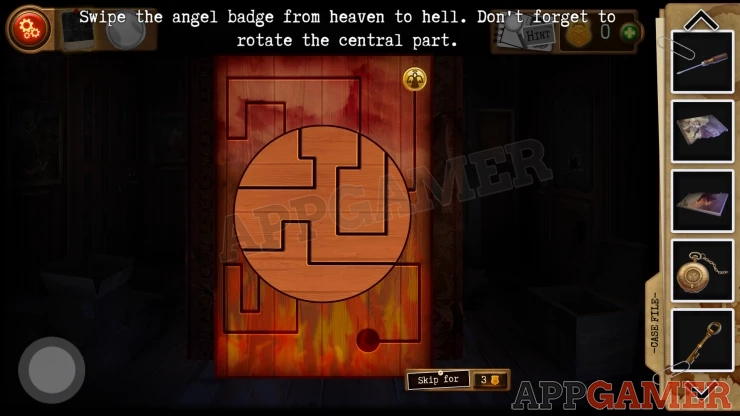
You need to move the Angel badge from the top right to the bottom.
Do this by rotating the center circle to allow you to pass the token through it and onto the other paths.
You will need to move it on to the lower left, then to the top left and finally the lower right path to complete the puzzle.
Once done you will see a Picture frame for 'Morning Star, Lucifer'. Combine the 2 parts of the picture in your inventory and then add this to the frame.
Then tap the top left corner to tear away a loose piece and you now see a number.
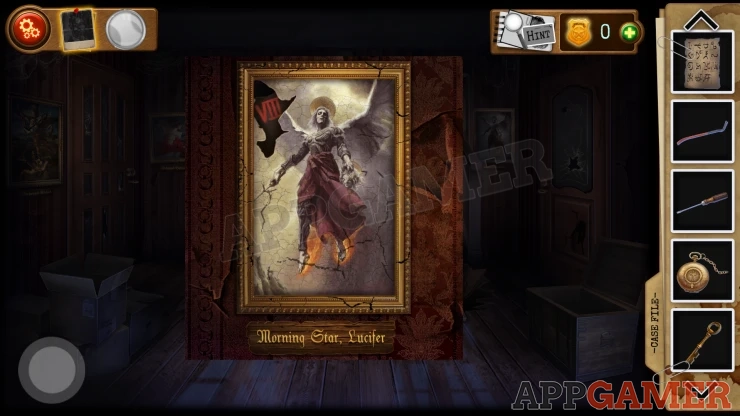
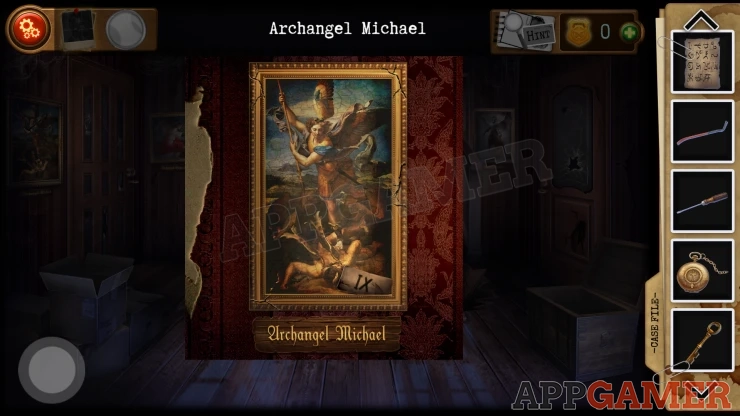
Examine the other pictures in the hall, there are three pictures of different angels. Get the names and numbers from each one.
Once you have these go back into the living room and view the picture of the bird above the fire place.
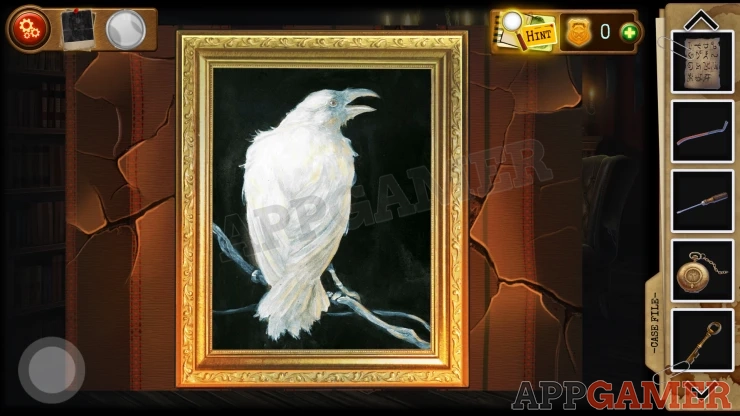
Tap to remove it and find a safe with a keypad, you can now enter the code from the clues.
Solution: Use the numbers from the 4 paintings and put them in the order of the names from the paper on the book shelf.Show
Code: 9428Show
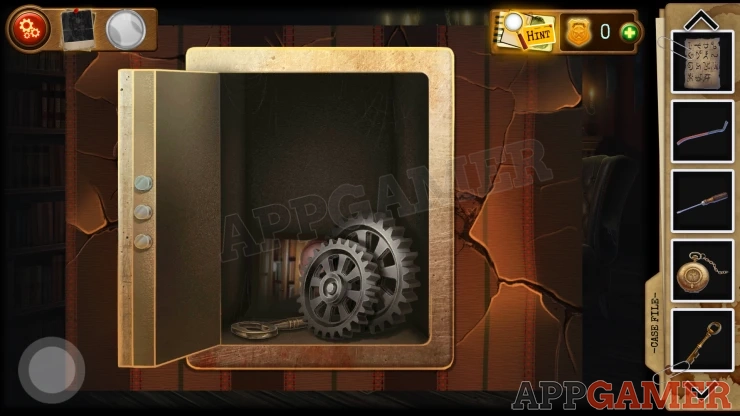
Collect 2 more Gears and another Key. (Bedroom Key) Then view the photo of the person in the safe.
Go back up to the second floor so that you can use the Bedroom key to open the door on the right.
Bedroom
First you need to solve a puzzle.
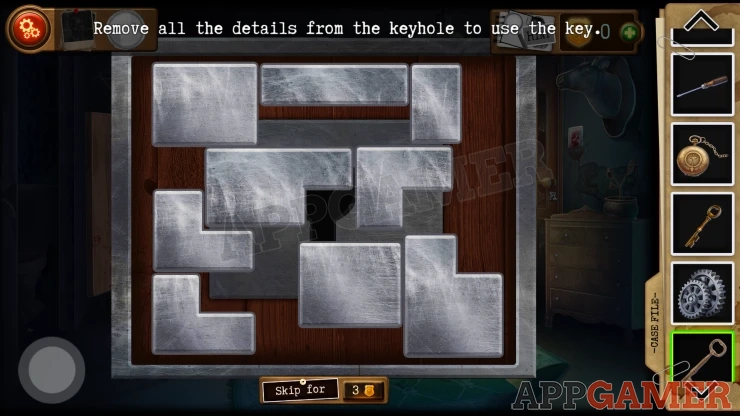
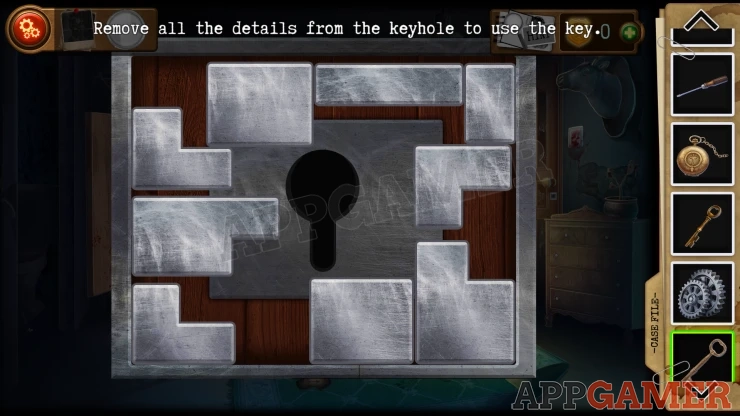
Move the blocks around the square to make room for the key. You just need to uncover the keyhole shape.
Solution: Show
Now inside the bedroom, look under the bed to find a Mop to collect.
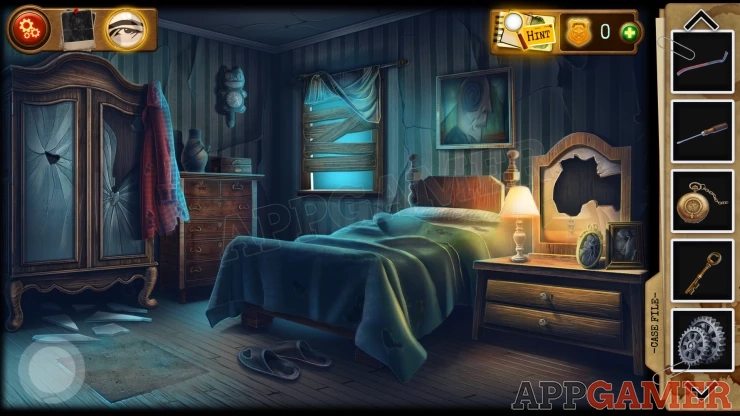
Then use the Mop on the floor on the left to clean it. You will find a trap door.
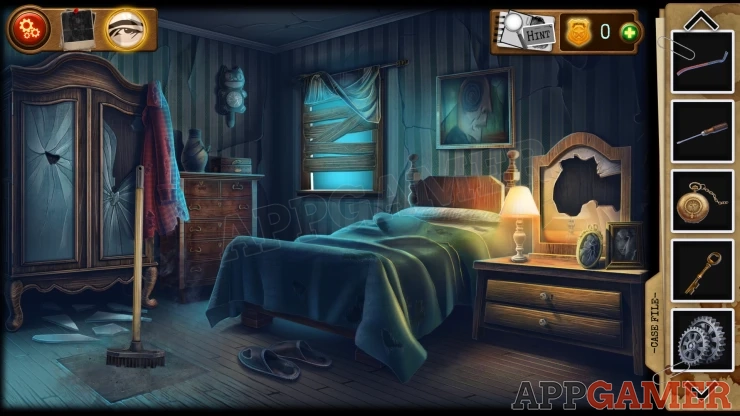
Open the trap door to find a compartment with another Key (Key to the Draw) and a Camera that is the final Evidence item.
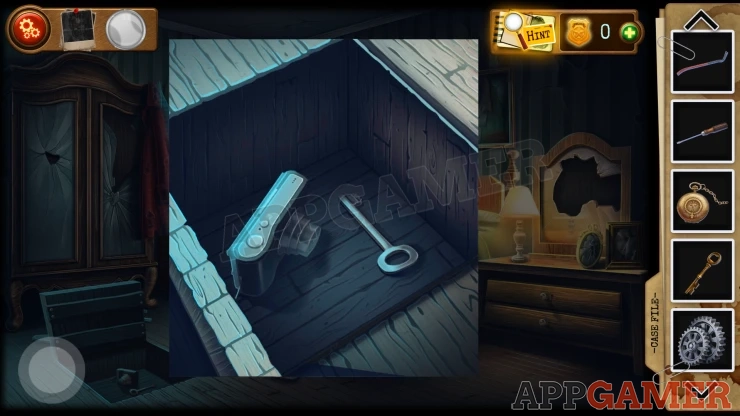
View the nightstand on the right side and use the Key to the Drawer to open the top drawer.
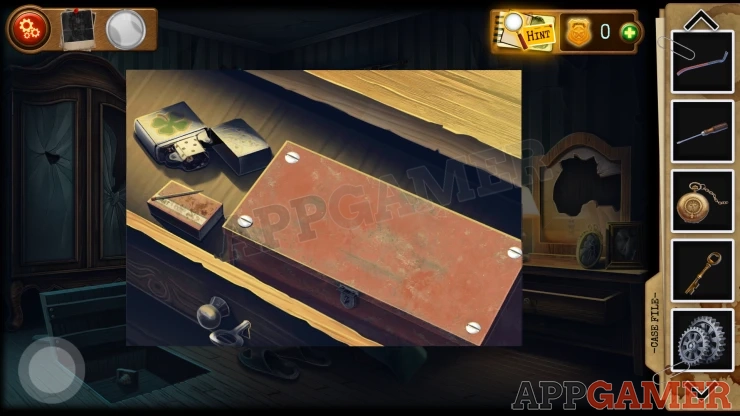
Collect a Lighter and then use the screwdriver to open the red box. Inside is a puzzle
Bedroom Puzzle Box
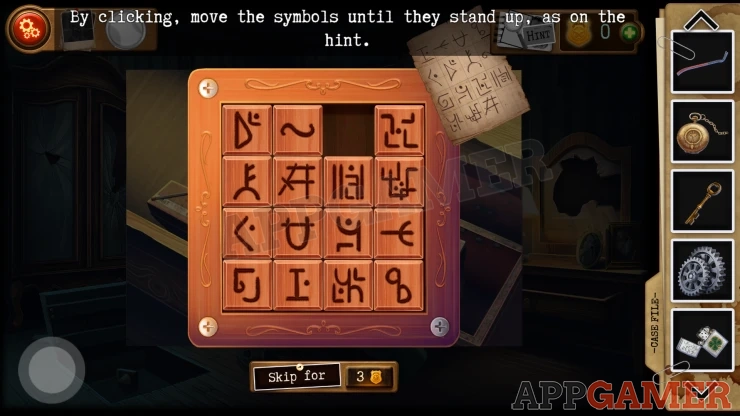
- Select the box and the paper you found with the symbols on it will be placed over it.
- You now need to arrange the tiles on the box to match the layout of the matching symbols on the paper.
- Tap tiles to slide them to empty spaces
- You can tap the paper to see it more clearly at any time.
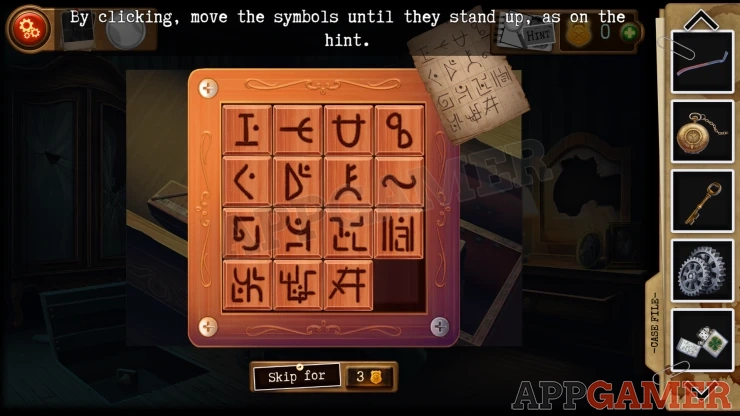
When the box opens collect a Raven figurine.
Next view the drawers on the left wall of the room and you can use the Dresser Key to open a drawer.
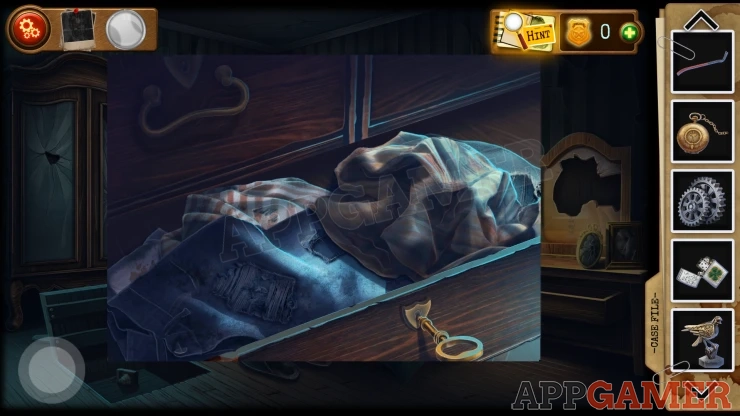
Move the clothes inside and then collect another Gear.
Now return to the Pantry downstairs. View the large safe box on the right wall.
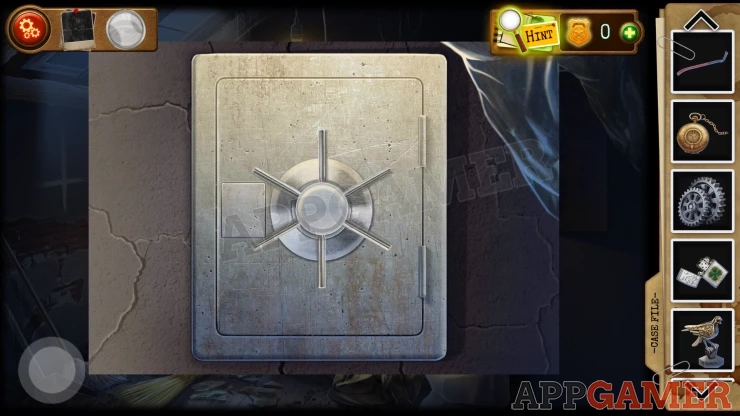
Tap to open the cover and add the gears that you have to it
Gears Puzzle
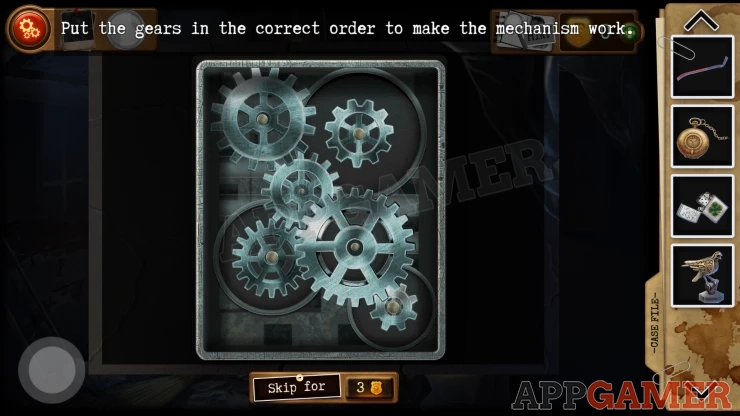
- Drag a gear to a different location to swap their positions.
- Arrange the gears so that they all fit together correctly.
Solution: Show
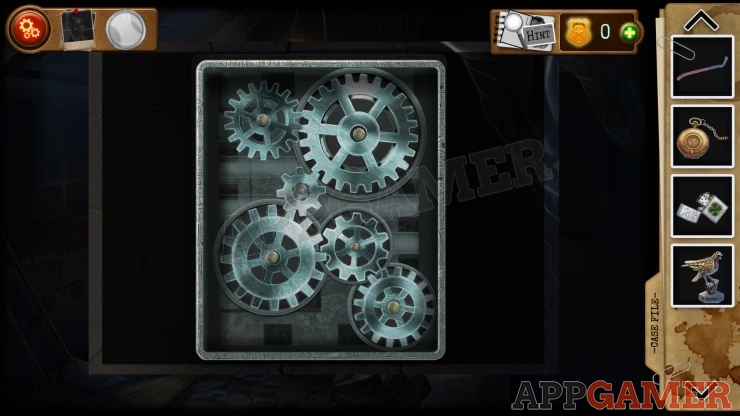
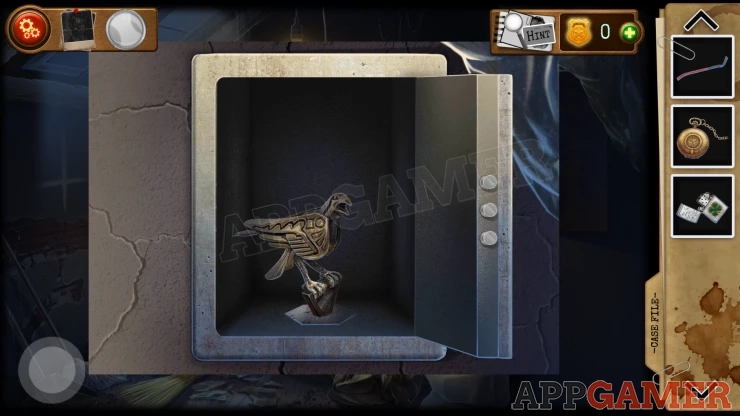
Once done the box opens. It is empty and there is a hexagon shape on the bottom. Place the Raven Figurine into the slot, this will trigger a movement in the hall.
Go back to the hall and you can now use the Crowbar on the boarded up door on the left of the stairs.
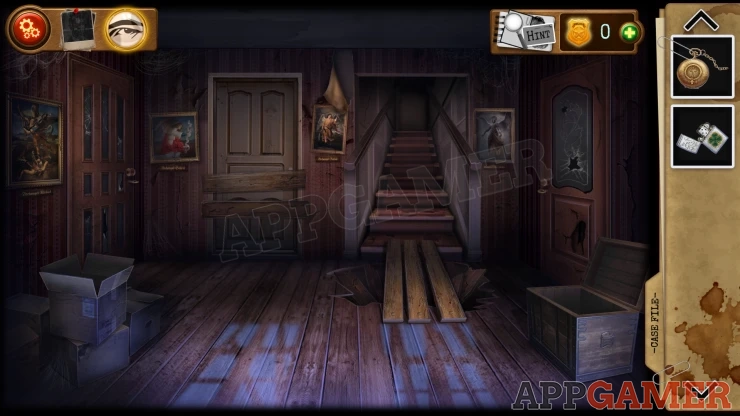
Enter a dark room.
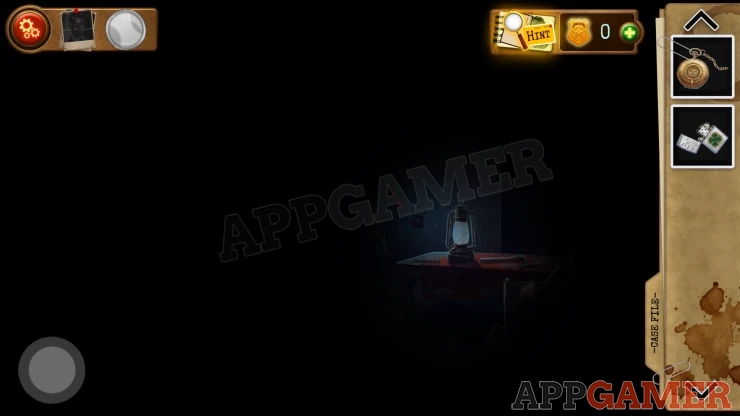
Use the lighter on the lamp to light it so that you can see the room.
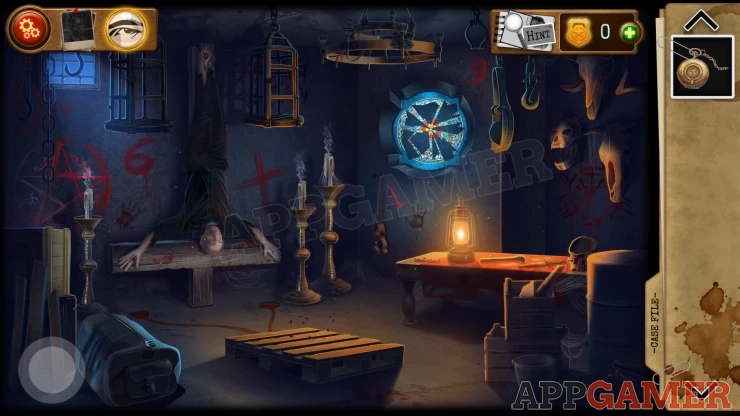
Notice the numbers on the wall and then look at the bag on the floor on the left. This has a padlock.
Use the numbers you have seen to open this
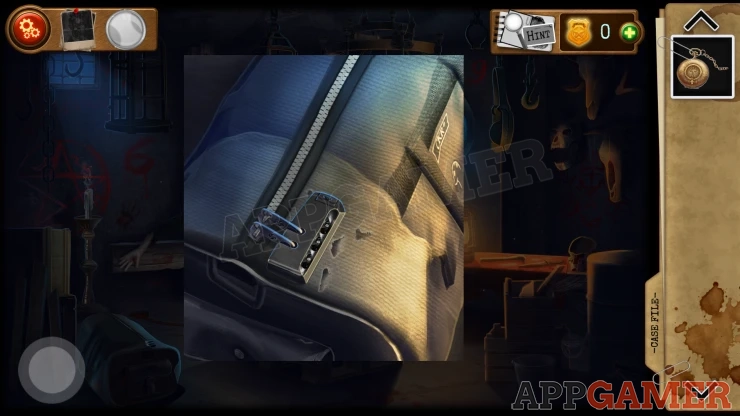
Code: 619Show
Remove the items inside until you collect a can of Fly Spray. and also another key (Stash Key).
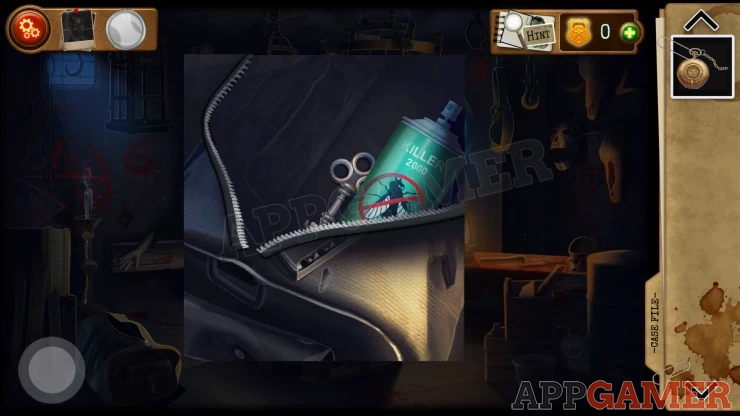
Next view the pallet on the floor with the flies buzzing around. Use the Spray to get rid of the flies.
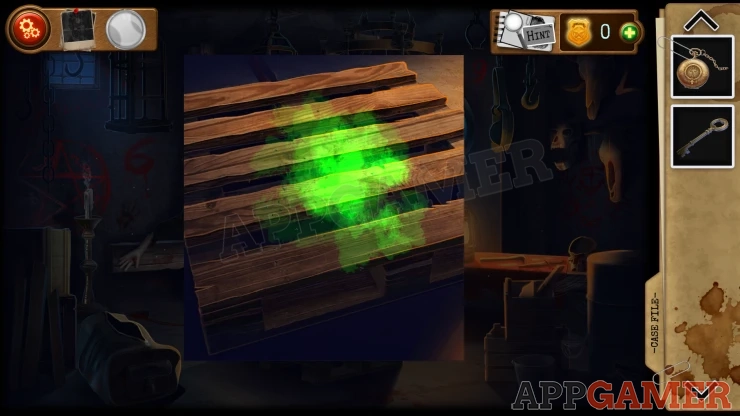
Remove the pallet and then you can collect some Stained glass shards from the hole.
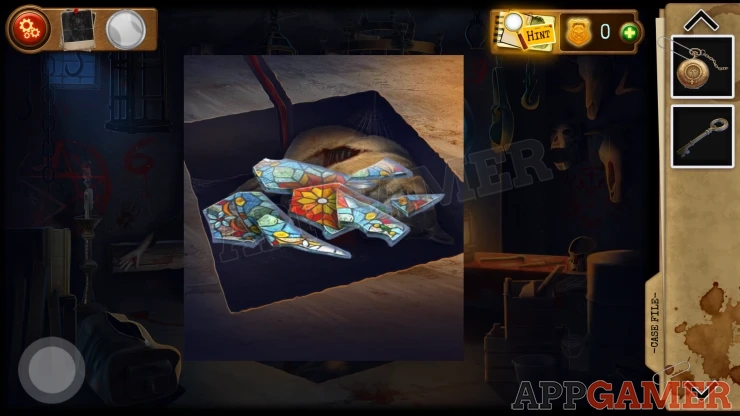
Next view the broken window on the right. Add the glass shards to it to start
Stained Glass Puzzle
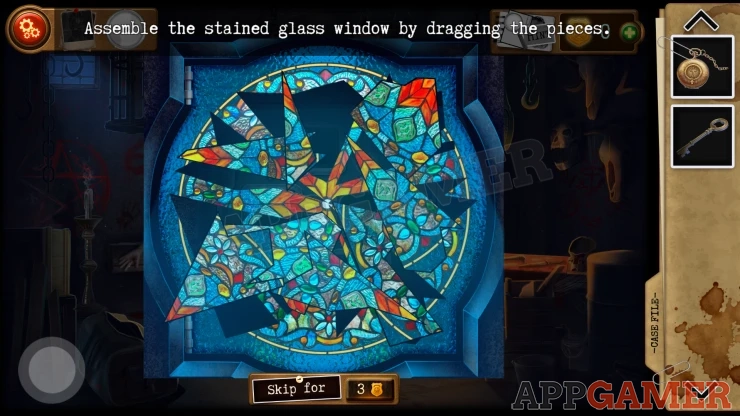
Each of the piece is in the wrong position over a hole in the window.
Select and drag a piece to one of the other location to swap their positions until they are all in the correct location to complete the window.
Solution: Show
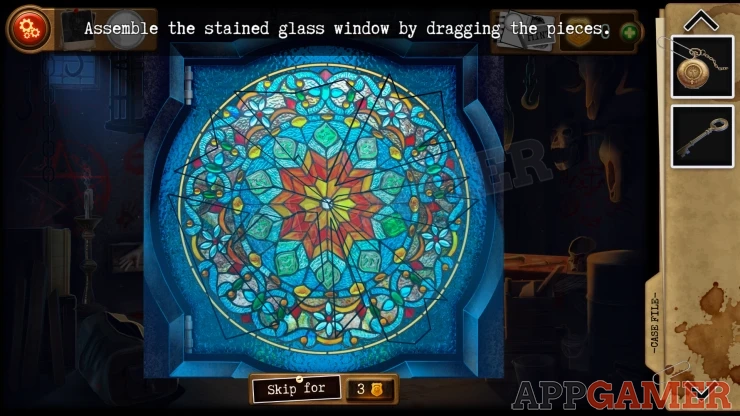
You will then find another puzzle.
Sequence Puzzle
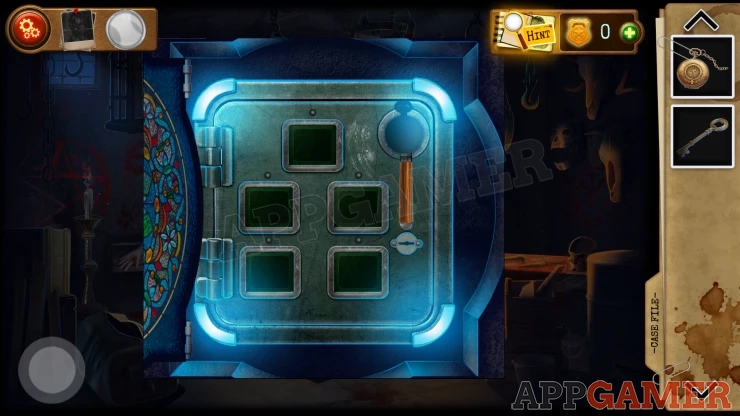
- Use the stash key on the right and then add the Pocket watch to the top right to start the game.
- You will then see the 5 green square buttons activate.
- The green squares will flash in a sequence, when they stop you need to tap the squares to repeat the sequence.
- If you get it right one of the green squares will turn off, this one is now locked.
- The game continues with a sequence of the remaining 4 squares. Then 3 squares, and finally 2 squares.
- Once you complete the 4 levels of this game the box opens.
Solutions: This was the solution for me play though. Yours may not be the same. We number the buttons like this: - 1 - 2 - 3 4 - 5 The sequences are: 1 2 1 4 5 3 3 5 3 2 1 2 1 3 1 5 3 5 3 3 5 3 5 5Show
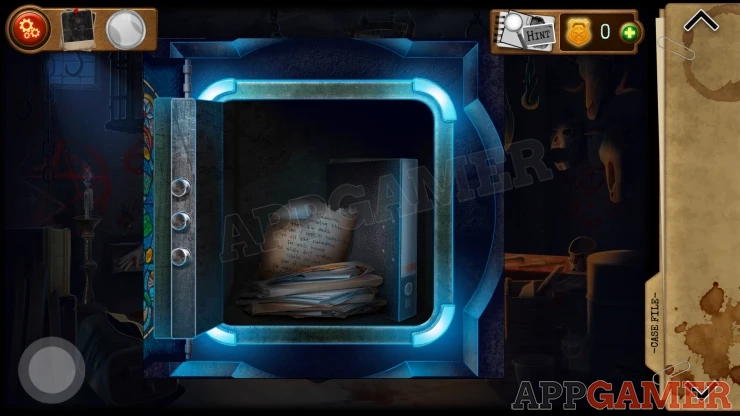
You find a note from the victim which helps you to solve the case, the criminals are arrested.
This completes chapter 3, move on to chapter 4
We have questions and answers related to this topic which may also help you: Show all
 With 20 years of experience in creating video game content for the internet and over 30 years as a gamer, Mark is now a passionate mobile App Gamer. Loving a challenge, he is always ready to get stuck in to both survival builders and puzzle solving games. He has been providing content for AppGamer since 2014.