
Chapter 2 Walkthrough - Breadcrumbs
More Detective - Escape Room Games
This is a walkthrough for Chapter 2 of Detective - Escape Room Games. This second case is called breadcrumbs and follows on from the flash back of chapter 1 where you discovered that the collector has killed your partner.
Now a year later, Chapter 2 you are called to investigate a seemingly simple robbery at a private bank.

Case 2 - Breadcrumbs Walkthrough
You start in an office of the bank.

First look at the papers on the floor below the desk in the center. Move the papers from the pile and then you can collect a Garden Trowel.

Next collect a red pencil from the top of the desk in the center. Then view the desk on the far left to see some photos. Move these photos to uncover and collect a Key (Matthew's Locker Key).

Then view a small plant pot on the window on the back left. Use the trowel here to dig and collect a Key (Locker Key No. 2.)

You can view the computer on the table by the window but it is locked.
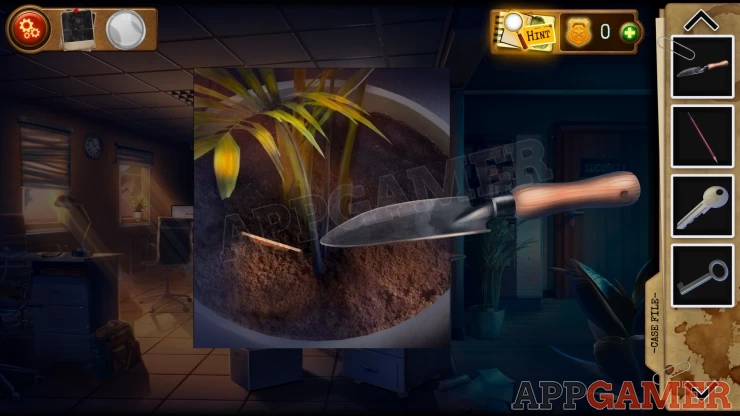
View the large plant pot on the right side of the room by the Security door. Use the trowel to dig up and collect a Puzzle piece.
Next tap on the WC door at the back behind the center desk. You enter the toilet.
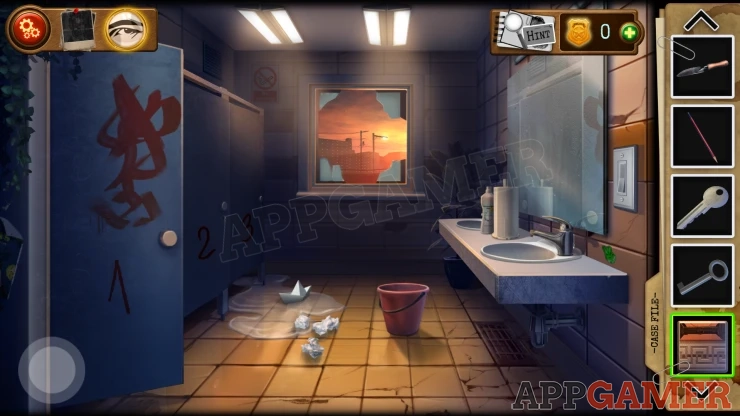
Look in the open toilet stall on the left (door 1), collect a Plunger. Then also notice the writing on the wall on the left.
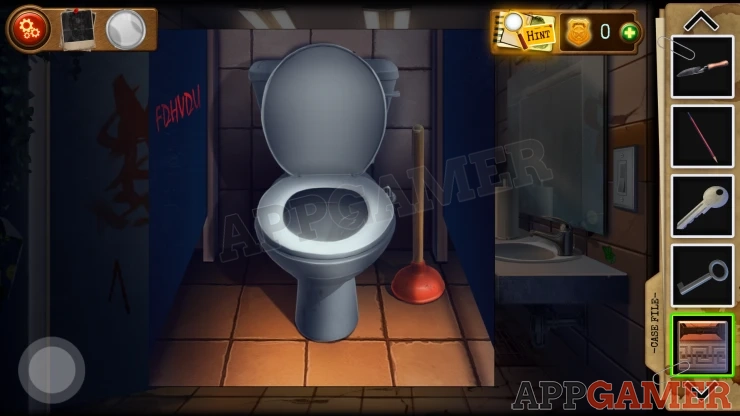
Next tap on the middle stall door (door 2) to see the lock. Use the Locker Key No. 2 top open it.

From inside this stall you can collect a Key Card.
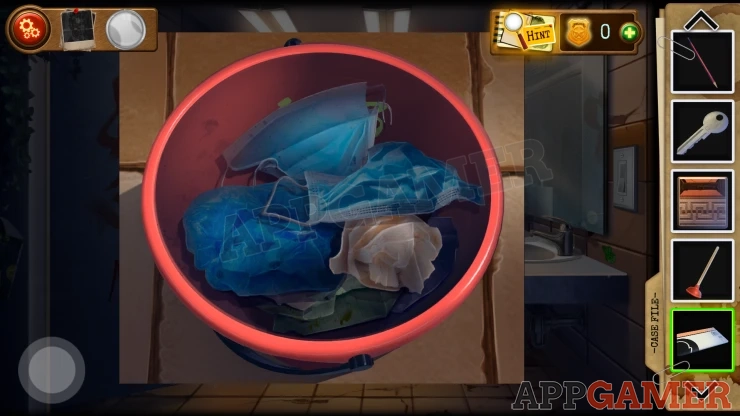
Next look in the red bucket on the floor. Move the rubbish items and then you can see a clue (1 <- 3), and collect another Key. (Sallivan's Locker Key)
Finally view the light switch on the wall on the left. Notice the clue 1->4.
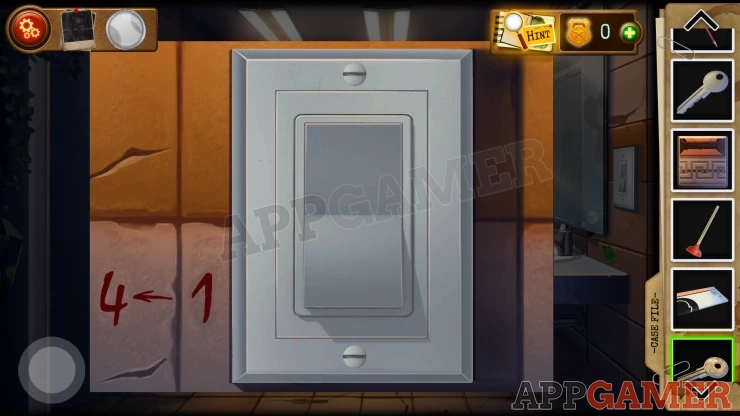
Turn off the lights. Now view the room and you will see footprints. This is the first clue for your evidence board.
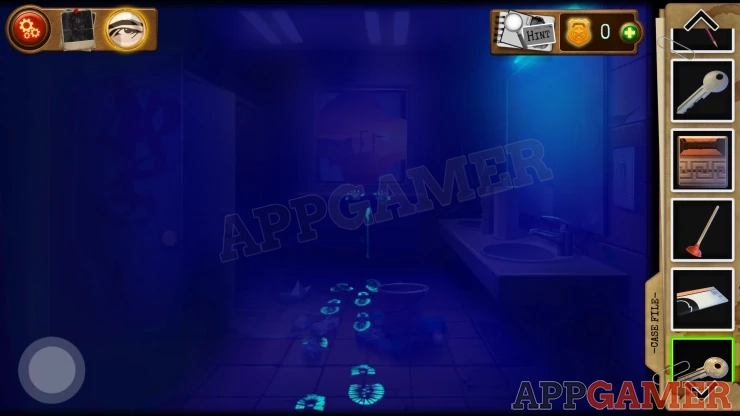
Turn the lights back on. Then back out tot he office. You can now use the key card on the security room door to open it.
Security Room

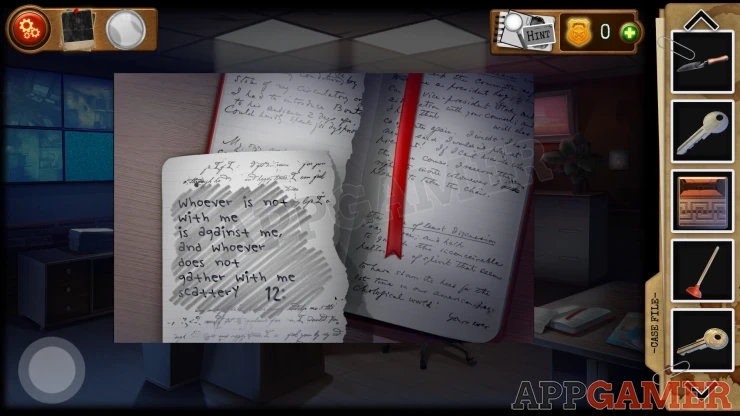
First view a book with a torn page on the table on the lower right.

Use the pencil on this to shade in the blank part of the page, this will reveal a clue.
Show
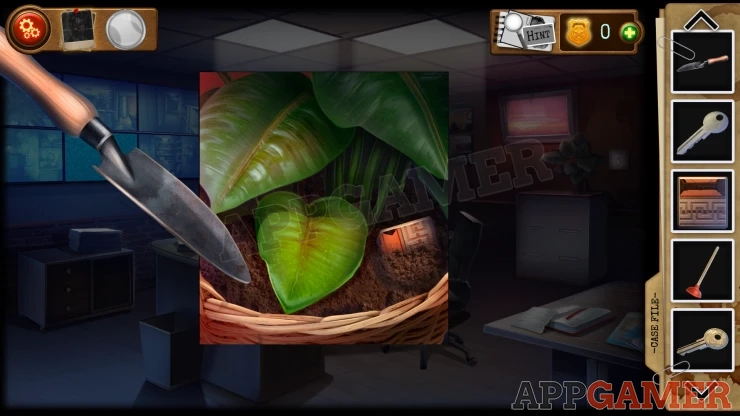
Next look in the small pot pant on the upper right ans use the Trowel to dig again. Collect another Puzzle piece.
Next tap on the waste bin by the desk to knock it over and then you can view the rubbish on the floor.
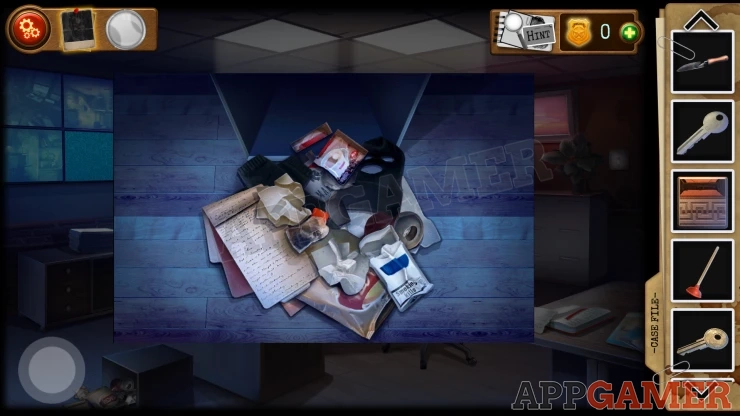
Remove the items until you find only the broken glass, this is the next clue for the board.
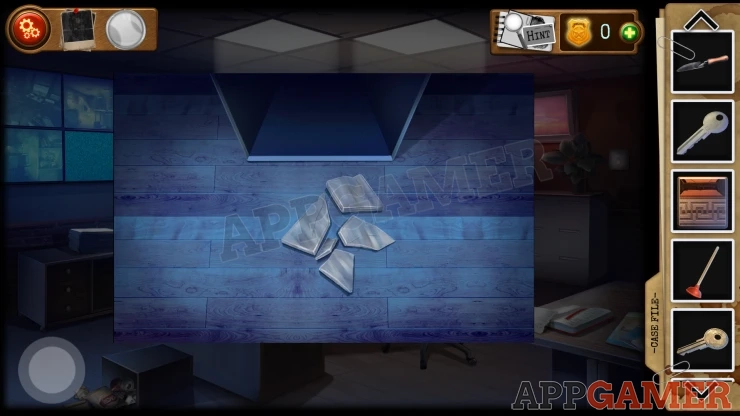
Now view the papers on the desk to see a clue about the password for the computer.
Tap to view the scary clown statue on the desk. It will play a tune that you need to hear.

Cryptography Book
Then view a book that is on the chair by the desk. This is locked and has 3 buttons.
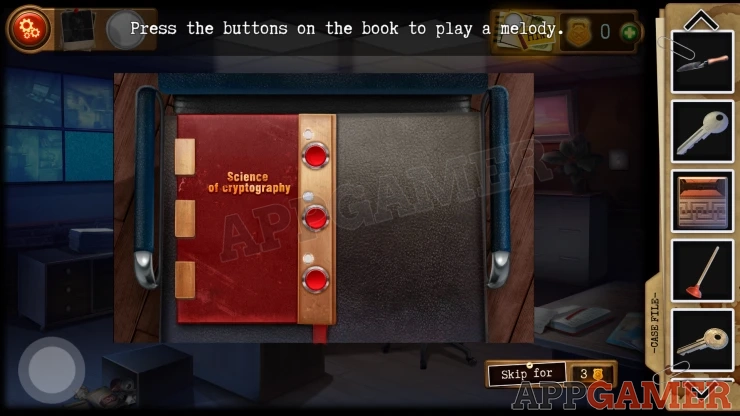
Tap each button to hear a short part of a tune.
You can then tap the buttons in the correct order to match the tune you heard from the clown.
Solution: Tap: Middle, Top, BottomShow
Open the book to see another clue for the cipher

Now you can unlock the computer using the clues.

Get the code from the bathroom stall and use the cipher instructions to translate it.
Code : CAESARShow
After entering the code you can 'Unlock the computers in the hall'.
Back out to the office and view the computer on the back left, it is unlocked but you need to solve a puzzle.
Computer Puzzle
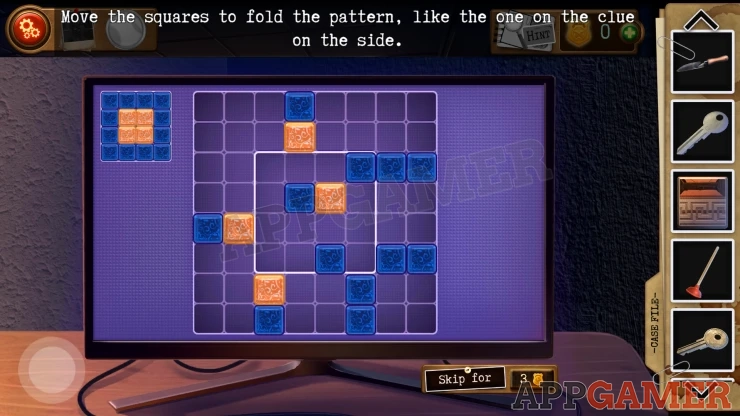
You need to move the colored blocks to fit the pattern clue shown on the top left into the square in the center.
Each row or column of blocks on the grid will move together.
Try to group the blocks into single rows or columns that match the pattern then move them into the center area.
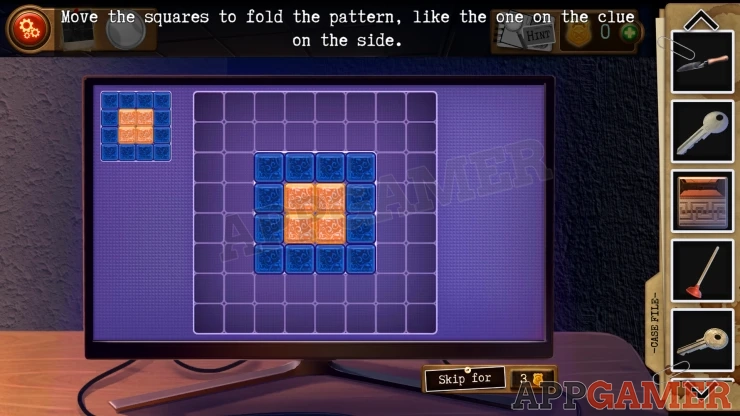
Once unlocked you will see a clue for the Cabinet in front of the vault.
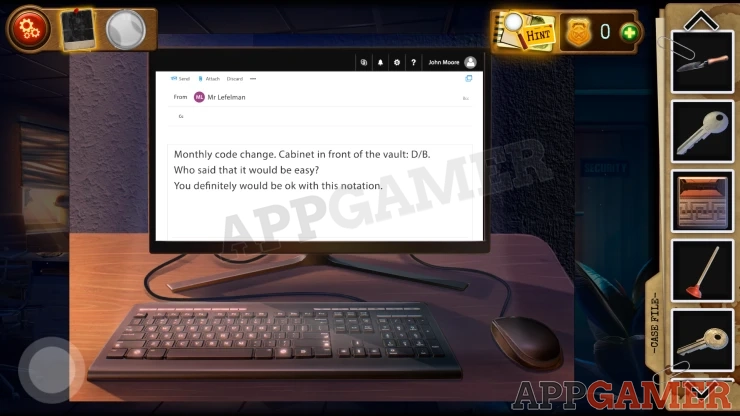
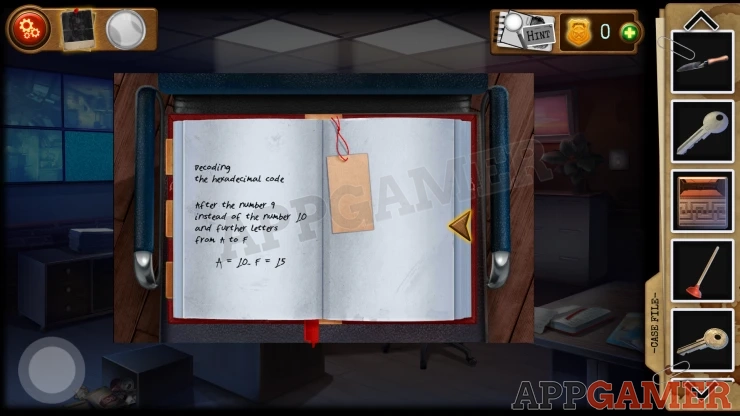
Return to the security office and look in the Cryptography book again. Turn to the next page to see a clue about Hexadecimal Codes.
Go back to the office and tap on the door at the back left behind the computer. This has a keypad.

You can now use the clues to enter the code.
Solution: The clue is D/B. From the hexadecimal clue D=13, B=11Show
Code: 1311Show
Back room
In the back room there is a sofa and table and then a door to the Vault.
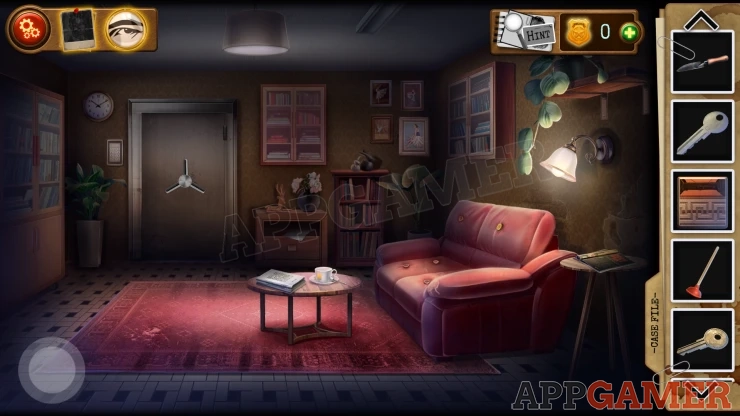
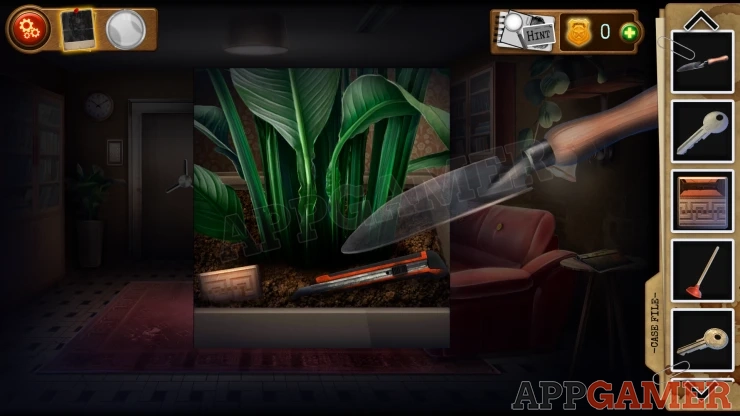
View the plant pot on the left of the vault door and use the trowel again to dig and collect a Box Cutter knife and a third Puzzle piece.
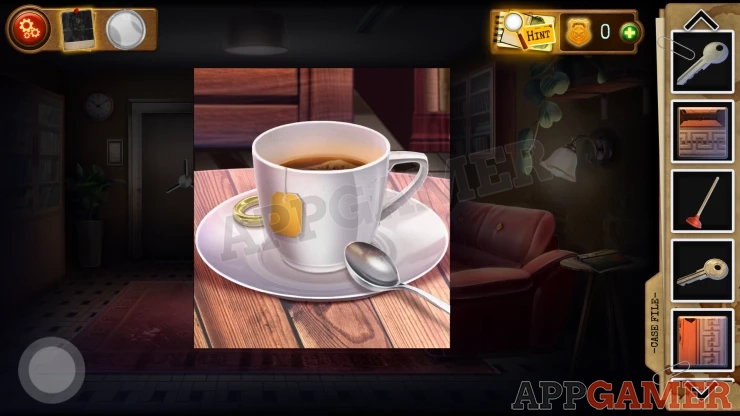
View the tea cup on the table and then move the cup so that you can collect a gold Key. (Locker Key No.3)
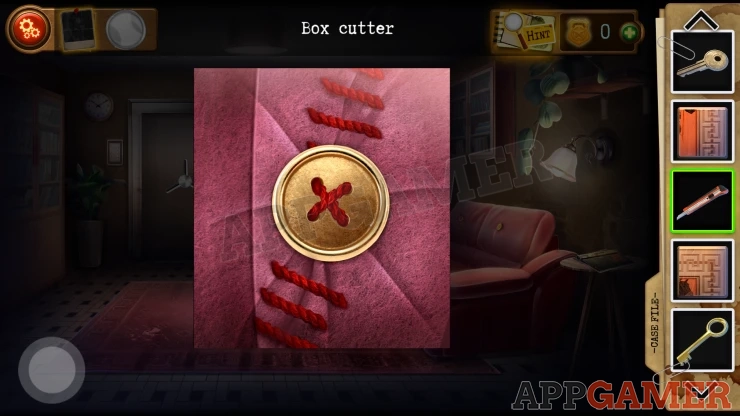
Next view the sofa to see some stitching and a button. Use the Box cutter on this to cut it open and then collect a USB flash drive.
Now tap on the larger blue picture on the back wall on the right. This will take it down and reveal a panel. Use the box cutter on the panel to open it and you will find an Additional Server, this is the next Clue for the board.
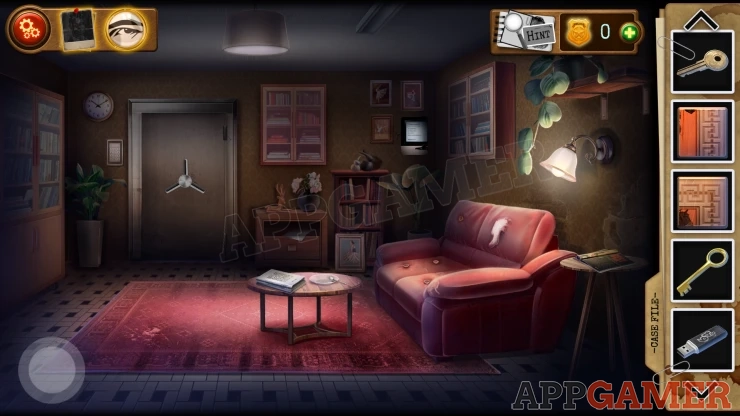
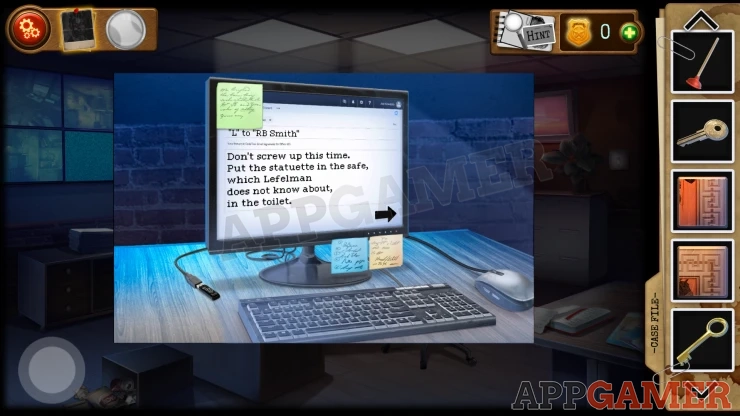
Back up to the security office and use the USB drive on the computer. You will see a clue about a Statuette in a safe. And then tap the right arrow to find details for the code.
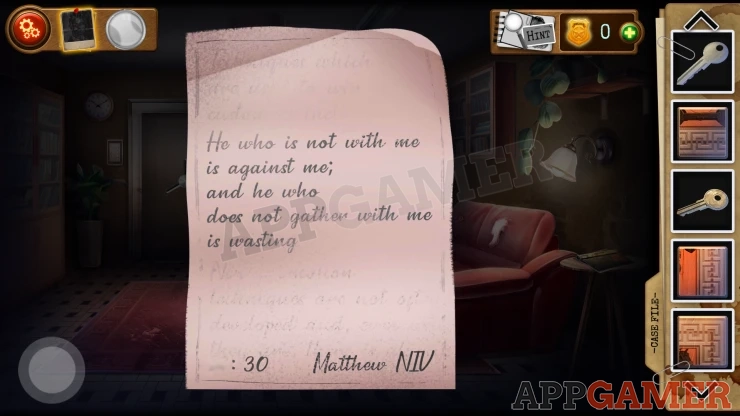
Go back to the back room by the vault. Tap on the small furniture with the flower vase to the right of the vault door. You will find a paper with another clue.
The words match those from the book in the security office. There is a different number on it.
Now view the key pad on the left of the vault door and enter the code.
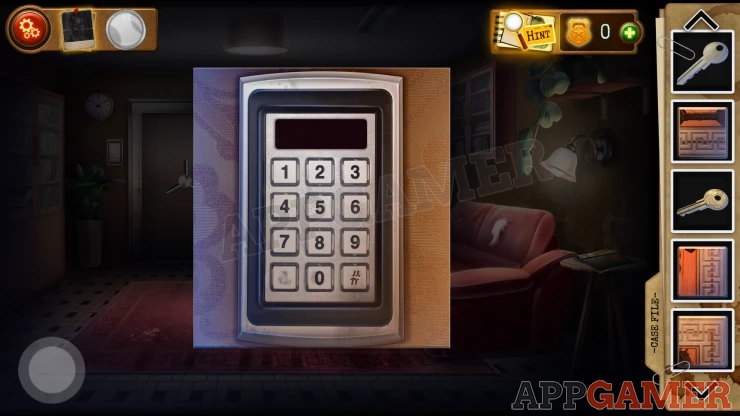
Solution: Combine the numbers from the 2 cluesShow
Code: 1230Show
The vault opens. Go in.
Vault
You are trapped in the vault.
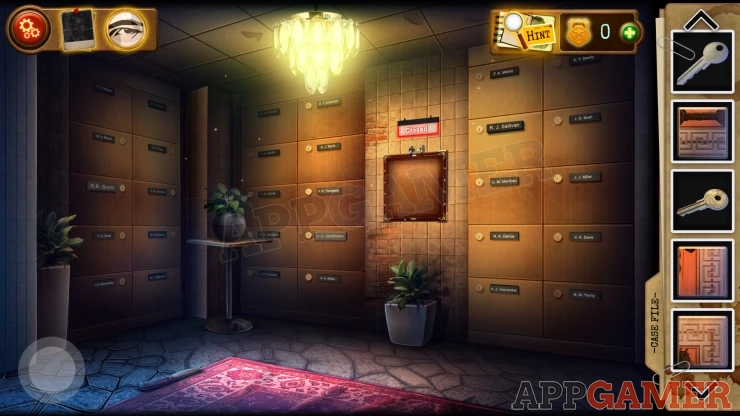
First collect a Knife from the floor on the left. Then use the Matthew's Locker Key on the safe marked with the name Matthews.
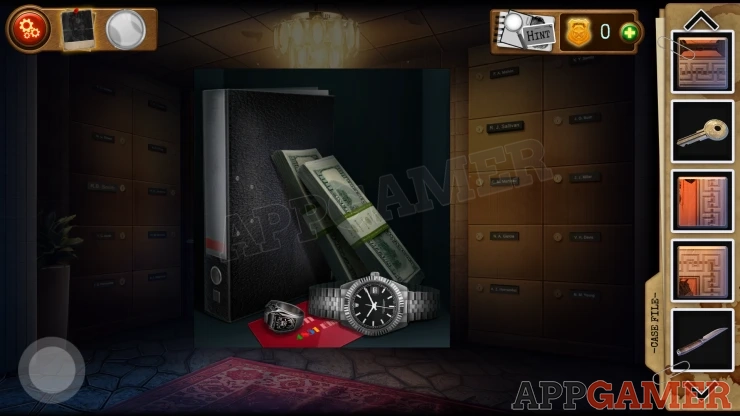
Look inside and view the business card to see a Pawn shop address.
Next use the Sallivan's locker Key on the locker marked with R. J. Sallivan.
Open this to find a note (Clue board) and another Key (Smith's Locker Key) to collect.
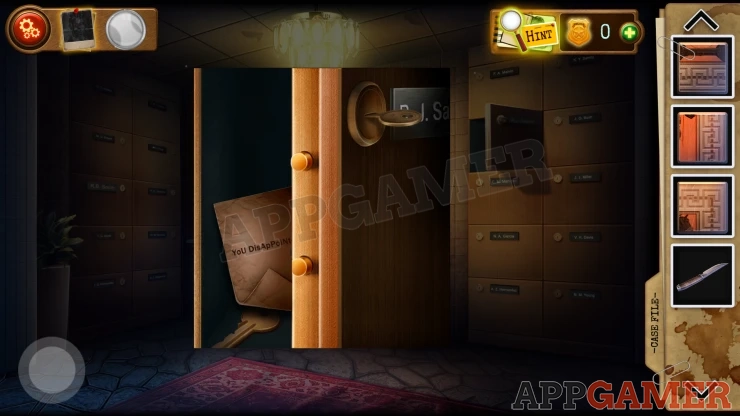
Use Smith's Locker key on the locker marked as R. B. Smith. Look inside to find a block puzzle
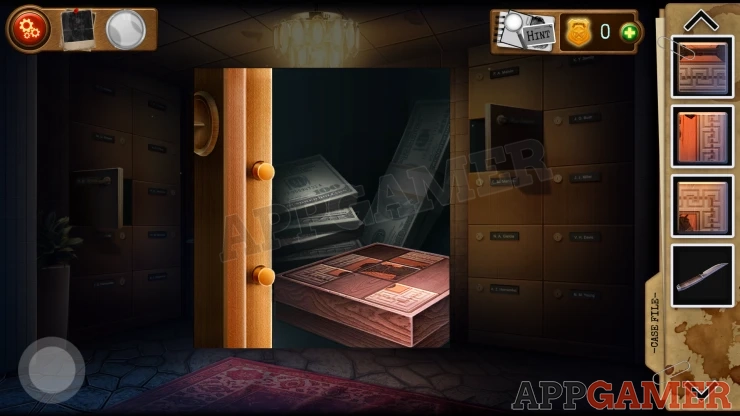
Block Puzzle
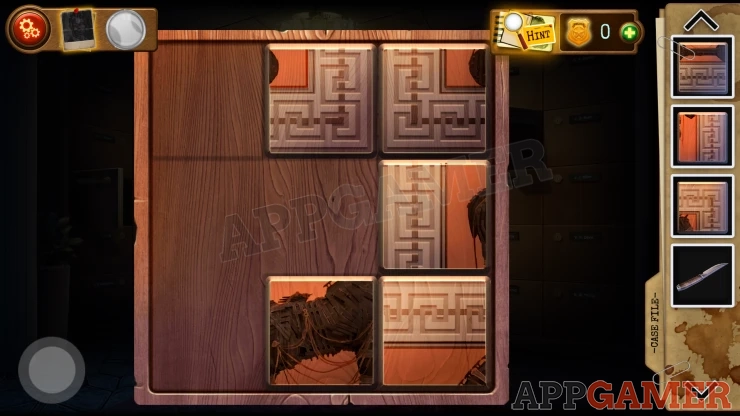
Add the 3 tiles to the puzzle to start.
Slide the tiles around to arrange them to compete the picture.
Solution: Show
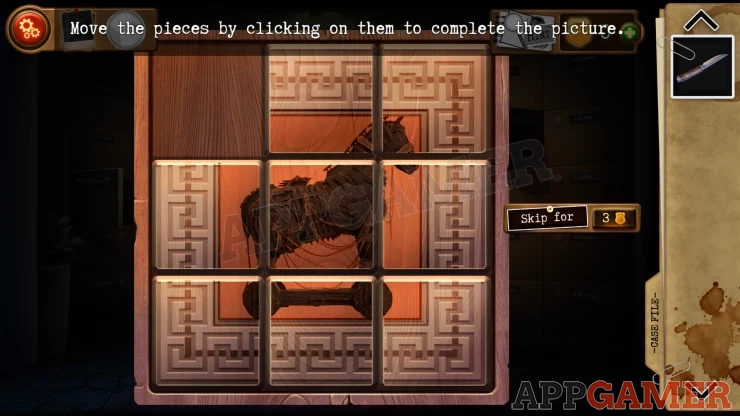
Collect a Screwdriver.
Next use the knife on the square panel in the center of the wall under the Closed sign. Look inside for a puzzle
Circuits Puzzle

- Arrange the red and blue wires to form circuits.
- You can drag each wire piece around and also tap on it to rotate it.
- Use the blue wires to connect from the blue wire at the top to the one at the bottom.
- Then do the same with the red wires to make two separate circuits.
Solution: Show

This unlocks the vault door and you can leave again.
Go to the WC again and view the third stall door. Use Locker Key No.3 to open it.
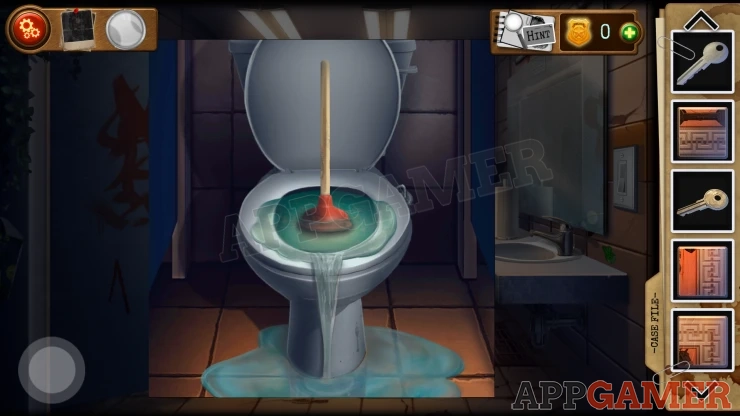
Remove the mop and then use the Plunger on the toilet to unblock it. You can then open a bag and find a clue: 2 <- 4

Then view the light switch on the right. Use the screwdriver to remove the cover. Inside is a wires puzzle

Wires Puzzle

Drag the wires from the right to connect to the terminals on the left.
Connect the correct wires to complete the puzzle
You have see some clue to help with this.
Solution: The fist clue, next to the puzzle, tell you to connect wire 1 (top right) to terminal 4 (bottom left). The second is in the red bucket and shows 1<-3, then the third is in the final stall and shows 2 <- 4.Show
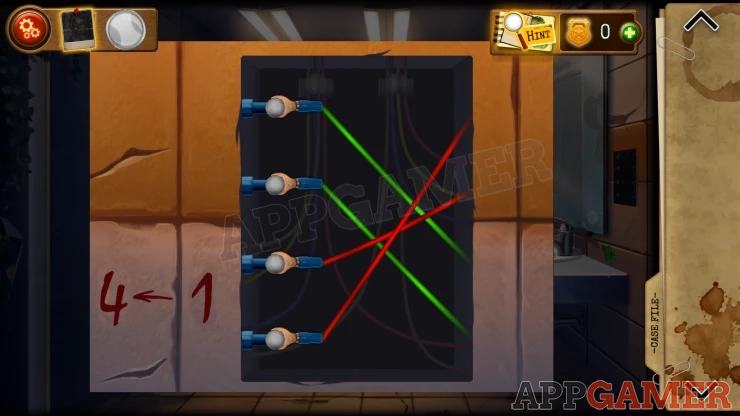
Once done one of the mirrors on the wall in the bathroom has moved and you can find a safe.

Open the safe with a 2 clues found earlier.
Solution: Get the numbers from the business card in the vault. These each have colors. Then follow the colors of the rainbow seen on the safe.Show
Code: Green 4, Red 8, Blue 5, Yellow 1 -> 8 1 4 5Show
Open the safe to find a hand in a jar. Tap this to get the final Clue.
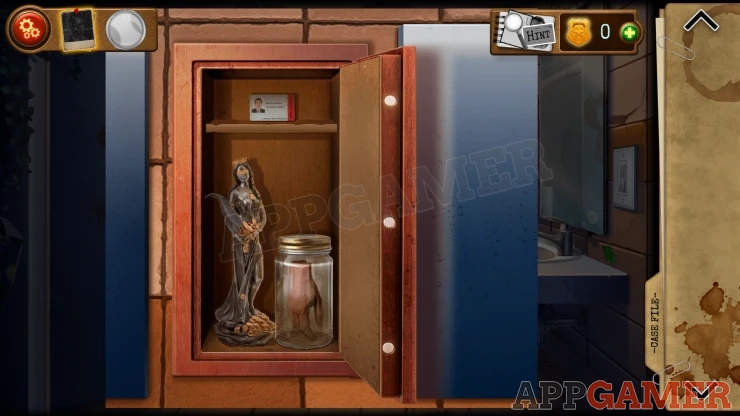

View the Security Pass form the top shelf to learn an identity. This leads to the arrest of Robert Smith and completes chapter 2.

Move on to chapter 3.
We have questions and answers related to this topic which may also help you: Show all
 With 20 years of experience in creating video game content for the internet and over 30 years as a gamer, Mark is now a passionate mobile App Gamer. Loving a challenge, he is always ready to get stuck in to both survival builders and puzzle solving games. He has been providing content for AppGamer since 2014.