
Chapter 1 Walkthrough - Bitter Memories
More Detective - Escape Room Games
This is a walkthrough for chapter 1 of Detective - Escape Room Games. The first case in the game is called Bitter Memories and is set 1 Year ago as you investigate the mysterious Collector and the disappearance of your partner.
Chapter 1 starts with the option of a tutorial section to get you used to the game play and ways to interact with items. You can skip this is you know how to play escape room games.
Case 1 - Bitter Memories Walkthrough
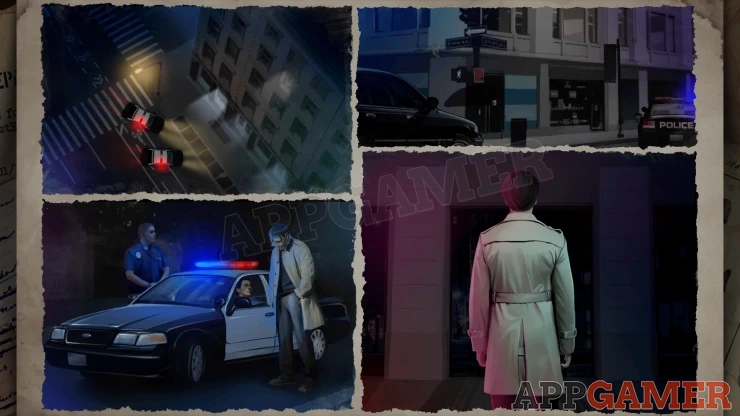
You arrive in a lobby of an abandoned building. Your partners phone was traced here but someone seems to have been expecting you.
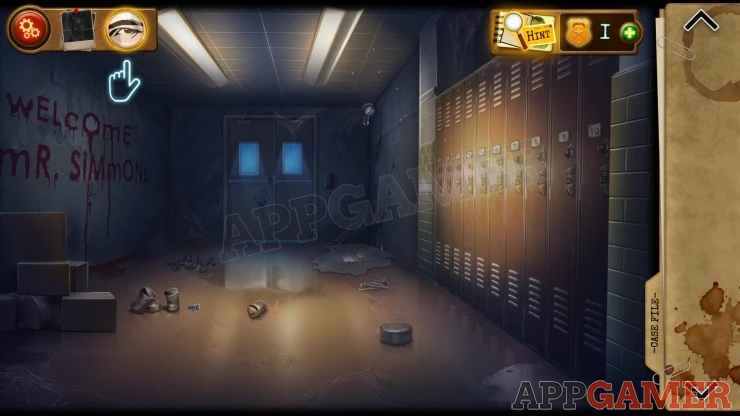
First collect 2 Screws from the floor by the cans on the left. Then also collect a Can lid from the round tin on the floor to the right and a Nail from the floor on the right by the water spill.
Tap on the message on the wall on the left to see the large O.
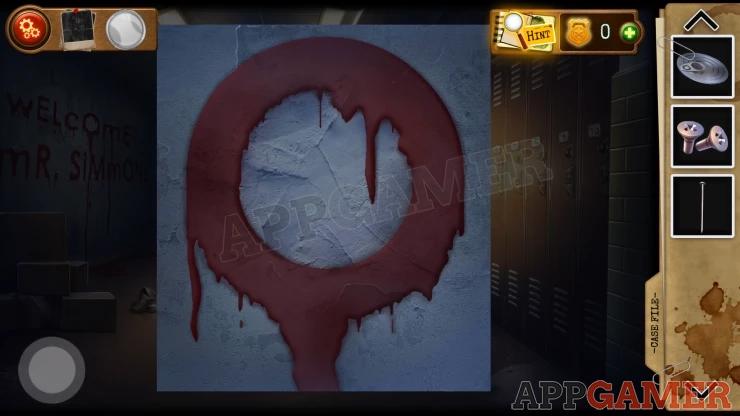
Then you can use the tin lid to scrape away some plaster and find a pot with a Key to collect (no 4).

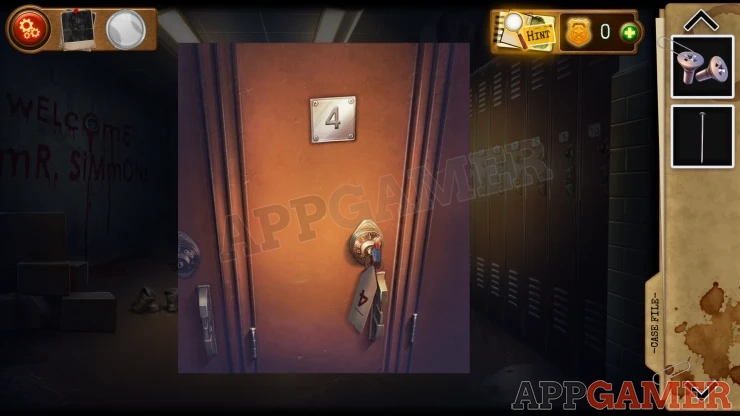
View the lockers on the right and use the key on locker number 4 to open it.
Collect a Bucket and mop.
Use the bucket and mop on a water spill on the right of the double doors.

You can then view a metal plate with a handle in the floor.
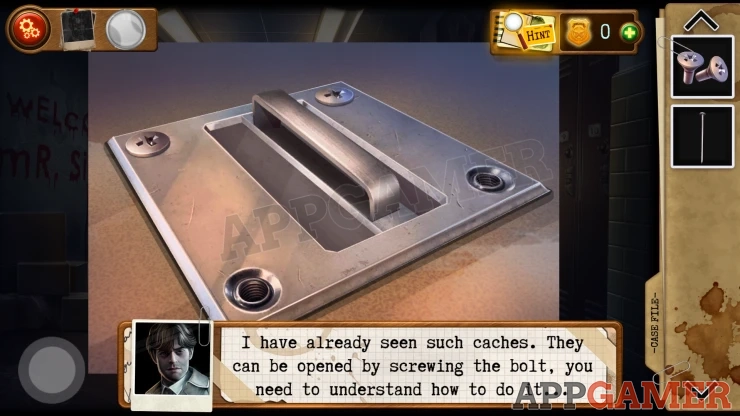
Add the 2 screws to it to fix it and then you can lift the cover to find another Key (no. 7)

View the lockers on the right and use the key to open number seven.

Read the note on the inside of the locker door and also view the blue business card on the shelf for a clue.
This will be added to your evidence board that you can view by tapping the photo icon on the top left.

Now go back to Locker number four and view the safe that it at the top. Use a clue to open it.

Solution: The code is the 4 numbers fro the address on the card. 5247Show
Collect a hammer head, a hammer handle and a battery. You can then drag the hammer handle to the hammer head in your inventory list to combine them and get a Hammer.
Go back to Locker number seven and use the hammer on the back of the locker to make a hole. You will find a photo puzzle.
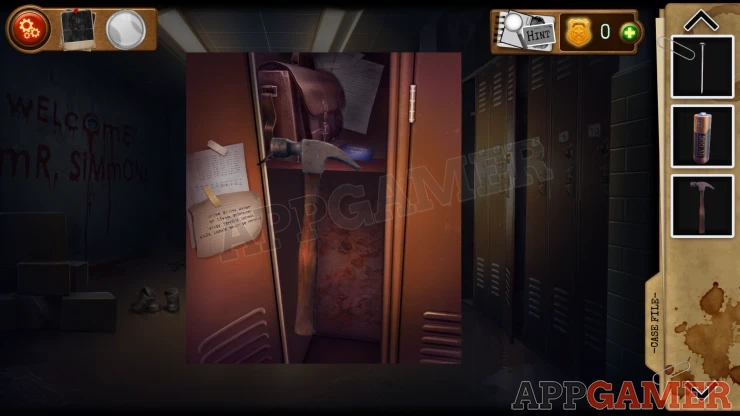
Photo Puzzle

Move the pieces of the photo around to reassemble them.
Solution: Show
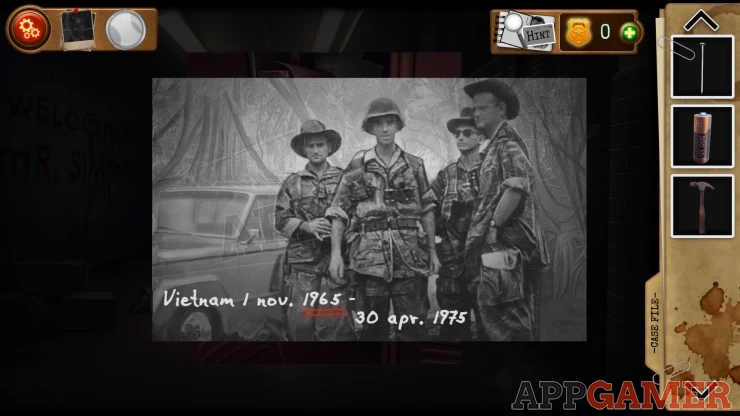
Notice the underlines number.
Now view the key pad on the right of the double doors. Use the code from the clue above to open it.
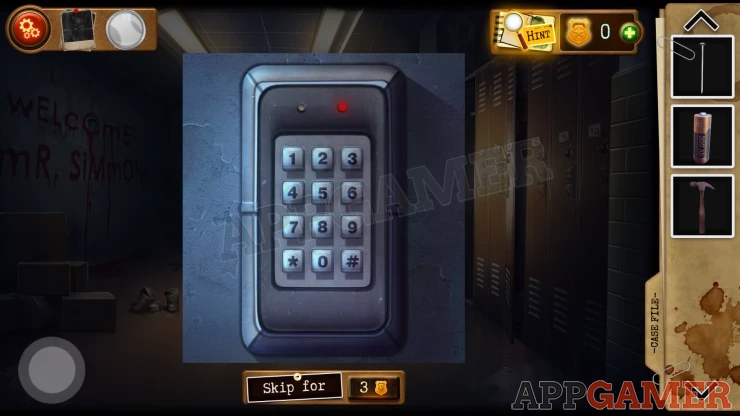
Code: 1965Show
This opens the doors, go though to a hallway.
Hallway

Notice there are 5 paintings in the hall. Two on the left wall, two on the right wall and one more at the far end above the door.
View the painting at the far end. This is the Four horsemen of the apocalypse. Notice the symbols on the horses. We have Plague, War, Famine, Death.
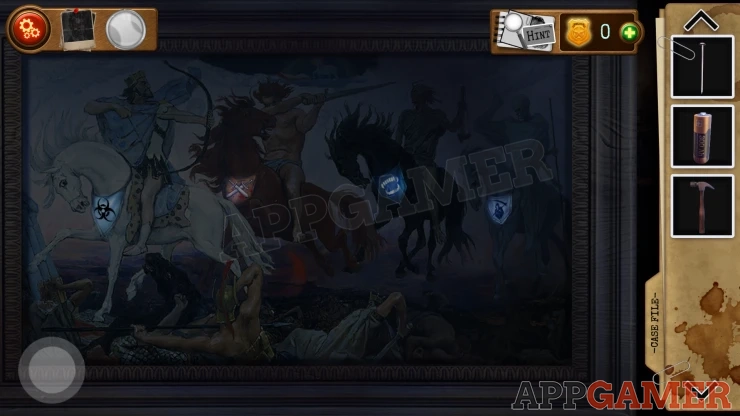
Now look at the other 4 paintings. Each of these will be related to one of the horsemen and will have a number.
When looking at the painting on the left at the far end (Death of Seneca) you will see a photo sticking out on the right, collect this as another clue. It is added to your clue board.
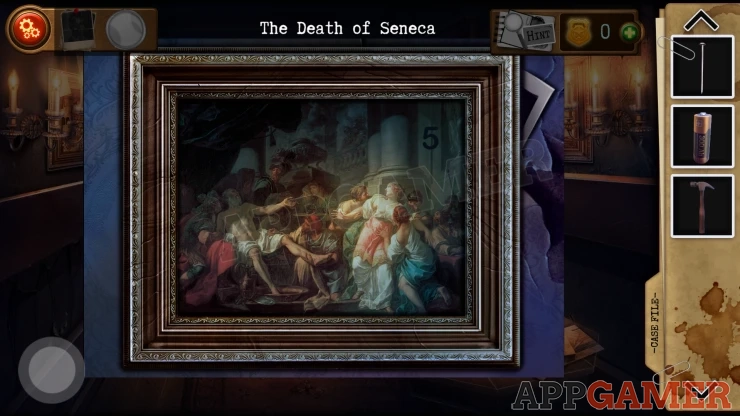
Now place the 4 numbers from the paintings into the order of the horses in the one above the door to get a code.
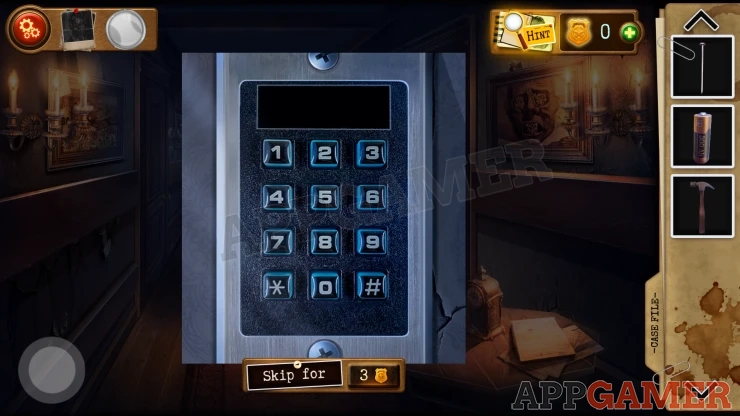
Tap the door on the left to see another key pad lock, use the code to open it.
Code: 8275Show
Store Room
You have found a small store room.
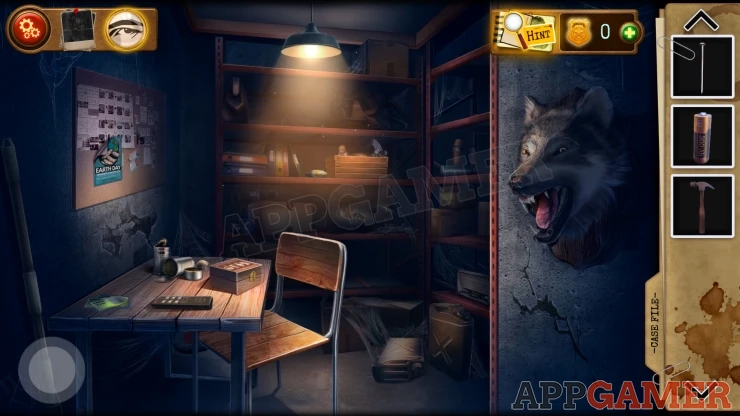
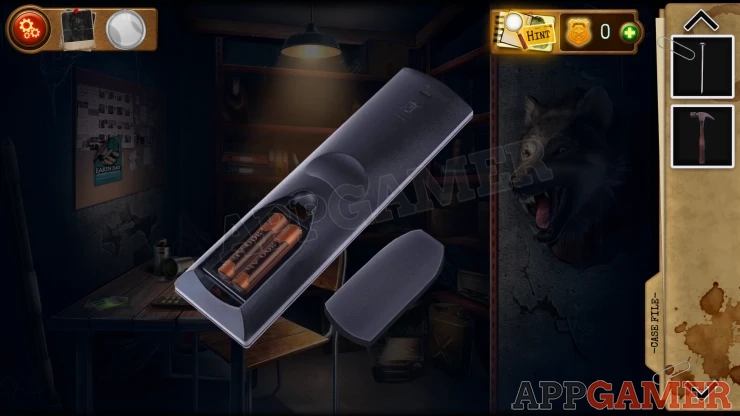
First tap the remove control on the table, you can then add the battery to it and collect it.
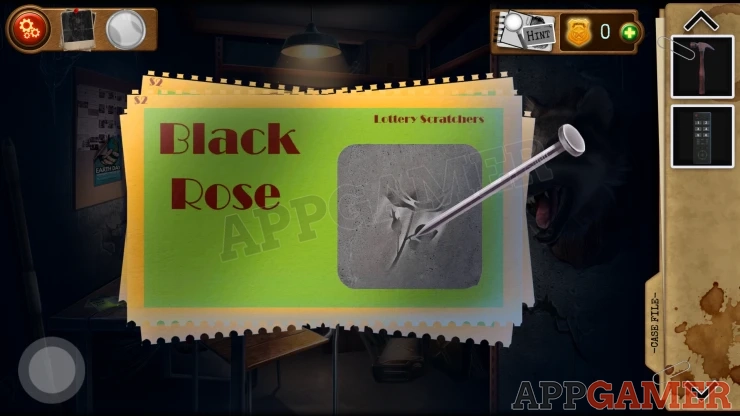
Next tap on the small tickets on the left of the table. Tap these scratch cards to flip through them and find one that is not used.
Use the nail on this to scratch off the surface and reveal a Black Rose. This is another clue.
Now view the locked box on the table. The lock has 4 symbols on it.
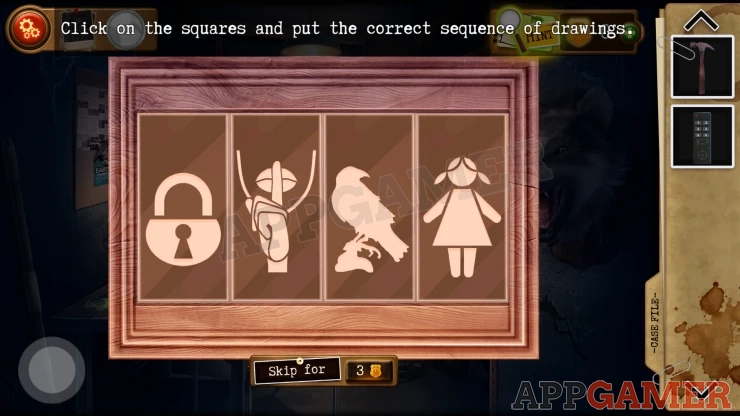
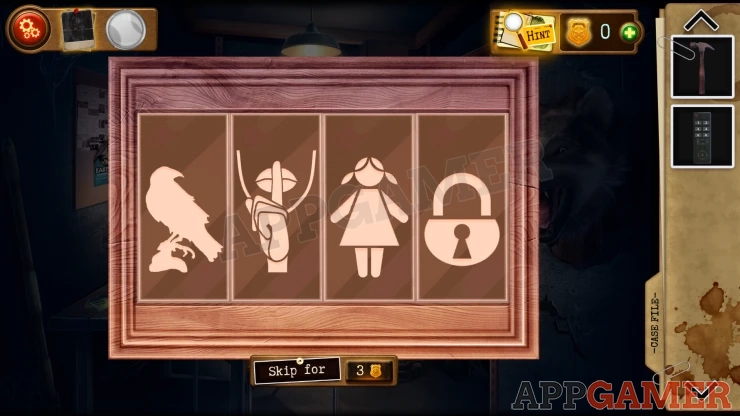
You can tap the symbols to change them. Set the correct order to open the box.
The clue for this is the note found in the Locker.
Solution: Show
Collect a Tooth and a Key
Next collect a Light bulb from the middle shelf on the back wall. Then view a box on the shelf to the right of this.
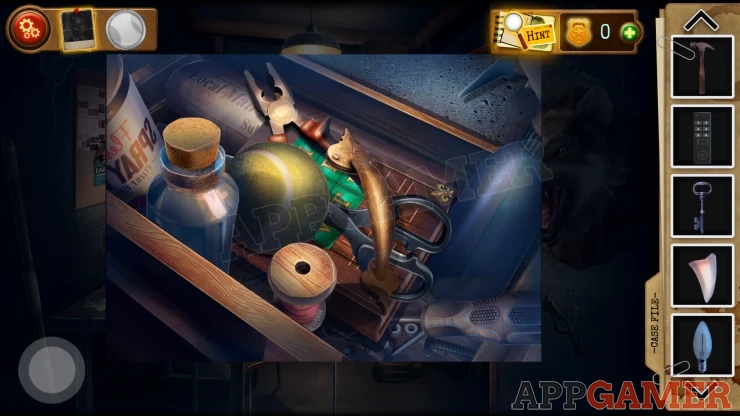
Move the items around in side it to find a small case with a letter puzzle lock.
Letter Puzzle
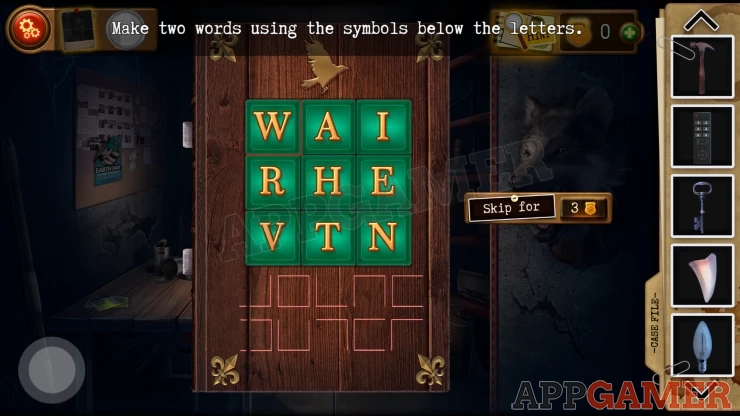
- You need to find two 5 letter words from the 9 letters on the green tiles.
- The shapes at the bottom are clues to the letters.
- Find the letters that correspond to the positions on the grid represented by the lines. e.g. the square will be the center tile.
- Tap the letters to make the words
Solution:
WHITE RAVENShow
When the box opens collect another Tooth.
Use the 2 Teeth on the wolf head on the right, this will make something move in the hallway.
Back out to the hall, you will see that the painting above the door has moved.
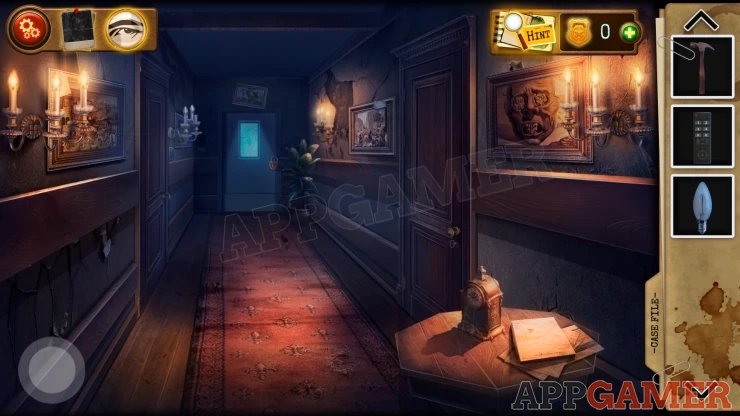
Now use the key to open the door on the right and then enter a room with a bed and a toilet.
Bedroom
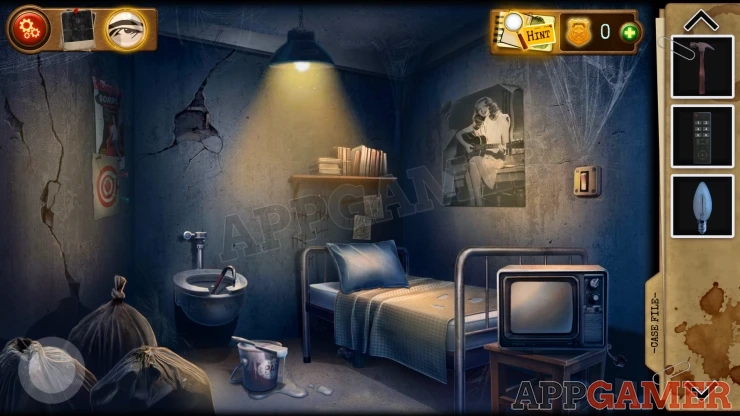
First tap the light switch on the right to turn the lights off, you will see some luminescent words and a symbol painted on the walls. (I)
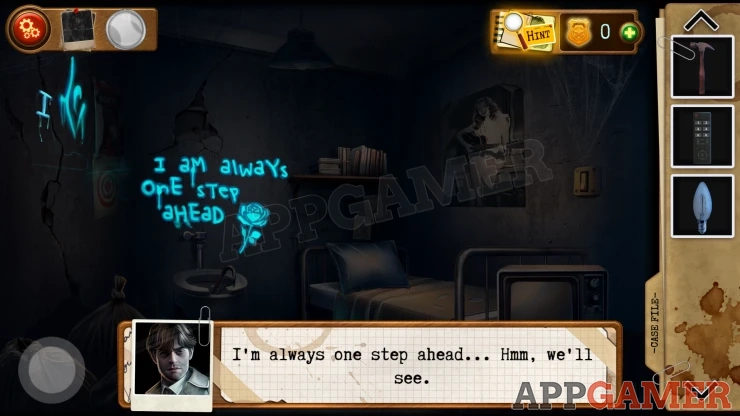
Turn the lights on again and then look under the bed, collect a handle.
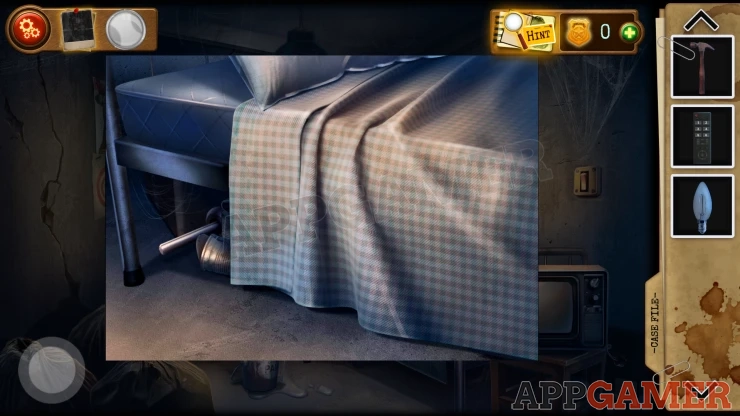
Now view the toilet and add the handle to the pipe at the top so that you can flush it.
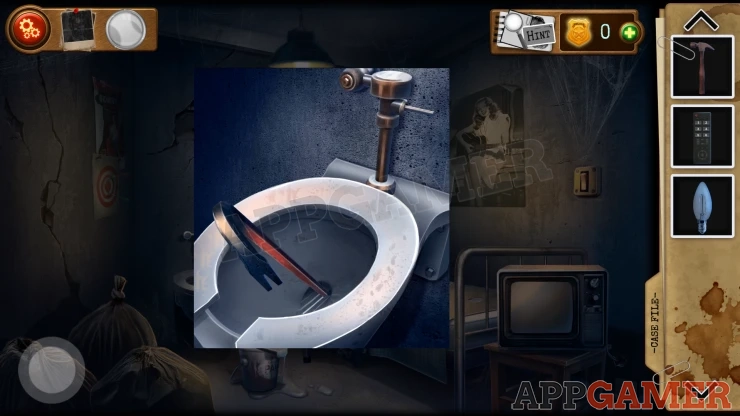
Collect the Crowbar. Next view the TV and then you can collect the Stool that it is on.
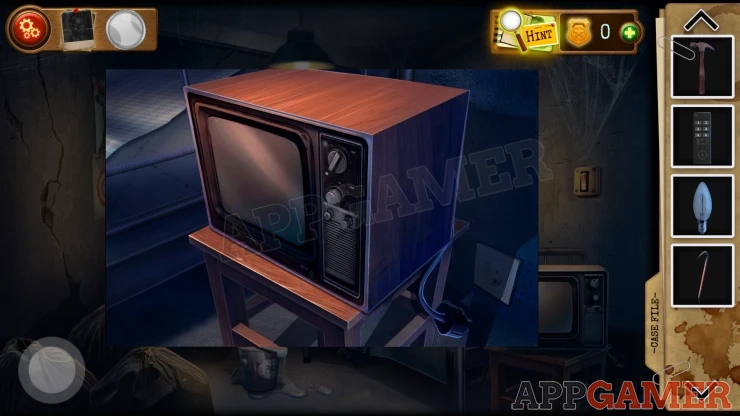
Tap the plug to plug in the TV and then use the remote control on it to start a mini game.
TV Game
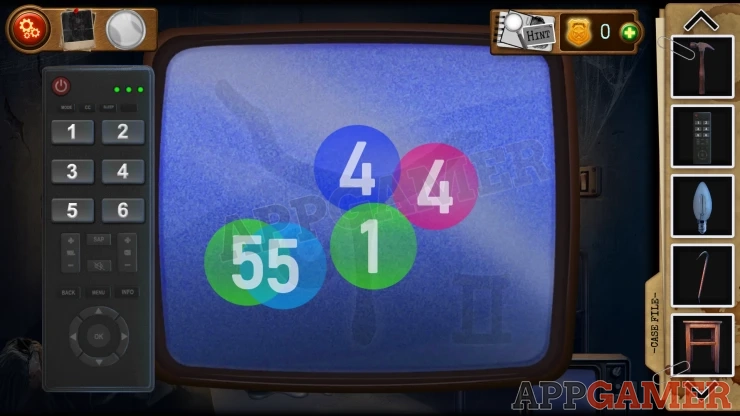
- Numbers will appear on the screen one at a time.
- Tap the matching number on the remote control before the number disappears. There are 5 numbers in the sequence.
- Repeat this for 3 sequences of numbers to complete the puzzle.
You will then see another symbol on the screen. (II)
Show
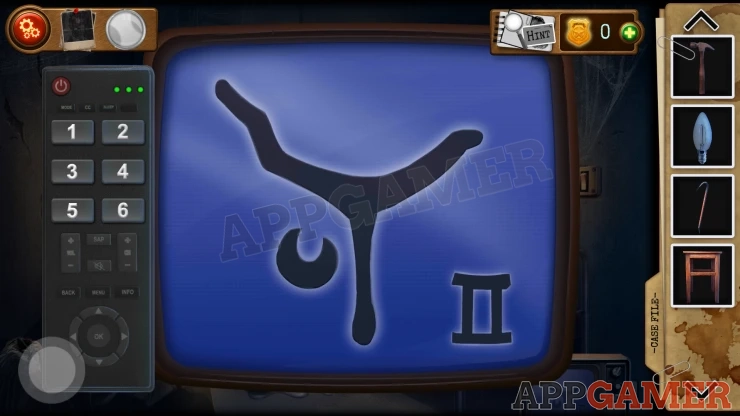
Now back out to the hallway again. First use the light bulb on the light on the left side to light it up. Then place the stool at the end of the hall.
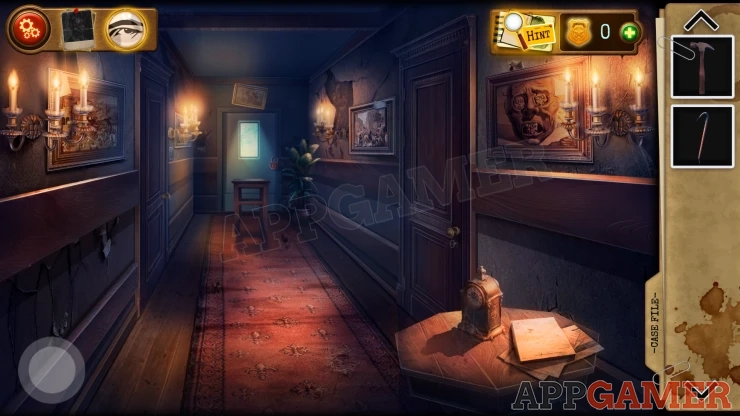
You can now view the painting on the wall again and move it to the side. You find another puzzle behind it.
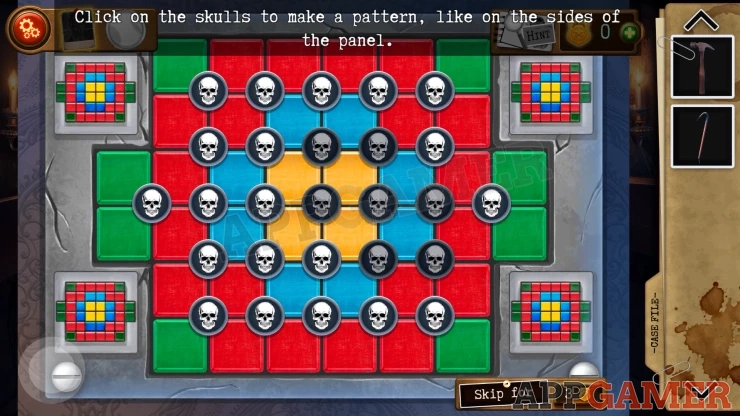
Colored Blocks / Skulls Puzzle
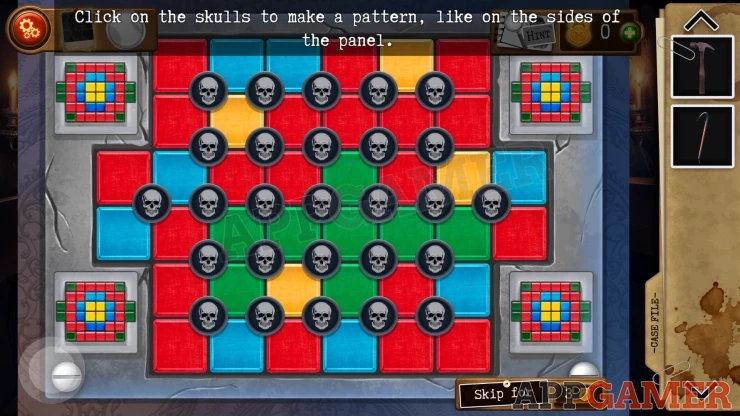
- Tap on any skull to rotate the 4 blocks around it in a clockwise direction.
- Arrange the blocks to match the layout shown in the corners.
- The skulls will light up when the blocks around them are correctly positioned.
Solution:
You will then see a glass case with a key inside. Use the hammer on the case to break the glass.
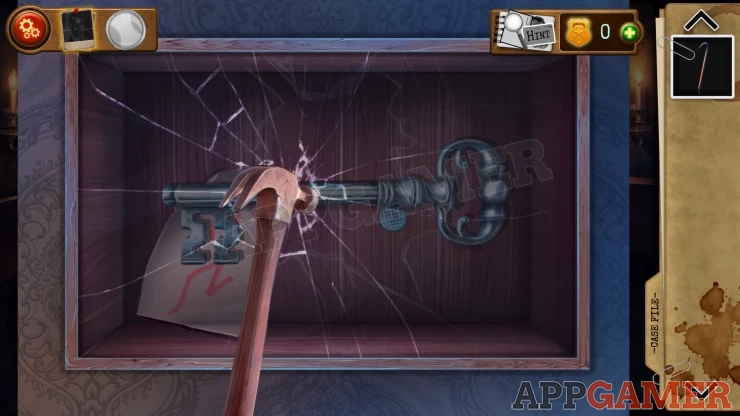
Collect the Key and also find another symbol. (III)
Now use the key on the padlock on the door at the end of the hallway. Go through to a bathroom.
Bathroom

Tap the arrow button on the lower left to look to the other view of the bathroom. You will see a dead body on the floor chained up.

View the face of the victim. View a paper from the eye socket and look at it to see another symbol.
Show

View the photos on the floor by the victims hand for another clue.
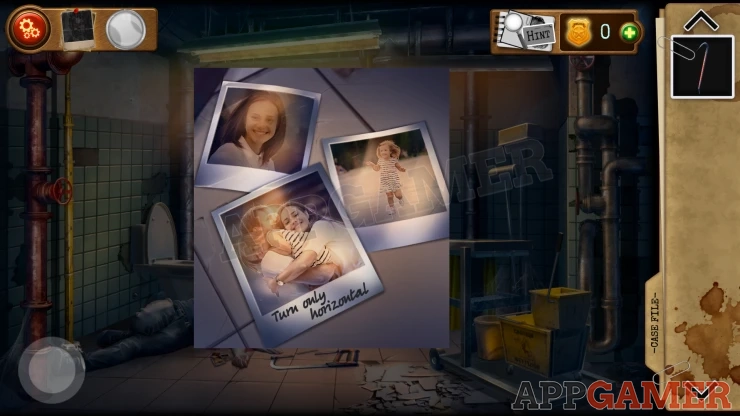
Now view the tank of the toilet and open the top. Collect some wire cutters.

Next look inside the bath tub and open the black sack. Collect the Gun.

Then tap on the large pipes to the left of the bath, behind the toilet. You can then collect a magazine.
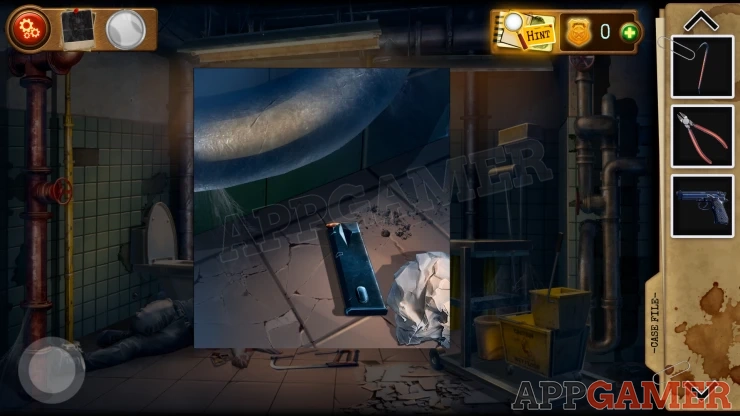
Combine the gun and the magazine to have a loaded gun.
Turn back to the other side of the room to see the large mirror. Use the gun on the mirror to shoot it and make a hole.

Look in the hole to see a camera. Use the wire cutters on this to collect the camera as a clue.

Now tap on the door to try to leave the room. You need to solve a puzzle.
Bathroom Door Puzzle

To complete this puzzle you need to turn all of the levers to a vertical position.
Tapping any lever will turn it and also turn all of the other levers on the same row and column.

Once done you can exit the bathroom, then return to the bedroom. Use the crowbar on a crack in the wall on the left. This will break it open.

Look at the safe in the wall, you need 4 symbols for the code.
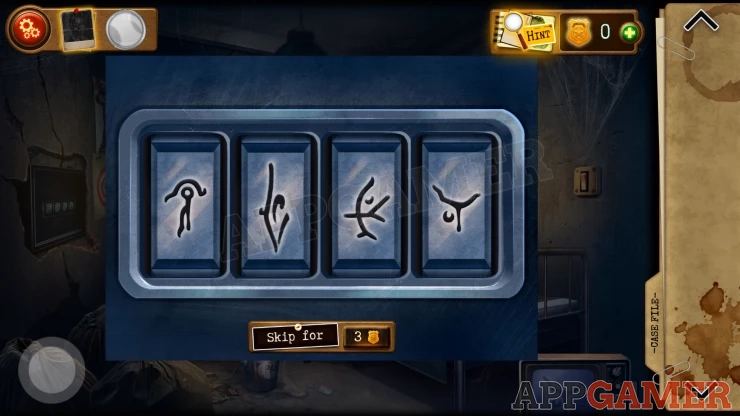
Use the 4 symbols found on the wall (luminous paint), the TV, in the glass case, and the head of the victim.
Solution: Show

Open the safe and you will find another note and the Eye of your partner. This is the final clue for the board.

This completes chapter 1. move on to Chapter 2.

 With 20 years of experience in creating video game content for the internet and over 30 years as a gamer, Mark is now a passionate mobile App Gamer. Loving a challenge, he is always ready to get stuck in to both survival builders and puzzle solving games. He has been providing content for AppGamer since 2014.