
Chapter 4 Walkthrough - Cat and Mouse
More Detective - Escape Room Games
This is a walkthrough for Chapter 4 of Detective - Escape Room Games. In this chapter you head to the Pier to look for the next victim.
You begin in an old fisherman's store room.
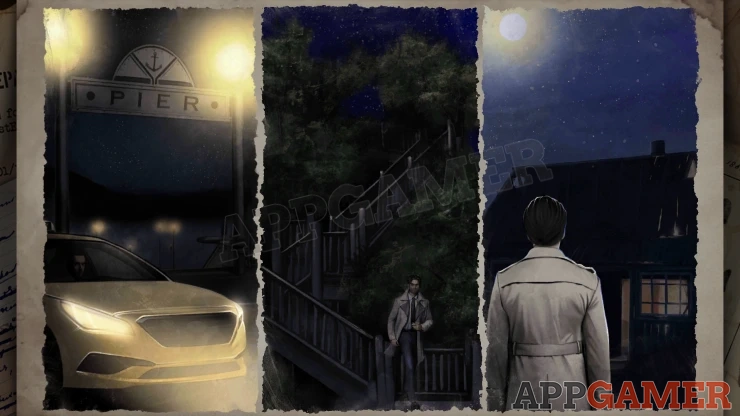
Case 4 - Cat and Mouse Walkthrough
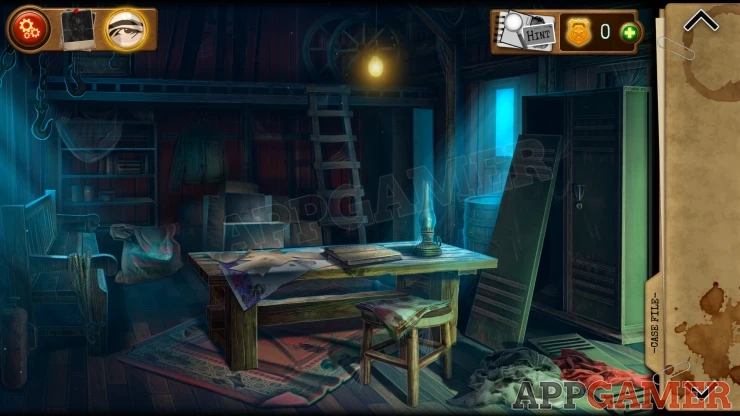
Tap on the bench on the far left to find a pile of items on the floor.
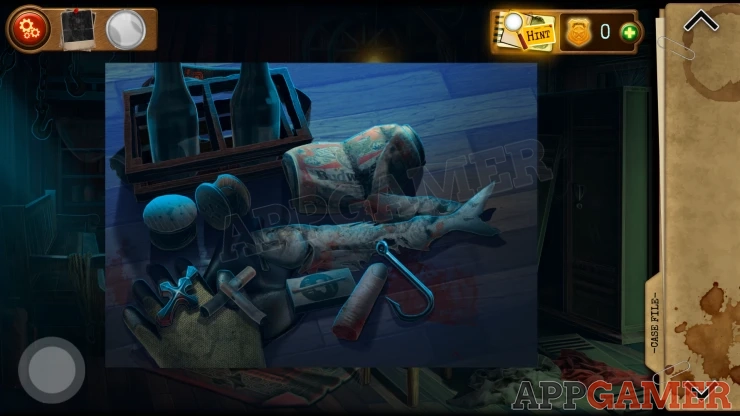
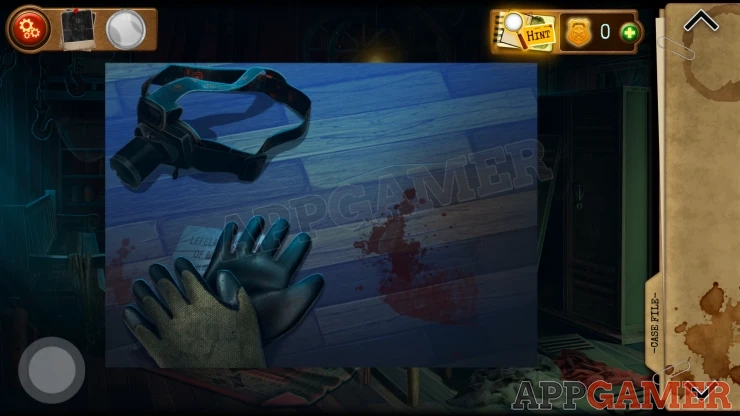
Move the items to collect some Gloves, and a Head Lamp.
Then also view the leaflet on the lower left. This is the first Evidence board item.
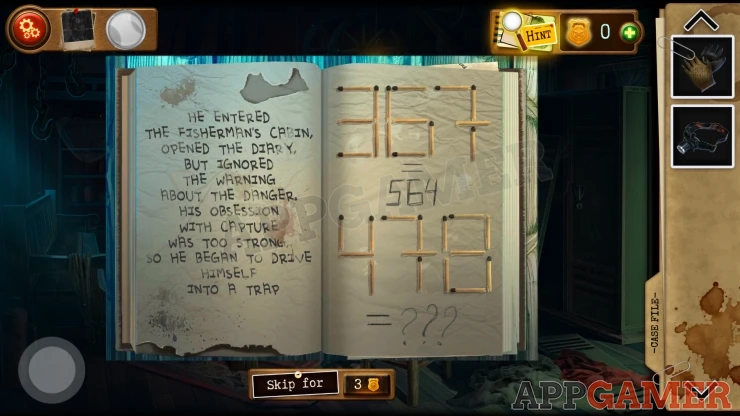
Next look on the table in the center to see a book. Open it to find a clue with numbers.
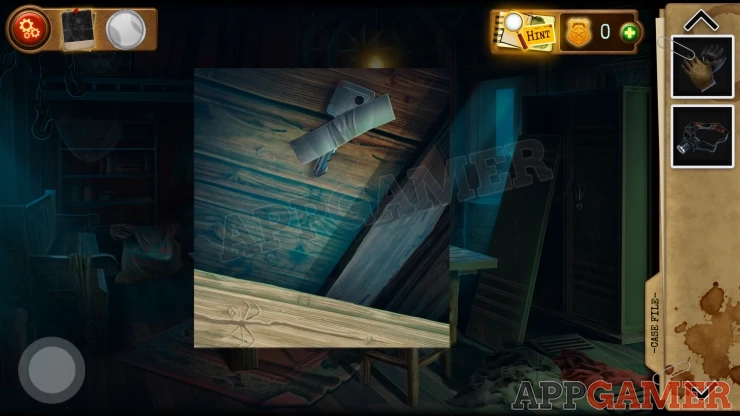
Then tap under the table to find a hidden key (Locker Key) to collect.
Now look at the green locker on the right and use the key to open it.
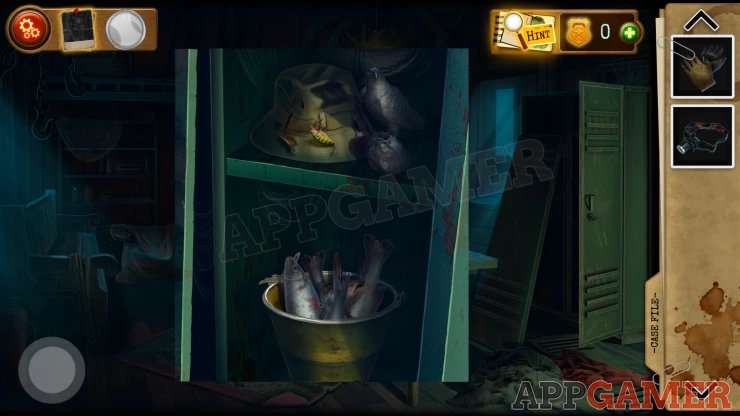
Collect a Hawk figurine from the top shelf and then use the gloves on the bucket of fish to empty it and then collect some Wire Cutters.
Now look at the boxes at the back of the room.
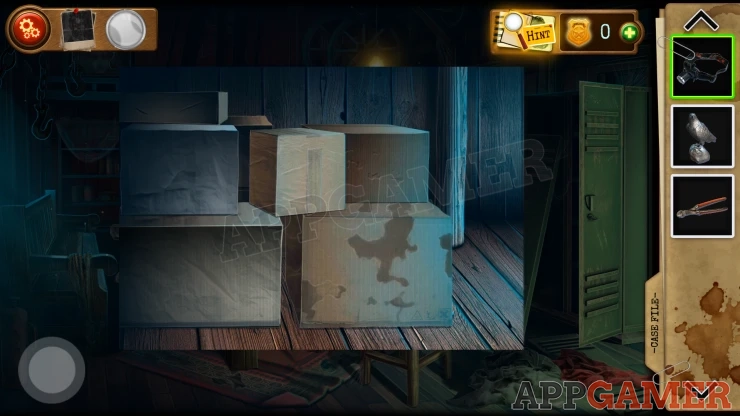
Move the boxes to the side and you will find a round hatch in the floor. This has a code lock.
The clue for the lock is in the book on the table.
Solution: To get the correct answer for the top clue count the number of matches making up each number. The repeat this for the bottom clue to get the code.Show
Code: 447Show
The hatch opens and you can go down to an alley.
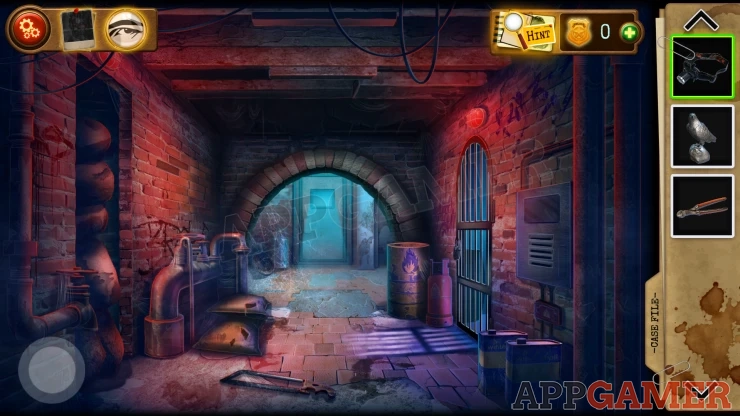
Alley
Look by the left of the door at the end of the passage to see the victim.
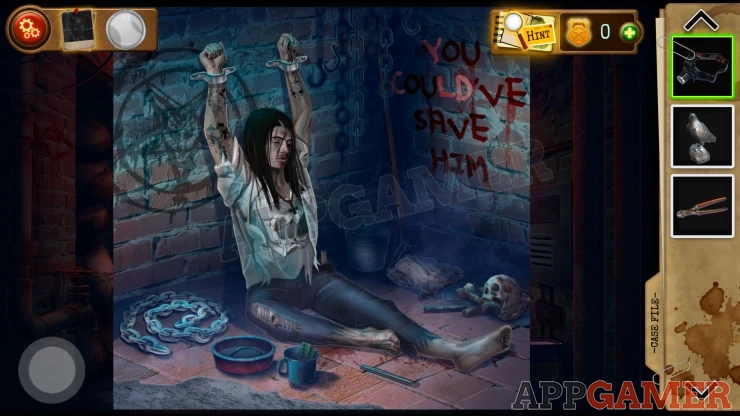
Tap on the body to collect a photo for the evidence board. Then also tap on the writing on the wall to take another photo for the board.
Collect some Tweezers from the ground by the body.
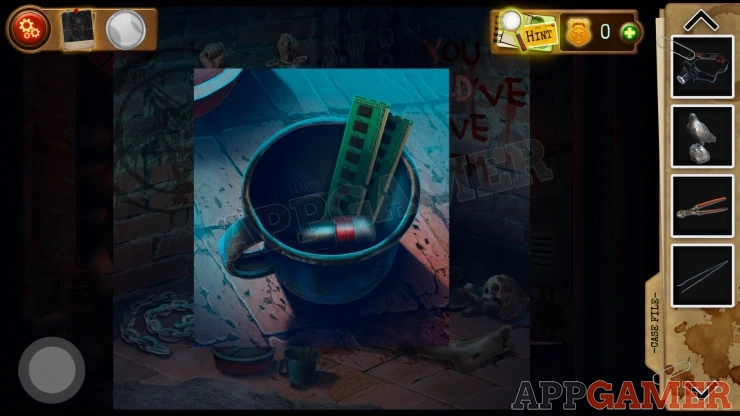
Look in the mug on the ground. Collect an Ultraviolet light bulb and some RAM Sticks.
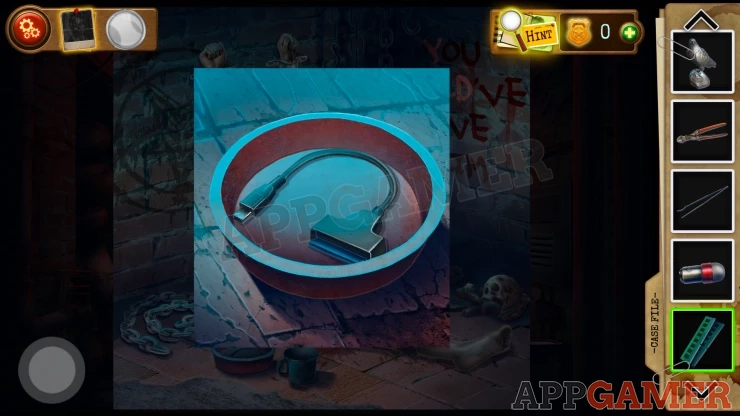
Then also look in a round dish to the left and collect a Connector cable.
Next tap on a small piece of paper on the right of the body by the bucket. You will collect the 1st Part of notes.
Now tap on the right side of the door at the end of the alley to see a Generator box.
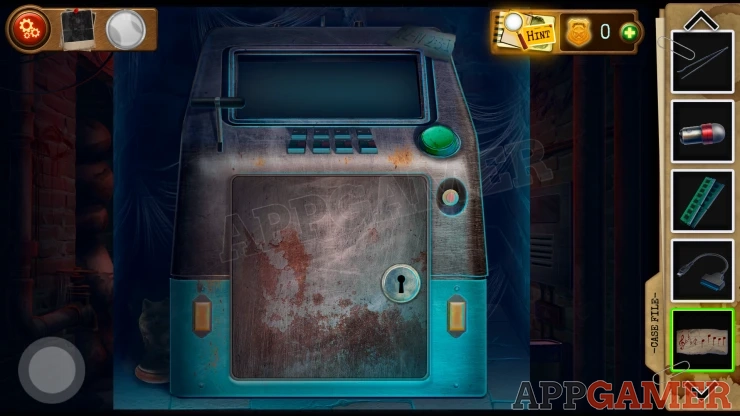
Collect a Wolf figurine from the left side of the box and then look at a clue paper on the top right of the box. The clue has 2 parts.
Show
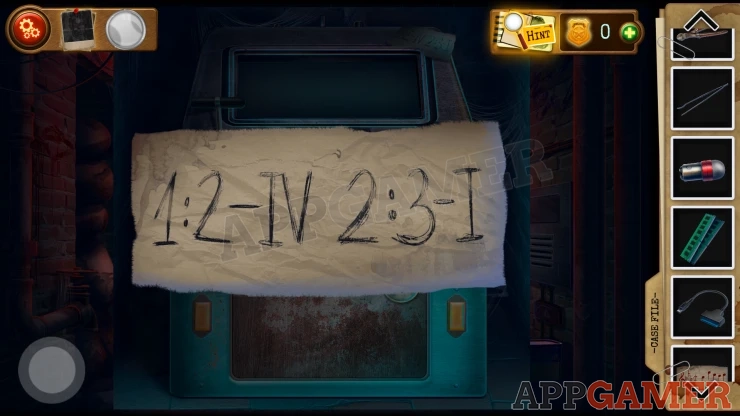
Now in the alley tap on the left wall above some large pipes. You will see Roman numerals written.
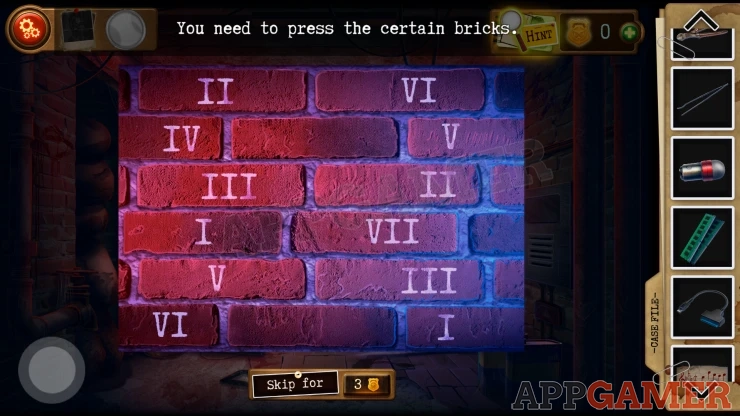
Bricks Puzzle
You can tap the bricks with the numerals on them.
Solution: From the clue we have 1: 2 - IV 2: 3 - I Tap the IV brick 2 times, then tap the I brick 3 times.Show
This will cause a hatch to open and then a passage way on the left will be unblocked.
Wine Cellar
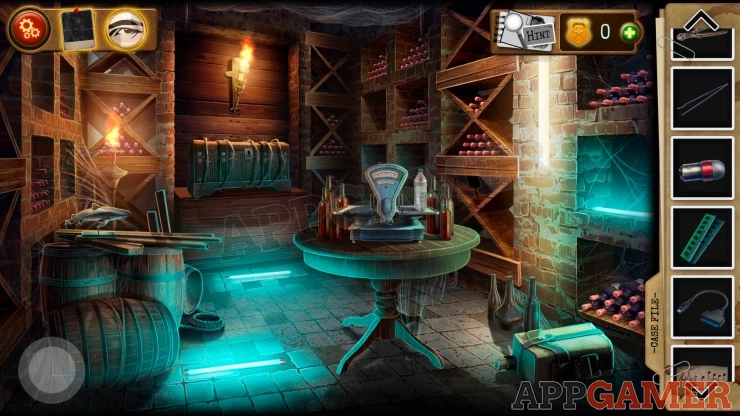
First collect a Shark Figurine from the top of the barrels on the left. Then view the scales on the barrel in the center. Collect the bottle of water
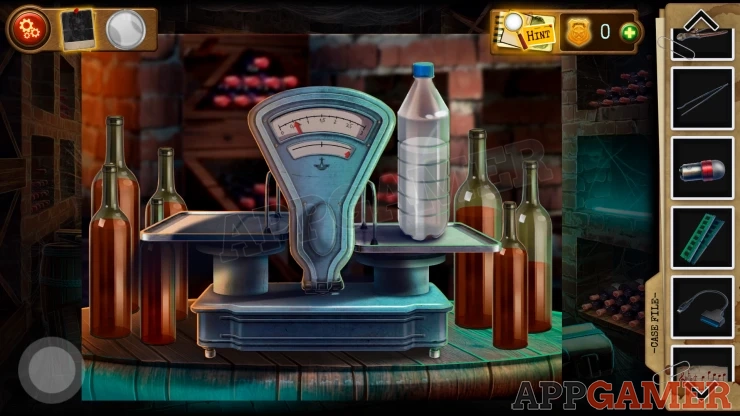
Scales Puzzle
- You need to add the wine bottles to the scale on both sides.
- The bottles have different weights.
- You need to get the scales to have the weight indicator on the maximum setting and also have the two sides balanced.
- You don't need to use all of the bottles.
Solution: Show
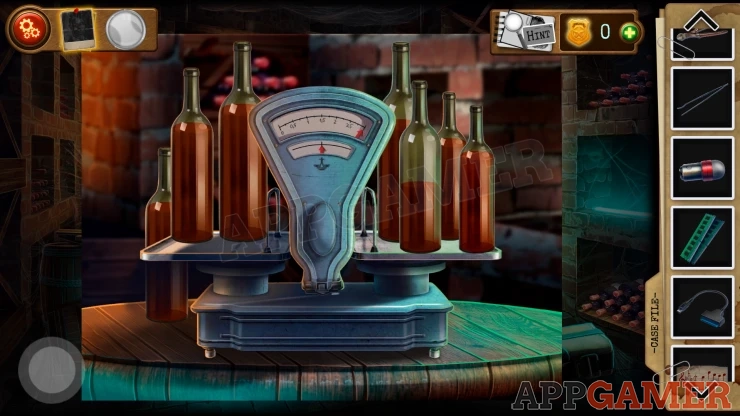
Now you can look at a barrel on the ground on the left. the front has opened.
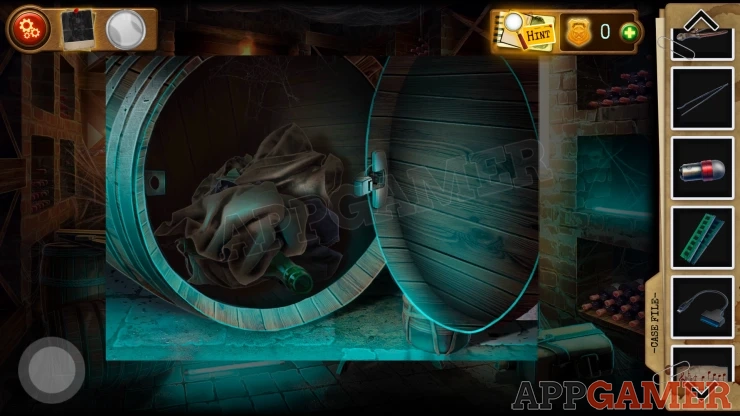
Move the items inside to collect a Key (Chest key) and a Central Processor.
Next view a chest at the back of the room that is bound in wire.
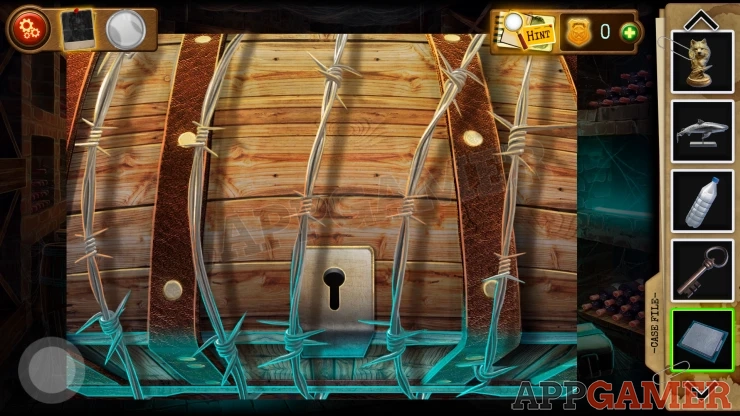
Use the wire cutters on this to remove the wire and then use the Chest Key top open it.
From inside collect a hard drive. Then use the bottle of water on the box at the back, this will open the box.
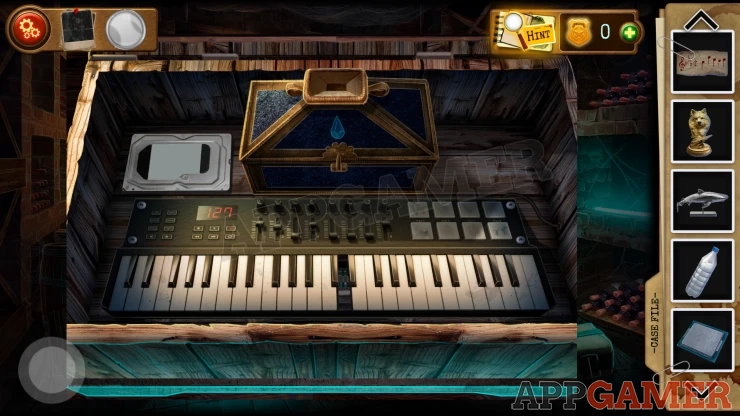
Collect a Screwdriver, a key (Room key), and another paper with musical notes (2nd part of notes).
Back out to the alley and then use the Room key on the gate on the right side to open it. Enter a Room with pillars.
Pillars Room
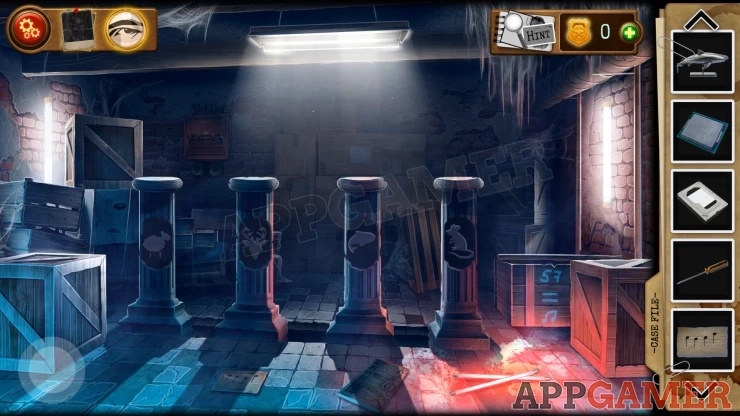
First notice the clue written on the box on the right. This has a musical note symbol and the number 57.
Then collect another Paper clue with musical notes from the floor to the left (3rd part) and then look at the music book on the floor.
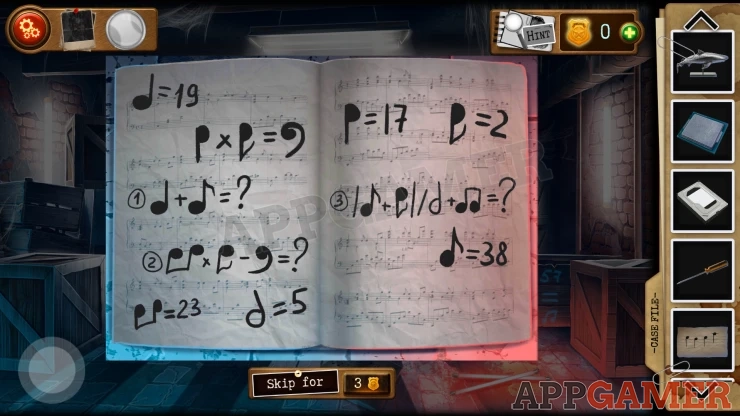
In this book you will see several musical notes with numbers
There are also 3 sums where you can use the musical notes to get answers.
Solutions: (17 x 2 = 34) 1: 19 + 38 = 57 2: 23 x 2 - 34 = 12 3: ((38 + 2) / 5) + 57 = 65 Show
Now tap on a box on the top left to open it and see a locked safe inside. This needs a 6 digit combination.
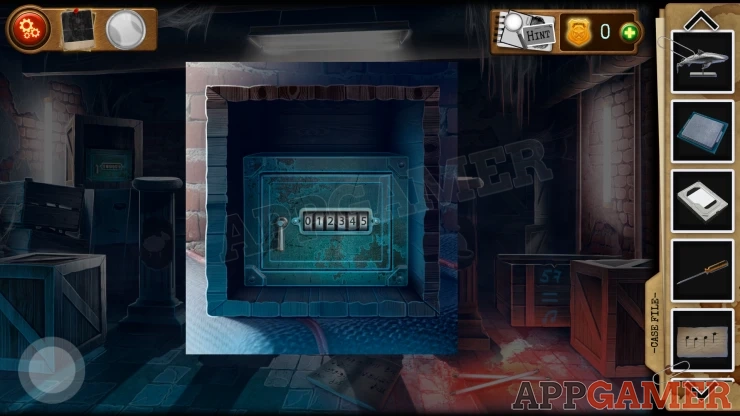
To open it use the code from the musical notes sums above.
Code: 571265Show
Collect a Piano Key and a you can view a Diagram that is a clue.
Return to the wine cellar and view the piano in the box.
Add the 3 papers to it and also the Piano Key.
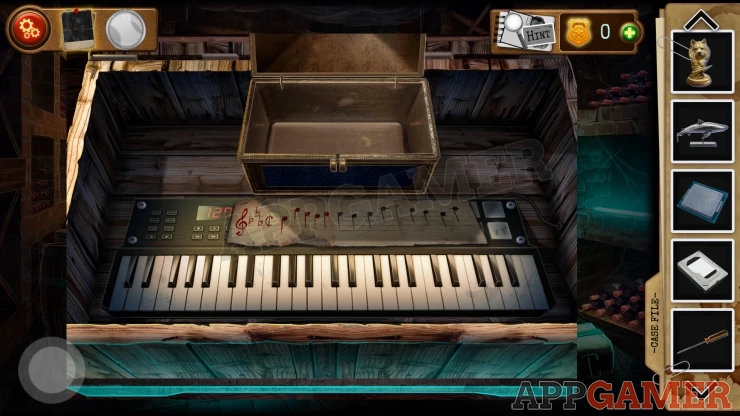
Piano Puzzle
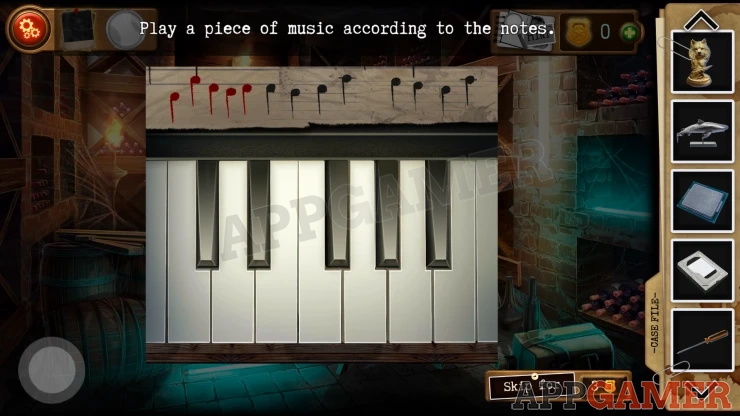
The the piano to play the notes on the clue.
If you do not know the notes you can do it by trial and error to get the notes to light up.
This will reveal a panel on the wall on the right of the room. View this.
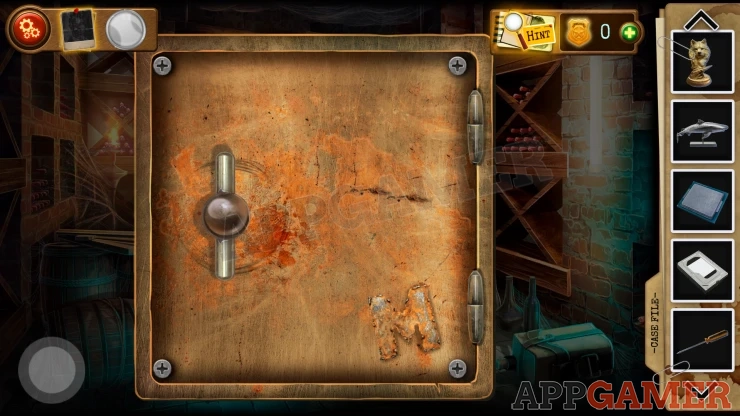
Use the screwdriver to remove the screws from the corners. Then you can look inside to see a circuit board.
Circuit Puzzle
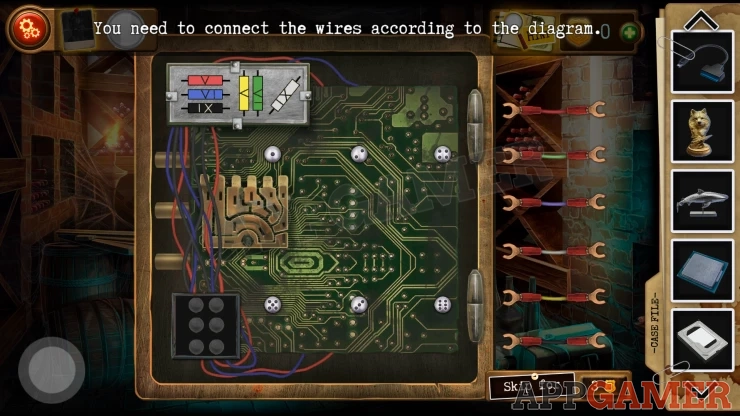
- There are six colored wires on the right that you need to place to connect the terminals on the left.
- On the top left is a diagram that shows the six color wires and their orientations.
- Each of the colors on the diagram also has a number (Roman numerals)
- Each of the six terminals also has a number.
- Find the correct connection for each wire so that it is in the same direction as the diagram and also connects two terminals that add up to the correct number.
Solution: Show
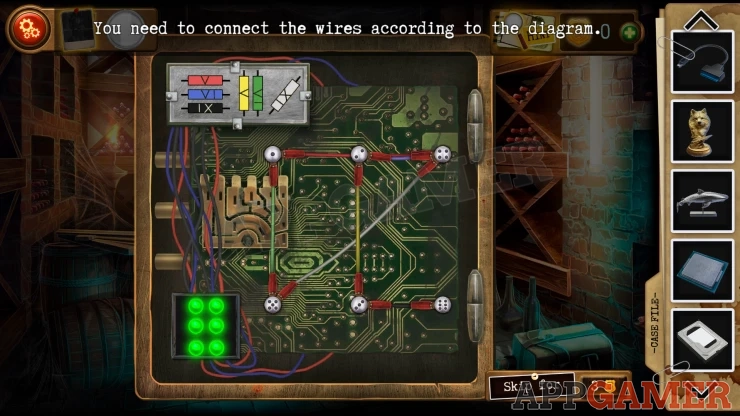
Once done you can collect another Key (Generator Key) and a Bear Figurine.
Return to the store room with the pillars. Each pillar has an animal symbol on it.
Place the 4 figurines that you have onto the correct pillar.
Solution: Place the figurine animal that will prey on the pillar animal. Wolf - Lamb Bear - Deer Shark - Fish Hawk - MouseShow
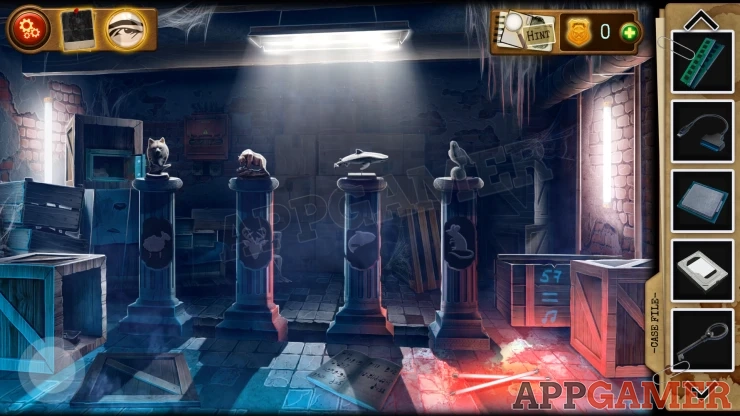
Another box will open on the left side now, Collect a Cooler Fan and an Axe.
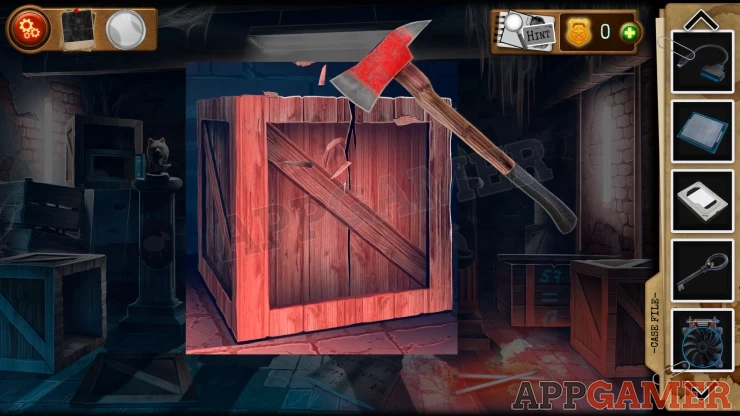
Now view a box on the right of the room and use the Ax to break it open.
Collect another Connector cable.
Go back to the Alley and view the Generator box on the right of the door at the end of the alley again. Use the Generator key to open the panel on the front.
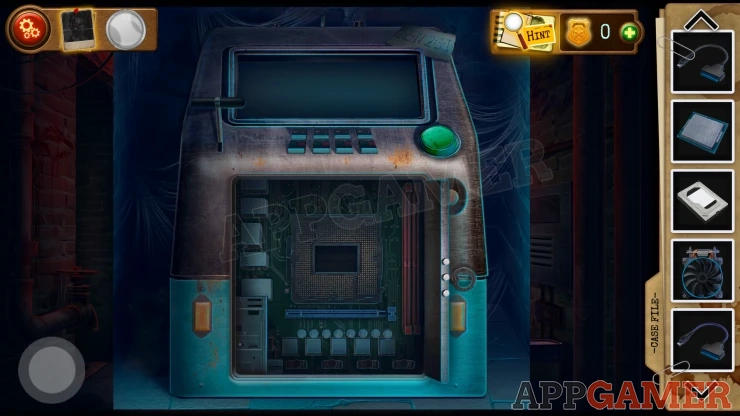
Now follow the instructions that you saw on the paper diagram.
Add the Processor,
Add the Cooler Fan
Add the Hard Disk Drive
Add the RAM sticks
Then add the 2 Connector cables
Next you can press the green button to start the generator. The screen will display an input for a Password.
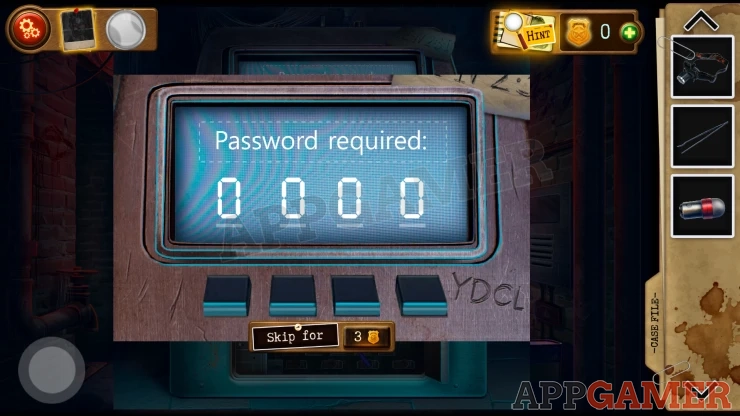
Notice the clue on the lower right - YDCL - Use this with an earlier clue to get the Code.
Solution: On the wall by the body the words have the letters YDLC highlighted. Get the numbers of the letters in the sentence - e.g. Y = 1Show
Code: 1847Show
Once it is working tap the lever on the left and the door at the end of the alley will open.
Coffin Room
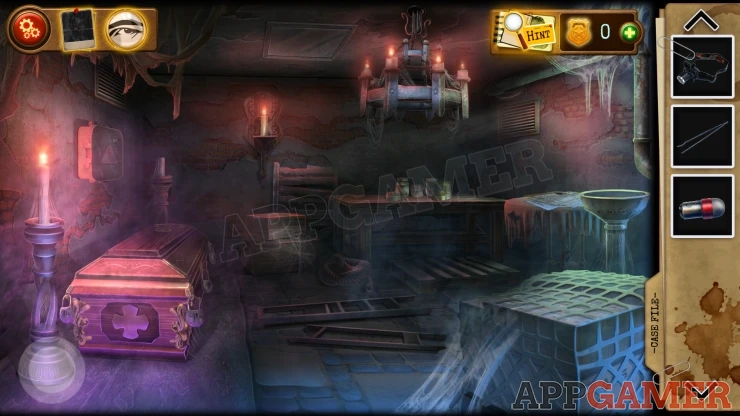
There is a locked coffin on the left.
First look on a table on the far right with some papers on it. You will see a file about yourself.
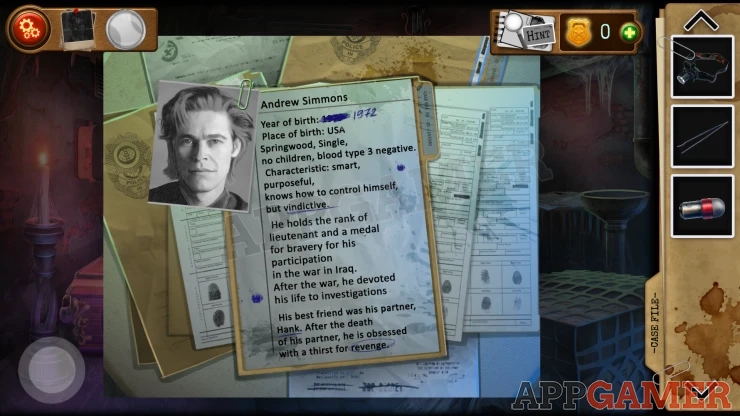
Tap it and this will be added to the Evidence board. Then combine the UV bulb with the head torch to get the Ultraviolet Head Lamp. Then use this on the file to reveal a fingerprint.
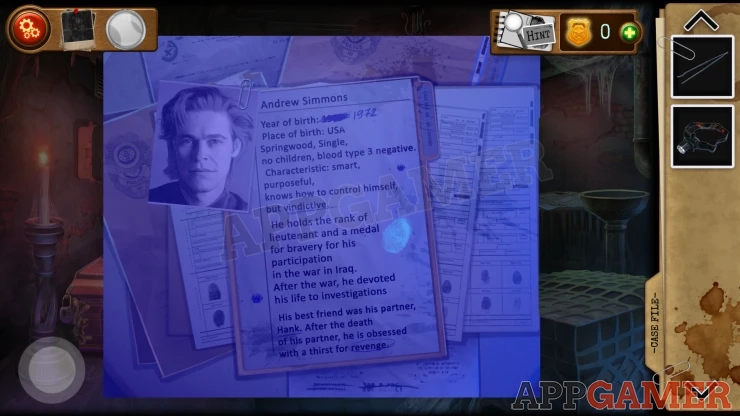
Tap on this to also add it to the Evidence Board.
Then view the large table on the back right, it has jars of items on it. Tip over one of the jars and you can collect 3 Coffin keys from it.
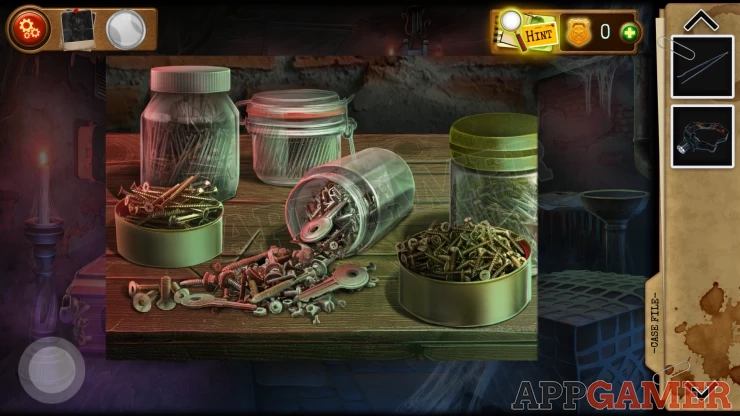
Use the 3 keys on the locks on the right side of the coffin.
Then use the tweezers o the lock on the left side to start a puzzle
Lock Pick Puzzle

There are five pins to lift, each one has a light above it that flashes.
Add the tweezers to the lock.
Move the tweezers under each of the pins and then tap to lift it when the light above it is green.
Once they have all been lifted look inside the coffin.
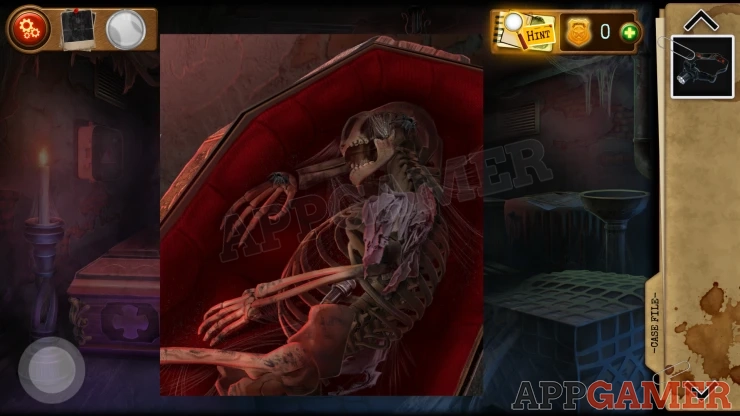
Collect a Spark plug. Next look on the back wall to see an area of bricks.
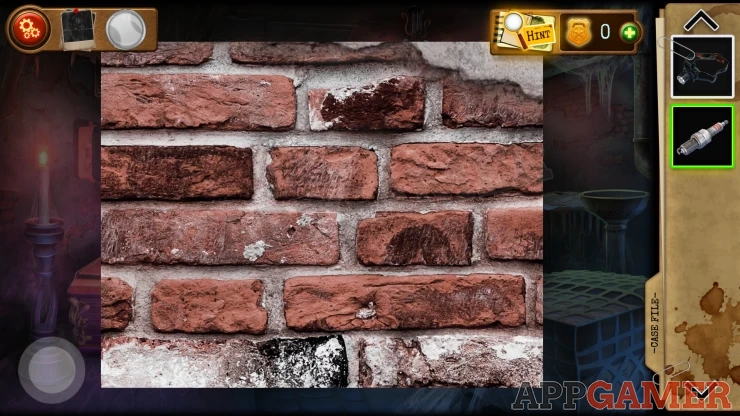
Use the UV head lamp again here and it will reveal a square panel.
Tap this to start a puzzle
Wires Puzzle
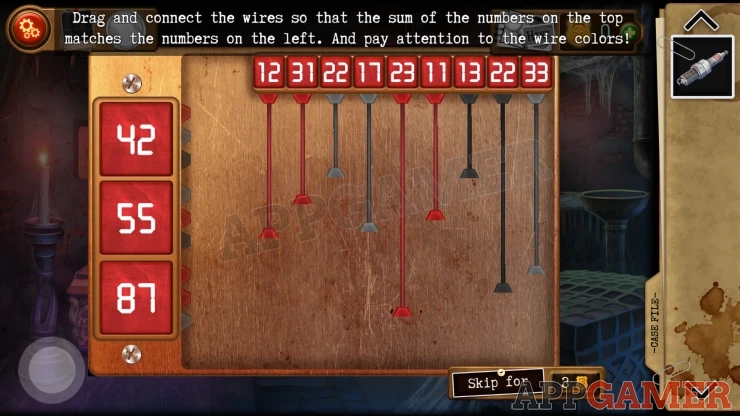
- At the top are nine wires of different colors. These are connected to numbers.
- On the left are 3 terminals with numbers and also three sockets on each.
- Connect the wires to the matching colored sockets on the left so that the 3 for each terminal add up to the correct number.
Solution: Show
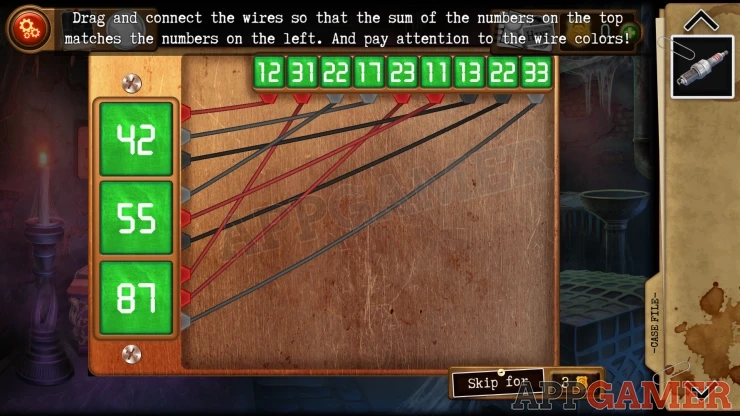
Once done you can collect a Key (Electrical Panel Key)
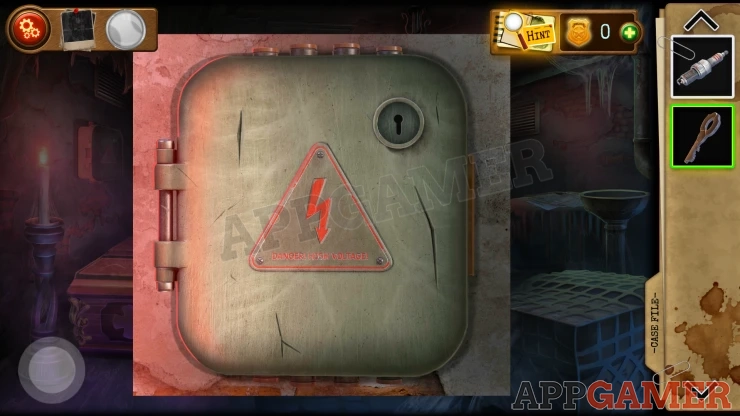
Now view the electrical box on the wall on the let above the coffin. Use the key to open it.
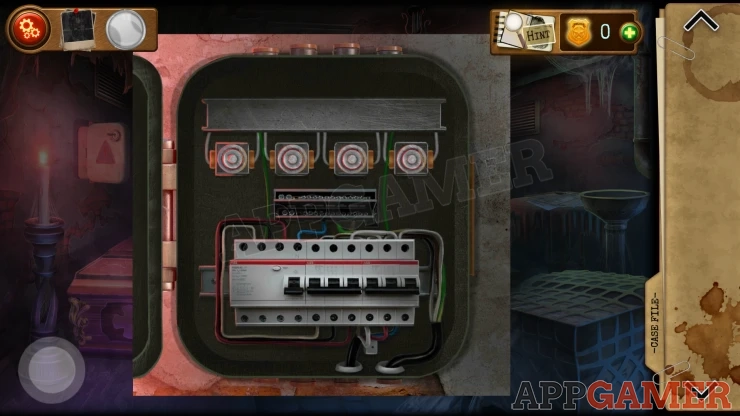
Place the Spark plug inside. This will start the ventilation system,
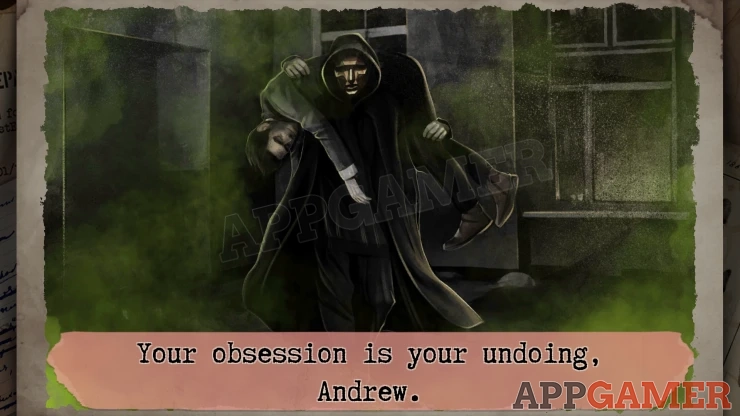
The room fills with a gas and you are knoked out.

This completes Chapter 4. Move on to Chapter 5
We have questions and answers related to this topic which may also help you: Show all
| Chapter 3 Walkthrough - God Is Not Here | Back to Top | Chapter 5 Walkthrough - A Wolf in Sheep's Clothing |
 With 20 years of experience in creating video game content for the internet and over 30 years as a gamer, Mark is now a passionate mobile App Gamer. Loving a challenge, he is always ready to get stuck in to both survival builders and puzzle solving games. He has been providing content for AppGamer since 2014.