
Chapter 4
More Adventure Escape: Framed
This is our full walkthrough for Part 2 of Adventure Escape: Framed for Murder, another great escape room game from Haiku.
In chapter 3 you have discovered Prof. Lansky with drugs and more clues regarding Caesar. While the police chief is keen to arrest Sylvia you now head over to the Dorm building to investigate Caesars room for more clues.
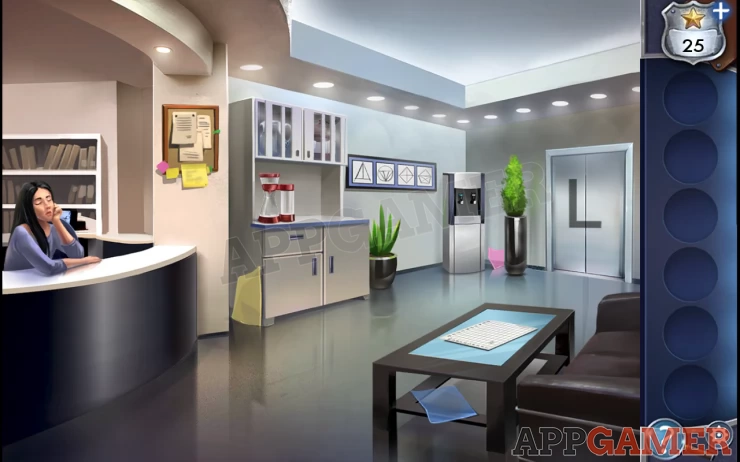
First collect the 3 colored transparencies from the ground (blue, yellow, pink)
Tap to talk to the woman at the desk. Who for some reason makes you prepare exactly 6 oz. of coffee.
Take the coffee from the counter.
Open the drawer below the coffee machine to get sugar, then open the fridge (cupboard on the right) to get milk.
Then open the cabinets above to get the pitcher and a coffee grinder.
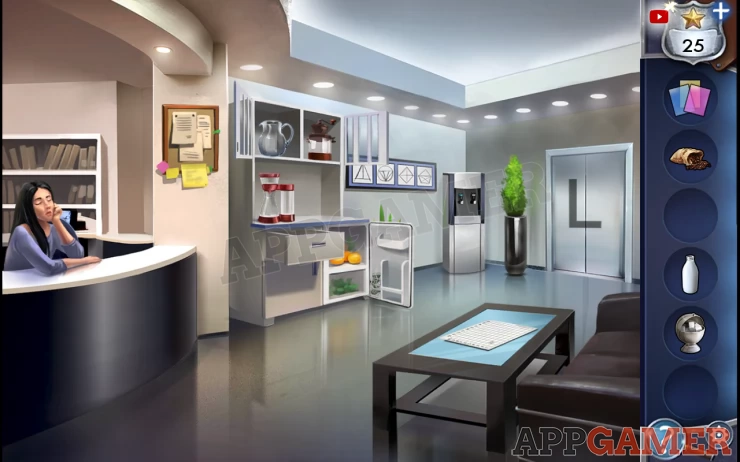
Use the pitcher on the water dispenser to fill it.
Now tap on the coffee machine to view the counter.
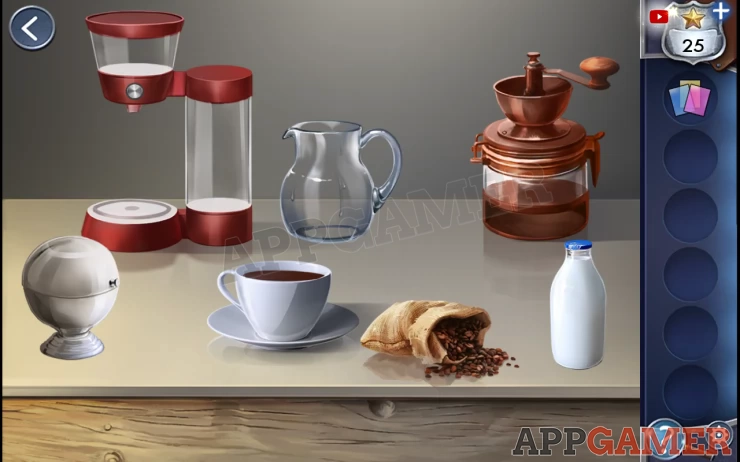
Place the coffee grinder, coffee beans, pitcher of water, milk and sugar on the counter.
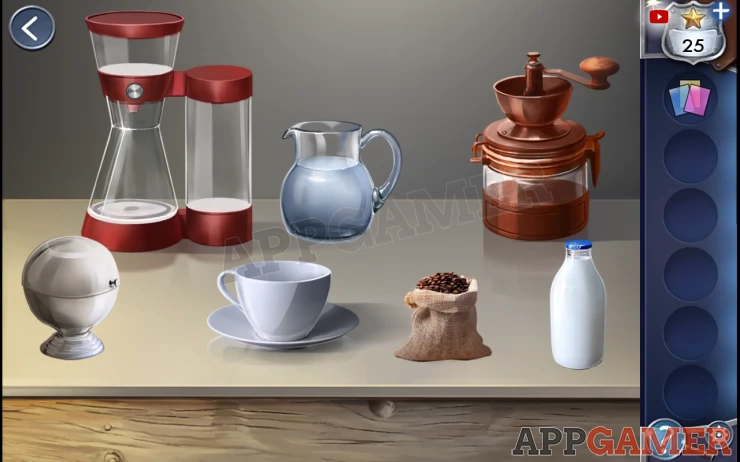
Drag the beans to the grinder. Tap it and you will get ground coffee. Drag this to the top of the coffee maker.
Add the water to it and then press the button to turn it on.
You now need to pour out exactly 6 oz, using 5, 8 and 12 oz glasses. This is a puzzle
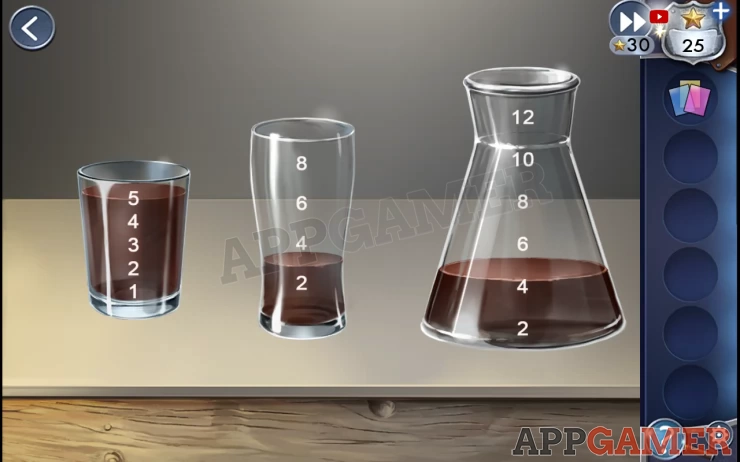
Solution: Pour from the 12 to the 8. Then from the 8 to the 5. Then from the 5 to the 12. Then the 8 to the 5. Then the 12 to the 8. Then the 8 to the 5.Show
You will now have 6 oz left in the 8 oz glass.
Now just add a sugar cube and some milk and collect the coffee cup.
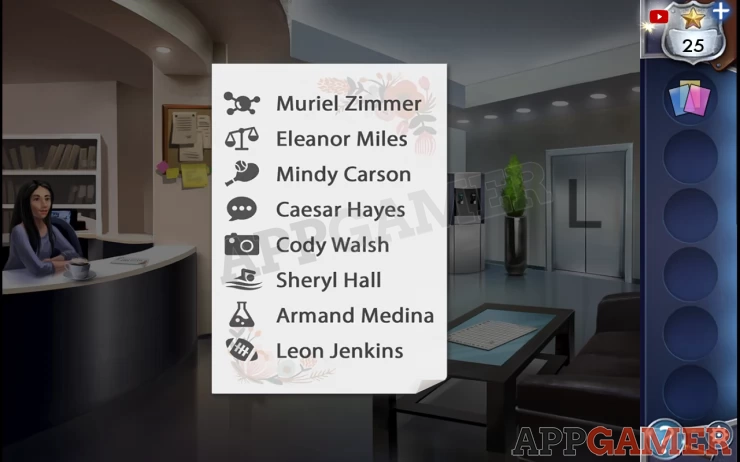
Place the coffee on the front desk. You can now view a piece of paper with a list of names and symbols on it.
Now tap to view the grid on the paper on the small table. Then place the 3 transparencies on it.
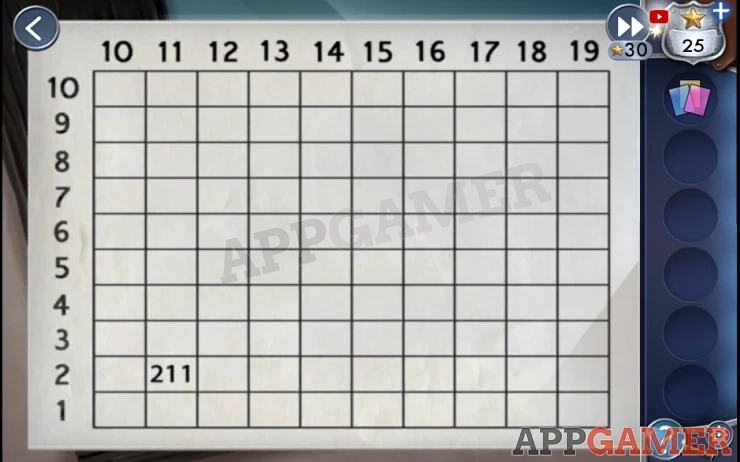
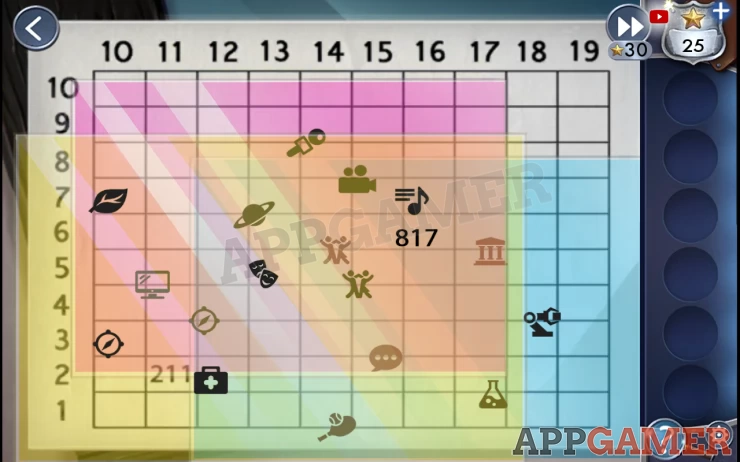
Hint: use the clues to move the transparencies around and align them correctly.
Solution: Move the yellow sheet to align the number “817” with the box where 8 and 17 meet. The pink sheet has a matching compass icon. over lay this for the correct position. Then the blue sheet has another matching icon (2 people dancing). Align this as well.Show
Now you can identify the number for Caesars room by the icon on the list of names.
Solution: 3 15Show
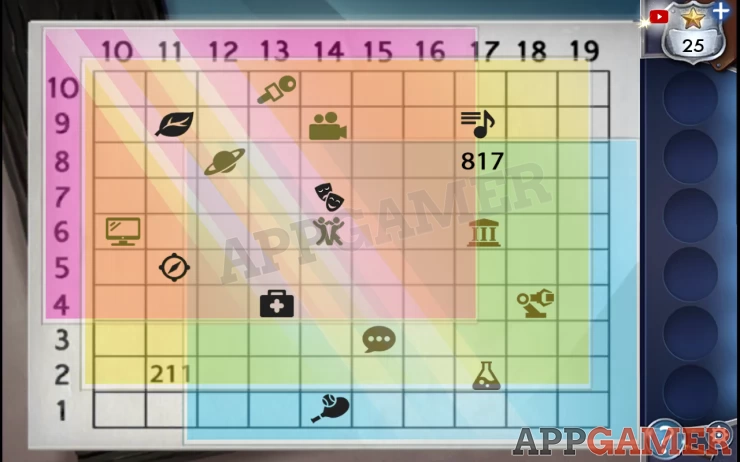
Before you head up to the room there is a sticky note on the board by reception with a clue (count the triangles)
Then view the drawing on the wall to the right.
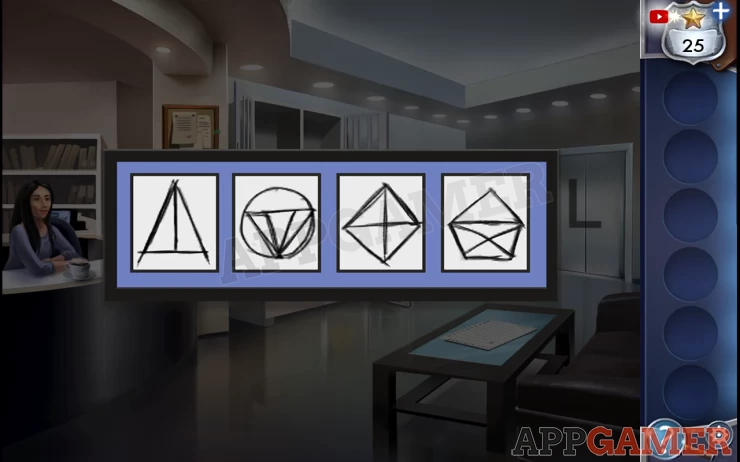
Solution: Count the triangles in each symbol to get a code: 3 6 8 9Show
Now you can enter the elevator on the right. Select the 3rd floor.
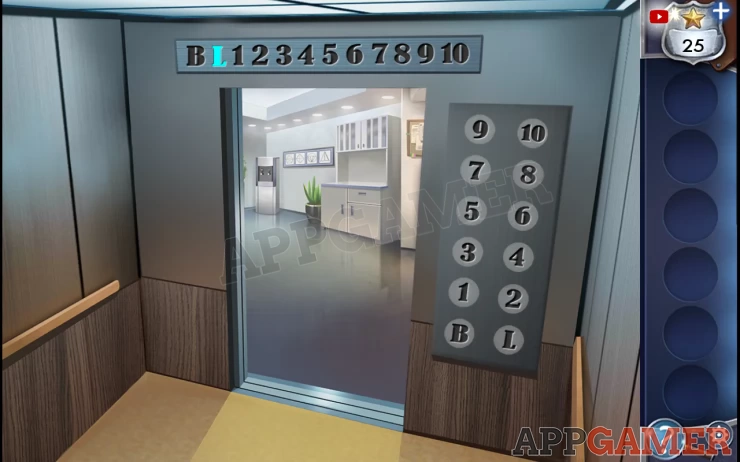
Exit and tap on door 15.
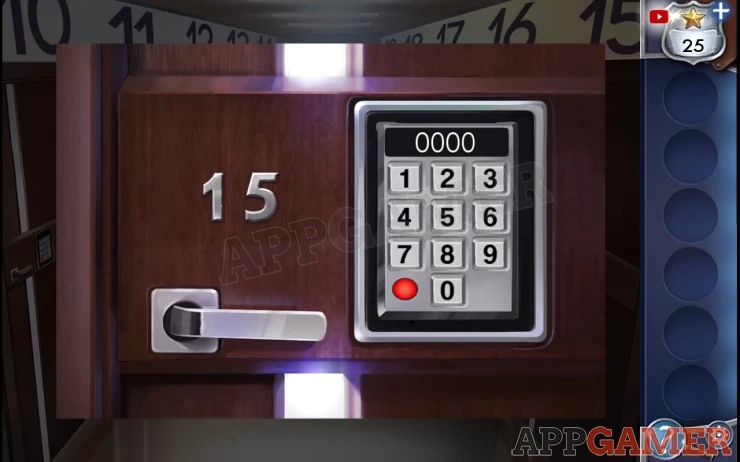
The door code is the code found above. 3689Show
Enter the room.
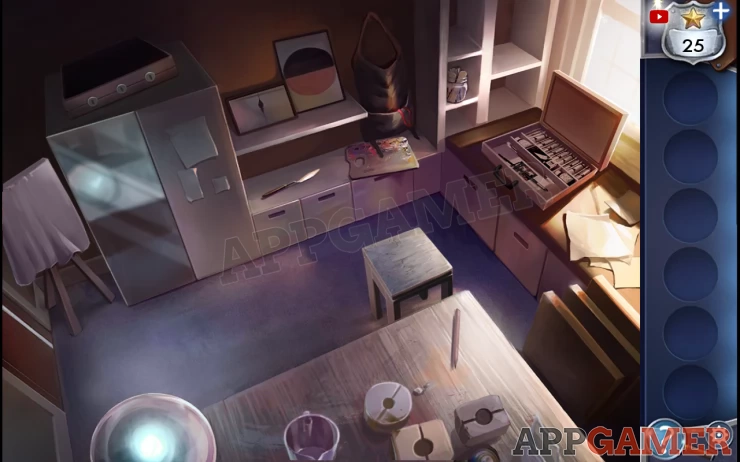
Collect the palette knife and a key from the unit at the back. Then also a jar of wooden sticks from the shelves on the right.
Collect the stool
Open the closet to see some shoes, use the palette knife on them and you can collect a second key.
Next open 2 low cabinet doors to find a mixing bowl, and heat gun.
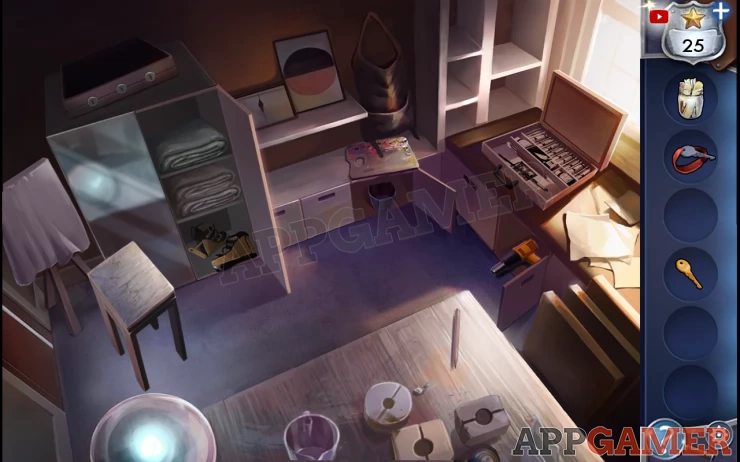
Now view the table
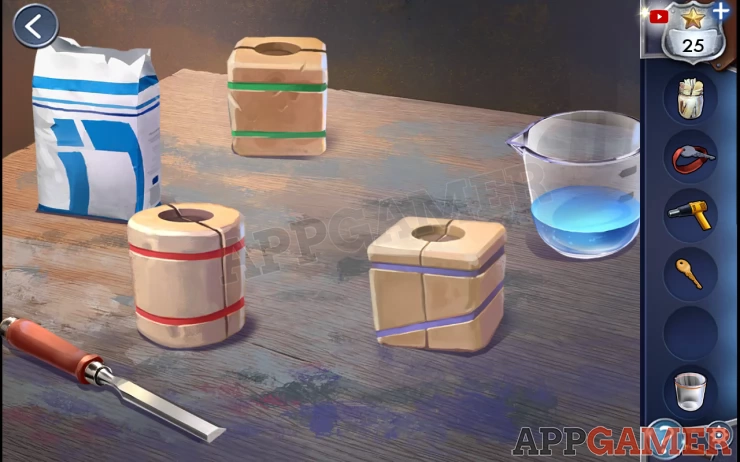
Place the heat gun, sticks and mixing bowl on the table.
Pour the plaster (white and blue packet) and water into the bucket. Then drag a stick to stir the mixture.
Pour the mixed plaster into the three molds. Then drag the chisel to them to break open all three molds.
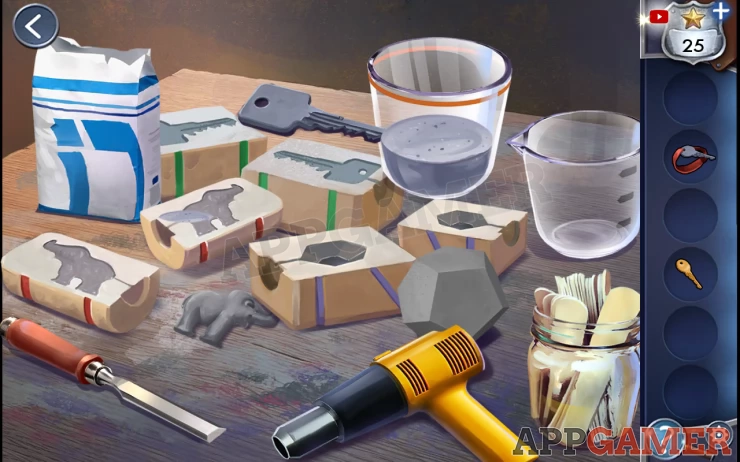
Use the heat gun on the plaster key to dry it and then collect it.
Place the stool by the left closet door.
You can now reach the case on top of the closet. It has 3 key holes.
Use the three keys to unlock the briefcase. Look inside and find a note, then you will be able to compare it with another note.
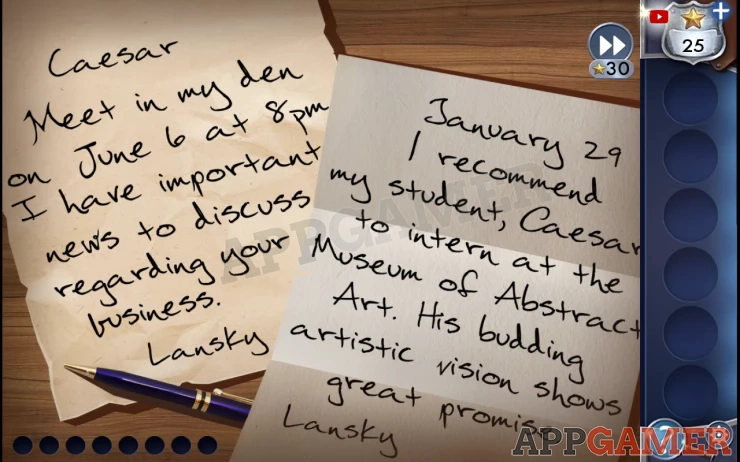
Hint: Find all eight handwriting differences to complete this puzzle. Tap pairs of words to highlight the letter differences.
Solution: Show
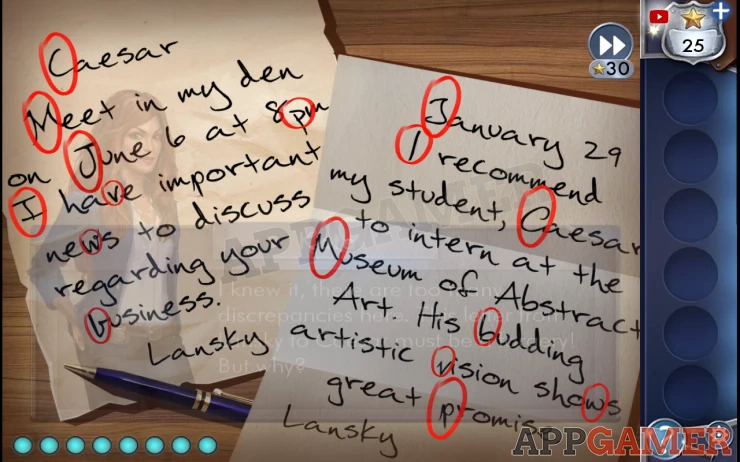
That completes part 2, now move on to part 3
We have questions and answers related to this topic which may also help you: Show all
 With 20 years of experience in creating video game content for the internet and over 30 years as a gamer, Mark is now a passionate mobile App Gamer. Loving a challenge, he is always ready to get stuck in to both survival builders and puzzle solving games. He has been providing content for AppGamer since 2014.