Paper Bride 5 Chapter 3 - Illusions Walkthrough
More Paper Bride 5 Two Lifetimes
Paper Bride 5 Two Lifetimes is another in the popular series of Mystery Puzzle games from Heartbeat Plus. Inspired by Chinese Folklore we follow 3 students who seem to be trapped in a world inhabited by ghosts of their pasts lives.
After Tao Mengyan (Xiao Cui) was abducted at the end of Chapoter 1, we followed Xun Yuanfeng, assisted by Zhong Ziyi, as they tried to escape from the abandoned theatre. Now in Chapter 3 we are with Tao Mengyan who also seems to be accompanied by Zhong Ziyi as they face their own challenges.
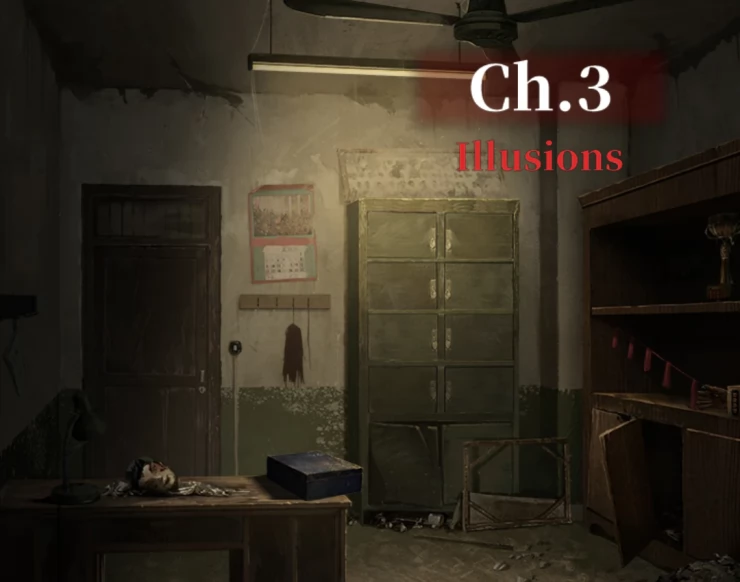
Chapter 3 - Illusions
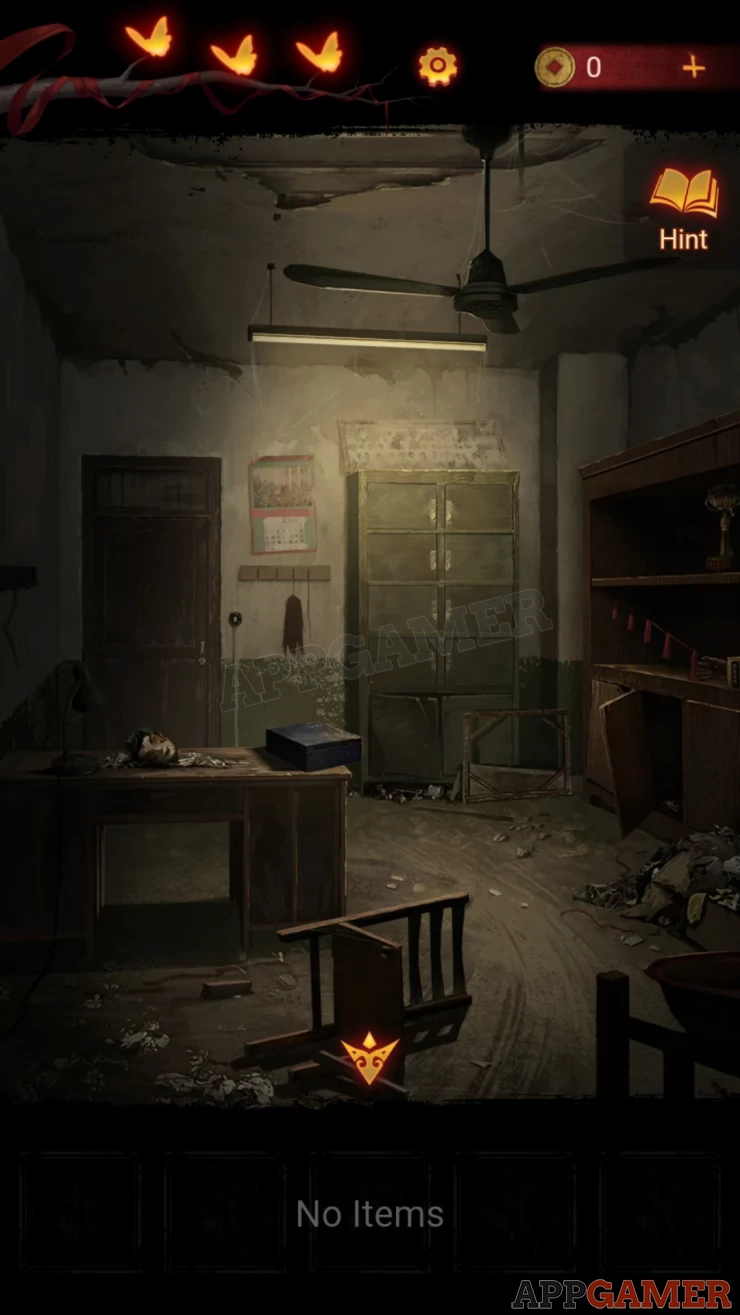
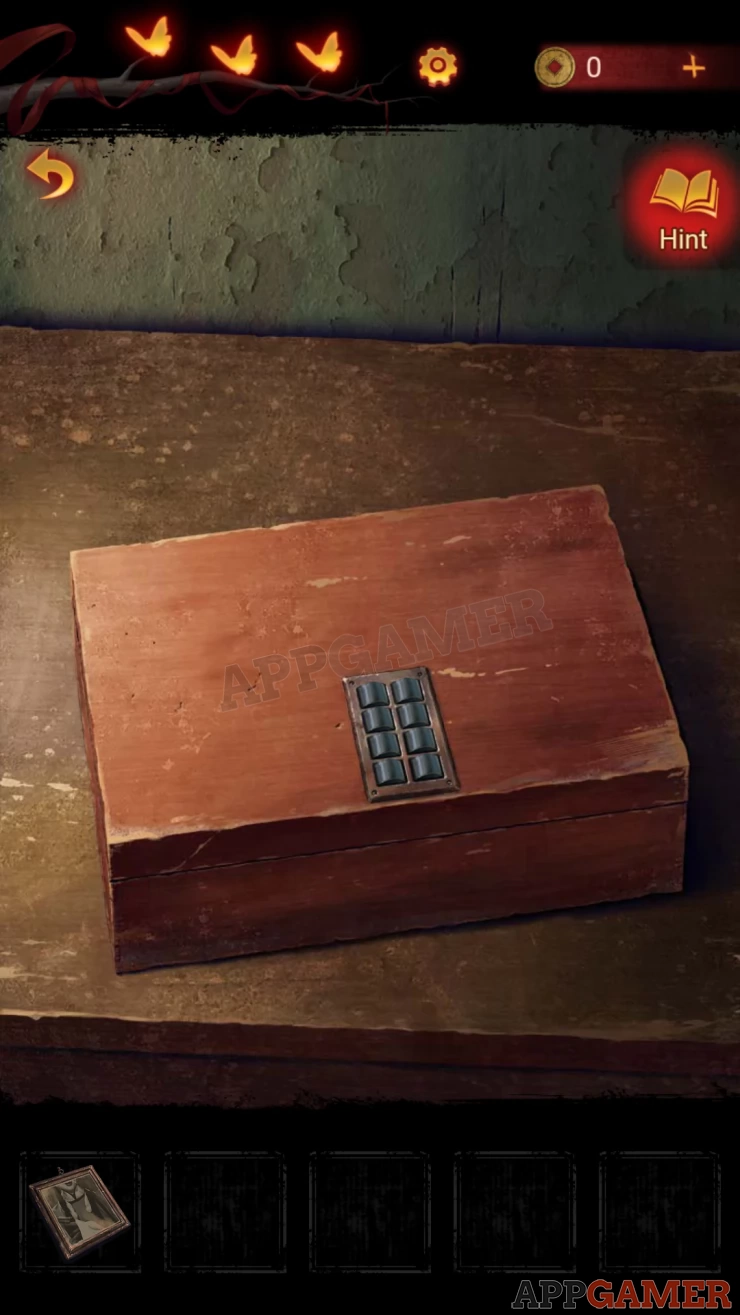
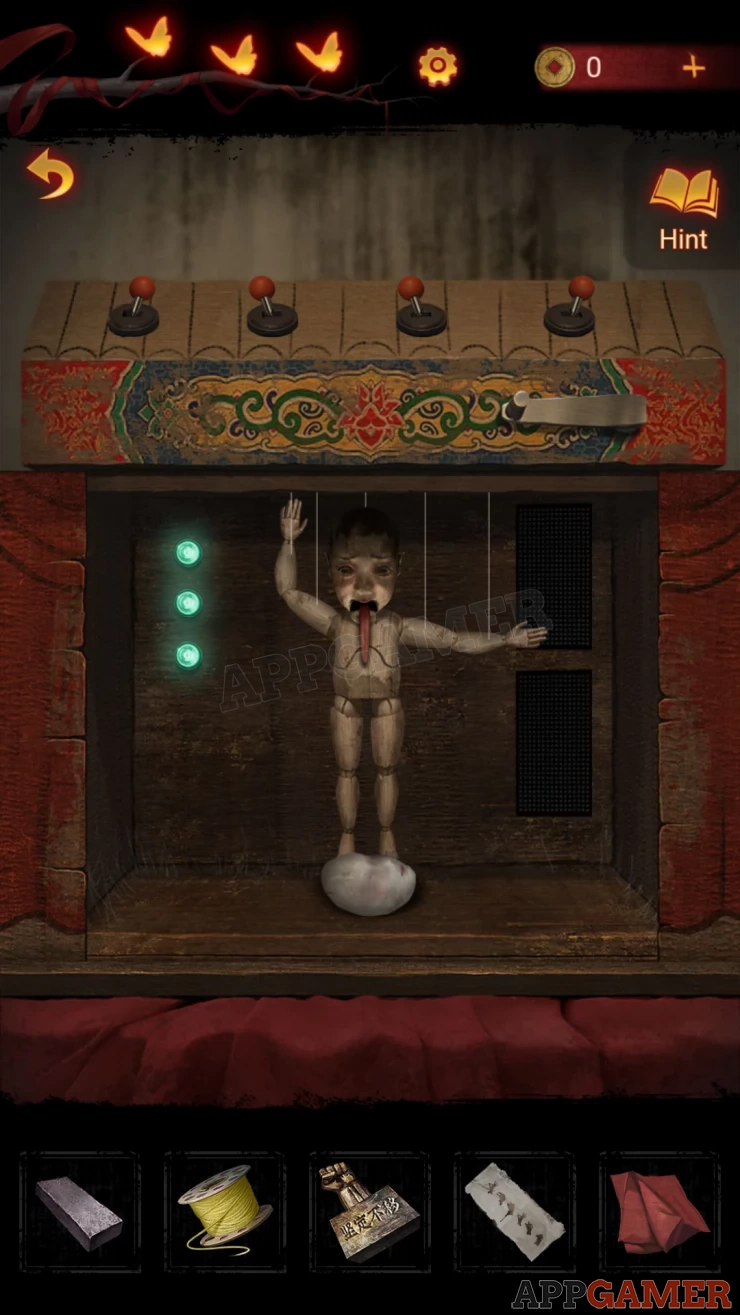
You start in a room with broken furniture and a lot of mess. There is a box on the table that appears to be moving. View this.
Box Puzzle
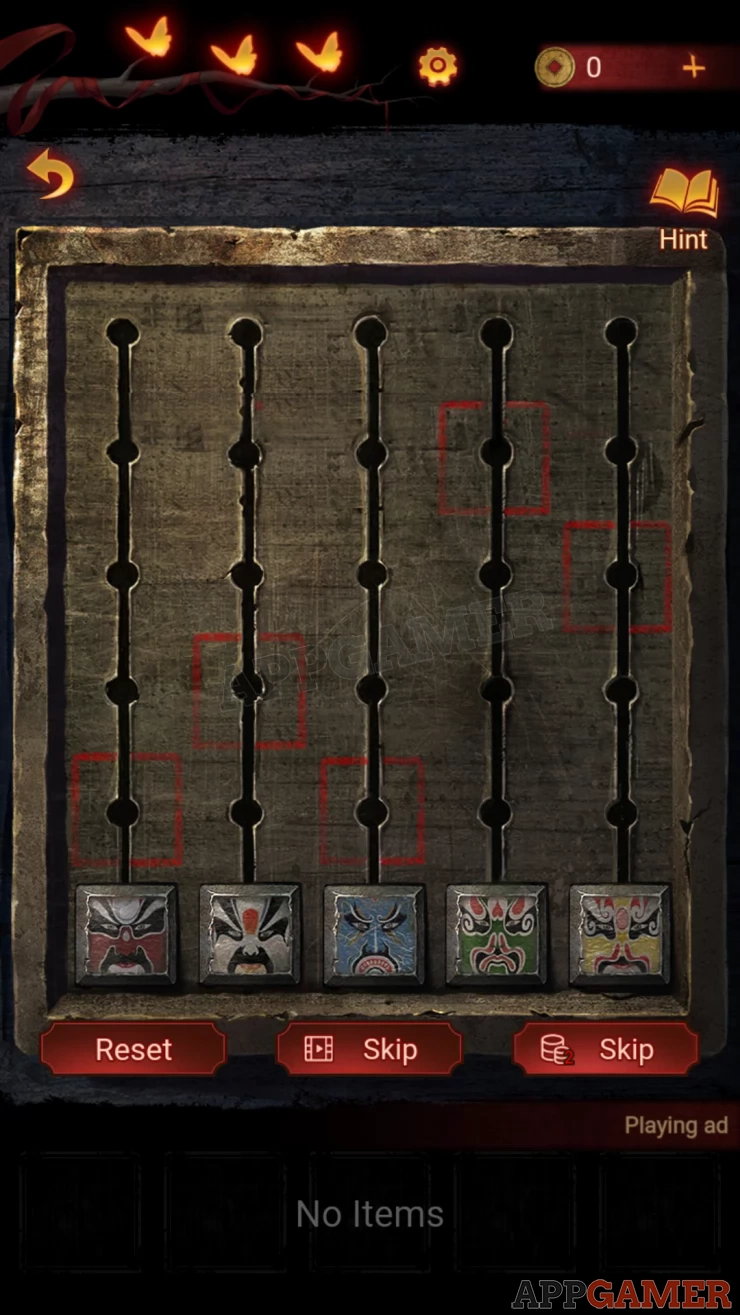
- There are 5 sliders that you can move up one at a time.
- Each of the sliders have a red square that you need to place it into
- After each move that you make the box will shake and all the sliders will move down by 1 position.
- Find the correct sequence so that all the sliders arrive in the red squares at the same time.
Solution: This sequence will work, there may be other ways.Show
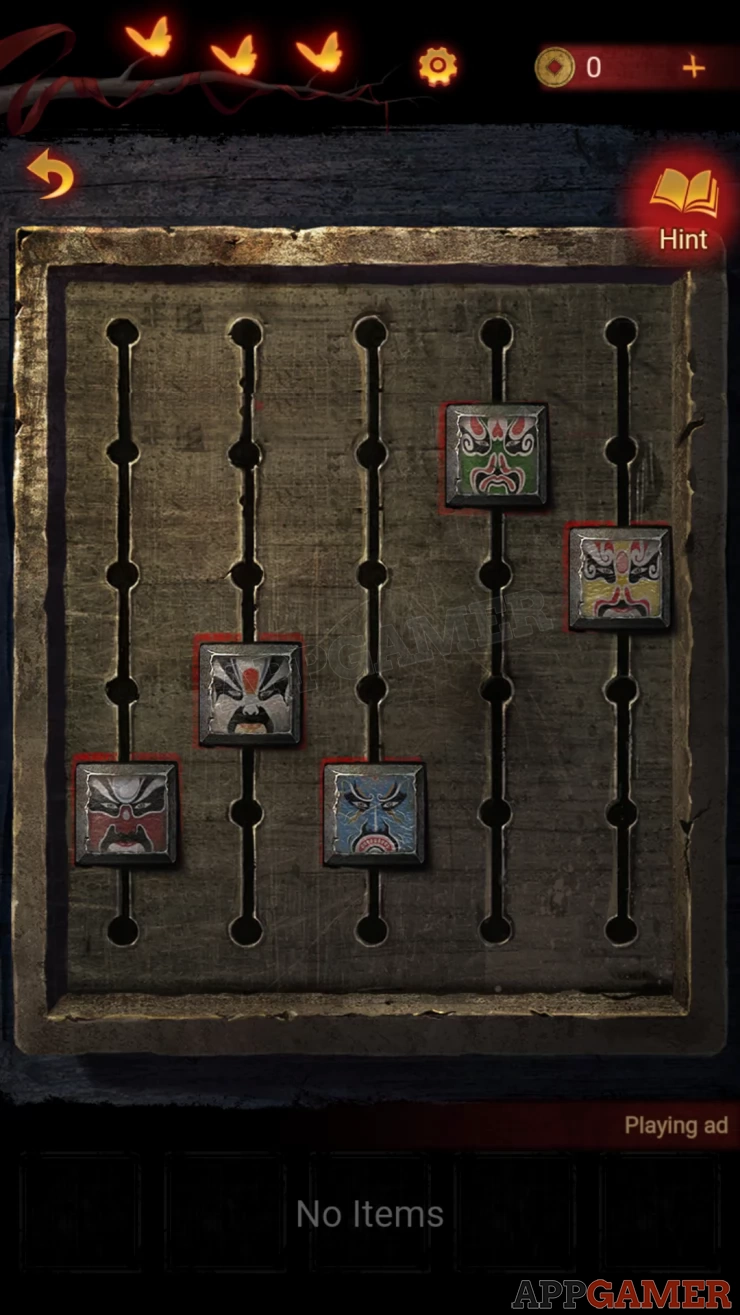
Look inside the box and you can collect the moving Miniature Puppet.
Next view the large cabinet on the back wall with the cupboard doors.
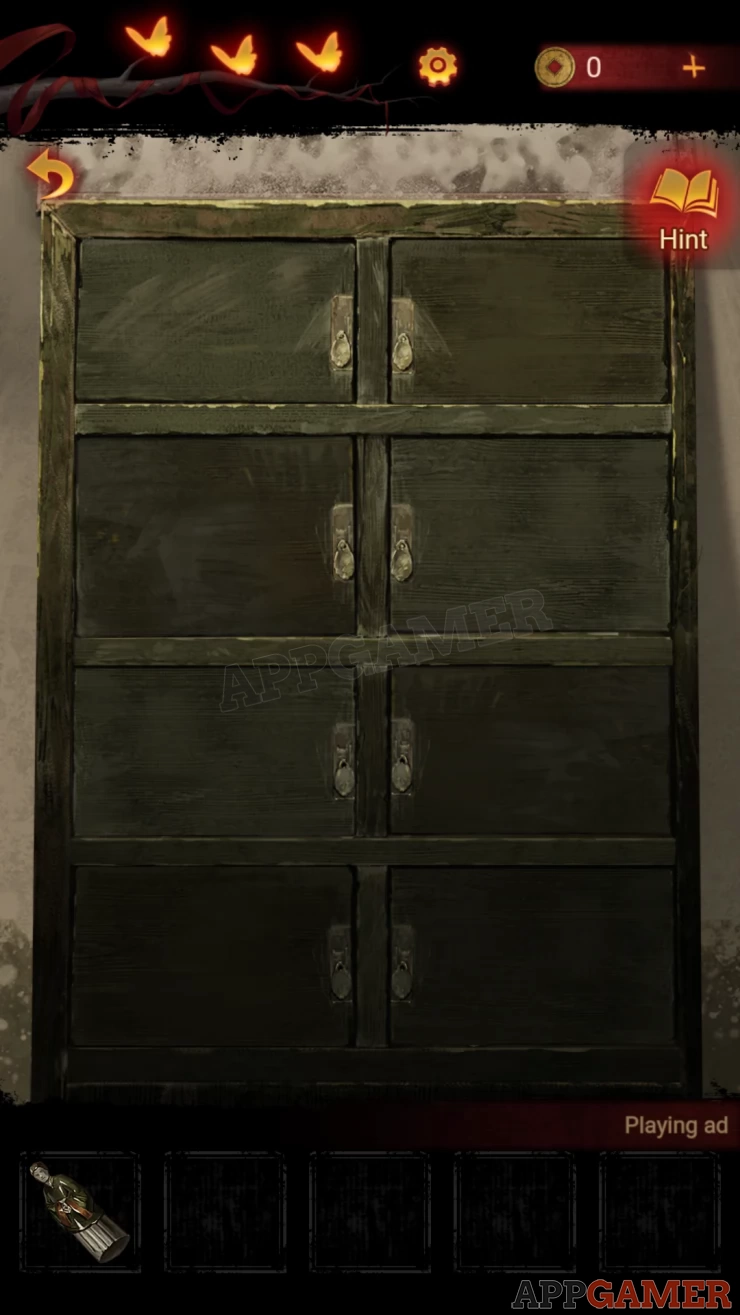
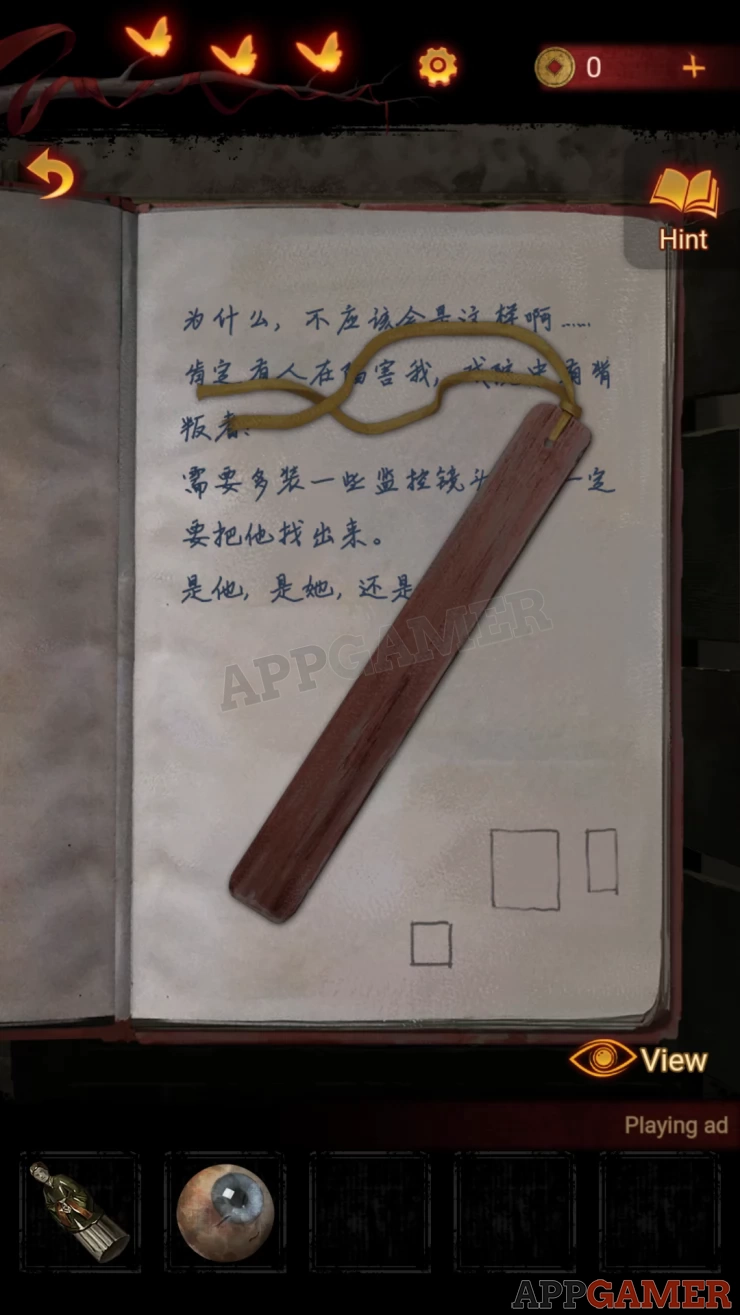
Open all of the door and you can collect a Fake Eye and also a Photo. Then also look inside a red book to see some clues.
There is some text and some small squares on other pages. While looking though the pages collect the Bookmark.
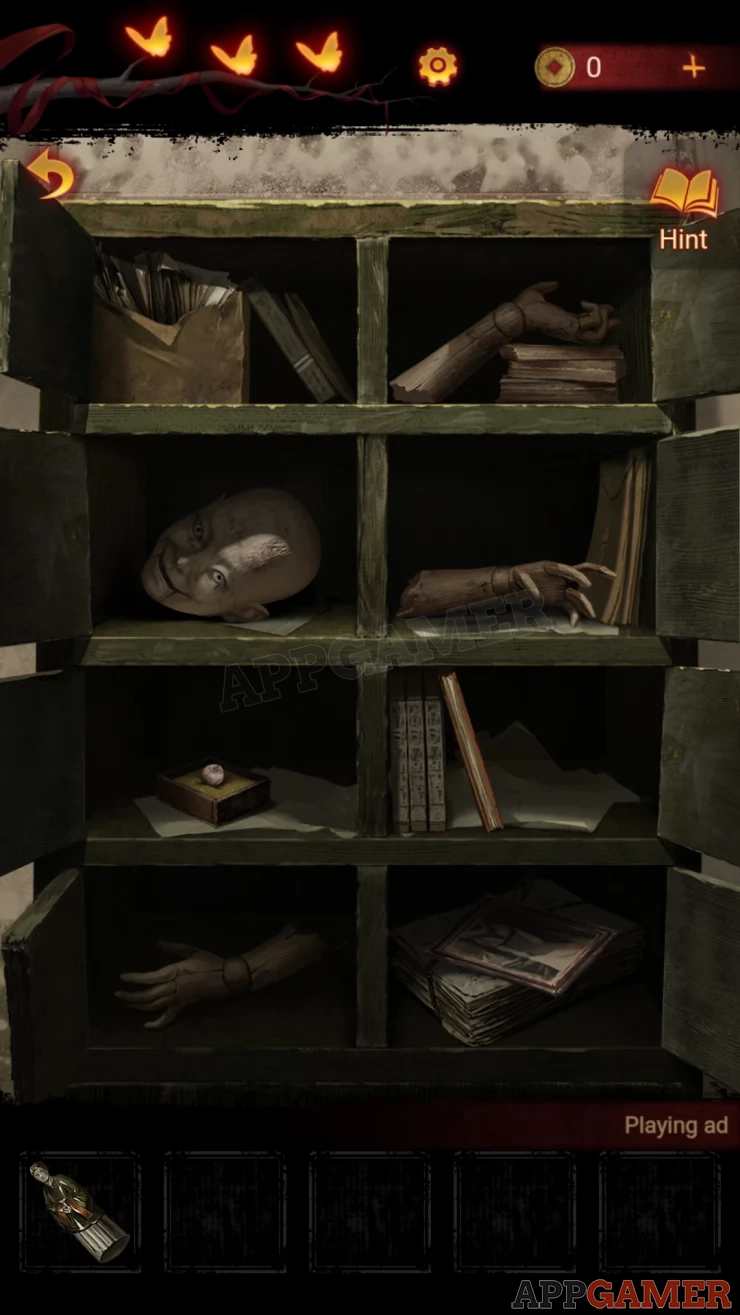
Notice also the puppet parts in the 8 cupboards. This is a clue. Now you can use the arrow at the bottom to back out to a hall.
View the vent cover on the wall between the doors, you can use the bookmark here to undo the screws and remove the cover.
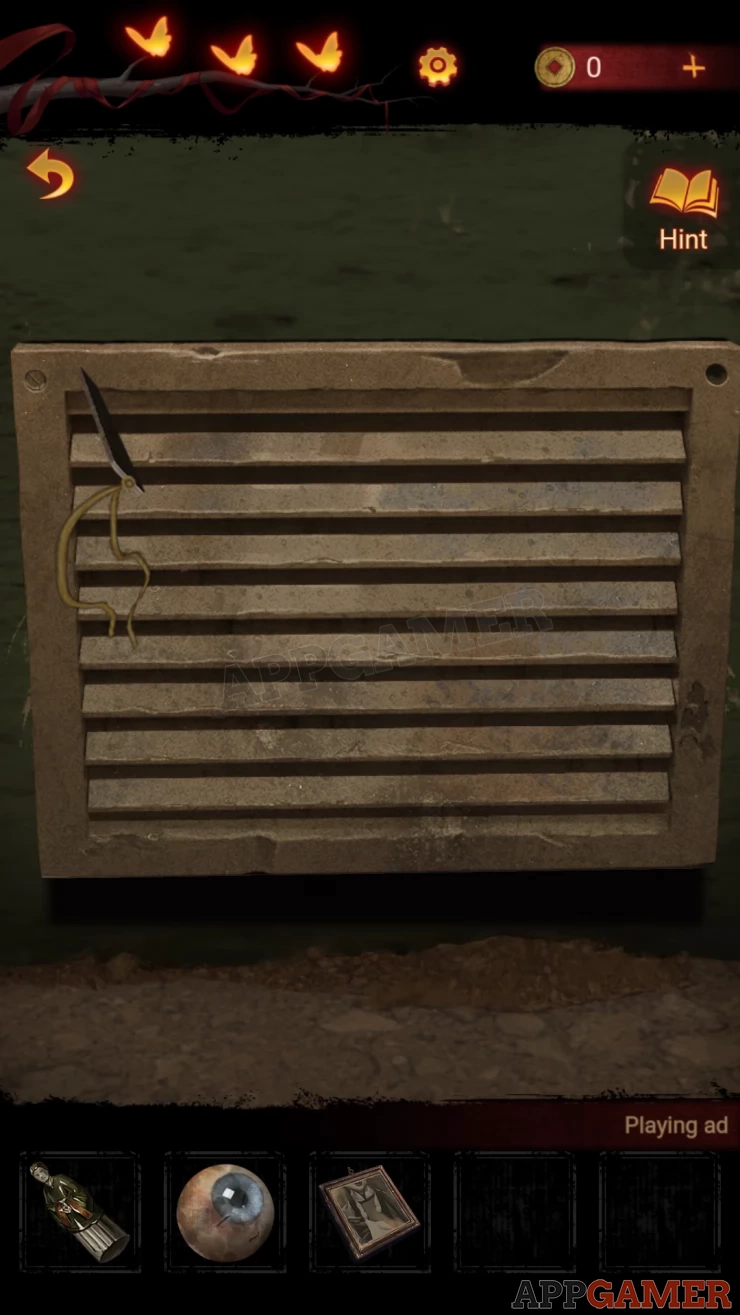
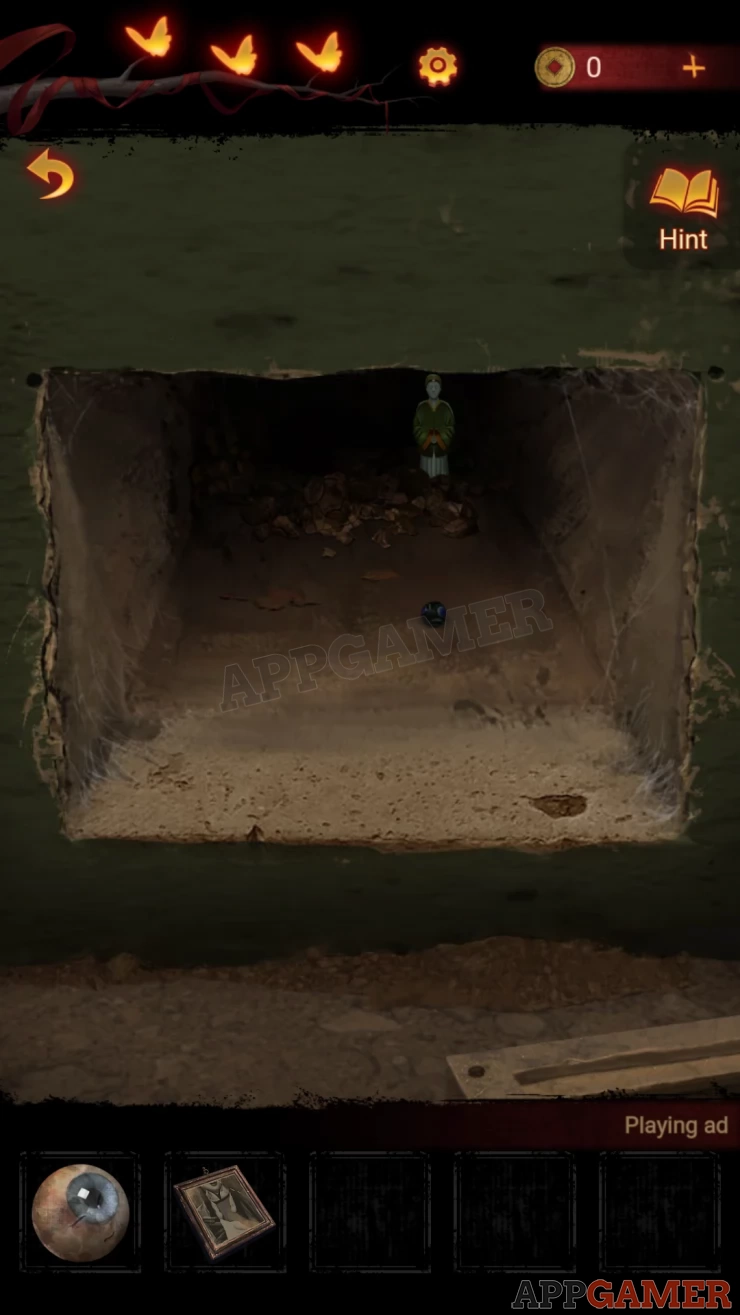
When it is open place the Miniature puppet inside. It will run in and then return to give you a Marble.
There is a puppet figure hanging from the door on the right. View this.
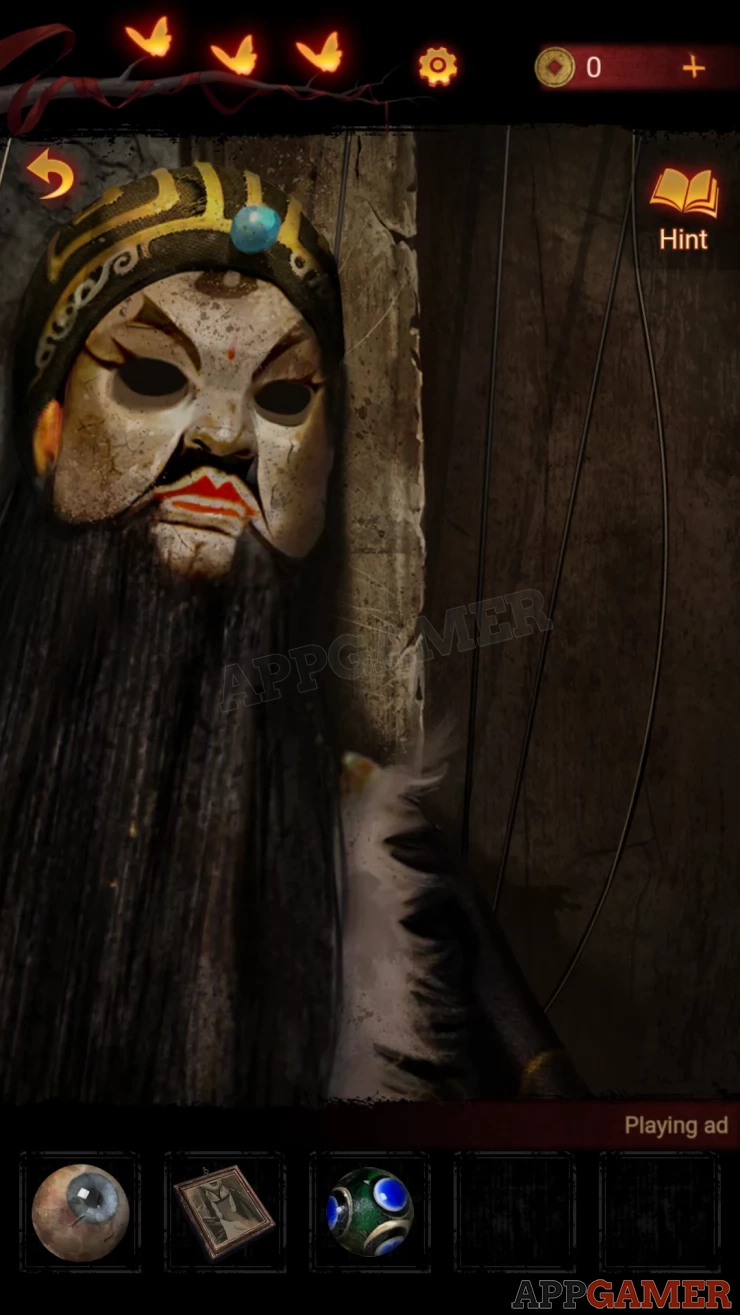
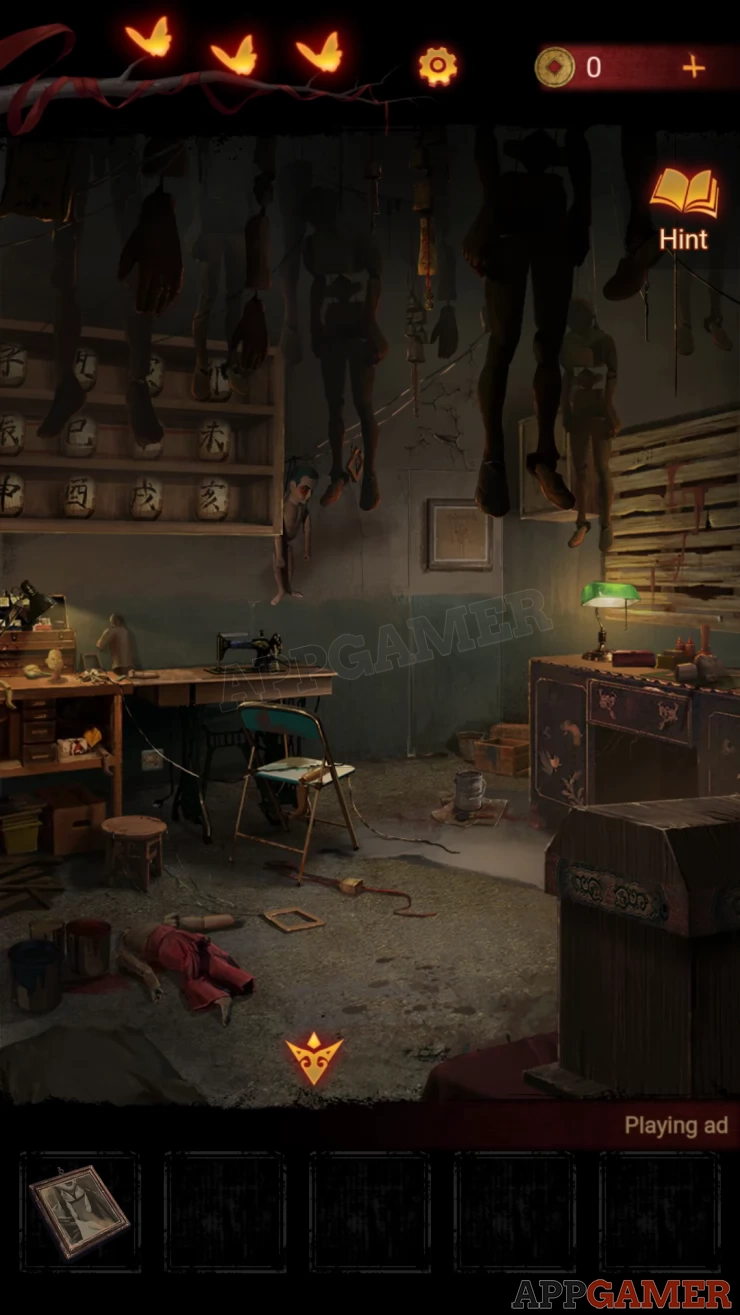
Add the glass eye and the marble to the empty eye sockets. The Puppet moves and you now have a door handle to open the door. After a conversation and a reveal about your partner you are now in a workshop room.
First look on a desk on the right to see a wooden box. This has a lock.
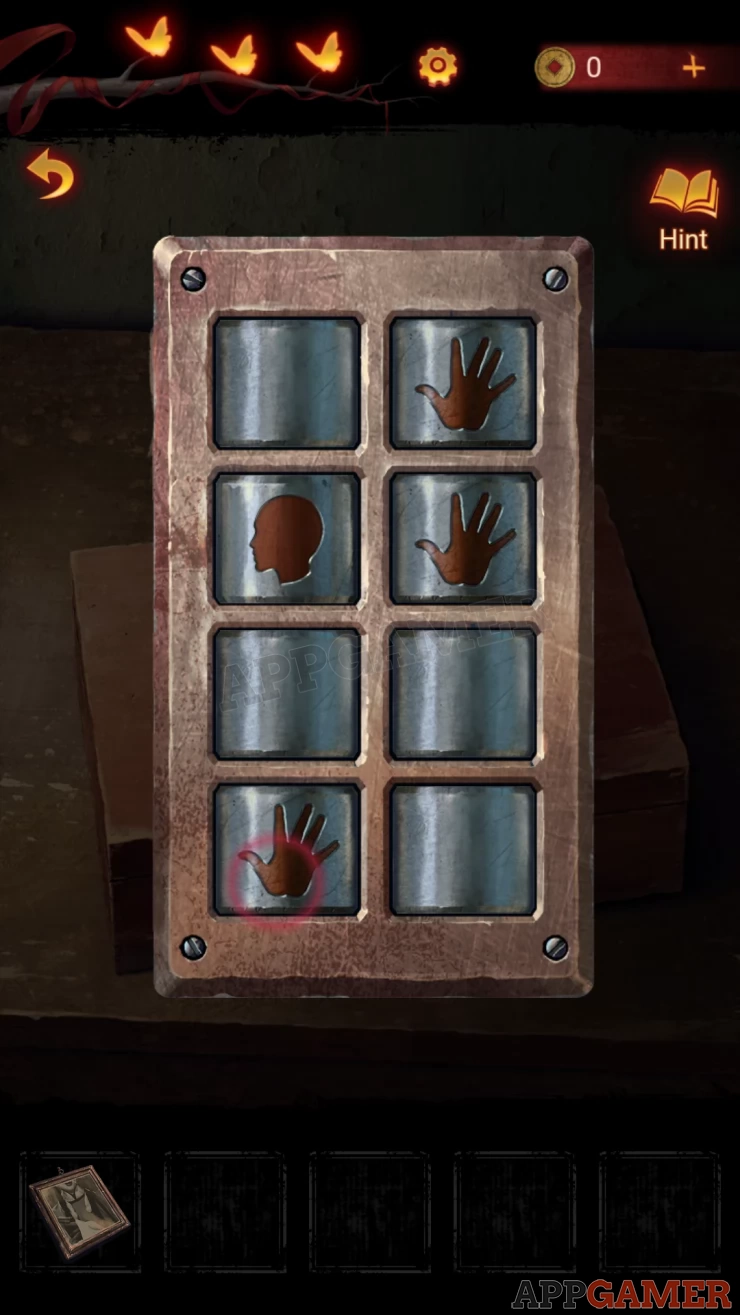
Box Puzzle
- The lock has 8 settings that you can set to head or hand.
- These are laid out in the same was as 8 cupboards seen earlier.
Solution: Copy the positions of the puppet hands (arms) and head in the cupboards in the first room.Show
Collect a Carving Knife and a Grindstone.
Next look under the small table with the sewing machine on it. You will see a dirty plug socket and loose plug.

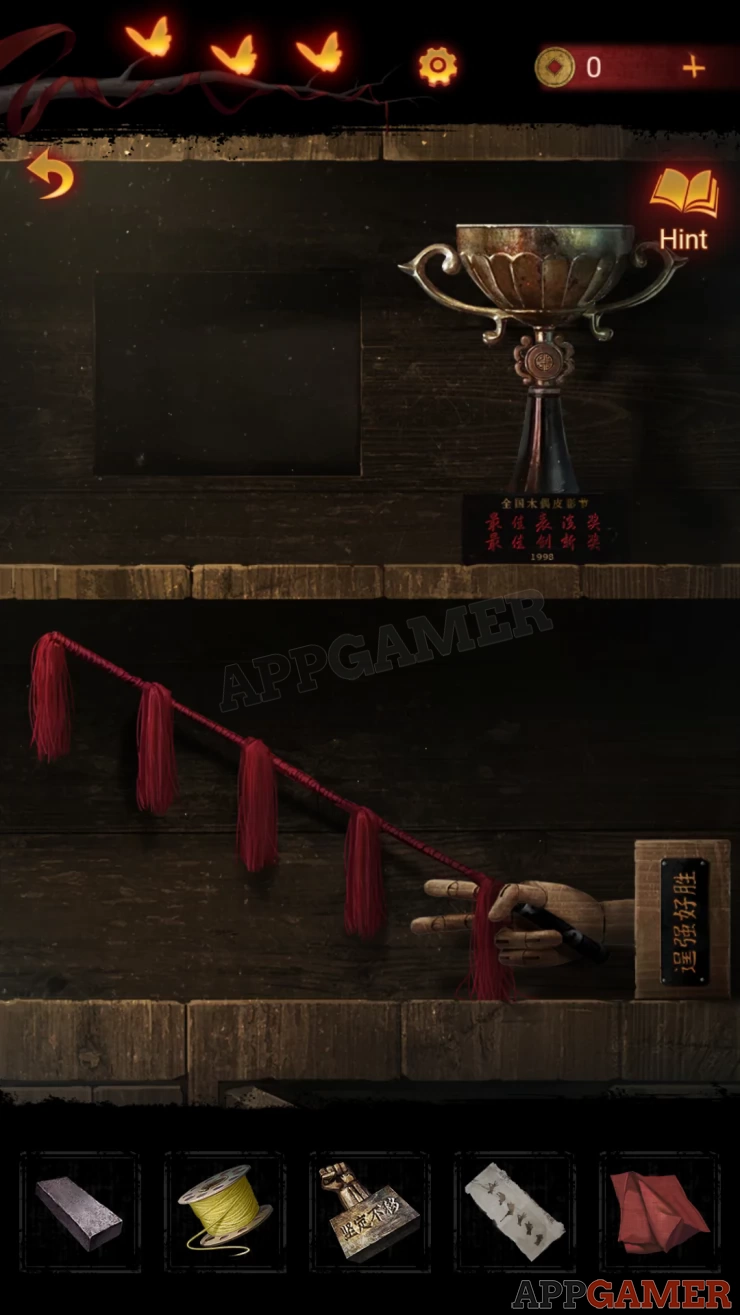
Use the carving knife to clean the socket. You can then plug in the power cord and also collect an Ornament. Now return to the first room you were in and view some shelves on the right hand side.
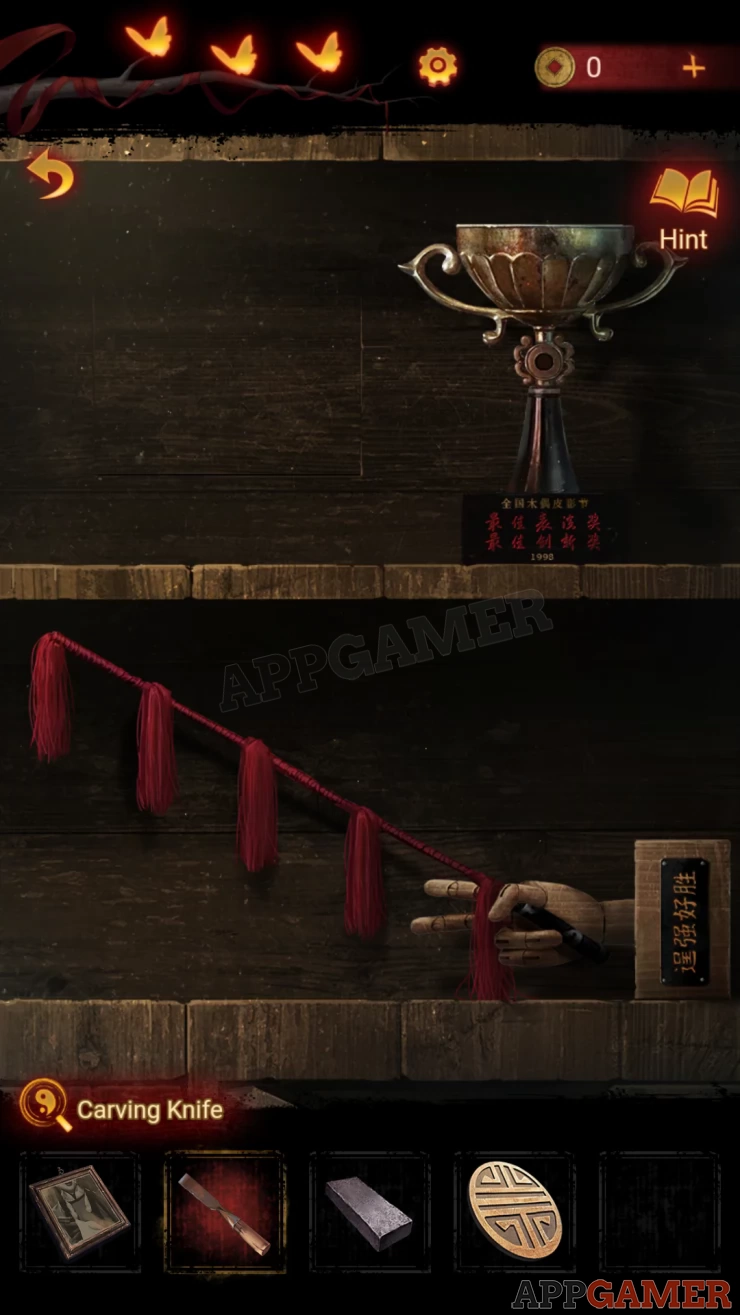
Place the ornament onto the trophy on the top shelf. This will open a panel and you can collect another Photo.
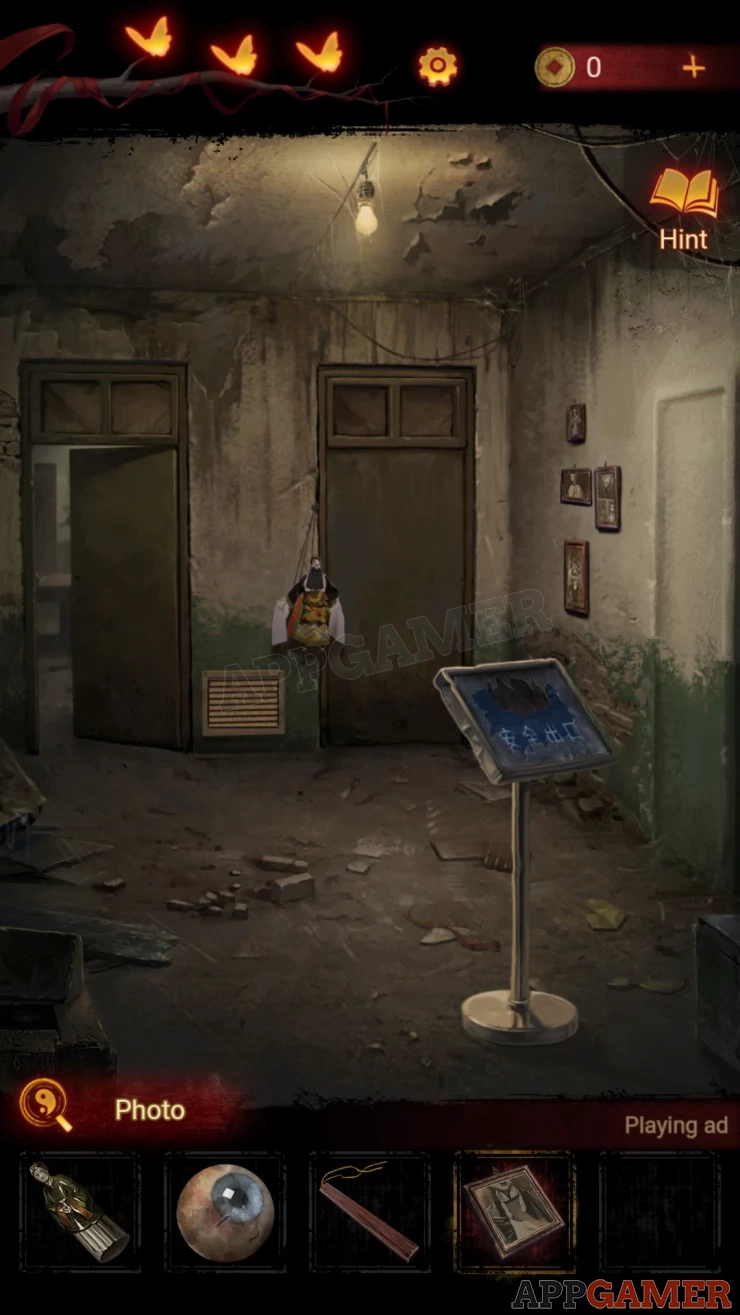
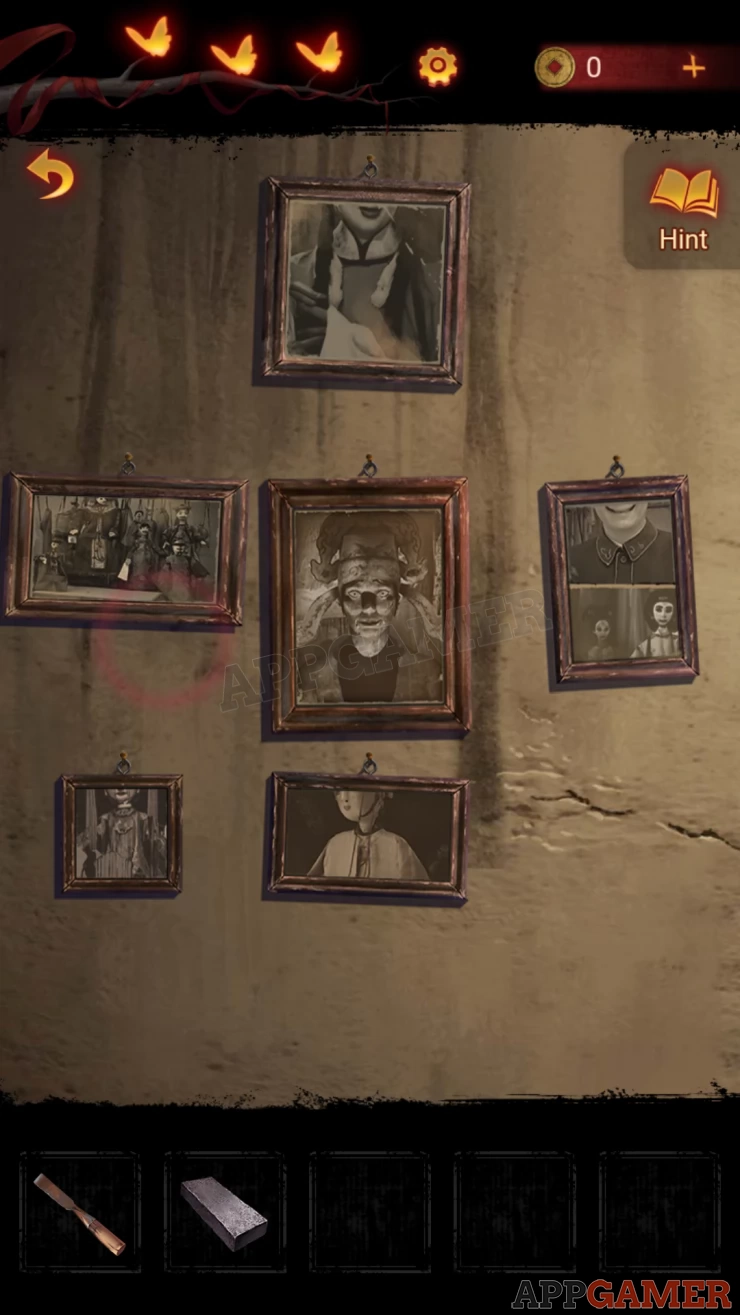
Exit to the hall and look at the photos on the wall on the right.
Photo Puzzle
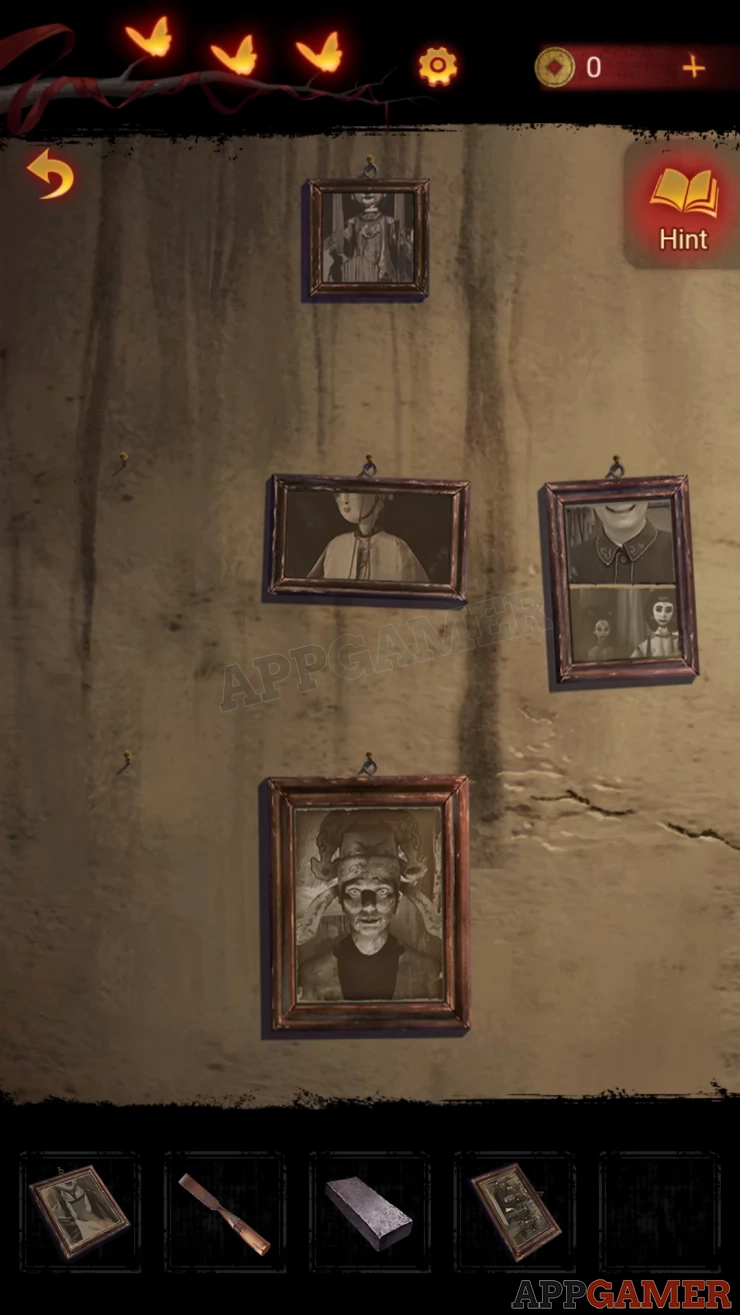
- Add the 2 photos that you have to start
- Tap pairs of photos to swap them to get them all in the correct positions.
- The clue for this is in the red book in the cabinet.
Solution: Follow the shapes of the squares drawn in the book.Show
You can now collect a Key from the center. Return to the first room (left door) and then you can use the key to open the door on the back wall. Go through to a Control room.
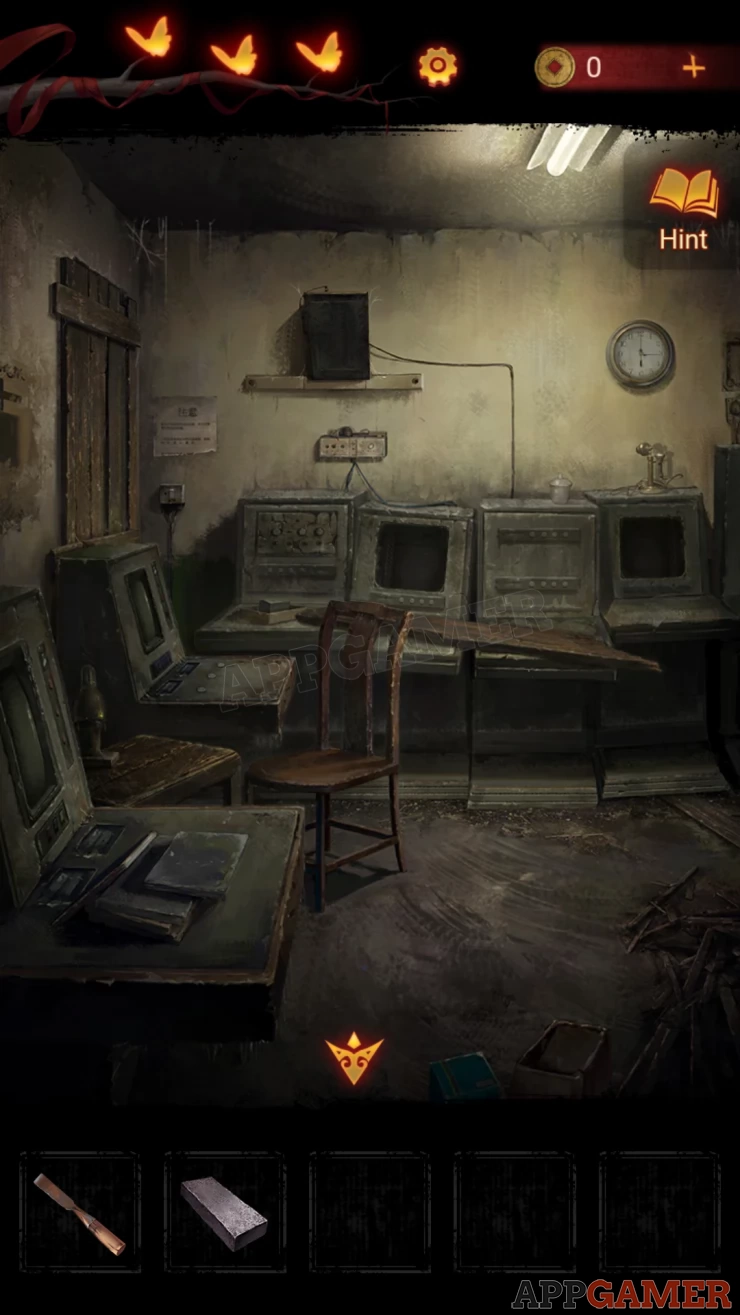
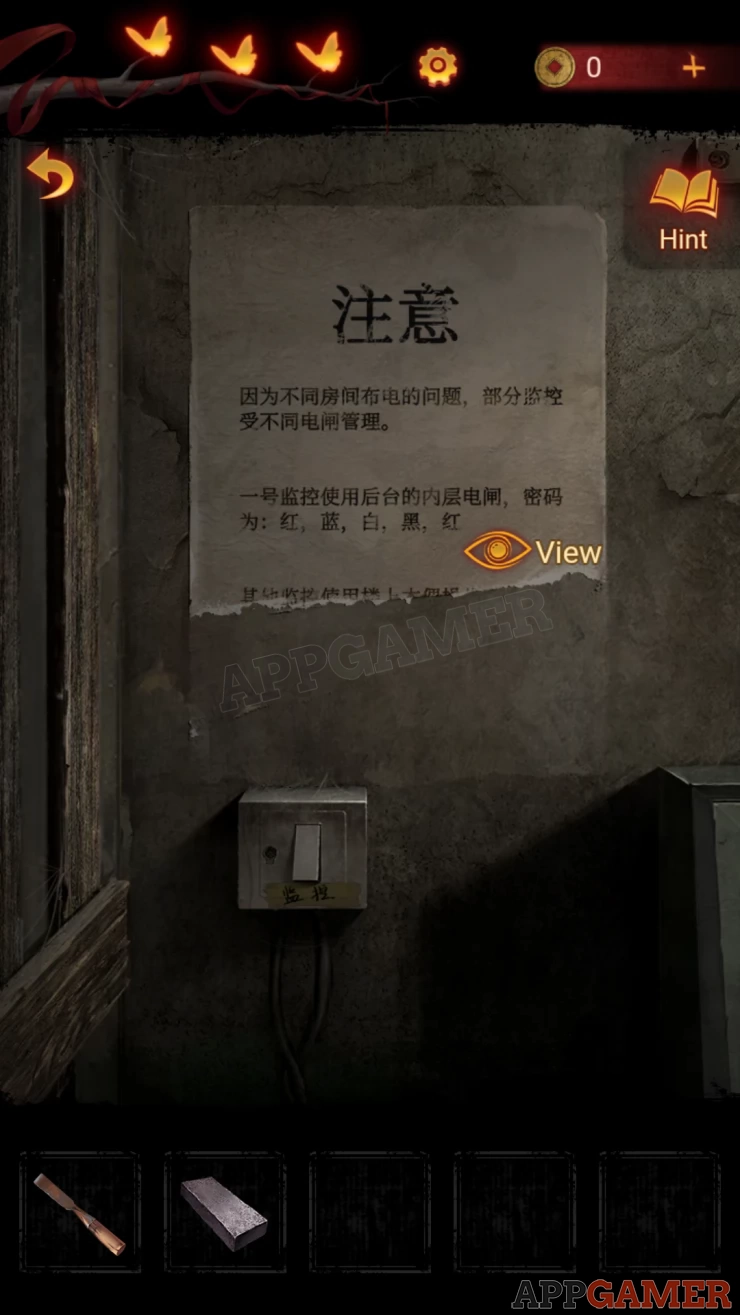
View the switch on the wall on the left and you can read the notice above it to get a clue.
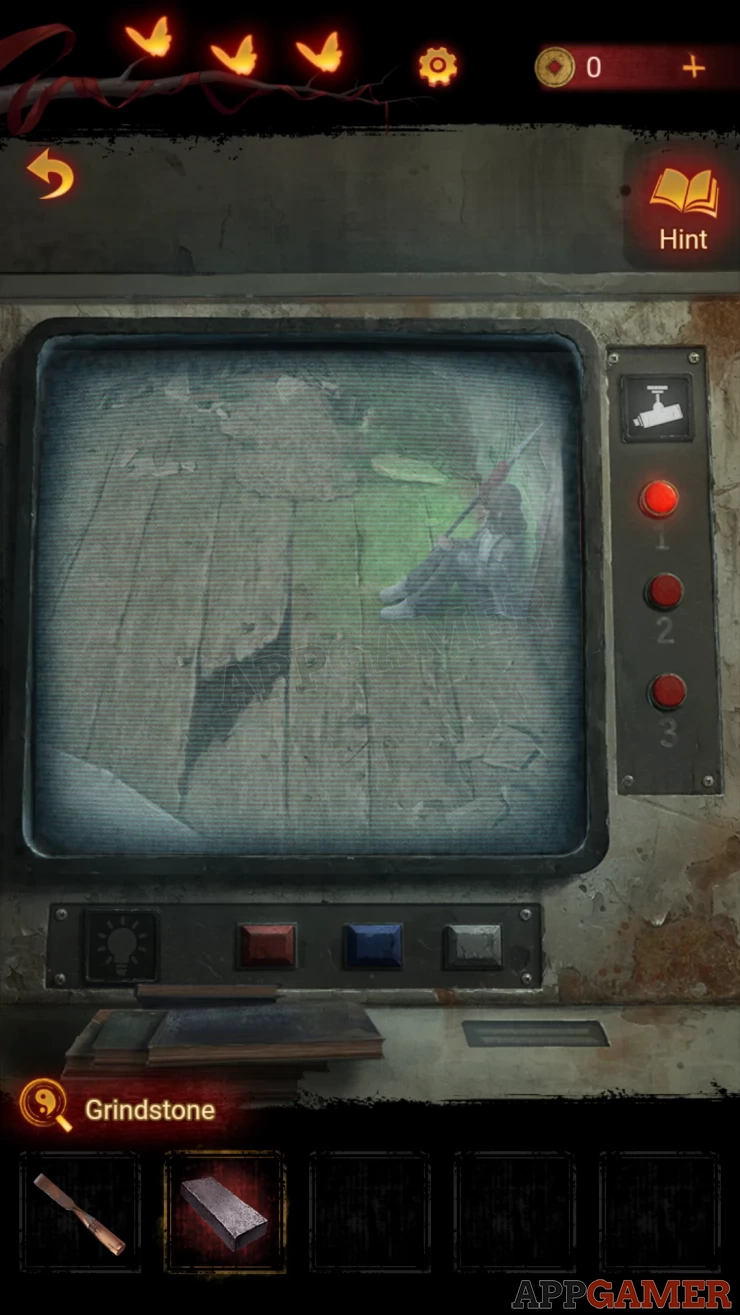
You need to turn on the switch, but it is stuck. Use the Grind stone on it to hit it on. You can now view the monitor screen on the left. You can see various images from the other room where your friends are trapped (chapter 2)
After the cut scene change the view to number 3 on the right. You see the symbols on the floor that were a clue in chapter 2. Now look at the clock on the wall in the control room.
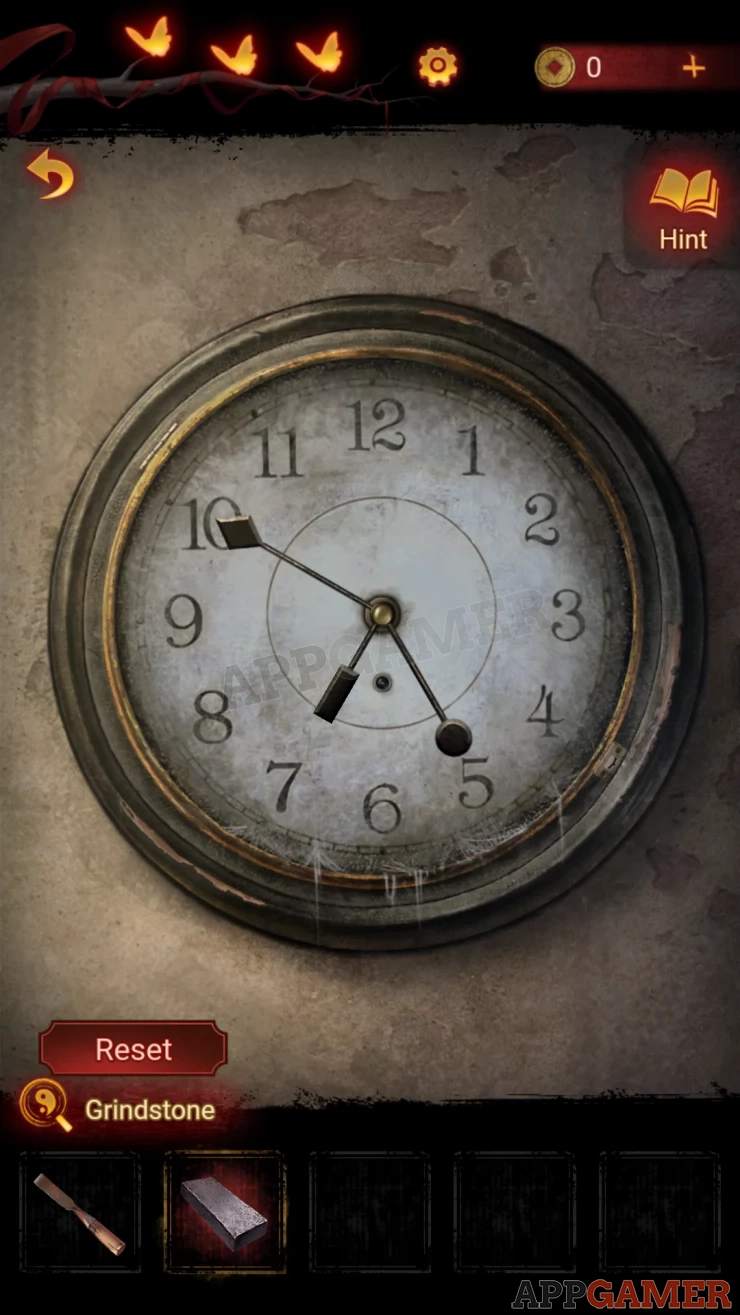
Clock Puzzle
Notice the 3 hands have the shapes on the end as with the symbols on the floor. Rectangle, Diamond, Circle.
Follow the clues rto set the hands to the correct positions.
Solution: Move the rectangle hand 1 position clockwise (7), the circle hand 2 anticlockwise and 4 clockwise (5), the Diamond hand 3 clockwise, 5 anticlockwise (10).Show
Collect the Spool.
Go back to the monitor, you can now use the color buttons at the bottom to send a color code to Xiao Zhong. This is the clue that was received in the previous chapter.
The clue for the code to send is in the posted on the wall above the swirch.
Solution: Tap: 1x Red, 2x Blue, 3x White, 5x RedShow
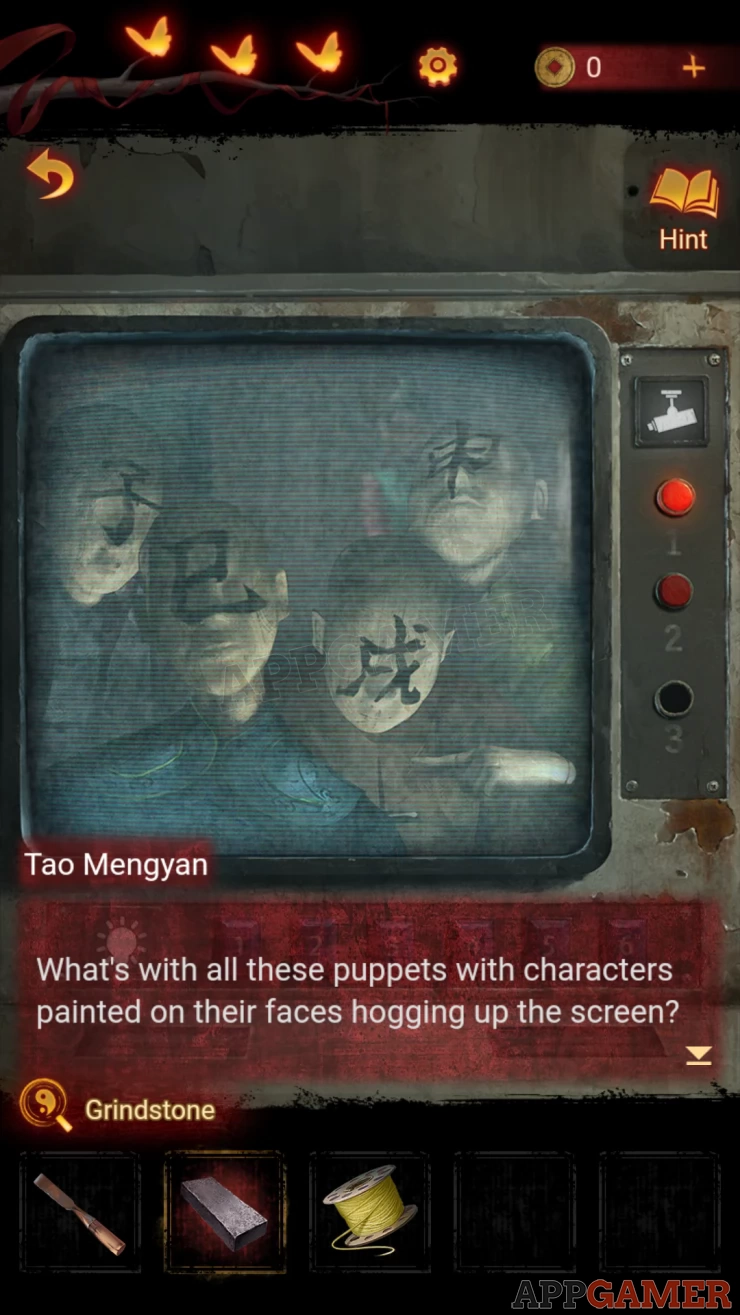
A second monitor turns on so you can view this to see an image of more puppets. Make a note of the order of symbols on the faces.
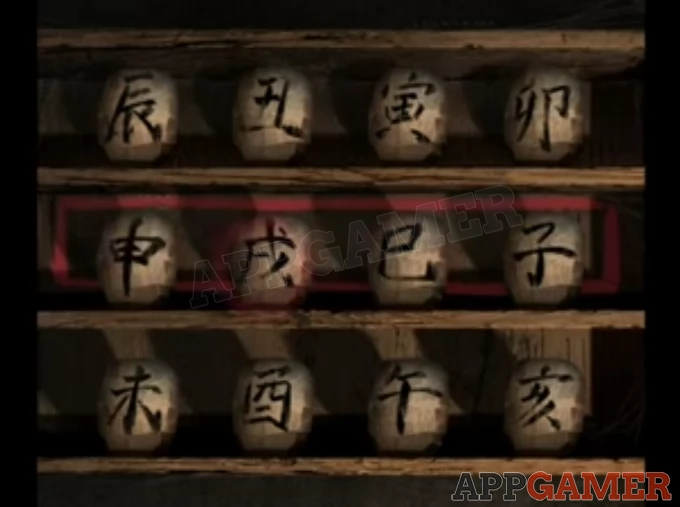
Go back to the workshop room and view the 3 shelves on the wall above the sewing machine.

- There are 3 rows of items with symbols on them, the middle row is highlighted.
- Tap pairs of items to swap them around
- Use the clue of the symbols from the monitor to set the correct 4 symbols in the center
- Notice the hand also in the monitor
Solution: The hand indicates the symbols should be reversed.Show
A hidden door opens. Enter the secret room.
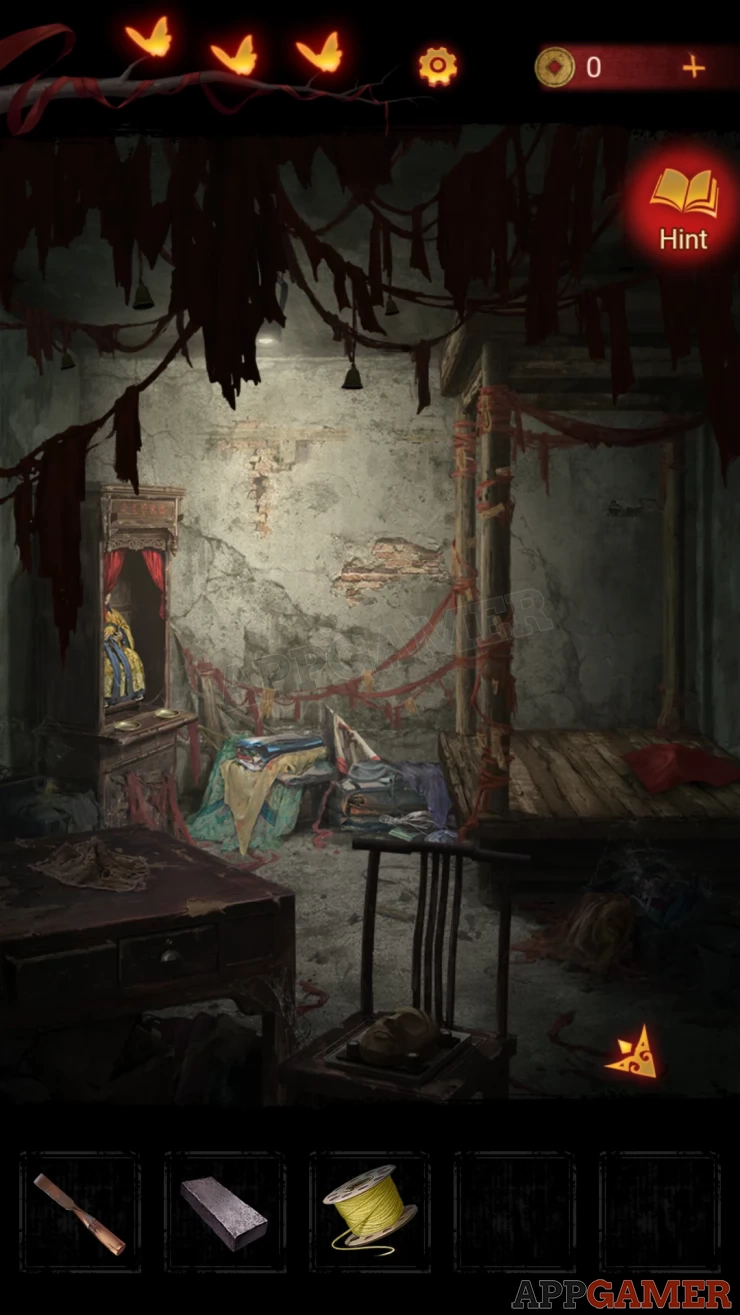
First view the chair that is at the bottom center of the scene. There is a half carved mask on it.
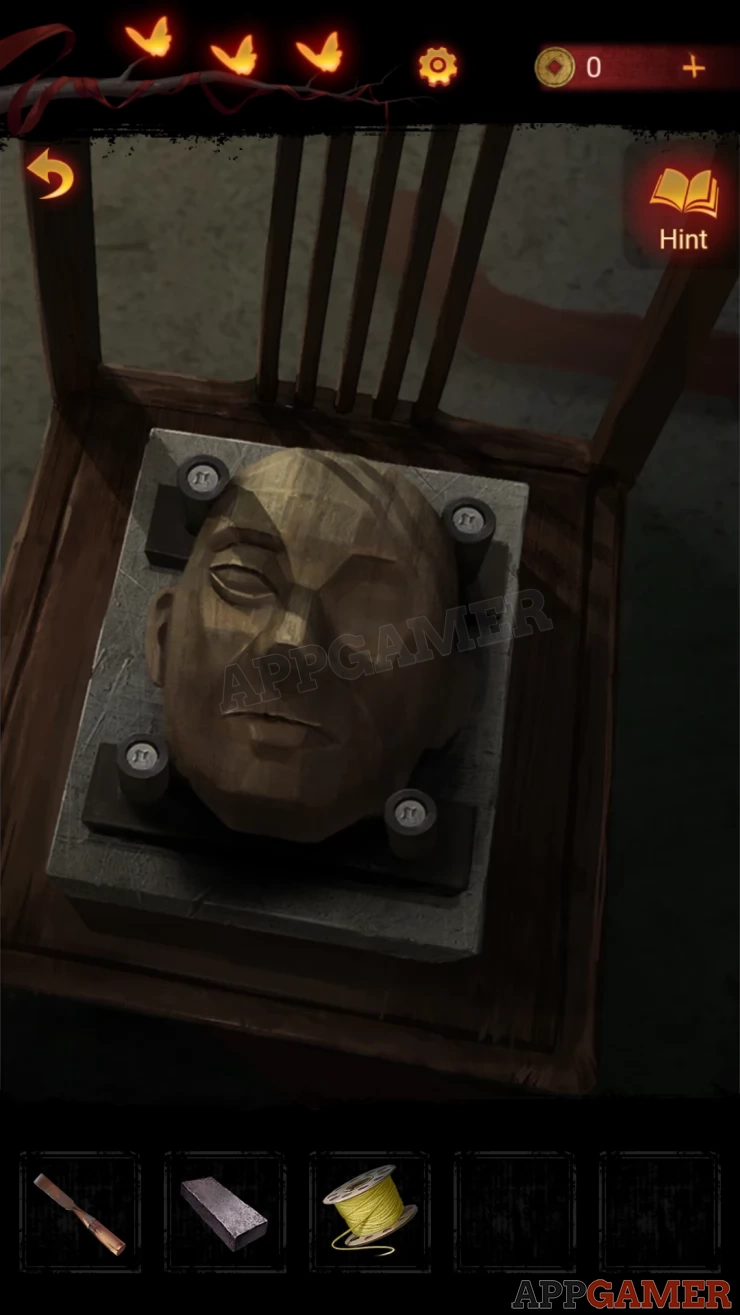
Use the carving knife on this to start carving an eye. When a hand stops you the mask breaks open and you can collect a key.
Next view the small table to the left of the chair, there is a locked drawer.
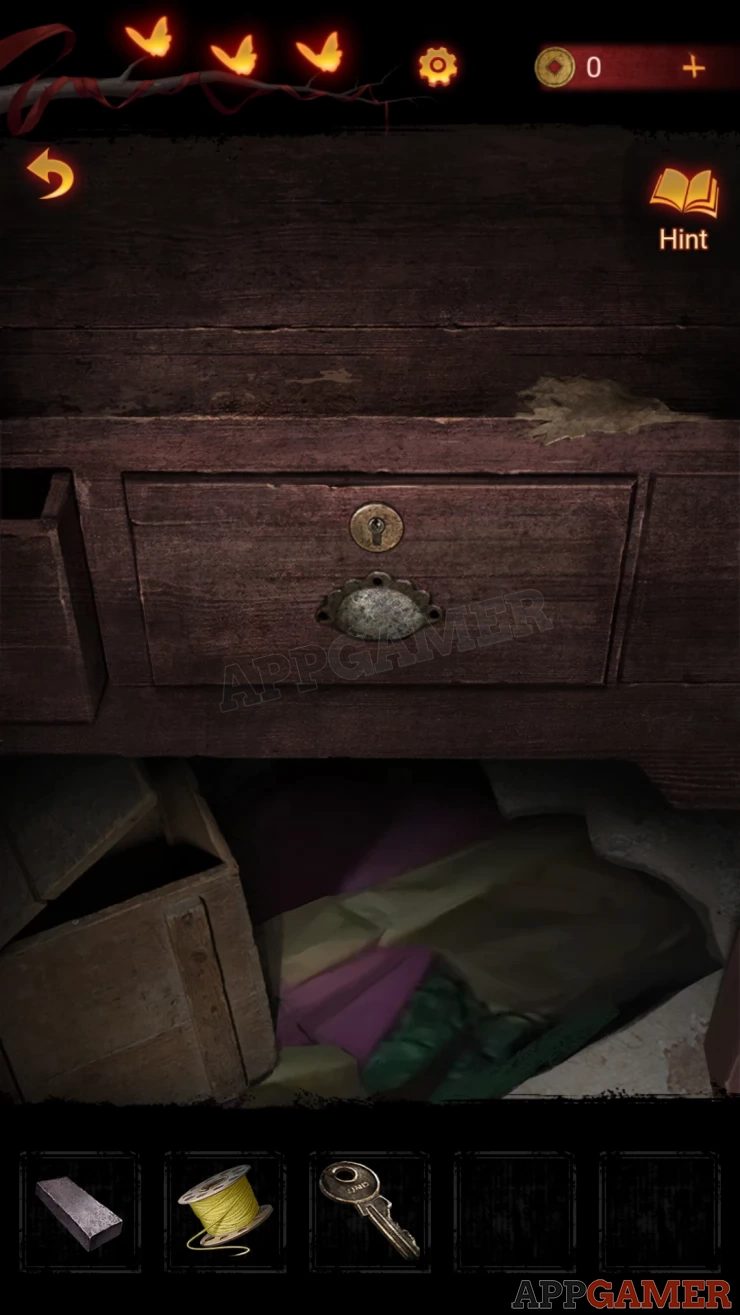
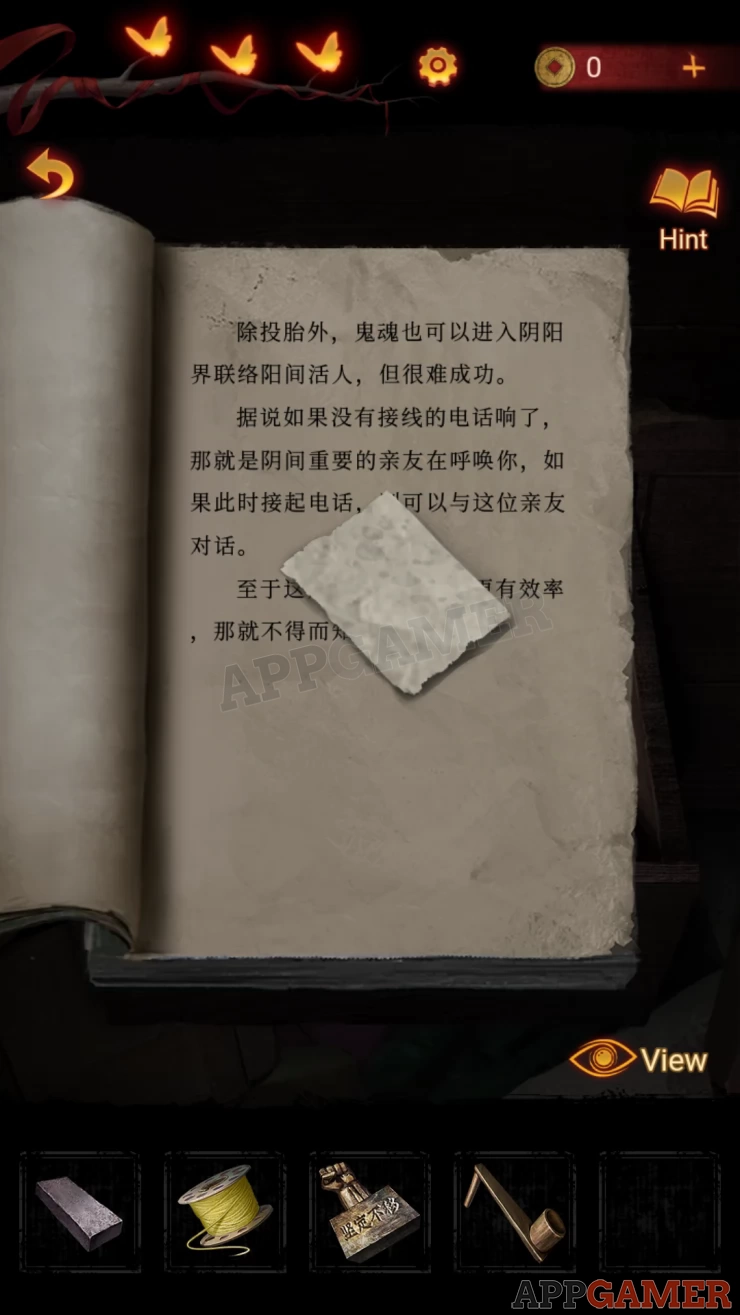
Use the key to open the drawer and collect a Fist Statue, and a Crank. Then open the book in the drawer and look through the pages to find a note to collect with hand symbols.
Now collect the Red Veil from the wooden platform on the right of the room.
Back out to the workshop and view a box that is on the table on the lower right.
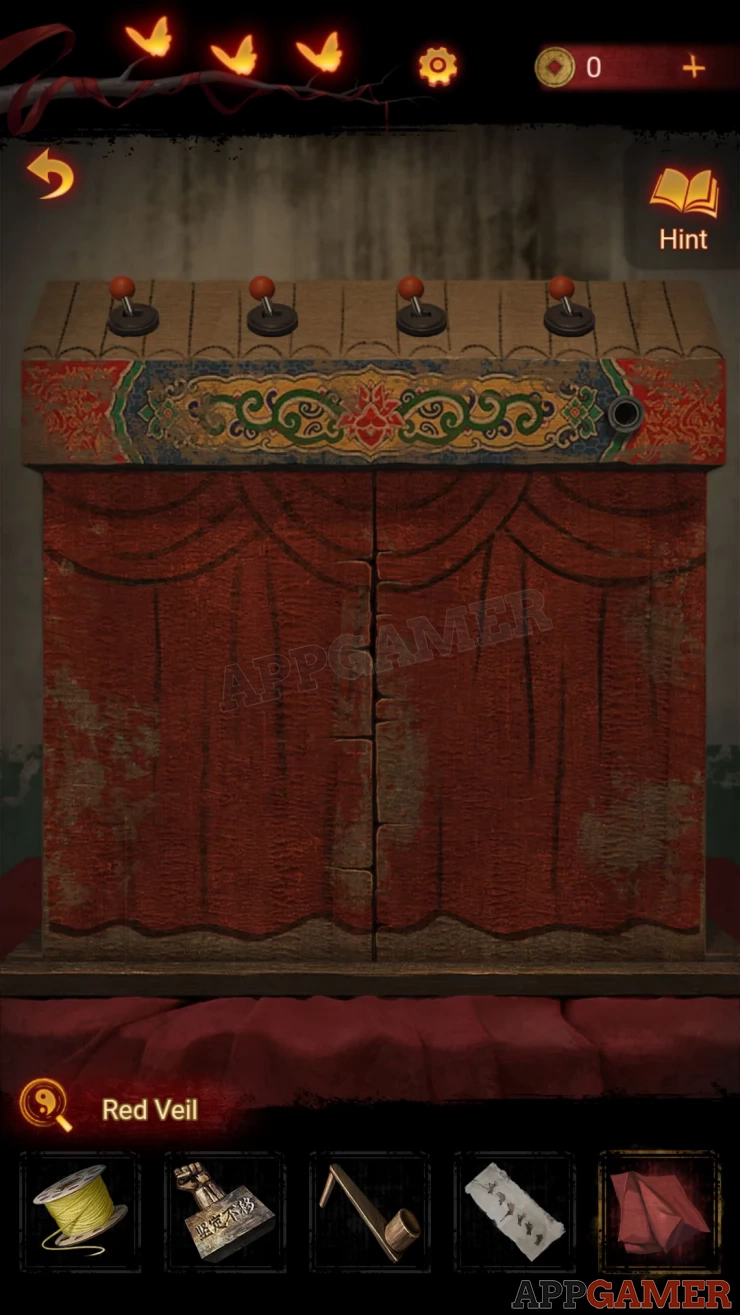
Add the crank to the top right and turn it to open the box.
Puppet Box Puzzle
- Tap to begin the puzzle.
- You will see a count down of 9 seconds on the right and below this an image of a figure with the arms in different positions.
- Use the 4 switches at the top to move the arms of the puppet to match the image.
- You need to complete 3 levels before each timer runs out.
- The images can vary each time.
Once done you can collect a Small Mask
Go back to the first room you were in and view the shelves on the right again. On the lower shelf is a hand holding a red Whip.
Place the Fist Statue on the lower shelf and the hand will open and drop the Whip for you to collect. Now return to the secret room. Then view a yellow robed puppet figure in a cabinet on the left.
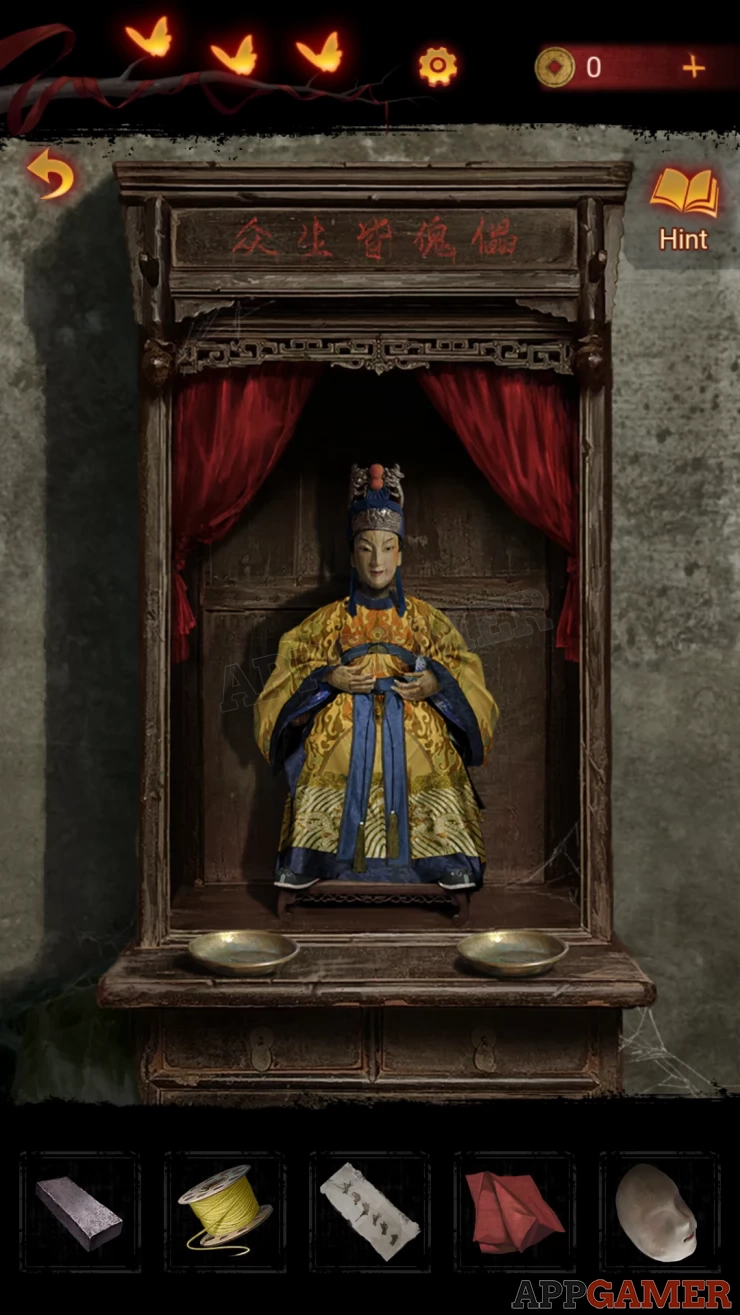
Place the whip and the grindstone on the 2 dishes and then add the small mask to the puppet. 6 arms appear.
After trying to touch it you can then collect a Needle that is fired at you.

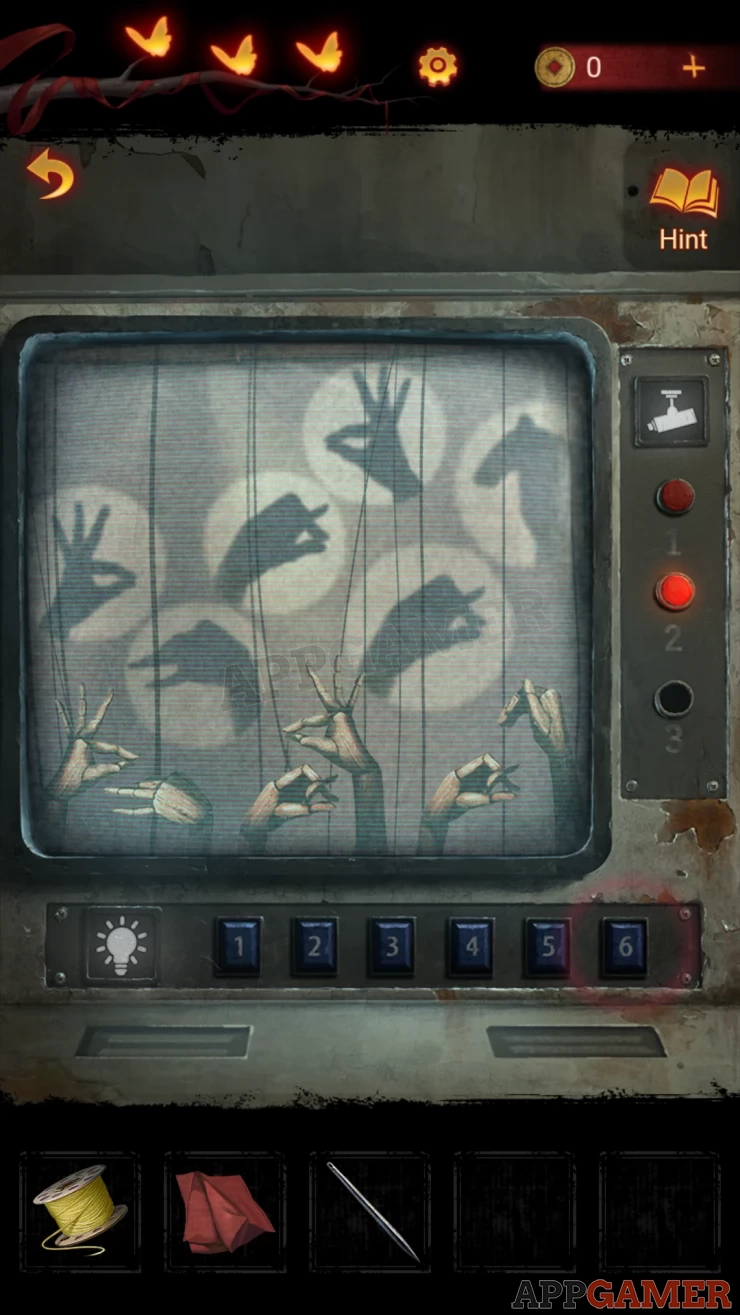
Next you need to return to the control room with the monitors. View the second monitor again to see Yuanfeng playing the Jinghu.
Then change to view 2 to see the puppet hands.
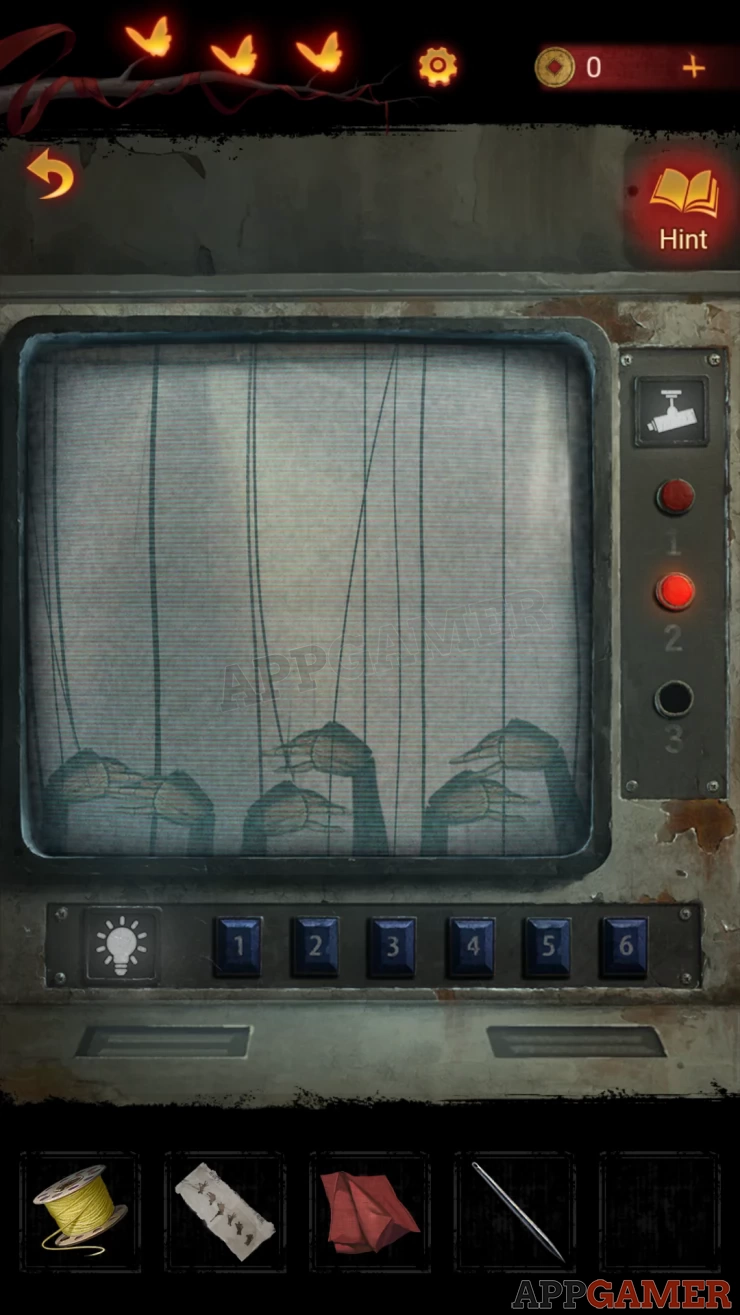
Puppet Hand Puzzle
You now need to help by shining the lights when the hands are in the correct positions/
Use the 6 switches to turn the lights on and off.
The hands will change slowly, turn them on when they match the paper clue that you have.
Solution: Show
Go back to the Workshop and you should now see that the power is on to the Sewing Machine.
Add the Red Veil, the needle and the spool to the machine and you will start a sewing game
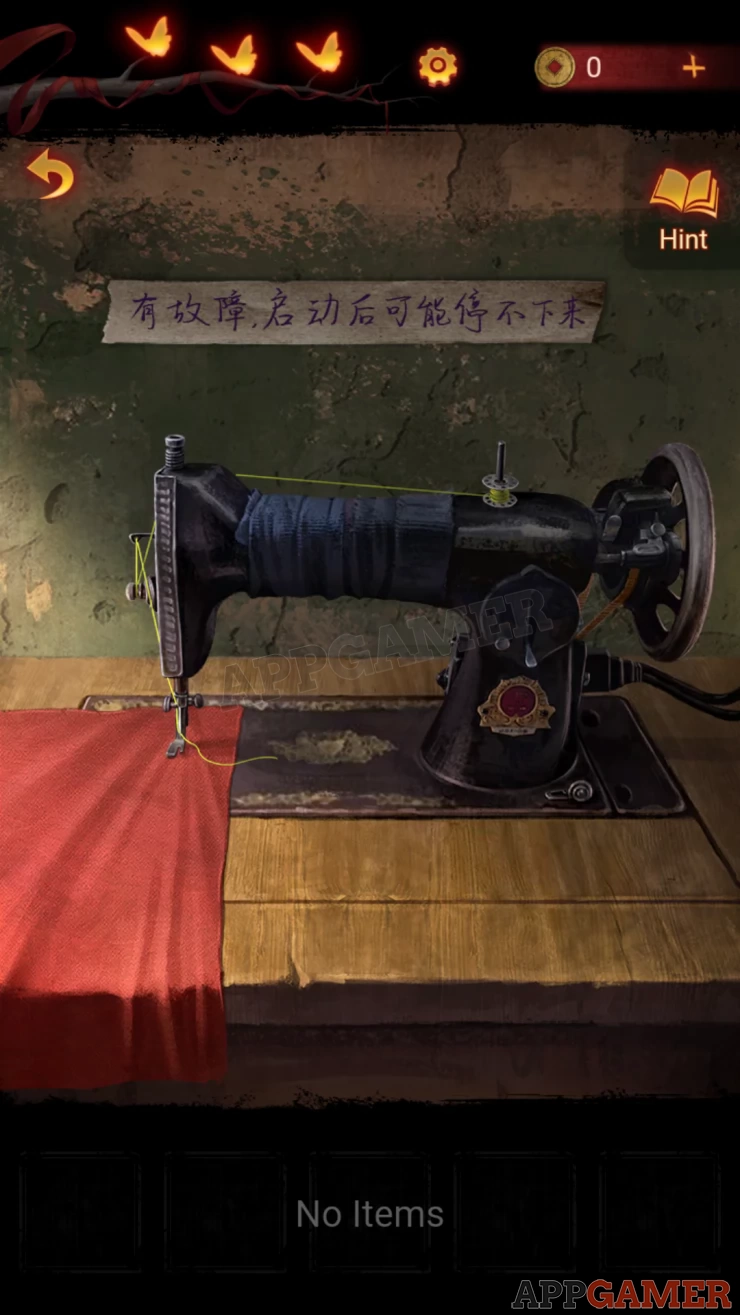
Sewing Puzzle
- The cloth has the shape of an arrow on it.
- As the machine sews, turn the cloth to keep the stitching inside the arrow outline.
- When you reach the circles turn the cloth around to keep going.
- You also have a time limit to complete the task.
- It does not need to be neat
Once you have sewn lines to all of the circles and completed the arrow shape you will collect the Red Cloth. Back out to the hallway and you can add the red cloth to the broken blue sign to complete the Emergency Exit sign post.
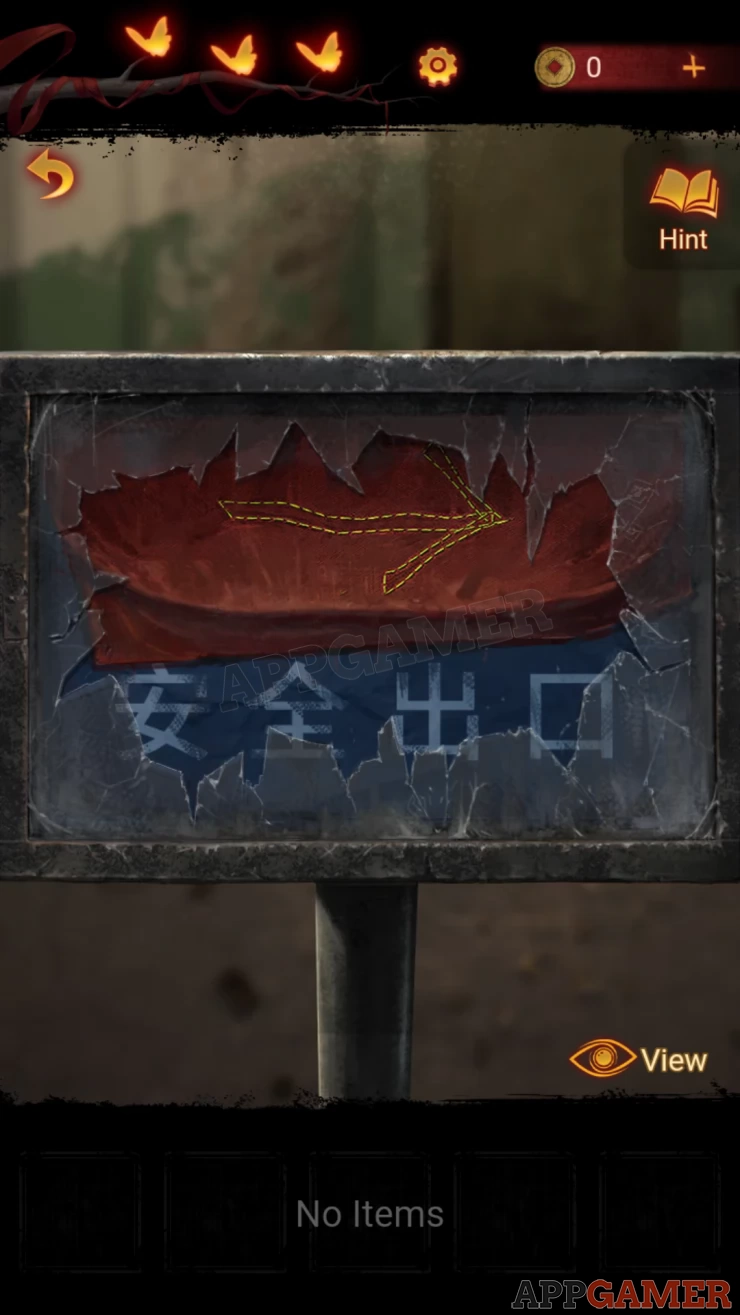
A door will appear on the right. Go through this.
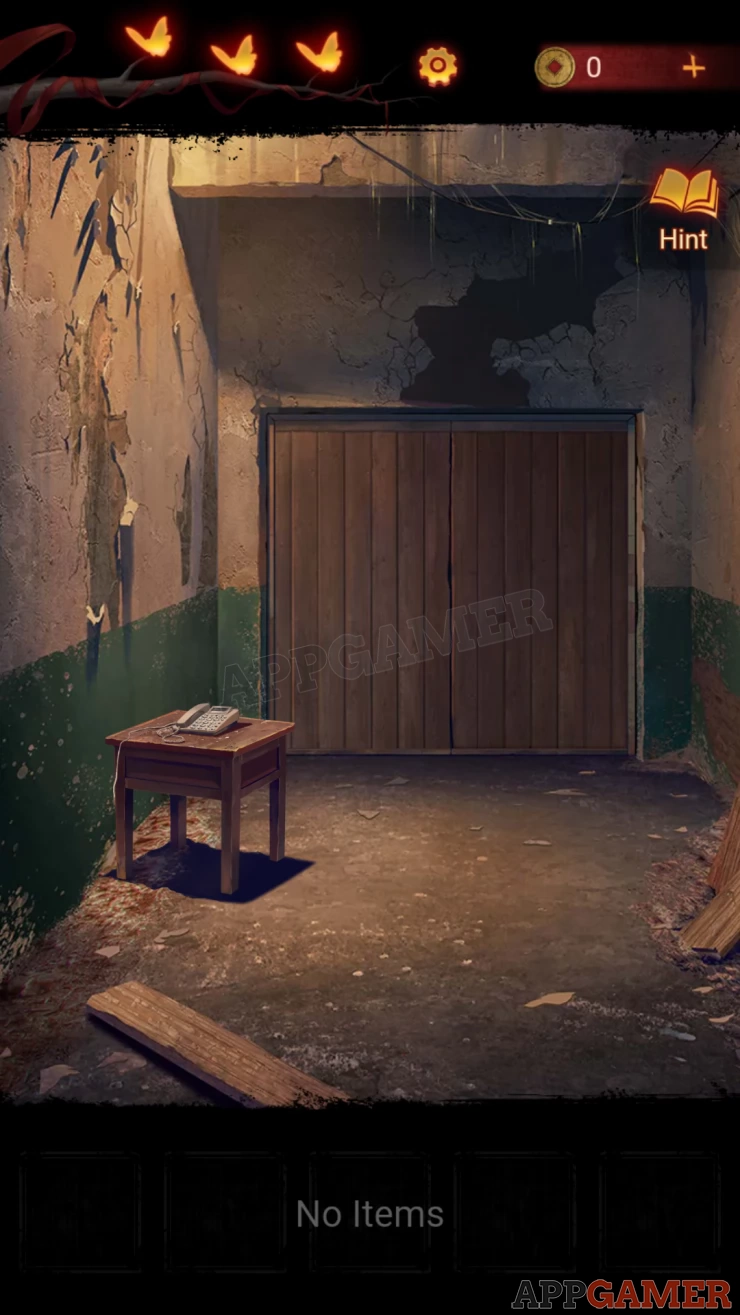
You now need to answer the ringing phone. Watch the final scene.
This completes Chapter 3 - Illusions. Move on to Chapter 4.
 With 20 years of experience in creating video game content for the internet and over 30 years as a gamer, Mark is now a passionate mobile App Gamer. Loving a challenge, he is always ready to get stuck in to both survival builders and puzzle solving games. He has been providing content for AppGamer since 2014.