
Lost Lands 7 Walkthrough - Part 8
More Lost Lands 7
Welcome to our Lost Lands 7 Walkthrough, another in the popular line of Mystery escape room and puzzle games from Five-BN games. This is part 8 of our guide to the game.
Following Part 7, you have reconstructed Drak Ul's staff but he took Jimmy and Uri. After the cut scene with Maaron Ul has gone but Uri was killed. Now you need to find a way to move the staff.
Lost Lands 7 Walkthrough - Part 8
You have awoken from the dream with Jimmy and now you are back at the hidden island.
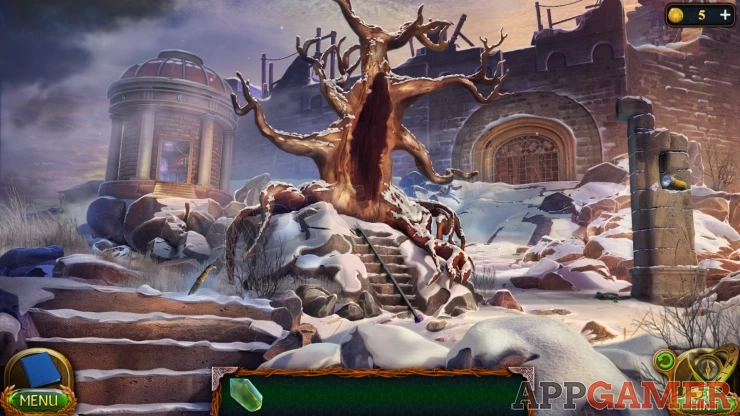
Task - Ballista
Collect the Stone knife from the left side of the tree base. Then view the staff on the steps, then collect the Damaged multi tool from the ground.
Collect a Flashlight from the stone pillar on the right. Then view the body of Uri on the ground by the stone pillar, collect another Emerald.
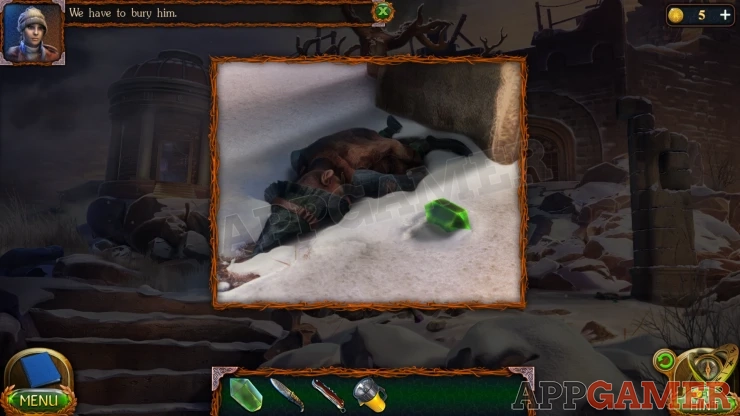
Backup to the giants village and view the large totem figure in the center.
Place the 2 emeralds onto the eye sockets to start a puzzle.
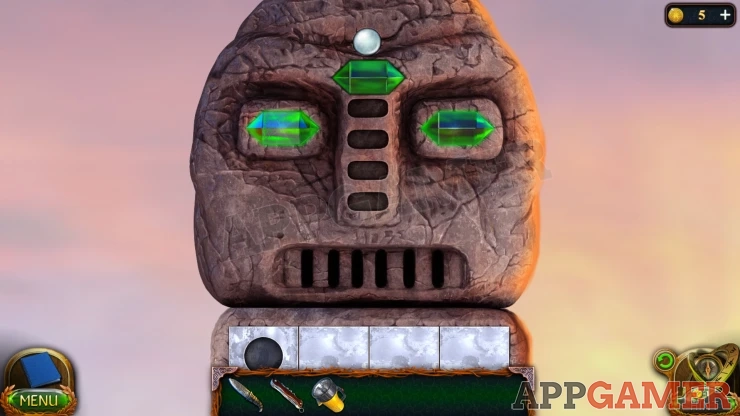
Totem Puzzle
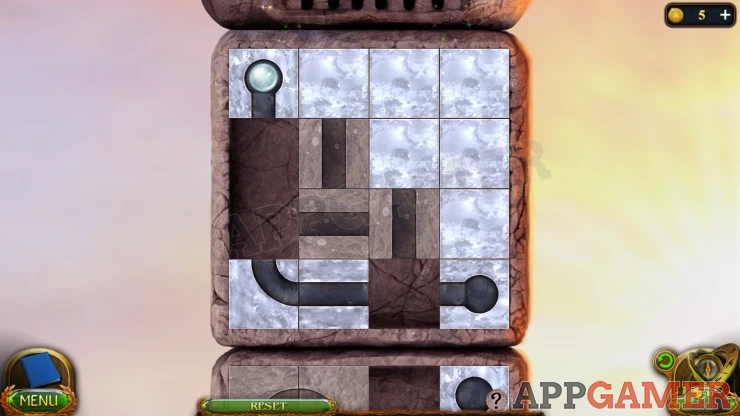
- This is a flow puzzle.
- Move the grey blocks to create a path for the ball to pass through .
- There are 5 stated to the puzzle.
Solutions:
Show
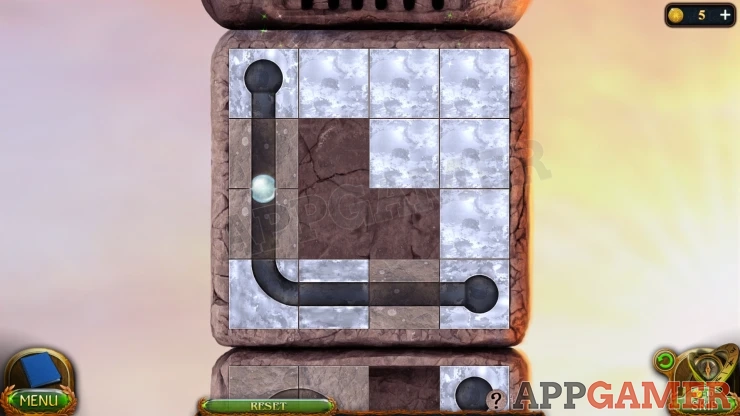
Show
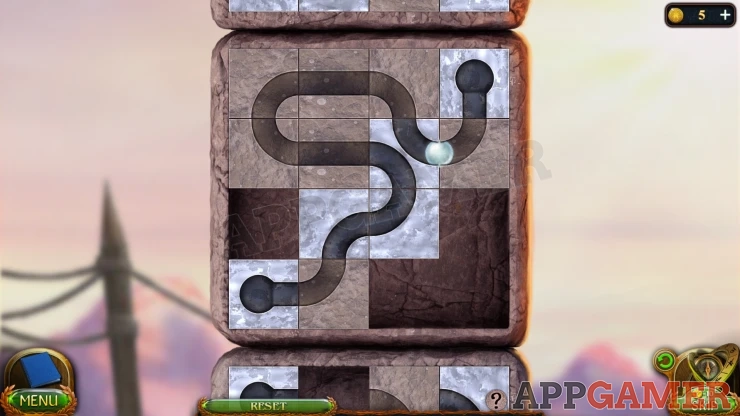
Show
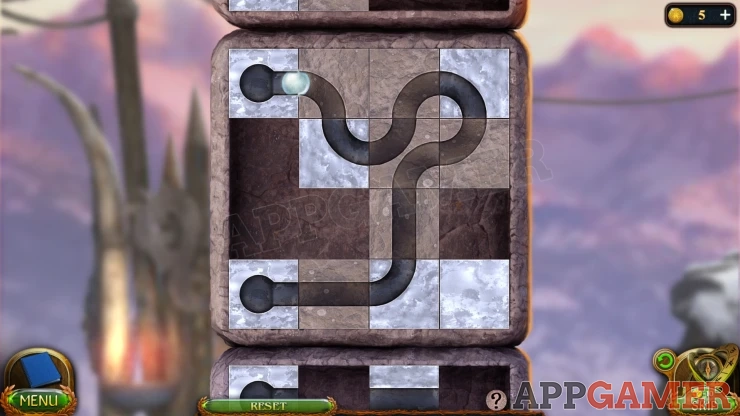
Show
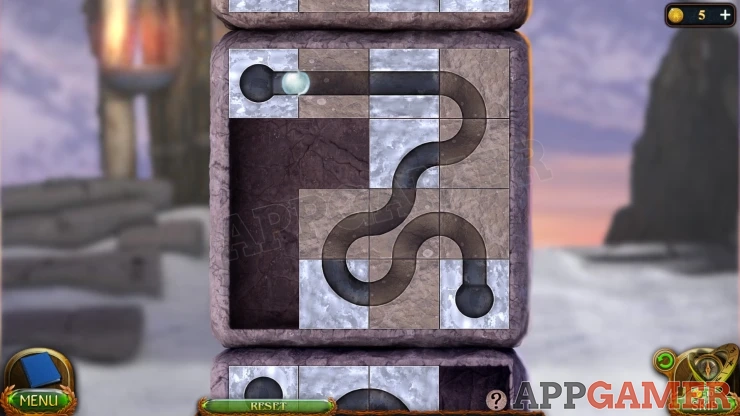
Show
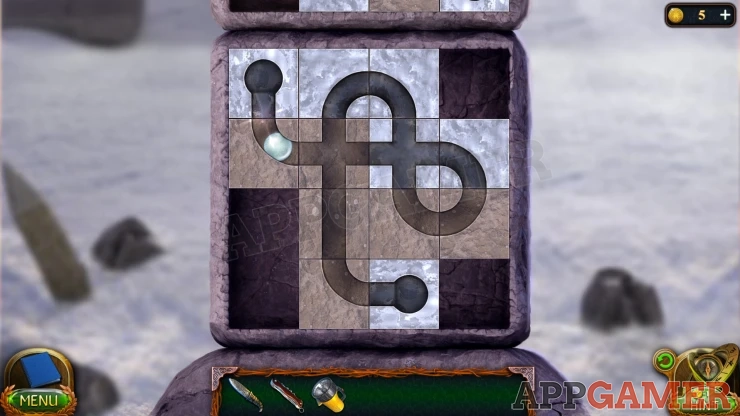
Collect the Power Stone.
Tap on Fluffy to now lead you to the next area where you find a stone in the ground. Use the multi tool to pull this up.
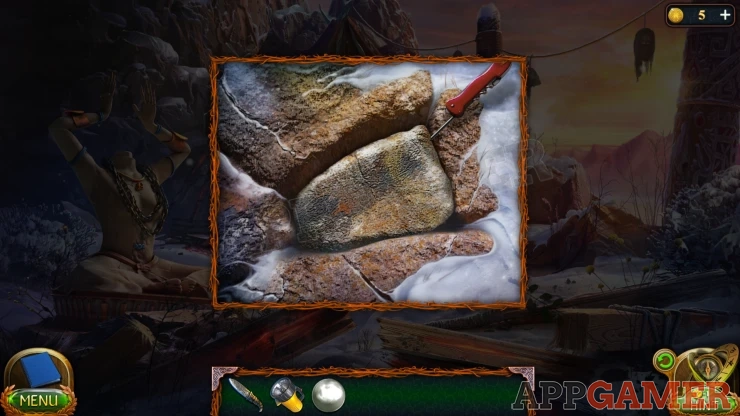
Manuscript: under the stone
Then you can view a paper with a clue and collect the Stencil.
Go back to the hidden island and tap on the figures of Maaron and Jimmy standing by the large door on the right. Give the Stencil to Jimmy and give the flashlight to Maaron.
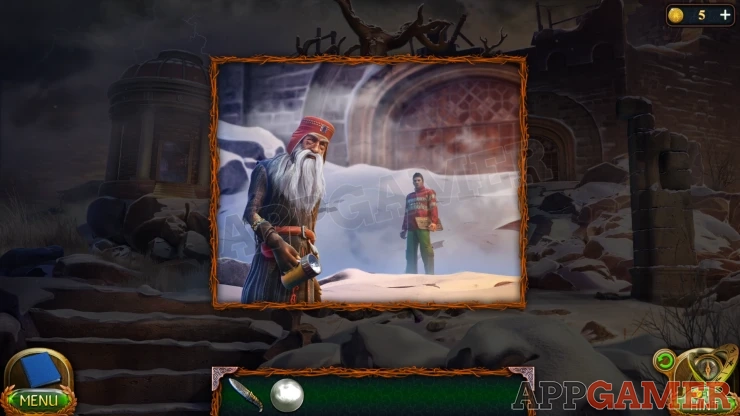
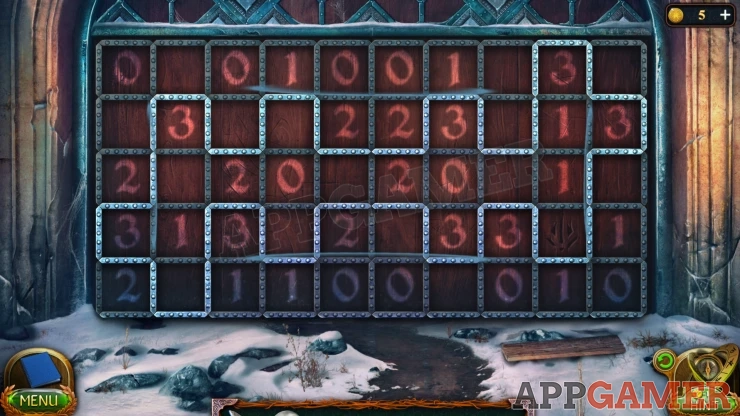
You can then view the large door to see numbers projected onto it.
Door Puzzle
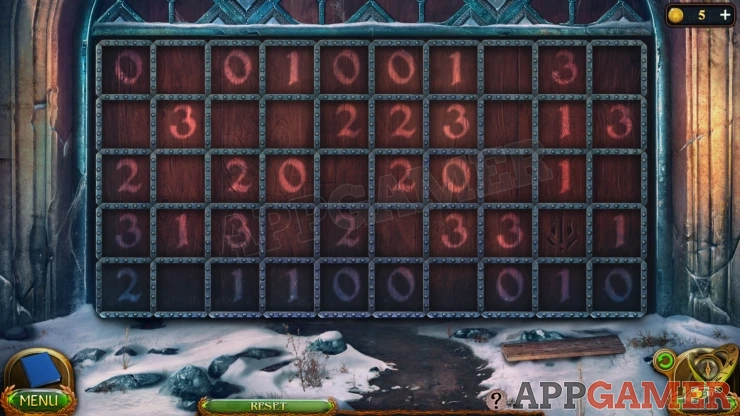
- Tap the metal bars between each of the numbered squares to highlight them.
- Make a continuous path of the metal strips in a pattern around the door.
- The numbers indicate how many of the sides of each square should be highlighted as part of the path.
Solution: Show
You can now enter the Tower courtyard
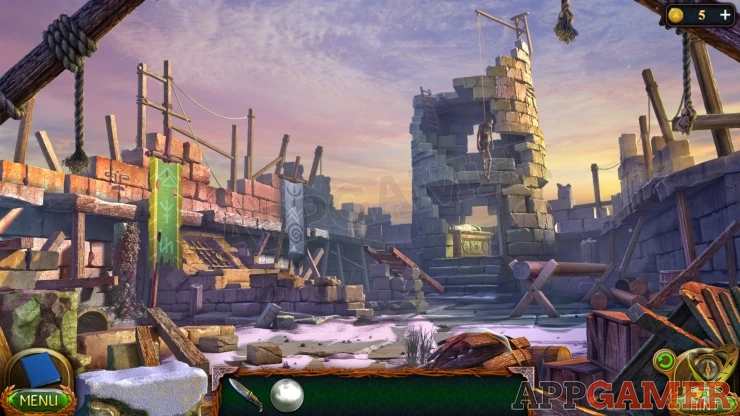
Collection Item: face symbol on the stone wall on the top left.
Morphing Object: Urn / Basket on the upper section of wall in the center of the scene.
Tap the fallen ladder to place it on the tower, then you can view the top of the tower.
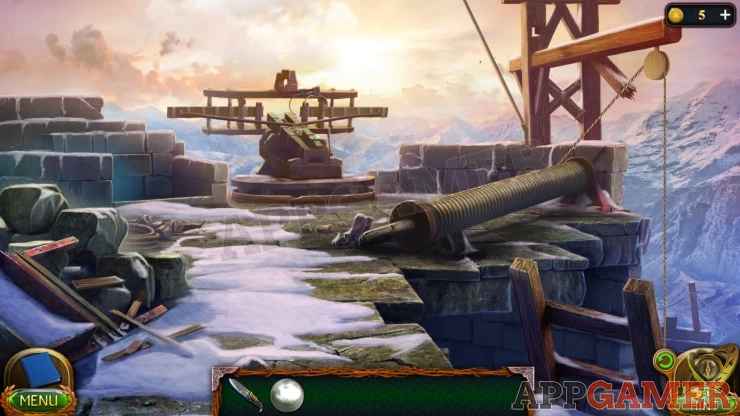
Task - Last Motion
Collection Item: move a small piece of wood on the pile on the left to find some coins
Morphing Object: Crossed braces on the wooden structure on the right.
Look on the stone walls on the back left to see a loose stone. Move this and collect a Bunch of Keys.
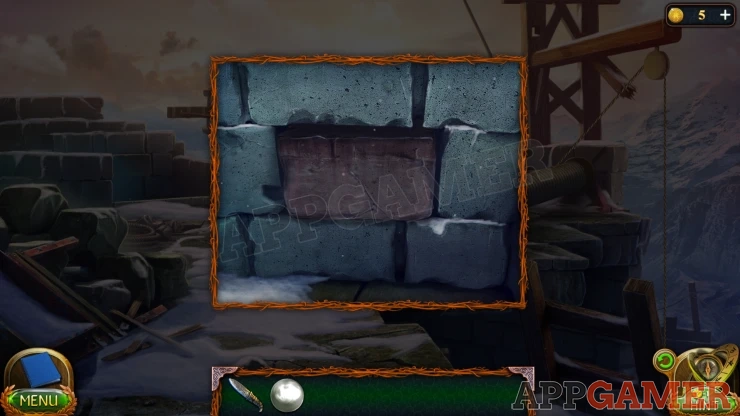
Then tap on the pole to the left of the wooden structure on the right to collect the Flagpole.
Go back down to the courtyard and view a gate on the left side. Use the keys to open this.

Go down to a dungeon.
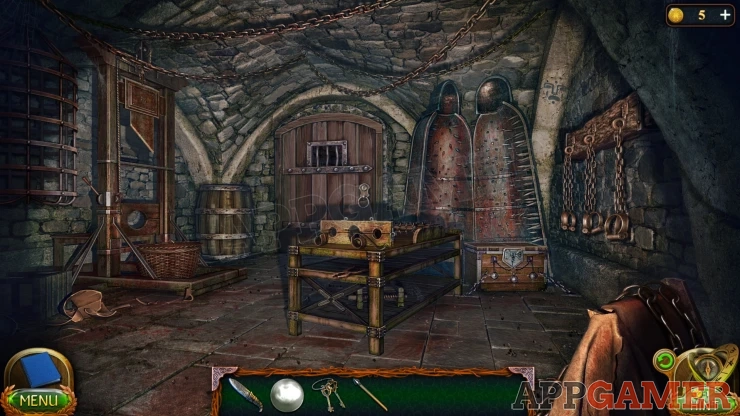
Collection Item: Face symbol on the wall on the top right.
Morphing Object: Pliers / scissors on the shelf under the rack table in the center.
View the Guillotine on the left side and look inside the basket to find an Element of the sarcophagus.
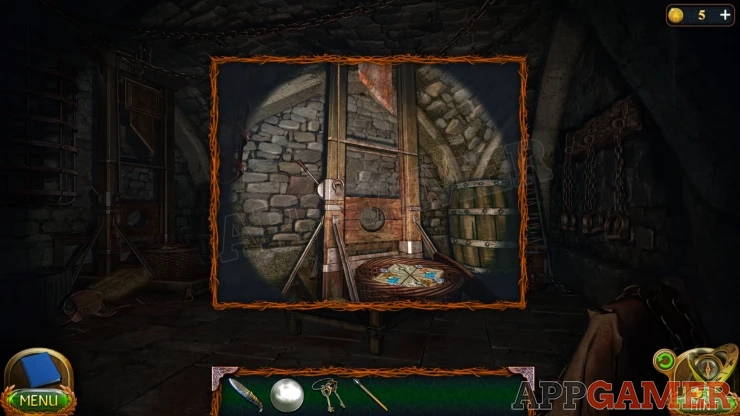
Then place the flagpole into the guillotine hole and use the stone knife to sharpen the blade.
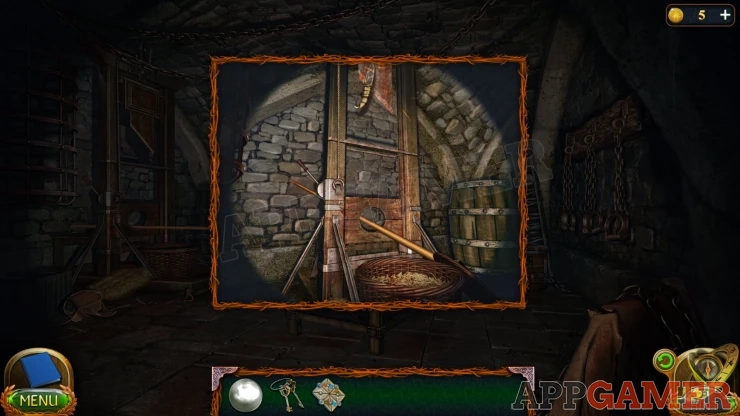
Tap the handle on the side to drop the blade and you will collect the Parts of the flagpole.
Now use the keys on the door on the back of the room. Go through to a room with saws.
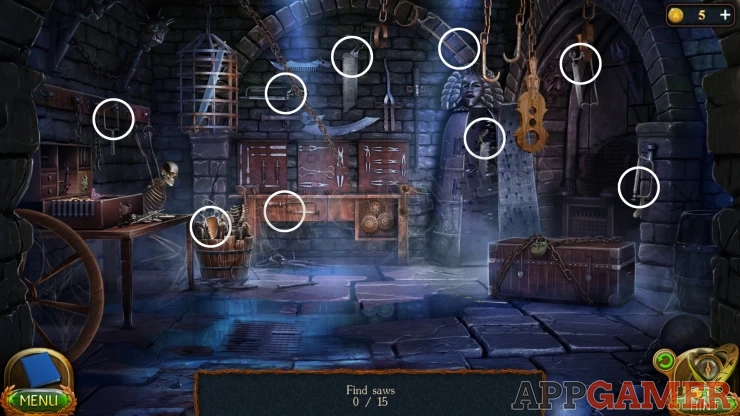
Find the Saws
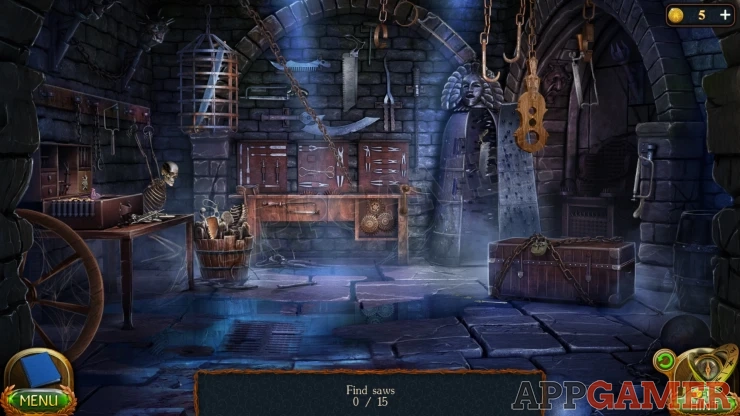
There are 15 saws to find. Most are visible in the main scene but some will need to be found inside other objects.
Main scene (9)
Show
View the bench on the left. Move the items on the lower left to find a saw and then also find a key, use the key on the locked drawer on the top right to open it and find another saw. (11)
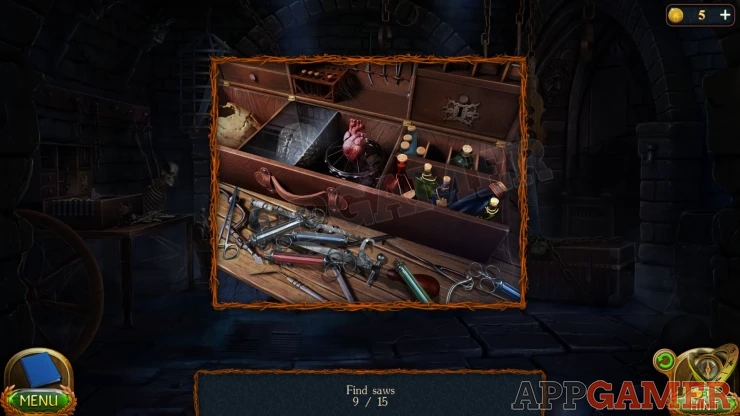
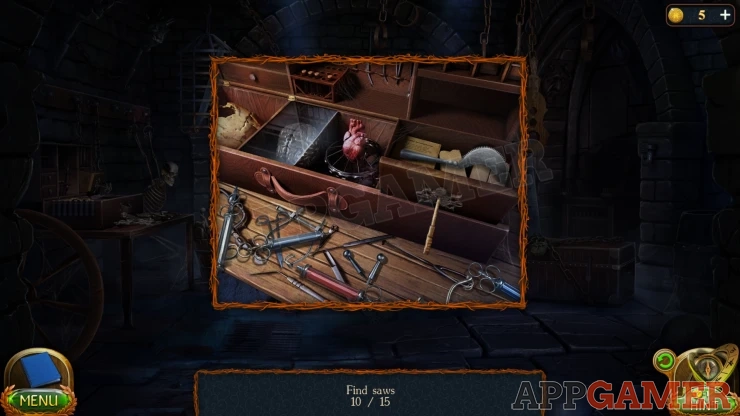
View the locked chest on the floor on the right. Try the keys to open it and then solve the puzzle in side.
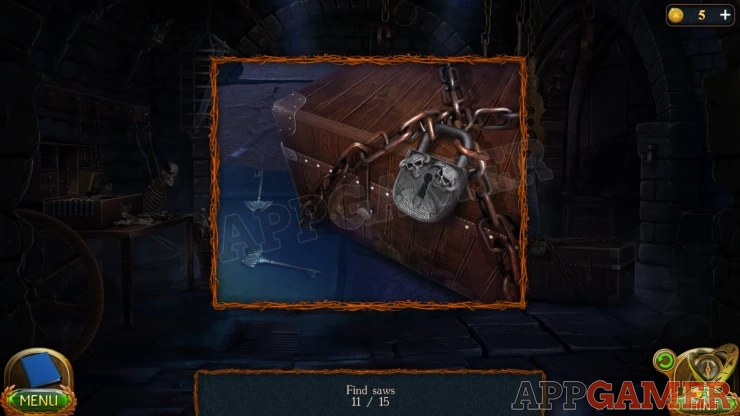
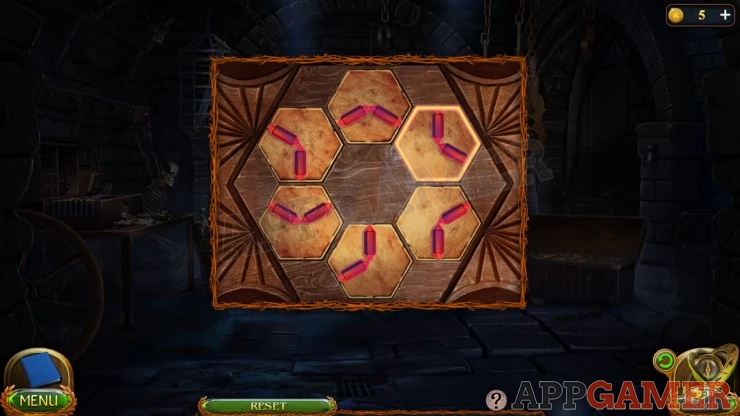
Solution: Show
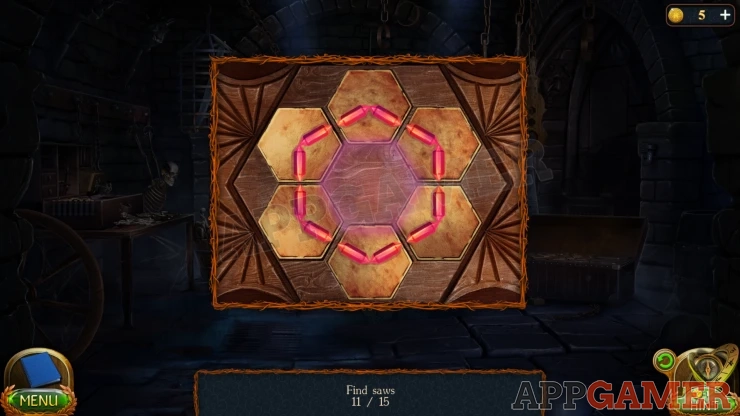
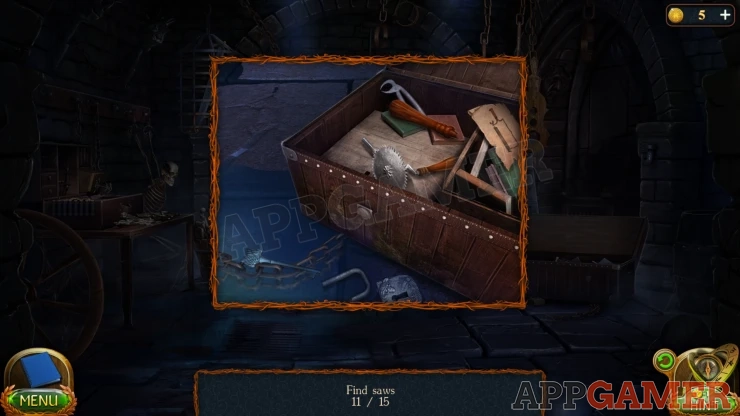
Place the handle on to the rotary saw and collect it. Then also collect the drawing of the saw on the paper. (13)
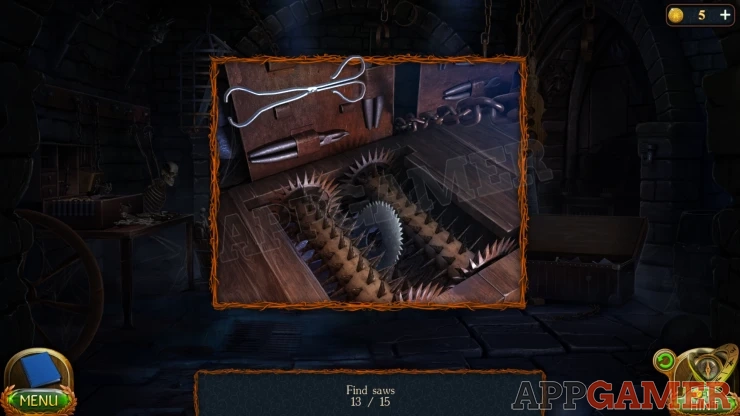
View the bench at the back. Use the tongs on the back to collect the saw blade. (14)
Finally this should now release a chain and drop a cage to the floor. Collect the final Saw from here.
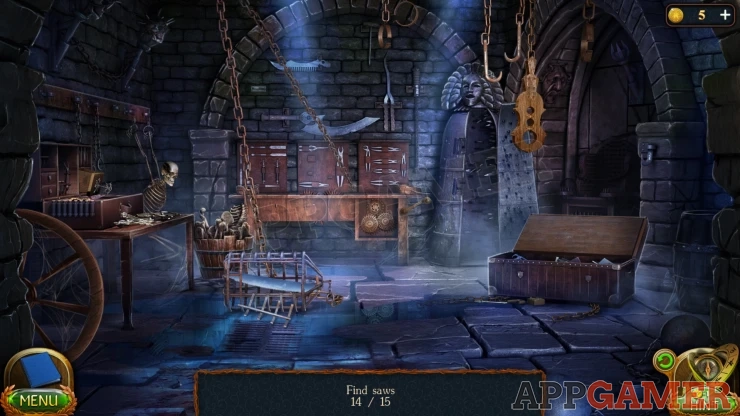
You collect the Two-handled saw.
Back up to the courtyard and view the wooden log on the stand on the right. Use the saw on this to cut it and collect the X-Shaped Stand.
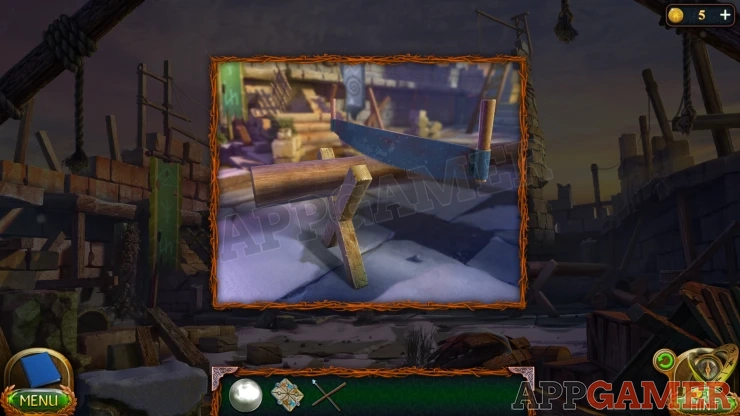
Then view the sarcophagus in the bottom of the tower.
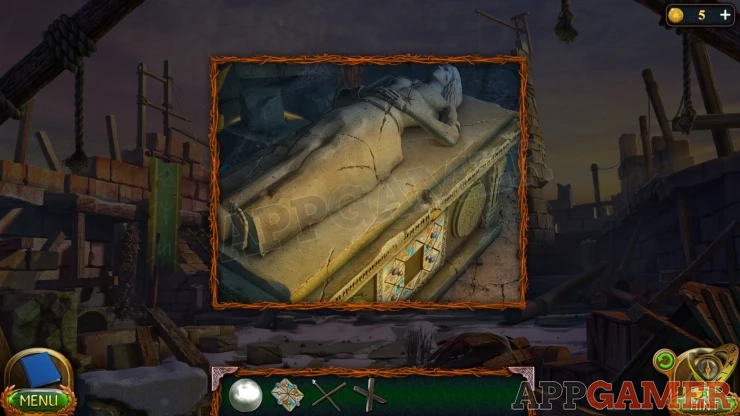
Add the element of the sarcophagus to the front to start a puzzle.
Sarcophagus Puzzle
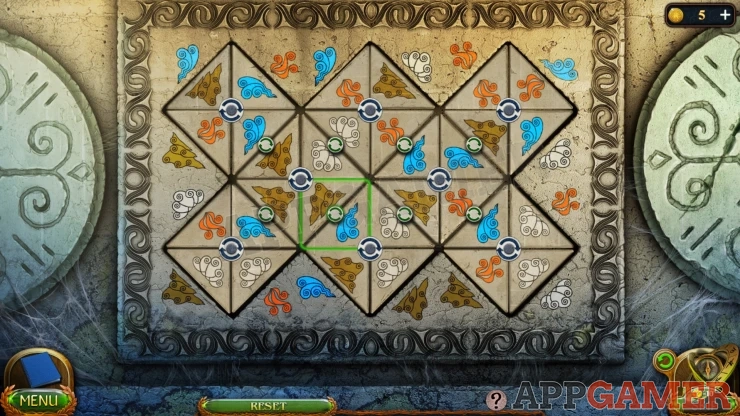
- Use the arrow buttons to rotate the parts around the puzzle.
- Arrange them so that adjacent pieces are the same.
- Match the edges with those around first.
Solution: Show
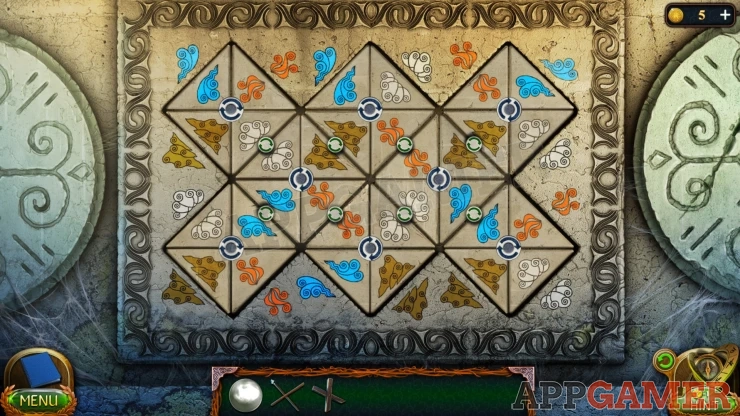
View the book inside the sarcophagus and thgen collect the Hammer.
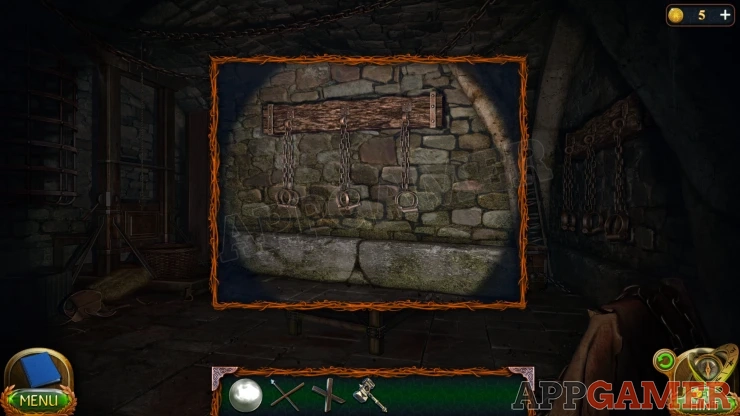
Return to the dungeon and view the rack of shackles on the right. Use the Hammer on this and you will collect the Shackles.
Return to the top of the tower and view the broken winch.
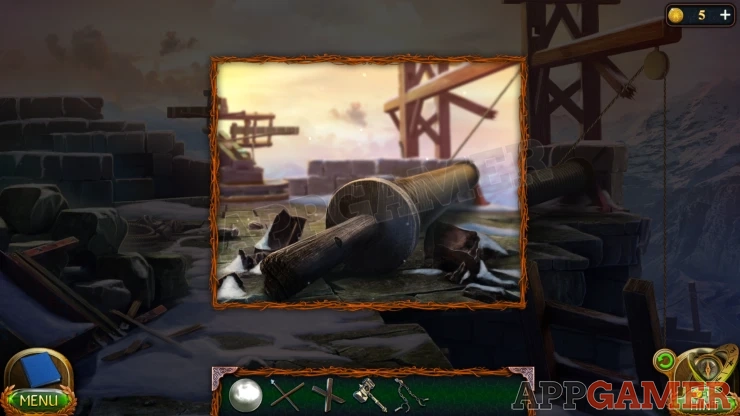
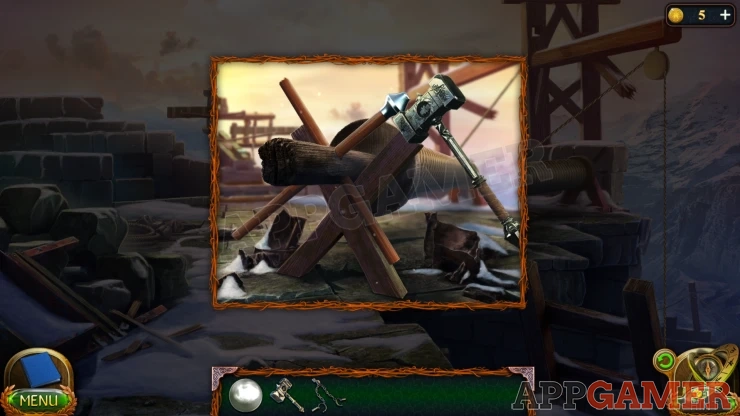
Add the X-shaped stand and then add view it again and add the parts of the flag pole. Use the hammer to fix them in place.
Go back down and view the body that was on the end of the rope.
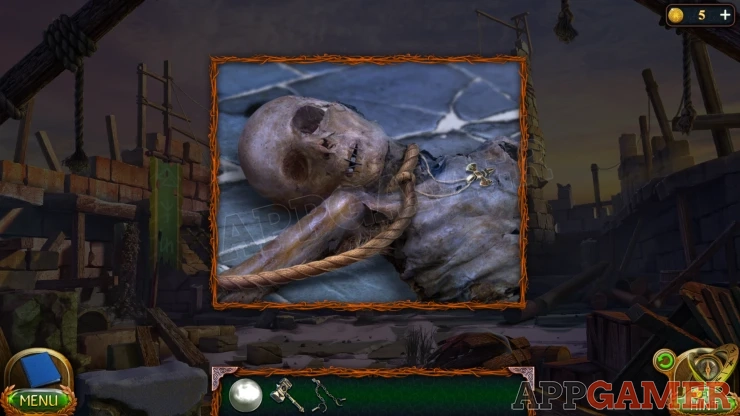
Tap the head to move it and then collect the End of the rope, then also collect the Amulet of the giant.
Go down to the dungeon and view the box on the floor to the right.
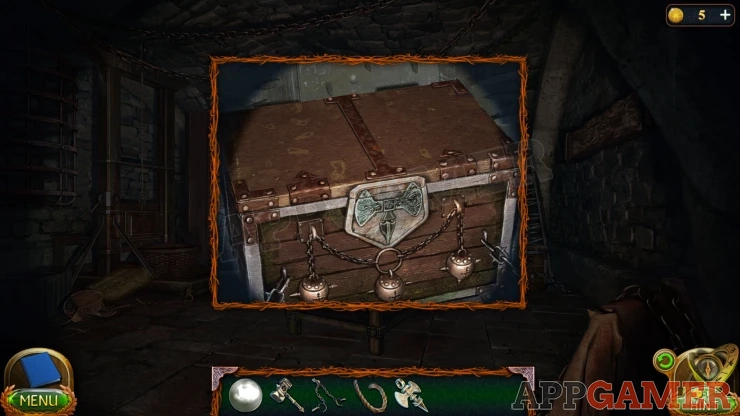
Use thew amulet to open it and you can collect the Monocular.
Next back out to the tree and view the spear on the ground. Add the End of the Rope to it.
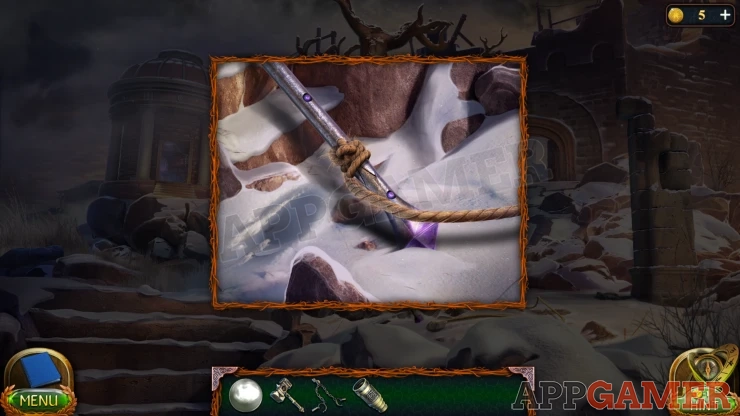
Go back to the top of the tower and tap the winch to pull up the spear.
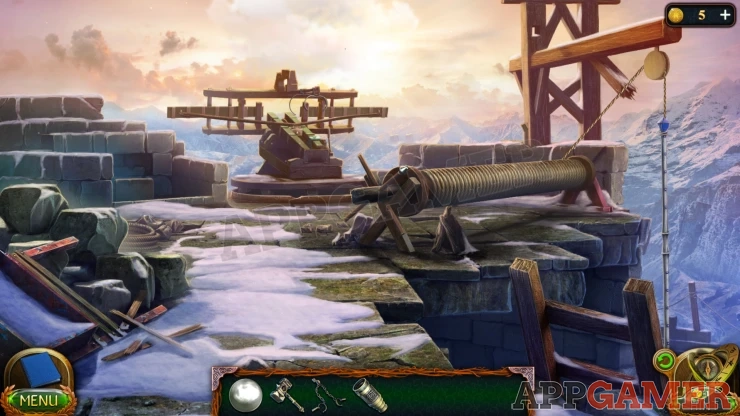
Now view the ballista. Add the Monocular to it and also the Power Stone. Then tap the handle on the right to pull back the rope.
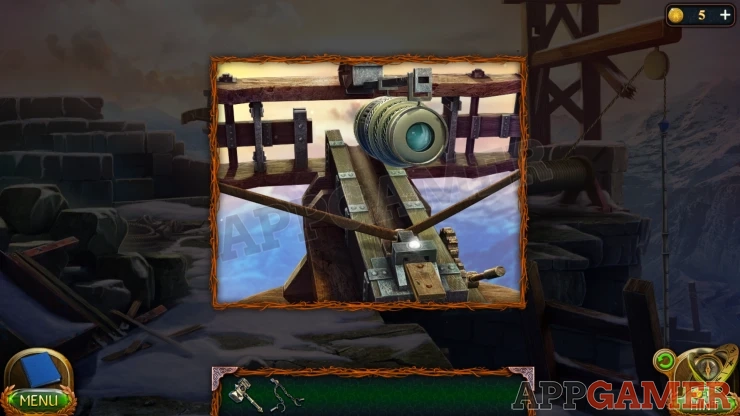
Next tap the spear to load it onto the ballista. Now you have a puzzle to complete.
Monocular Puzzle
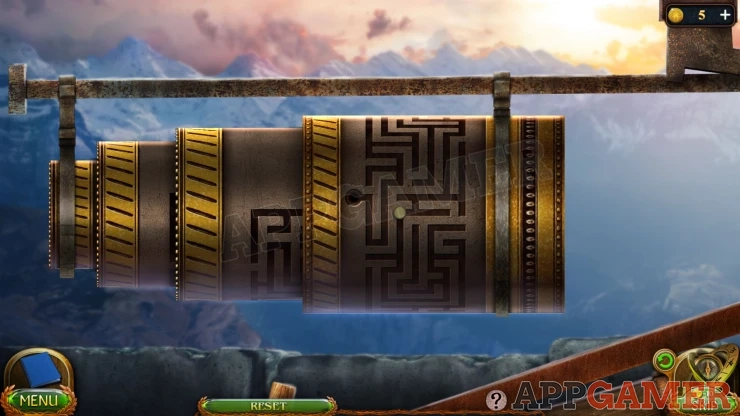
- There are 3 sections to the monocular.
- Each one has a maze that you need to solve to fully extend it.
- Turn and slide the section to move them around the pin until you reach the end to complete the mazes.
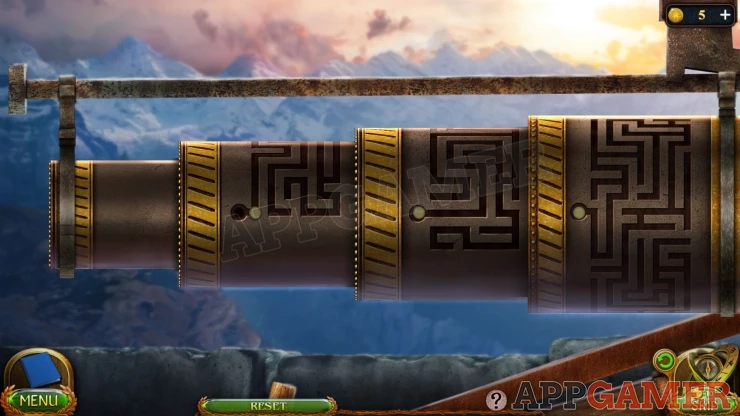
Once done the Ballista is ready. Tap the eye piece of the monocular to look through it to aim.
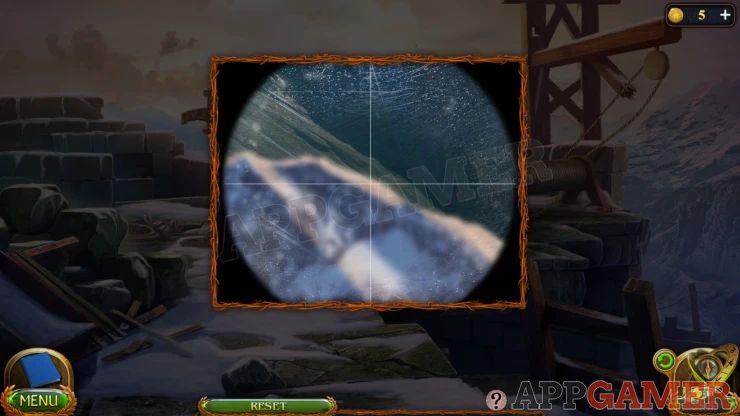
Slice the view to the right until you see the stone pillars.
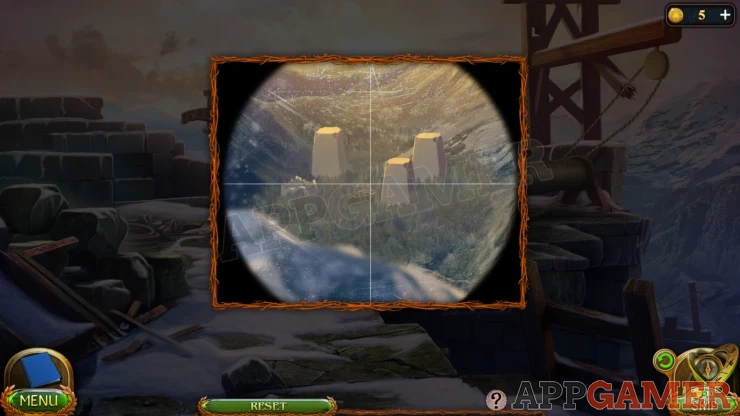
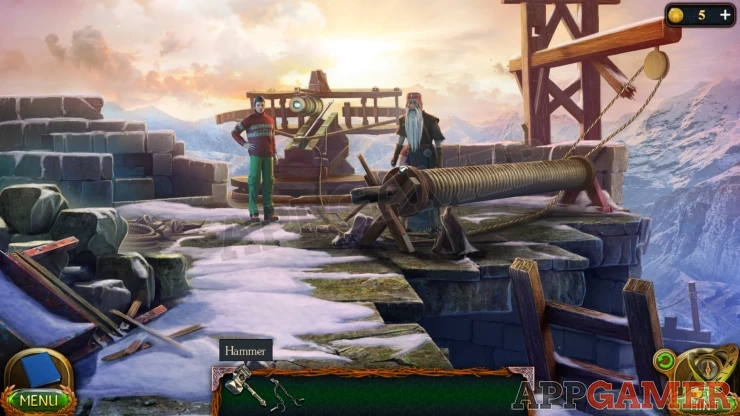
Now give the hammer and the shackles to Jimmy to complete the process.
Watch the cut scene as you banish Drak Ul.
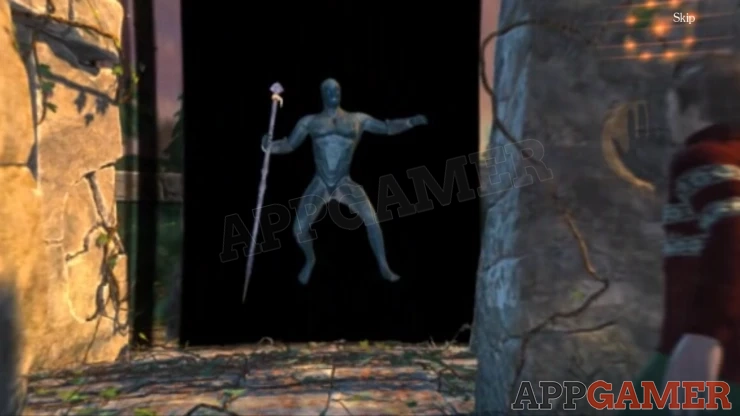
This complete the game. You can move on to the Bonus Chapter.
We have questions and answers related to this topic which may also help you: Show all
 With 20 years of experience in creating video game content for the internet and over 30 years as a gamer, Mark is now a passionate mobile App Gamer. Loving a challenge, he is always ready to get stuck in to both survival builders and puzzle solving games. He has been providing content for AppGamer since 2014.