
Lost Lands 7 Walkthrough - Part 3
More Lost Lands 7
Welcome to our Lost Lands 7 Walkthrough, another in the popular line of Mystery escape room and puzzle games from Five-BN games. This is part 3 of our guide to the game.
Following Part 2, Susan and her son have found the heart of Drak Ul in Greenland and have managed to travel back to the Lost Lands. Now they need to find Maaron to give him the heart.
Lost Lands 7 Walkthrough - Part 3
You arrive back at the Gate of the worlds.
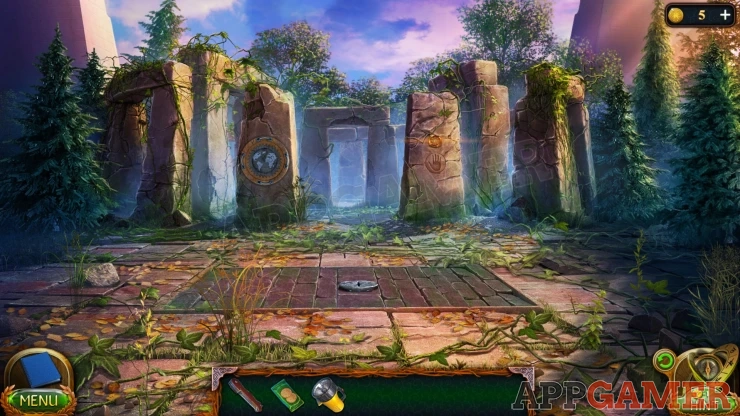
Task - Only To Maaron
Back up to the Square, then view the door of the building on the right to see a note from Maaron. Collect the Key from the Stone Gate.
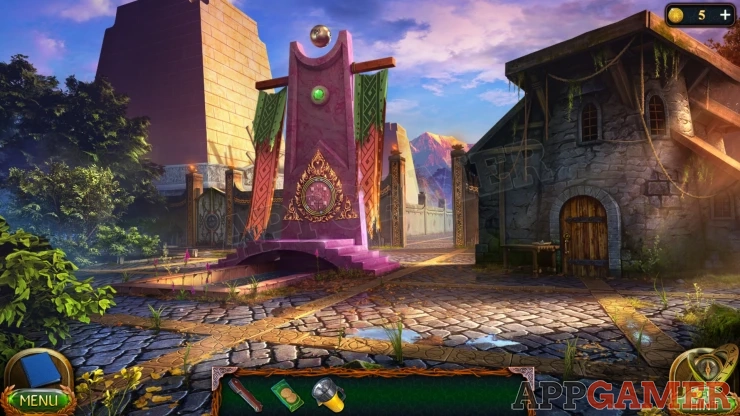
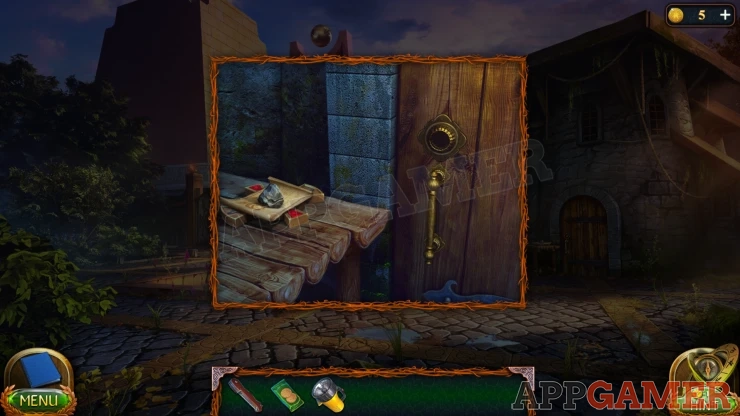
View the stone gate on the left side of the square, use the Key to open it.
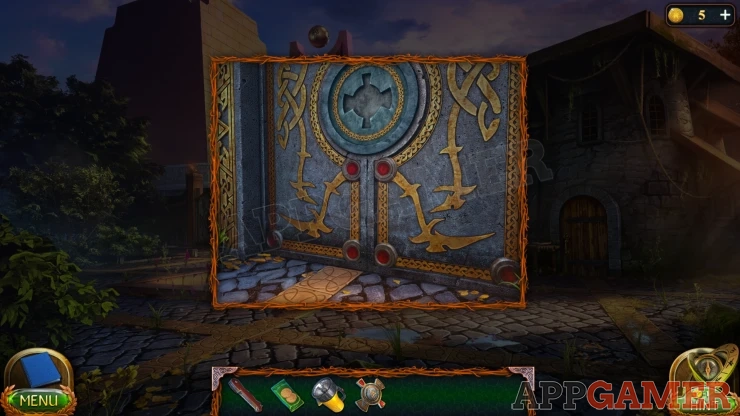
Go though to the entrance to the tomb.
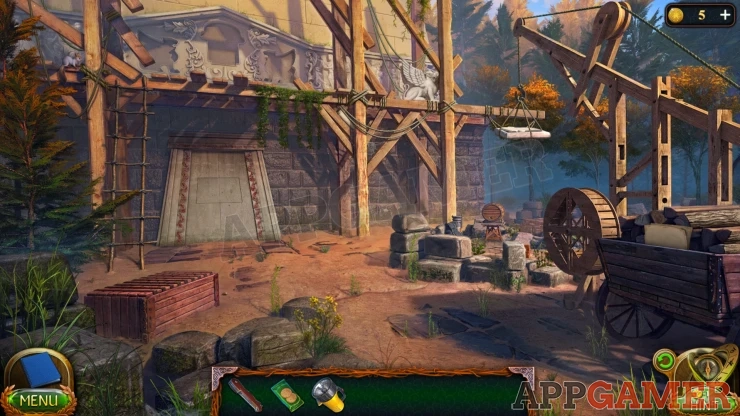
Collection Item: Scroll of paper with a sketch on the wooden posts near the center of the scene.
Morphing Object: On the top left of the scene on the high platform.
Manuscript: Paper in the cart on the right.
View the red box on the floor on the left. Use the knife on it to open the lid. You can then collect a Lion bas-refief.
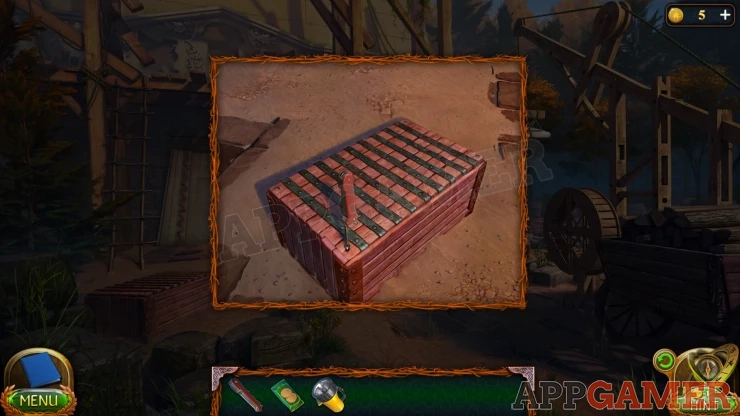
Next collect a second Lion Bas-Relief from the high wooden platform. Then tap to view the platform at the top of the ladder.
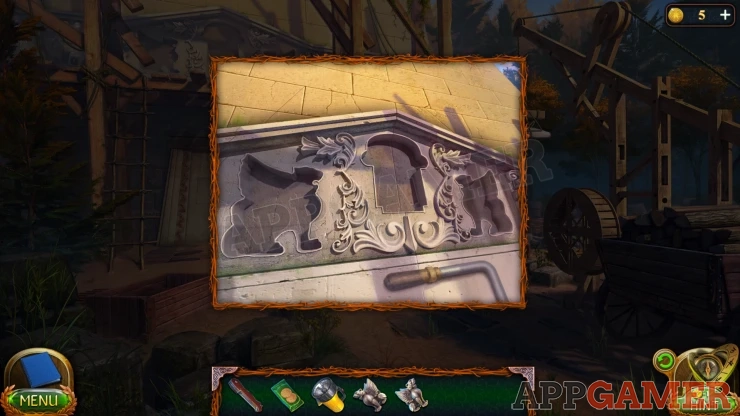
Collect a Handle. Now use the handle on the wheel on the right of the scene behind the cart. Turn it to lower a crane.
Then you can tap on the ground where the stone has been lowered to view it.
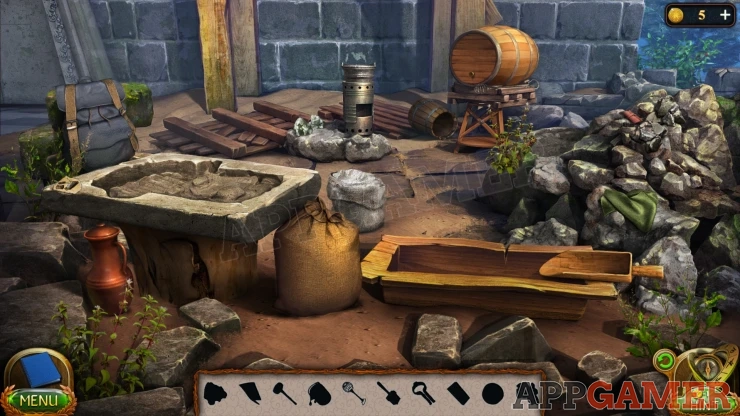
First collect a Part of Drawing from the left of the stone mould.
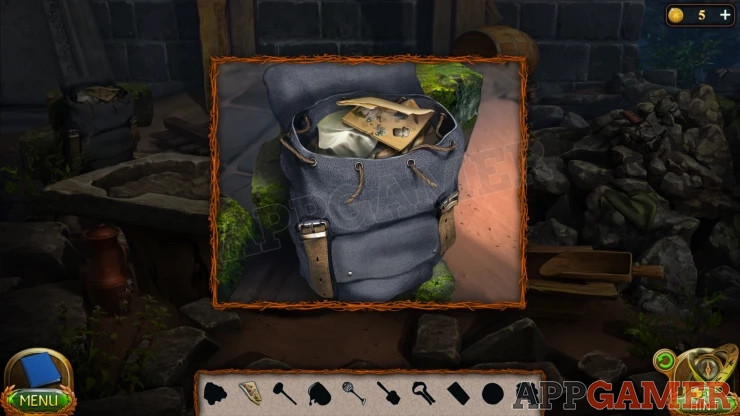
Then view the backpack on the top left and open it.
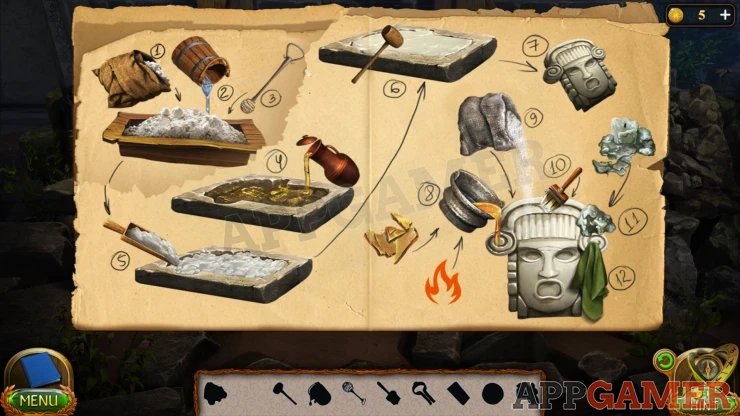
View the drawing in the top and add the part to it, this shows the process for making another Bas-refief.
Look in the backpack again and open the pockets to collect some Resin, a Clamp, and Solid Alcohol.
Next view the barrel at the back of the scene.
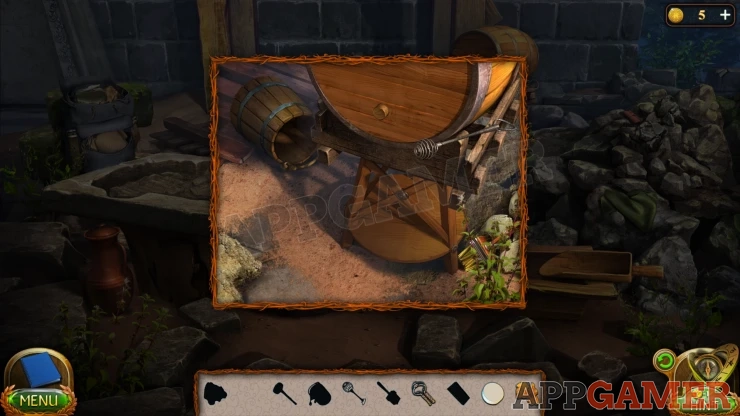
Collect the Beater from the right of the barrel and also a Brush with paint from the bottom right.
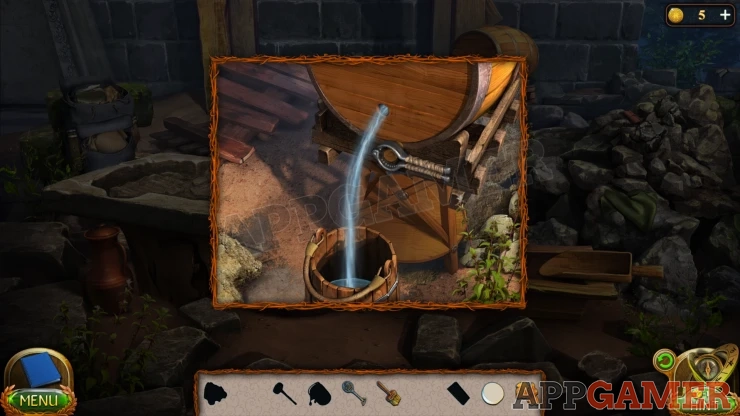
Then tap the bucket to place it under the barrel and then use the clamp on the cork in the barrel to pull it out and fill the bucket with water. Collect the Bucket of Water.
Now view a small leather wallet on top of the rocks on the right, tap the rocks in this scene to reveal a Mallet to collect. Then open the wallet and collect the Matches.
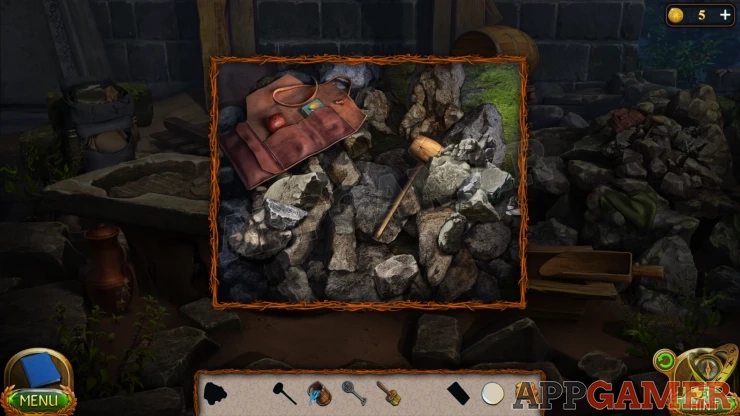
Now select the large sack by the mould and add it to the trough on the right. This will fill it with plaster. Then add the bucket of water. Next use the beater on the trough to mix the plaster.
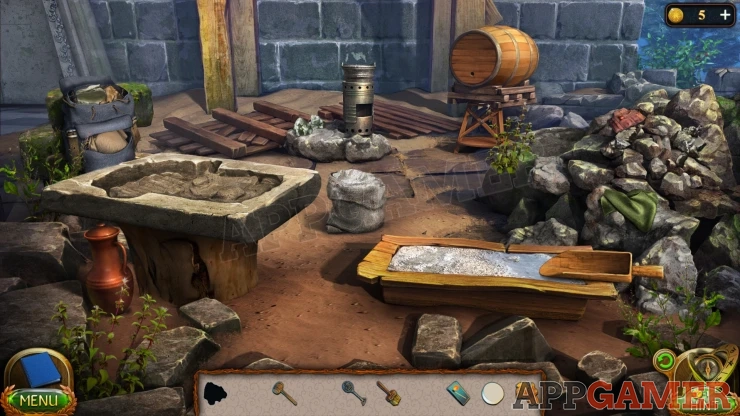
Select the brown jug on the lower left and use it on the mould to pour in the liquid. Then you can use the scoop in the trough to add the plaster to the mould.
Once done use the mallet on the mould to release the object.
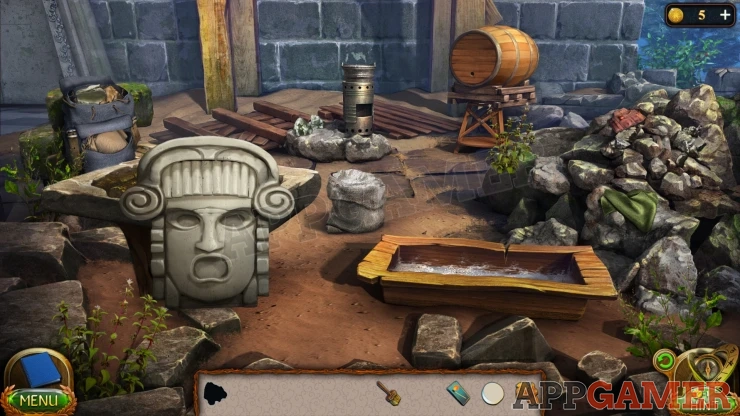
Now view the burner at the back. Collect some Wax from the left side. Add the resin to the top of the burner, then add the solid alcohol to the bottom and use the matches to light it.

Now you can select the resin from the burner and use it on the relief.
Next select the small white sack of powder in the center and add this to the relief.
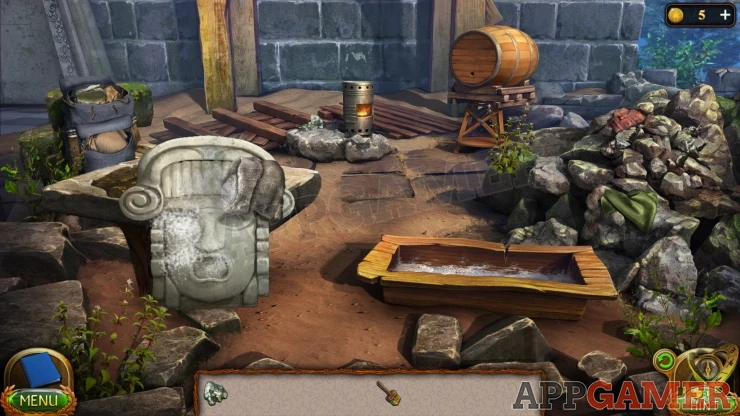
Next use the paint brush on the relief, followed by the Wax.
Finally tap the green cloth on the rocks on the right and use it to polish the relief.
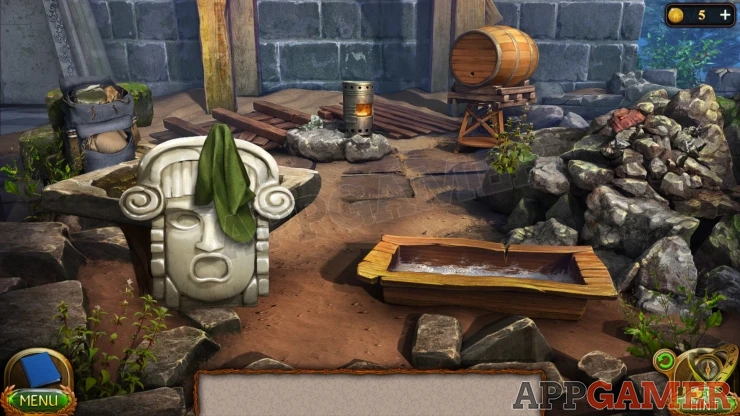
Collect the Face bas-relief.
View the facade at the top of the building again and add the 3 reliefs to it.
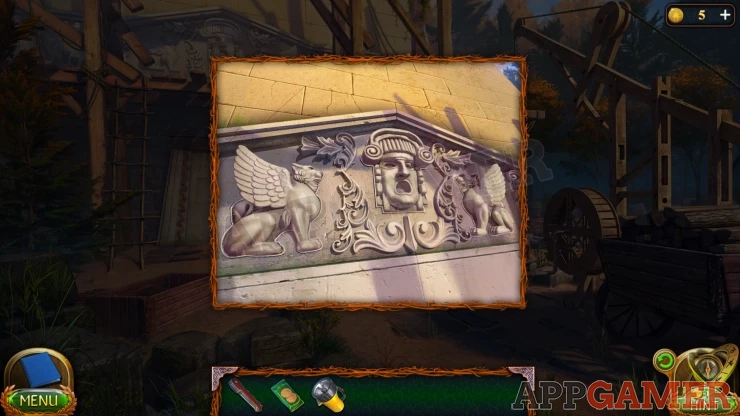
A panel opens in the door below, view this for a puzzle.
Tomb Door Puzzle
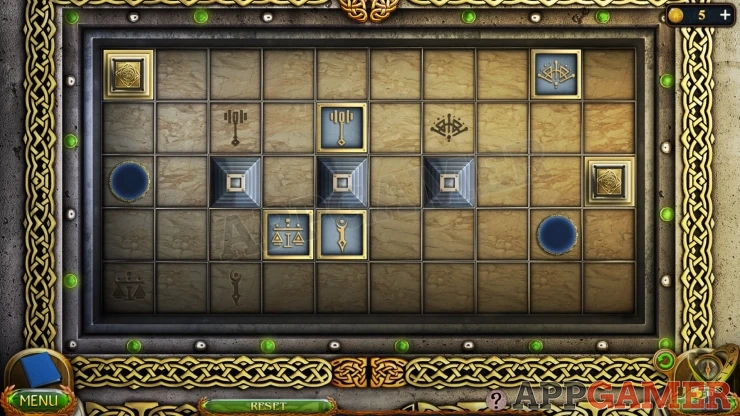
- There are 4 blue squares wit symbols that match 4 symbols on the board grid.
- Move the squares on the board so that all 4 are on the correct positions.
- There are also 2 gold squares that can be used to block movements.
- All of the squares will move at the same time if there is room for them to move to.
Solution: left down right right up left up right down left left left down.Show
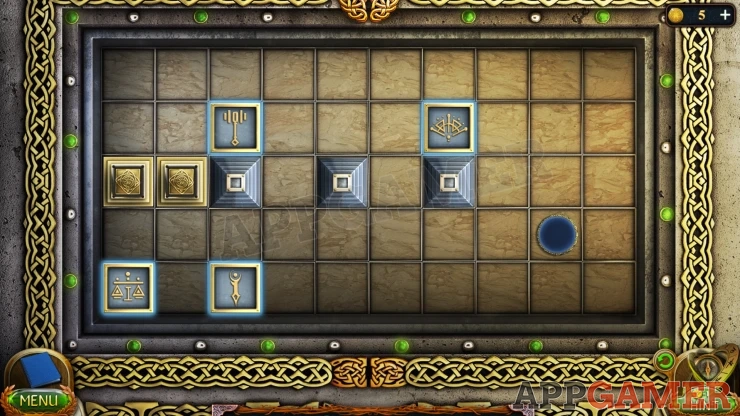
You enter the tomb and give heart to Maaron. Then Drak Ul is resurrected and the tomb is in ruins.
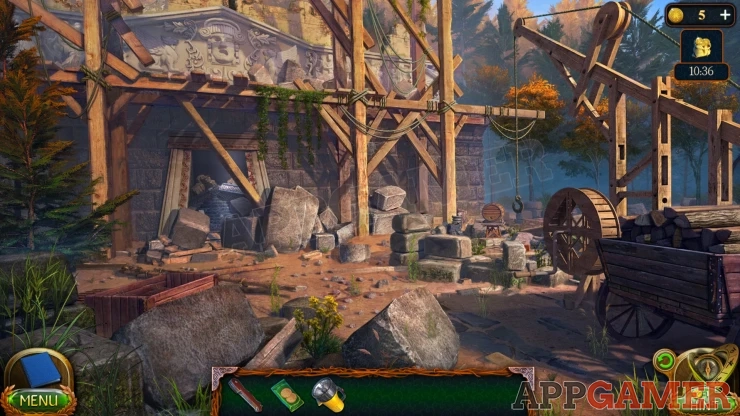
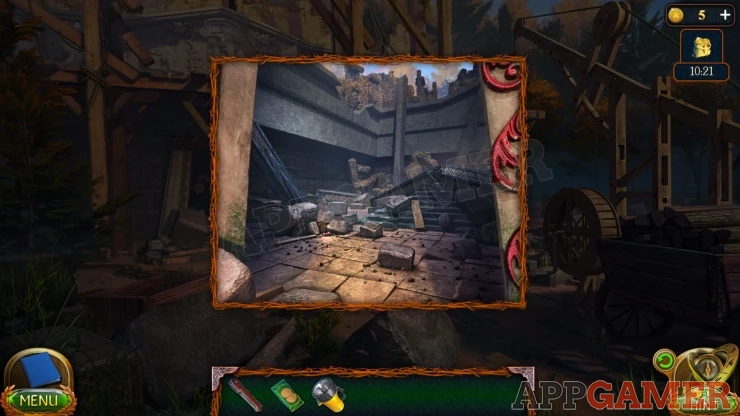
Task - New Adviser
Tap on the doorway to the tomb to look back inside. Then tap on the fallen rubble. Collect Hilamir's Pendant from the hand.
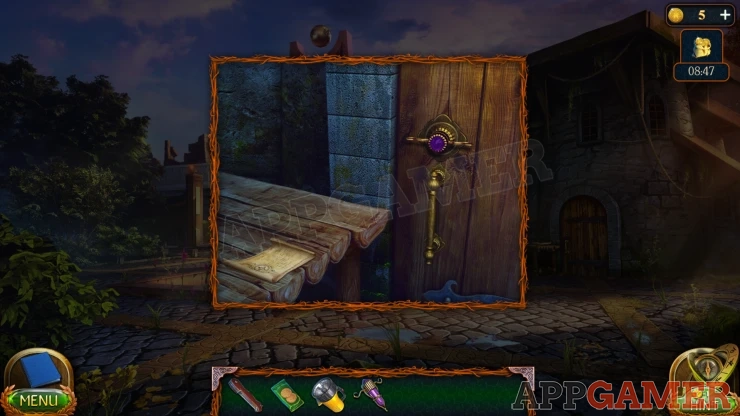
Back up to the square and view the door to the building on the right again. Use Hilamir's Pendant on the door to open it.
Enter Hilamir's House.
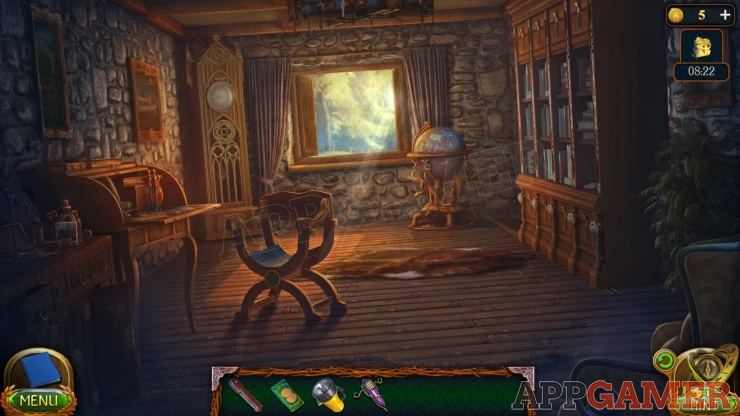
Collection Item: Photo on the table on the far left.
Morphing Object: Bird carving on the base of the globe by the window.
First view the window and close the shutters. You will see a clue on the wood.
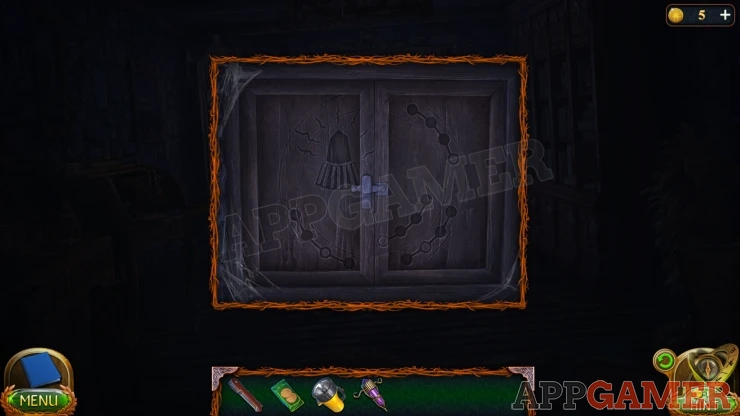
Next tap on the desk on the left to see a lamp with a round base. There is a note with instructions.
Lamp Puzzle
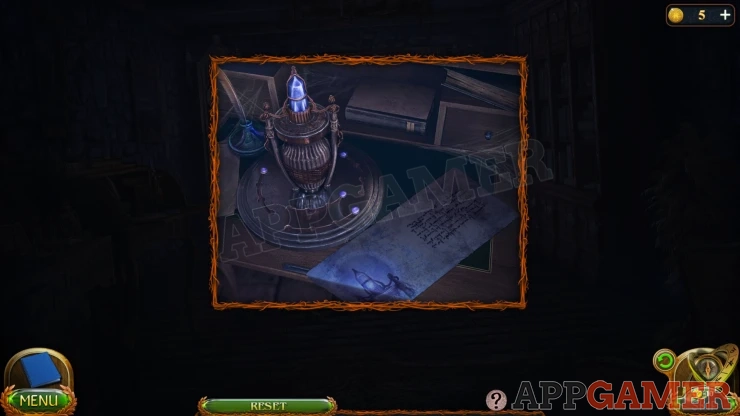
- Place the Pendant in the top of the lamp.
- Move the 4 purple switches on the base to the positions indicated by the clue on the shutters. This will activate the lamp.
Solution: Show
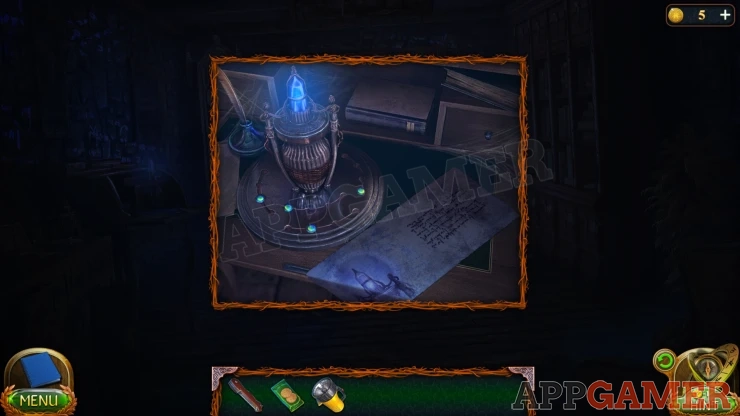
Now look in the room to see some hidden markings. View the window shutters again to see a diagram of the bookshelf. Note the positions of the highlighted books.
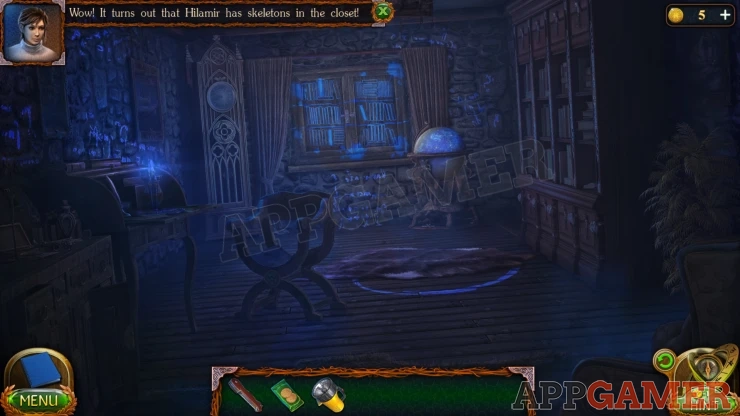
Then view the actual book shelf on the right, tap the 3 marked books.
A secret passage opens. Go down to fins Maaron.
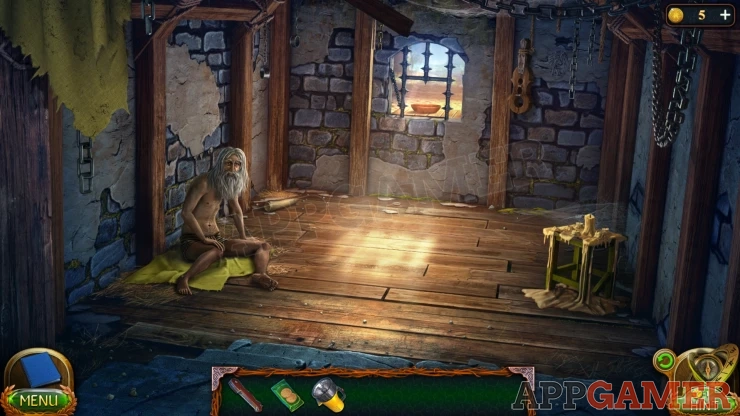
Task - Sip of Water
Collection Item: Scroll of paper with a sketch on the floor next to Maaron.
Morphing Object: Symbol on the back wall to the right of the window.
View the window and examine the Bowl.
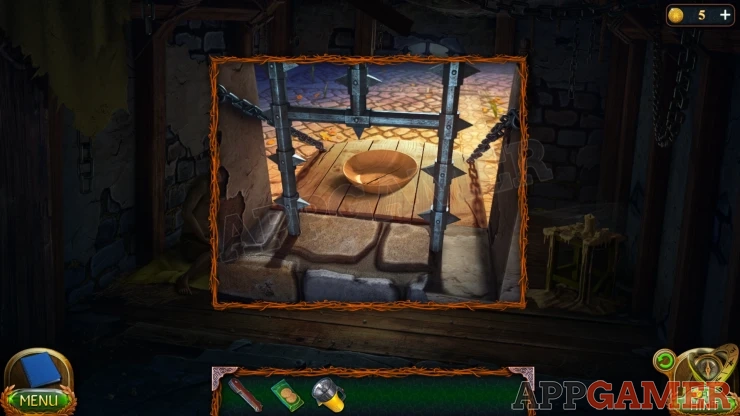
Then view the candles on the stool on the right. Use the knife to collect a Candle.

Now give the candle to Maaron to get the Burning Candle.
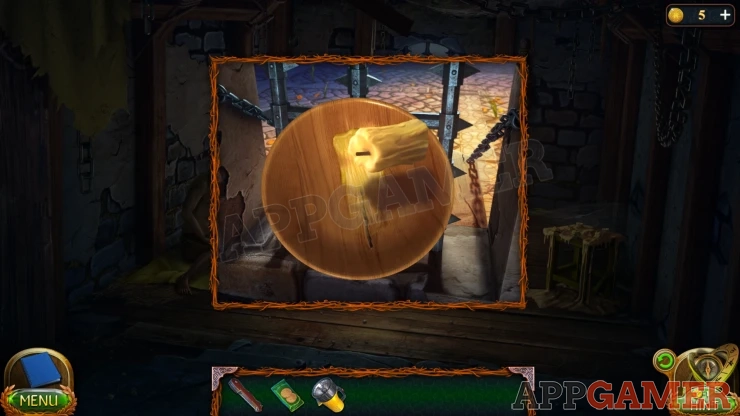
View the bowl again and use the burning candle on it to fill the crack with wax. Then collect the Bowl .
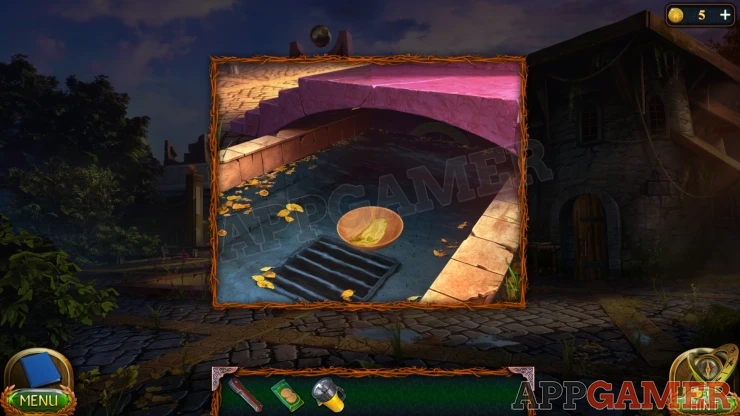
Go back up and outside to the square. View the pool of water by the Stele and use the Bowl here to collect the Bowl of Water.
Return and give this to Maaron to get the next scene.
After talking with Maaron tap the yellow sheet on the floor to view it, then move it and the straw to find some symbols. this is a clue.
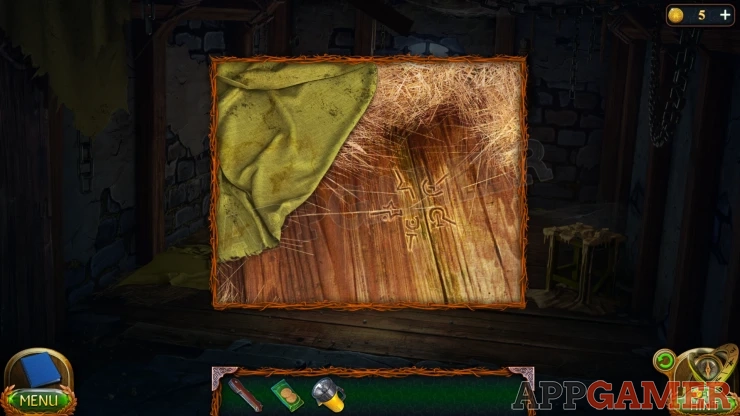
Back up to Hilamir's room and view the circle on the floor.
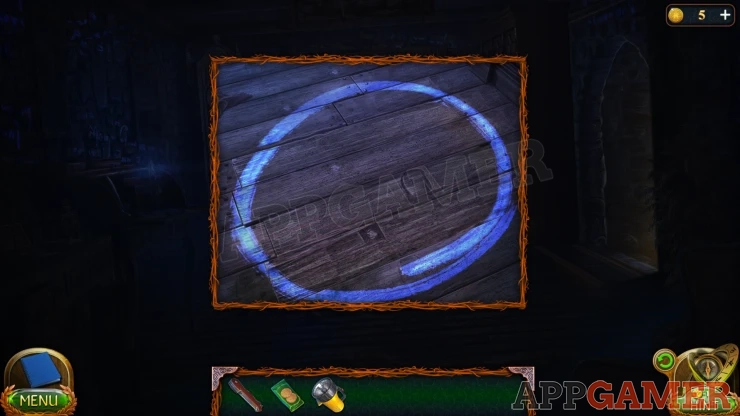
Use the knife to remove the floorboards and then mofe the items around to find and collect Hilamir's Casket.
Hilamir's Casket
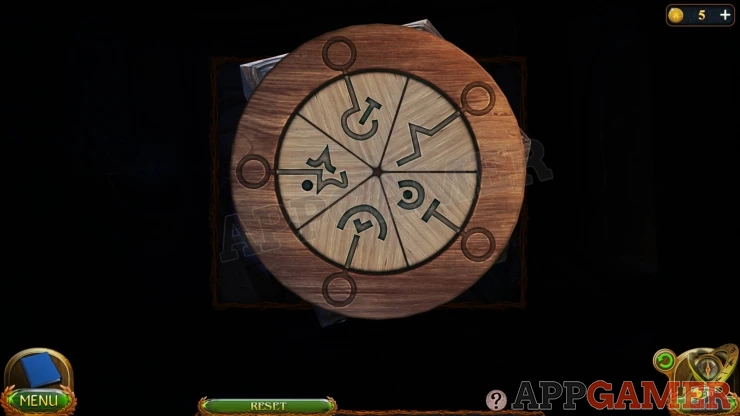
- View this in your inventory and then the lock on the top.
- Use the clue found in the cell to set the correct position of the symbols.
Solution: Show
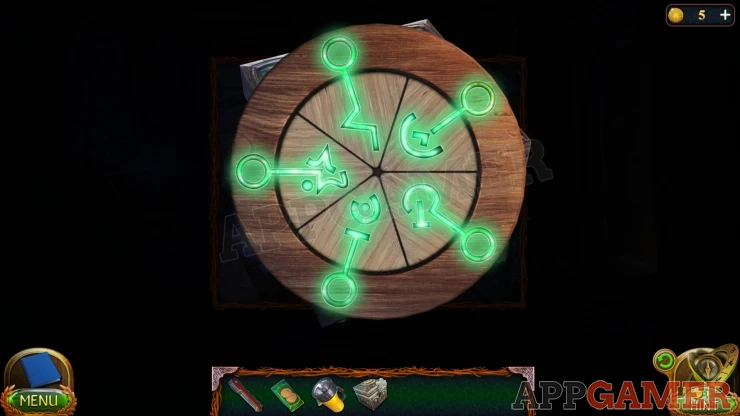
Collect a Round Tile and the Diary of Hilamir.
After this collect the Axe from the hole under the floor.
Return to the desk with the lamp and place the diary there, then you can read it.
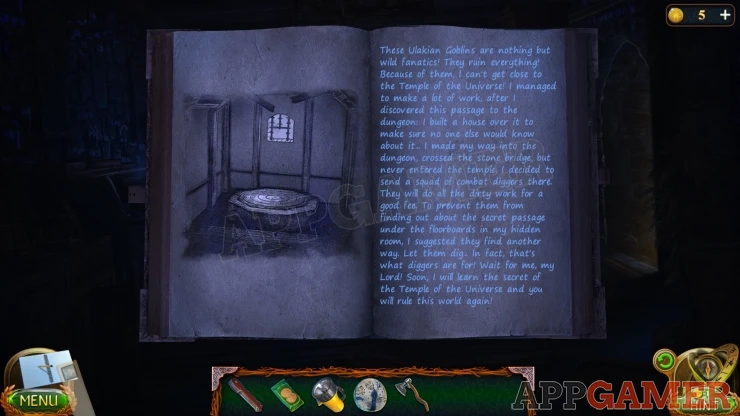
Task - Temple of the Universe
Go back down to the cell room and use the axe on the floor to break it open.
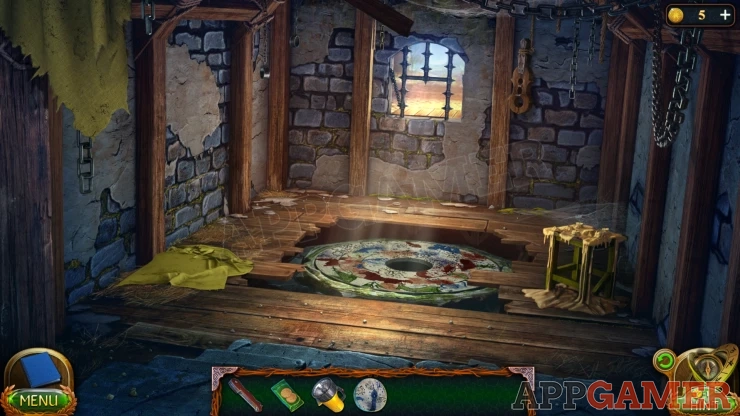
Door in the floor puzzle
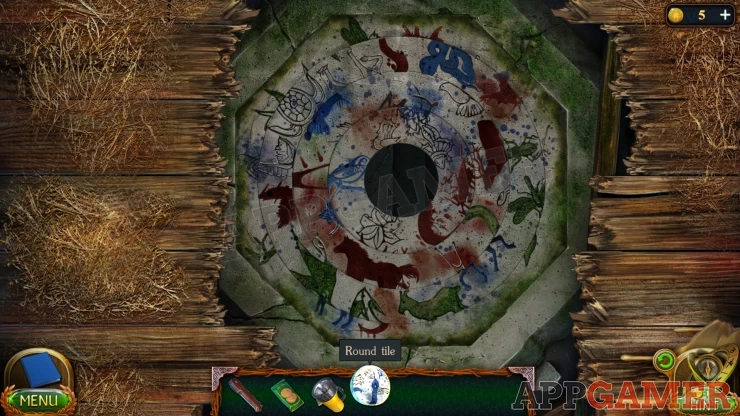
- Place the round tile in the center to begin.
- On the rings are many small images of creatures.
- Some are split across 2 rings and some over more.
- Rotate the rings to match up the parts of each creature, this sill clear that image.
- The parts may be of different colors or designs but they will match together.

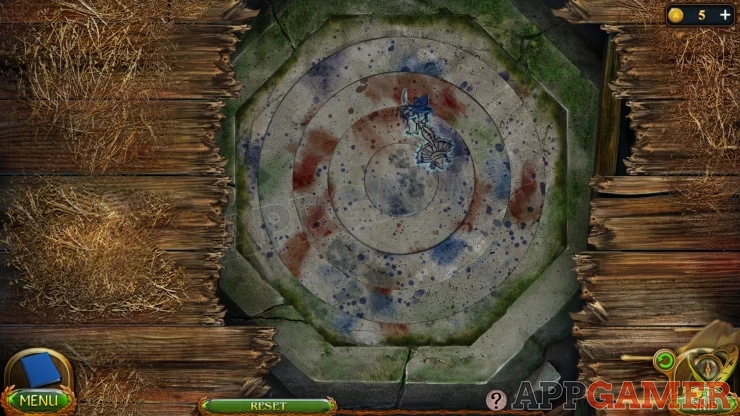
Once all are matched and cleared the doorway will open.
Continue the guide in Part 4
We have questions and answers related to this topic which may also help you: Show all
 With 20 years of experience in creating video game content for the internet and over 30 years as a gamer, Mark is now a passionate mobile App Gamer. Loving a challenge, he is always ready to get stuck in to both survival builders and puzzle solving games. He has been providing content for AppGamer since 2014.