
Lost Lands 7 Walkthrough - Part 5
More Lost Lands 7
Welcome to our Lost Lands 7 Walkthrough, another in the popular line of Mystery escape room and puzzle games from Five-BN games. This is part 5 of our guide to the game.
Following Part 4, Susan and her son have opened the doors to the temple in the dungeon below Hilamir's house. This flooded the dungeon and separated Susan and Jimmy. Now Susan has awoken to find Uri.
Lost Lands 7 Walkthrough - Part 5
You awake in a strange Worship room.
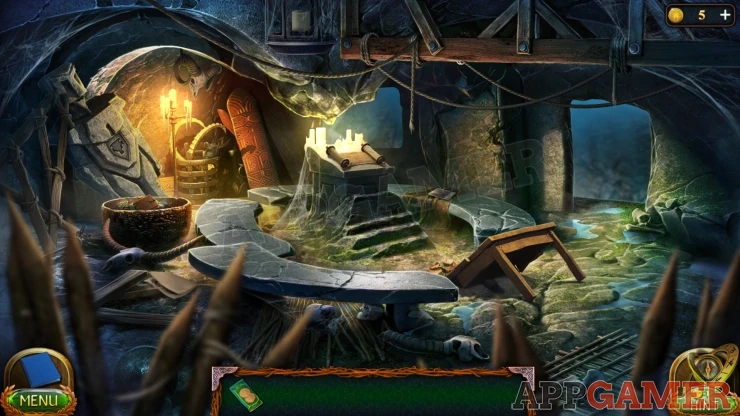
Collection Item: Photo on the right side of the circular stone bench.
Morphing Object: Silver helmet in a basket on the back wall under the candles and horned skull.
Manuscript: On the ground below the large bowl on the left.
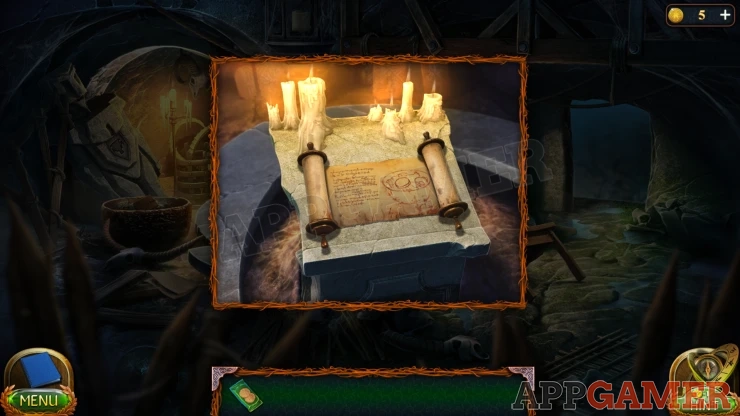
First view the scroll on the stone lectern with the candles. You can read this for information, then you will be able to collect a Moon tile.
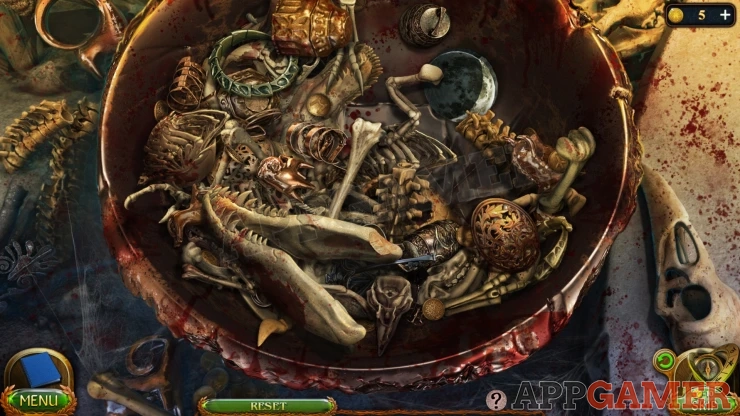
Then view a large bowl on the left side of the room.
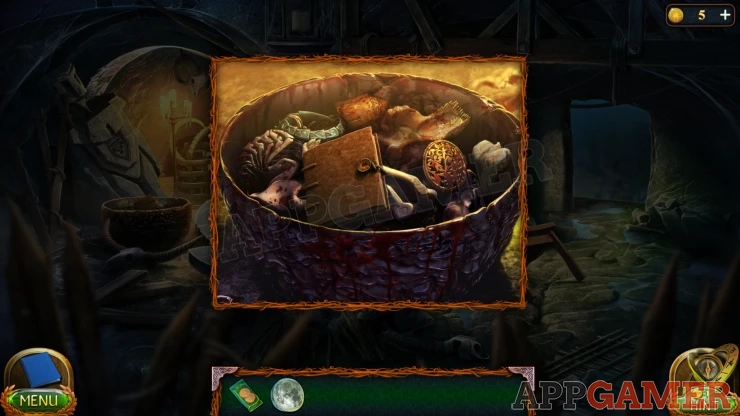
View the journal Then tap the bowl to look inside for a puzzle.
Bowl Altar Puzzle
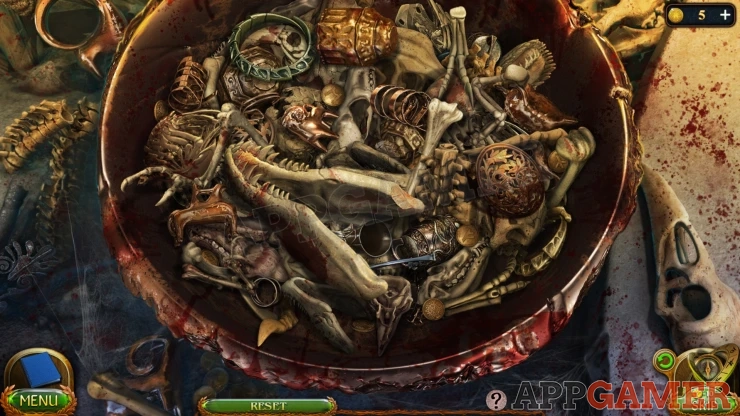
- Drag the items in the bowl around to move them.
- Look for another Moon tile to collect.
Solution: The tile is found in the top right.Show
Now go though the doorway on the right to the flooded bottom of the gorge.

Collection Item: Scroll of paper with a sketch on the right side of one of the steps.
Morphing Object: Frog on the rock wall to the left of the barrel on the steps.
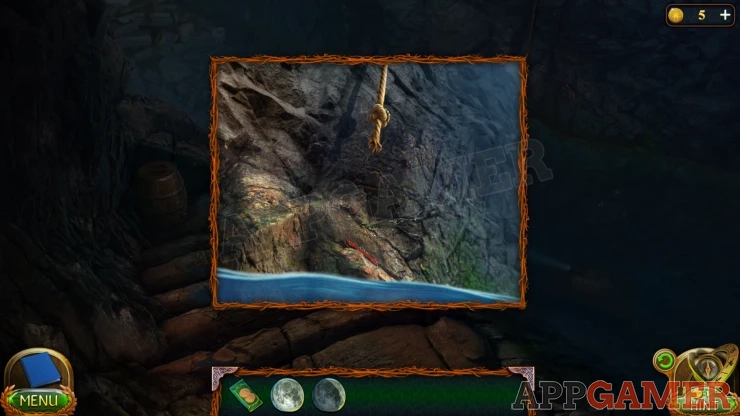
First tap to view the rope on the far side of the water. Collect the Damaged Multitool from the rocks and then tap the top to look up.
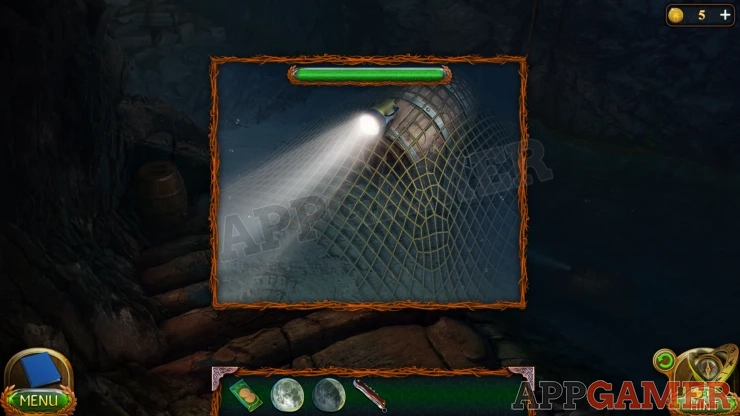
Next tap on the light in the water to see it. Collect the Flash light and then use then use the multitool on the net to cut it and collect the Green Barrel.
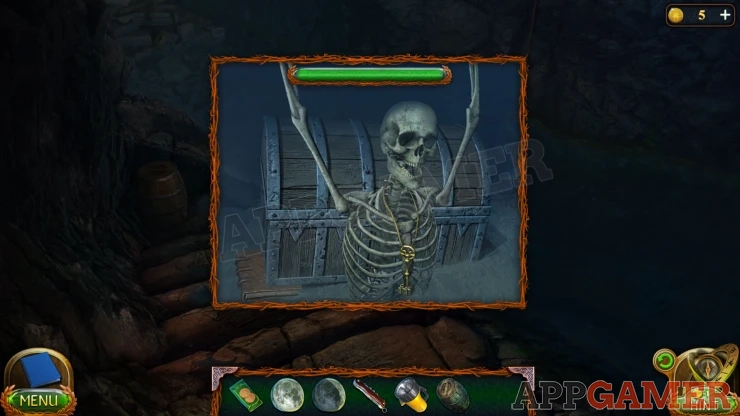
Next view the Skeleton in the water. Collect the Key from its neck.
Now view the barrel on the steps, use the mulittool on the cork on the bottom to open it Then you can collect the Blue Barrel.
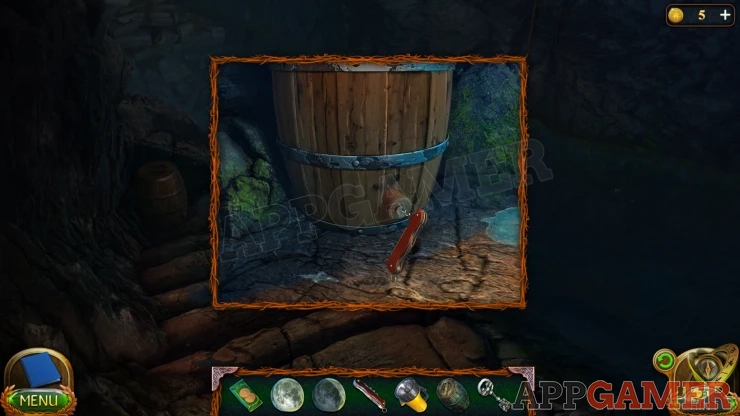
Back up to the Worship room and view the collapsed table on the floor. Use the Multi tool on this as well to remove the legs and then you can collect the Table Cover.
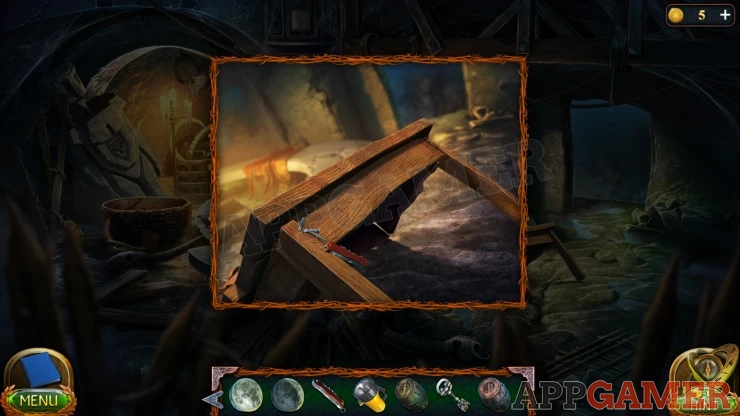
View the Table cover in your inventory and add to it the 2 barrels. You will then collect the Raft.
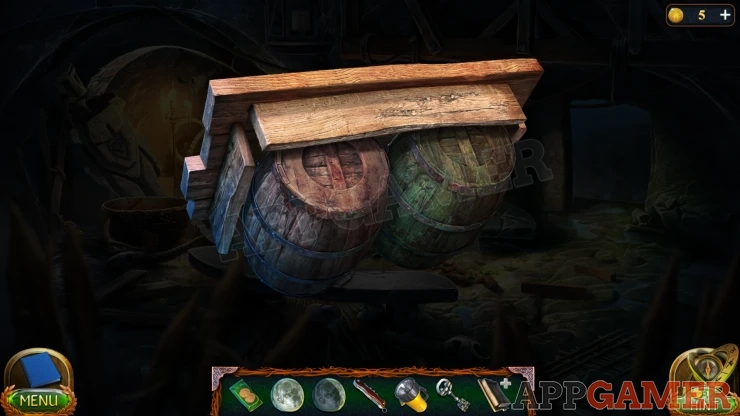
Go back to the water and place the raft under the rope on the far side. Then you can climb up the rope.
You are back at the entrance to the Temple. Go inside
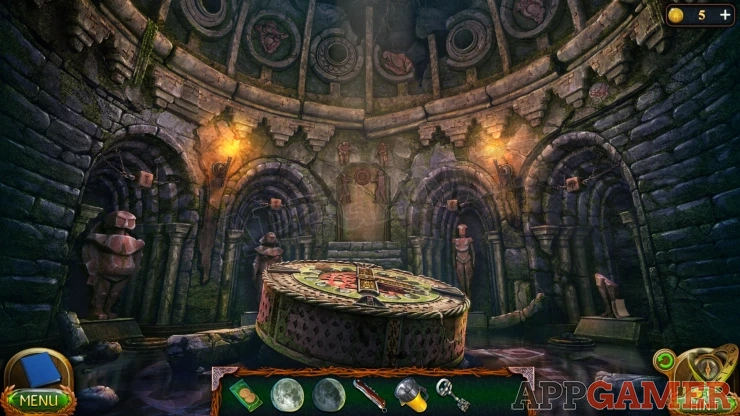
Collection Item: Tap stones above the statue on the left to make them fall and find some coins.
Morphing Object: Flower on the wall high above the broken status on the right.
Manuscript: View the broken statue on the right to find the paper on by its feet.
View the broken statue on the right, collect the Manuscript by the feet and then you can also collect the Seal of Ul.
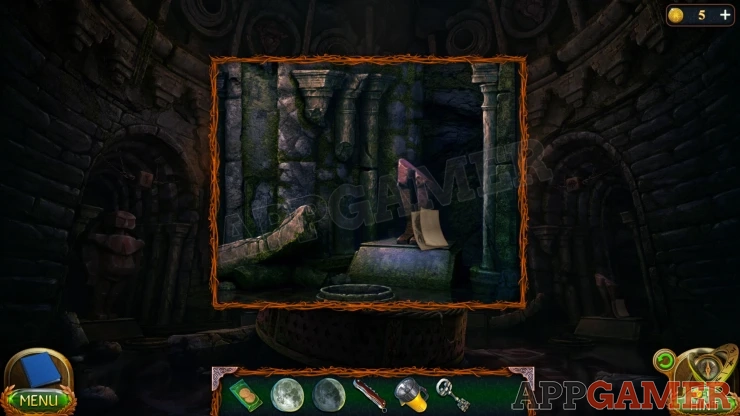
Then view the large round stone in the center.

This has a moon puzzle that you cannot complete yet but you can collect the Key (star shape) from the top right.
Back up first of all the to the gorge with the water and then view the large chest under the water. You can use the key with the star shape to open this and collect another Moon tile.

Back up again to the worship room and view the large stone statue on the left.
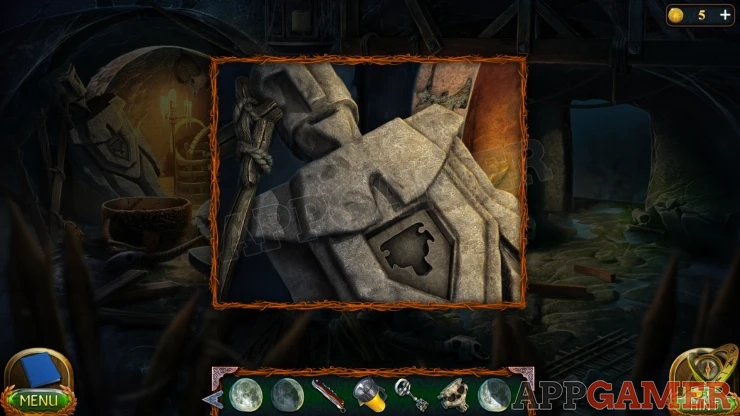
Use the Seal of Ul in the center of the chest to open it and collect another Moon Tile.
Now move on again back to the temple. View the design on the wall in the center above the round stone.
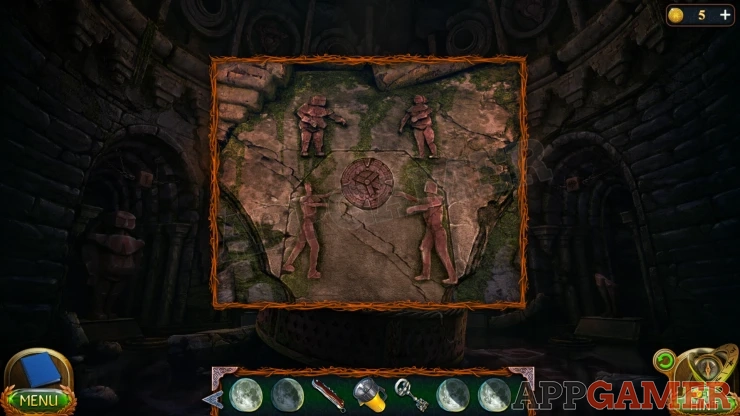
Tap the center circle to open a doorway and then you can go through to a secret room, you meet up with Jimmy again.
Secret room puzzle
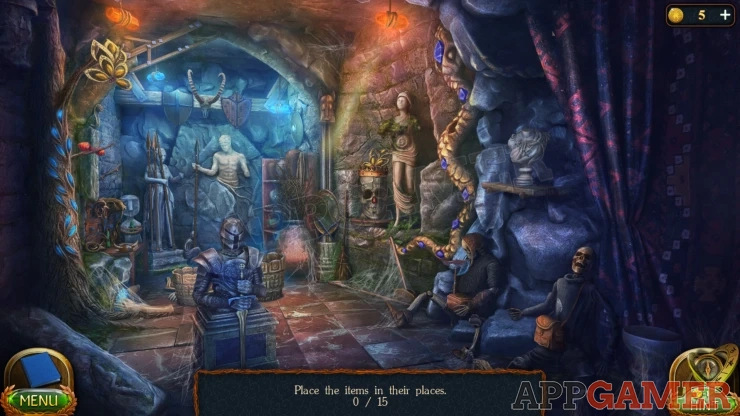
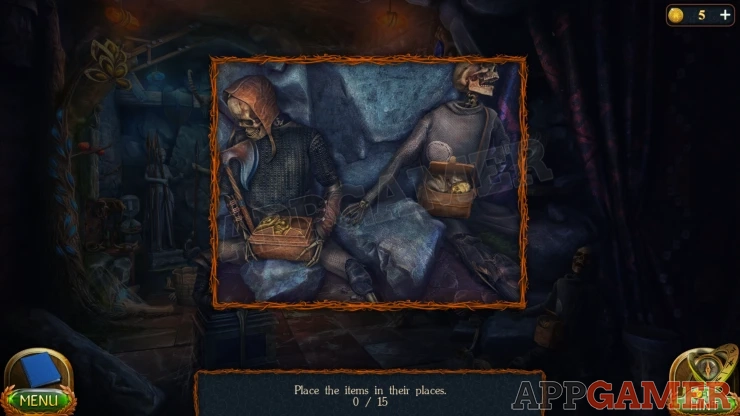
As with the Camp before you now need to find 15 items to move to their correct locations. Starting with the 2 skeletons on the right
- Open the bag on the right and move the skull emblem inside to the box on the left.
- Tap the cobwebs under the statue on the right wall to move then and then take the spear that is laying on the ground. Move it to the rest of the spears on the statue on the back wall.
- Tap the lever that was also behind the cobwebs to lower a hexagonal panel from the ceiling. Then view this.
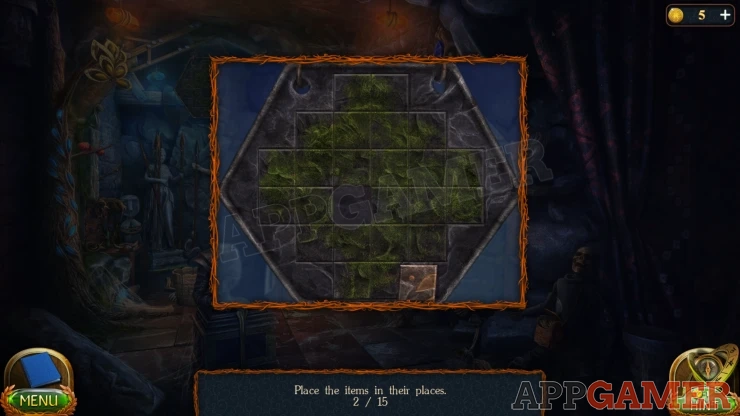
Place the lighter square into the empty slot. then you need to solve this puzzle.
Tap squares adjacent to the light one to move the light to. keep doing this to turn all of the squares the lighter color.
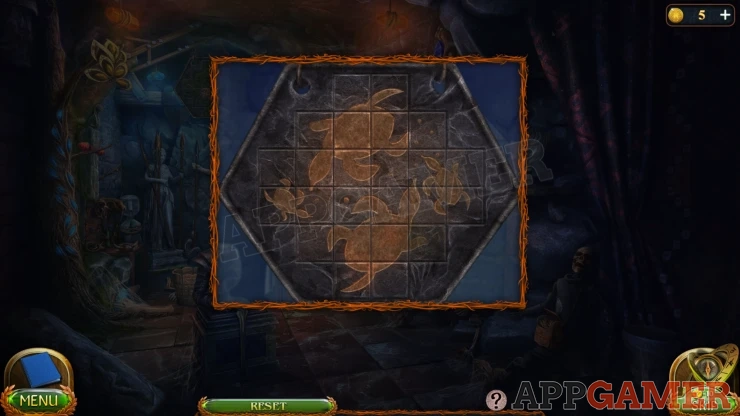
Then tap the lever again to make the panel rise back up.
- Tap the bucket on the right of the armor holding a sword on the pedestal. It will fall over. Select the stone head that falls out and place it on the bust on the right above the skeletons.
- Tap the bucket on the left of the armor holding a sword to move it. Select the shield that is on the ground behind it and place it on the wall figure at the back missing an arm.
- Select the 2 orange crystals on the wall on the left and place them in the eyes of the large skull on the right side.
- Select the ornament on top of the large skull on the right and place it on the yellow flower design in the top left corner.
- Tap on the wall on the left side to see a table. Move a horn from the top left to the skull on the top right.
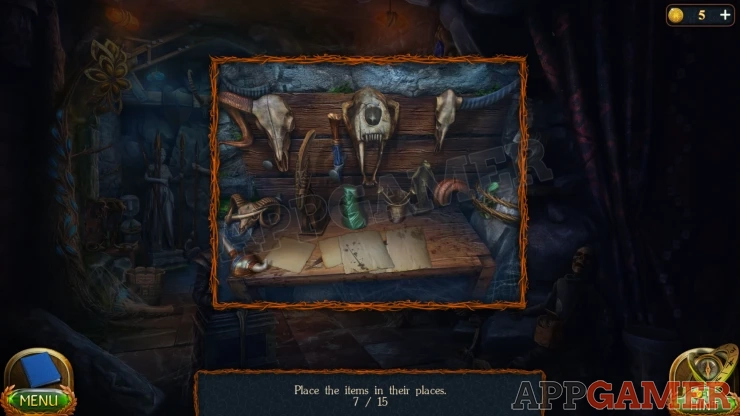
- Move another horn from the right side to the skull on the top left.
- Move the long tooth on the lower left to the large skull in the center.
- Move the papers to find 2 feathers to place on the figure to the left.
- Select the blue knife that is by the large skull in the center and use it to cut the rope on the right side and release a green figurine piece. Then place this on the green base in the center of the table.
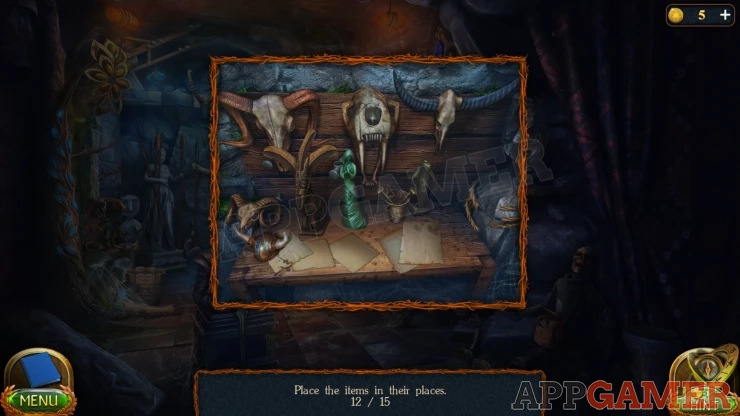
- Now view some shelves on the right of the statue with the shield, they are behind a large pot.
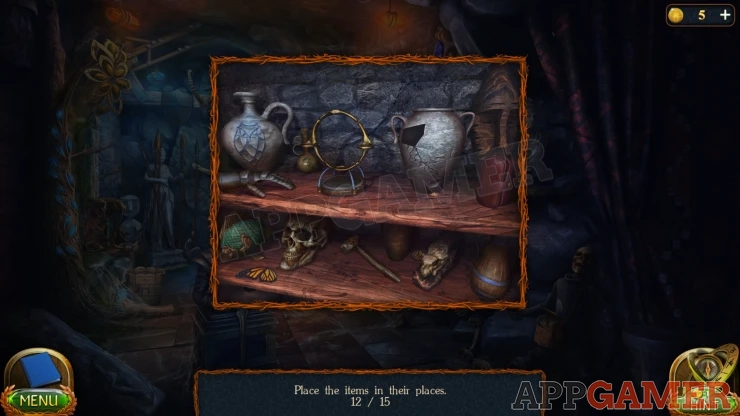
Tap the skull to open its mouth to see a blue gem. Open the small brown box on the right of the top shelf to find another blue gem. Then use the hammer from the lower shelf to break the large vase on the top shelf, there is a third blue gem. Place all 3 gems into the gold circle on the top shelf.

- To the right of the shelves is an oval mirror. Tap this to make it lift up, then use a cloth that is on top of the shelves to the left of the mirror to clean it. It will reflect the light and you will see a purple gem on the wall on the top right. Move this to a hole between other purple gems just to the left and below.
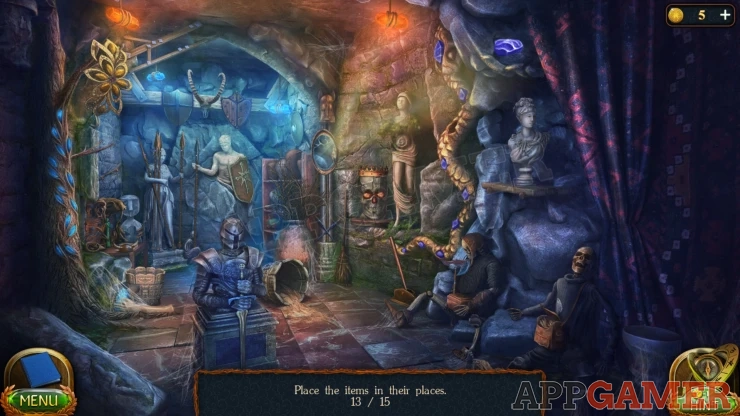
- Select a broom on the floor by the large skull with the eyes. Then use this on the status on the right wall to clean it.
Next tap the cobwebs on the lower left side of the room to reveal an arm holding a blue gem.
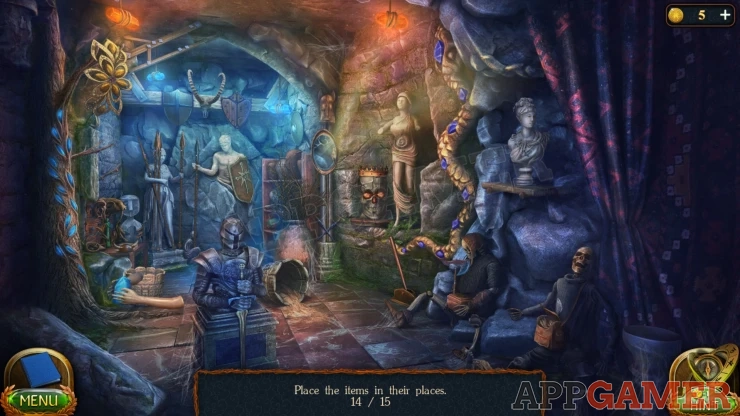
Move this to the statue to complete it.
Once this is all done you can collect another Moon tile.
Back in the Temple view the large round stone again to see the moon puzzle. You can read the journal on the stone first if you have not seen it already.
Moon Puzzle
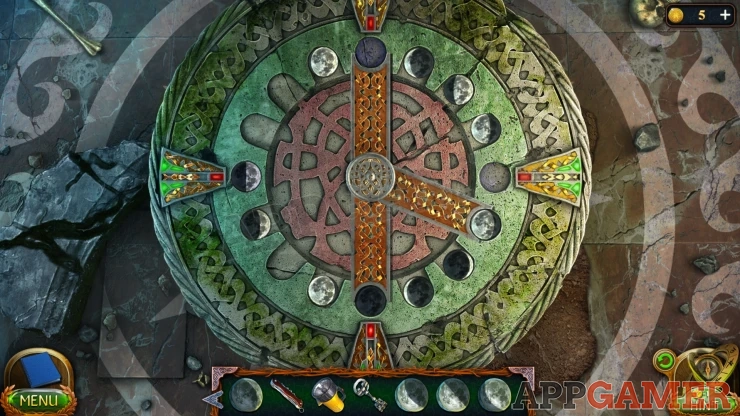
Place the 5 moon tiles onto the puzzle to start.
- There are 16 moon phases represented around the outside. From full moon to new moon and back.
- There are 2 bridges that can be rotated around the circle.
- When in position the tiles at either end will swap.
- 4 of the tiles are fixed.
- Arrange all of the tiles to complete the correct order of the phases.
Solution: Show

You then see description of the 4 Draks, and the 3 parts of the spear of Drak Ul.
Now you will see 4 glowing symbols around the room, one on front of each of the 4 statues.
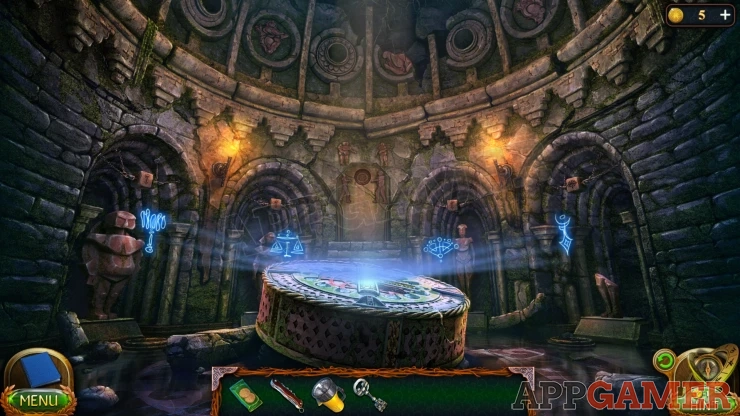
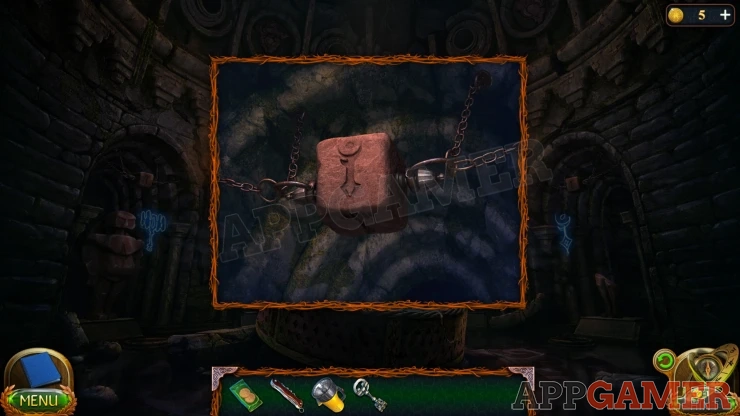
Above each statue is a cube block. View it and tap it to select the symbol that matches the glowing one in front of it.
After this 4 glowing orbs will appear and you can see the spear head in the one on the right.
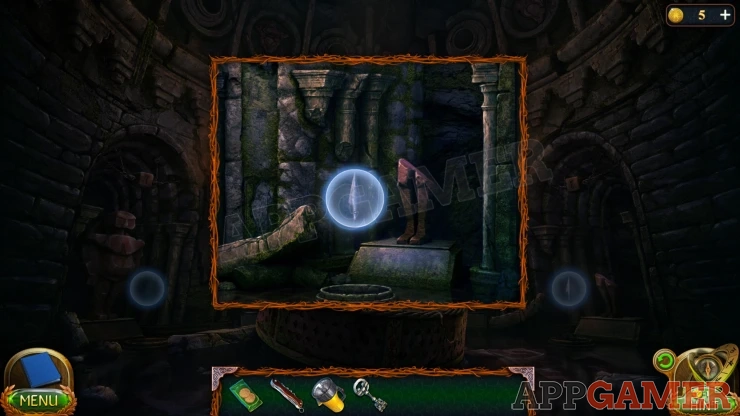
Tap the spear head to collect it and start the next cut scene.
Continue the guide in Part 6
We have questions and answers related to this topic which may also help you: Show all
 With 20 years of experience in creating video game content for the internet and over 30 years as a gamer, Mark is now a passionate mobile App Gamer. Loving a challenge, he is always ready to get stuck in to both survival builders and puzzle solving games. He has been providing content for AppGamer since 2014.