
Part 6 - The Fortress
More Lost Lands 10
Welcome to Part 6 of our Lost Lands 10 walkthrough. This game is another in the popular line of Mystery escape room and puzzle games from Five-BN games. This game features beautifully designed environments and a diverse range of puzzles and hidden objects to find.
In Part 5 you made your way up to the top of the sacred mountain and performed a ritual to let you talk to the Goddess Drak Om. You have now returned to the world of the living wit a plan to help save Folnur
Main Game Walkthrough - Part 6 - The Fortress
You awaken in Maaron's house. You are alone apart from Korko who is sleeping. You have collected an Amulet-Vial. And you need to make a note of a recipe that you have been given.
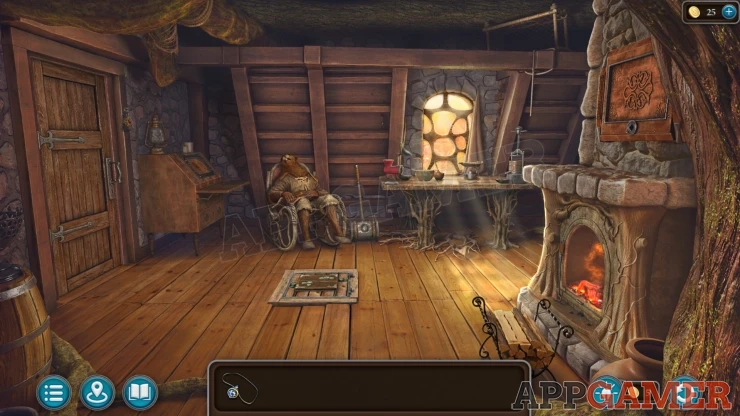
Task - Amulet with Potion
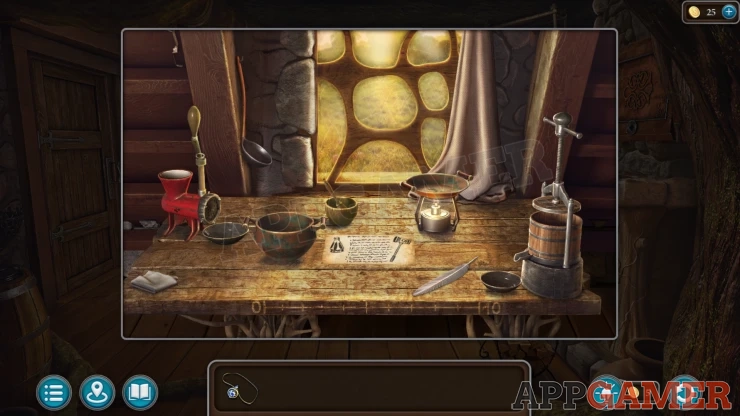
First tap on the table under the window. Then read the letter on it. This will explain what has happened.
You now need to get some ink so that you can write out the recipe.
Tap to view the desk on the left side of the room and open the panel at the top to find a puzzle.
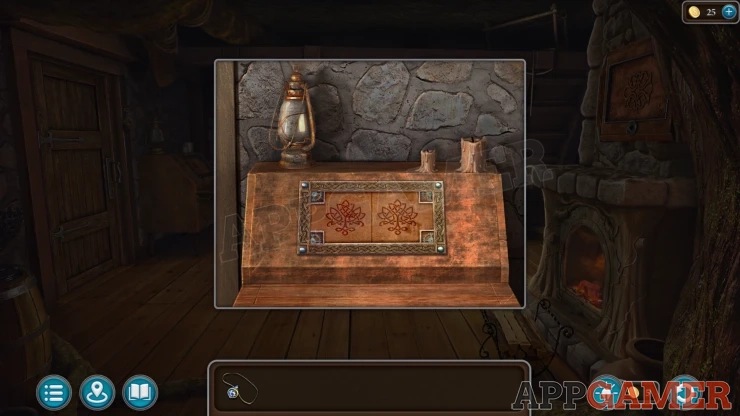
Desk Puzzle
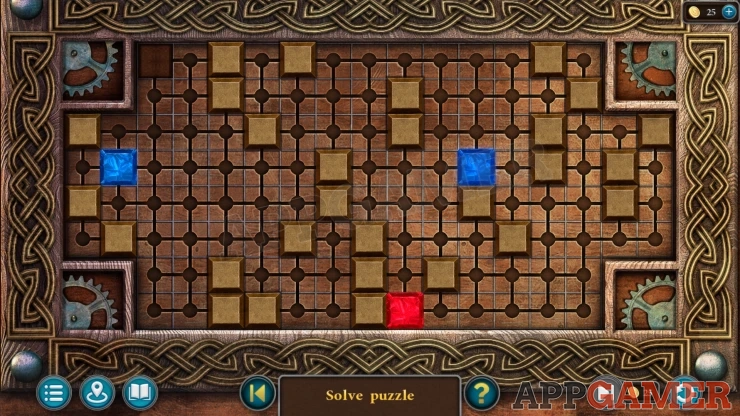
- Swipe the red block in any direction to move it. The blue blocks will also move in the same direction if there is space to move to.
- You need to move the red block to the empty square in the top left.
- You cannot let the red block touch either of the blue blocks as you do this. If you do the puzzle will reset.
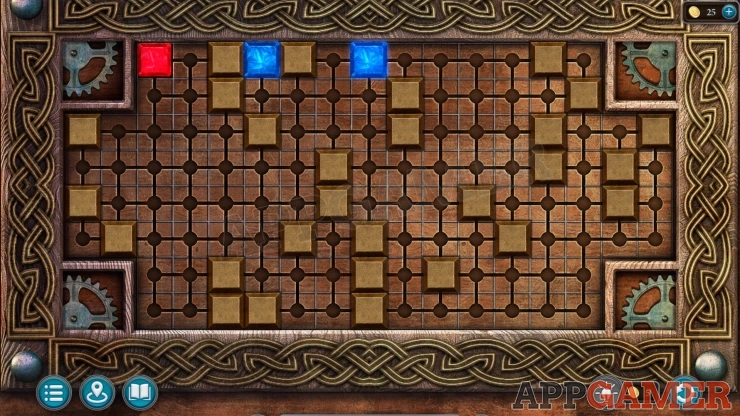
This will open the desk
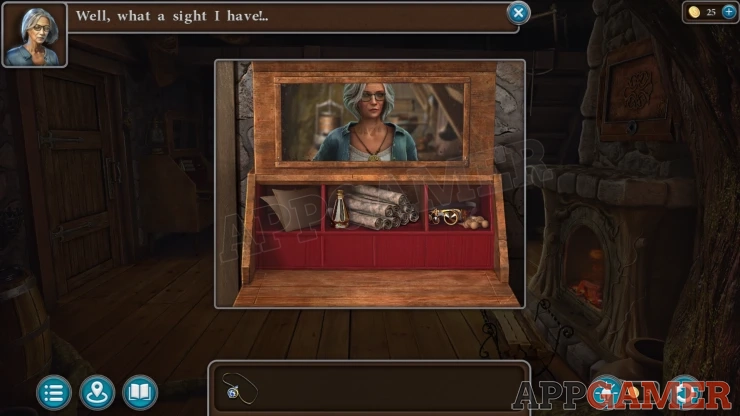
Manuscript: in the left side of the opened desk.
Collect the Inkwell from behind the manuscript. Return to the table and place the inkwell, then tap the quill and the recipe will be written out.
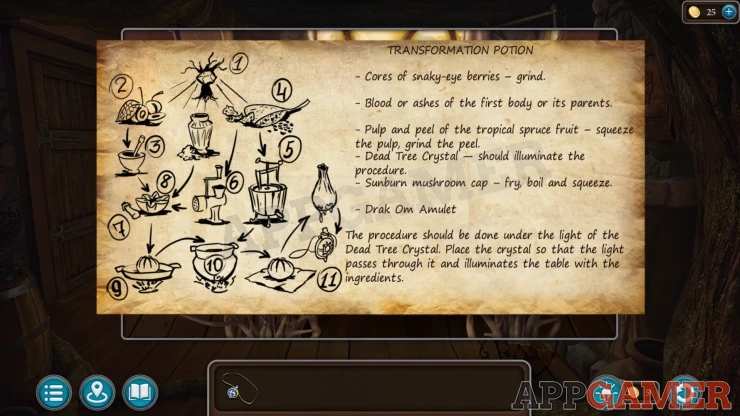
Collect the Recipe for Transformation Potion.
Now tap on the sleeping Korko and collect Maaron's Key.
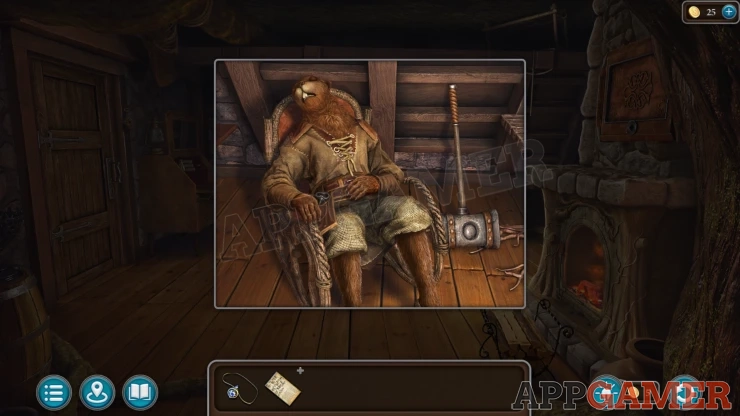
Then view the door on the left and use the key to open it. Go out to the garden.
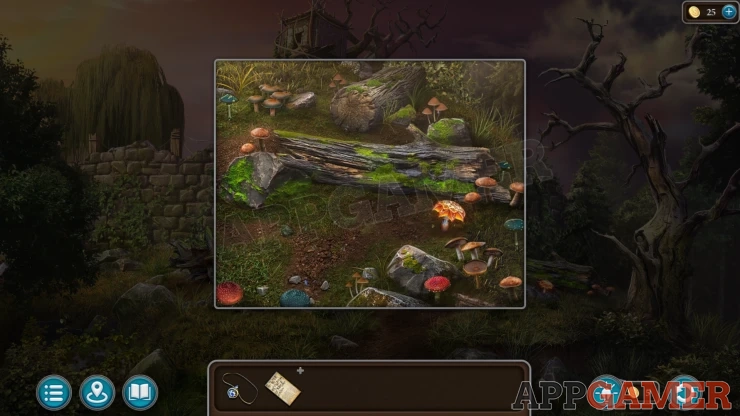
Back up outside the wall and look on the right side. Collect from here a Sunburn Mushroom.
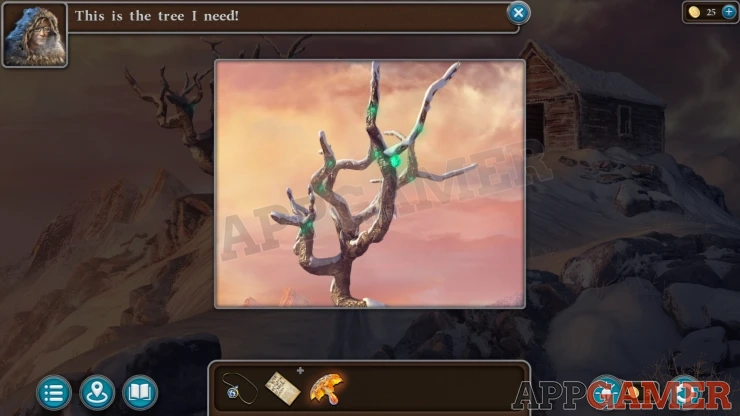
Travel to the top of the mountain, there is a dead tree on the left. Tap this to see that you need the bow and arrow.
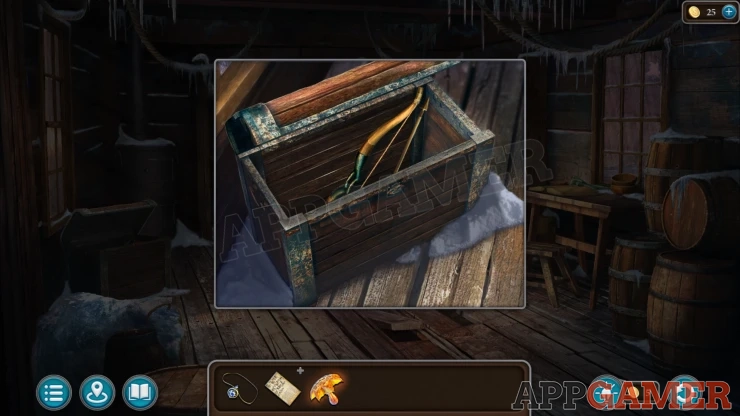
Enter the hut and look in a chest on the left. Collect the Bow and Iron Arrow.
Then back out again and use both items on the tree to shoot down and collect a Dead tree crystal.
Then back up down to the area with the funicular, on the left here is another free, view this.
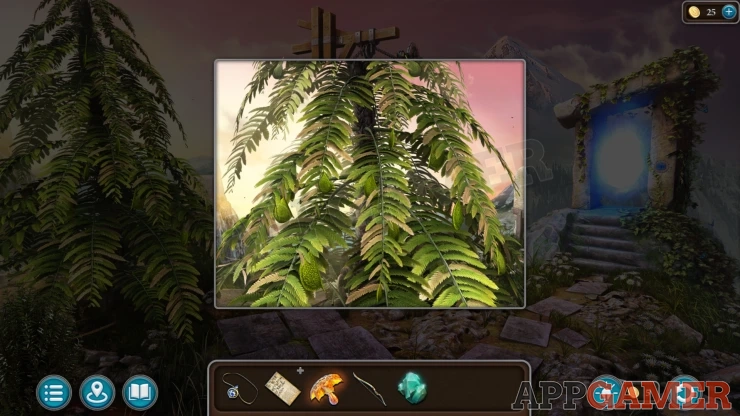
Tap it to collect the Fruit of tropical spruce. Then back up into the temple and collect the Urns with Ashes from the table.
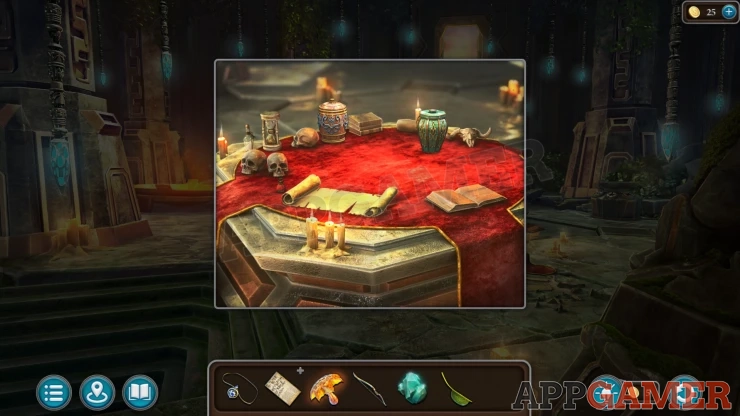
Finally travel to the greenhouse in the Halfling's Valley. Look on the left to find a green bush.
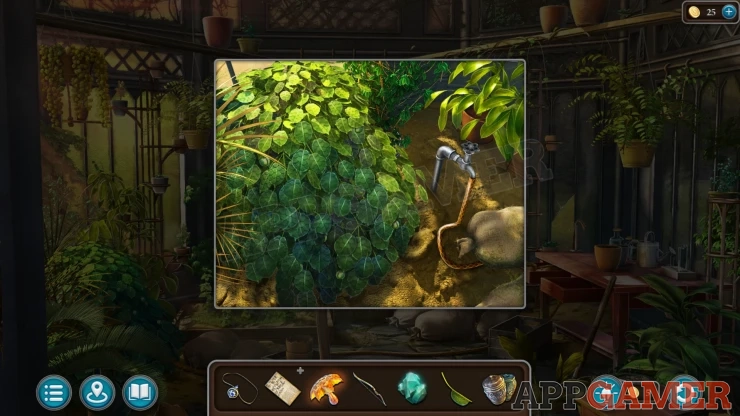
Tap this to collect the Snake-eye berries.
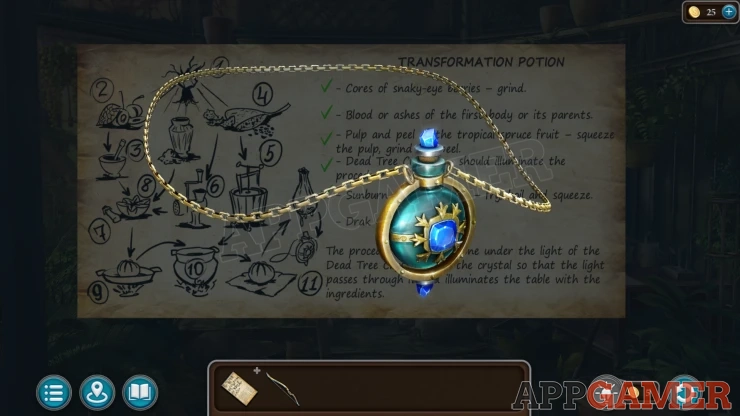
Once you have these items, view the recipe paper in your inventory and add the six items you need to it including the amulet.
You will collect the Transformation Potion.
Return to Maaron's House and view the table. Add the potion items to the table to start.
Transformation Potion
First you need to tap the window to close a curtain so that the light source is the crystal.
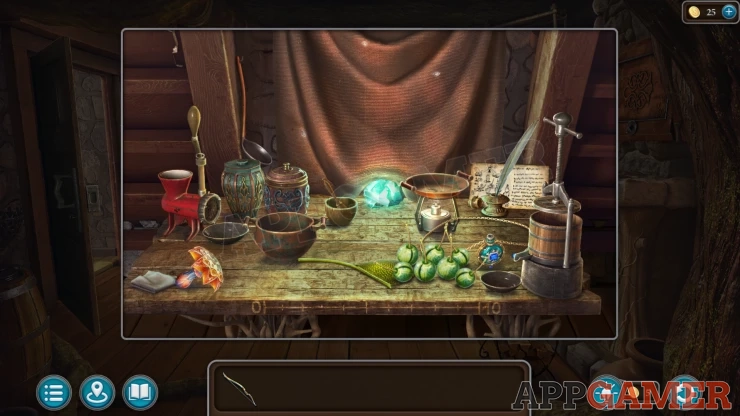
Tap the snake-eye berries to extract the cores and then add the to the small mortar and pestle to the left of the crystal to grind them.
Next tap the tropical spruce fruit to separate the pulp and the peel. Place the pulp into the press on the right side to press a liquid. Then add the peel to the red grinder on the left side to grind it.
Next tap the mushroom to separate the top part. Add the ground berry cores from the mortar to the top and then also the ground peel. After this add both of the urns of ashes to the mushroom top as well.
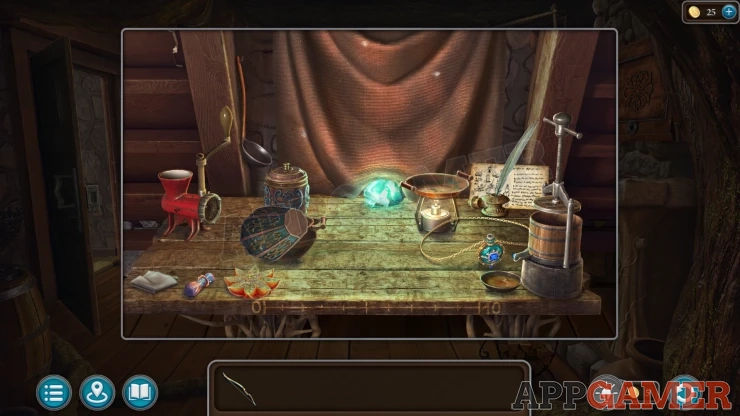
Place the mushroom top into the dish over the flame this will cook it.
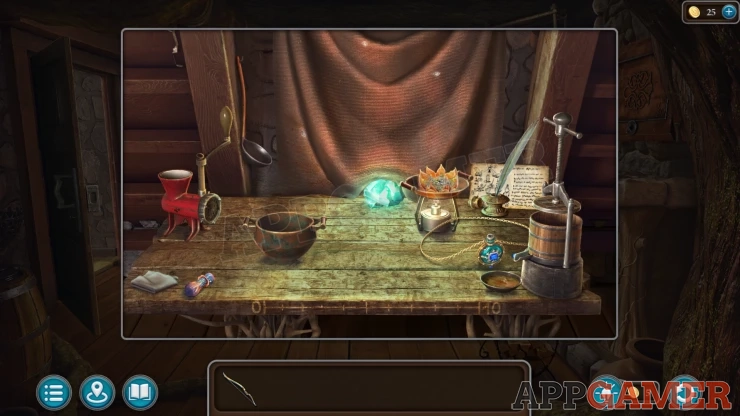
Tap a folded cloth on the left side of the table to place it in the center, then you can take the mushroom out and place it on the cloth.
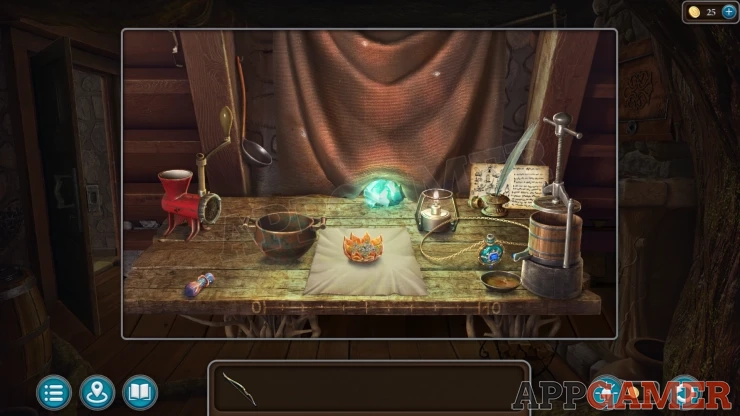
Add the large bowl on the left to the flame and them put the squeezed tropical spruce fruit juice to the bowl to heat it.
Add the mushroom top to the bowl as well.
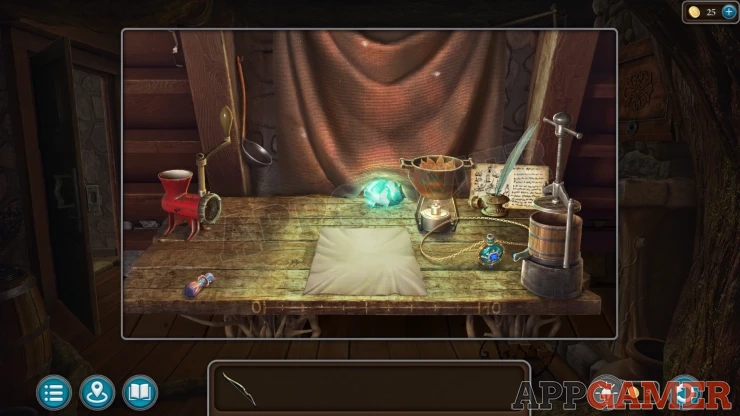
Then when it is done tap the ladle on the back wall to use it on the bowl and take out the mushroom again.
Tap the cloth that the mushroom is now on to then squeeze the potion from it into the amulet-vial.
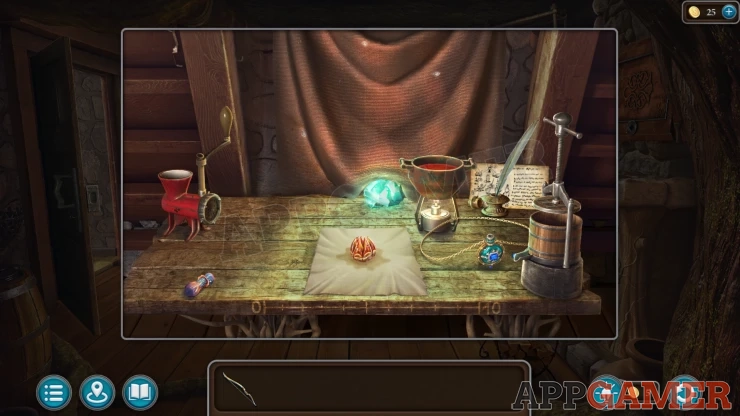
You now have the Amulet with Potion.
Folnur Puzze
Now you need to assemble an image of Folnur.
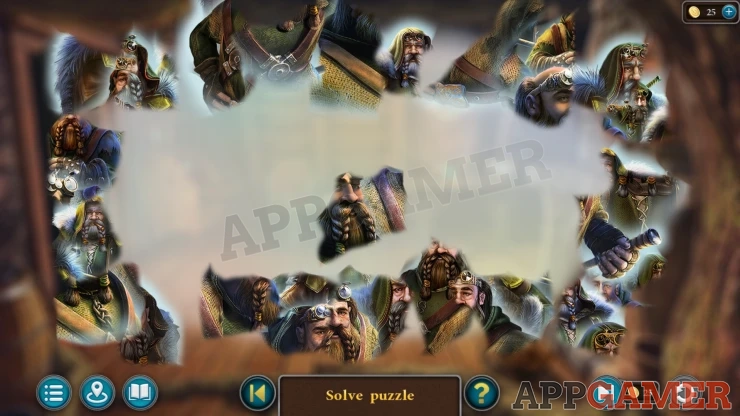
More the pieces of the image around to get them to stick together in the correct places, the full picture is a collection of different images of Folnur.
Solution: Show
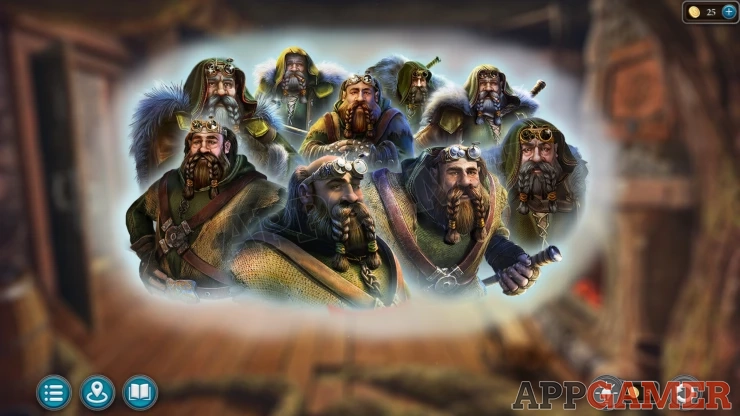
Once done tap he desk in the corner again to look in the mirror. You now look like Folnur.
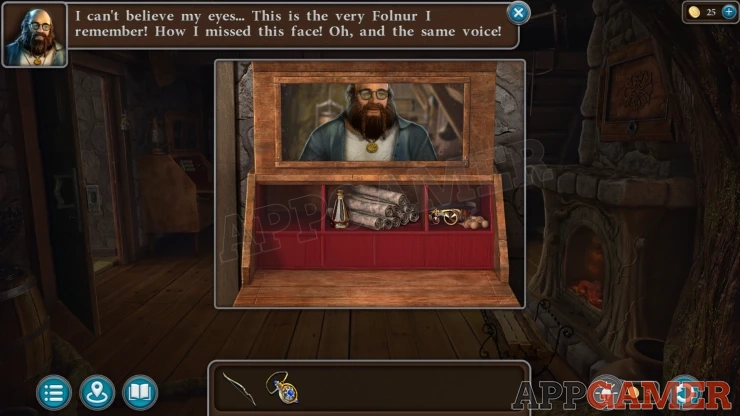
A fireball now appears from the fireplace. It will travel out and through the dolmen.
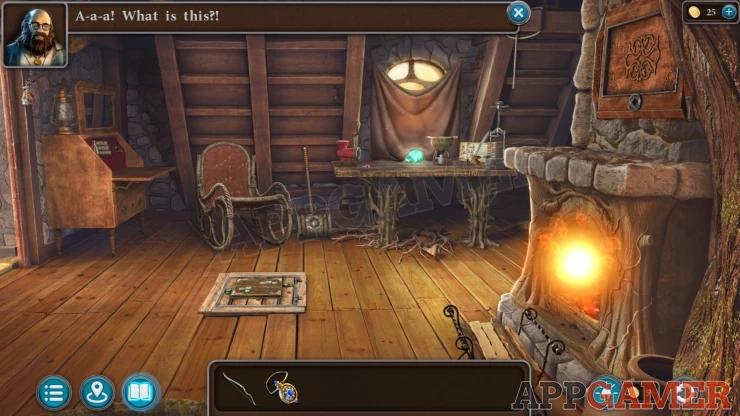
Follow it through the various areas until you reach the mine. Here it will go through a wall.
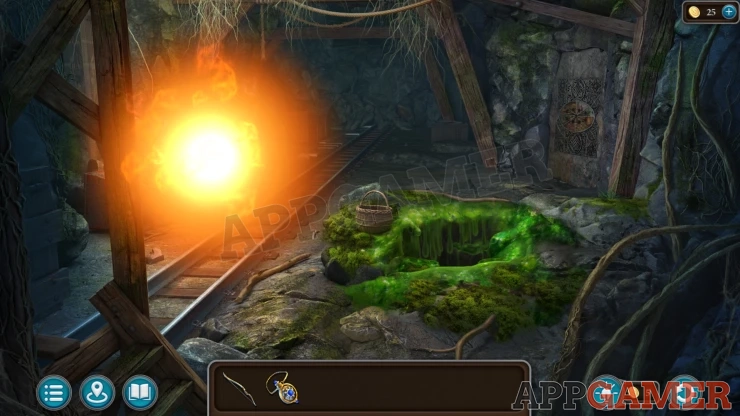
View this to find a puzzle.
Mine Secret Door Puzzle
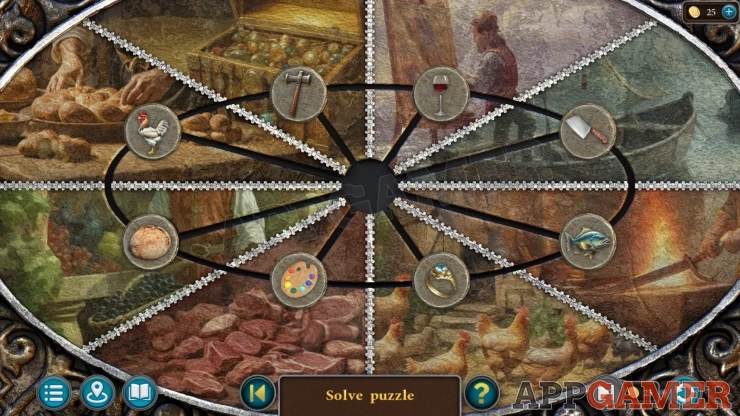
Slide the symbols tokens around the goar and place them on to the matching related images,
I.e. place the Rooster with the Hens
Solution: Show
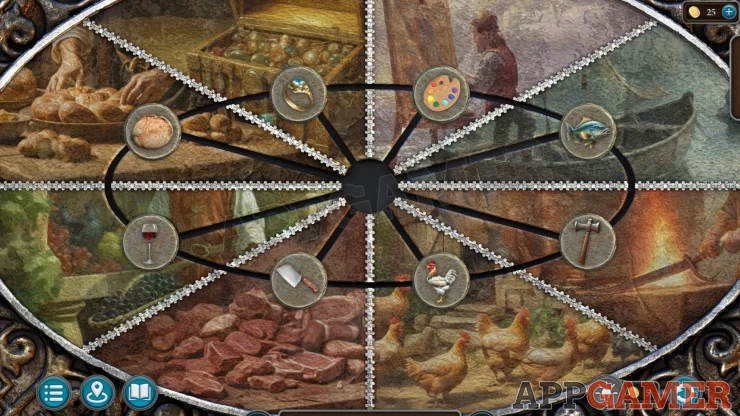
Once done you will see a mirror where you see yourself as Folnur. The mirror then opens for you to pass through.
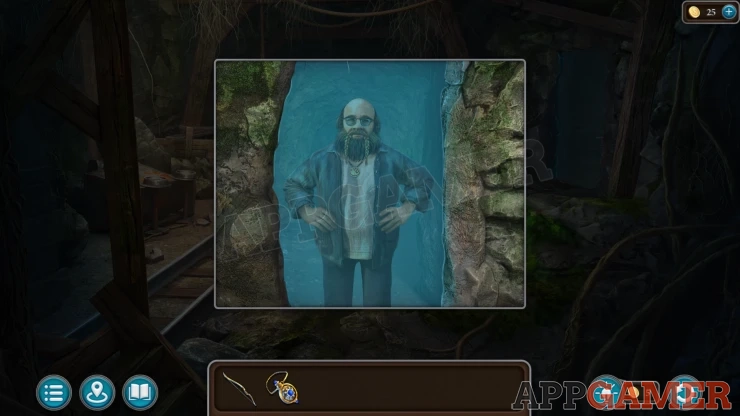
Move through the caves until you reach a dungeon.
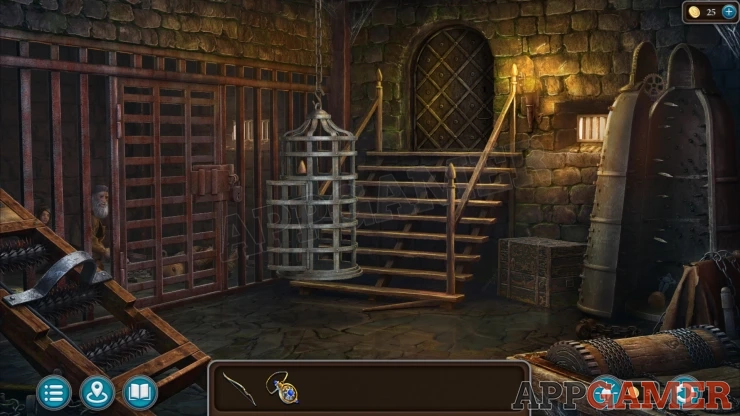
Collection Item: Drak Ul figurine, insode the iron maiden on the right.
Morphing Object: Gear / horseshoe at the top of the Iron maiden on the right.
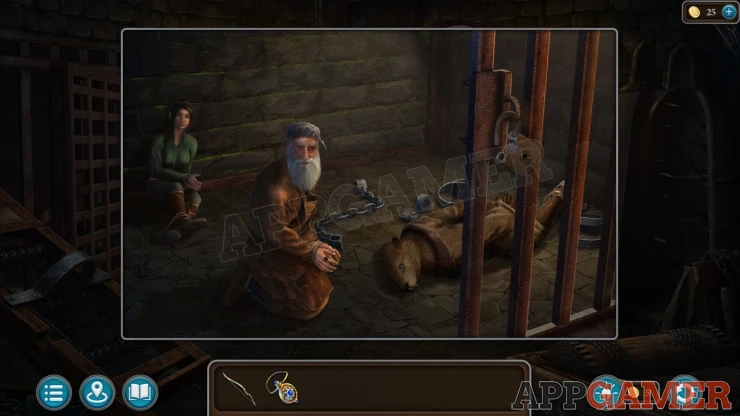
Maaron and Kiana are in a cell. Talk to them. You will then have a conversation with Folnur.
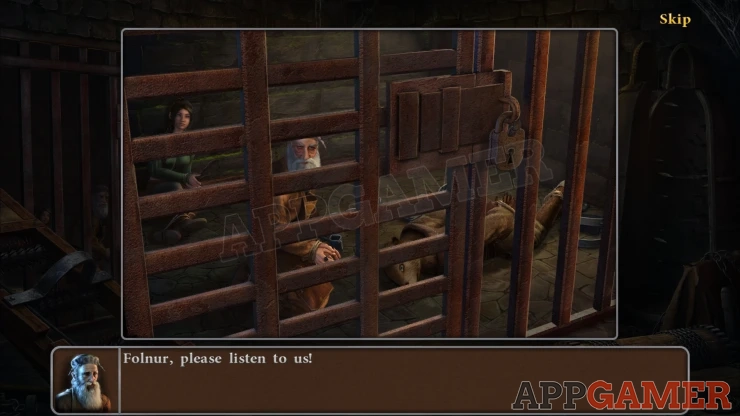
You collect the Key to the Cage.
Task - Preparation
Use the key to open the cell on the left. then look inside to find that the others are still tied up.
Tap the door to exit to the courtyard of the abandoned fortress.
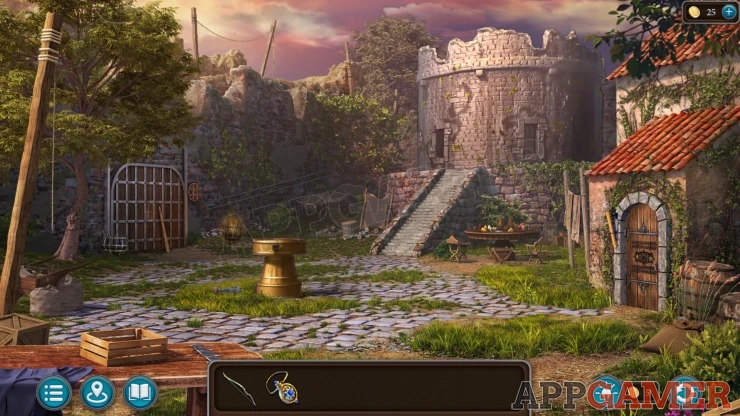
Collection Item: Drak Ul figurine on the ground to the left of the circular winch in the center.
Morphing Object: Shield on the stone wall above the circular winch in the center.
Tap the circular winch in the center to see that is needs to have levers added.
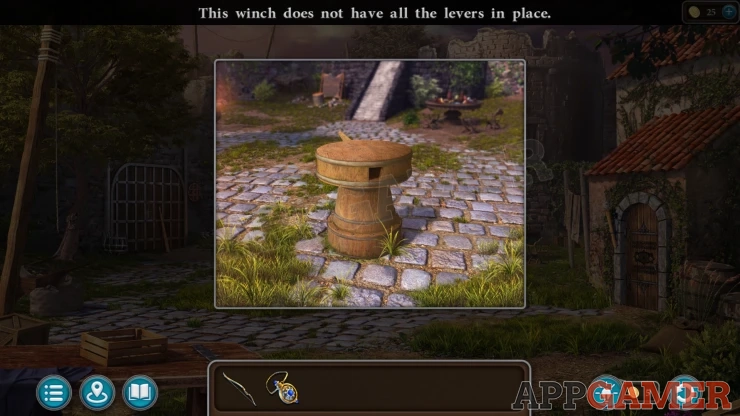
Then tap the large gate on the left wall.
Collect a Winch Lever (1 of 3)
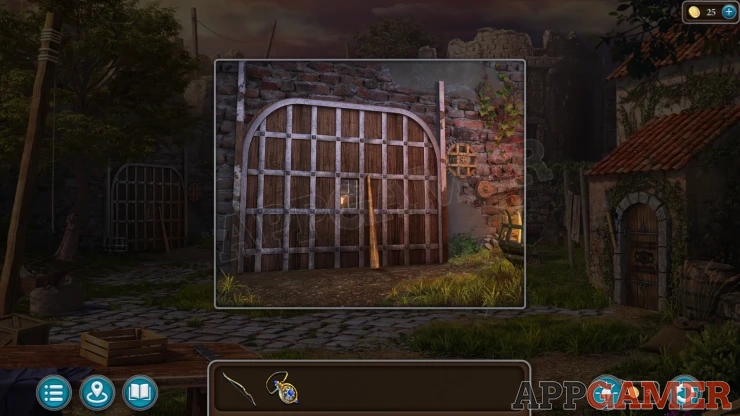
Next look at a table on the right side of the courtyard. Collect a Detail of the mechanism, from the table.
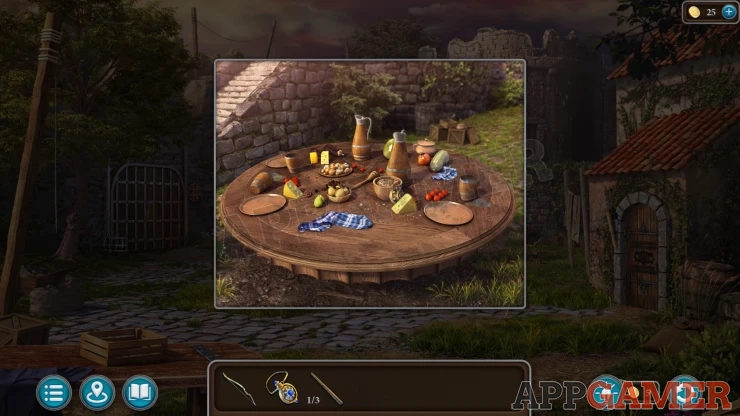
Now view the door on the far right of the courtyard. Add the Detail of the mechanism to the center.
Door Mechanism Puzzle
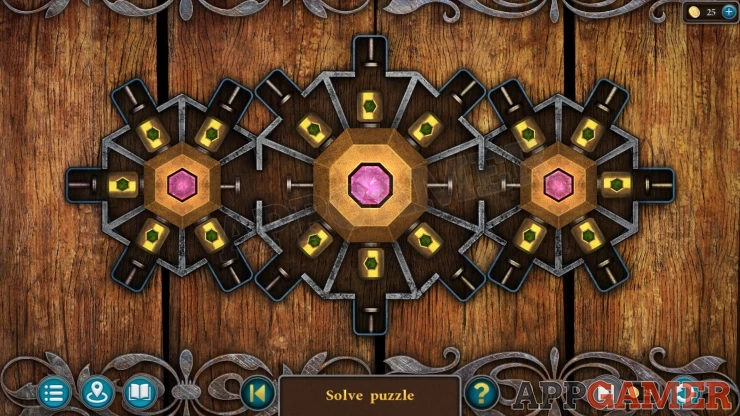
- There are three wheels with gold / green parts on them.
- Tap the parts to move them from the wheels to the pins on the surroundings.
- You can also move the parts from one wheel to another.
- As you move a part the wheel it is on will rotate.
- You need to get all of the parts off of the wheels and into the surrounding pins.
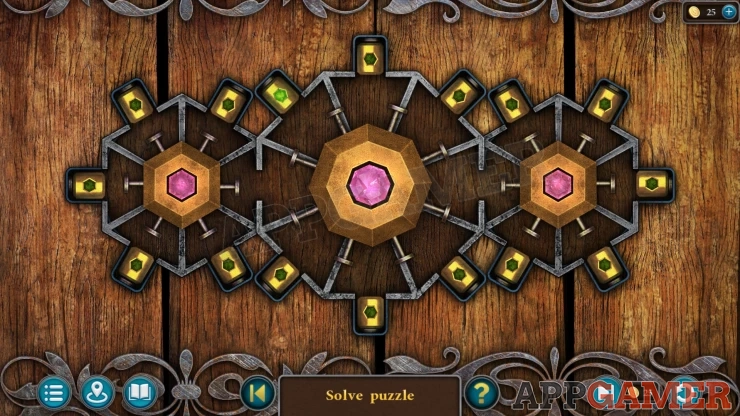
Once done the door will open, enter the Forge.
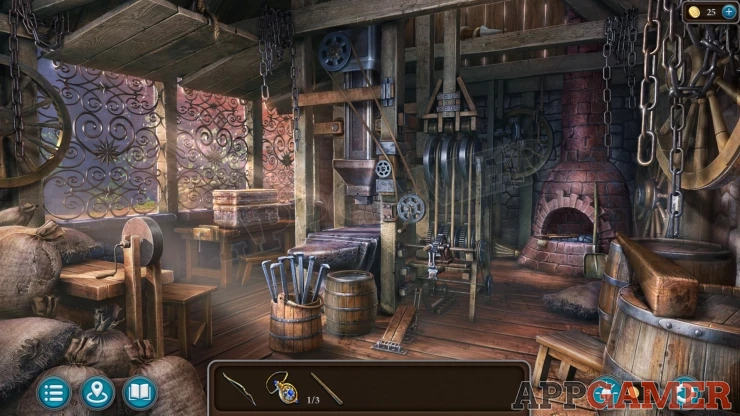
Collection Item: Academy Tower, model on a high beam above the fire.
Morphing Object: shape on the intricate metal work on the window on the left (above a large box on the table).
Collect another Winch lever from the barrels on the lower right. (2 of 3).
View the forge fire area and collect from it a Blank for a sword blade.
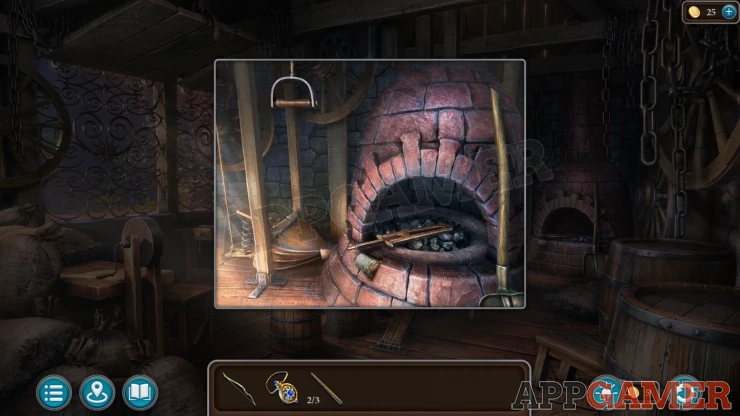
Then look on the left to find a stone sharpening wheel. Use the Blank blade on this and you will get a Sharpened Sword blade.
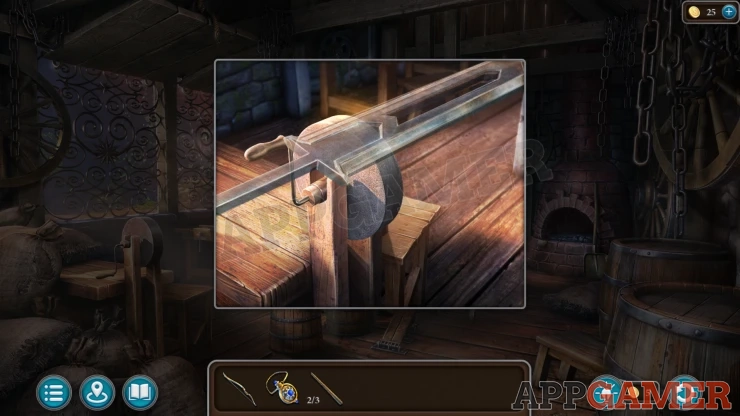
Go back to the dungeon room and collect one more Winch Lever (3 of 3) from the ground by the steps. Then look into the cell.
Use the sharpened sword to cut the bonds and free everyone.
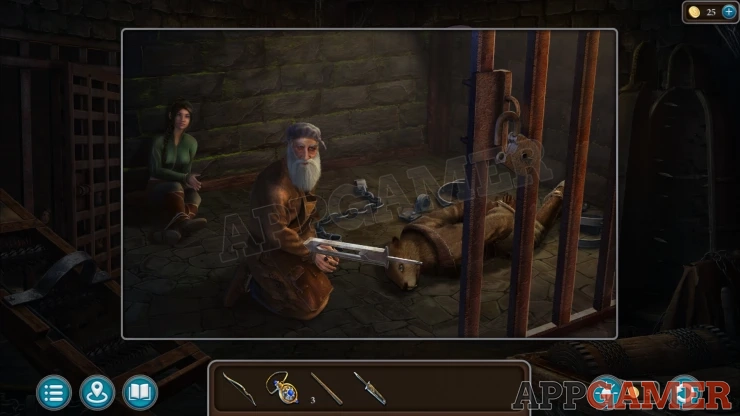
Go to the courtyard and add the three levers to the center winch. Then you can tap this to turn it.
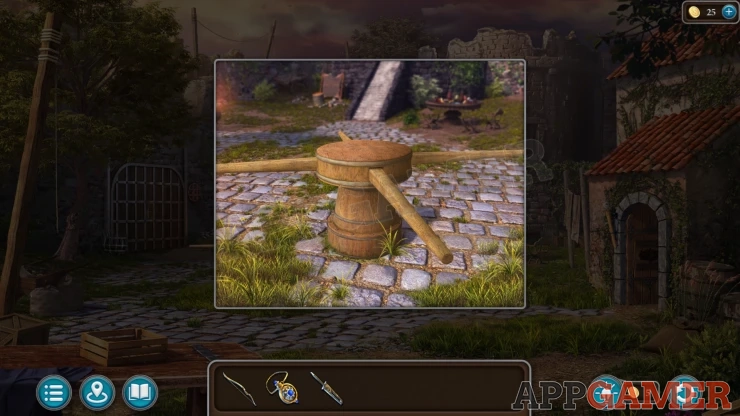
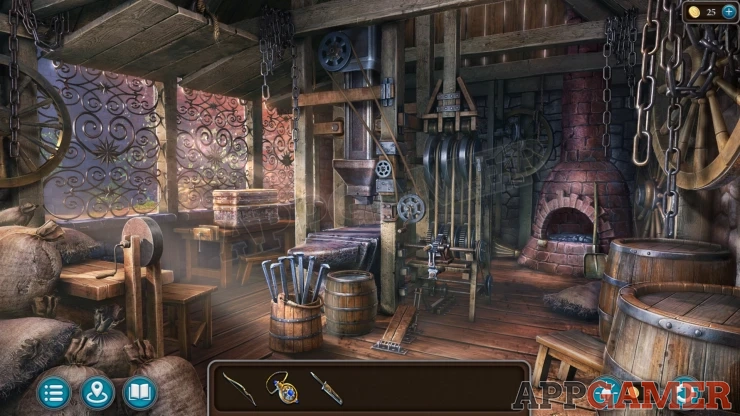
The tower lifts and reveals a door. Enter the tower.
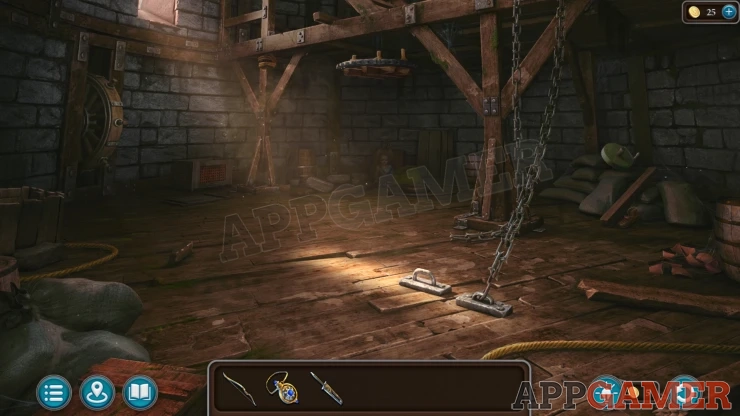
Collection Item: Ghost of the past, figure on the center at the back
Morphing Object: Shoe on the right near some sacks.
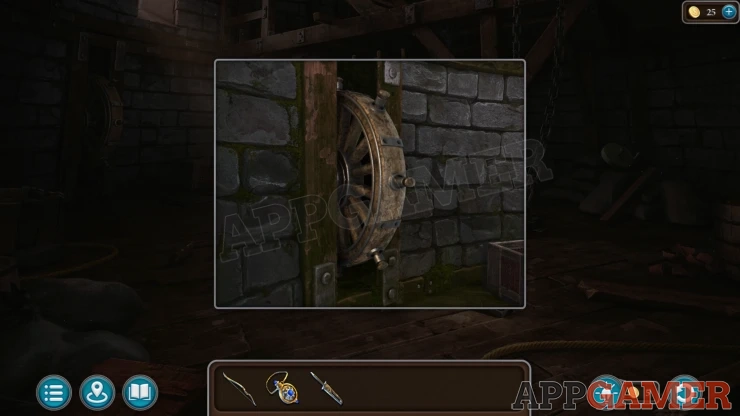
Now view a large wheel in the wall on the left. Tap this to turn it. You find that there is a part missing.
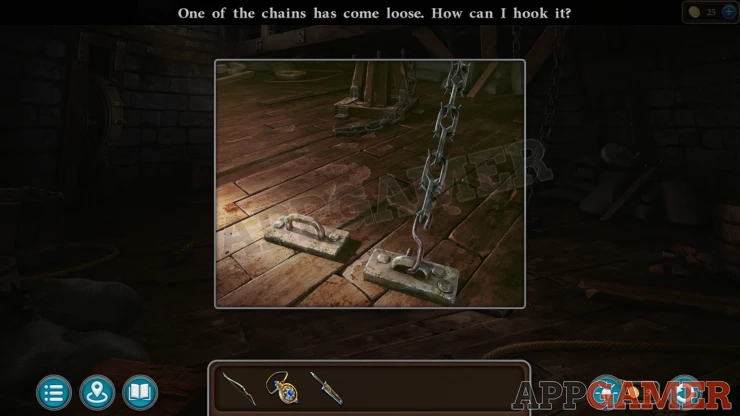
View the chains to the right to see a bracket on the floor. Tap this to see that you need a way to hook it.
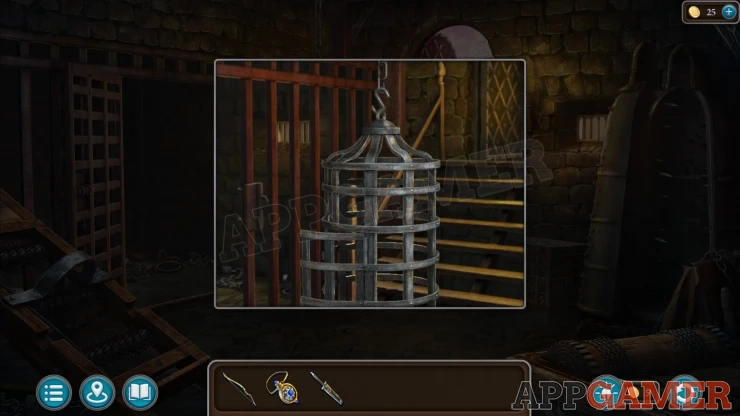
Then back up to the dungeon. then tap the cage that is hanging from the ceiling. Take it down and then collect an S-hook from the chain.
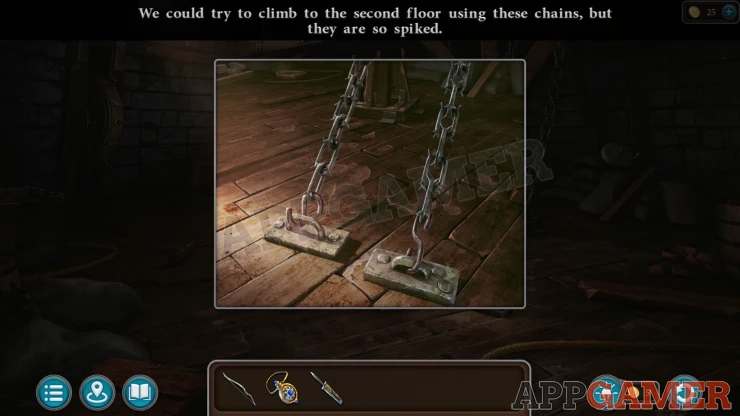
Return to the tower and view the chains on the right with the brackets on the floor. Add the S-hook here to connect the second chain. You will see a message abort climbing the chains.
Go to the Forge room now and collect a Bucket of Staples from the floor near the center. Then go back to the tower and add these to the chains.
Then go back to the tower and add these to the chains.
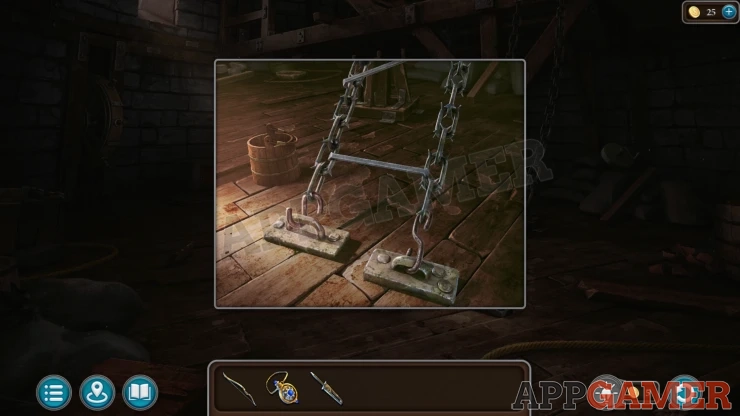
Tap the chains to climb to the second floor.
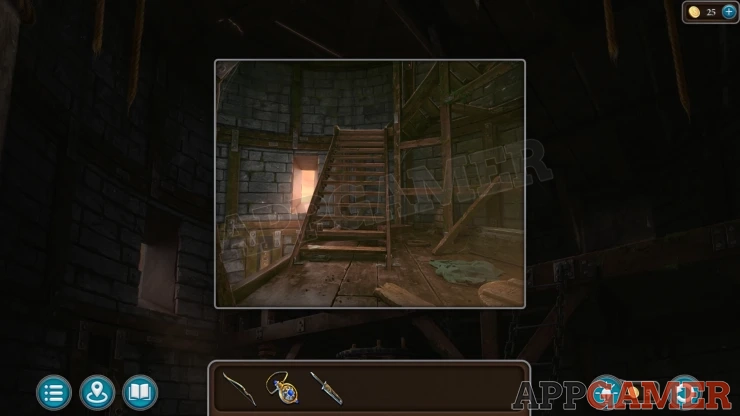
View the bottom of the steps.
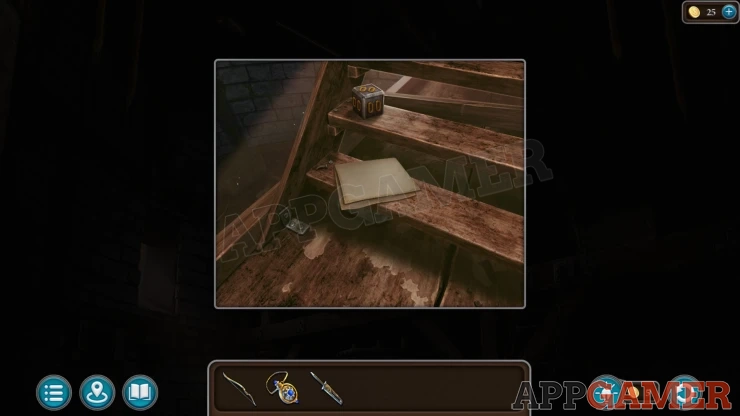
Manuscript: on the bottom step
Collect a Cube with numbers.
Next tap the bottom step to loosen it and remove it. Below you will see a bracket that is holding the chandelier below. You cannot do anything with this yet.
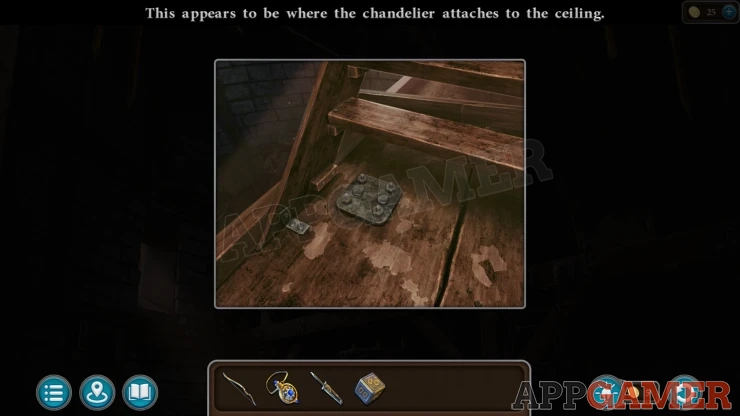
Tap the top of the steps to see a hatch that is locked.
Back up to the dungeon room and view a box that is on the floor to the right of the steps.
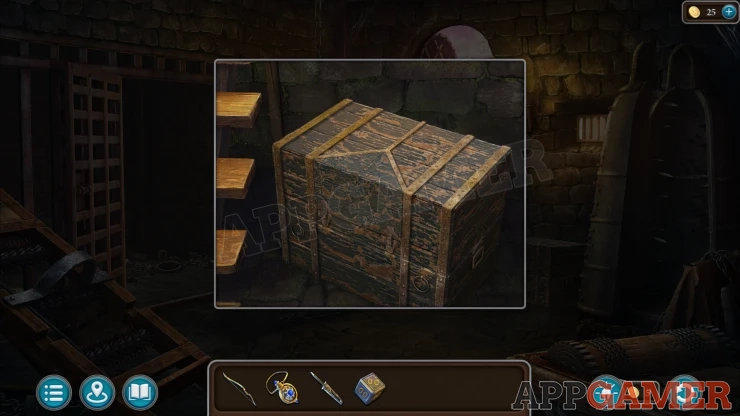
Tap this to open a panel to find a puzzle. Add the cube to it to start.
Dungeon box puzzle
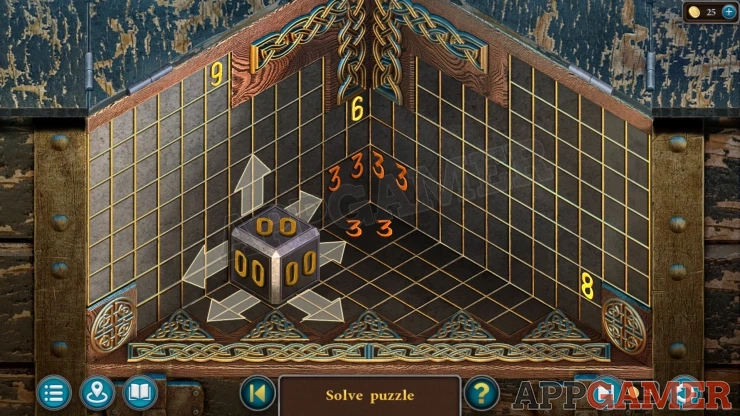
- The cube can be moved by tapping arrows around it to slide it along the walls and floor of the 3D grid.
- In the center corner there is a spot with a total number e.g. 33. This can vary for your game.
- Slide the cube around to numbers on the walls, the number you land on will then be added to the total on the cube.
- You can add 4 numbers, each time you do the numbers available will change.
- You need to match total on the cube to the one in the corner, then move the cube into place to complete the puzzle.
Solution:
As the number can very for each game try out the moves that you can make and work out the best way to add up to your total. For my game the total was 33 and the easiest route to take was 9 + 9 + 10 + 5Show
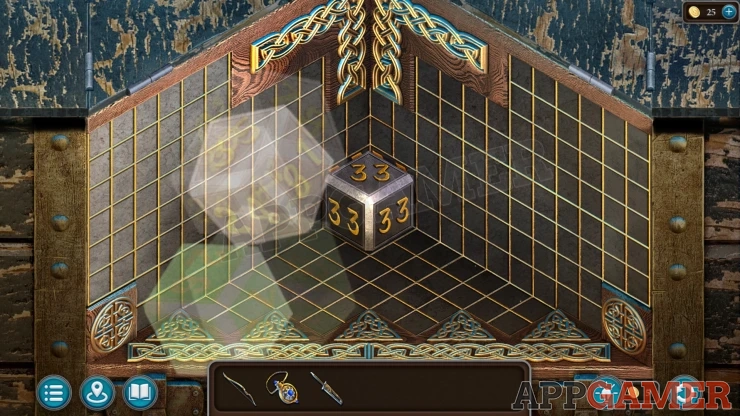
The box opens and you can collect the Magic Attachment and an Adjustable spanner. (you need to have seen the bracket for the chandelier in the tower first)
Go to the second floor of the tower again and view the bracket on the floor under the steps. Use the adjustable spanner on this.
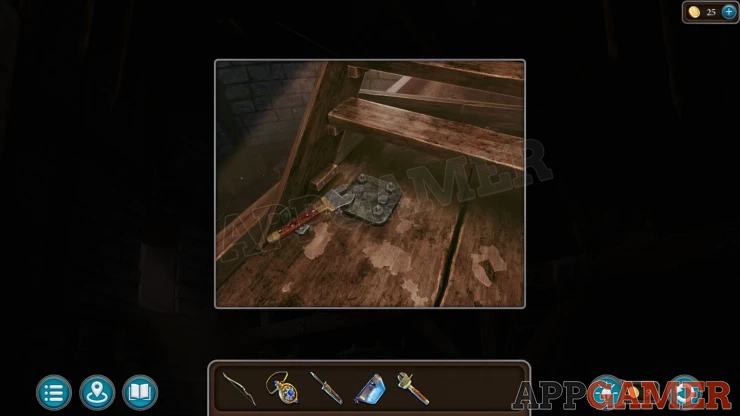
The chandelier falls, view this on the floor. Use the adjustable spanner again to remove the metal brackets from it
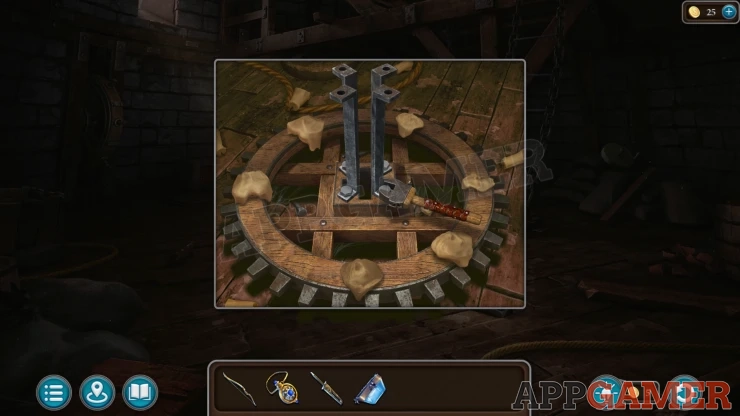
You will then collect the Wooden Gear.
Exit to the courtyard and view the gate on the left. Add the wooden gear to the right side with the one that is already there.
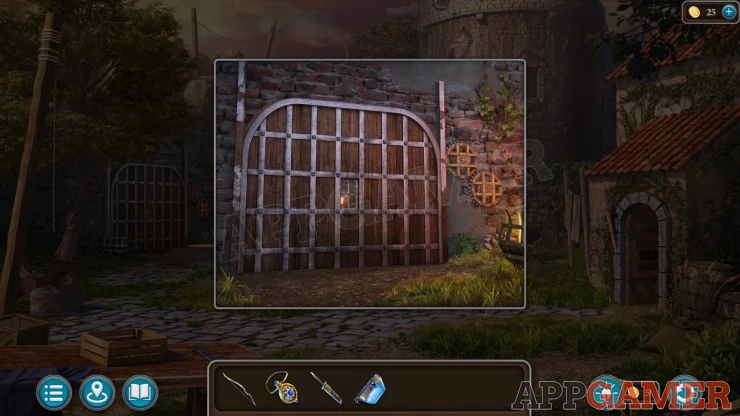
Now enter the tower again and try the wheel on the left, it does not turn. Return to the gate and you will be told that it it jammed.
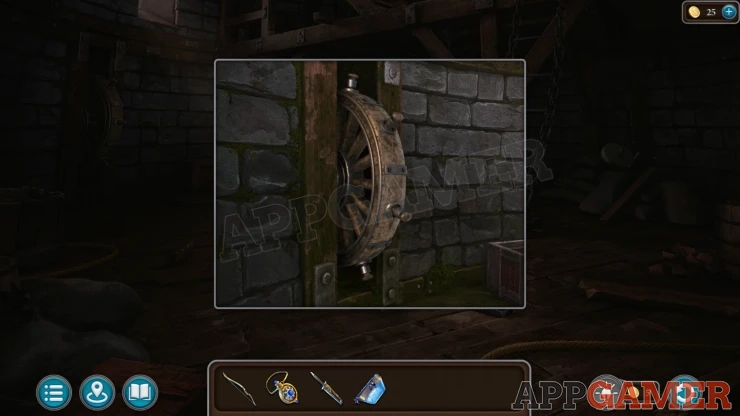
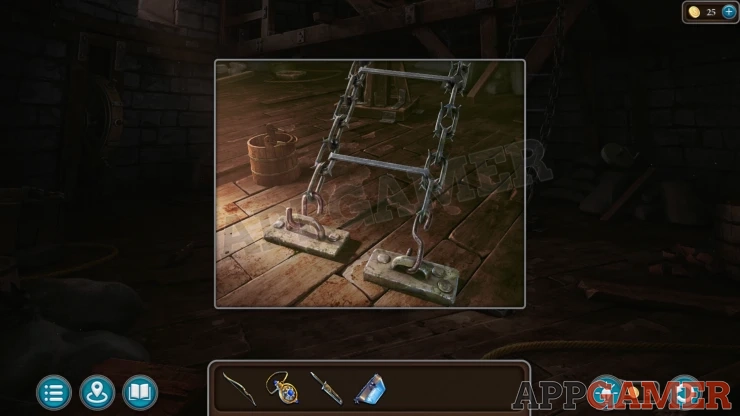
Go back into the tower and collect the Empty bucket from next to the chain ladder.
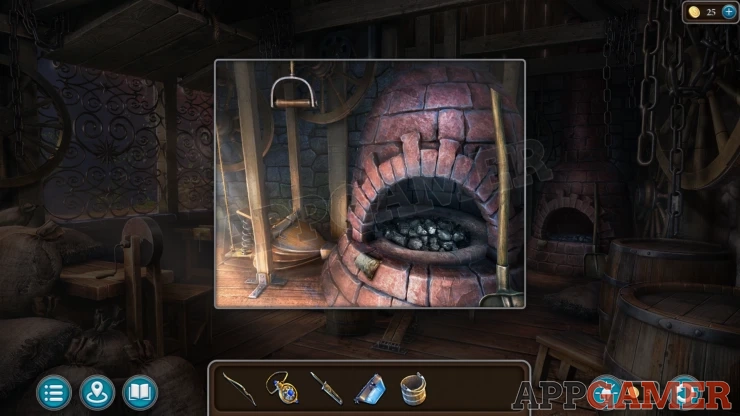
Then enter the forge and collect a Scoop Shovel from next to the fire place.
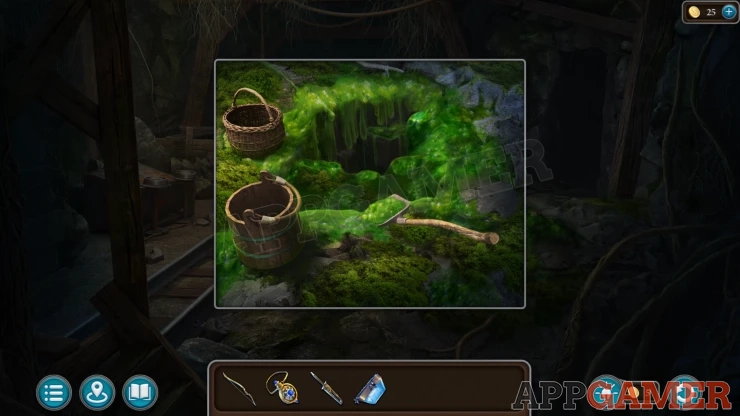
Travel to the mine and view the pit with the slime in it. Place the bucket here and then use the shovel on it to collect a Bucket of Slime.
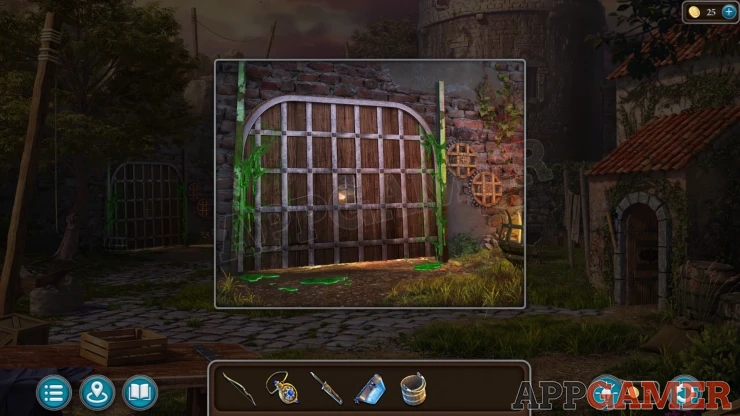
Go back to the courtyard of the fortress and view the gate again. Add the slime to the it. You will collect again the Empty bucket.
Enter the tower and try the wheel again. This lifts the gate but it falls.
Next use the Sharpened sword on the wheel and this will raise the gate and then lock it in place.
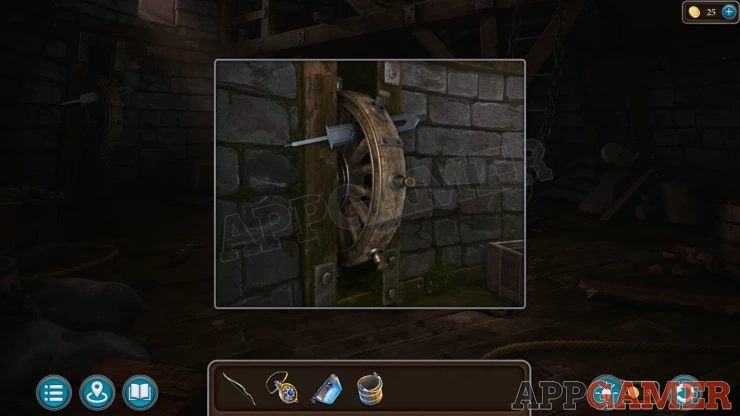
Back up and now go though the gate to the weapons store room. You need to find some arrows.
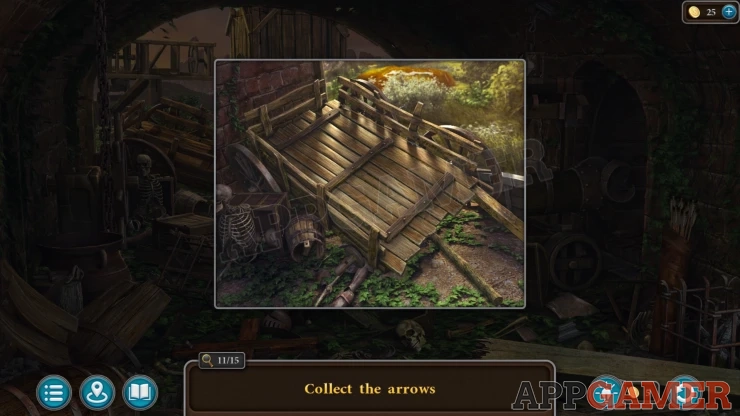
Collect the Arrows
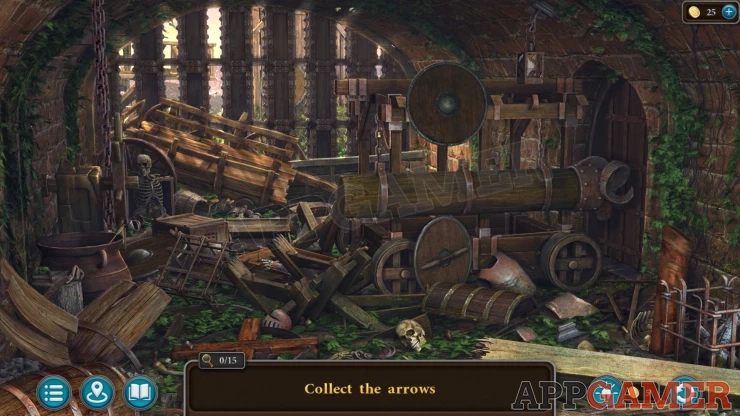
There are 15 arrows hidden in the room and side areas.
You will need to check carefully all areas and break open doors and other items to find them all. There are four in the main scene.
Use the battering ram to knock down the door on the right and look inside. There are three arrows here including one that you will need to break the large skull with a brick to collect.
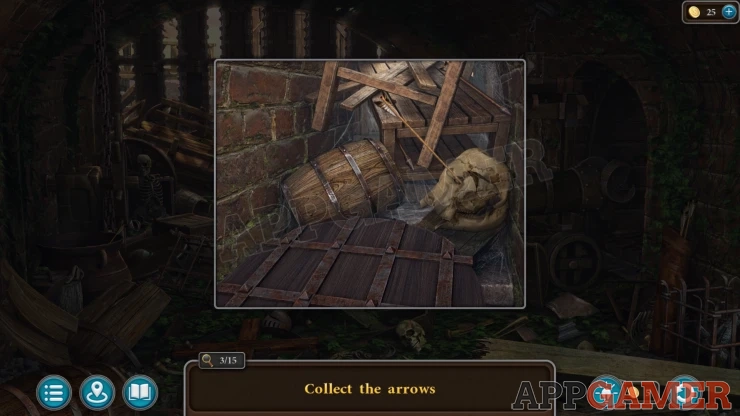
Look on the left side and move items around to find three more arrows. You should then also a clamp on the chain and tap the wheel to open a large gate at the end of the room.
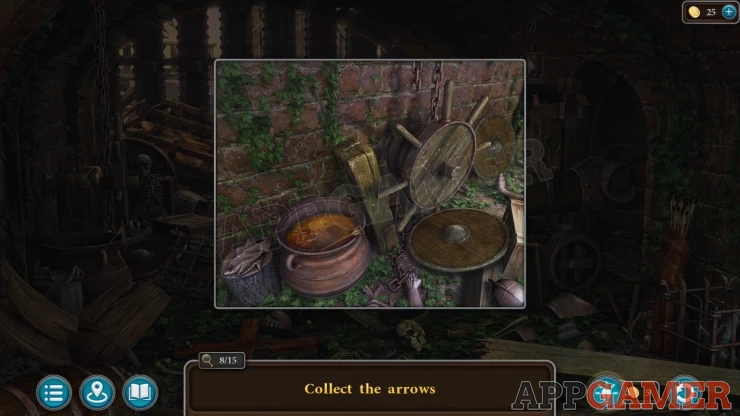
View a cart by the left of the opened gate and find three arrows. You need to use a log to lift the cart to find them all.
Then view the wooden tower outside, there are two more arrows here, one needs to be assembled.
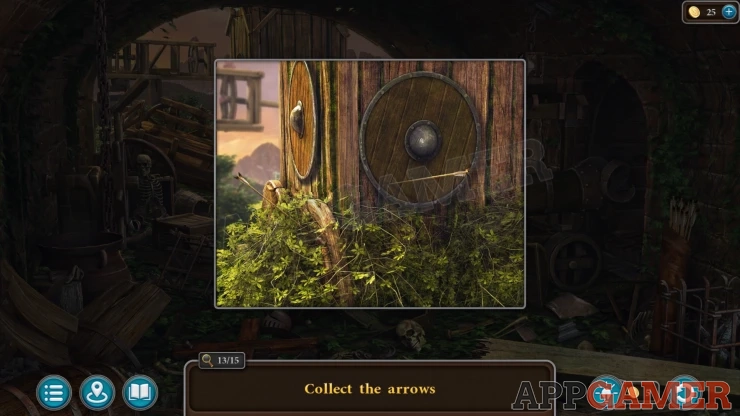
Once you have them all you collect the Quiver of arrows.
Folnur returns to you and you will then receive the Scarab figurine.
Task - Magical Weapons
Enter the forge and view the box on the table by the window. Add the Scarab key to it.
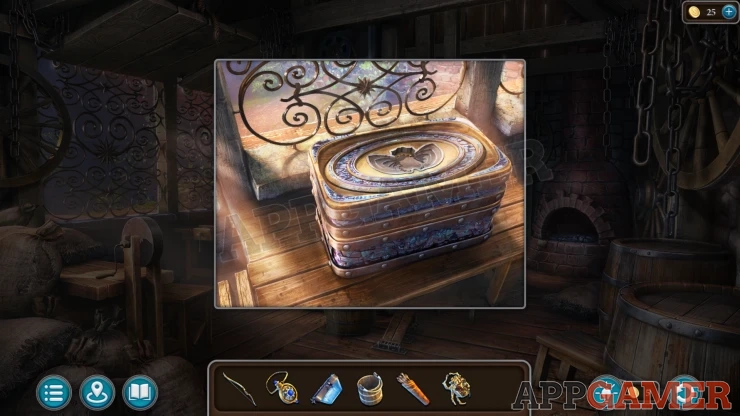
Boldan's Box Puzzle
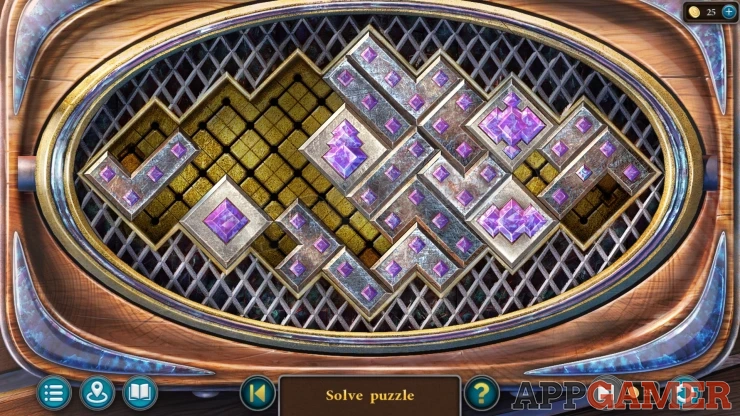
The grid contains a number of shaped pieces.
There are four special pieces that are square and have shaped gemstones on them.
Slide the pieces around the grid and move the special pieces to the four corners, they need to be placed onto the matching shapes below.
Solution: Show
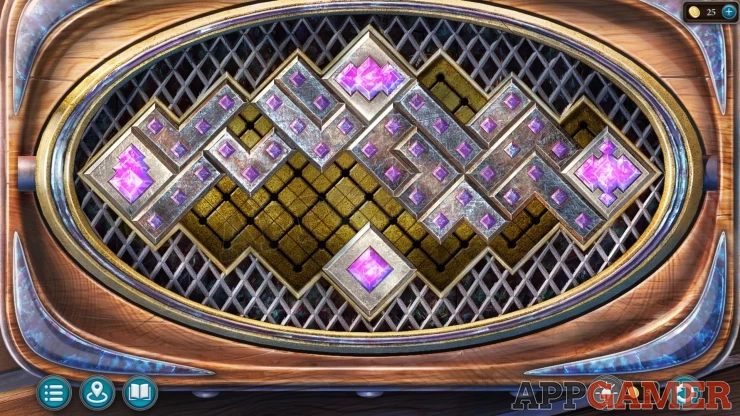
Once the box is open collect Mountgor's Apple and a Crystal Ball.
Then view the paper in the box, this is instructions for making a Magic sword. You can then also collect the Guard of the Magic sword.
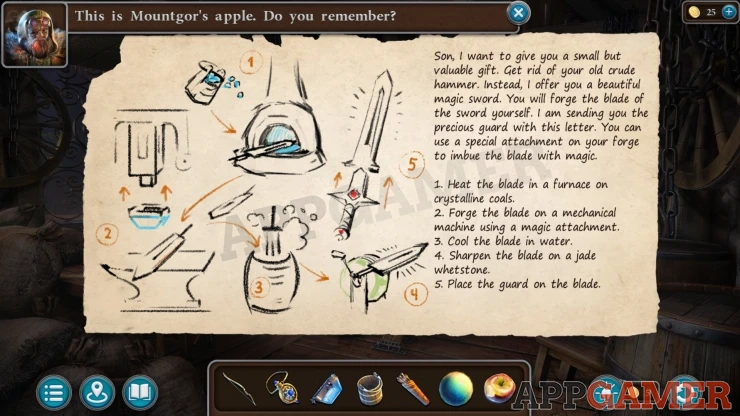
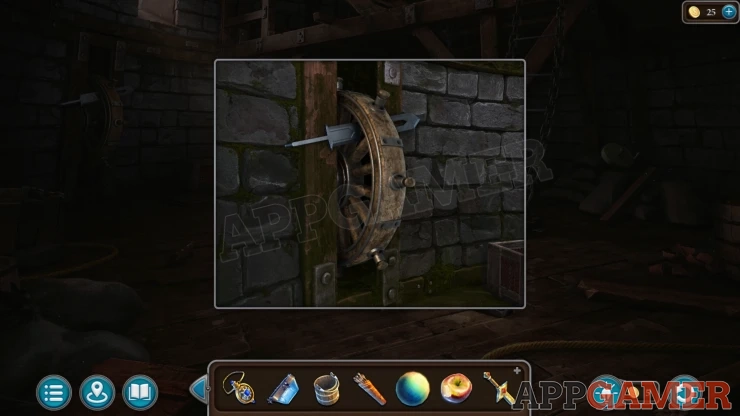
Go to the tower and collect the Sharpened sword blade from the wheel on the left.
Then go to the mine and view a deposit of coal on the left side, remove the planks from the top.
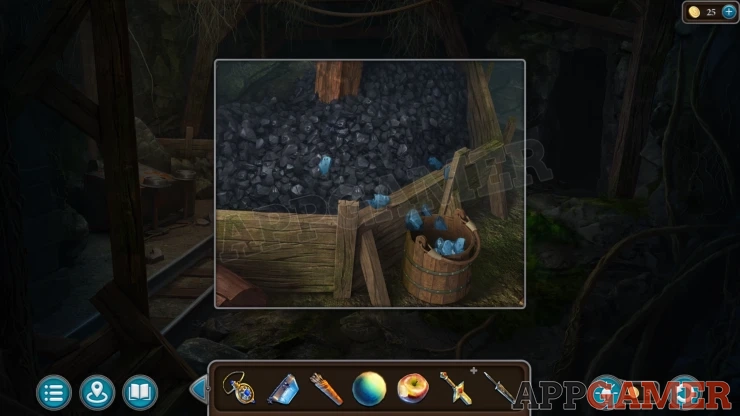
Use the empty bucket here and then you can collect the Crystalline Coal.
Return to the forge and view the fire place. Add the coal to it.
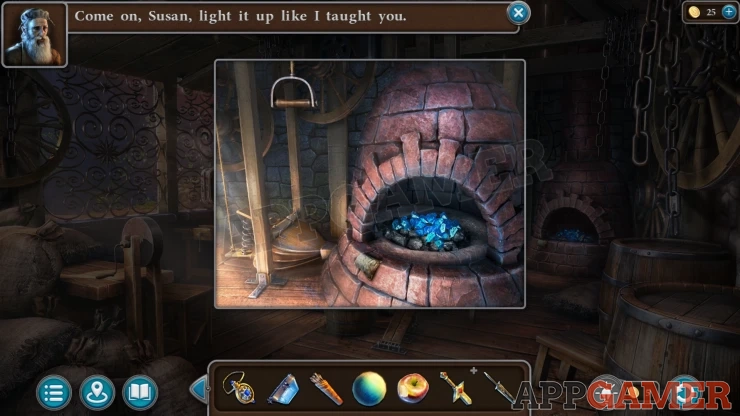
You then need to repeat another spell shape puzzle to light the fire.
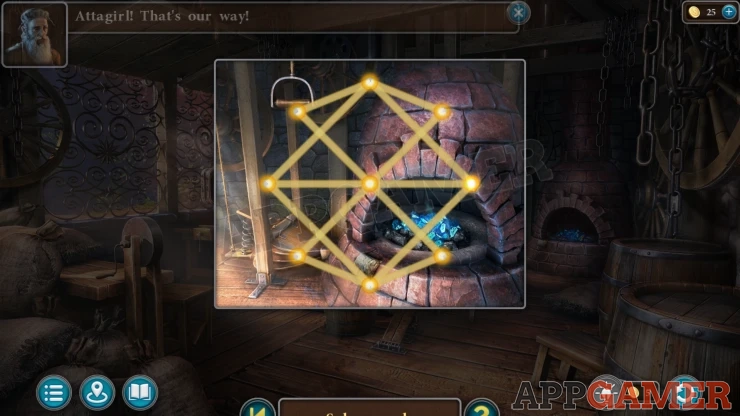
Hint: start on the center left or right.
When the fire is lit, add the sword blade to it. Then tap the chain handle hanging on the left to work the bellows and heat the fire.
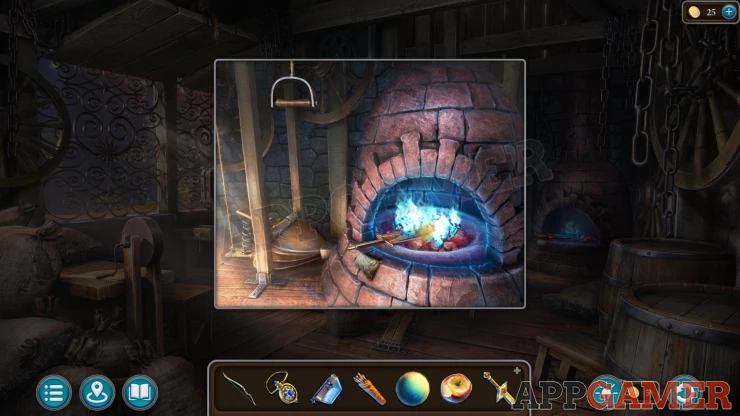
You can then tap on a rag that is on on the side of the fire next to the sword to let you collect the Red-hot blade of the sword.
Now view the large anvil in the center of the room. Add the Magic attachment to it. You will get an explanation of how it works.
To use it you need to set the valve (wheel) to control the hammer height (Low, medium, high) and the Lever on the right to change the gears to set the Power level.
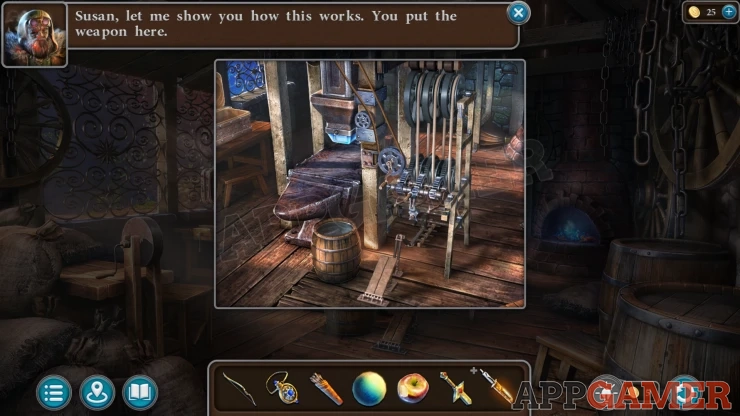
You need to work on the sword blade first. Add this to the anvil. Then set the controls and tap the foot pedal to start the process.
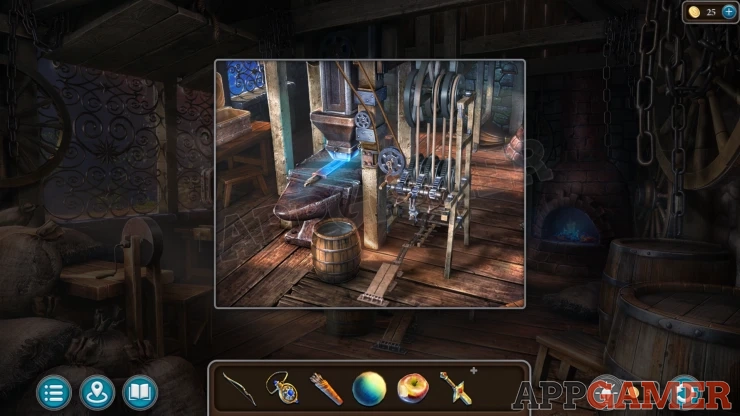
Solution: These were my settings, they may be different for you. Valve - Middle Gears (lever) - middle.Show
Once done tap the blade and then place it in the water to collect the Forged Sword blade.
Next add the quiver of arrows to the side, then set change the controls to work on the arrows.
Solution: These were my settings, they may be different for you. Valve - Low Gears (lever) - RightShow
Tap the pedal, after three arrows are done you can then collect the Enchanted arrows.
Go to the tower and collect from the sacks at the back on the right a Jade Whetstone.
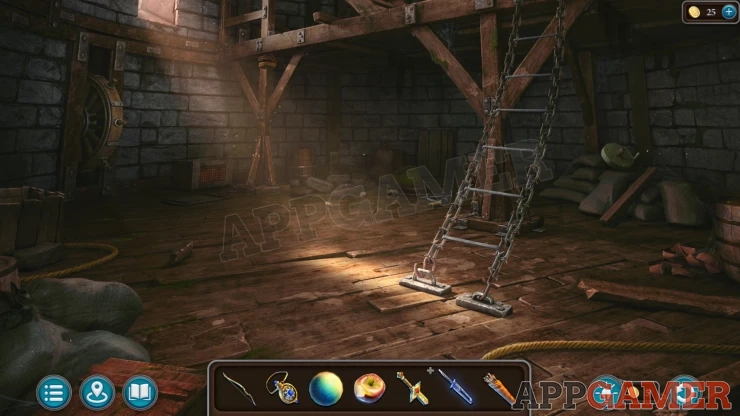
Then return to the forge and view the sharpening stone on the left. Replace this with the jade whetstone.
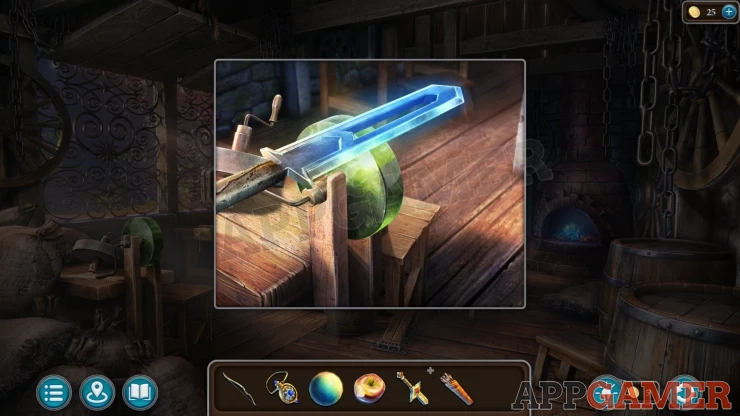
Use the forged sword blade on this and you will receive the Blade of the Magic Sword.
Now view the Guard of the Magic sword in your inventory and add the Blade to it. This will give you the Sharpened Sword blade.
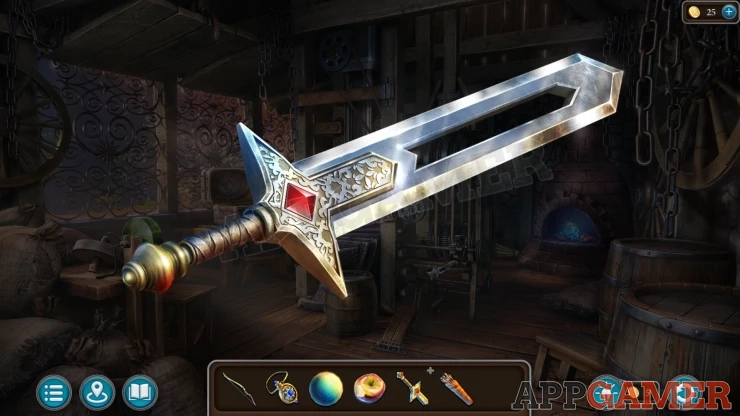
Back out to the courtyard and then you can use the crystal ball here to summon Buldan.
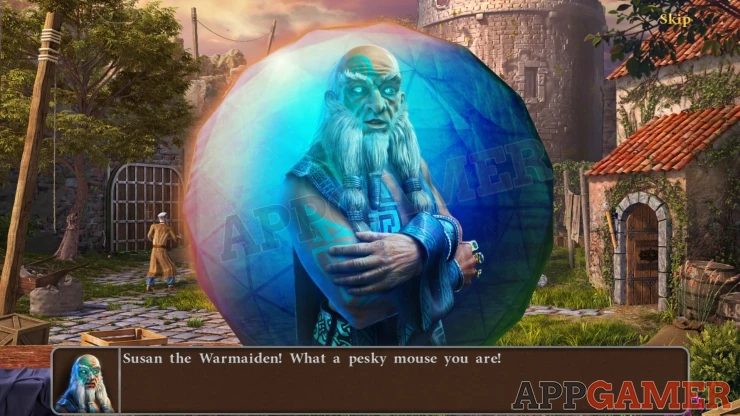
He knocks everyone out except you.
Task - Confrontation
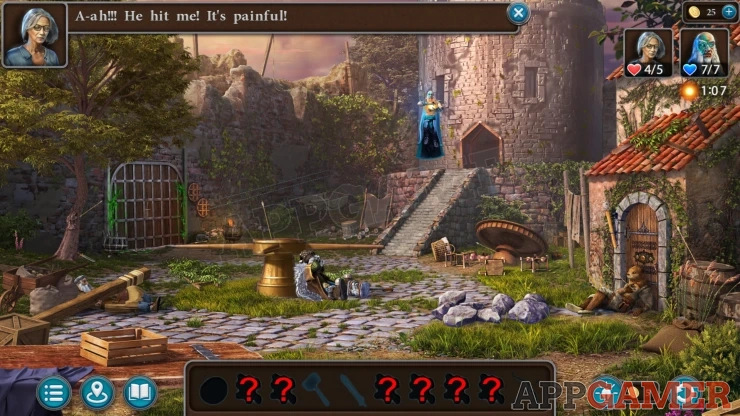
Now you need to complete the actions to fight back. You need to find a number of items around the scene.
This is a timed task, a timer will count down on the right and when it reaches zero Buldan will fire and damage you. If you take too much damage you will fail and need to start again.
Collect an arrow from a barrel on the far right to the right of the forge door.
Collect an arrow from the center winch
Move some branches to the left of the center winch to find a ladder. Select this and place it by the forge roof on the right.
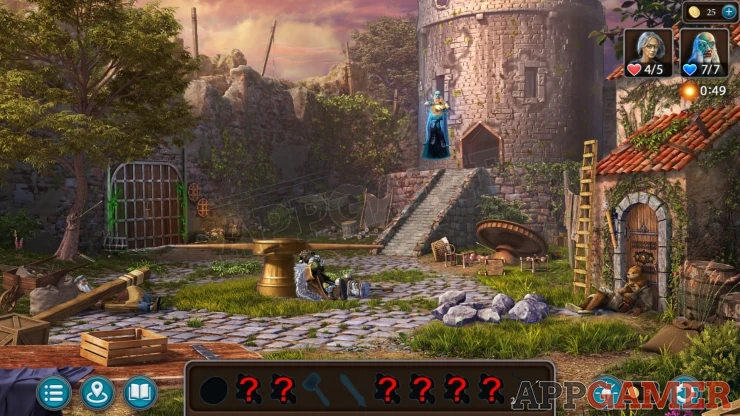
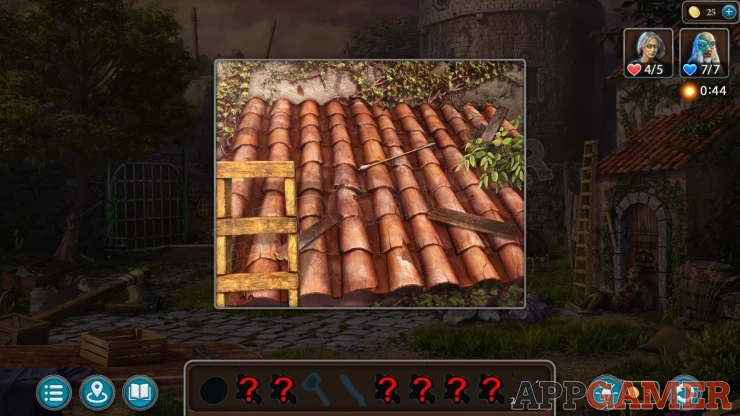
You can then view the roof. Move a branch to find another arrow
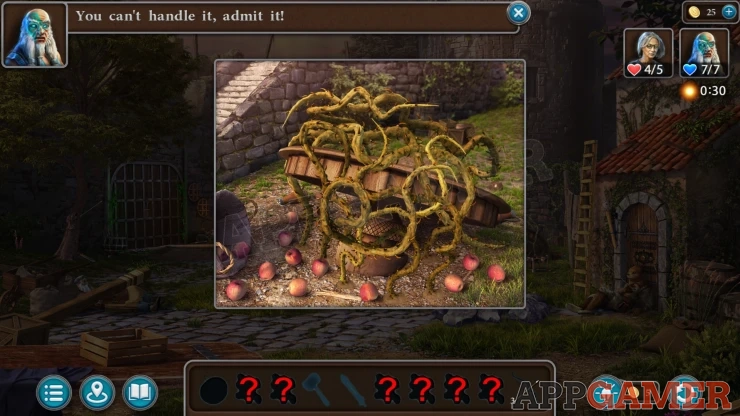
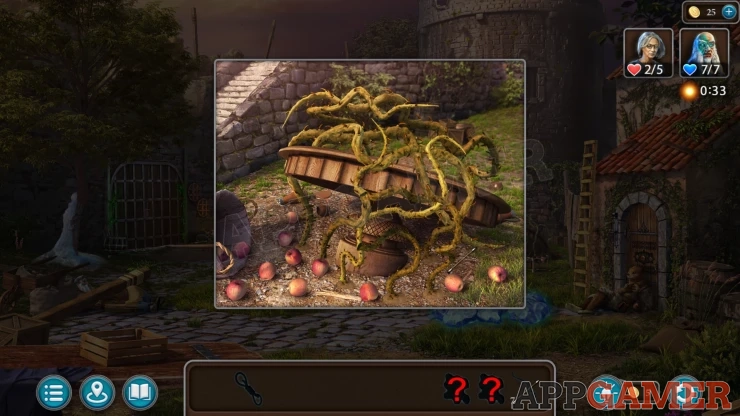
View the broken table below the tower, there is an arrow here but when you try to take it vines will block you. Tap the apples on the lower right to find and collect Montegor's Apple.
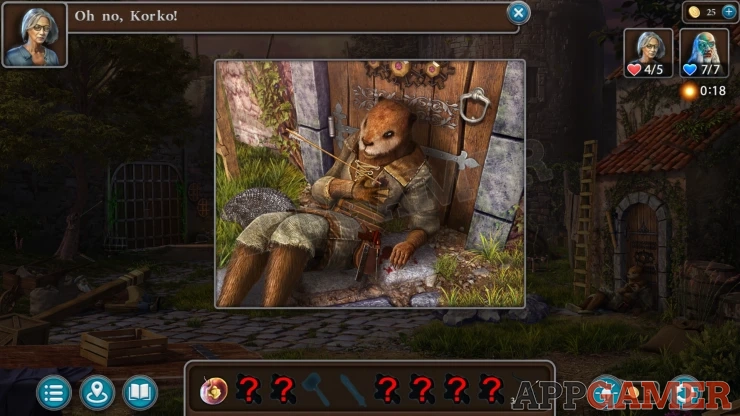
Now view Korko by the door to the forge. He is wounded. Give him the apple and then you can collect another Arrow.
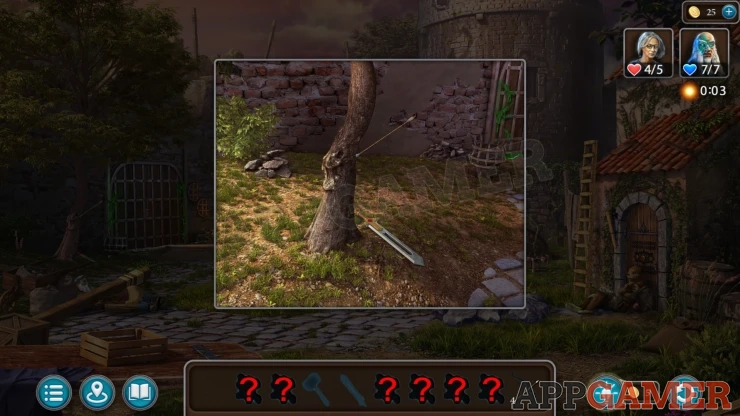
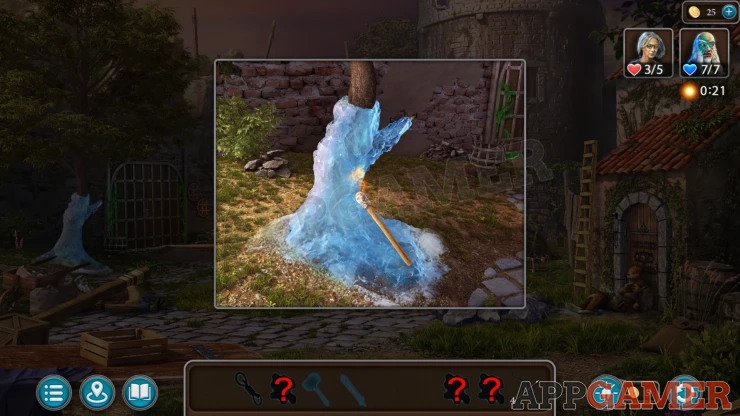
View the tree on the far left, there is an arrow here and the sword but Buldan will freeze them to the tree.
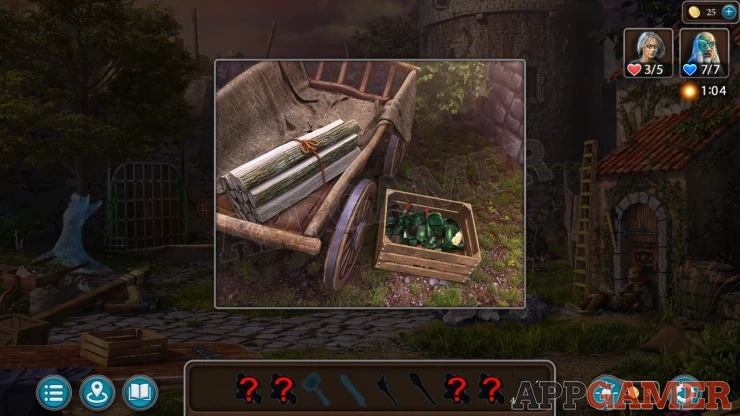
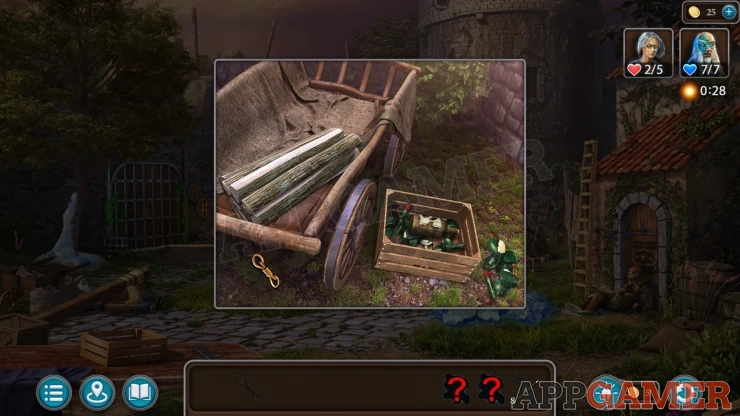
View a Cart in the far corner of the courtyards, tap the sheet covering it to remove it, there is a bundle of sticks here and a create of glass bottles. You cannot use these yet.
Now view the fire next to the gate on the left you will see Kiana. Tap the Bow to see that you need a replacement string.
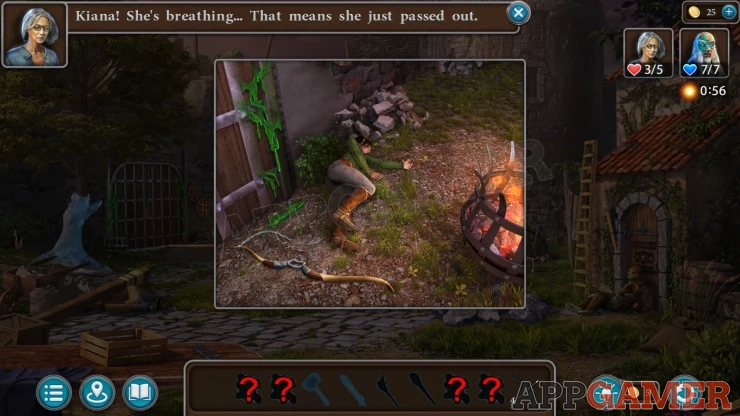
Collect a Torch (unlit) from next to the door to the forge. Then return to the fire next to Kiana. Use the torch here to light it.
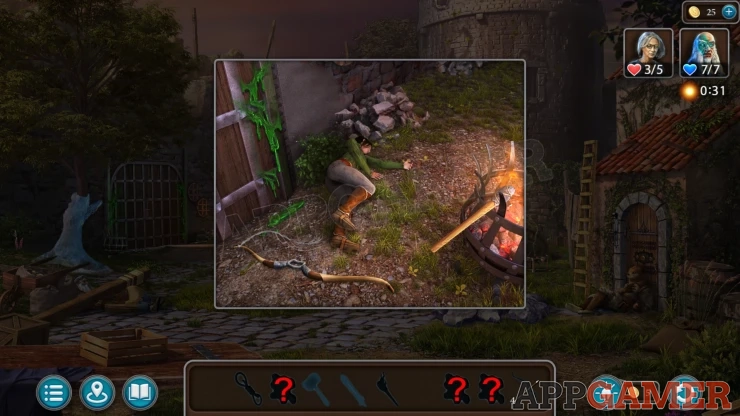
Return to the frozen tree and use the torch on it to met the ice, you can then collect another Arrow and the Sword
View Folnur near the center winch, move a branch to find an arrow. Tap the Hammer on the ground to see that it is missing a power stone.
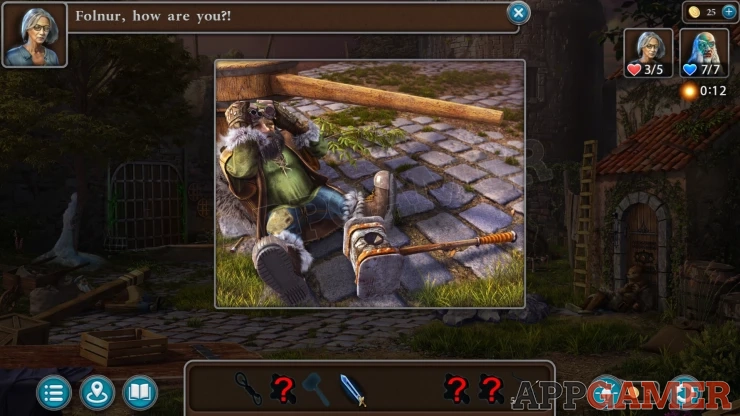
Next view Maaron on the left under a post. Move a small wood panel on the to right and collect a Crystal.
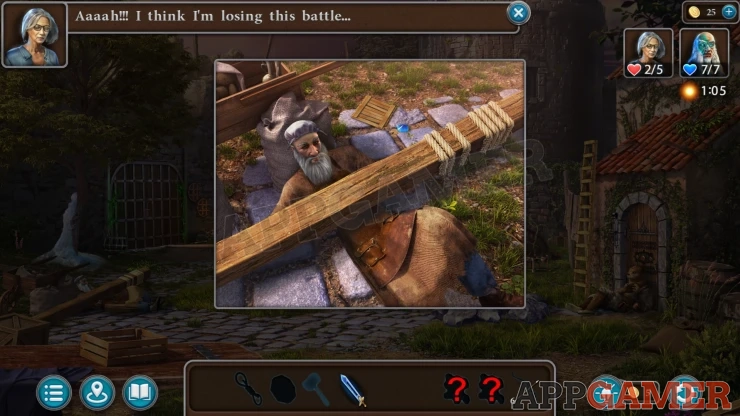
Return to Folnur and place the crystal into the hammer, you can then collect it.
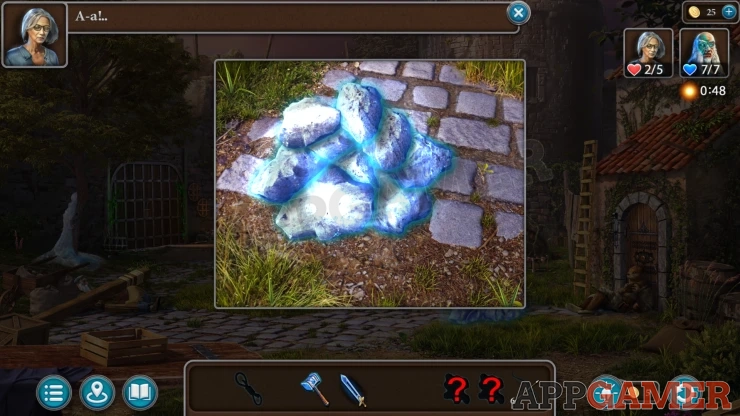
Now view a pile of stones on the right near the forge door. Buldan will cover an arrow with the stones. Use the hammer on these to break them and then collect the Arrow.
View the broken table again and use the sword to cut the vines and collect another Arrow.
Go back to the cart in the corner and tap on the bundle of sticks. You will collect the Lace cord from it.
Then view the bow on the ground again and add the Lace to it to let you collect the Bow.
You should now have the bow and eight arrows. Use the bow on Buldan to fire at him. He will shield himself.
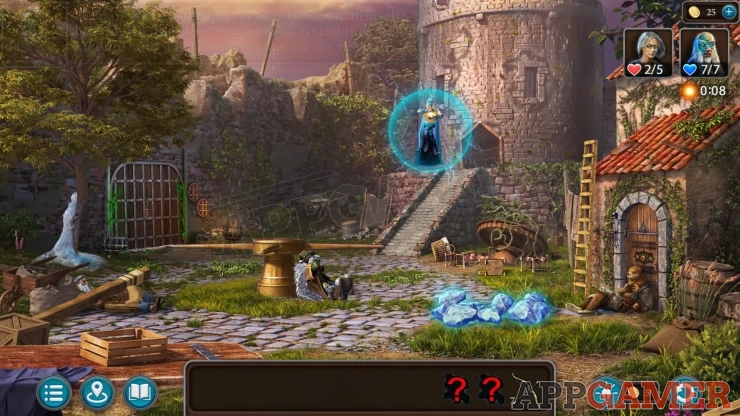
Maaron tells you to find a bottle of alcohol. View the card in the back corner again and collect a bottle of rum from the crate on the right.
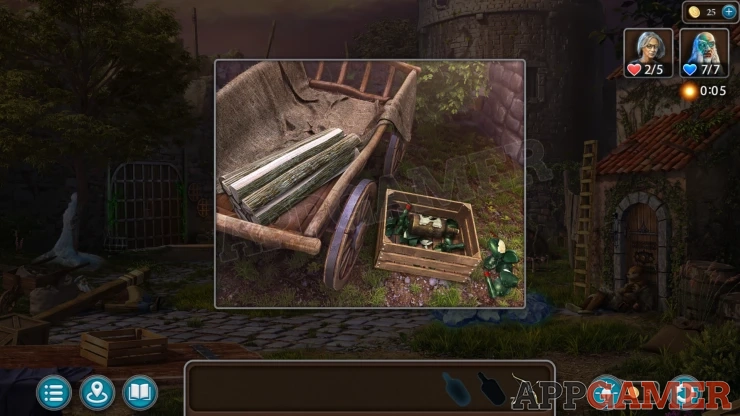
View Maaron and use the Bottle on him, he will tell you to make a spell.
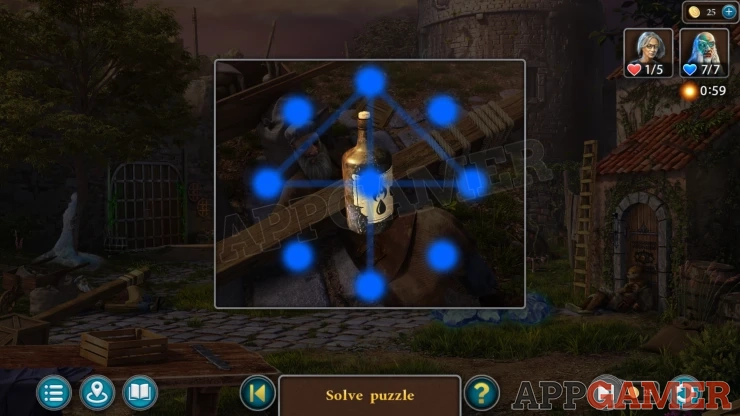
Hint: start at the bottom.
Now use the enchanted bottle on Buldan to remove his shield. You can then use the bow again and keep firing the arrows. You need to do this seven times to reduce his health to zero.
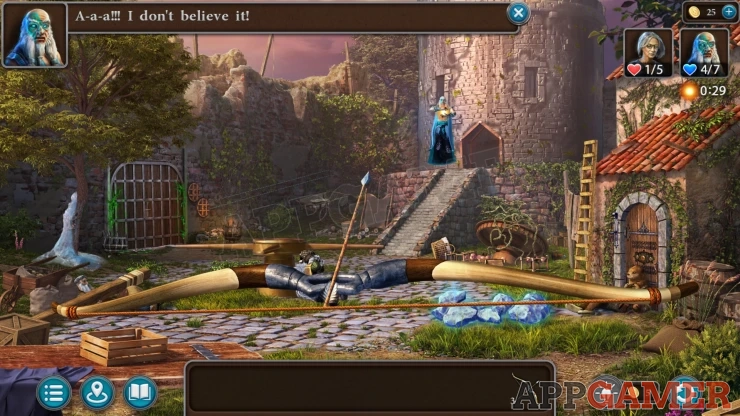
Once he is defeated he will flee.
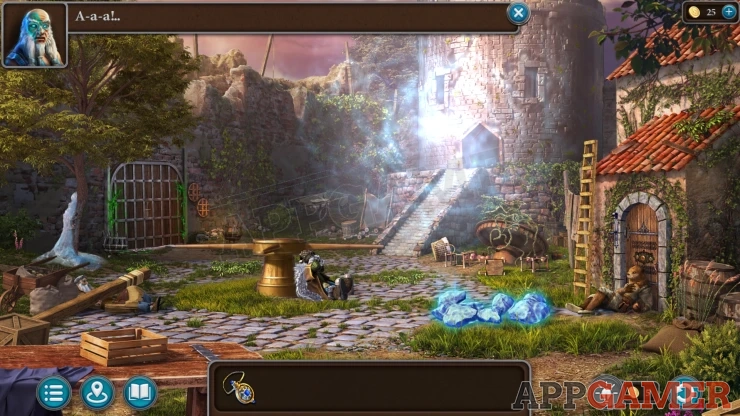
Follow him into the tower and up to the roof.
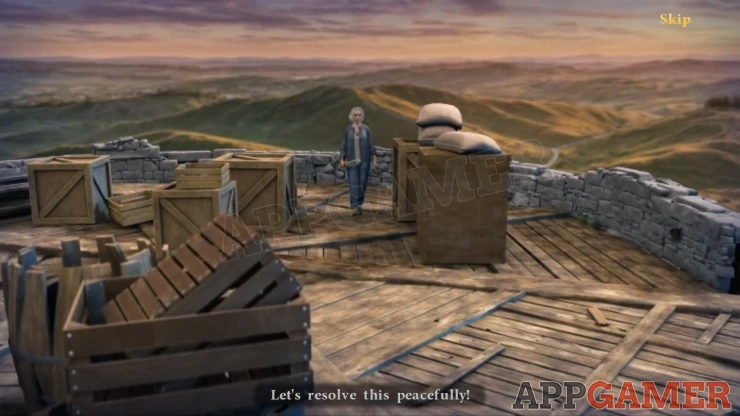
This is the final scene of the game.

You can completed the main part of the game.
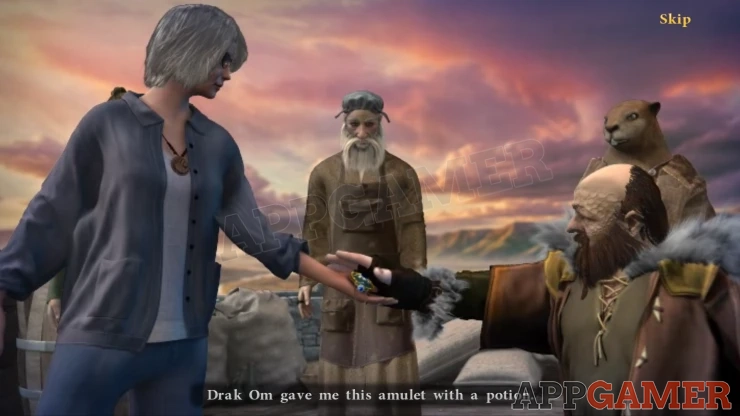
We will continue with the guide for the Bonus chapter.
We have questions and answers related to this topic which may also help you: Show all
 With 20 years of experience in creating video game content for the internet and over 30 years as a gamer, Mark is now a passionate mobile App Gamer. Loving a challenge, he is always ready to get stuck in to both survival builders and puzzle solving games. He has been providing content for AppGamer since 2014.