
Part 4 - The Dam
More Lost Lands 10
Welcome to Part 4 of our Lost Lands 10 walkthrough. This game is another in the popular line of Mystery escape room and puzzle games from Five-BN games. This game features beautifully designed environments and a diverse range of puzzles and hidden objects to find.
In Part 3 you looked for Folnur at the old mine and then Maaron helped you to look for him at the Bolgur estate. Not in Part four you continue your journey to find Folnur as you reach a dam.
Main Game Walkthrough - Part 4 - The Canyon
After leaving Folnur's house you travel through a forest and then arrive at a broken cart near a dam.
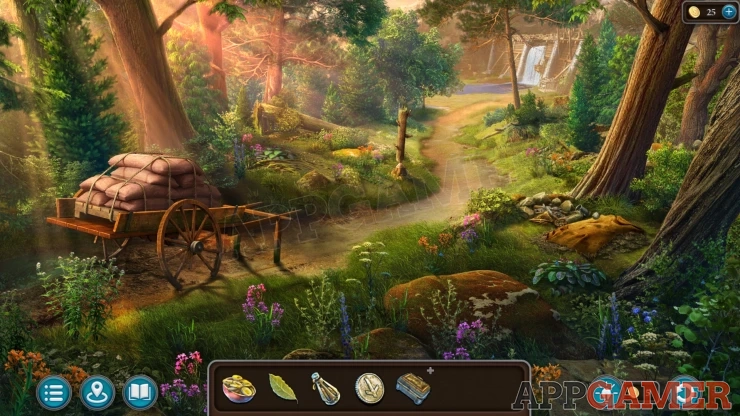
Collection Item: Toto Toy under a small green plant on the right side by a tree.
Morphing Object: Pile of leaves on the left of the path just in front of the cart.
First view the remains of the camp fire on the right.
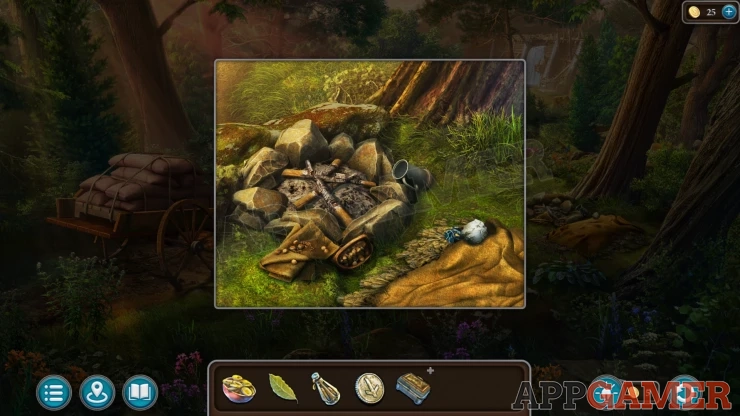
View the balled paper on the right to see a clue. Then move a cloth on the right to find and collect Folnur's Glasses.
Next view the cart. You cannot do anything with it yet.
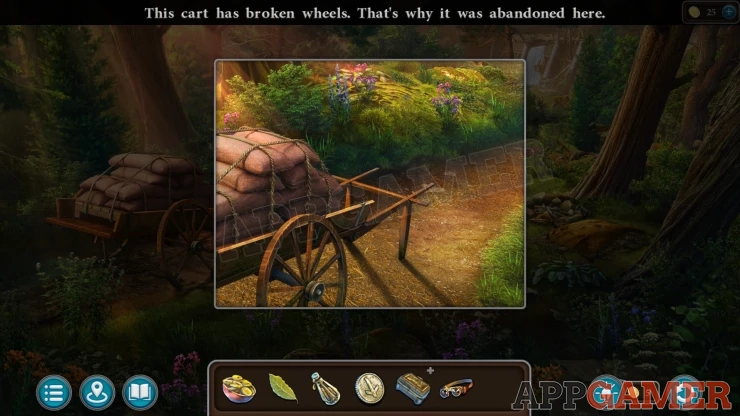
Now tap the dam in the distance to move forward.
Tap to talk to the person on the balcony. You will collect a Key to the box.
Task - Beaverling problems
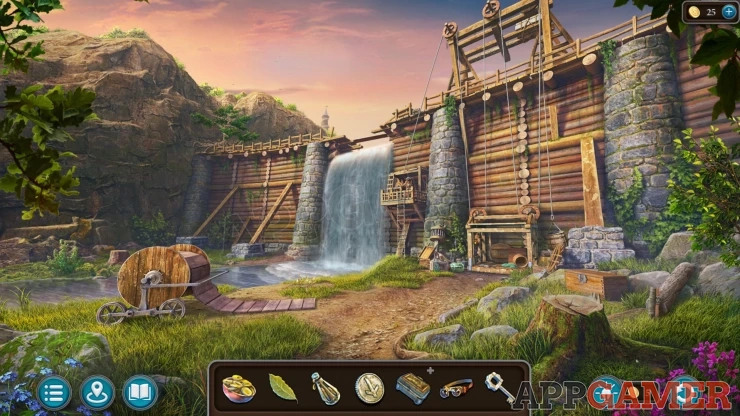
Collection Item: Academy Tower, can be seen above the left side of the dam.
Morphing Object: Shoe / Brush by a log on the lower right.
View a wooden box on the ground on the right. use the key to open it. This is a toolbox.
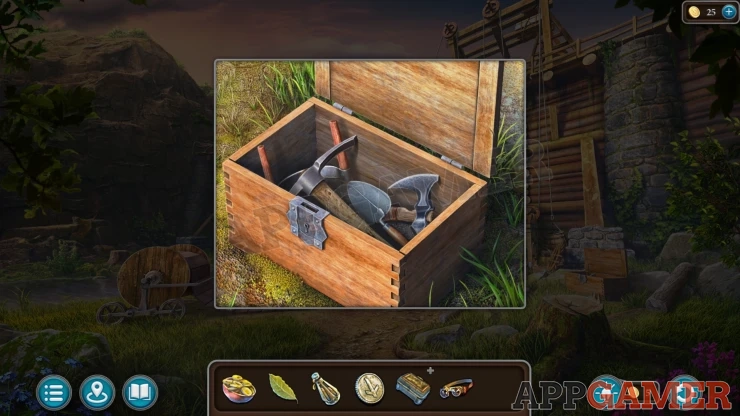
Collect the Hatchet. (You need to have viewed the cart in the forest first)
Next view the large reel on wheels by the water on the left.
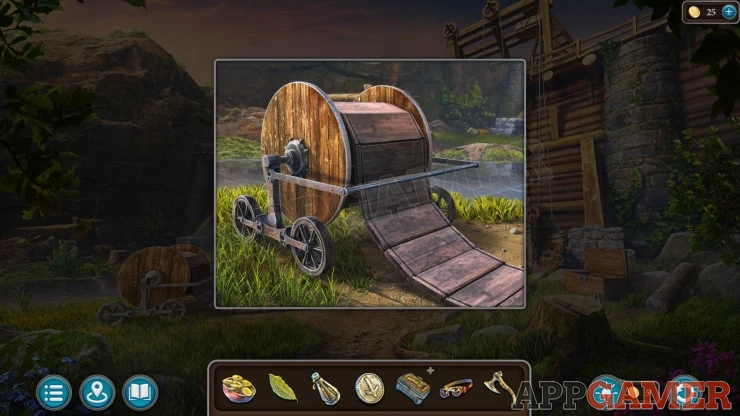
Tap this to roll it up and collect the Reel with ramp.
Back up into the forest to the broken cart. Place the reel in front of the cart to lay it out. Then use can use the hatchet on the front legs of the cart to chop them.
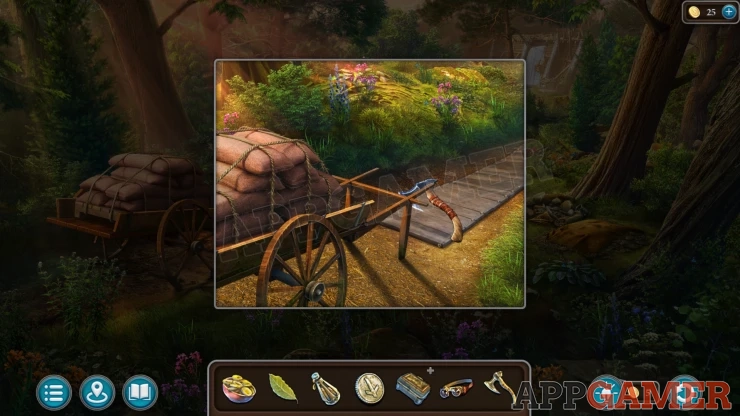
The load of sacks will fall to the ramp. Tap these to see see that you need to slide them.
Travel back to Maaron's house and look again in the side room. Here you can collect a barrel of Cup grease.
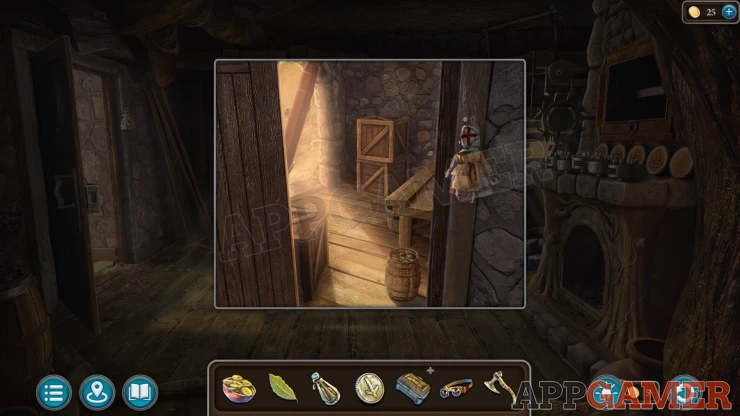
Return to the cart in the forest and place the barrel next to it. It now asks you to find a way to spread it.
Then move to the dam, look in the opened tool box on the right again and now you can collect a Trowel.
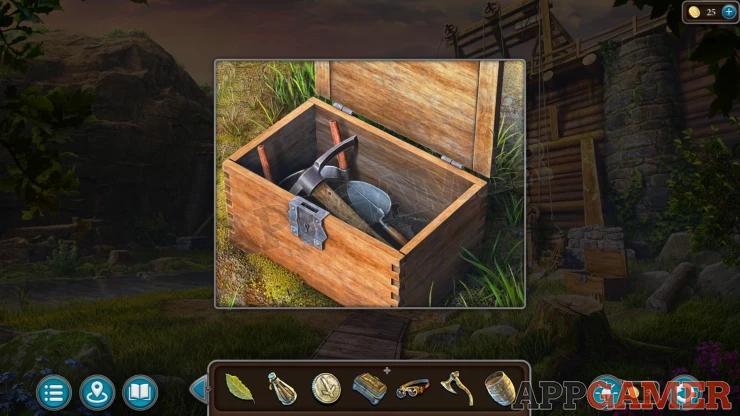
Go to the forest and then use the trowel to spread it onto the ramp.
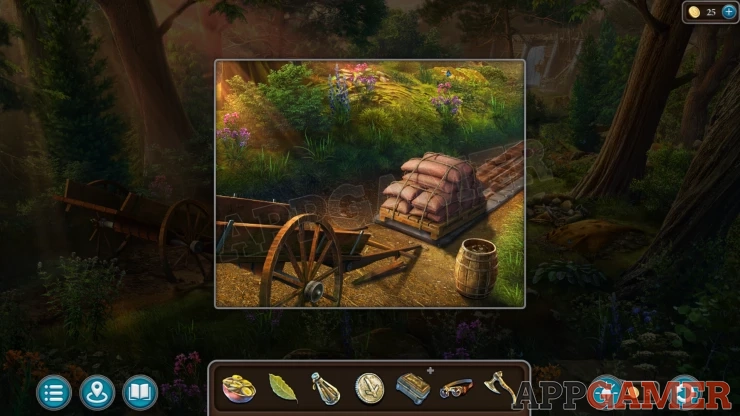
Once this is done tap the palette to start a mini game.
Palette Slide
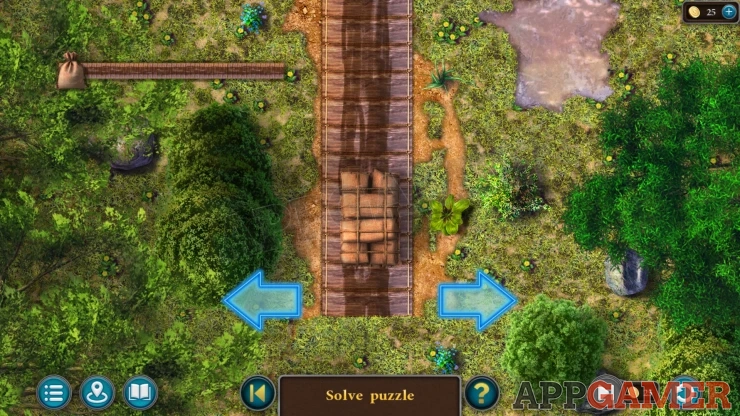
To complete this you just need to use the left and right arrows to move the palette to the sides to keep it on the track as it slides forward.
Continue until you reach the end, you can see your progress in the top left.
Once done view the palette again. Now you need to roll the palette the rest of the way. To do this you need three round logs.
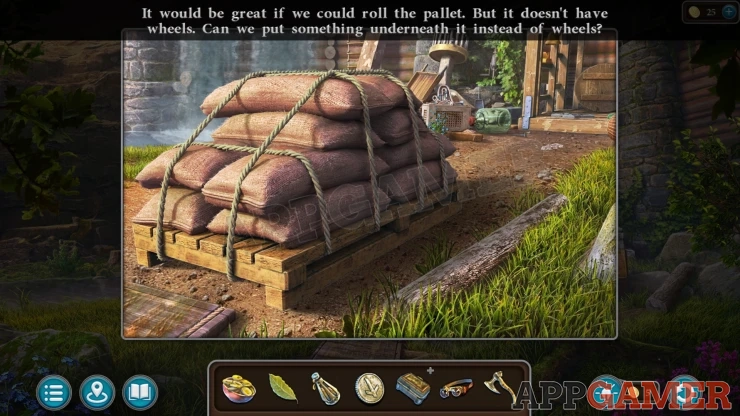
First look in the tool box again, this time you can collect a Pickaxe.
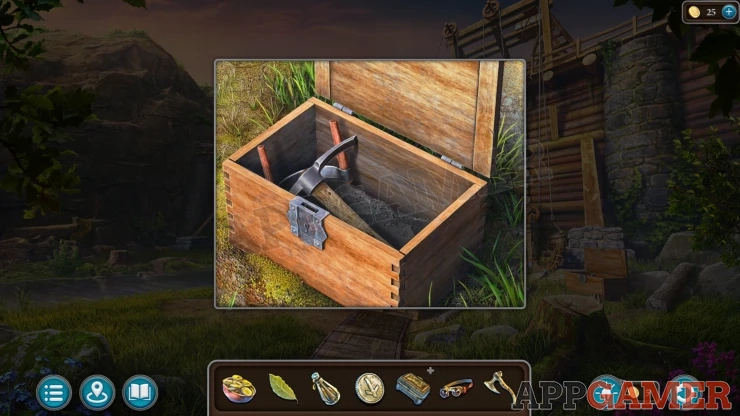
Use this on the palette of sacks to lift it and then tap the log on the right to place it underneath.
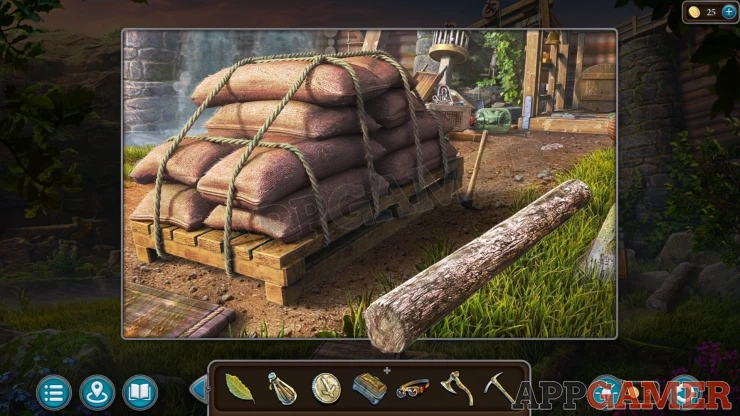
Next collect another Round timber from the ground on the far right next to the toolbox.
Go back into the forest and view a half chewed tree stump in front of the cart.
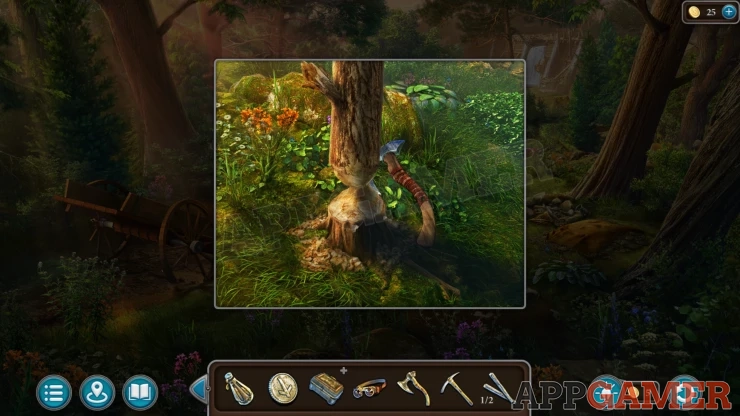
Use the hatchet on this to cut it down and collect the Rough Timber. Then view it in your inventory and use the hatchet on it again to remove the branches.
Return to the dam and look in the toolbox again to collect a Carpenter's Drawknife.
View the rough timber again and use the drawknife to remove the bark. You now collect the final Round timber.
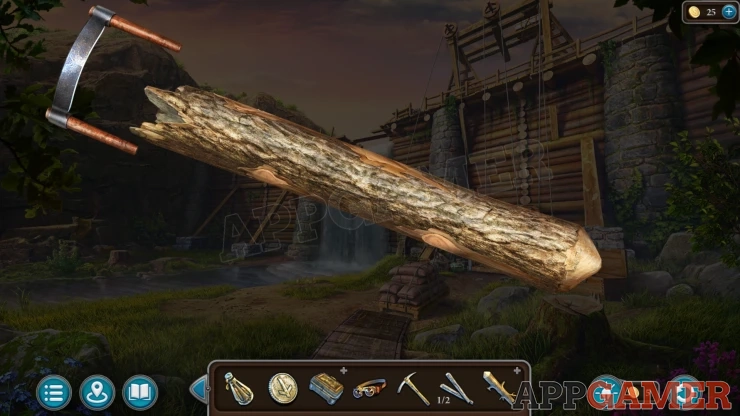
View the palette on the floor again and add the two extra round timbers to it. You can then tap the palette to move it to the elevator.
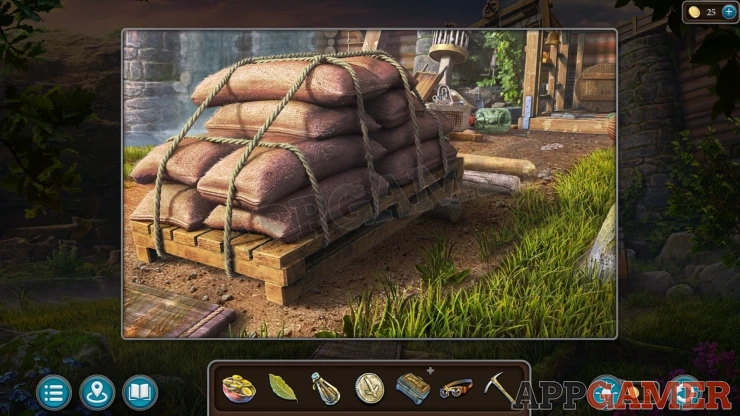
You will now need to find more items to add to the elevator. You collect the Key to the Boxes.
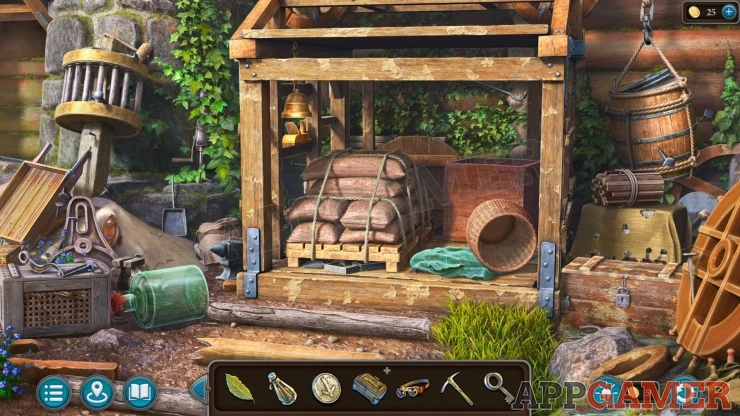
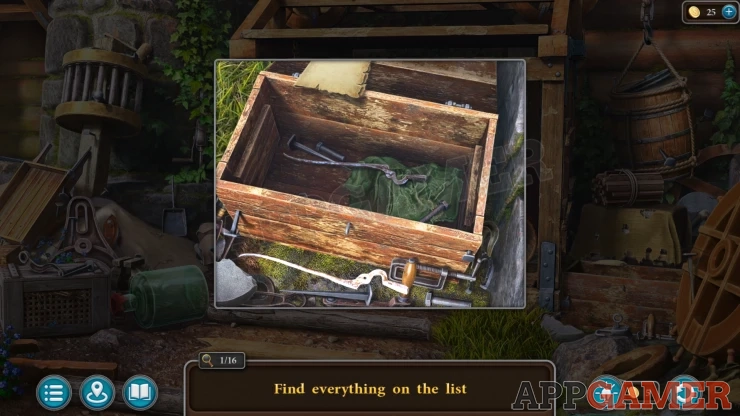
First use the key on the box on the right with the padlock. Then look inside.
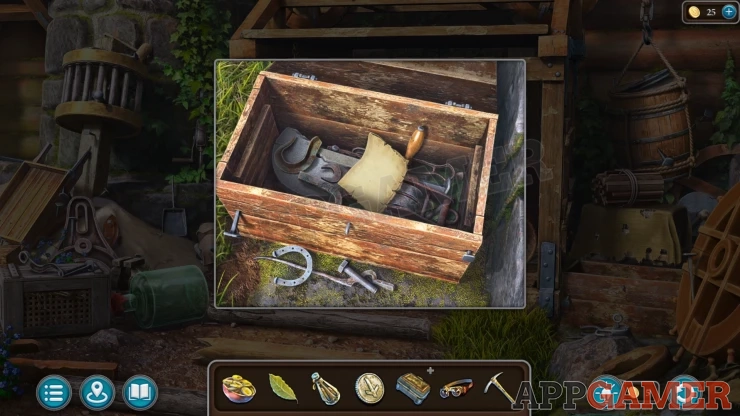
View the paper to see the list of items you need to find.
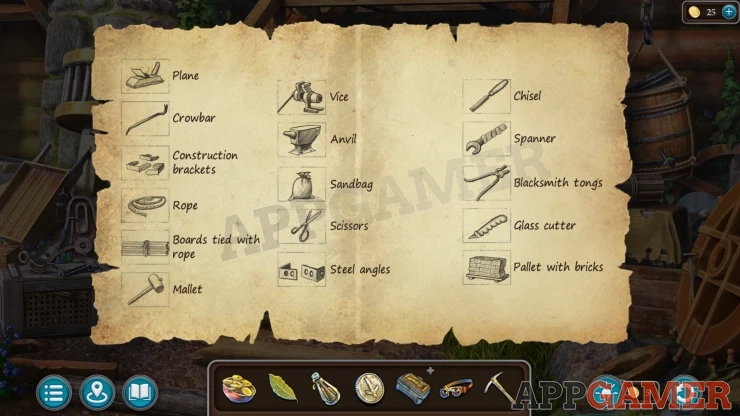
Then move the tools inside the box and you will find a Spanner. Then tap the rest of the items in the box and on the ground in front of the box to move them until you find two halves of some tongs. Select the half from outside the box and add it to the half inside the box so that you will claim the blacksmith tongs
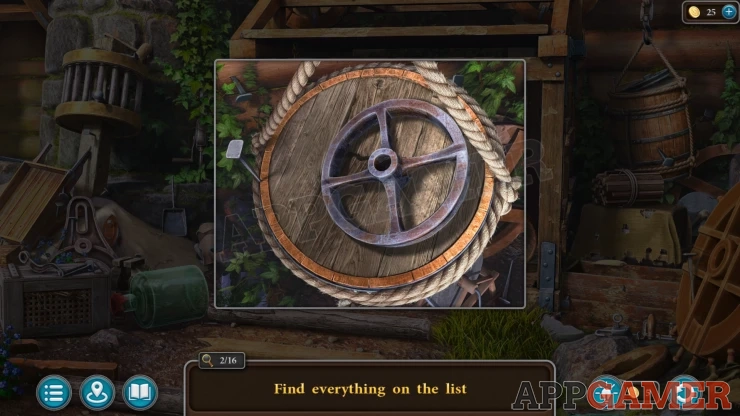
View the barrel hanging above the toolbox. You can tap the metal wheel and then use it on the top of the barrel to break it open.
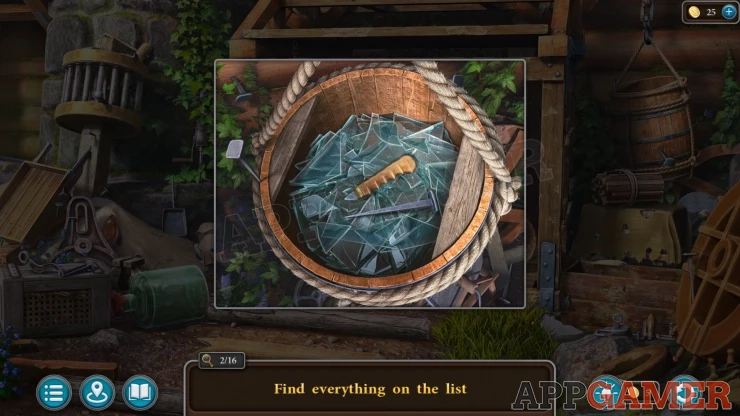
Use the last piece of wood to move the broken glass around in the barrel and then collect the Glass cutter.
Then move the bundle of sticks that is on a covered box below the hanging barrel. Remove also the cloth and then you can take the palette with bricks that was under it.
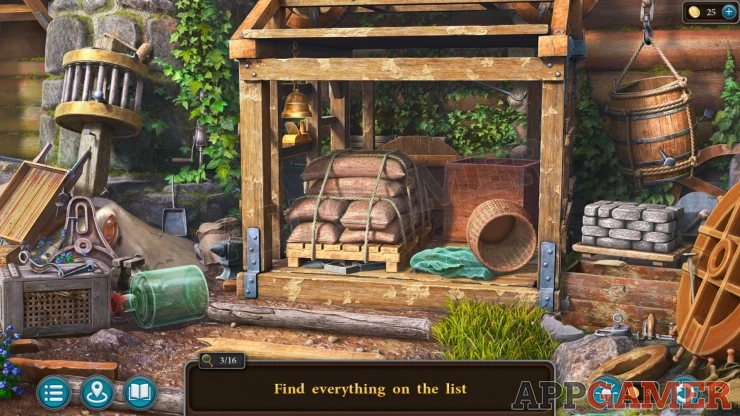
Move the basket that is on the elevator and then lift a green cloth under it to find some Rope.
Next tap the round wooden panel that is on the elevator behind the palette, this will move it and then you can collect the Boards tied with rope that are behind it.
Then look above the square box on the elevator to see a Crowbar to take. And on the left side of the elevator under the bell is a Plane to take.
Tap below the palette of sacks to take some Construction Brackets.
Now move the glass bottle on the ground to the left and then take the Vice that is behind it.
Then just to the right of this take the Anvil that is by the elevator.
Above this by the stone wall is a round wooden mechanism. First collect a wooden Mallet from the top of it, then view it closer.
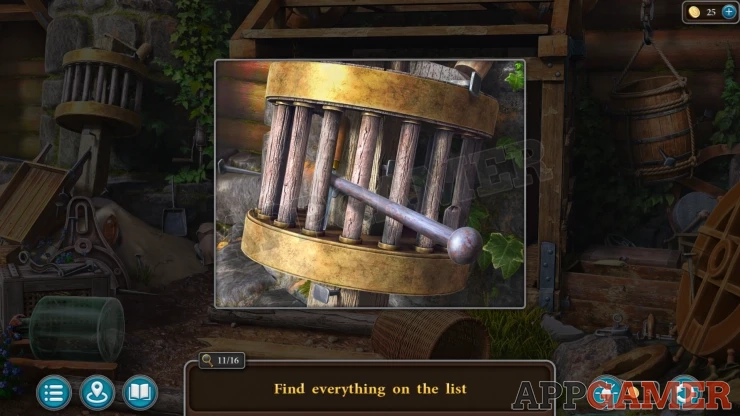
Select the metal pin that is between the bars and then use it on the left to break open one of the bars. You can then take a Chisel.
Next view the pile of sand that is below this. Tap the sack on the right side to move it. Then tap some stones that were behind it to move them as well, then you can take some Steel angles.
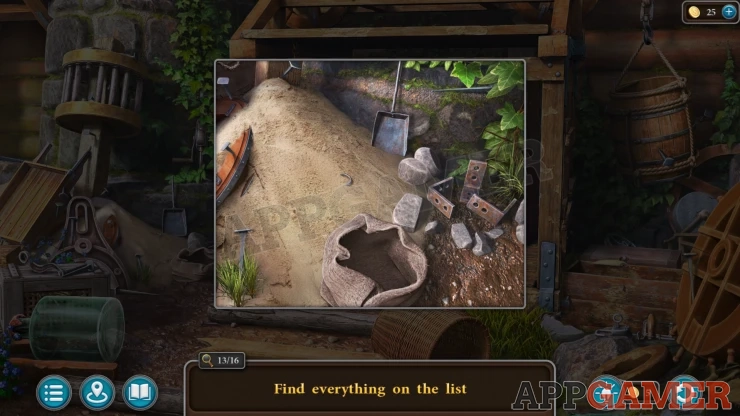
Select the small shovel at the top and use it on the sand to place some into the bag. Take the Scissors from the sand, and tap the bag to close it and take the sandbag.
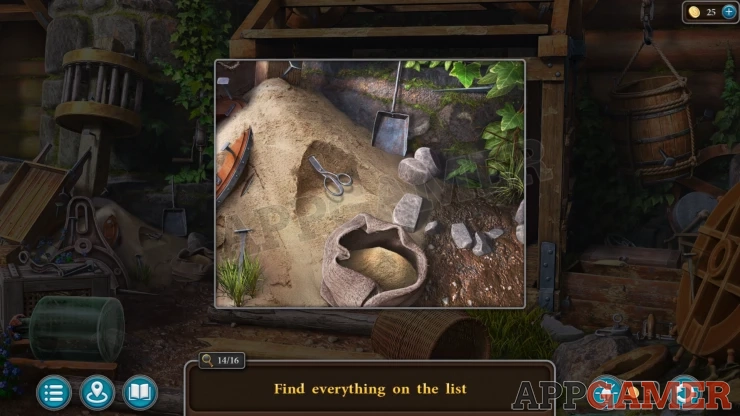
You should now have all of the items on the elevator and it will rise up.
After talking to Korko you will receive some Old Flags.
Task - Dam repair
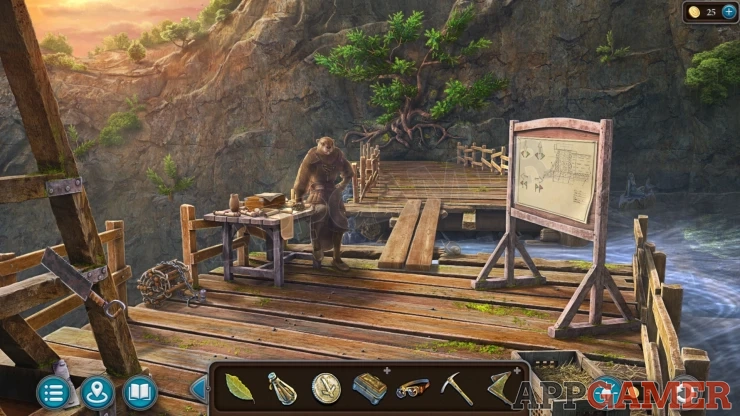
Collection Item: Ghosts of the past, mermaid figure in the water on the right of the notice board.
Morphing Object: Snail on the floor boards next to the two planks crossing the gap.
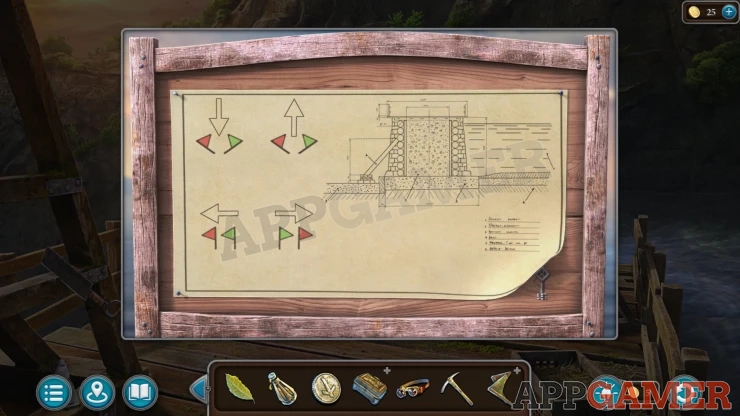
View the notice board to see the plans and then lift the lower right corner to collect a Key.
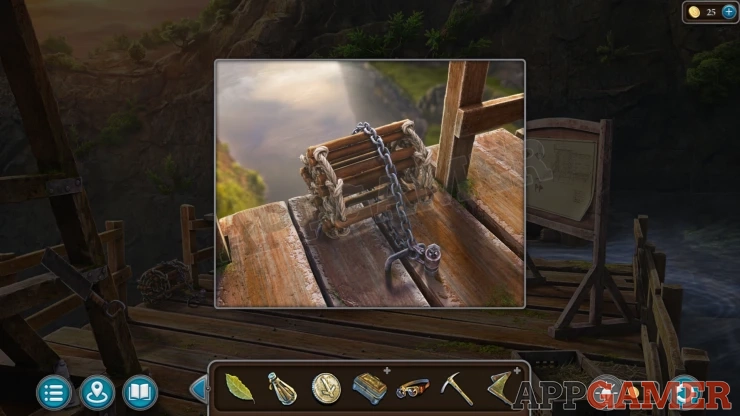
Look to the left of the dam to see a rope ladder that is chained up. Use the key to unlock this and lower the ladder. You can then move back to the bottom of the dam.
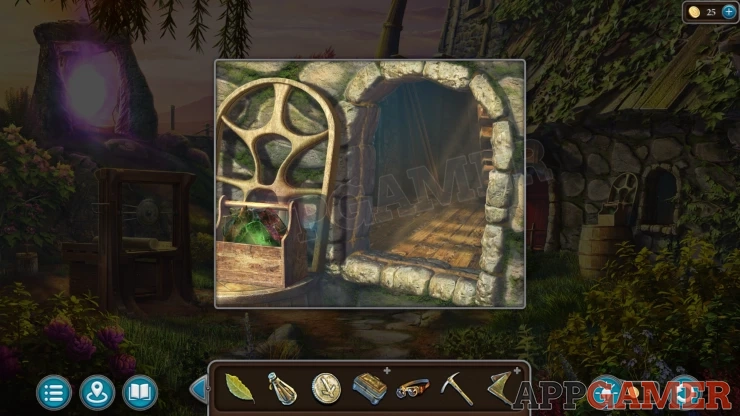
Travel back to the garden of Maaron's house and then view the opened window. Make sure to view the old flags in your inventory to see that you need to repair them, then you can collect the box of Colored Glass from next to the window.
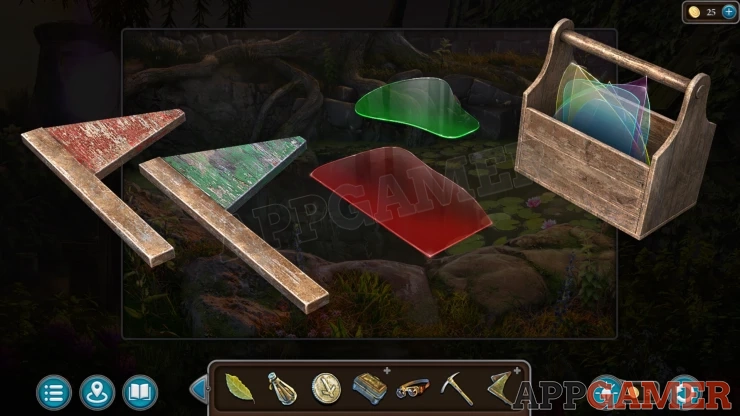
Now you need to view the old flags again and add the colored glass to them, Tap to get a message.
Then you can view a pond under the large red tree. There is a crystal on the stone on the back right.
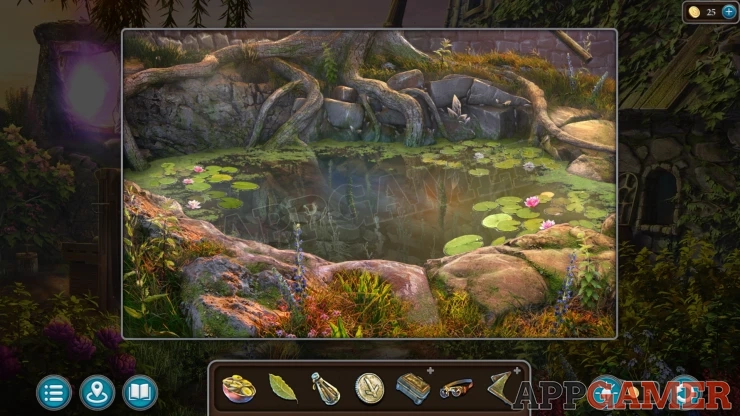
Use the pickaxe on the crystal to break off a piece and collect the Diamond Crystal.
Now view the old flags in your inventory again and use the diamond crystal on the two pieces of glass and this will cut them to shape.
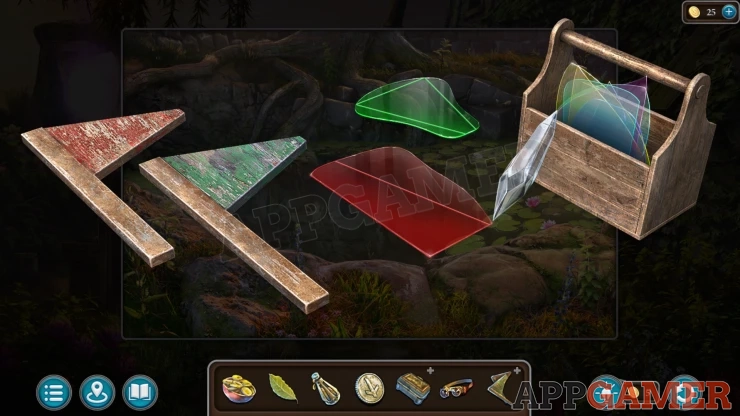
Then add the sugar lollipops to the old flags. And then use Folnur's glasses on them as well to melt the sugar.
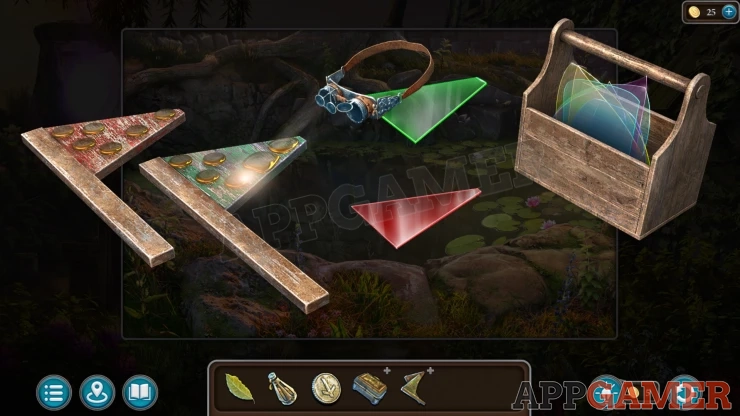
Add the reg and green glass panels to the flags now to stick them in place.
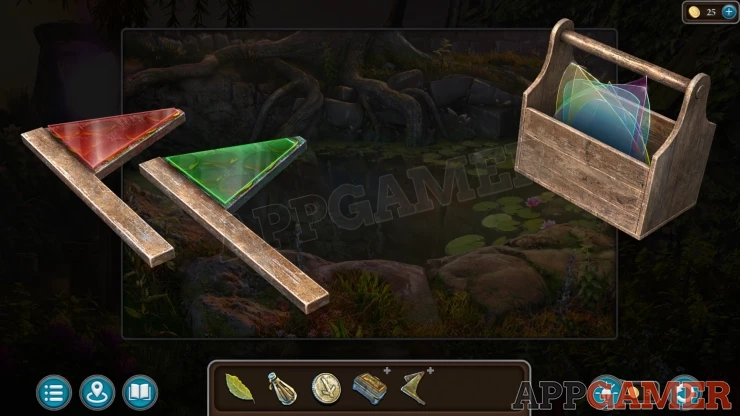
You will collect the Signal Flags.
Go back to the foot of the dam and use the signal flags on the broken dam to start a puzzle.
Dam Patching Puzzle
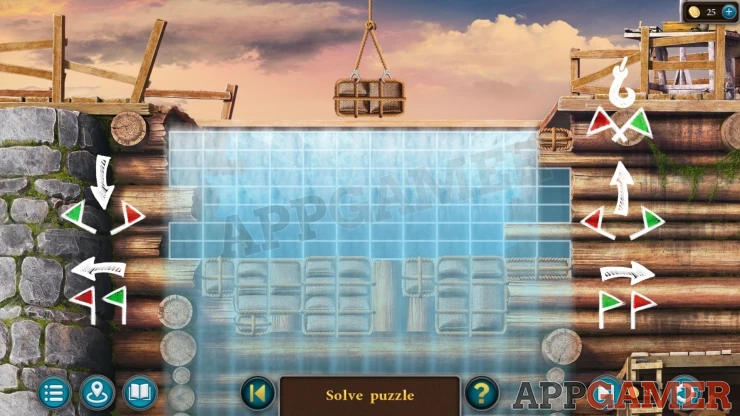
- The crane will hold a sandbag that you can move around using the flag controls.
- Move each one into position and then use the top right control to release it and reveal the next one.
- Use the bags to fill the gaps on the dam.
- You will need to place these in the right order to make sure you fill it with no gaps.
Solution: Show
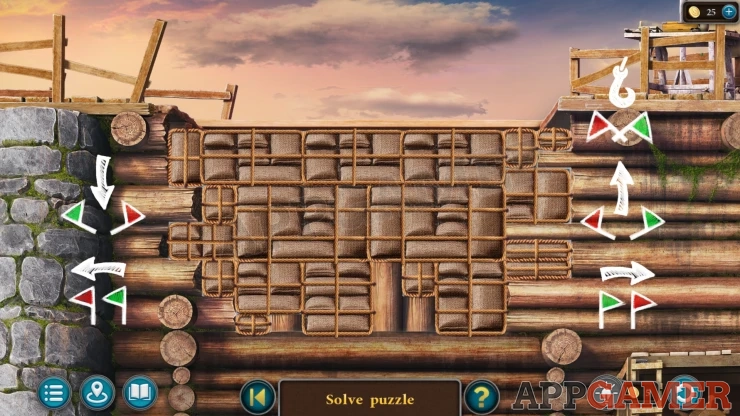
Once this is done the water stops, now to can view the base of the dam in the center.
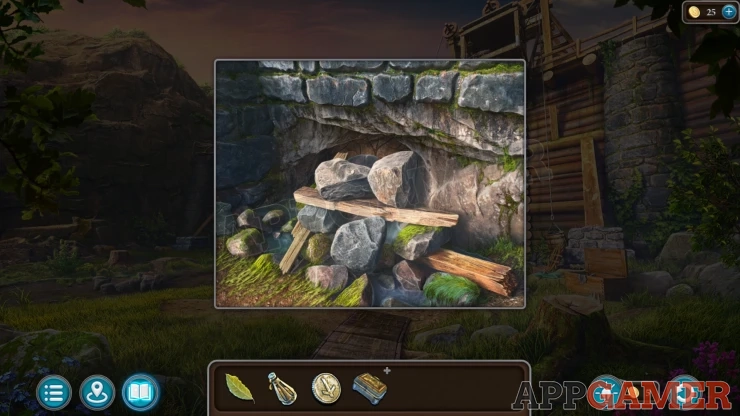
Move the piles of wood and rocks to find a secret door. View this.
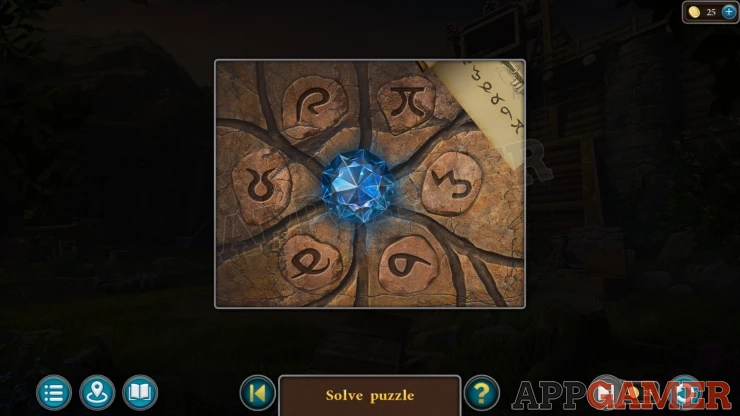
Examine the paper on the top right to see the symbols. These will match the ones on the door.
Tap the door symbols in the same order as shown on the paper to open it.
Korko will swim in and tell you that you cannot get through yourself. we need to breath underwater.
Task - Potion of Underwater breathing
Travel back to Maaron's house and view the table.
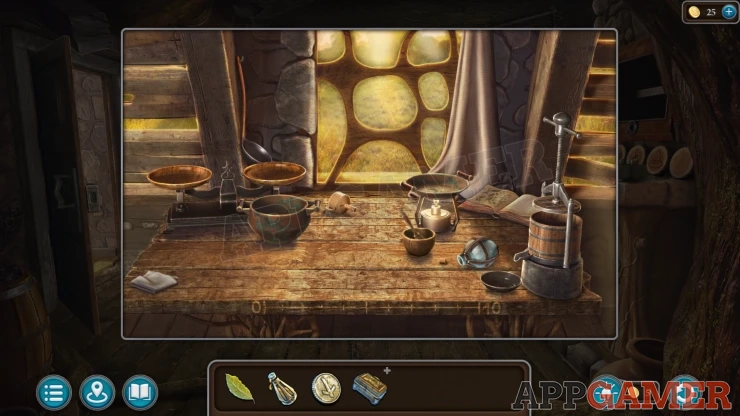
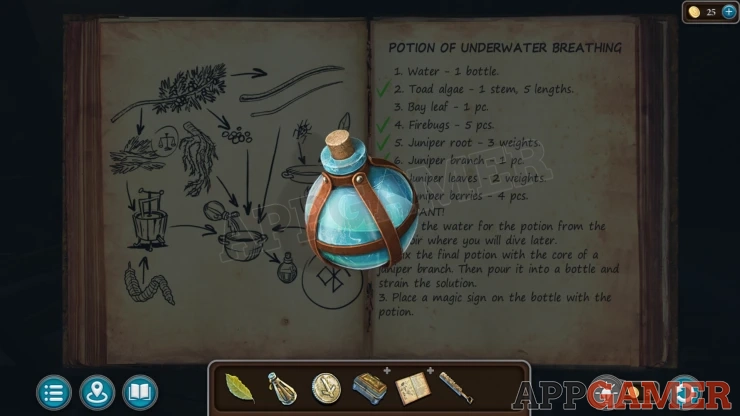
Examine the recipe book on the table to see the items you need for the potion. You will collect Maaron's Book.
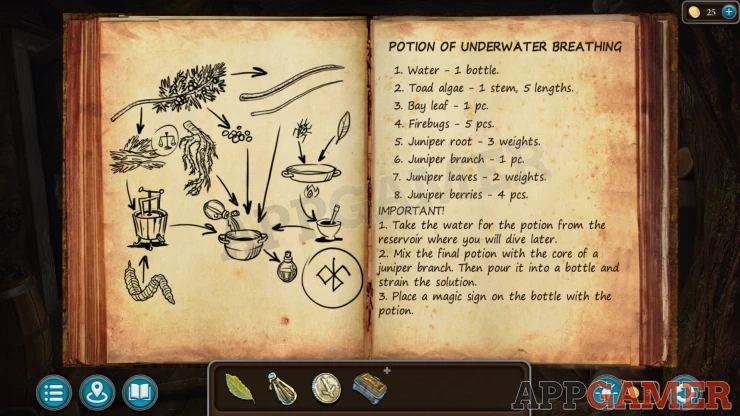
First collect an Empty bottle from the table. Then look for the other items as below.
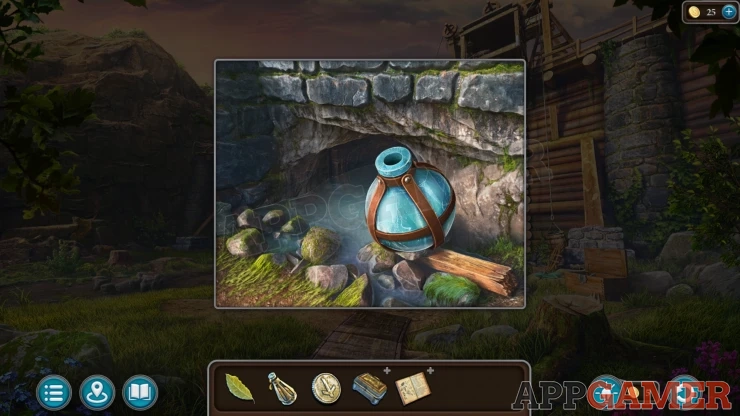
Water: Travel to the base of the dam and view the entrance to the tunnel, use the empty bottle here to collect Cave Water.
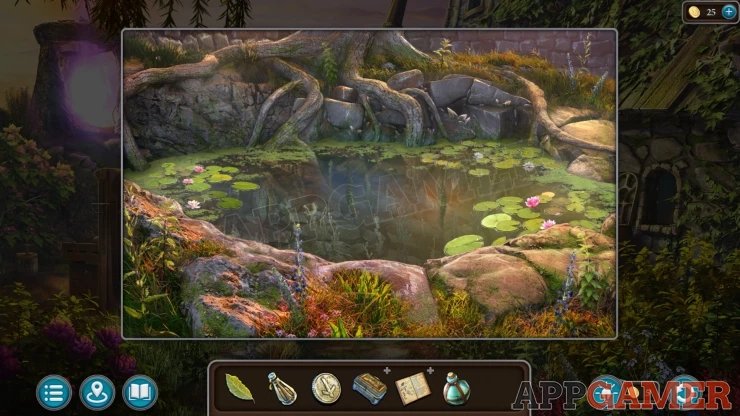
Toad Algae: From the pond in Maaron's Garden.
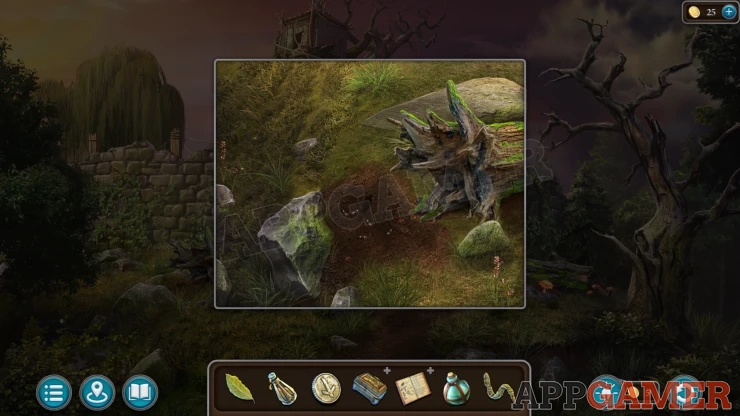
Firebugs: Outside the wall of Maaron's house, under the tree stump on the left.
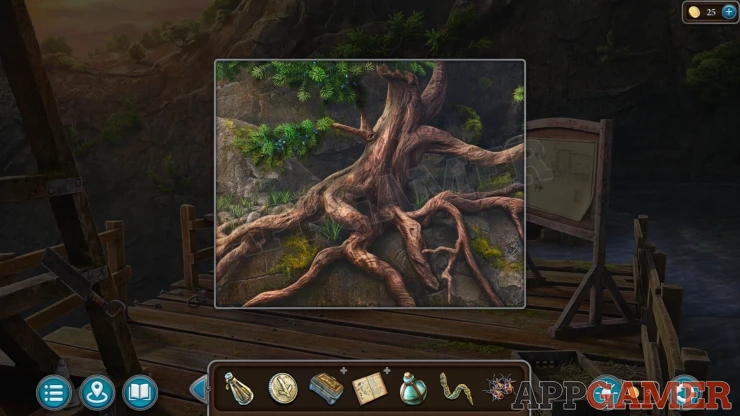
Juniper root and Juniper Branch / leaves / berries: At the top of the dam there is a tree on the far side. You need to collect a Saw-cleaver from the wooden frame on the left of the top of the dam scene and then use this on the tree to collect Juniper Branch and Juniper Root.
Bay Leaf: You already have this.
View the book again and add each of the items to it. Adding the Juniper branch will also add the leaves and berries.
You will collect the Potion Kit.
Return to Maaron's House and the table. Add the Potion kit to it to place the items.
Then you need to follow the instructions.
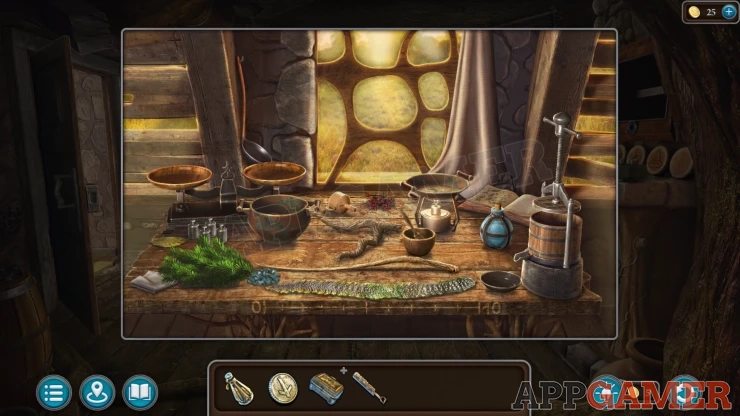
Add the cave water to the large bowl.
Add the firebugs and the bay leaf to the pan over the flame. Then when they are added to the mortar tap this to grind them and again to add it to the water.
Add two weights to the scale and then two measure of juniper leaves. Then pace the two branches in the press on the right side.
Use the saw-cleaver on the toad algae to cut it and also add it to the Press.
Tap the press to squeeze it and then add the dish of juice that comes out to the water in the bowl.
The the saw-cleaver on the root to chop it. Then add three weights to the scales and three parts of the root.
Add the three roots to the water in the bowl and then also add some of the juniper berries.
Place the bowl on the flame to heat it.
Use the Saw-cleaver on the Juniper branch to slide it in half. Then use one half on the heated bowl to stir the mixture.
Add the funnel from the table to the empty bottle and then add a white cloth filter (lower left) to the funnel.
Next select the scoop spoon above the scales to use on the bowl and pour the mixture into the bottle.
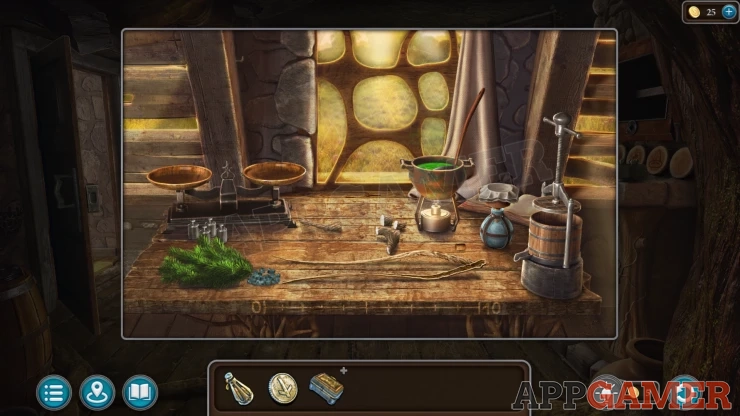
Potion spell
Now you need to complete the magic sign for the potion. As before you need to trace the lines by connecting the points on the shape.
Hint: start at the top.
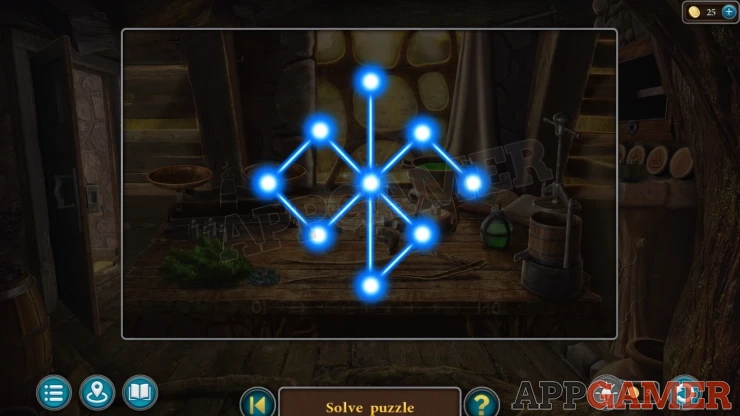
You will collect the Potion.
Return to the dam and use the potion at the entrance to the cave.
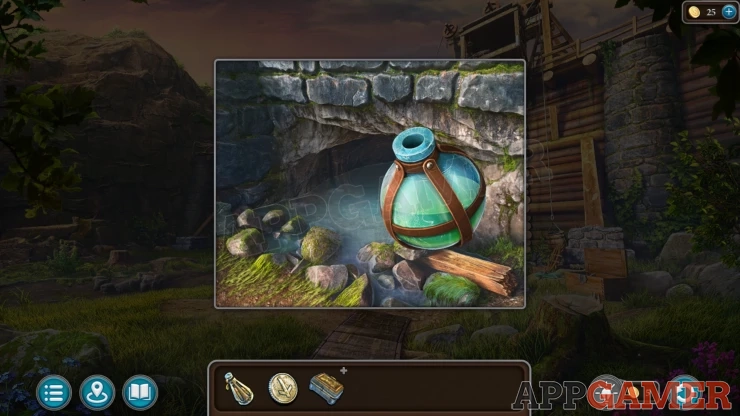
This lets you travel through the tunnel to the temple inside.
Here you find Folnur. Watch the cut scene

Collection Item: Drak Ul figurine with the collection of jars to the left of the table.
Morphing Object: Gold emblem on the red fabric on the floor to the right of the table.
View the table.
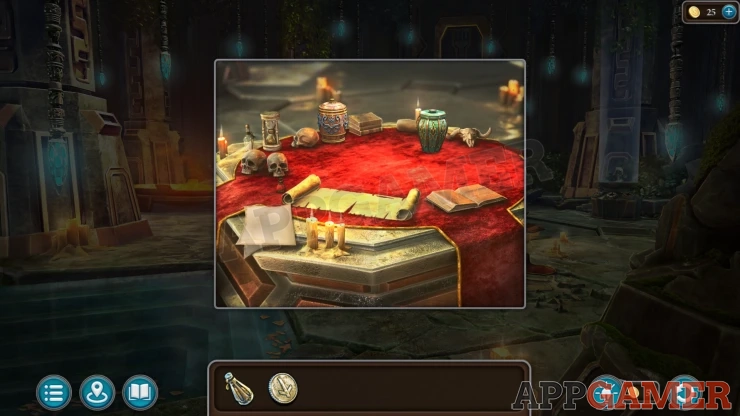
Manuscript: on the lower left.
Collect a Lion's Head from under the manuscript. Then tap the scroll of paper on the table to lift the side and collect an Element of the Mechanism.
Next view the large door at the top of the steps.
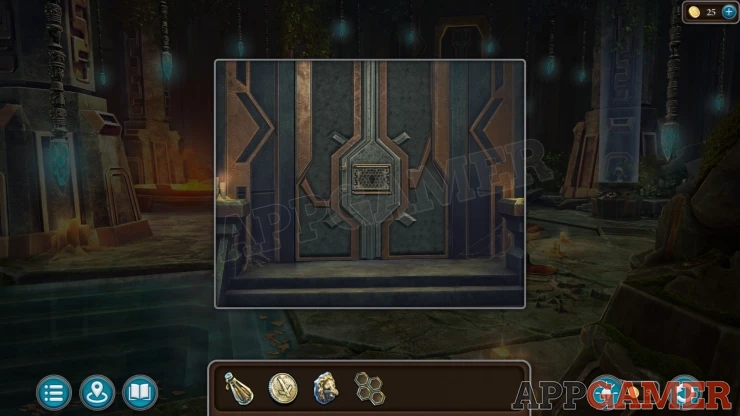
Add the element of the mechanism to the center.
Temple Door Puzzle
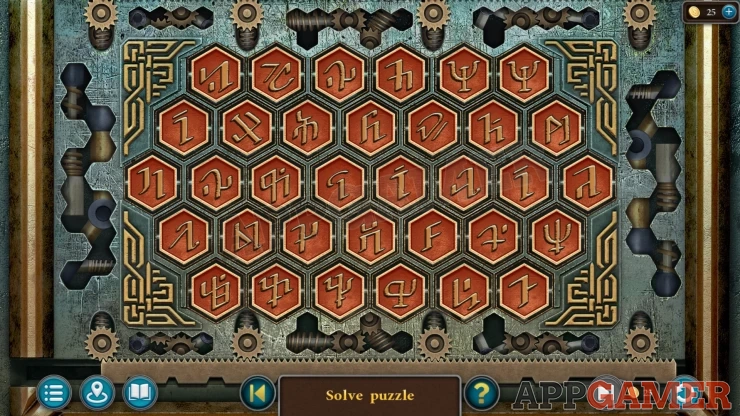
The grid if full of symbols.
Find all of the matching pairs to clear them from the board.
More symbols will appear as you turn them, eventually they will all be cleared.
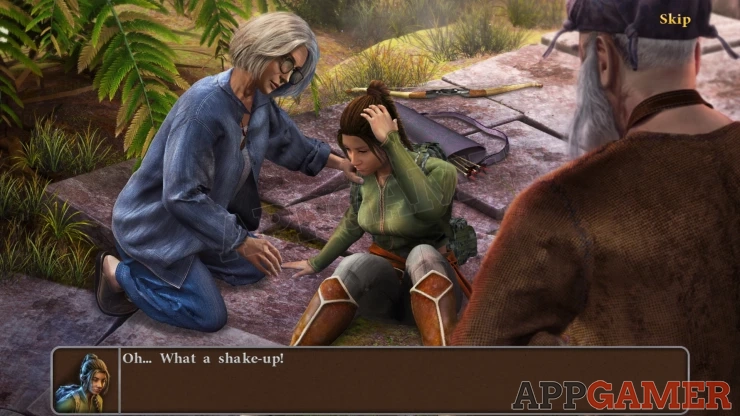
Once this is done you will exit the temple to a platform. Kiana is here.
Continue the Guide in Part 5
We have questions and answers related to this topic which may also help you: Show all
 With 20 years of experience in creating video game content for the internet and over 30 years as a gamer, Mark is now a passionate mobile App Gamer. Loving a challenge, he is always ready to get stuck in to both survival builders and puzzle solving games. He has been providing content for AppGamer since 2014.