
Part 5 - Sacred Mountain
More Lost Lands 10
Welcome to Part 5 of our Lost Lands 10 walkthrough. This game is another in the popular line of Mystery escape room and puzzle games from Five-BN games. This game features beautifully designed environments and a diverse range of puzzles and hidden objects to find.
In Part 4 you followed the trail of Folnur to a dam, then found the secret temple below it. Now Folnur has evaded you again and Susan and Kiana need to reach a high sacred mountain to try to contact a God.
Main Game Walkthrough - Part 5 - Sacred Mountain
You have just found Folnur in the temple with Buldan. After they attack you and you are saved by an arrow shot through the door, Folnur escapes. Now you find Kiana outside, she was the one who shot the arrow.
You talk to Maaron about a plan to contact a Goddess. He tells you to make your way to the top of the mountain.
Task - Snowy Peak
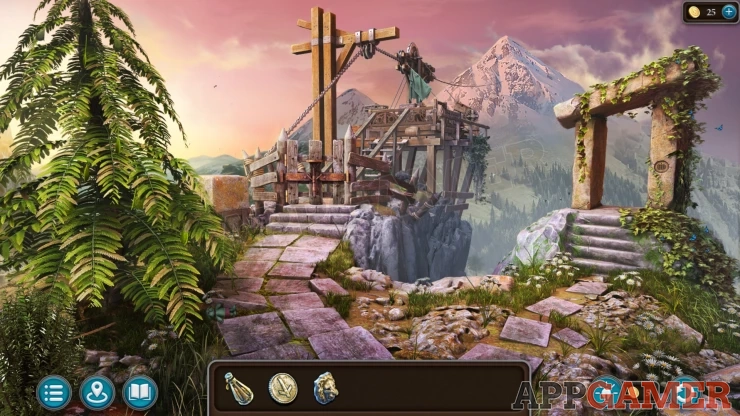
Collection Item: Toto toy on the left of the main path, by a tree.
Morphing Object: Small tree in the distance in the gap between the two paths.
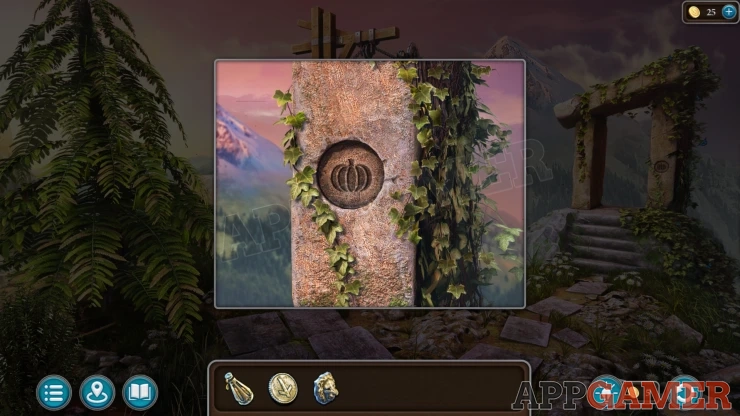
View the Dolmen on the right to see the symbol of the rune stone that it requires.
Now back up and return to Folnur's house, in the back right corner is a large chest, view this.
Add the Lion's head to the front and the chest will open.
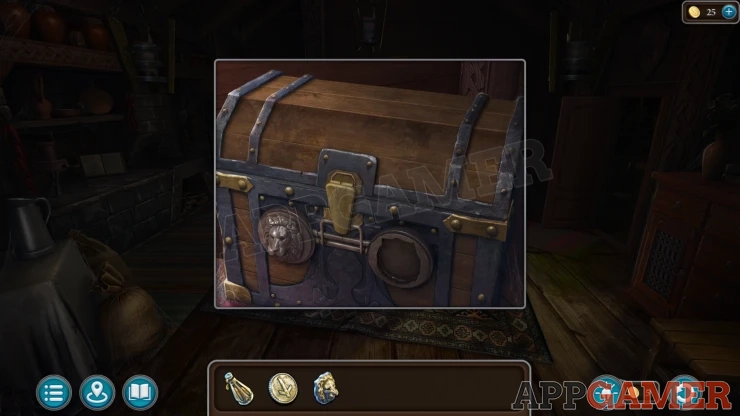
Collect a Box of Dynamite, and some Fur Skins.
Next return to Maaron's house. Look inside the trap door in the floor again and collect another Blank Rune Stone.
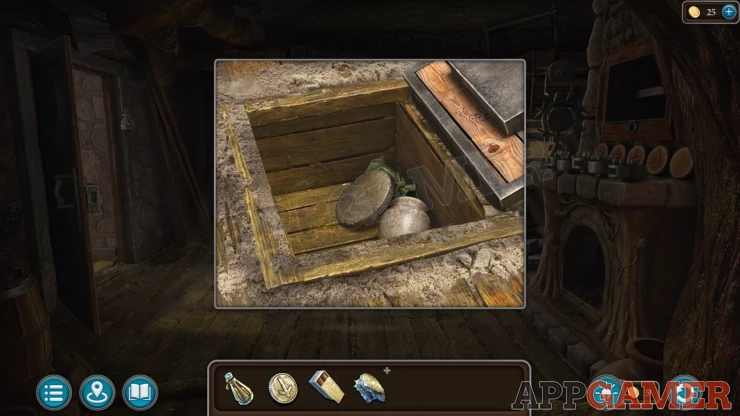
Then view the rune carving machine on the fire place.
Add the blank to it and then select the correct tool to carve the matching rune stone for the dolmen you encountered. You collect the Pumpkin Runestone.
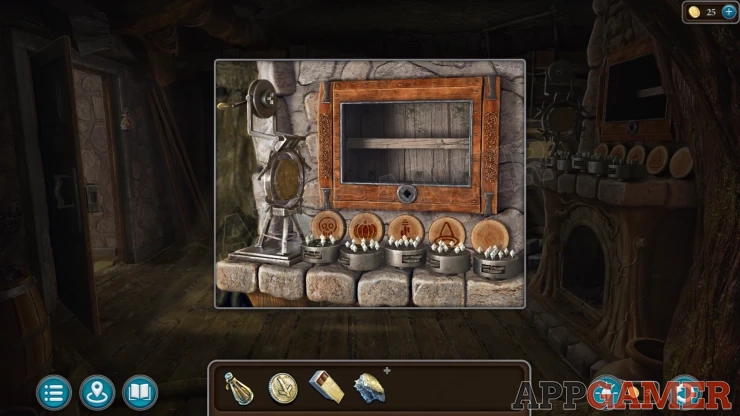
Go back to the new dolmen by the mountains and add the rune stone to it. You can then travel through the dolmen and you will arrive back at the mine entrance.
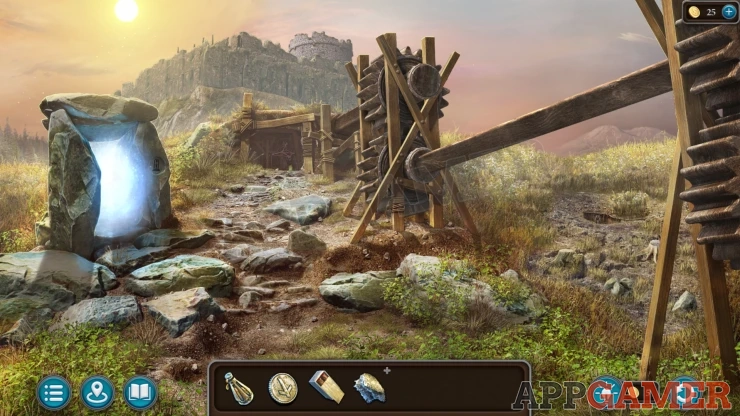
Enter the mine and tap the gear controls on the right to raise the lift.
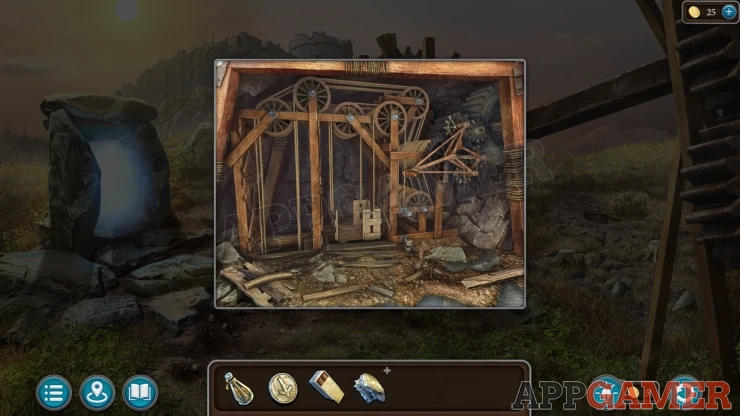
Then you can tap again to lower the lift and you will descend into the mine.
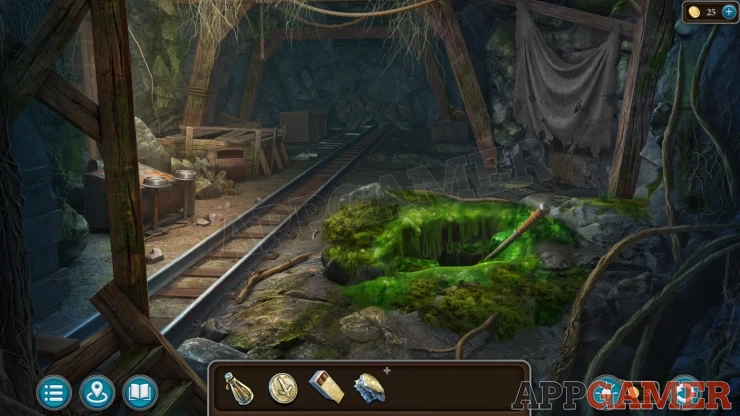
Collection Item: Academy tower, model tower in a crate to the right of the tracks.
Morphing Item: Rope on a wood support column on the left.
View the hammer in the hole in the ground to see it is covered with slime and cave cockroaches will appear.
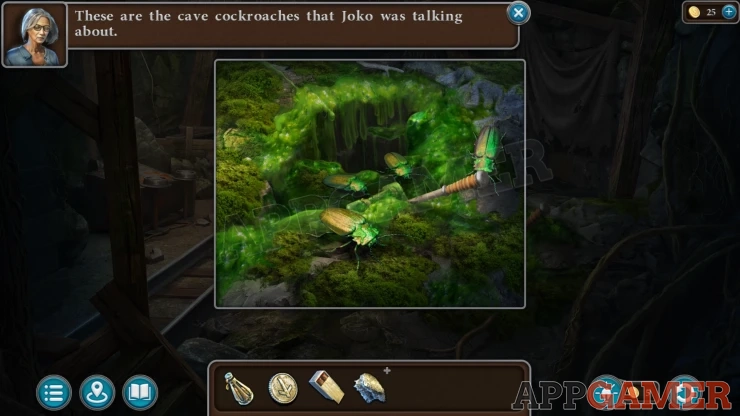
Use the Perfume bottle on the cockroaches to scare them away. You can then tap the hammer to pull it from the hole.
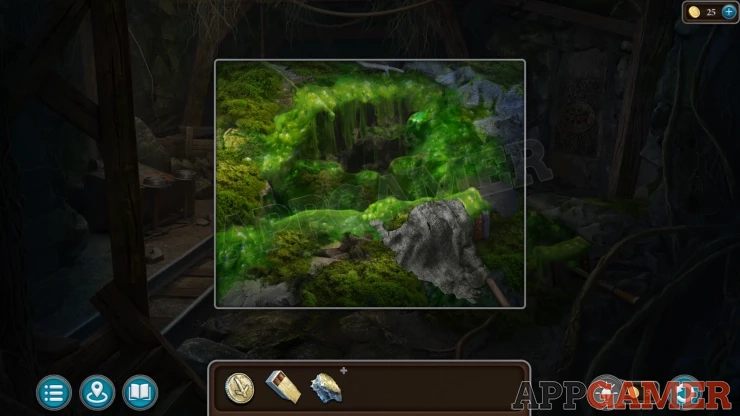
It is covered with slime so you need to clean it. Tap a cloth hanging on the right side of the mine cave to collect the Old fabric.
Use this on the hammer to try to clean it. It won't work but you get a prompt to fins another remedy.
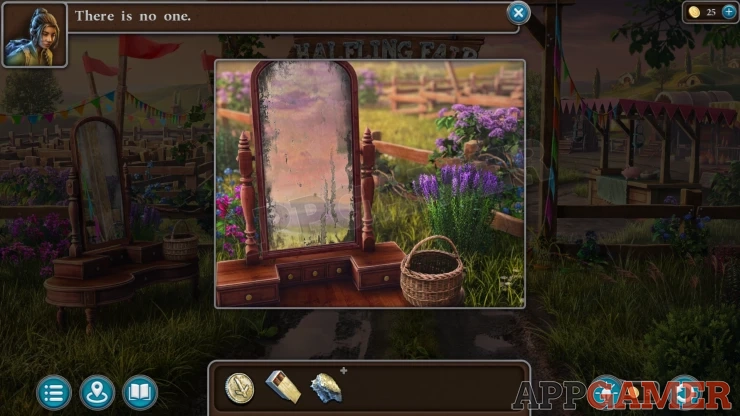
Travel to the fair in the Halfling's valley. View the mirror on the left side and collect the Empty Basket.
Then also look at a table on the right side of the fair with a piggy bank on it.
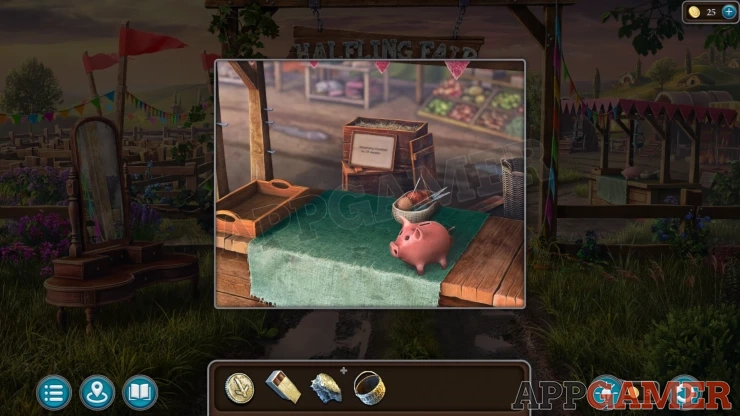
Add the Iron Kyoll to the piggy bank and then you can collect the Sewing kit.
Then move through to the lake and view the field on the right again. The pig is asleep. Use the basket on the vines of grapes and you till collect a Basket of Grapes.
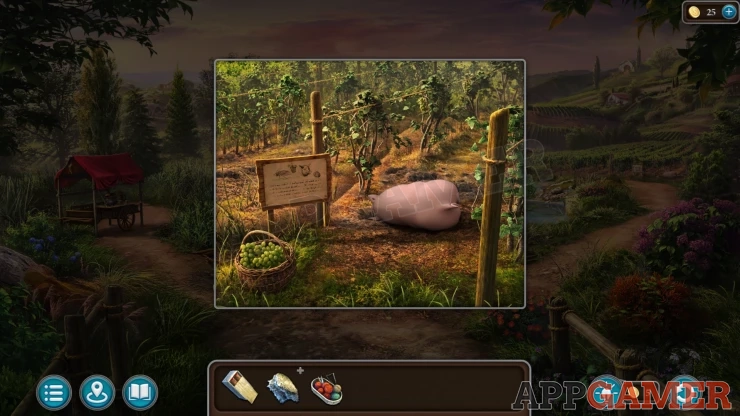
Return to the mine and view the hole in the ground again and place the basket of grapes here.
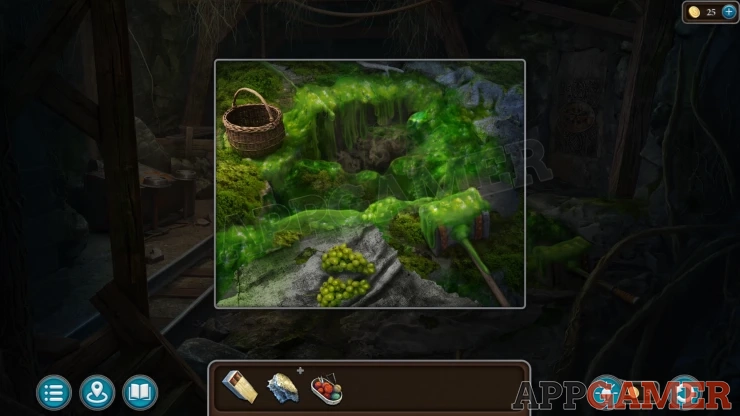
The grapes will go to the cloth. tap this to wrap them and use this to clean the hammer. You can then collect Folnur's Hammer.
Travel back to the mountains and view the gate to the funicular. Use the hammer on it to open the gate.
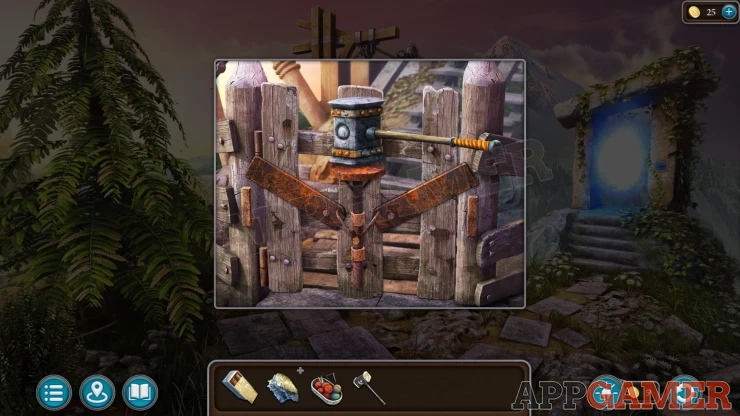
Now view the funicular itself. in the center column is a panel that is missing some gears.
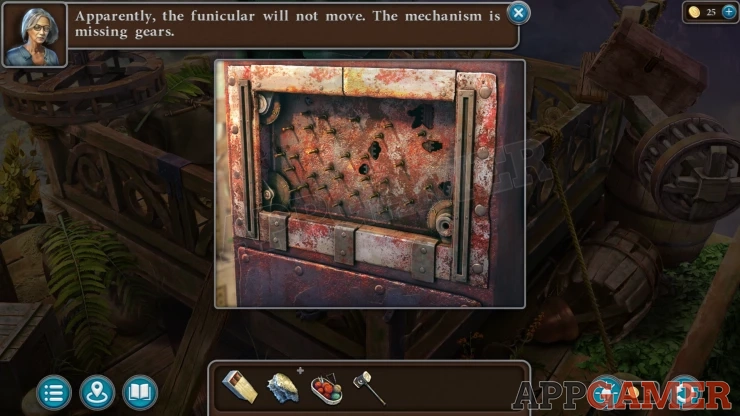
You now need to search the funicular to find 16 undamaged gears wheels.
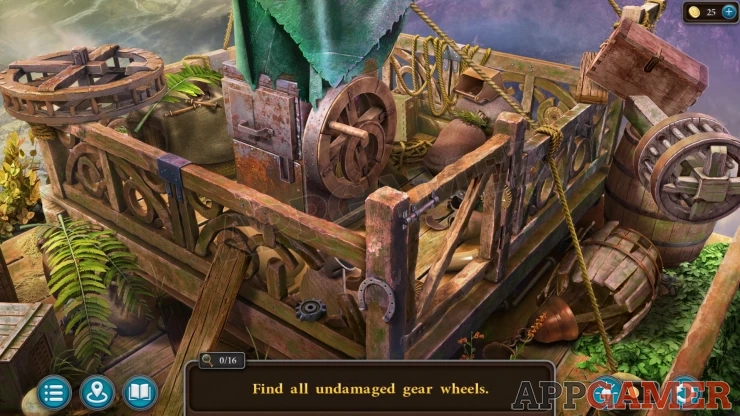
Look around the scene to find the gears. There are some gears that are broken you cannot pick these up.
Many of the gears are hidden under other items or inside containers.
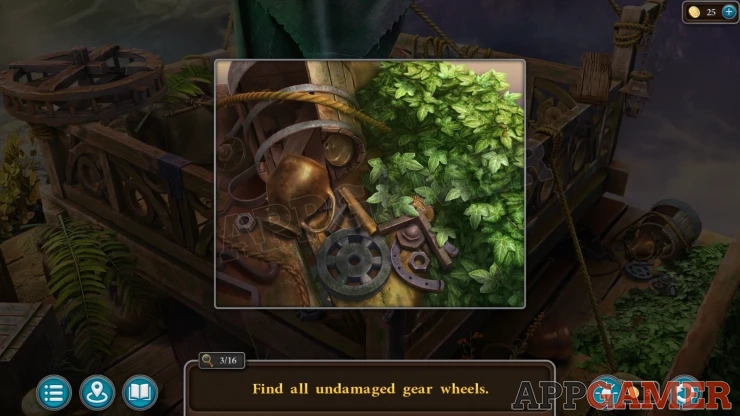
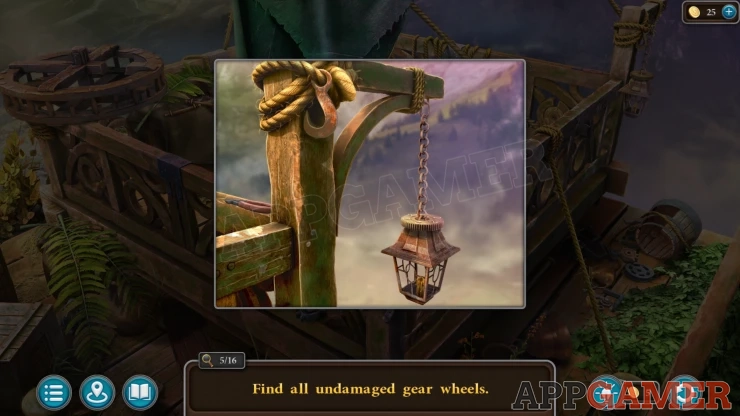
In some cases you need to use items to break open pots etc to find gears inside.
Look carefully at the walls around the platform to see some.
You will find a locked chest under a cloth that requires 3 numbers. The clue for this is found on a scroll that also has a gear on it.
The code can vary with each game.
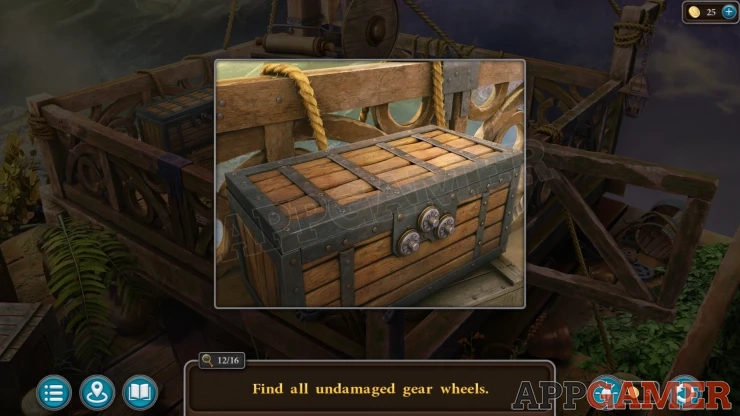
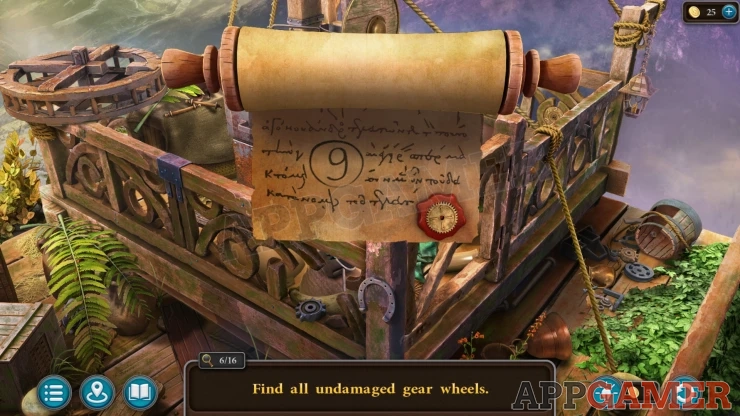
Once you have them all add them to the gear panel to start a puzzle.
Gears Puzzle
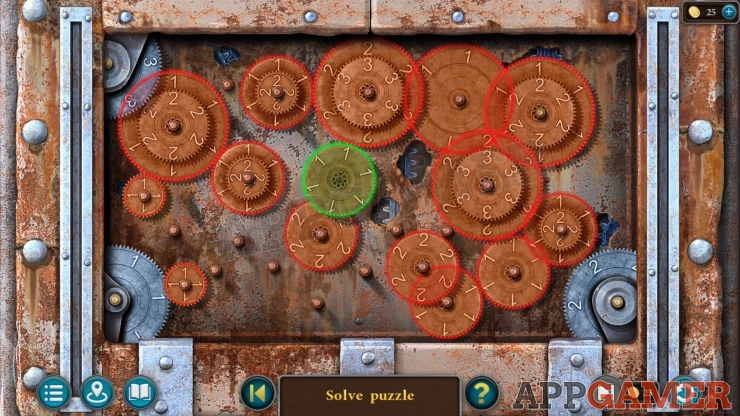
Select and move the gears to the various locations on the panel. You need to fit them all together so that they turn
Solution: Show
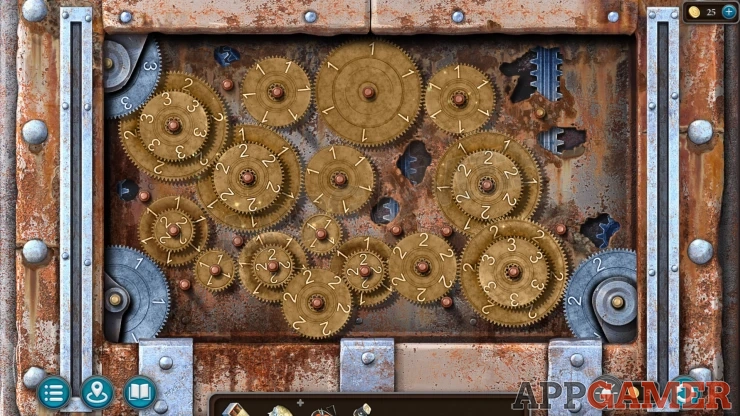
Once done you need some warm clothes.
View the fur skins in your inventory and add the sewing kit to them.
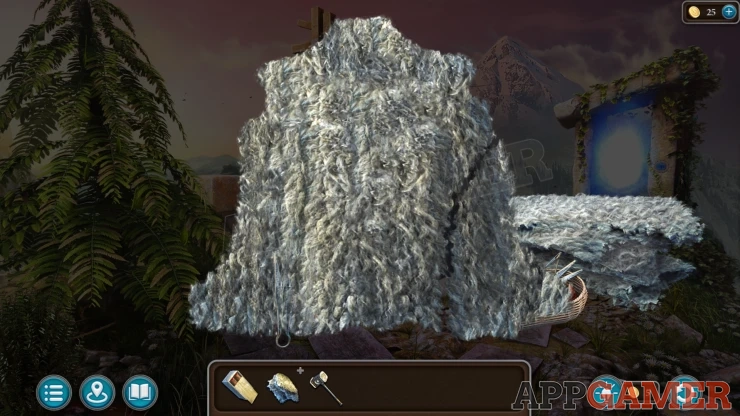
This will transform them into Fur Clothing.
Use the fur clothing on the funicular and you will make your journey to the mountain.
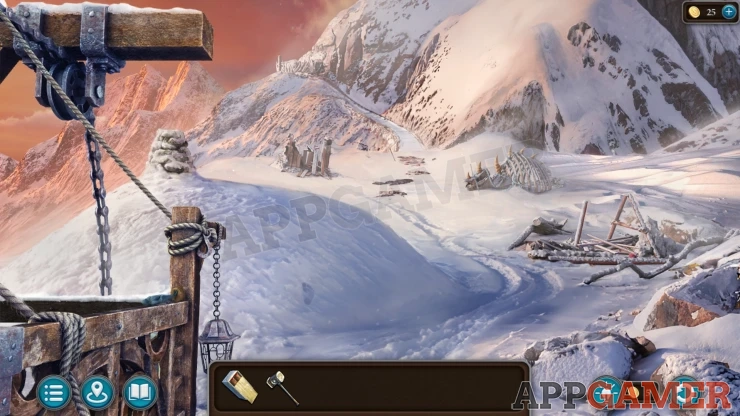
Collection Item : Drak Ul figurine on the side of the funicular carriage on the left.
Morphing Object: Hand print on the snow just to the right of the carriage.
First look in the pile of logs and wood on the far right. More them around until you collect a Primitive Ice Gripper (1 of 4)
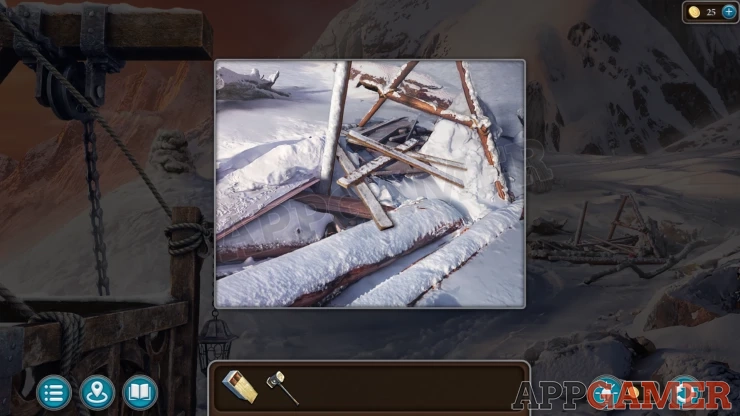
Then view an animal skeleton above this.
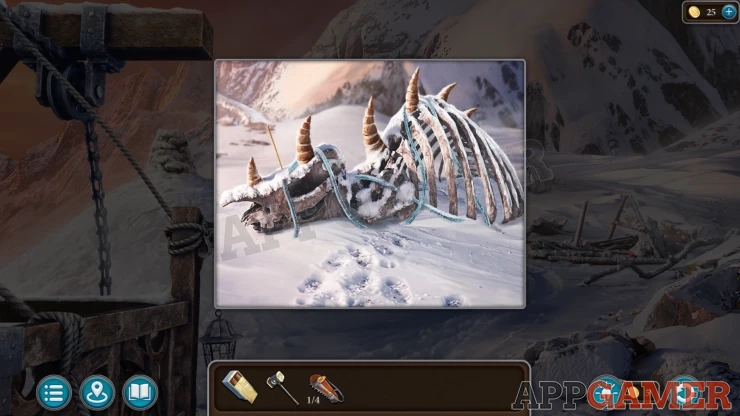
Collect some Pieces of Frozen Rope. You can then also find an Arrow with a Flint tip and you will collect this along with an Arrow with an Iron tip.
Next view a small section of wooden fence to the left of the mountain path. Search through here to find a Stilt Cane. (1 of 4)
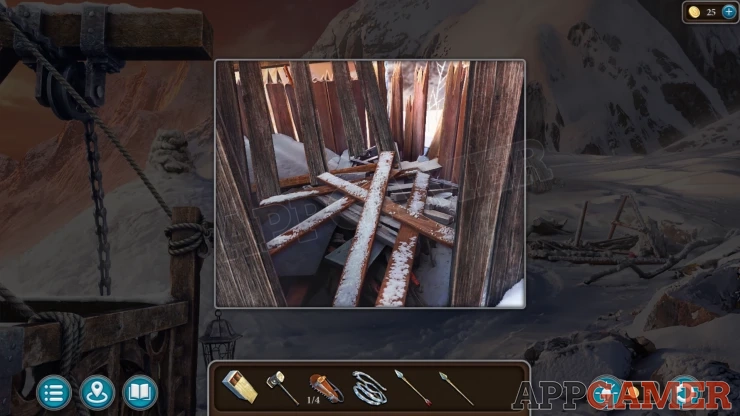
Then view a snow covered chimney on the left. Collect another Stilt Cane (2 of 4) from the snow.
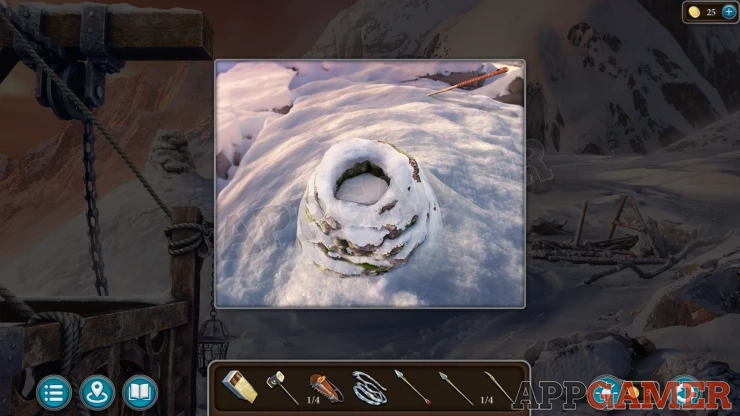
Use the Hammer on this to break the ice in the hole.
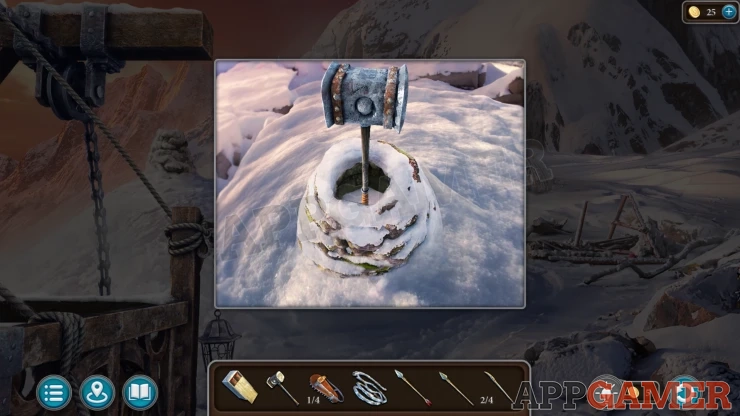
Add the box of dynamite to the ground, then open the box and place a the dynamite on top. Add the Flint arrow and then the Iron arrow to this and it will light the dynamite.
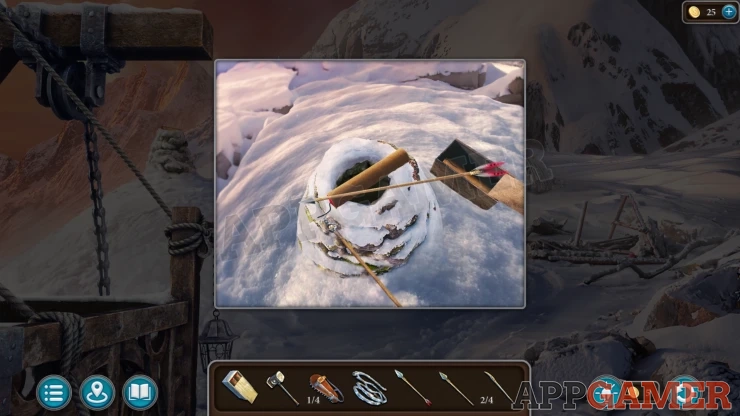
The explosion will blow out the side of the mound. Tap the opening to go inside.
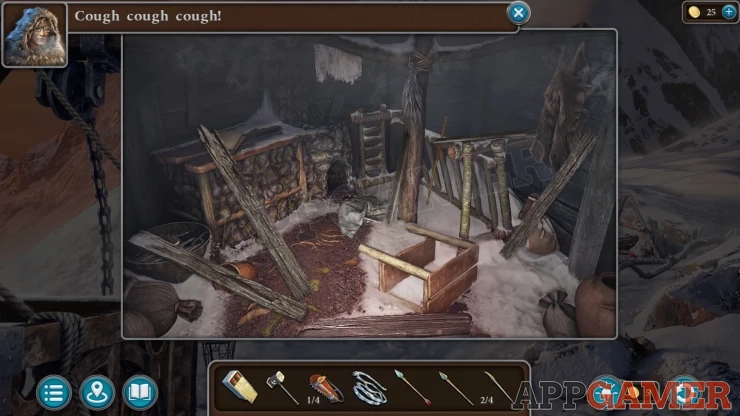
Manuscript: on the stone wall on the left.
Look around inside to find two more Primitive Ice Grippers (3 of 4) and another Stilt Cane (3 of 4)
Now view the mountain path ahead. Collect from the ground another Primitive Ice Gripper (4 of 4) and another Stilt Cane (4 of 4)
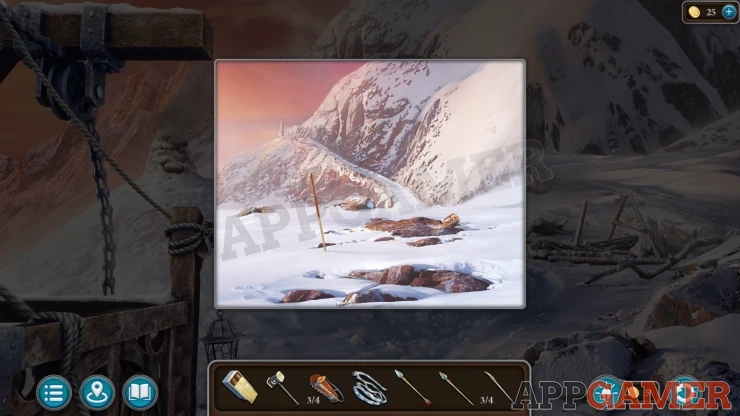
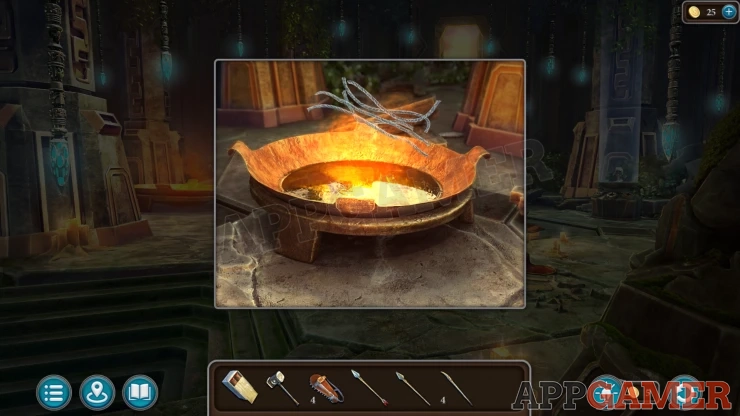
Travel back down to the temple and view a fire pit on the left.
Add the frozen rope pieces to this and when they thaw out you can tap to connected them and then collect the Belaying Rope.
Go back to the mountain path. You will need to view it and then add to the scene the Primitive Ice grippers, the Stilt Canes and then the belaying rope.
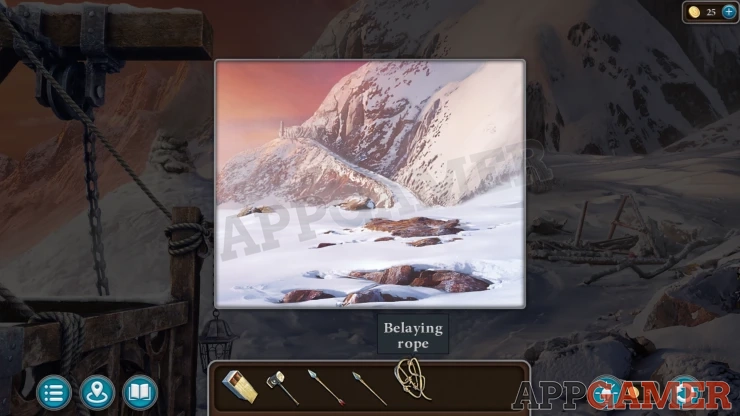
This will let you travel up to the next part of the mountain.
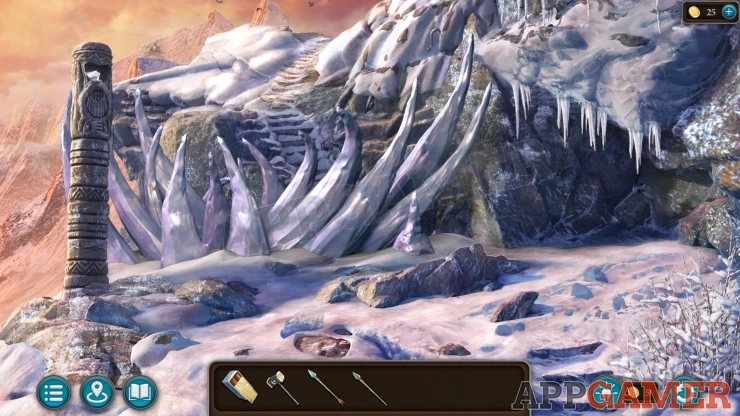
Collection Item: Ghosts of the past, a small figure on the mountain near the top left.
Morphing Object: Ice hook in the mountain at the top center above the ice spikes.
Add the box of dynamite to the ice blocking your way. Then repeat the process with the iron arrow and the flint arrow.
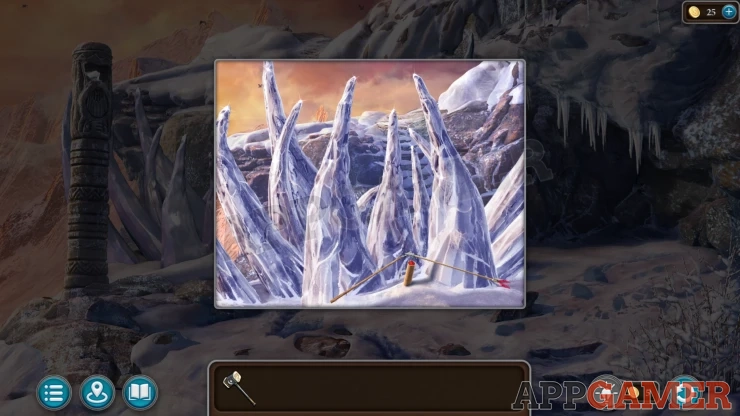
The blockage is removed but now there is an avalanche.
Avalanche snow puzzle.
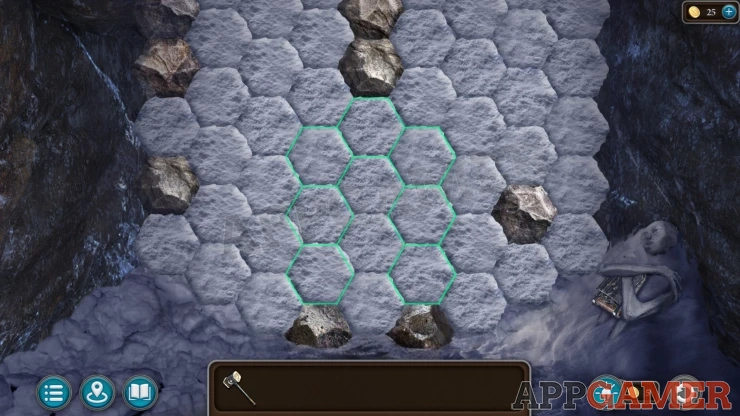
First tap on the frozen figure on the right. You will collect a Camping Shovel.
View this in your inventory and open it up to then collect the Ice Axe.
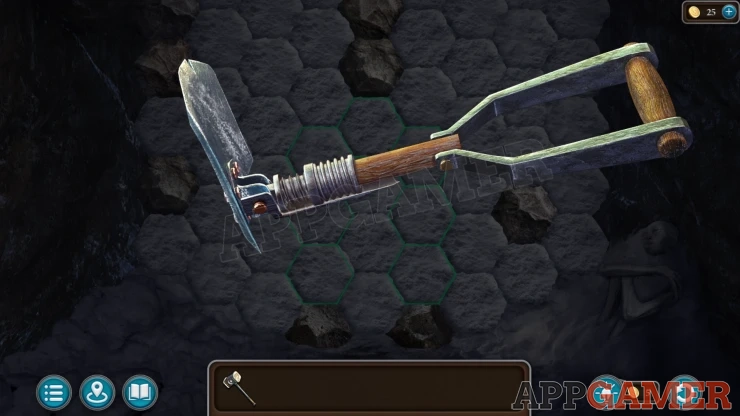
Now you need to dig a tunnel.
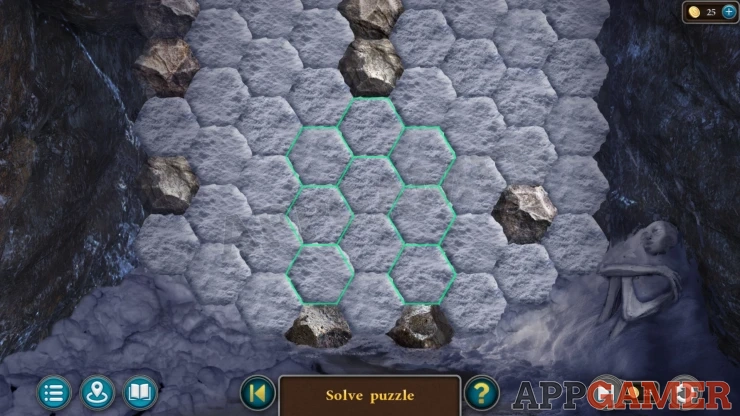
- Tap on any of the hexagons to dig them out. As you dig them more snow will fall in from above.
- Eventually some rocks will also fall with the snow.
- You need to dig the snow and get the rocks to fall into place within the marked green sections.
- You must fill all off the green section with rocks, but not let any rocks into the center section.
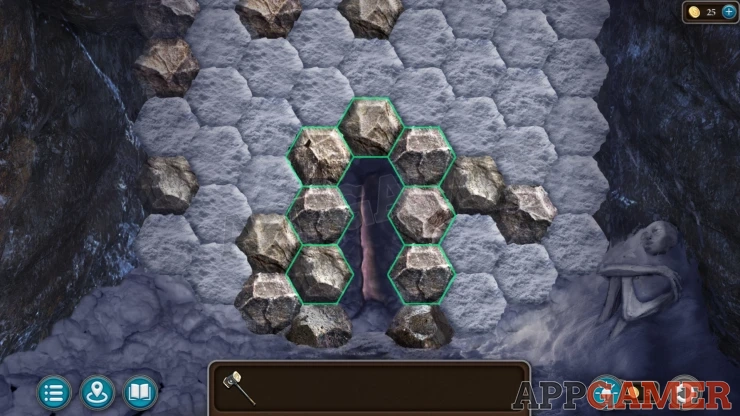
Once you complete this the center will open up to allow you through.
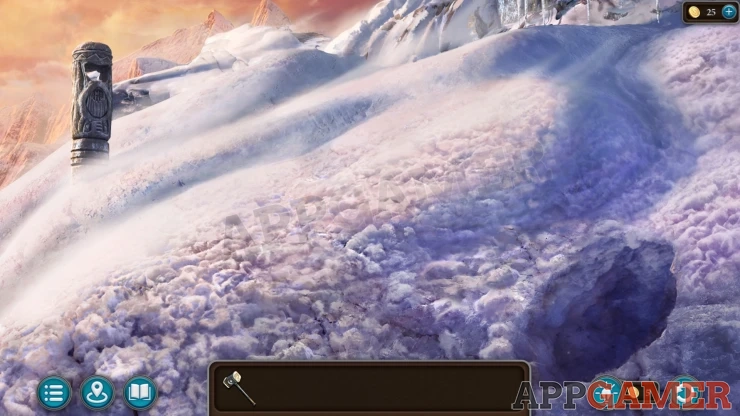
Tap to continue up the mountain to the top.
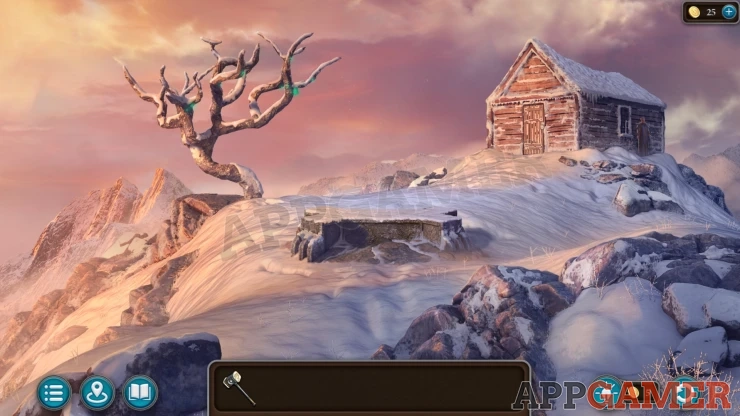
Collection Item: Ghosts of the past, figure standing on the right of the hut.
Morphing Object: Icicles on the right side of the roof of the hut.
View the shaped stone plinth and tap it to clear the snow from the top. Use the hammer on the round green ice on the lower right, you can then collect a Key.
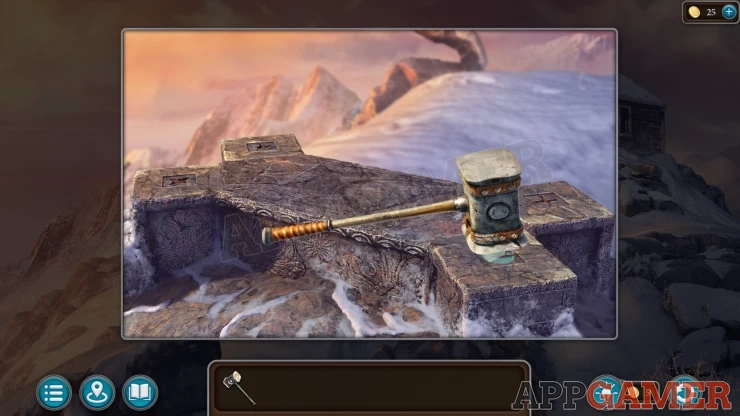
View the door to the hut, try the key.
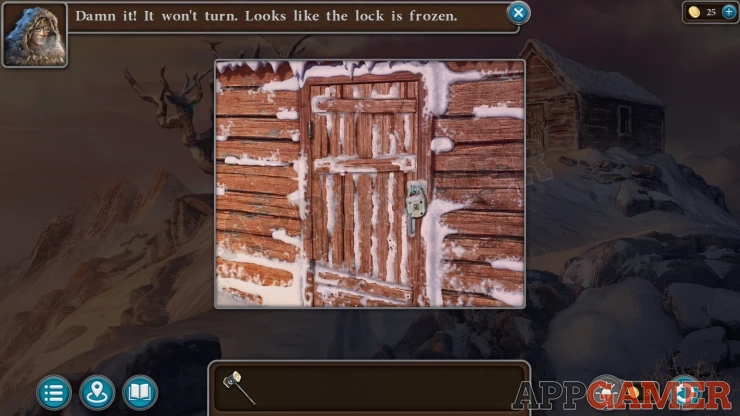
You then need to use the hammer on the lock to open the door. Enter the hut and talk to Maaron.
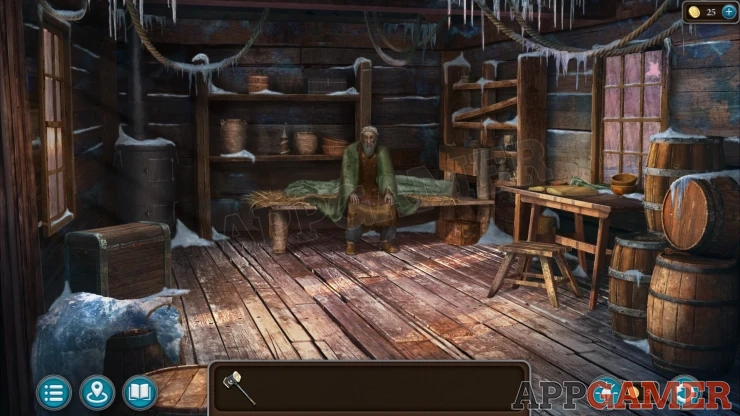
Collection Item: Academy tower, a model tower on a shelf to the left of Maaron.
Morphing Object: Key on a barrel on the right side of the room.
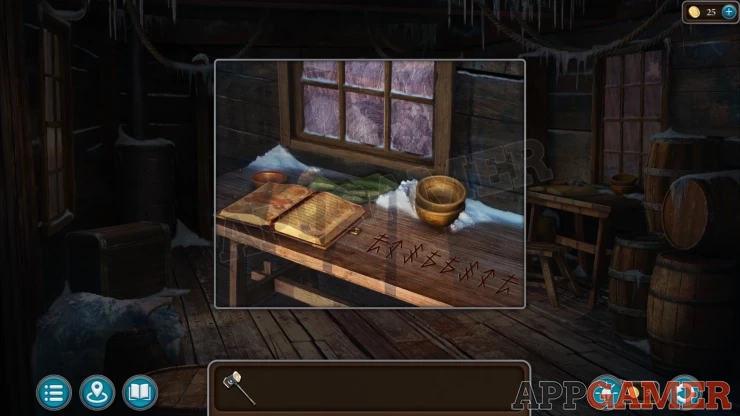
View the table on the right to see the book. Read the book to see the requirements for the ritual and also notice the rune symbols on the table.
After this talk to Maaron again about the plan.
Task - Suicide Ritual
Use the hammer on the floor in the center to break open a hole. Then look inside.
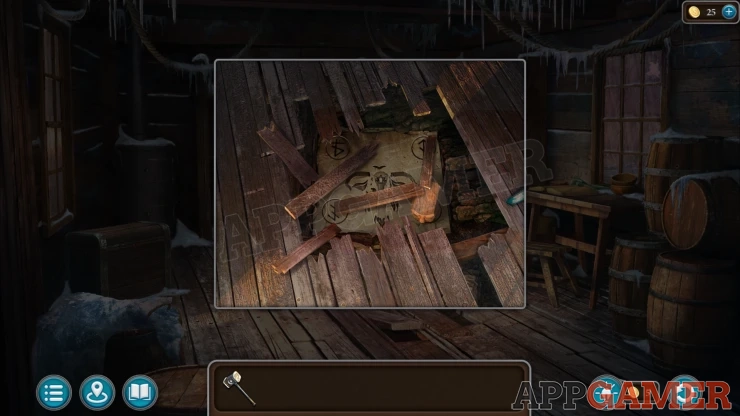
Collect a Wooden block with a face.
Back up to the avalanche area of the mountain and then view the top of the totem on the left.
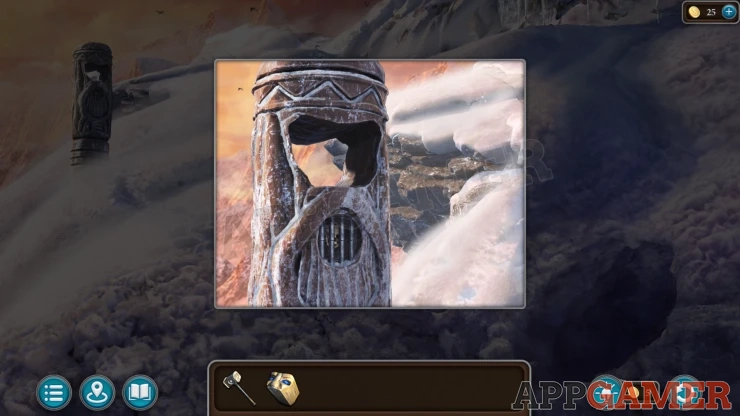
Place the wooden block into the hole in it, the mouse will open and you can collect a Ritual Cup .
Now back up to the top of the dam. Look on the table to the left.
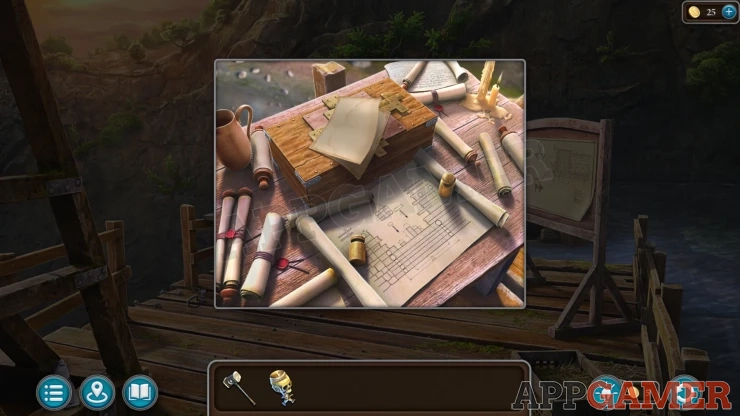
Manuscript: on the box.
Now view the box to see the puzzle.
Dam Puzzle Box
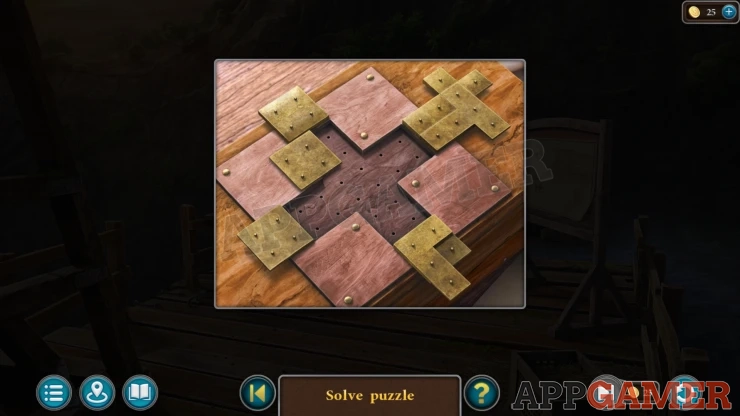
- There are a n umber of gold colored flaps arranged around the center cross shape.
- Tap the flaps to fold them in or out.
- Some can cover others if there are socket holes in them.
- Find the pattern to fold them all in and cover the holes.
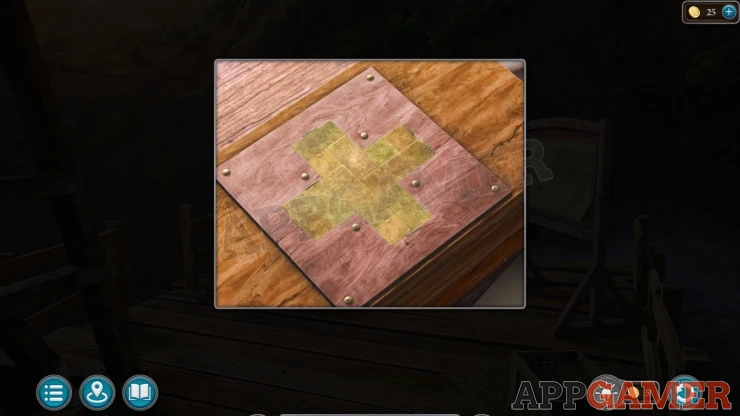
Once it is opened you can collect a Set of empty syringes.
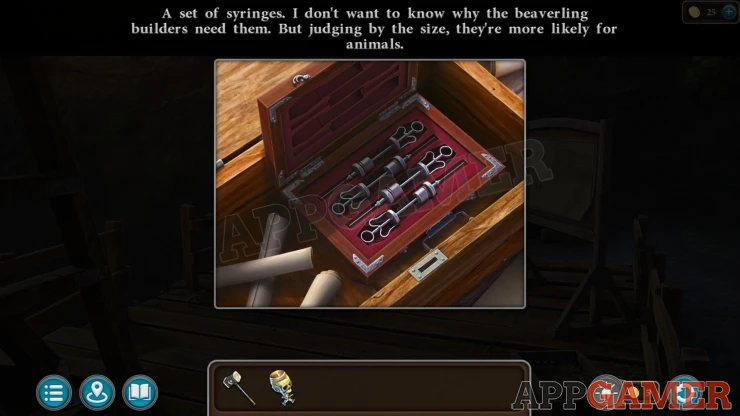
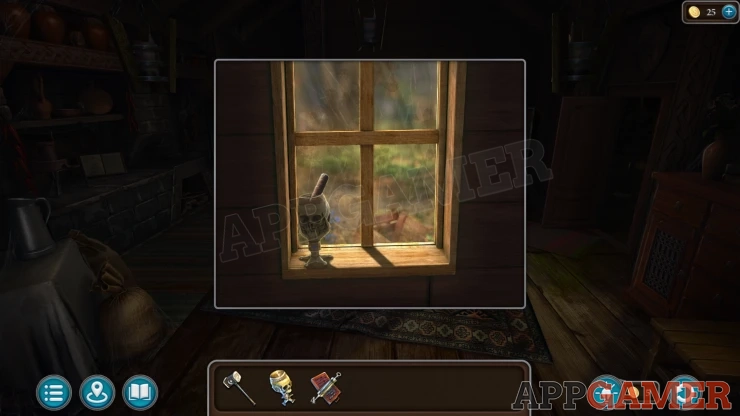
Now travel to Folnur's house. Inside the house view the window again and then you can collect another Ritual Cup from it.
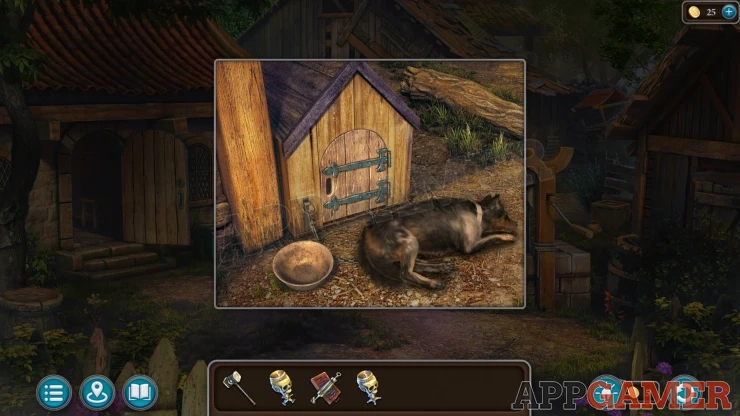
Then look outside to find the sleeping dog. Use the syringes on it to collect the Blood of the Wolf.
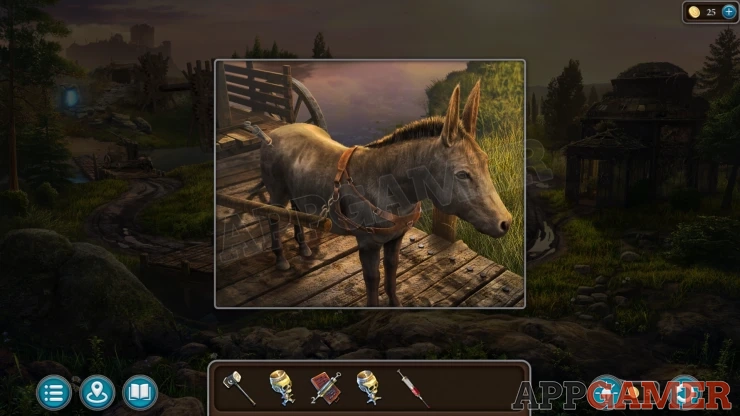
Next go to the river side in the Halfling's valley. The donkey with the cart is waiting here. View the Donkey and use the syringes on it to collect the Blood of the horse.
Then enter the Greenhouse on the right. You will receive a Bow and Arrows to let you shoot down a cup.
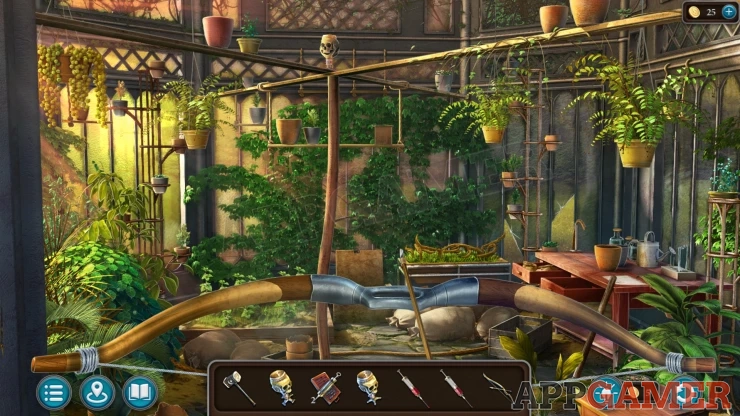
Use these on the skull shaped cut at the top of the center pole in the greenhouse. You will collect the Ritual Cup.
Go through to the lake and view the field on the right. Here you can use the syringes on the sleeping pig to collect the Blood of the Boar.
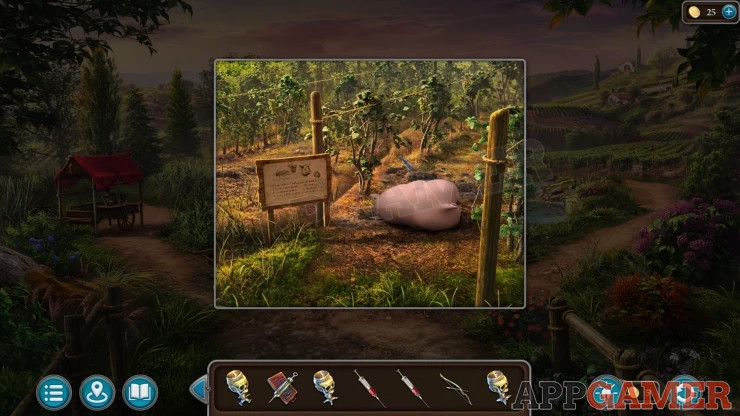
Finally go to the garden of Maaron's house. In the garden is a chicken.
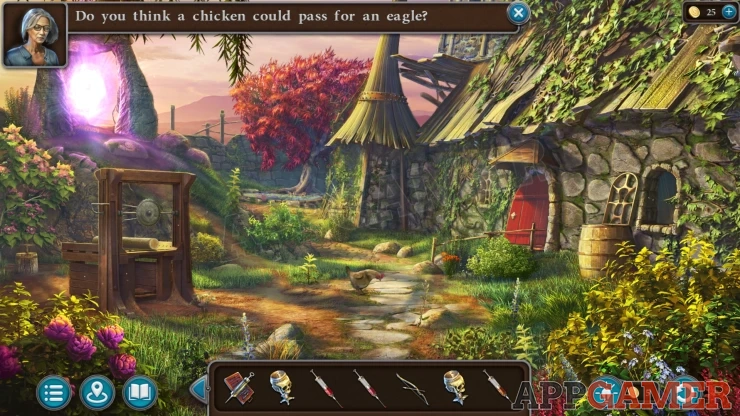
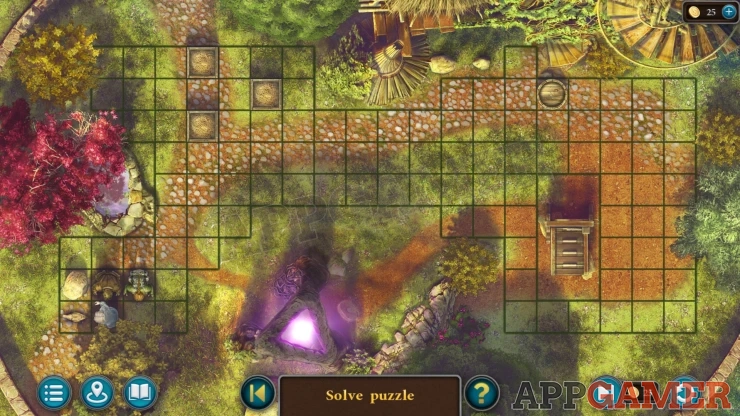
Tap on the chicken to start a mini game to catch it.
Catch the Chicken
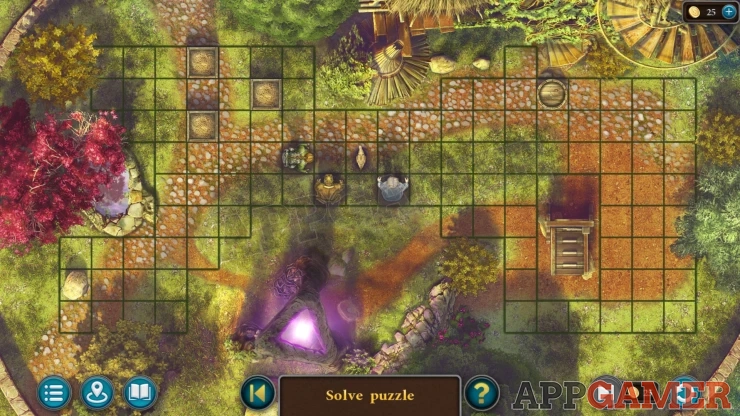
- There are three figures on the board that you can move (Susan, Kiana, Maaron)
- Select one of the figures at a time and then select a spot to move them to.
- Which each move the chicken will try to run away.
- You need to move the three figures to corner the chicken so that it can no longer escape.
- Try to push it towards one of the corner of the board and do not let it have a gap to escape through.
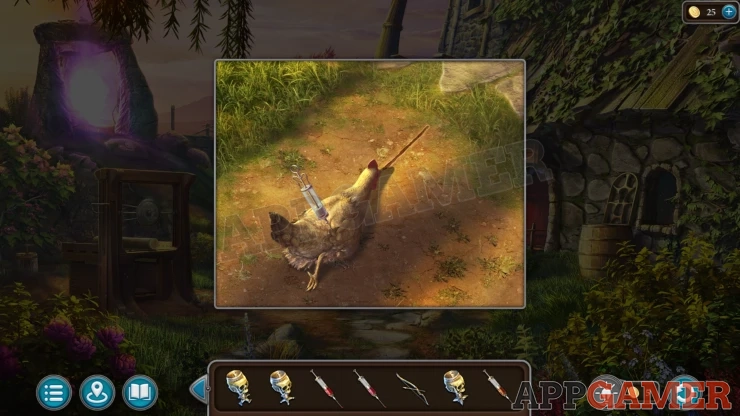
You will then have the chicken on the ground. Use the stick to draw a straight line, then you can use the syringes on it to collect the Blood of the eagle.
Go to the temple and view a pedestal in the far right with a beam of light on it.
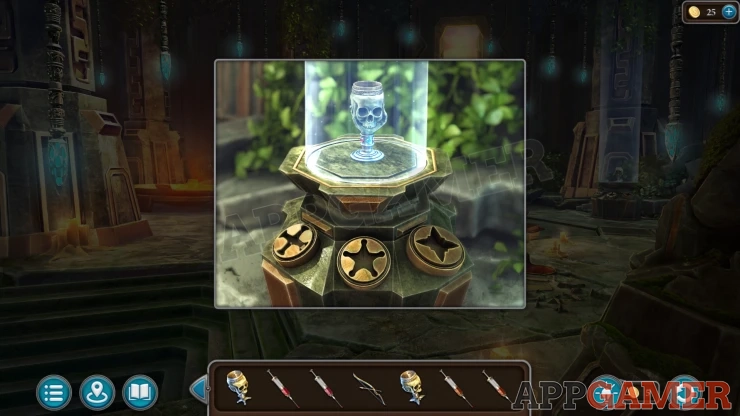
Add the three ritual cups that you have to the three shaped sockets. This will then let you collect all four Ritual Cups.
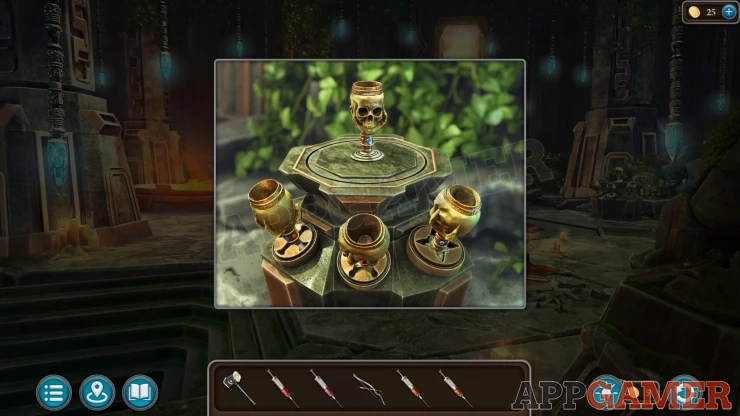
Go back up to the top of the mountain now and view the sacrificial stone. Place the 4 ritual cups here.
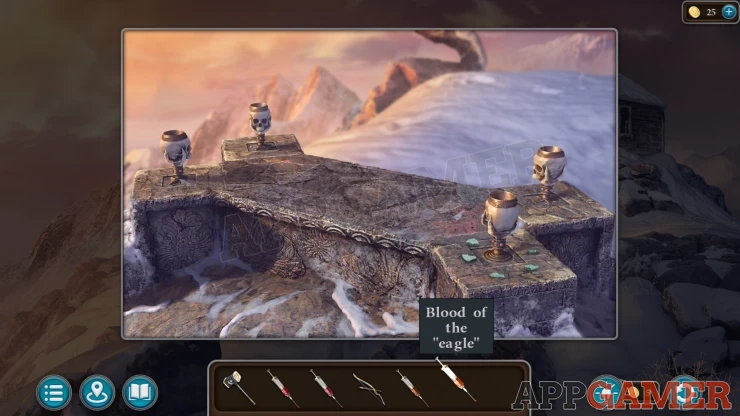
Now you need to add the syringes, one to each of the cups. You can look in the book that is in the hut to know which of the 'Bloods' needs to go in which position.
Once done collect the Bull Skull.
Go back into the hut and look in the hole in the floor. Place the bull skull onto the center.
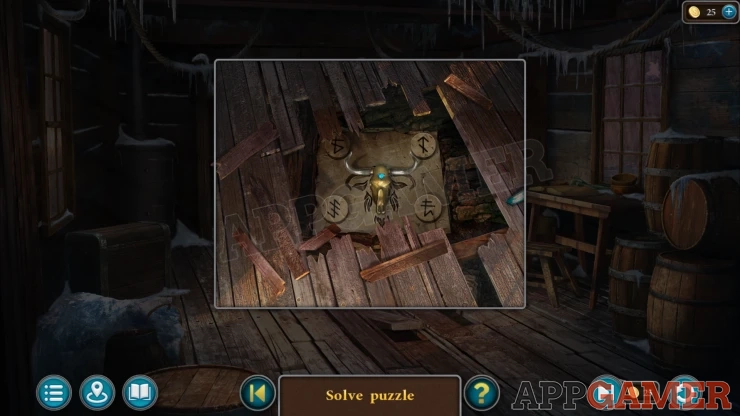
You now see four rune symbols on the corners. These are buttons.
You need to tap the buttons in the correct order. For the order clue look on the table. Tap the buttons according to the eight runes on the table top. These may be different for you.
This opens a hatch to reveal some stairs.
Go down to a burial chamber. You need to look for a ritual knife.
Burial Chamber Hidden Object
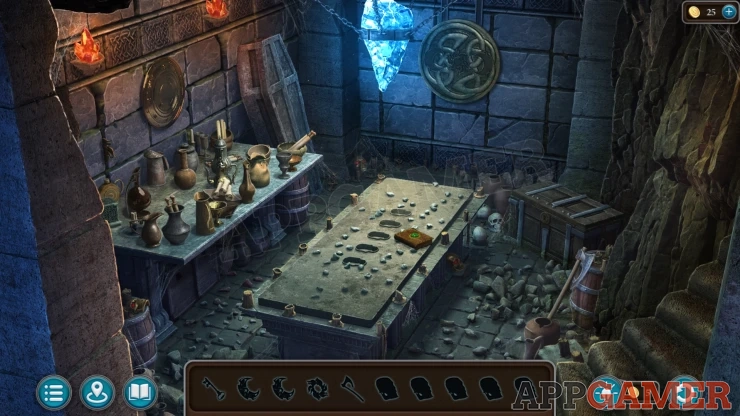
There are various items to locate and then use in this scene to let you collect the knife.
Collect a Hatchet from the ground on the right next to a barrel.
Then collect a Skull from the right side of the center sarcophagus.
One more Skull from a barrel on the lower left.
One more skull in the cobwebs at the foot of the back wall, below the glowing blue crystal.
Tap the coffin on the back left to open it and inside you can collect a Half Moon Pattern
Look on the sarcophagus in the center.
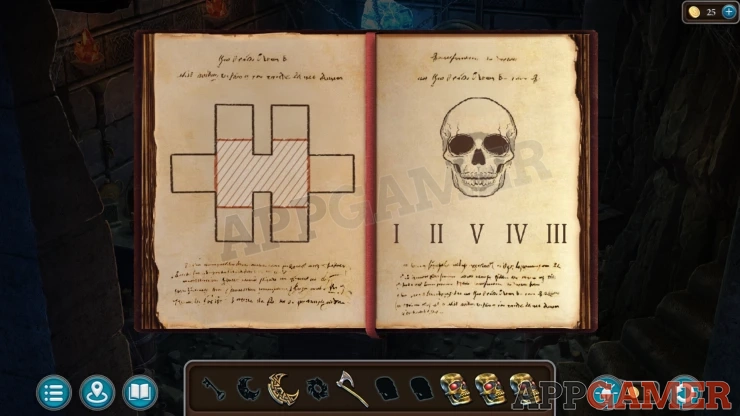
Open the book to see some clues with a shapes and a skull.
Then view the table on the left.
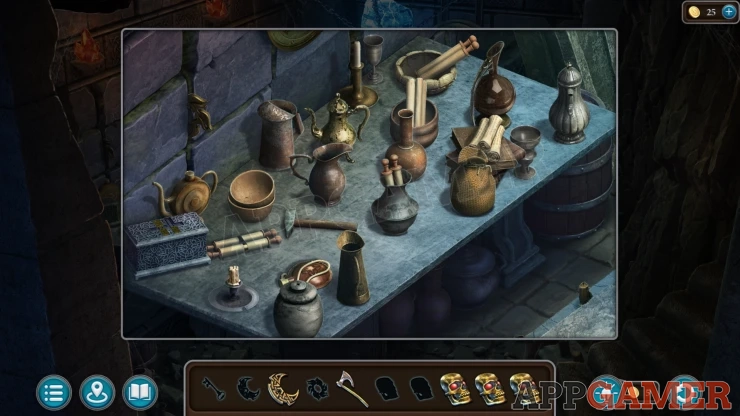
Move the items around on the table until you can collect a Key.
Next use the hatchet on the crack in the bricks on the left to collect a Sun Pattern
Then tap on a small box on the left side of the table. This has a puzzle lock.
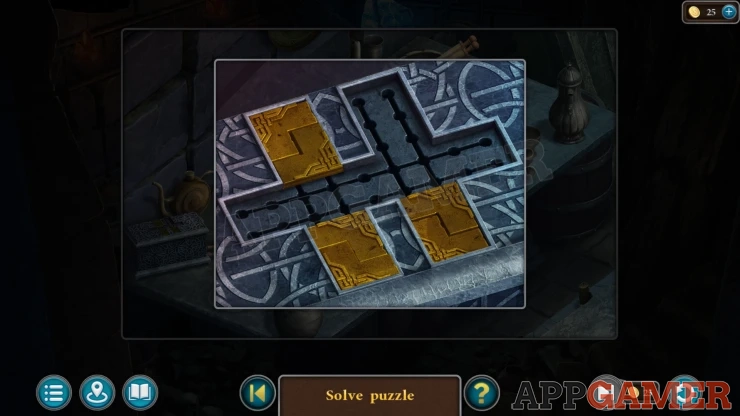
On top are six gold pieces that you can slide around.
Arrange these to match the clue you saw in the book.
Solution: Show
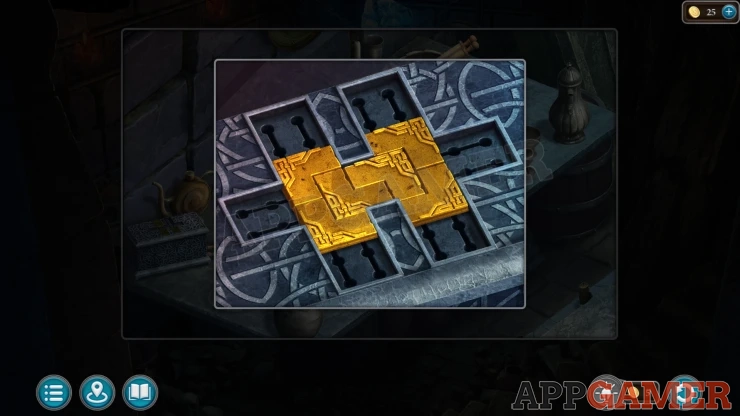
Once done the box opens and you can collect another Half Moon Pattern.
Next view a chest on the back right of the room and use the key on it to open it. Look inside to collect another Skull.
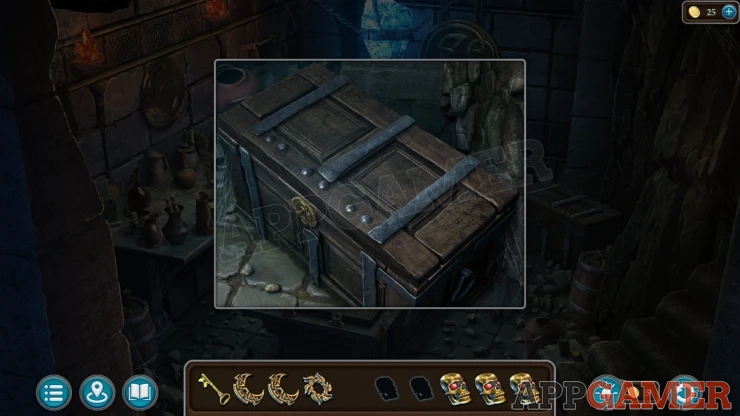
Finally look on the back wall at a round shield. Add the sun pattern and the two moon patterns to this. You can then collect another Skull.
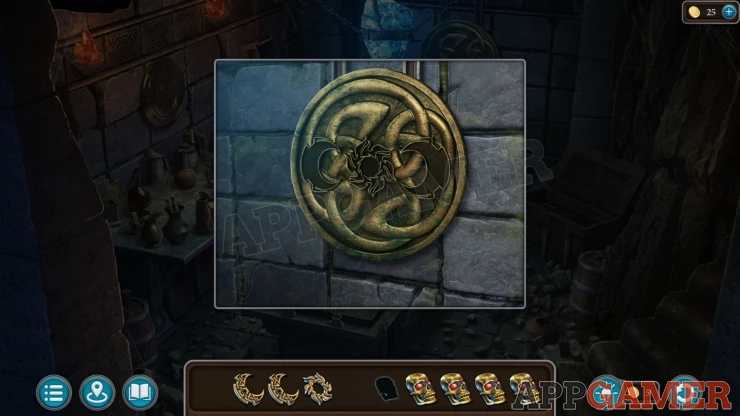
Look on the sarcophagus again and place the five skulls into the five slots.
You now need to tap the skulls int he correct order. The clue for this is in the book.
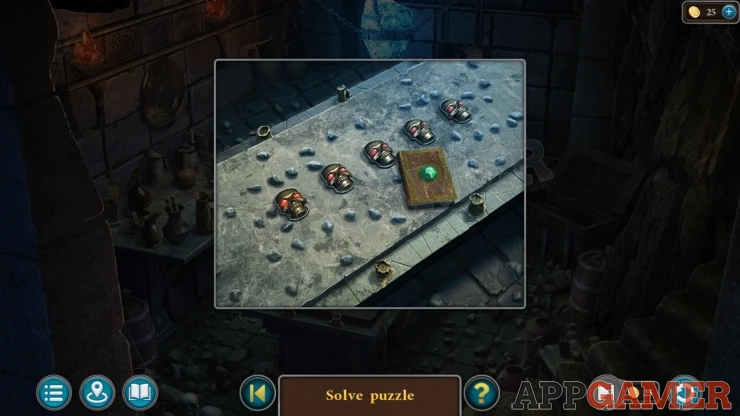
Solution: Number the skulls as 1,2, 3, 4, 5 from left to right. Then tap the skulls according to the roman numerals in the book. For me it was 1st, 2nd, 5th, 4th, 3rd, but yours may be different.Show
The lid opens and you can collect the Ritual Dagger.
Return to the sacrificial stone and use the dagger on it to start the ritual.
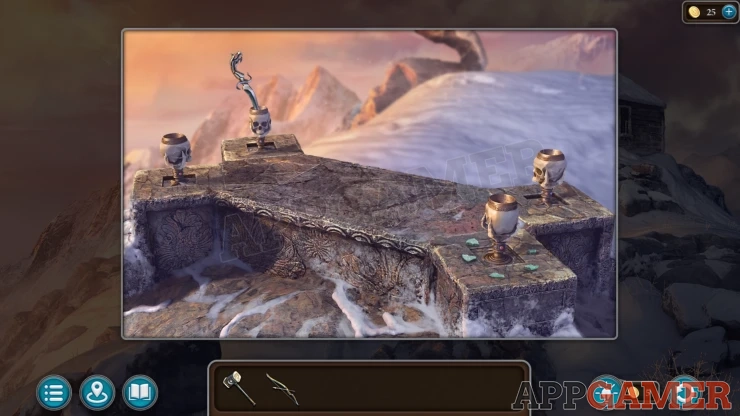
Next you need to complete a magic spell puzzle.
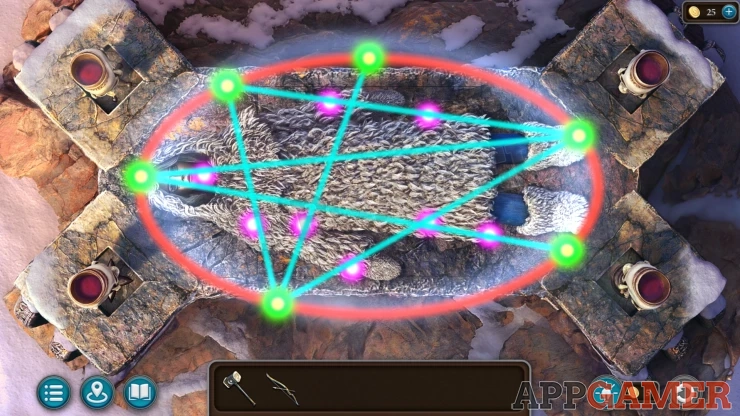
Ritual Spell Puzzle
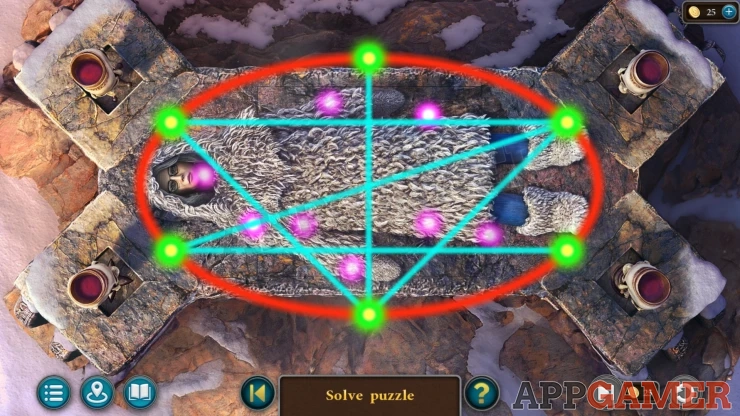
- There are six green lights around the oval that are linked by blue lines.
- Move the green lights around to change the position of the lines.
- You need to make the lines cover all of the purple lights in the center.
Solution: Show
After this the ritual will be performed and you will wake up in the spirit world.
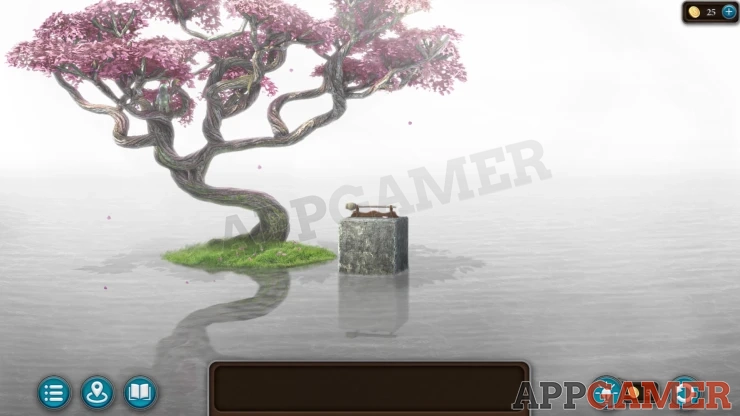
Collection Item: Ghosts of the past, a small figure in the branches of the tree towards the left.
Morphing Object: Stick / snake in the same tree just to the right of the collection item.
View the stone block in the center and collect from it a Ritual Bat.
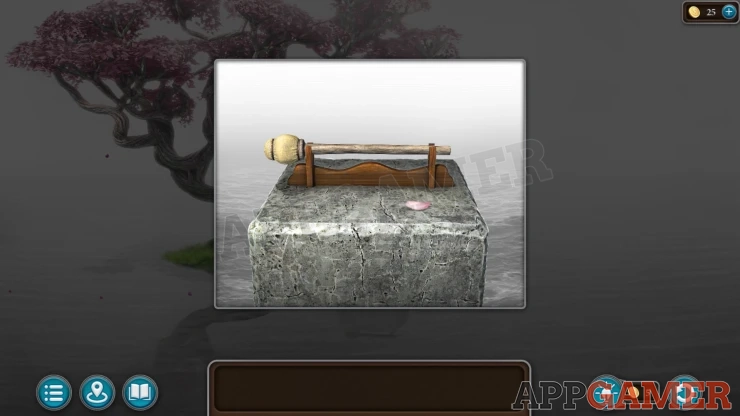
A large gong will appear. View this and use the bat on it.
Goddess Drak Om will appear, she will ask you to look at your actions.
Drak Om Puzzle
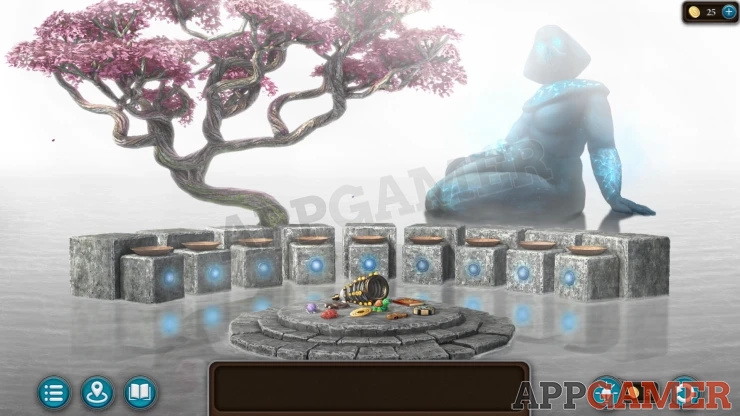
Nine small altars will appear, there is a bowl on each one.
View the round table in the center and collect from it the nine items. Each one represents one of your past actions.
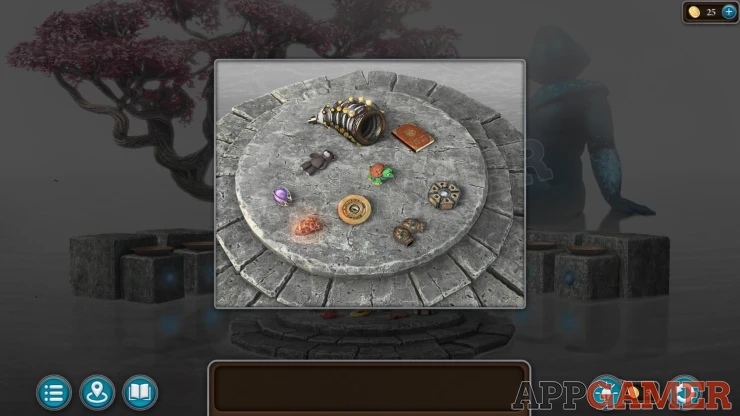
Now view each of the altars in turn, in the bowl you will see a scene from one of the previous Lost Lands adventures.
You will need to select one of the nine items that matches the scene and place it on top of the altar.
Solution: 1: Teddy Bear 2: Heart of the Black Rider 3: Anti-Magic Gloves 4: Compass of the Worlds 5: Horn of the Elements 6: Hexagon of Time 7: Space Impaler 8: Plush Turtle 9: Book of StoriesShow

Having solved this you talk to Drak Om and then afterwards you will be transported back to the lost lands again.
Continue the Guide in Part 6
We have questions and answers related to this topic which may also help you: Show all
 With 20 years of experience in creating video game content for the internet and over 30 years as a gamer, Mark is now a passionate mobile App Gamer. Loving a challenge, he is always ready to get stuck in to both survival builders and puzzle solving games. He has been providing content for AppGamer since 2014.