
Part 3 - The Mine
More Lost Lands 10
Welcome to Part 3 of our Lost Lands 10 walkthrough. This game is another in the popular line of Mystery escape room and puzzle games from Five-BN games. This game features beautifully designed environments and a diverse range of puzzles and hidden objects to find.
In Part 2 you traveled to the past and visited the Halfling fair so that you could retrieve the pontoon and cross the river. Now you need to continue your search for Folnur.
Main Game Walkthrough - Part 3 - The Mine
On the far side of the river you have arrived at the hill with the mine.
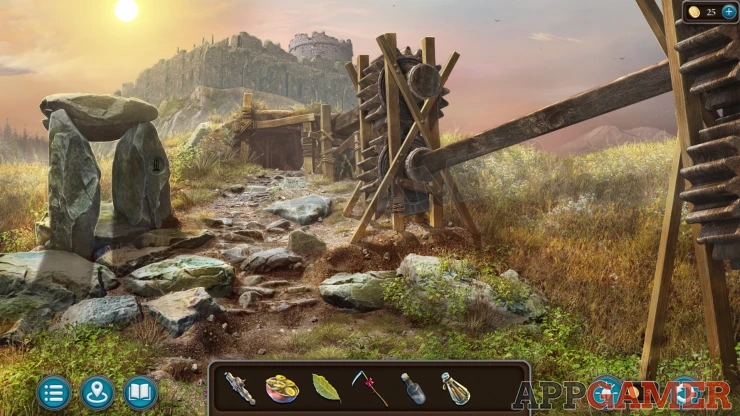
Collection item: Ghost of the past, a figure just to the right of the mine opening.
Morphing Object: A stick in the rocks to the lower left.
Tap on the mine entrance to look inside and see an elevator. You need to find a heavy counterweight to fix it.
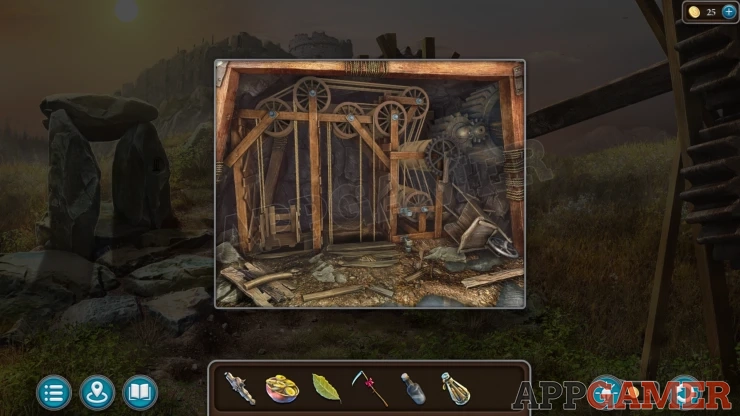
You need to look in the field to the right, but it is overgrown. Use the Scythe on the field to start a puzzle.
Field Cache Puzzle
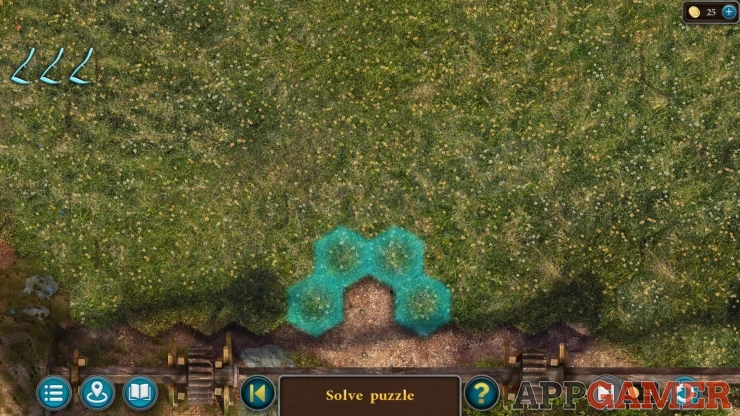
- Tap on any of the highlighted hexagons to use the scythe to mow the field.
- You need to search through it to find the location of the hidden cache.
- If you hit an obstacle in the field you will be reset and need to start again.
Solution: The location may be different in your game.Show
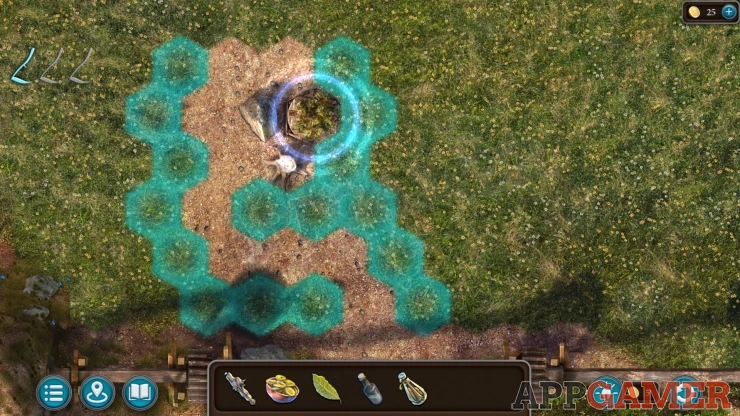
Once done look in the field again and uncover a pit view the contents, tap this to get a message about needing something to carry it.
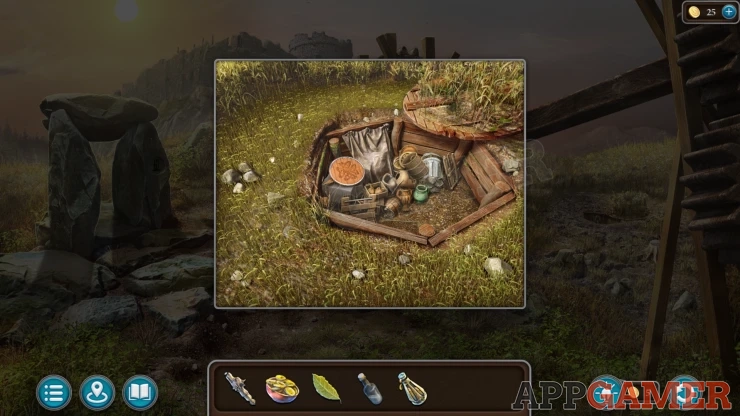
Look on the mine entrance again and collect a Miner's Wheelbarrow on the right.
Then view the cache again and add the wheelbarrow to it. You can now start a hidden object scene.
Cache Hidden Object Puzzle
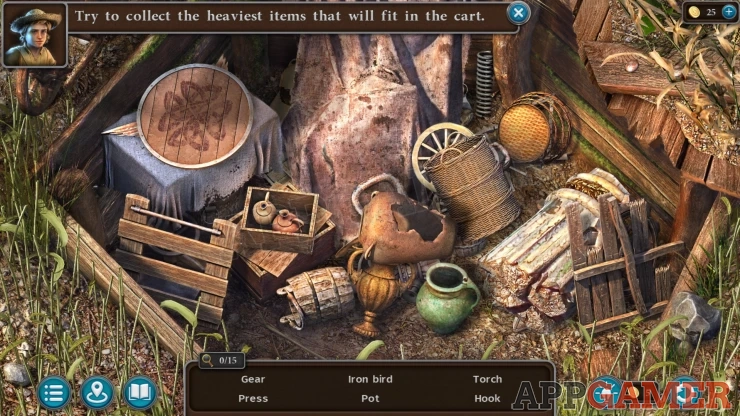
- There are 15 items to find in the cache, you will see six of them named at the bottom, you need to find the named items first.
- Most will be hidden under other items, or inside boxes.
- In some cases you need to use poles or shovels to move large items or dig to uncover the items you need.
- Keep searching until you find all 15 items.
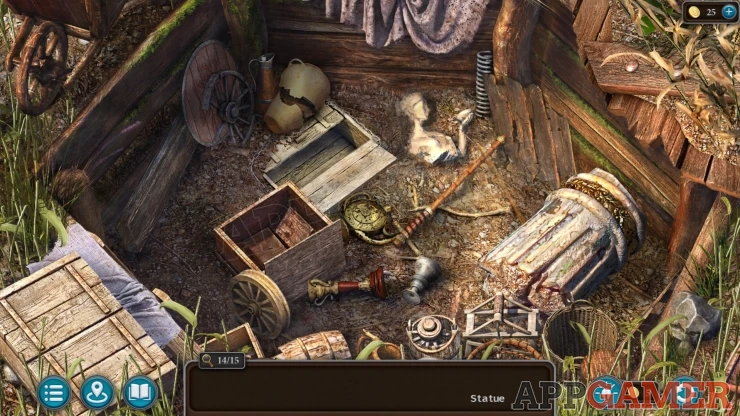
Once done you will collect the Wheelbarrow with Load.
Re-enter the main entrance and add the wheelbarrow to the counter weight on the left of the elevator. The elevator will rise.
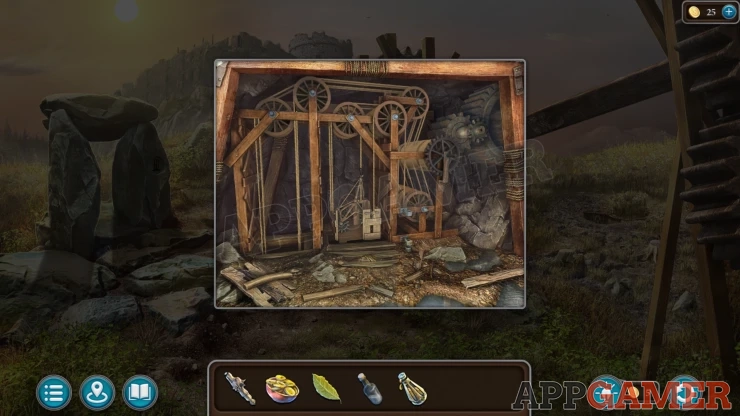
Tap the system of gears that is on the elevator when it arrives and add it to the moving gears on the right. This activates the elevator for your use.
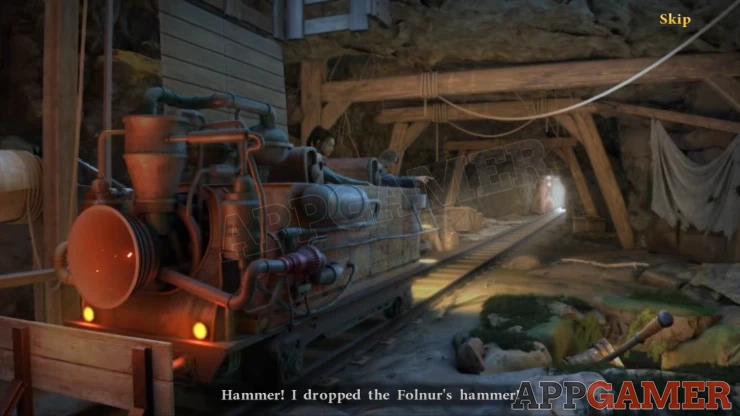
You will then see a cut scene with the rocket car.
You now arrive at Maarons's House.
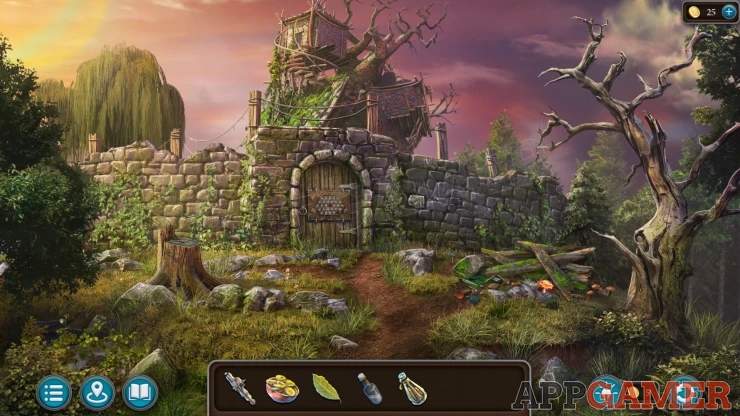
Collection Item: Toto Toy by the wall to the left of the door.
Morphing Object: Window at the top of the building behind the wall.
First tap the tree stump on the left to view it, then again to tip it over. Collect the H Shaped Rod from the ground underneath.
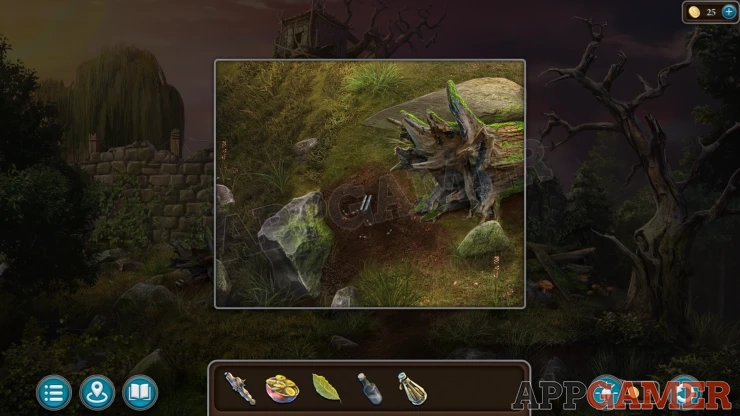
Next look on the wall to the right of the door to see a loose stone. Remove this and then you can collect a Key to the Gate
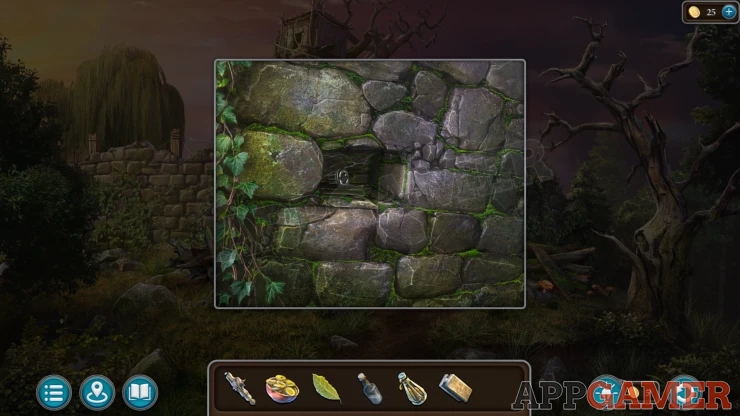
Now view the wooden gate and tap on the puzzle lock in the center.
Gate Puzzle
Add the key to the gate in the center to begin.
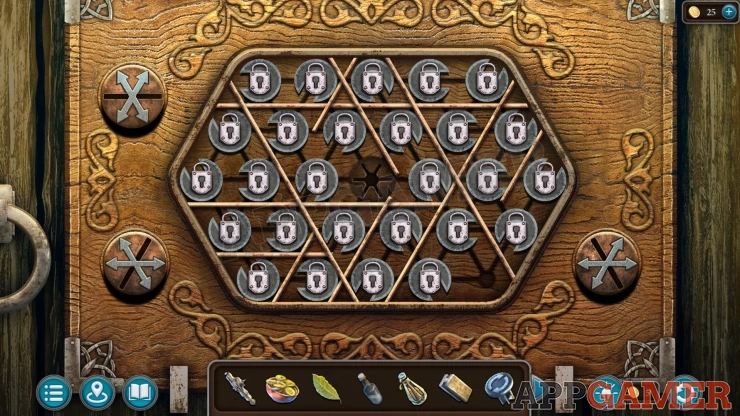
- There is a grid of locks with circles around them.
- The grid is broken up into sections with lines dividing them.
- You can slide the circles into empty spaces if the slot in them lines up. Removing a circle fro a lock will remove the lock.
- Use the center arrow button to turn all of the circles and use the arrow buttons around the sides to change the positions of the dividers.
- Remove all of the locks from the grid by sliding the circles pieces.
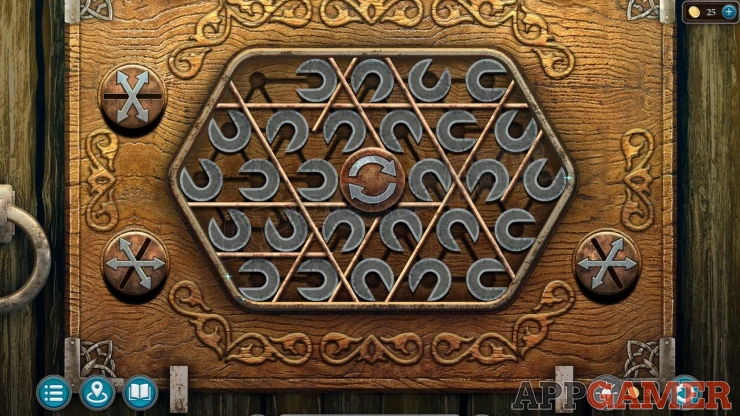
Once done the gate will be open. Go through to the garden of Maaron's house.
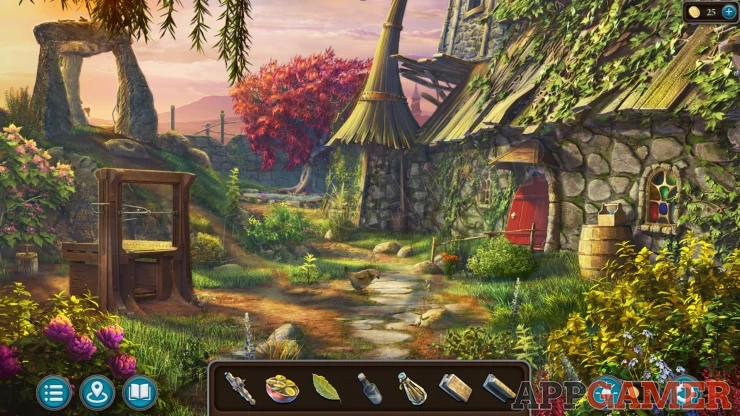
After talking to Maaron you receive a new task
Task - Portal Bridge
Collection Item: Academy Tower, in the distance seen through the roof line of the house.
Morphing Object: Barrel / sack against the wall of the house near the center. (below the tower)
First view the Dolmen portal on the hill to the left. You will see a space for a Rune stone, remember the symbol here.
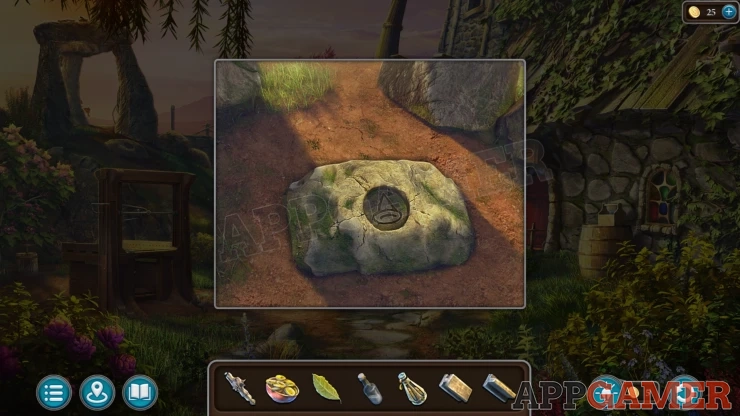
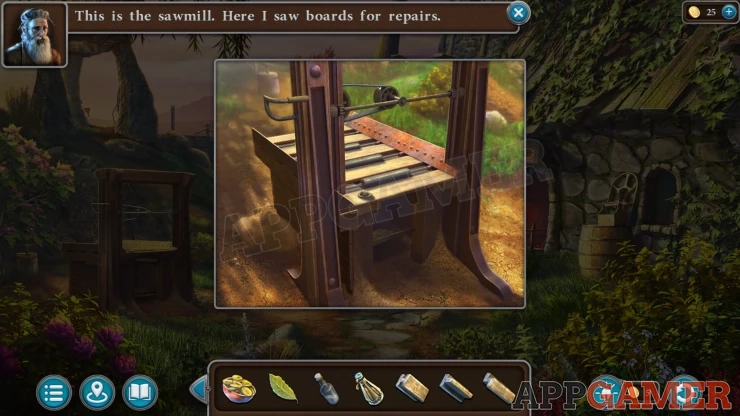
Then view a saw mill on the right below the dolmen. You cannot use it yet but you need to view it to see that the saw blade is missing.
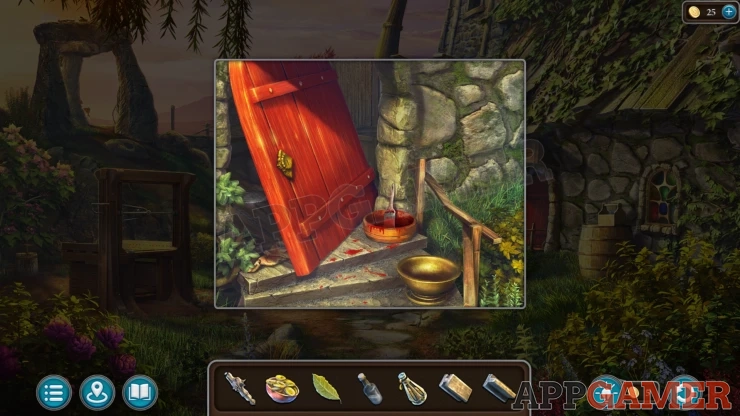
Next tap on the red door to the house. It has just been painted.
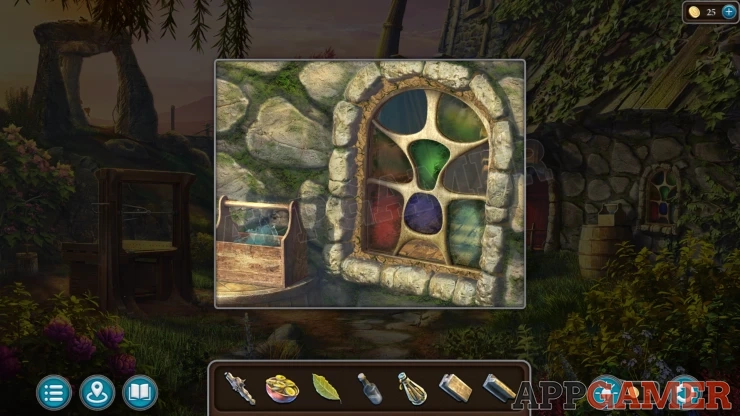
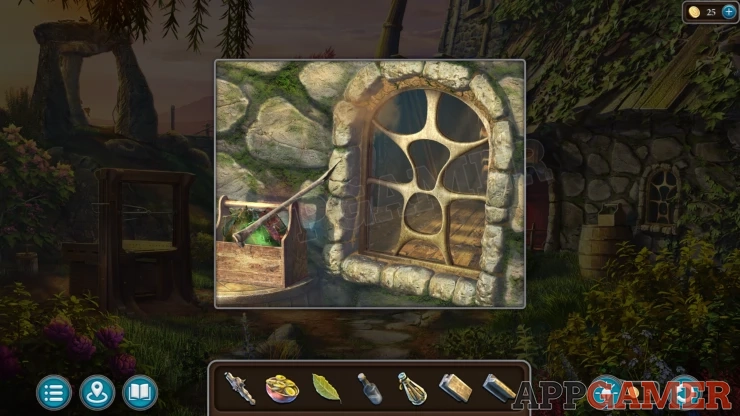
Then tap on the window on the right. You need a tool to remove it.
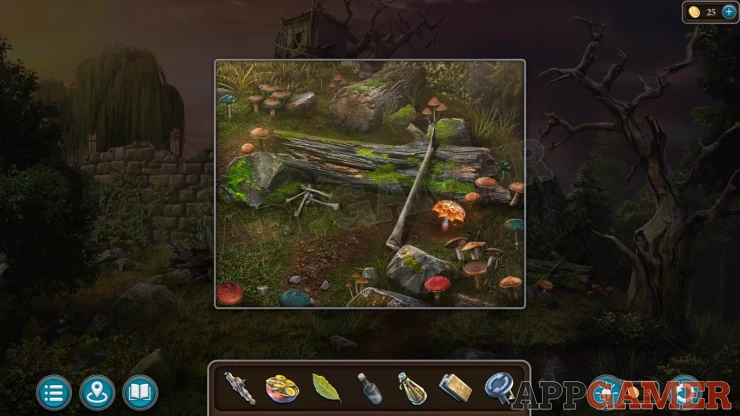
Back up outside the wall and then tap on a pile of items on the right.
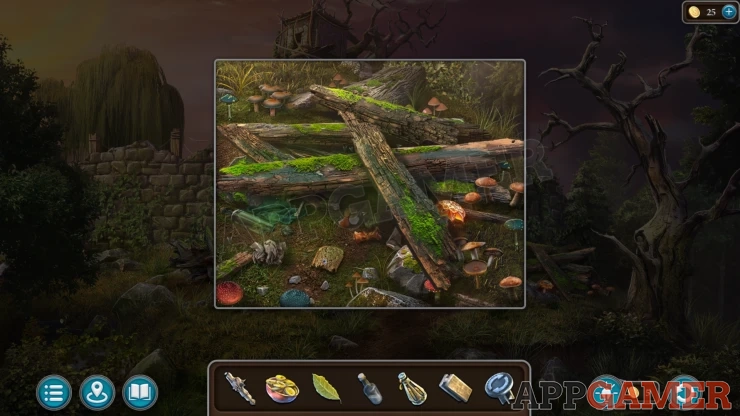
Move the junk around until you can collect a Pointed Bone. Then move some more bones to find a T-shaped rod to collect.
Return to the window and then tap each of the glass panels to remove them from the frame. Then use the pointed bone on the frame to let you remove it as well.
Enter the house.
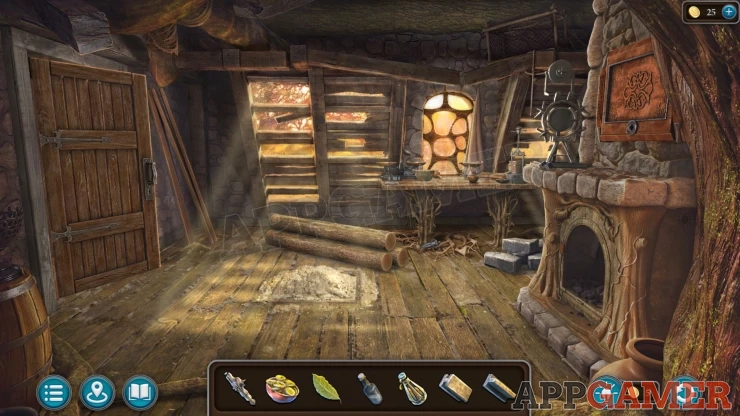
Collection Item: Drak UL figurine, under the table by the window.
Morphing Object: Sun/Moon symbol on the side of the fireplace on the far right.
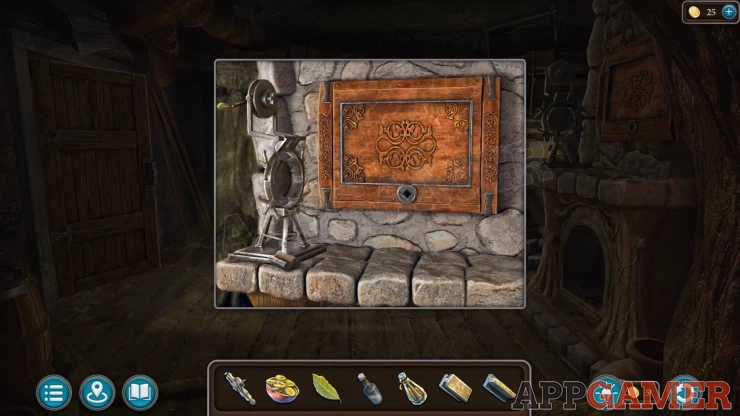
Look on top of the fireplace to see the machine. Collect a Z-shaped rod, from next to it.
Now tap on the open door on the left of the room to see a storeroom.
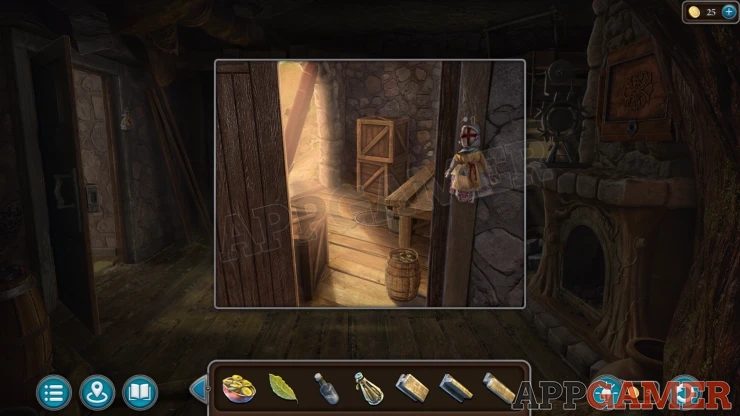
Collect a Circular Blade from the floor and then tap on the doll hanging to the right to collect an X-shaped Rod.
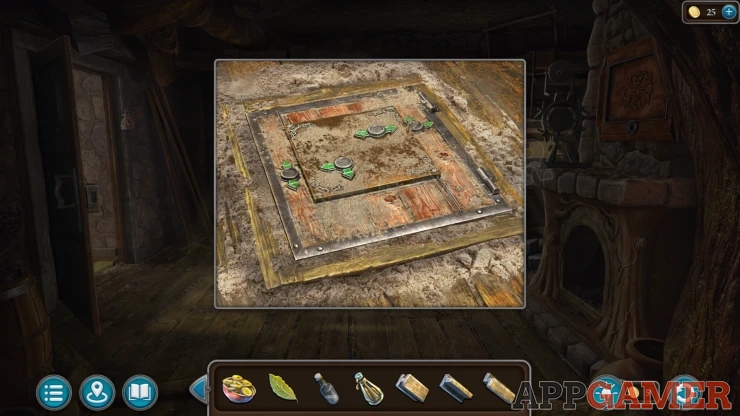
Then view a pile of sand on the floor in the center, then tap to clear it away, there is a trap door here.
You need to clean the sand from the lock.
Go back out side and view the door again. There is a brush with paint and a bowl.
Add the remaining alcohol to the empty bowl. Then select the brush and place it in the bowl.
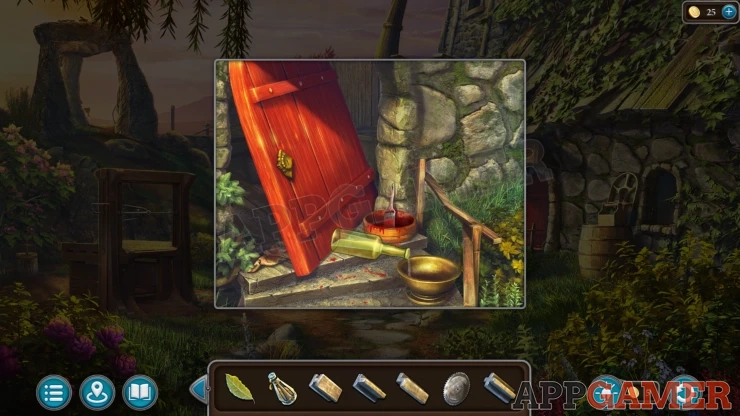
Then select the rag that is on the left of the door and use it on the brush to dry it. You collect the Paintbrush.
Go back inside to the trapdoor, use the paintbrush to clean it.
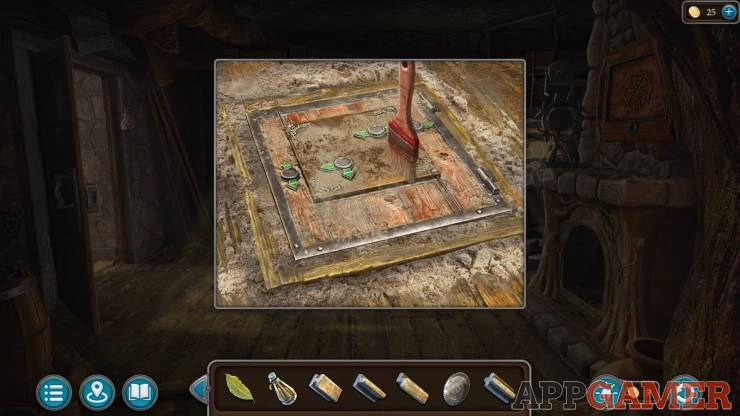
Now you can place the four shaped rods into the matching shaped holes. This starts a puzzle.
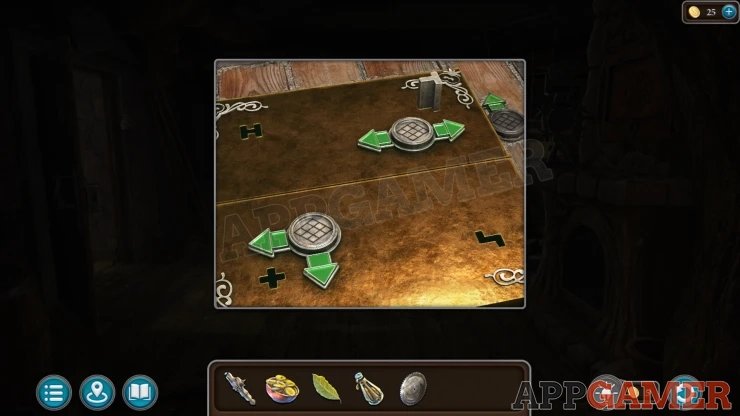
Trap Door Puzzle
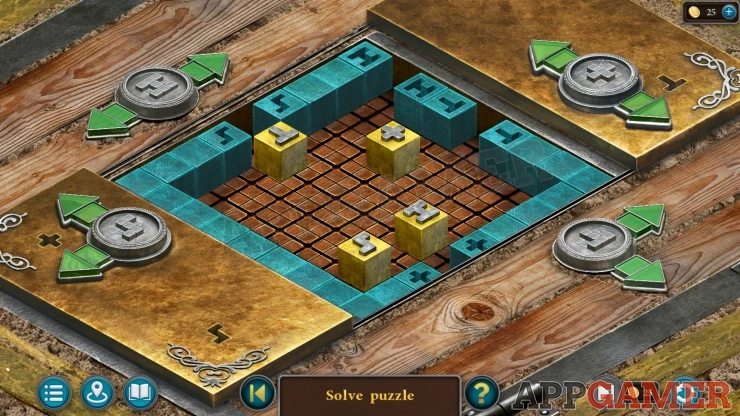
- There are four yellow blocks with symbols on them. You need to move the blocks to the slots on the edges of the board with the matching letter symbols.
- There are four controls that will move each of the blocks but only in two directions each.
- You can use one block to push another one.
- Find a way to get all of the blocks in the correct positions.
- The arrangement of pieces/slots can vary in each game.
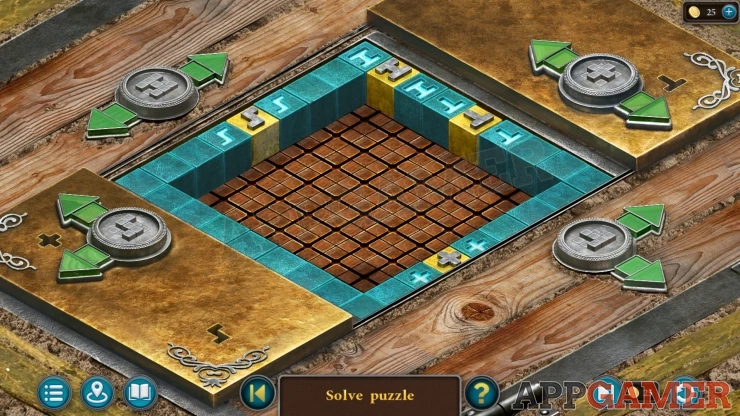
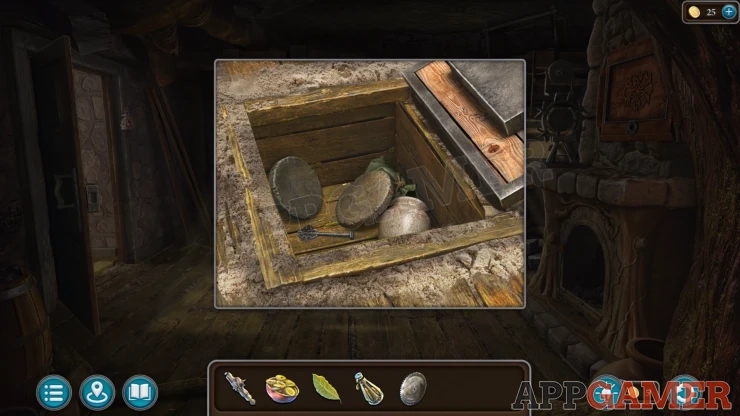
Once done the trap door opens and you can collect the Key to a Cache, and a Blank Rune Stone.
Look above the fireplace again and use the key on the wooden panel. This will reveal five cutters for the machine.
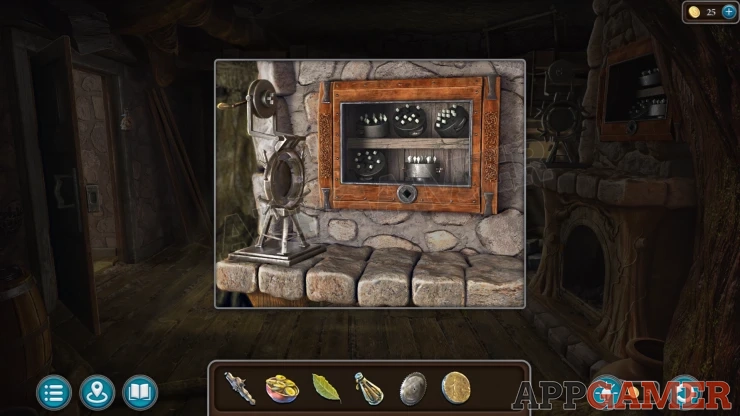
Place the blank rune stone on the machine. You will be told to test the cutters first.
Collect a Log from the floor in the house. then go back outside.
View the saw bench again on the left side of the garden. Fist place the saw blade and then use a cap that is on the bench to secure it.
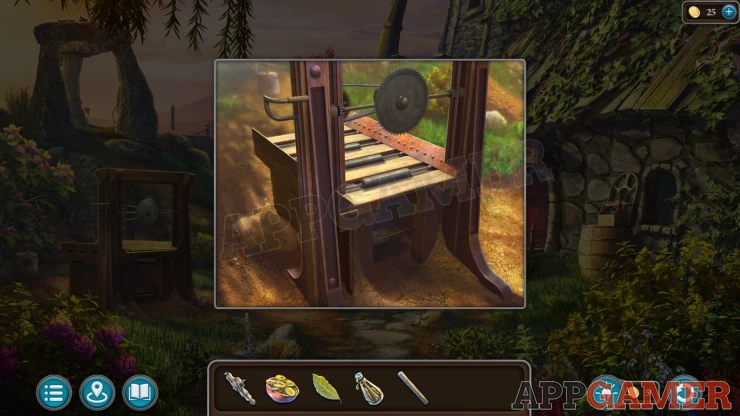
Then add the log and press the pedal at the bottom to start the saw.
Tap the handle on the left to lower the blade and cut five pieces, collect the Wooden blanks.
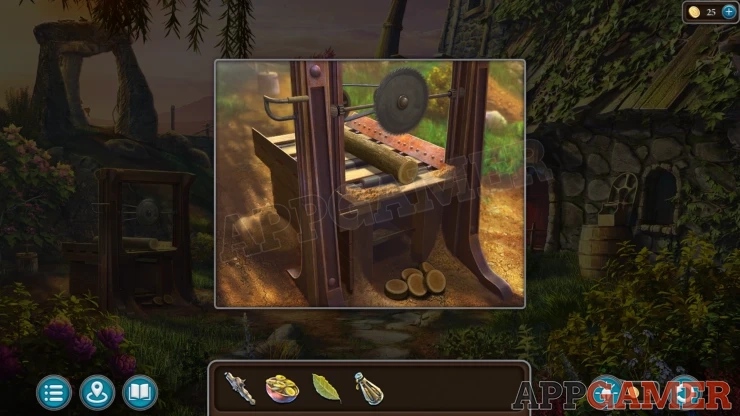
Go back inside and place the five blanks onto the mantel with the cutters.
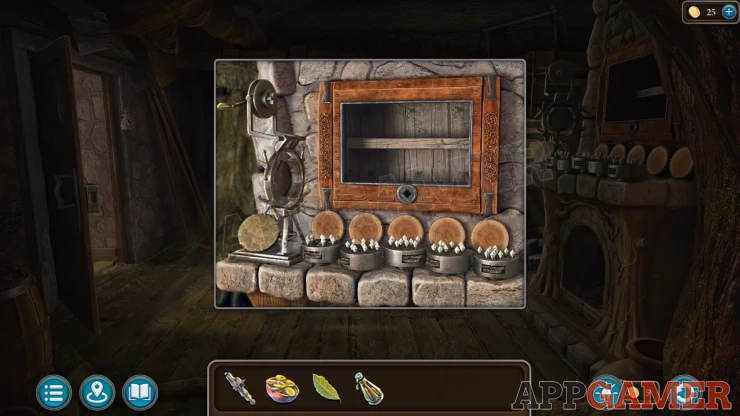
You can now tap each of the cutters in turn to carve a design into the blanks.
Once you find the one that matches the design you need, from the dolmen outside, you can place the Rune stone blank into the machine and tap the cutter to make it.
Collect the Runestone Friend.
View the dolmen again and place the rune stone in the slot. It will activate. Now you can tap it to travel to Folnur's house.
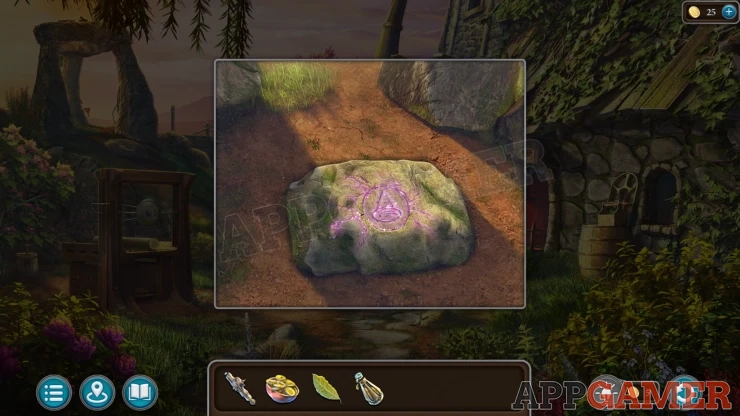
Task - Bogro's Estate
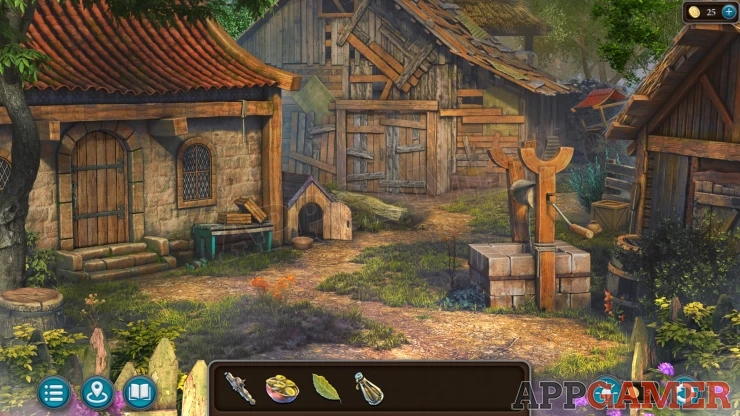
Collection Item: Toto toy next to the steps to the stone house on the left.
Morphing Object: Hay fork / Oar leaning on the wooden building on the right.
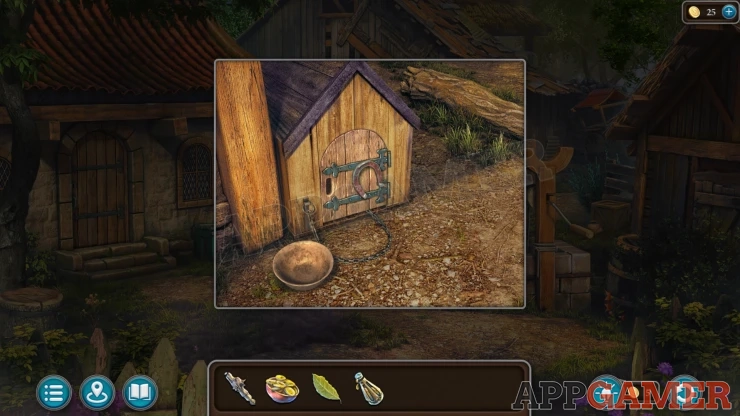
First you need to find Folnur's Dog, use the dog whistle on the kennel to call the dog.
Next view the Kennel and close the door on it. You can then collect a Magnet from the door.
Tap the double doors to the large barn to open then and go inside.
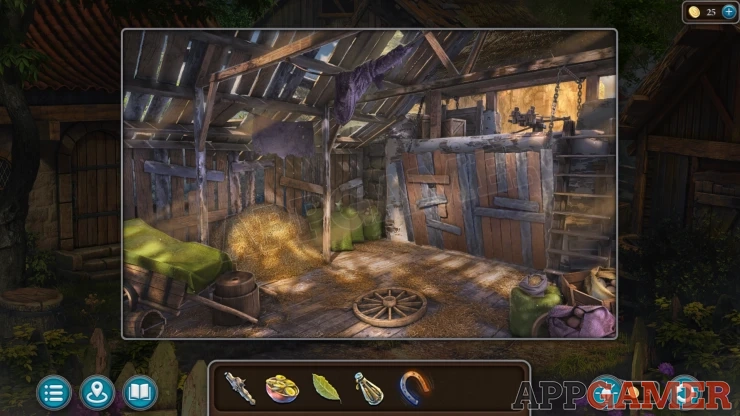
View the pile of hay and use the magnet on it, this will collect metal items.
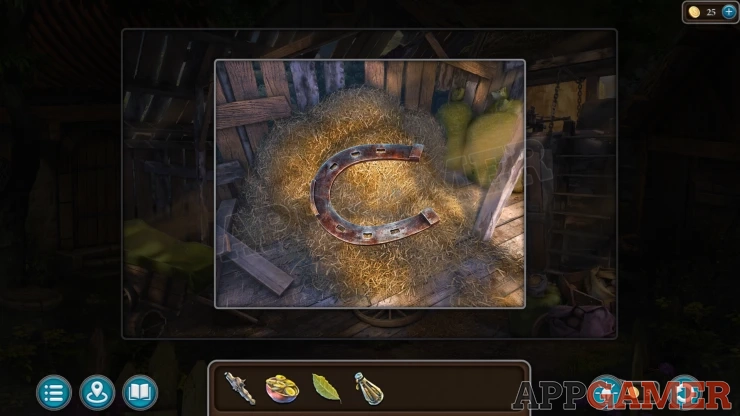
Now view the Magnet in your inventory and tap it to remove most of the items, you can then collect the Key and an Iron Kyoll. You also collect the Magnet again.
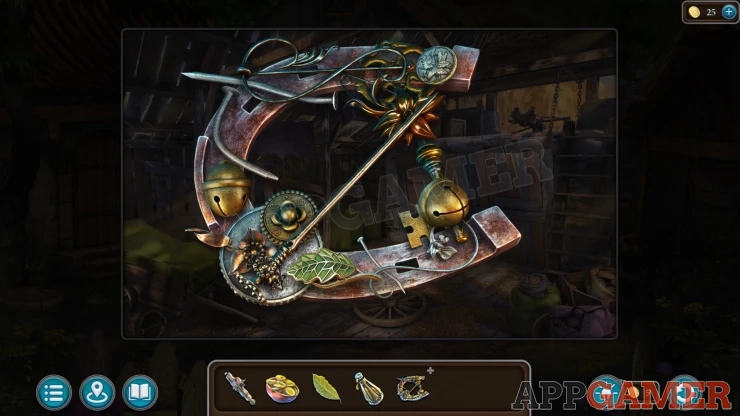
Now back out and use the key to open the door to the house on the left. Go inside.
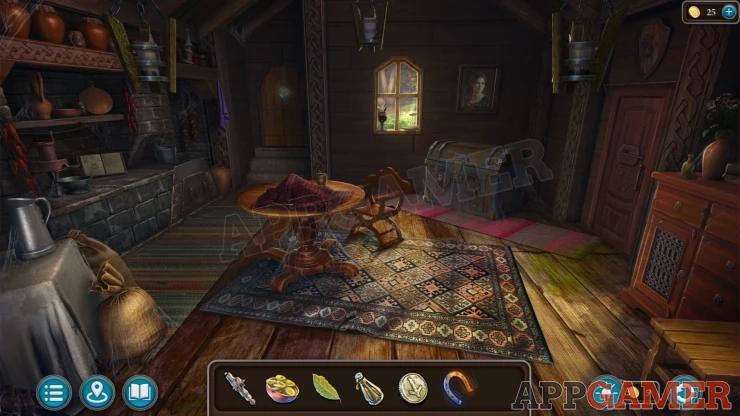
Collection Item: Academy Tower, a model tower on a high shelf to the left of the steps.
Morphing Object: Small vase on the cabinet on the far right.
Look on the round table and lift the red cloth to find some fruit.
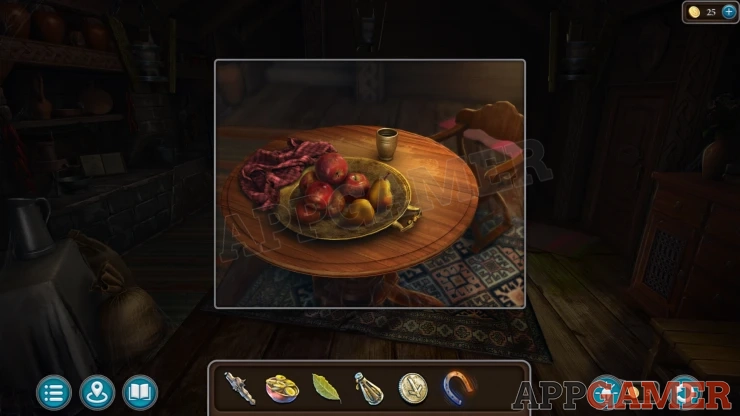
Search among the fruit to collect a Winding Key.
Next view the small window,
Manuscript: on the window ledge.
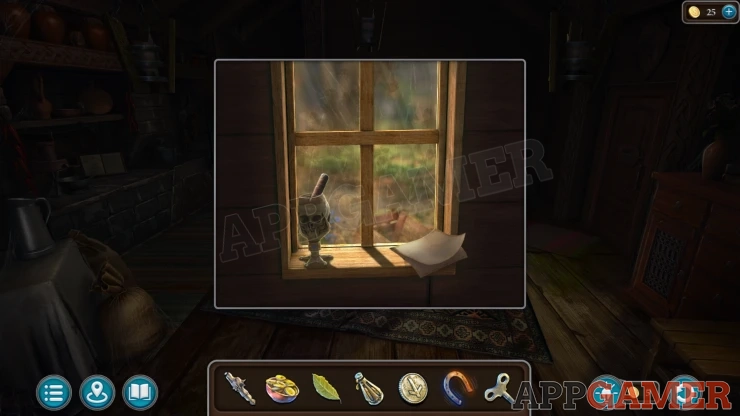
Collect a Mechanical horse from under the manuscript.
Now look on the left of the room to see a cooking area. View the Book to see the recipe for porridge for dog.
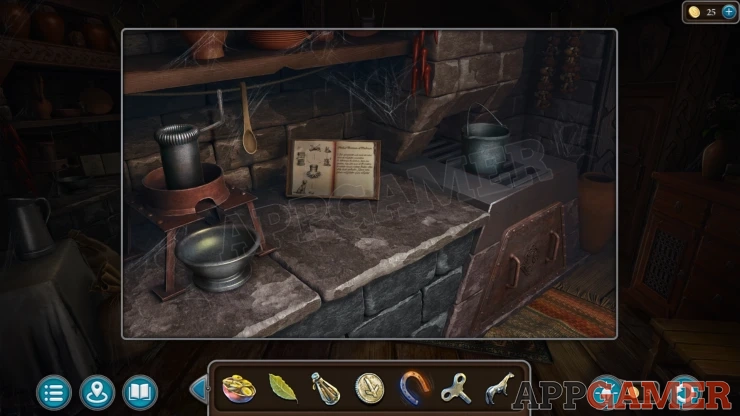
Next look at the door on the right if the room. Add the mechanical horse to it and then use the winding key.
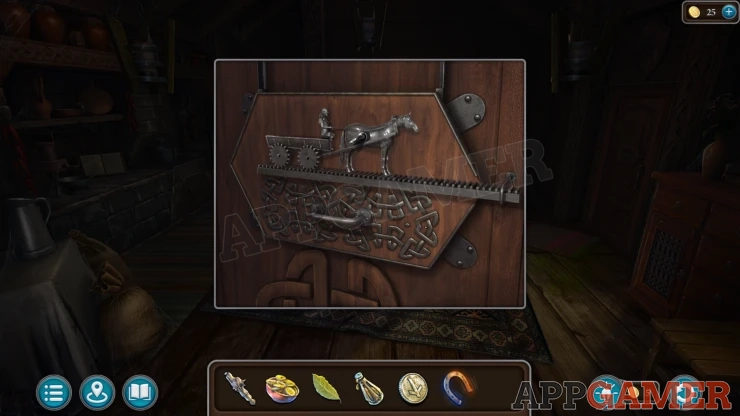
This will reveal a puzzle.
Horseshoe chips puzzle
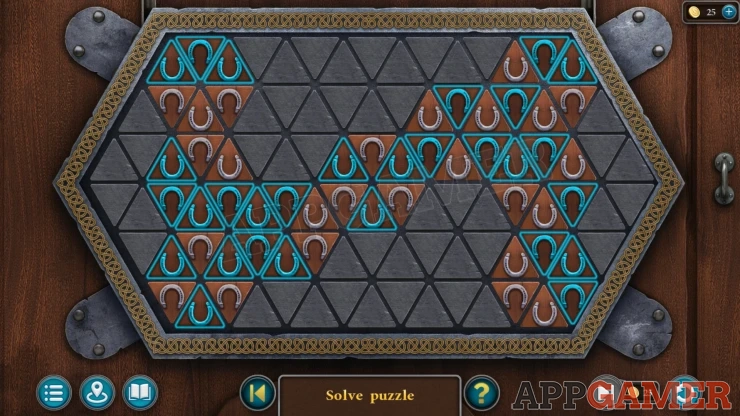
- The board is made up of triangle shaped chips. These are wither on (blue) or off (brown).
- Tapping a chip will toggle it between on and off. It will also change the state of any chips touching the sides.
- Find a way to turn all of the chips to the On (blue) state.
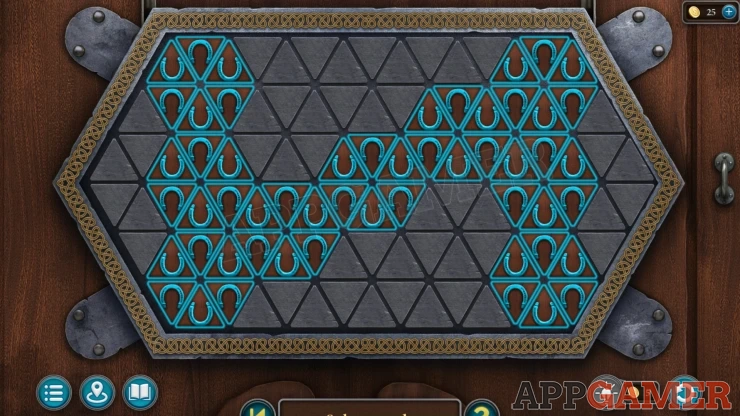
Once done the door opens and you can enter the office.
This is now a hidden object scene.
Folnur's Office Hidden objects
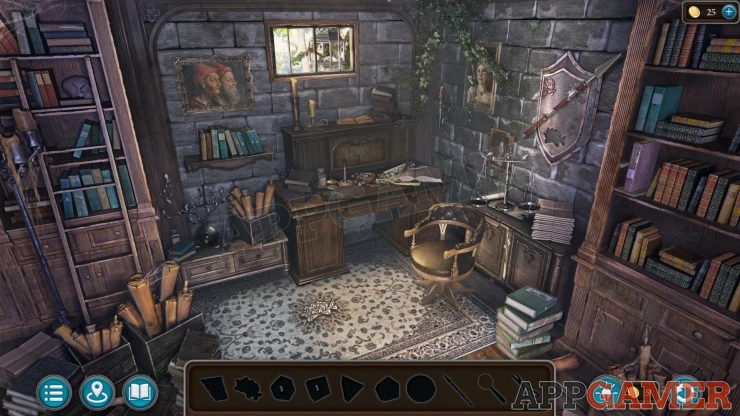
Collect a Heraldic Flower from the middle of the rug on the floor.
Place the heraldic flower into a slot on the shield on the right wall. You can then collect the Spear.
Use the Spear on the small window to open it, collect a Magnifying Glass.
View a low table to the left of the desk. Open the drawer to collect a Compass.
Then tap the glass vase to tip it over and then you can collect a Figured wheel.
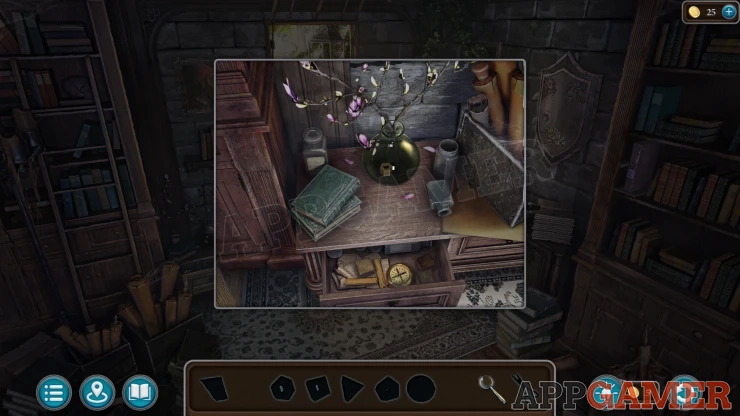
Move the chair and open the small cabinet to collect a Scrap of Paper from inside.
Next view the desk, tap in the small bowl to collect a Figured wheel.
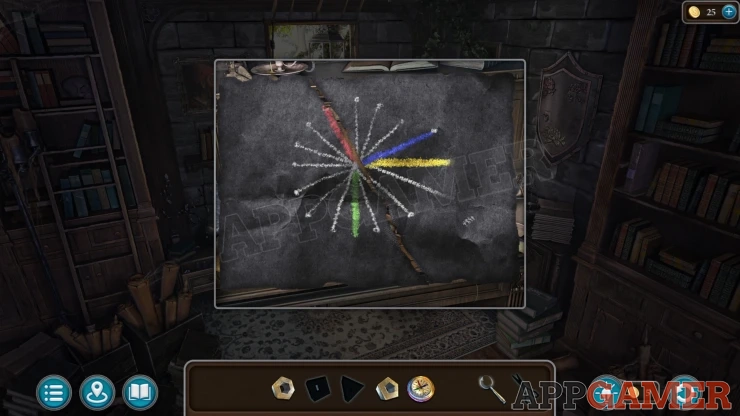
Then place the scrap of paper next to the other part of the drawing. You can view this for a clue.
Now tap the purple book on the bookshelf on the right to move it and this will open a drawer. Collect some Scissors from the drawer.
Use the scissors to cut a hanging plant to the right of the window. You can then tap a painting to open it.
Look inside and collect the Figured wheel, then view a book.
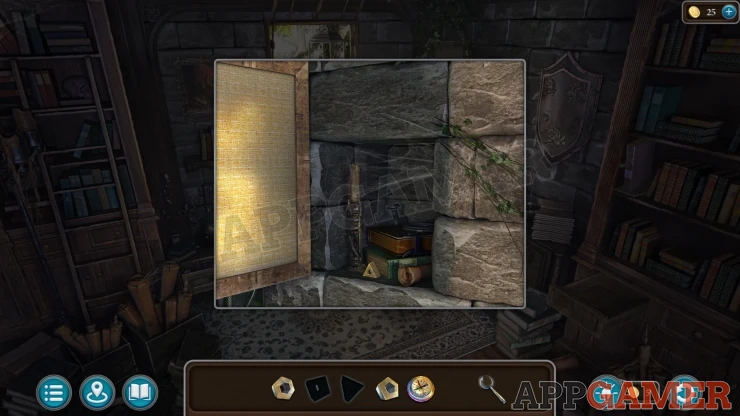
Place the compass on the front of the book. It has four colored hands inside that are controlled by moving the four colored dots around the edge.
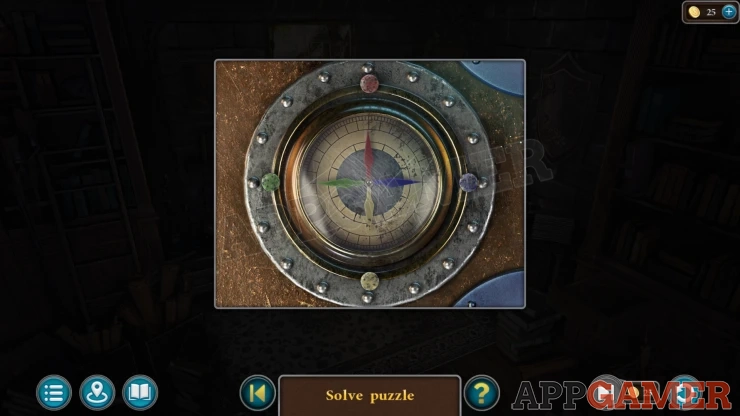
Match the position of the hard with the clue on the paper on the desk.
Show
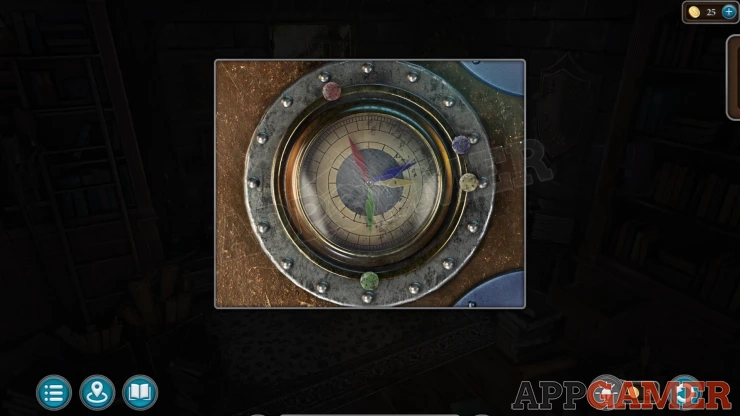
When the book opens collect the Figured wheel.
View the desk again and tap the top panel to view it. Tap again to open it.
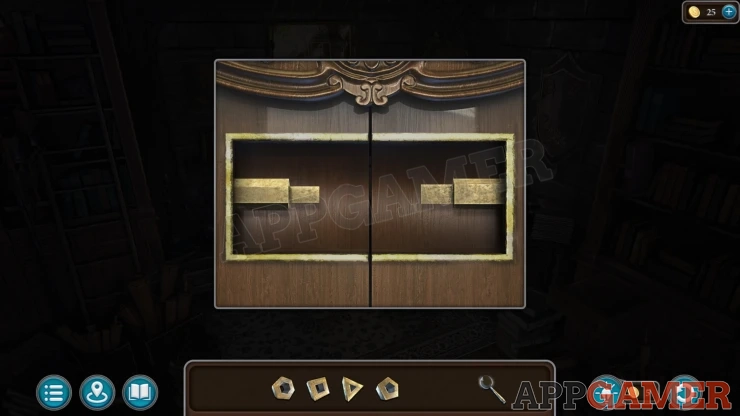
Place the four figured wheels on to the left and right sides, you need to place these in order to fit the bars.
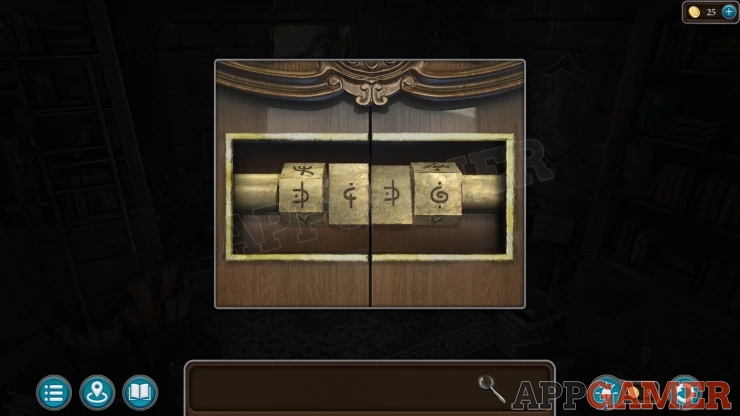
Now you need to turn these to enter a code. To find the code clue look on the paper on the desk again and use the magnifying glass to examine some small symbols on the right.
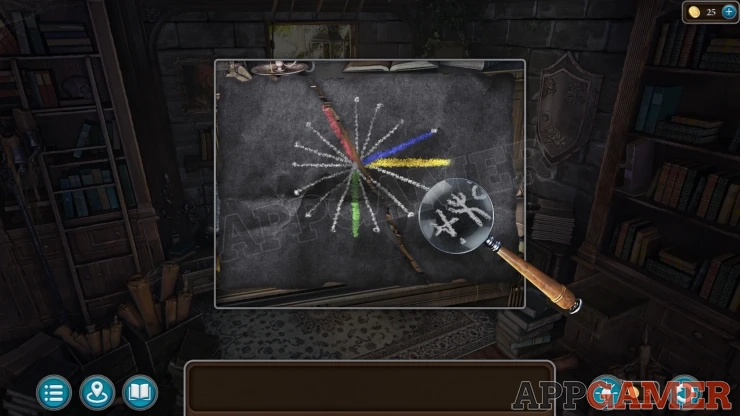
Solution: Show
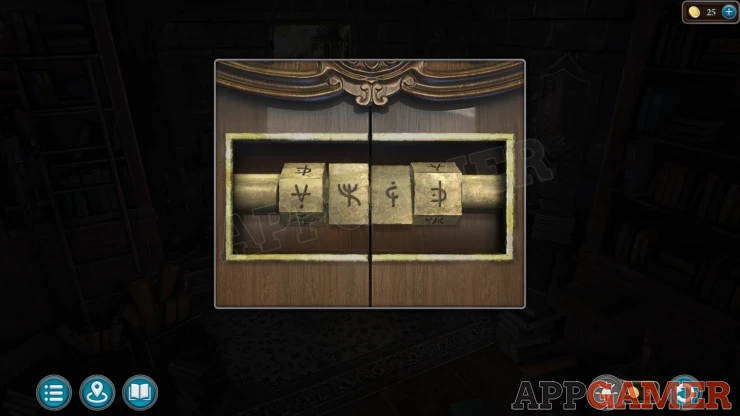
This reveals a box, view this for a puzzle
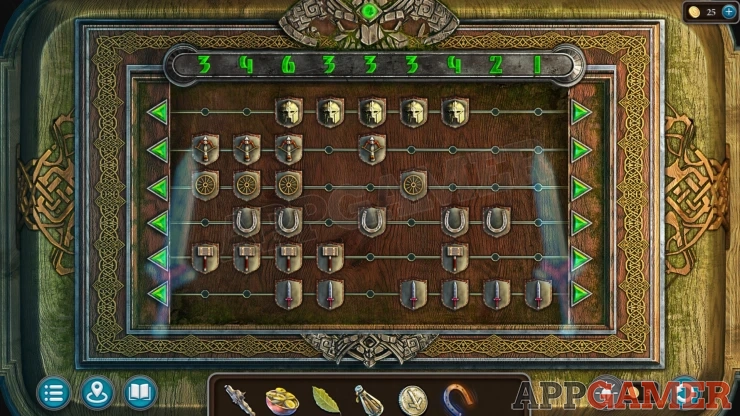
Box Puzzle
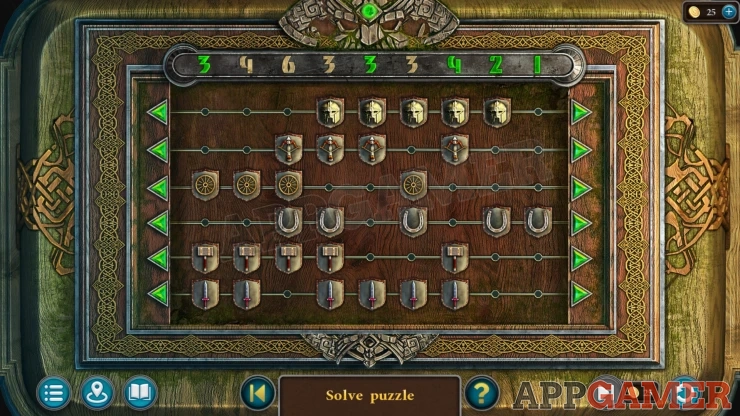
There are six lines of shields, you can slide these to the left or right.
At the top are numbers, slide the shields to that the correct number if items in each column matches the number at the top.
Solution: The shield layout may be different in your gameShow
Once done look inside the box to read a scroll. Notice the 6 symbols.
Then collect a Key from the box.
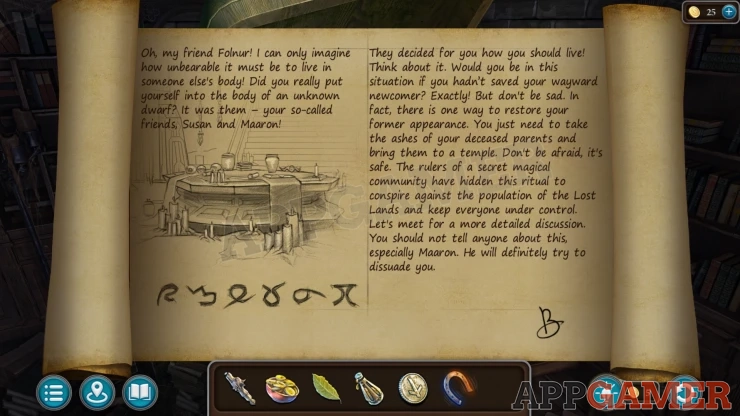
Maaron returns and you will receive the See-Remember Stone and also Folnur's Box.
Task - Dog's memories
View the cooking area on the left of the room. Make sure to read the book with the recipe.
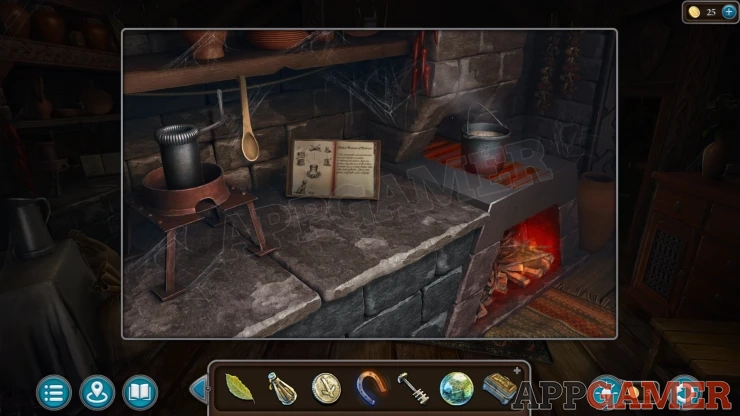
Collect the Cauldron from the top of the stove.
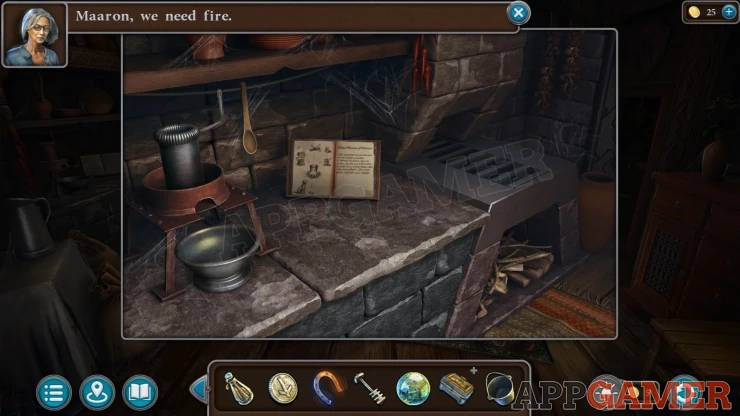
Open the stove to see the wood, you need to light it
Fire Magic Puzzle
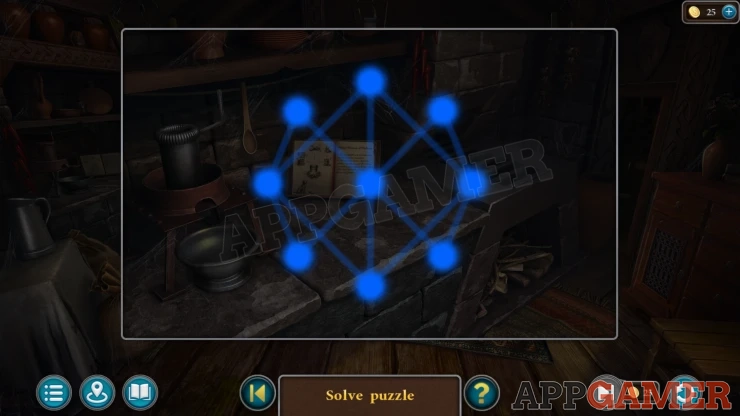
Tap the points on the grid to connect the lines and highlight them. You need to follow a path to connect all of the points but without repeating any lines.
Hint: start at the top (or bottom) center.
Once done the fire is ready. Back out and view the well on the right. Add the cauldron to the rope.
Lower this using and then raise it again so that you can collect the Cauldron of water.
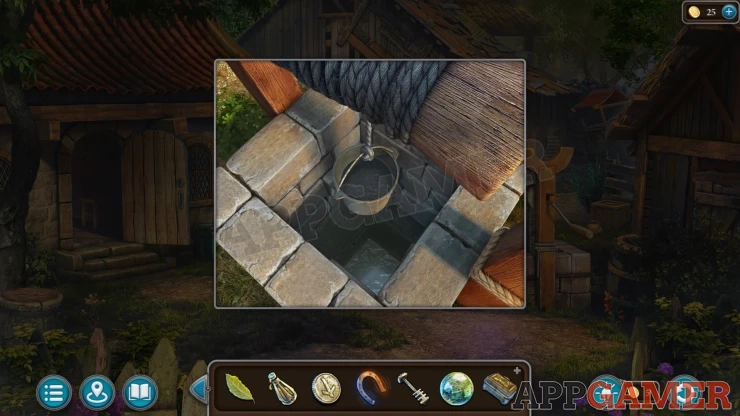
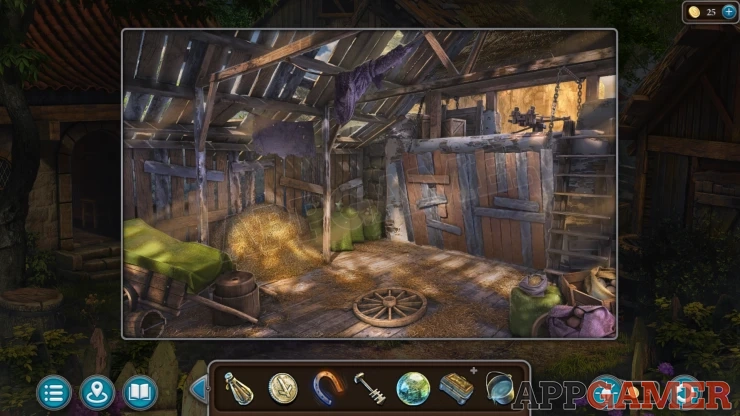
Now look in the barn again and collect a Bag of grain from a small green sack on the right.
Now back up again to Mararons house and then to the area outside the gate.
Look in the pile of items on the right and collect some Animal Bones.
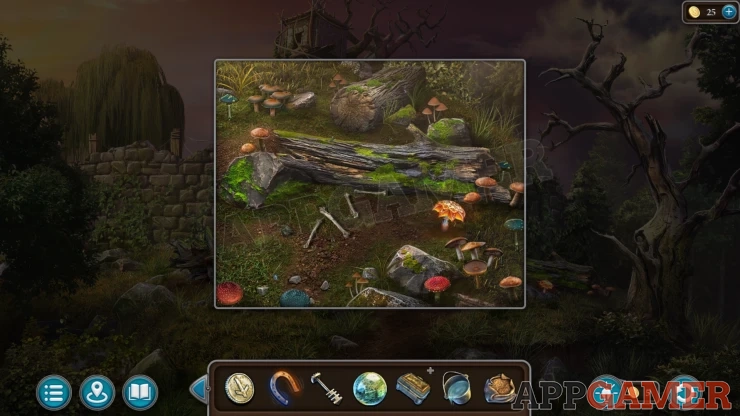
Once you have all of the these items return to the house and view the kitchen area.
Place the cauldron of water onto the stove and then add the animal bones to it.
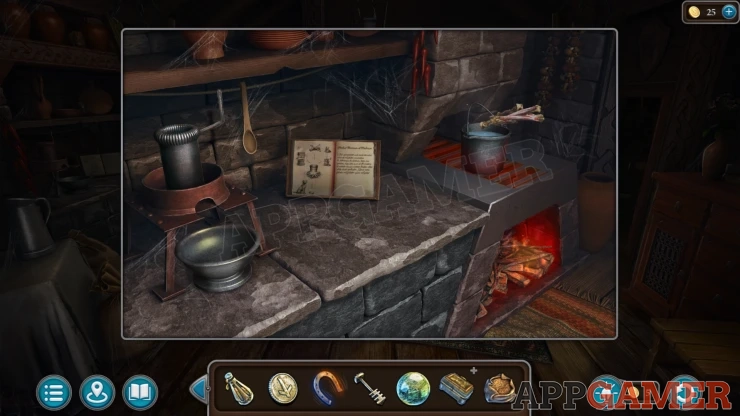
Next add the bag of grain to the grinder on the left side. You then then select the bowl of ground grain and add it to the water as well.
Select the wooden spoon that is hanging and use it to stir the water. Then you can collect the Porridge for Dog.
Go back outside and view the kennel, add the porridge to the dog's bowl. Now use the Dog whistle to call the dog. It will arrive and eat the food.
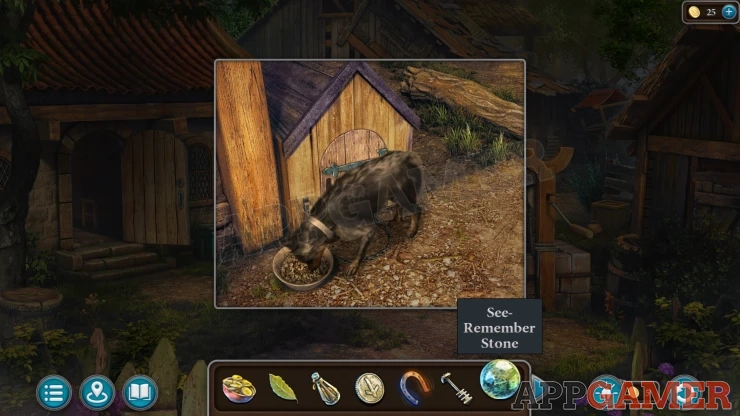
While it is eating use the See-remember stone on the dog to start a cut scene.
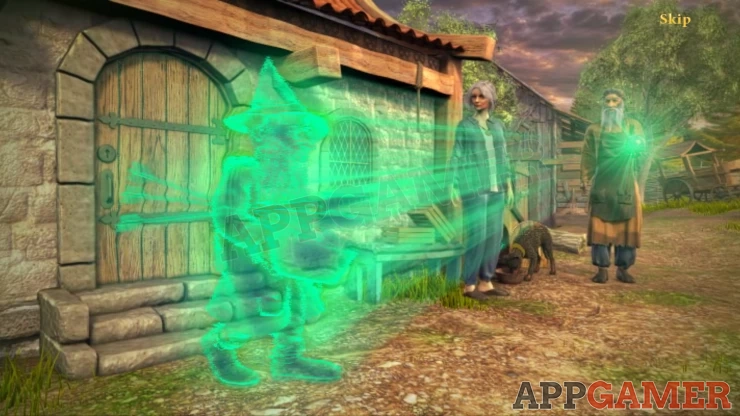
Task - Dog's Sniff
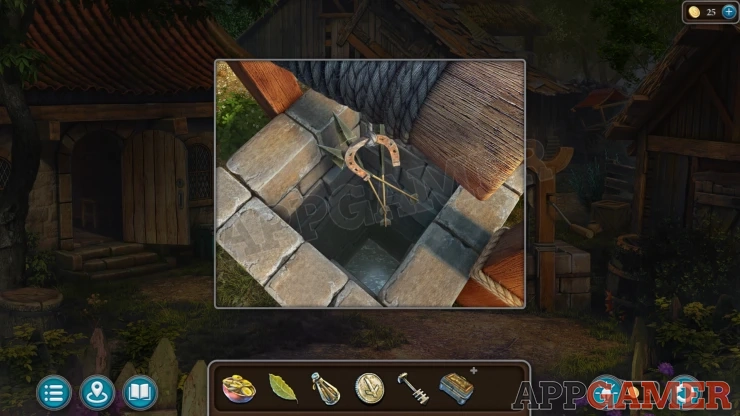
Once done look at the well again. Add the Magnet to the rope. Lower and raise this and you will collect three Powerful Arrows.
Enter the barn and then view a crossbow that is above the wooden panel at the back.
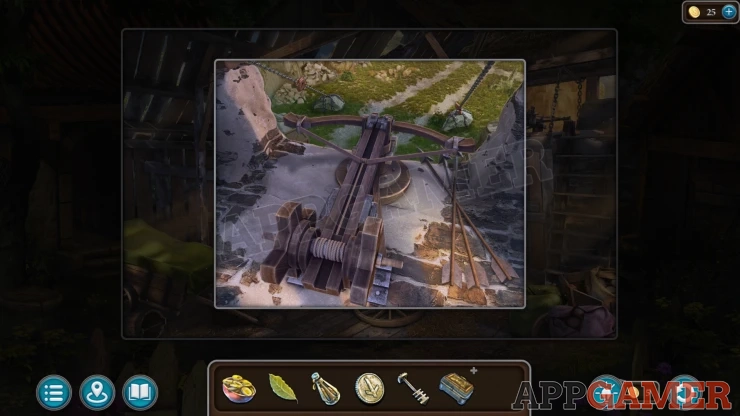
Add the three arrows to this and then you can select one arrow at a time to load into the crossbow.
After three shots two chaise will have been released. A wooden panel is released inside the barn and you can find a new puzzle.
Use the key that you have to activate this.
Barn Gems Puzzle
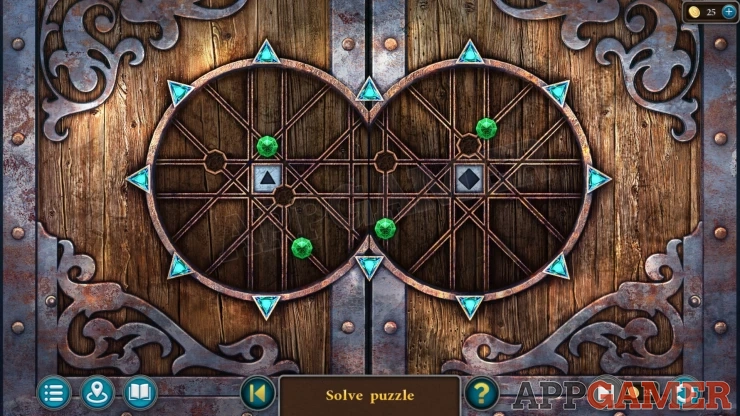
The board has four green gems that you can move by tapping the arrows around the edges to slide them along the lines.
You need to arrange the gems so that they all fit into the shaped slots on the board at the same time.
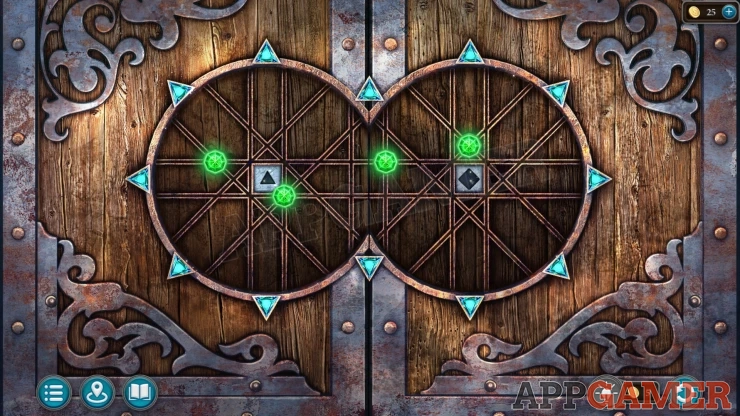
Once this is done the doors at the back of the barn are open and you can heard out to continue after Folnur.
Continue the guide in Part 4.
We have questions and answers related to this topic which may also help you: Show all
 With 20 years of experience in creating video game content for the internet and over 30 years as a gamer, Mark is now a passionate mobile App Gamer. Loving a challenge, he is always ready to get stuck in to both survival builders and puzzle solving games. He has been providing content for AppGamer since 2014.