
Walkthrough and Guide for Lost Lands 10
Lost Lands 10 Guide
Welcome to our Lost Lands 10 walkthrough. This game is another in the popular line of Mystery escape room and puzzle games from Five-BN games. This game features beautifully designed environments and a diverse range of puzzles and hidden objects to find.
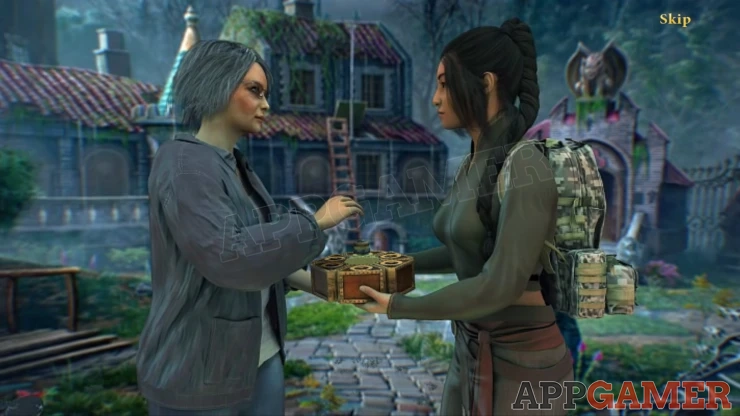
The game follows the continuing adventures of Susan, a grandmother who ha been visiting and exploring the fantasy world of the Lost lands where she has made many friends and solved many mysteries.

Our walkthrough is broken down into logical parts to cover each section of the game. It will help you locate the items you need, and give full solutions for the puzzles you will face. Please note that the game can be confusing at times as items that you need to collect may not let you pick them up until you have found a need for them.
This means that you will need to return to areas multiple times to find items. If you are unable to pick up any item that is mentioned in the guide then you may have missed tapping on an earlier scene or item that activates the need for the new item.
If you have any questions or problems playing the game please head to the Answers Page to post your question there.
Keep an eye out while playing for collection items and morphing objects, these are collectible items hidden around the scenes of the game. Most scenes will have one of each in them to find and they are all covered in the guide.
Main Game Walkthrough - Part 1
After Susan is tricked into falling through the portal to the lost lands again she finds herself in a courtyard in front of a large Mansion You need to find out where you are.
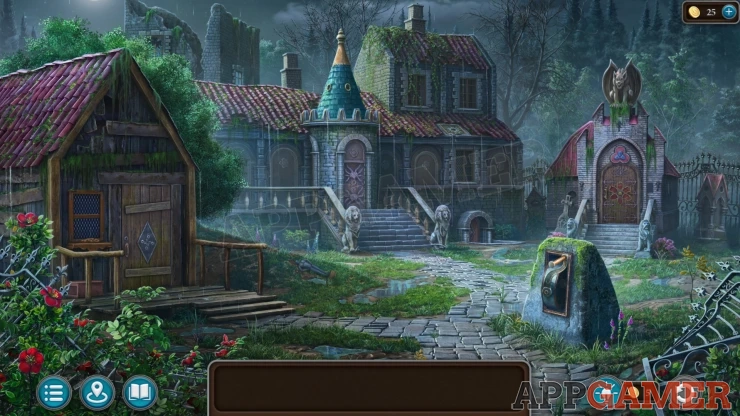
Task - Mysterious Mansion
Collection Item: Drak Ul figurine in the grass to the right of the wooden out house.
Morphing Object: A spike on the fallen metal gate on the far left.
View the door to the wooden house on the left.
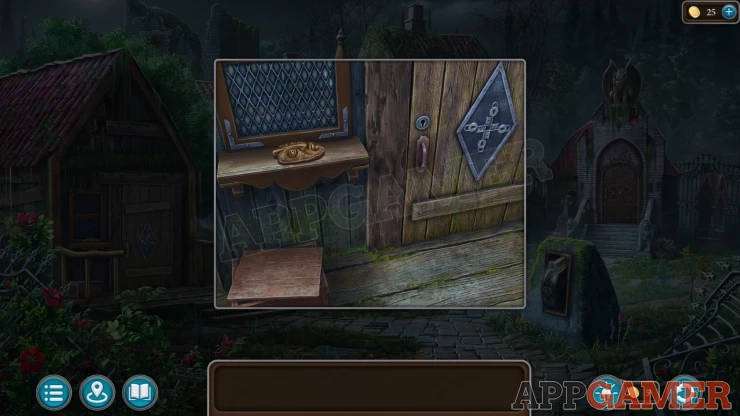
Collect a Mask from the window ledge and then open the wooden box on the floor to collect an Octopus Key.
View a door that is below the ground on the right of the stone steps, this is the door to the basement. Try the handle but it is locked.
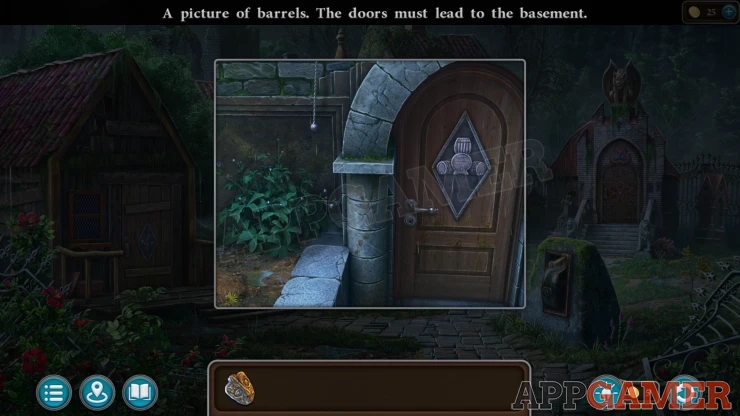
Next view the door to the mansion that is at the top of the stone steps.

Place the Octopus key into the center and then tap the door after it turns to open it.
Enter the hallway. There are many keys hanging from strings.

Morphing Object: Two sticks / bones on the floor near the door on the left.
Collection Item: Ghosts of the past, on the left side stairs above a fallen statue.
View a collection of keys on the floor on the lower left.
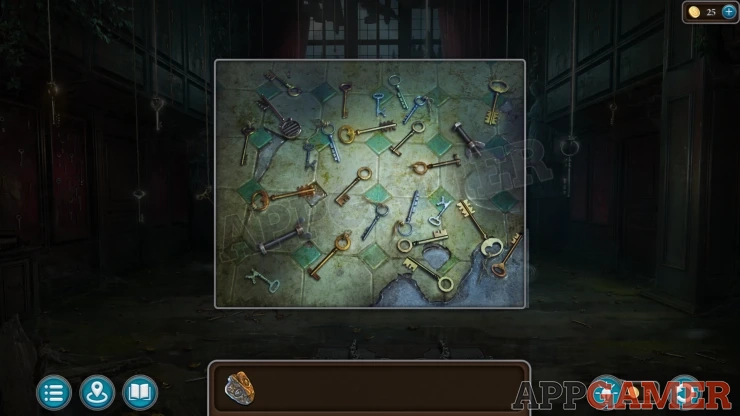
Tap to find one that you can collect, the Key to the Basement. (You need to have tried the door to the basement first before you can take this)
Next view a group of keys hanging to the right side. Tap these until you collect the Key to the Workshop.
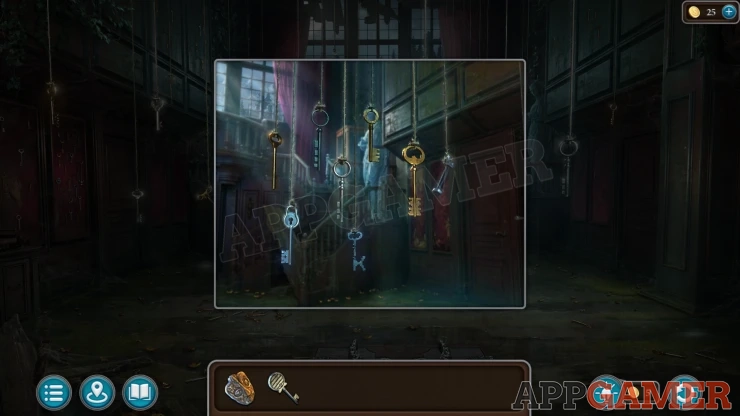
There is a red panel on the left wall with more keys pinned up. You cannot collect anything here yet.
Back out to the courtyard and view the door to the wooden building on the left again. Use the Key to the workshop to open it.
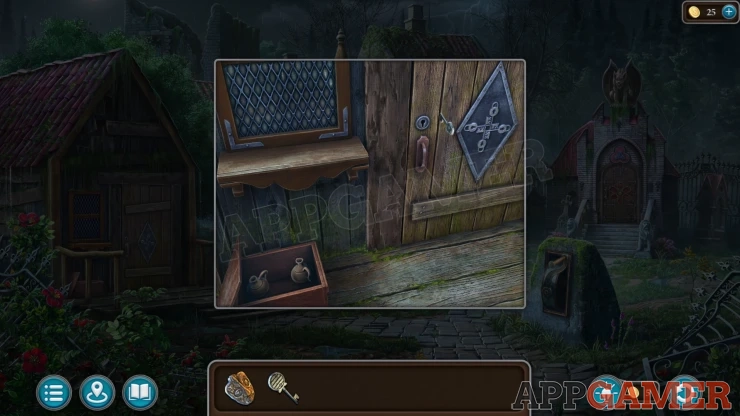
Enter the Workshop.
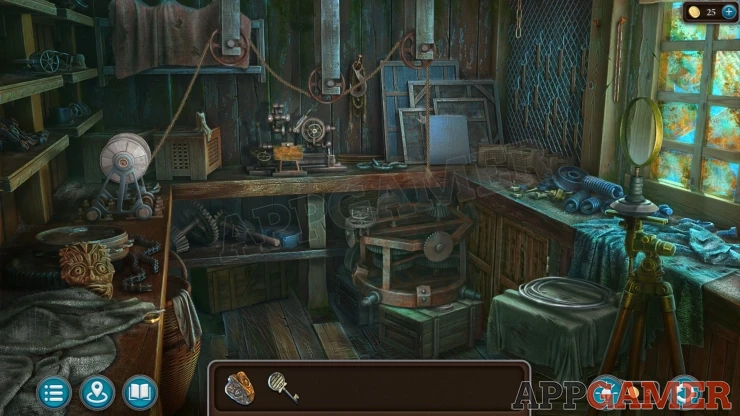
Collect a Mask from the workbench on the left.
Now back out side again and view a basement door to the right of the stone steps. Use the Basement key to open it. Enter the basement.

Collection Item: Drak Ul figurine on a wooden beam on the far left wall.
Morphing object: Circular object on the half barrel tubs on the right.
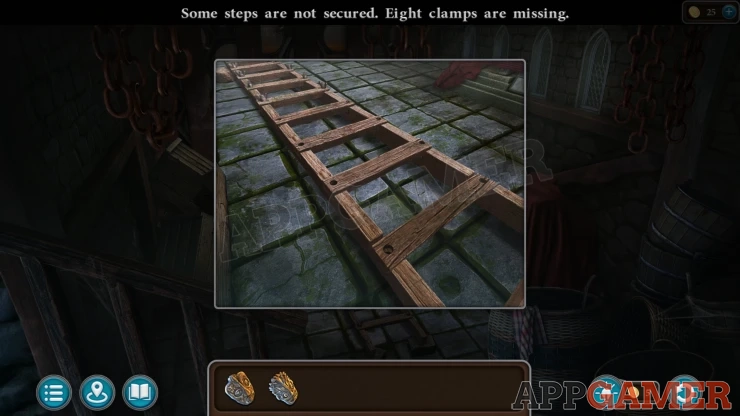
First view the wooden ladder on the floor. You cannot do anything with it yet, but tap it to get a message that you need eight clamps.
Next move some wooden crates on the left of the room, then tap on an opened crate to see a tool box.
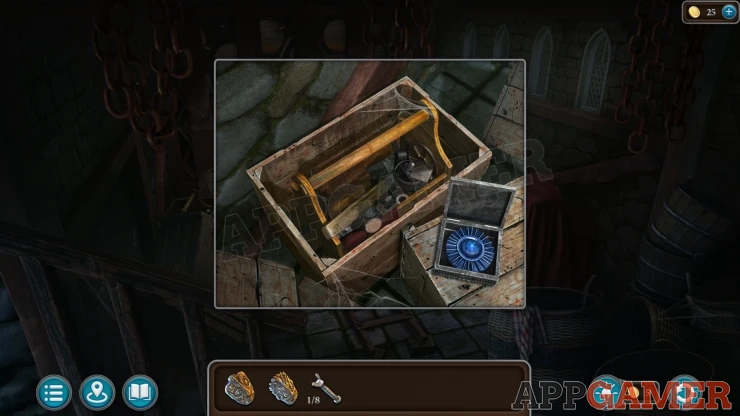
Collect a Clamp (1 of 8) from inside and then tap on a small square box to move it out and then open it. Collect from it a Patterned Washer.
Now view the far wall at the bottom next to the far end of the ladder.
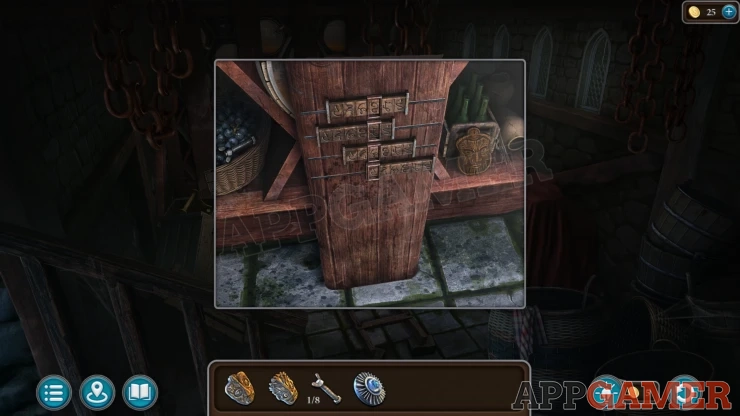
Collect another Clamp (2 of 8) from the left, and also a Mask from the right.
Now tap the red cloth on the right to uncover some statues holding Folnur's Hammer.
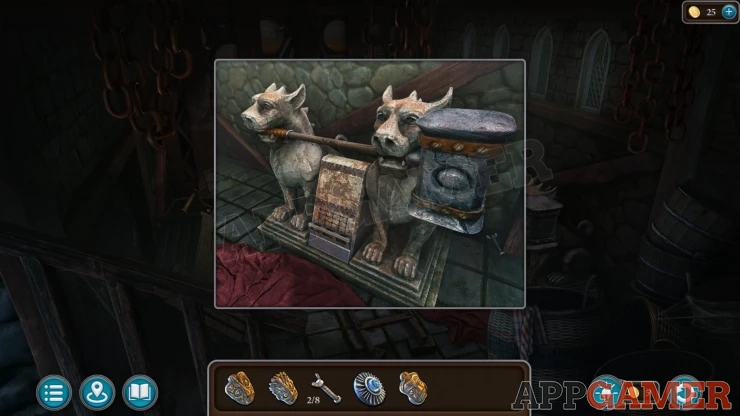
Then view the center of the statues to find a puzzle.
Jumbled Buildings Puzzle
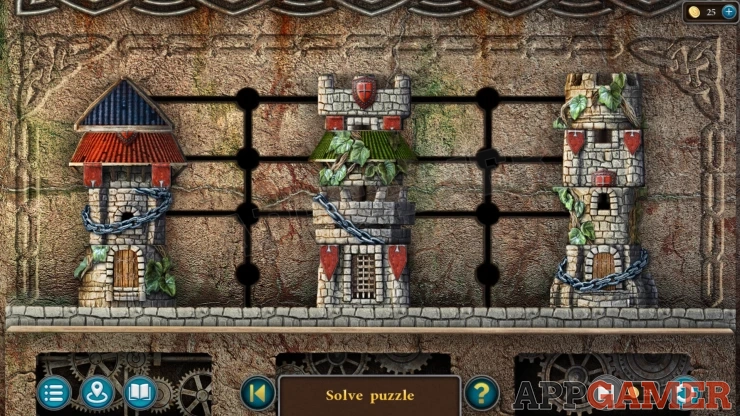
- There are three towers on a grid that are each made up of four levels.
- The lower levels are in the correct locations but the rest are jumbled up.
- Drag the parts on the grid lines to re arrange them.
Solution: Show
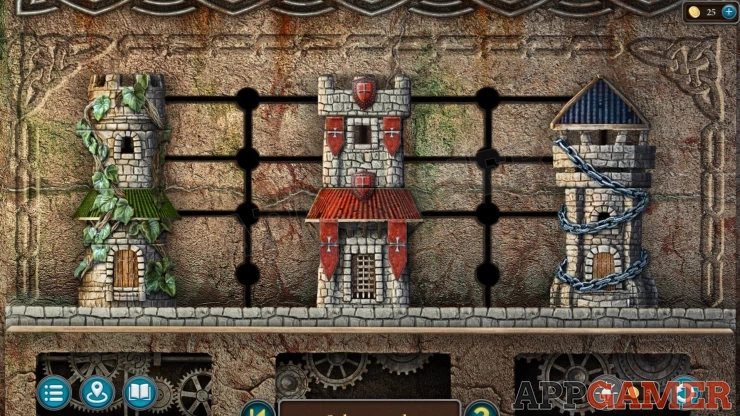
You can now collect Folnur's Hammer.
Collect another Clamp (3 of 8) from the right side of the statues.
Exit the basement and head back into the hallway. Now examine the three areas of keys to find more clamps. On the floor you can find two more Clamps (5 of 8).

Then look in the hanging keys on the right to find one more Clamp (6 of 8).
Then look on the red panel on the wall on the left to see keys pinned up. There is one more Clamp here (7 of 8).
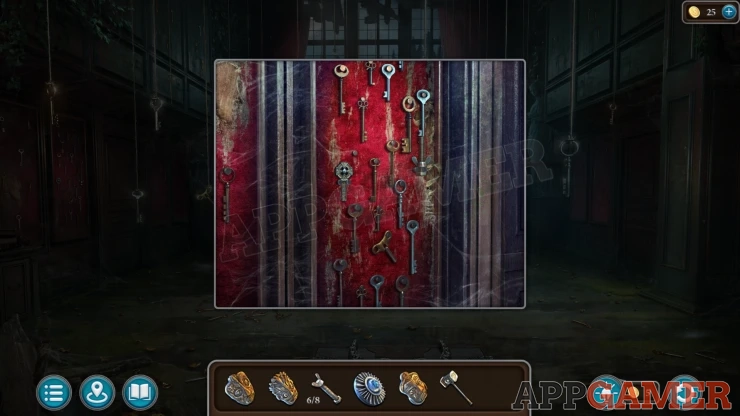
Now view the pile of planks blocking the doorway ahead.
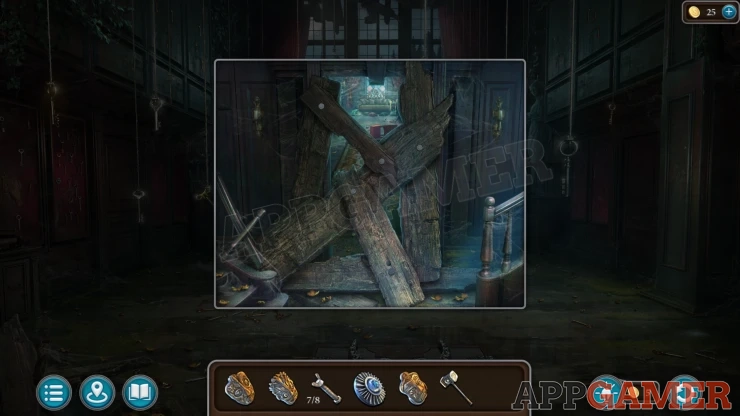
Use the Hammer on this to clear the blockage away.
Move through to he next room. You will meet up with Kiana, your granddaughter.
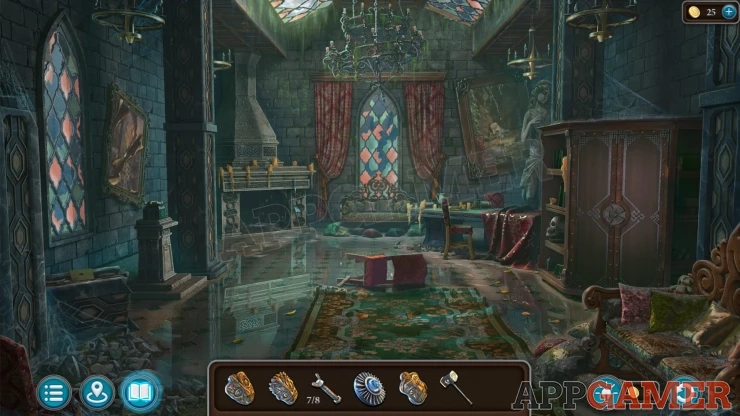
Morphing Object: Card / letter on a box under the window on the far left.
Collection Item: Toto Toy (doll), on the arm of a sofa on the bottom right.
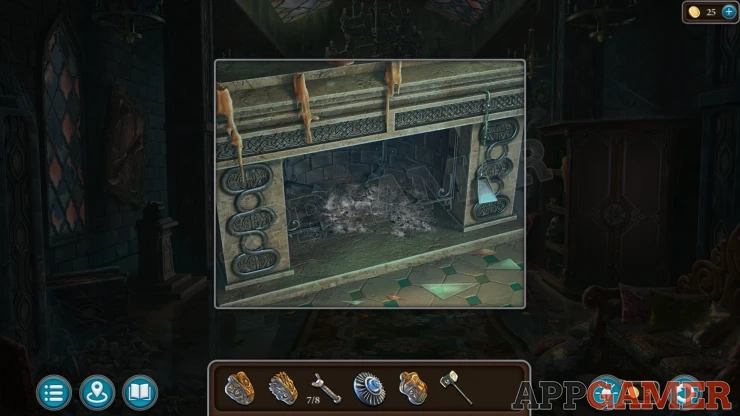
First view the fireplace on the left at the back. Move the ashes in the hearth and you can collect a Mask.
Then view a desk at the back of the room on the right. Collect a Mask from it.

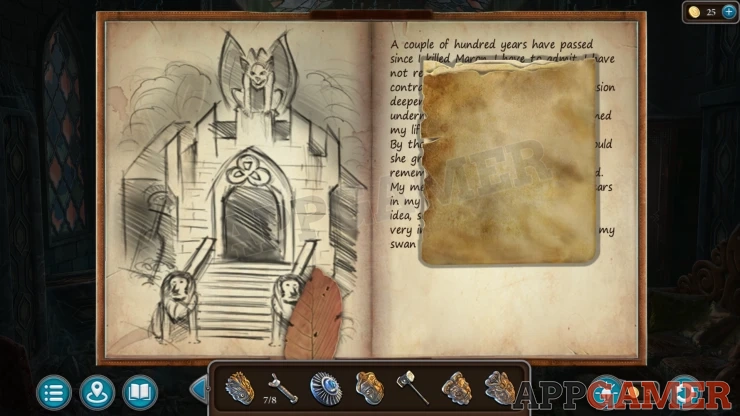
Tap on the diary an open it. then flip through a few pages to find the entry with a drawing, collect the Insert with a Picture.
Task - Secret of the Crypt
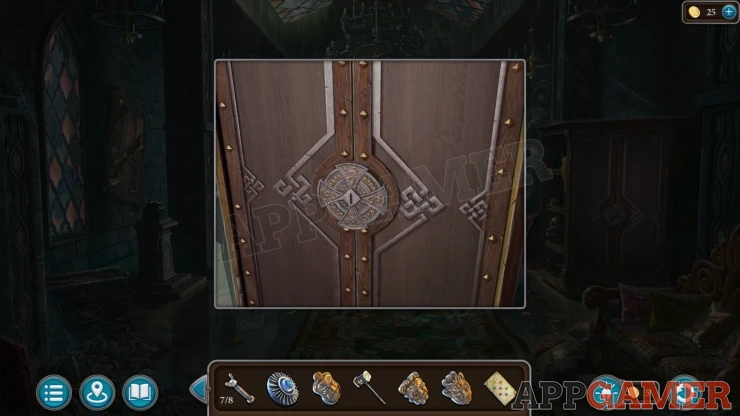
View the cabinet on the right of the room, the door is locked.
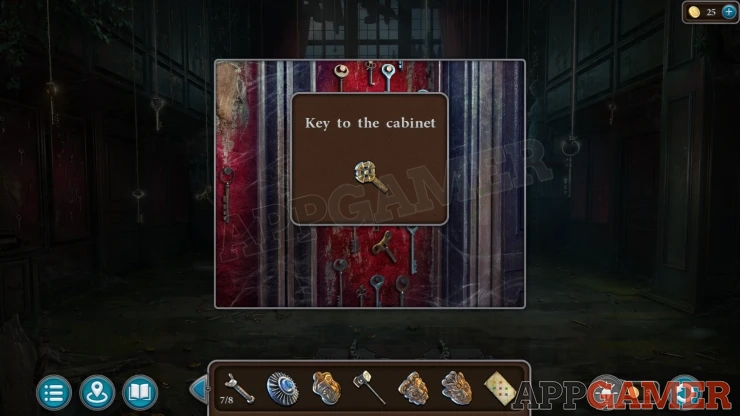
Back up to the hall and view the red panel of keys on the left wall again. Collect the Key to the Cabinet.
Now return to the cabinet in the next room and you can use the cabinet key to open this.
This reveals a puzzle lock.
Cabinet Puzzle
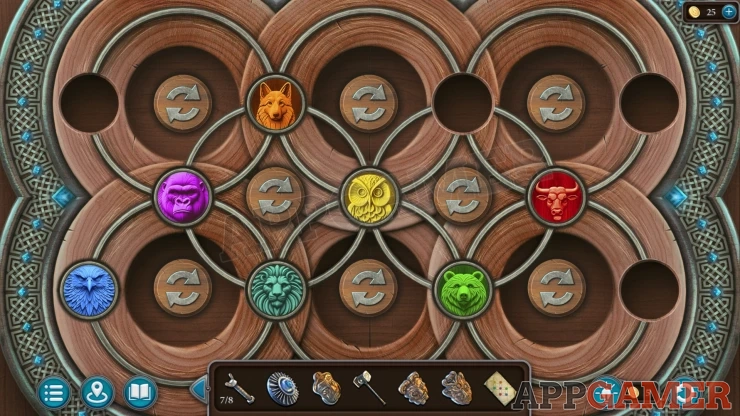
- Add the Inset paper with the clue to the puzzle and view it to see the required layout.
- Use the arrow buttons to move the colored animal tokens to the matching locations.
Solution: Show

Look inside the opened cabinet.
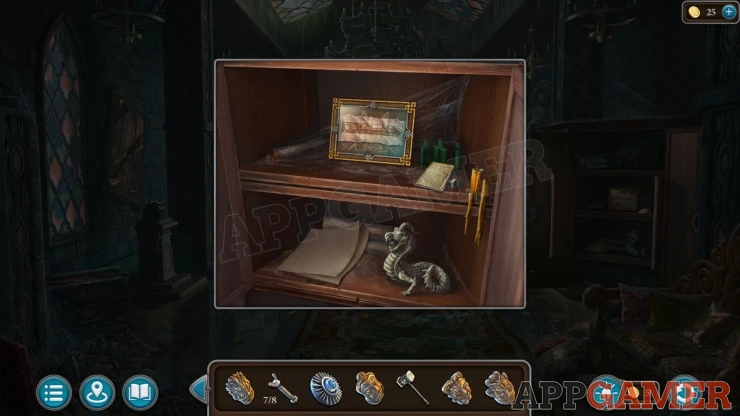
Manuscript: on the left of the bottom shelf.
Collect a Mask that is under the manuscript.
On the top shelf view a paper with the Fireplace Electric Igniter instructions.
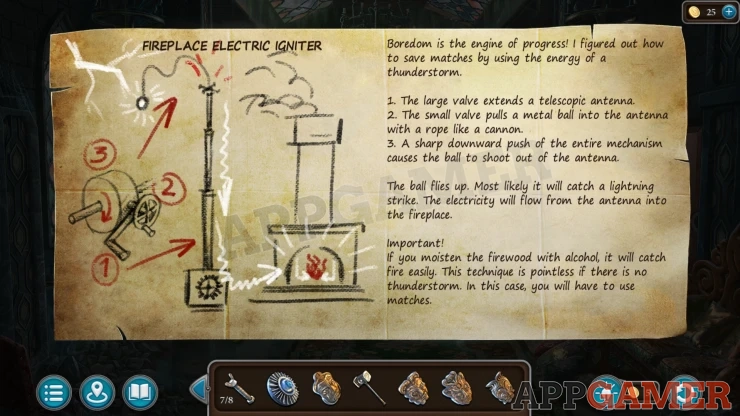
Then collect another Clamp (8 of 8) from under it.
Finally tap the picture frame in the center to open it and collect a Rag with a Drawing.
Now exit to the courtyard and return to the basement. View the ladder.
Add the eight clamps to it to repair it and then you can collect the Ladder.
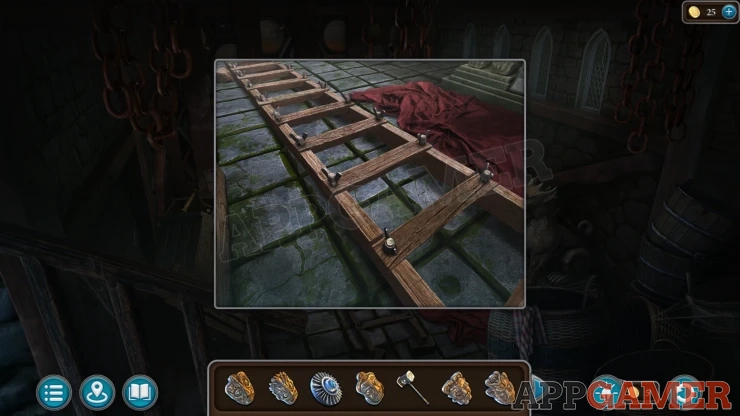
Now go back to the workshop. Add the Rag with a drawing to it to a Key Cutting machine on the workbench at the back.
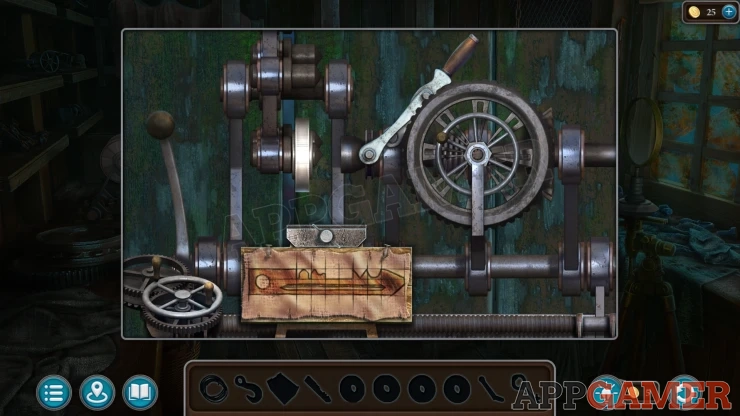
This starts a hidden object scene to find the items you need.
Workshop Hidden Objects
At the bottom you will see the outlines of objects that yo need to find in the workshop. Some are in view while others need to be found inside other items.
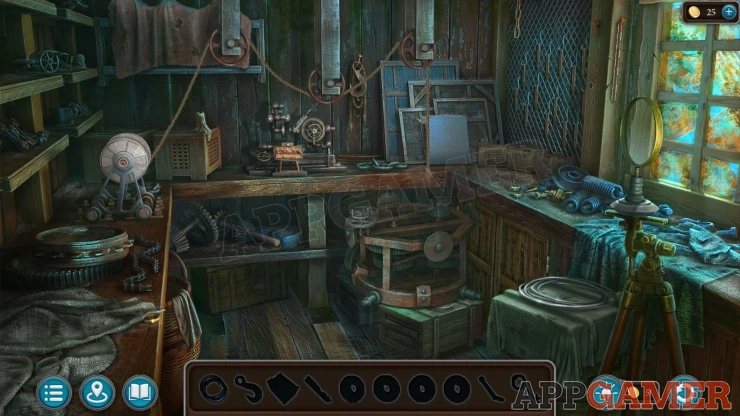
Hook - collect it from a nail on the back wall above the machine.
Metal Wire - collect from the top of a box on the lower right.
Cutter - tap the magnifying glass on the tripod stand on the right to remove it and then collect the base.
Key - move a cloth on the lower left work top to find it.
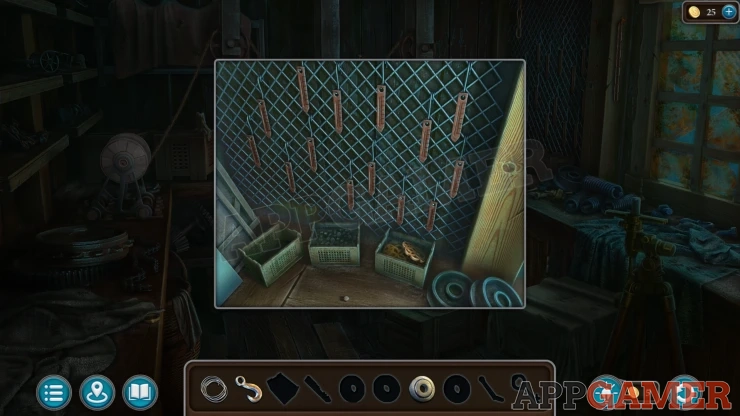
Set of Blanks - view a wall of hooks on the right side and tap to collect all of the metal blanks into a box.
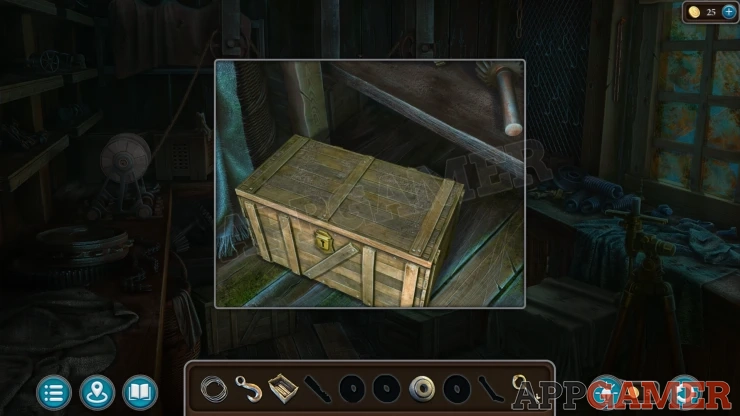
Now tap on the floor on the left and then tap on a box that is under the shelf to move it into view.
Use the Key to open it.
Winch Lever - inside the box
Cutter - inside the box
There is a system of pulleys with a rope running from the left side of the room. Place the Winch level onto the spool on the left workbench. Then place the Hook onto the other rend of the rope on the right side.
Add the metal wire to the hook need to connect it to a large mechanism on some boxes. Then you can turn the winch lever to light the mechanism.
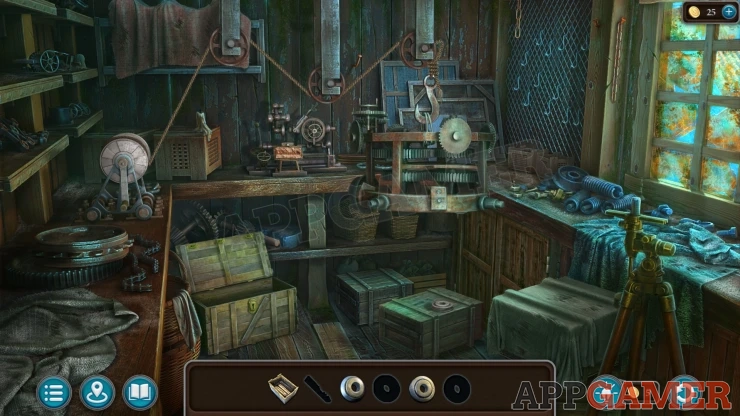
Cutter - on top of the box that was under the mechanism that you raised.
Move the box that the Cutter was on next and then open the cabinet door to the right of it. Look inside.

Cutter - move a box on the left of the top shelf to find it.
Now view the key cutting machine again and add the Set of blanks to it, followed by the four cutters.
Key Cutting
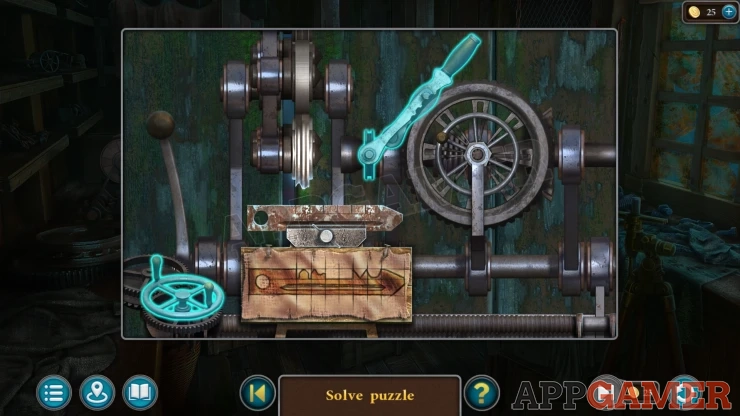
The machine has a control on the left that lets you move the cutter left or right.
There is a handle and wheel at the top to start and stop the machine.
When it is stopped you can tap the cutting wheels to change them and select one that will cut out the correct shape.
Start the machine and cut the blank.
Then stop it and move along to the next section on the blank.
At each section select the correct cutter to make the matching shape. Continue with this until you have the complete key.
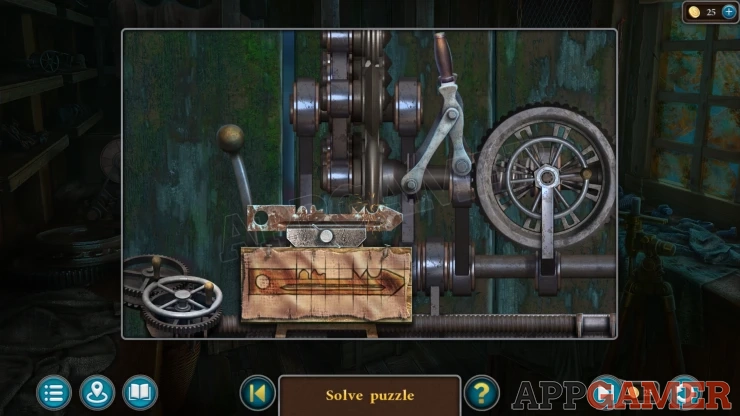
Collect the Bit of the future key that you have made. Then view the wall on the right again with the hooks.
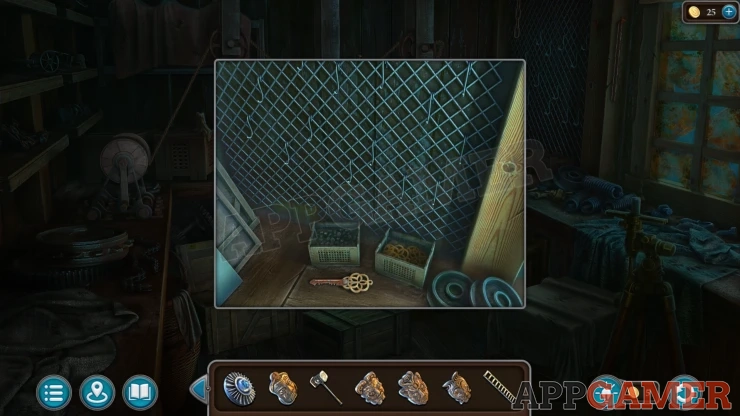
Place the key part onto the work surface and then select a key handle from the box on the right. The small screw is added and then you will collect the Key to the Crypt.
Now view the door to the stone building on the right.
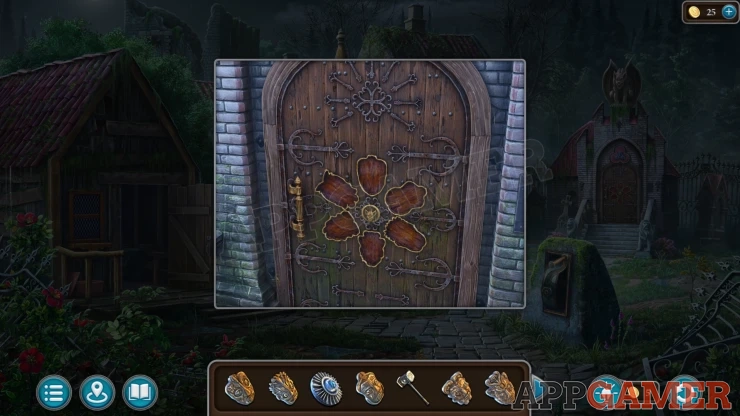
Place the six masks into the slots on the door, this will reveal a keyhole. Use the key to open the door.
Look inside and then collect the Fuel Tank and the Valve wheel from the wall.
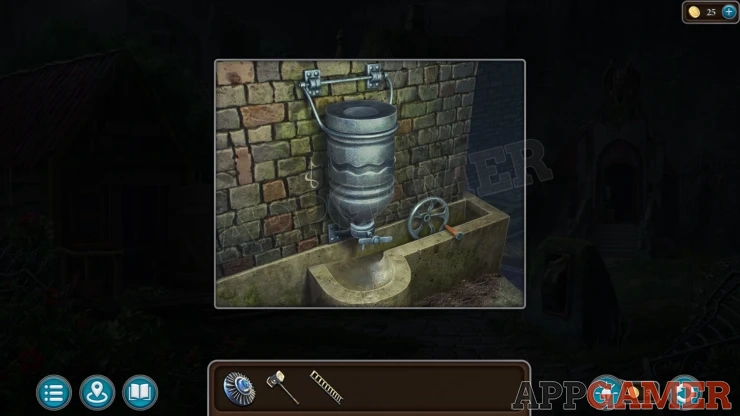
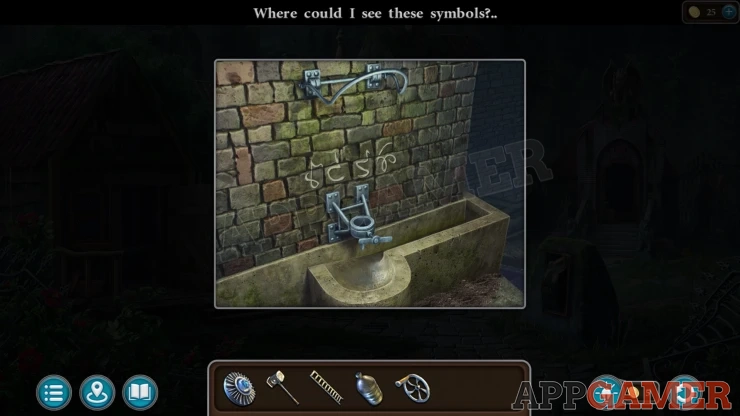
You can then view the wall to see a clue written on it. There are 4 symbols.
Show
Now return to the basement where you found the ladder. On the back wall at the bottom is a panel with four sliders. View this.
Basement Wall puzzles

Each of the sliders has a number of symbols on it. Move these to match the ones you saw in the clue.
Solution: The symbols maybe different in your game.Show
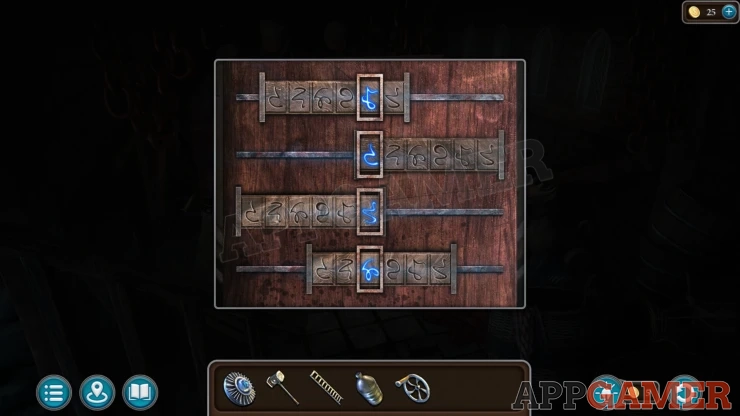
This will lower some boards on the back wall and then you can access the main puzzle

On the wall are a number of barrels, some with fuel in them.
Each one has a pipe and you can rotate the barrels to change the direction of the pipe.
Adjust the barrels from the top down to pour the liquid until you have enough to fill the bottom center barrel.
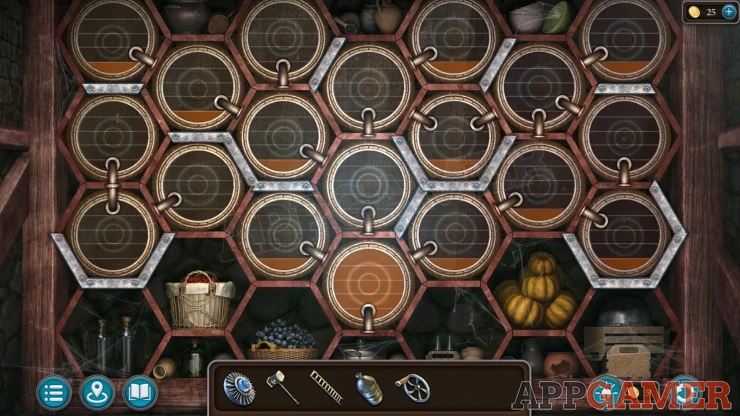
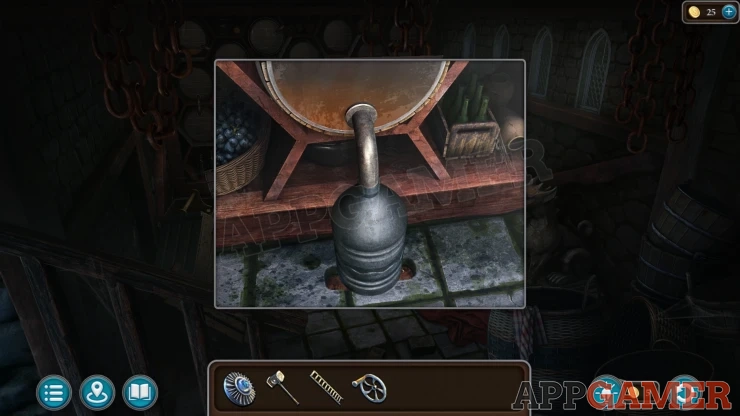
Once this is done place the Fuel tank under the bottom barrel to fill it, you will then collect the Flammable Liquid.
Go out to the courtyard. Here you can place the ladder against the wall of the mansion to the right of the steps.
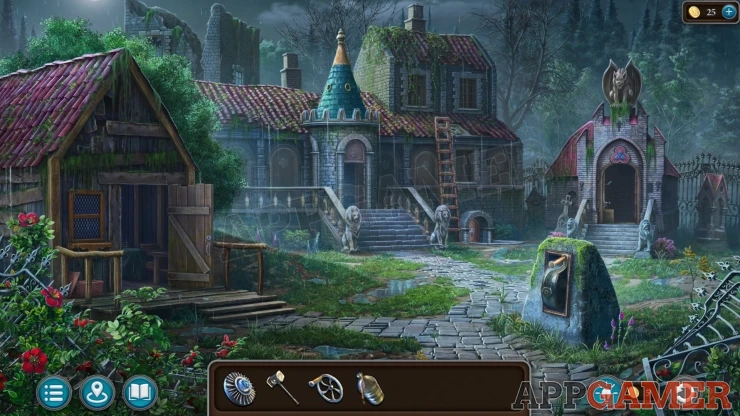
Tap the roof to view a trap door at the top of the ladder.
Place the Patterned washer into the center of the roof panel to start the puzzle.
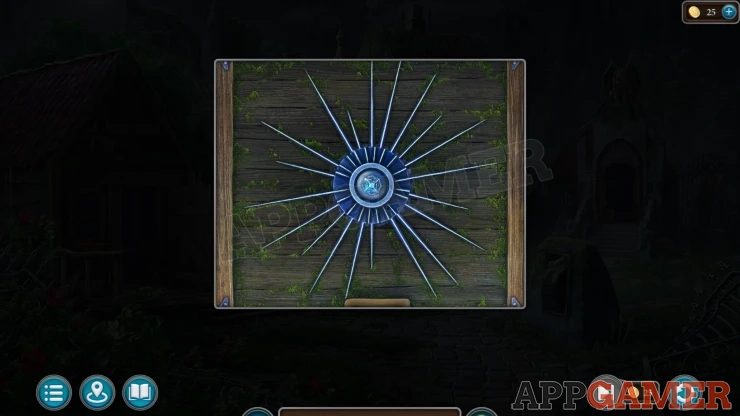
Roof Puzzle
Rotate the washer around to line up the lines on it with the rest on the roof panel.
Solution: Show
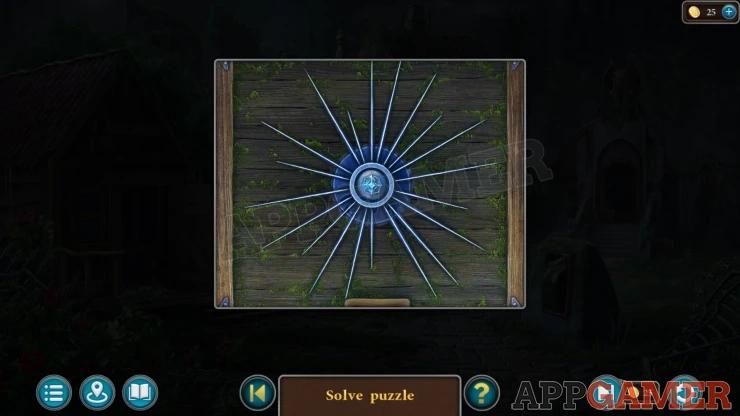
This opens the panel and you will see an antenna inside.

Back up and now you can place the Valve wheel onto the handle on the stone to the eight of the courtyard.
Turn the wheel first to attach a ball to the antenna and then turn the larger handle to rise the antenna. Tap the handle one more time. Lightening will strike.

Go back to the Crypt building and place the fuel tank (flammable liquid) back on the wall. Then turn the valve at the bottom to left some of the liquid out. Now you need a way to light it.
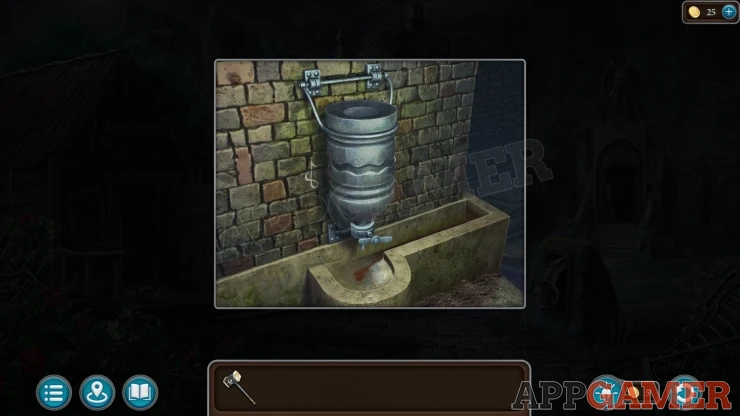
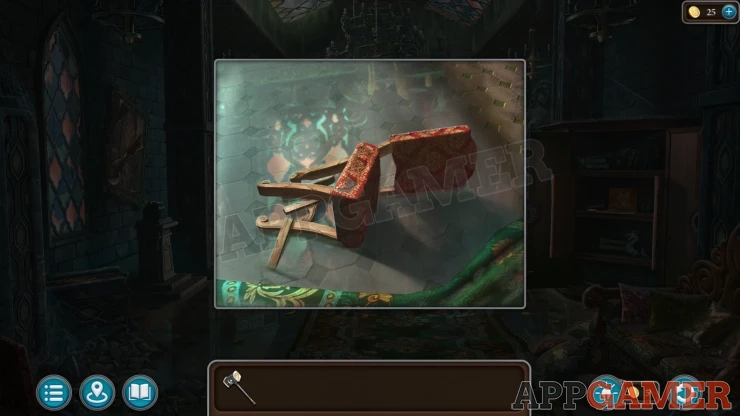
Go inside the mansion to the room with the fireplace. View the broken chair in the center of the floor. Use the hammer on this to break off a piece of the leg and then collect the Torch.
Now return to the crypt and use the Torch on the liquid to soak it and collect the Alcohol-soaked torch.
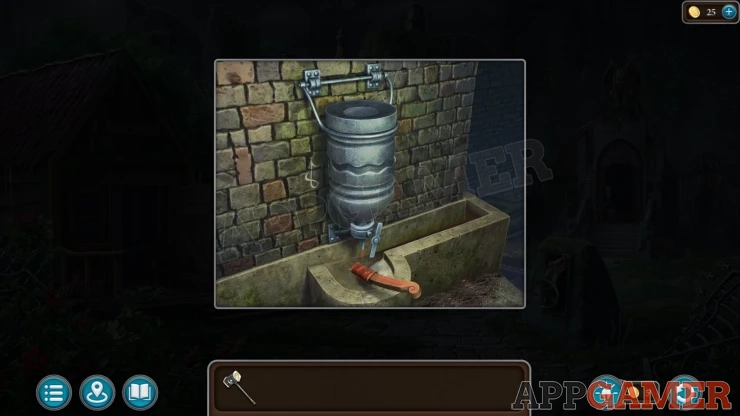
Go back to the room with the fireplace and then place the torch into the hearth.
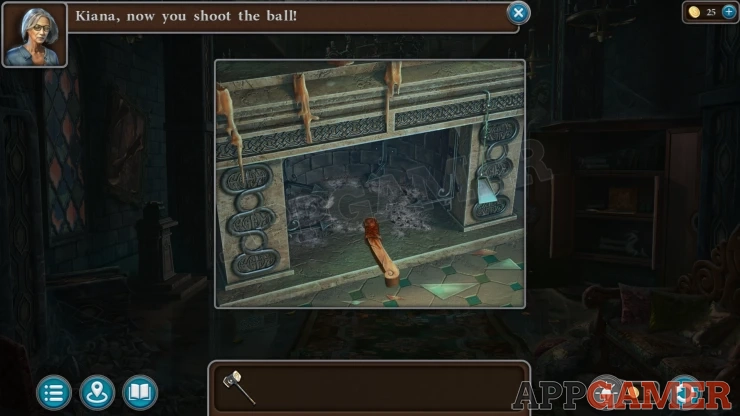
This will then light the torch and you collect the Burning Torch.
Now you can return to the crypt again. Use the burning torch on the trough with the fuel in it to light it.
This lights up the rest of the crypt as well. Go down.
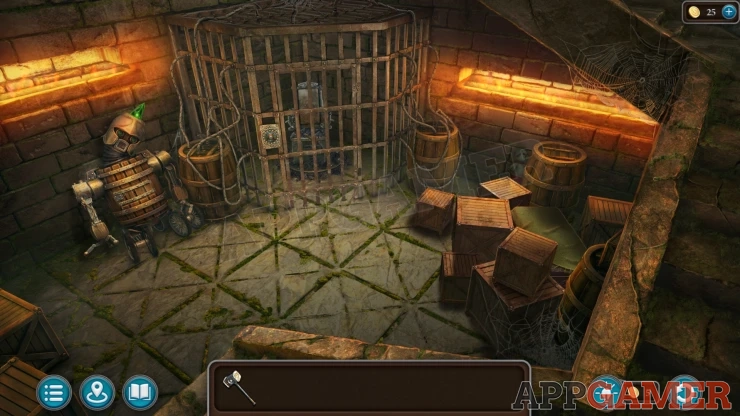
Collectible Item: Toto toy next to a barrel on the upper right.
Morphing Object: Star / heart symbol on the stone on the right side
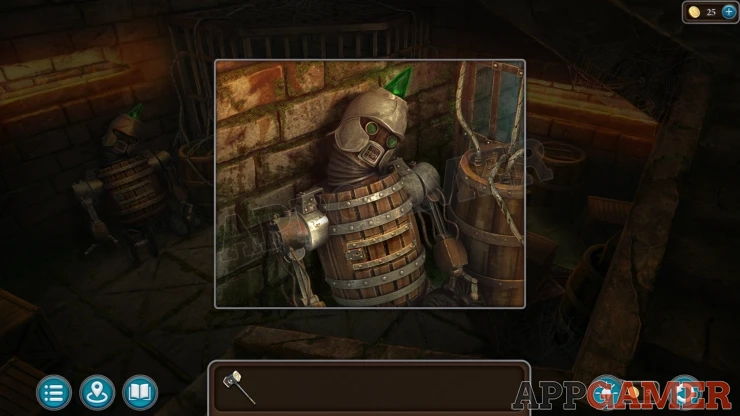
View the broken robot on the left side and then collect a Shimmering Crystal from its head.
Then view the cage in the corner. Tap the chair inside, you will get a message about needing a poker.
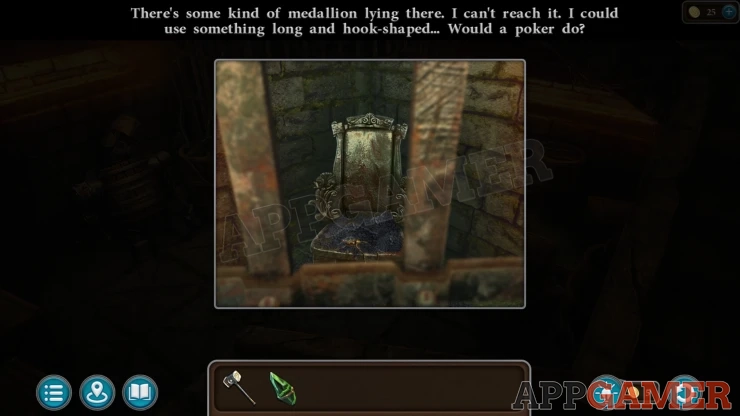
Go back to the fireplace and now you can collect the Scoop-poker from the right.
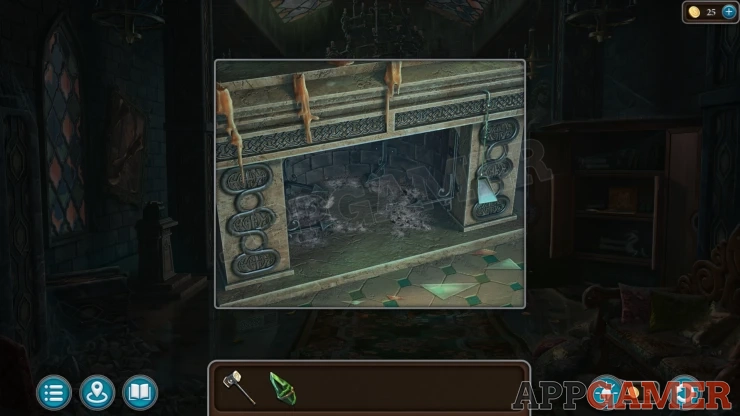
Then return to the cage in the crypt, use the poker on the chair and you will collect Part of a Medallion.
Next move some boxes on the right of the room and lift a green cloth to see a large chest.
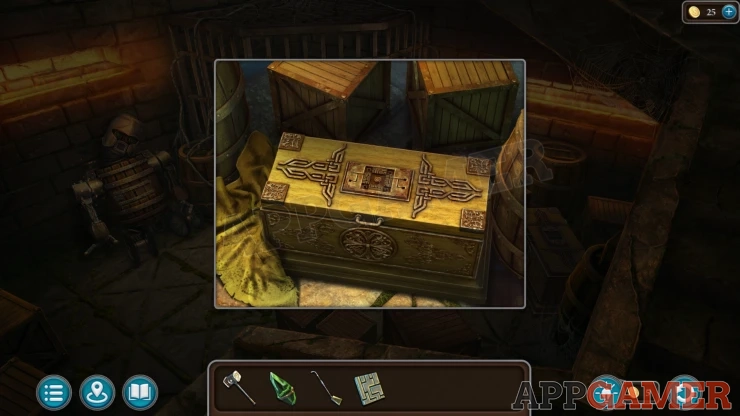
View this to see the puzzle.
Crypt Chest Puzzle
Place the medallion part into the center to start.
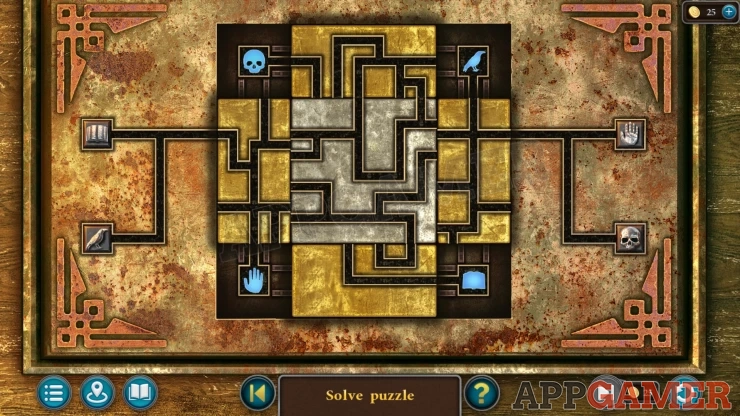
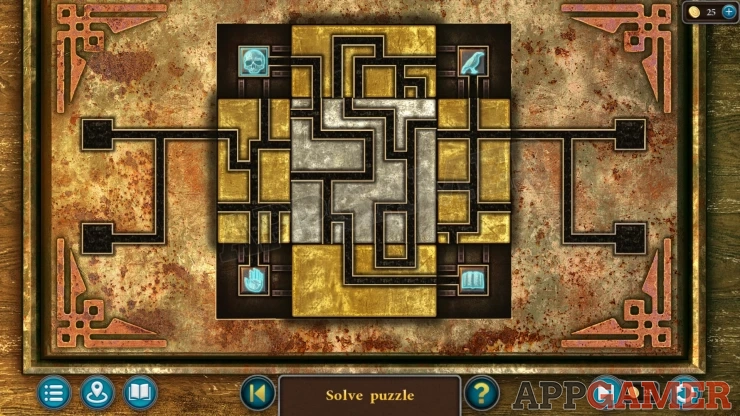
- You can tap the center square of the puzzle to rotate it.
- There are also four gold plates with lines that you can slide up and down or left and right.
- On the left and right of the puzzle are four tiles with symbol on them.
- Arrange the plates to allow you to slide the tiles to the matching blue symbols in the corners.
Look inside the opened chest.
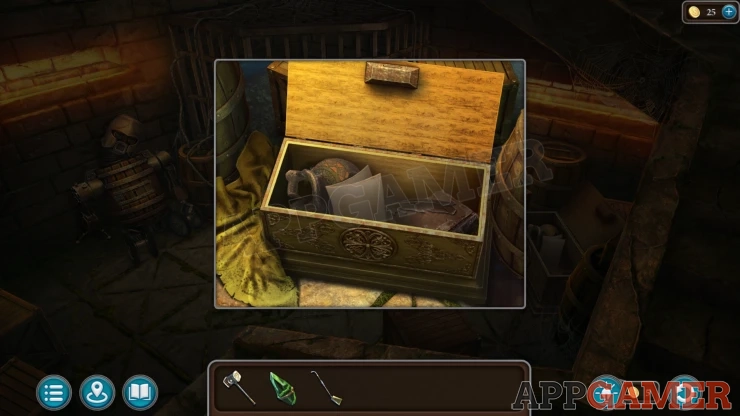
Manuscript: collect this from the chest.
Collect the Hexagon of Time, and an Energy Core.
Return to the room in with the fireplace and look on the left side of the room to see a green box on a pedestal.
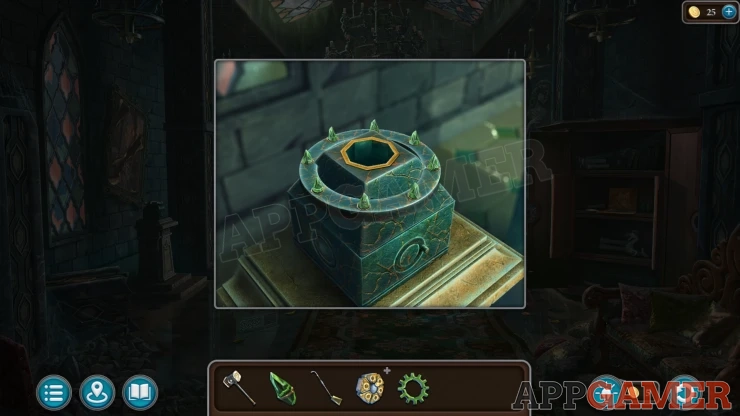
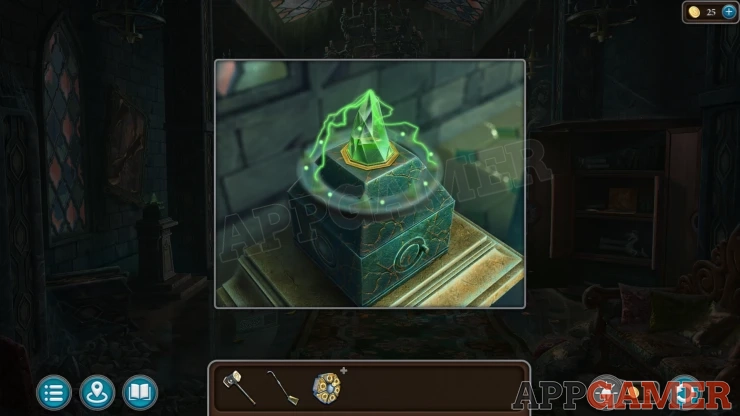
Tap the button on the left side to open up the top. You can then place the Energy Core inside.
Tap the button again to close it. Then place the Crystal into the slot on top and press the button on the front. It will be charged up and you can collect the Charged Crystal.
Go back to the crypt and view the robot again. Place the crystal back in its head.
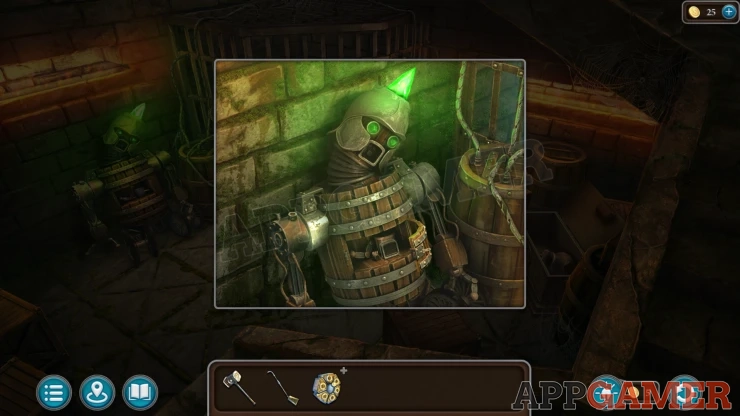
Then tap the mouth to open it, inside is a key, select this and then tap the lock on the front of the robots chest. This will open it.
Inside it a voice box, select this and place it on the mouth.
The robot will now play a recorded message, there is a clue in the message
Task - Back to the past again
View the lock on the front of the cell door.
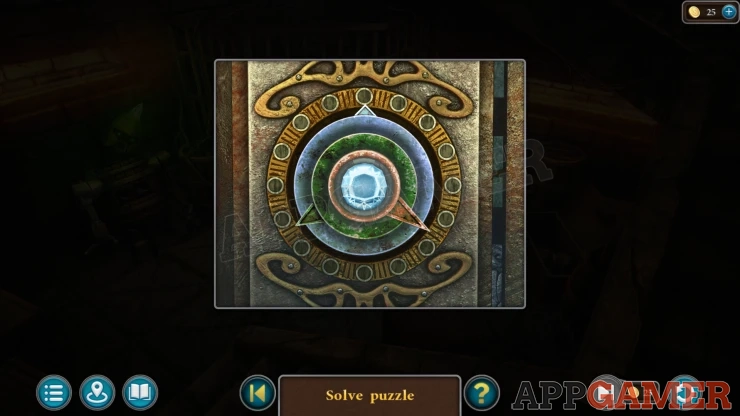
There are three pointers that you can move.
Change this to point in the directions given by the clue.
Solution: Show
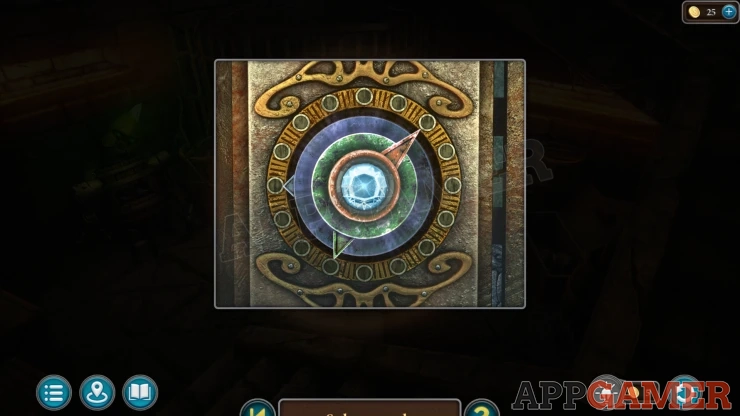
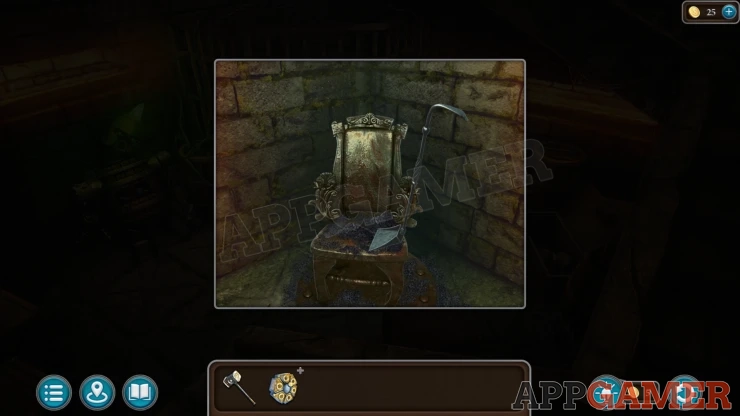
Open the door and then use the scoop poker to collect the Ashes of Folnur.
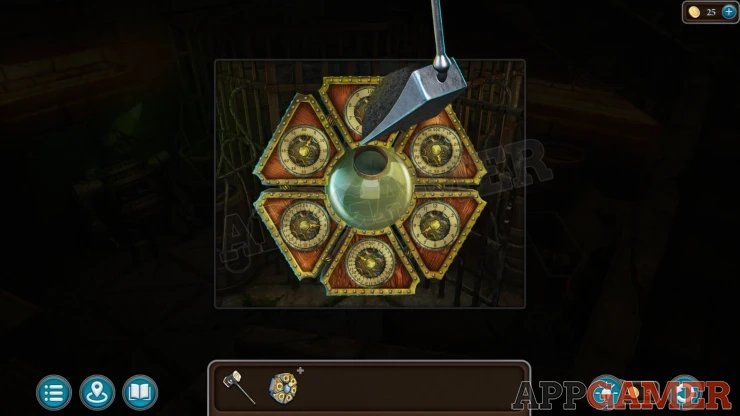
Now view the Hexagon of time in your inventory and add the Ashes of Folnur to it. You will receive the Charged Hexagon.
Exit to the Courtyard and then use the Charged hexagon on the ground to start the time travel.
We have questions and answers related to this topic which may also help you: Show all