Chapter 8
More Legend of the Time Stones
Welcome to our walkthrough for Chapter 8 of Legend of the Time Stones, a new Adventure Escape Mysteries game.
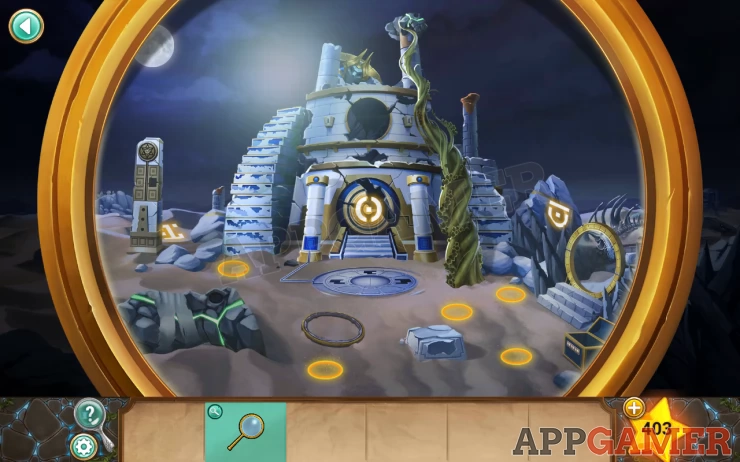
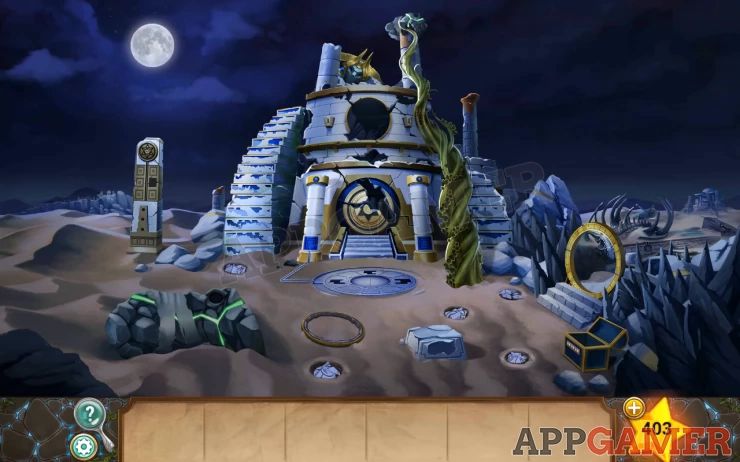
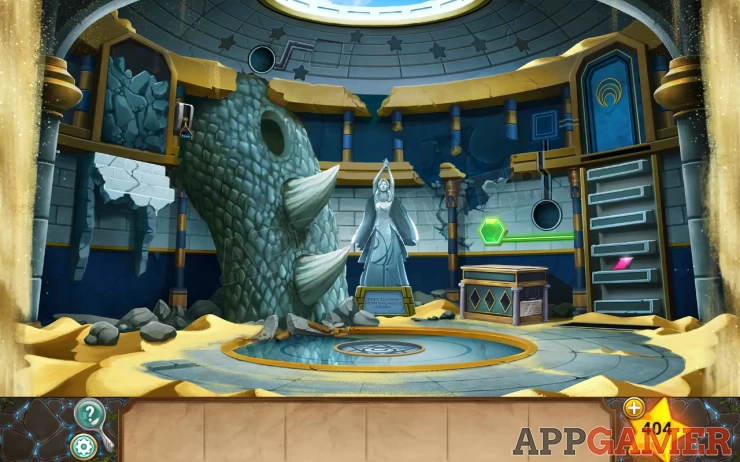
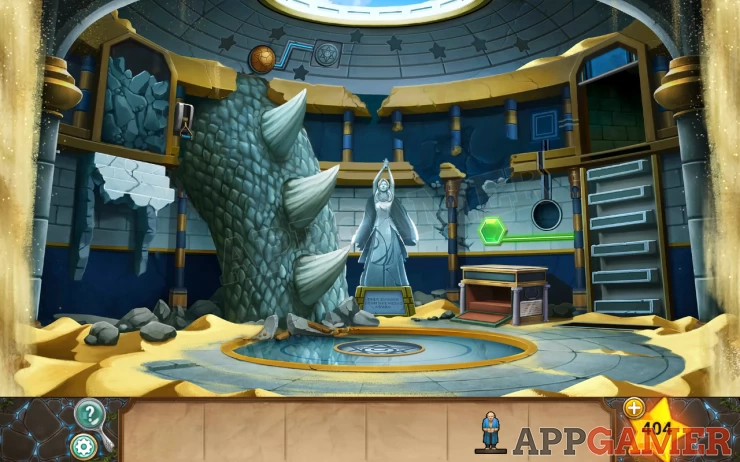
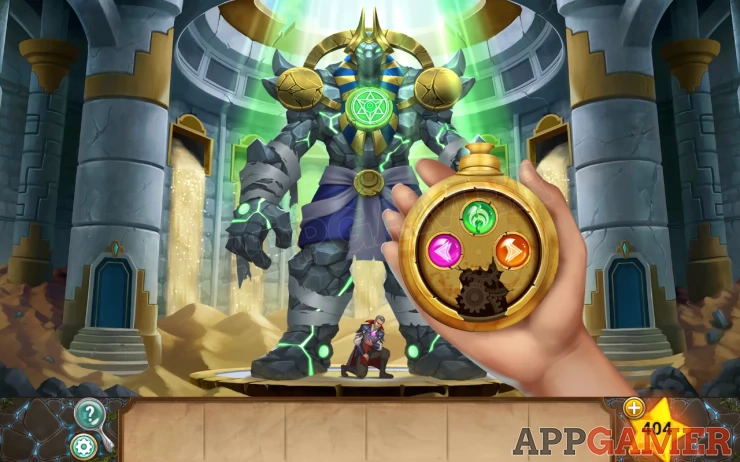
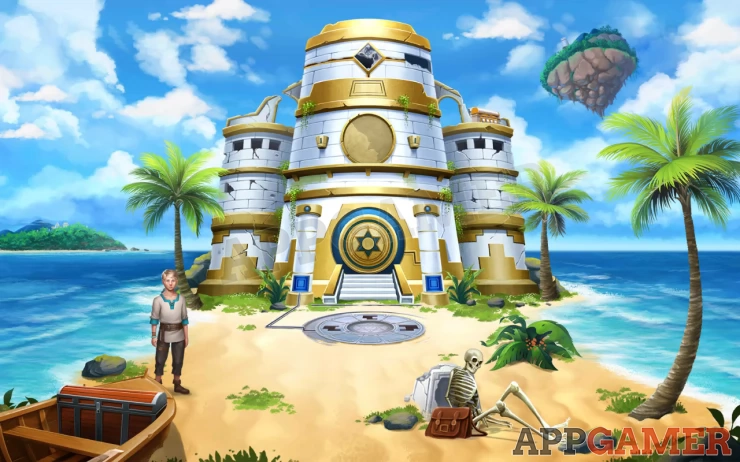
After battling the God of Steel in Chapter 7 and finding out the history of Ollie from Zuriel, you are now back at the Island of Time. Ollie is here to threaten you again. Complete the conversation.
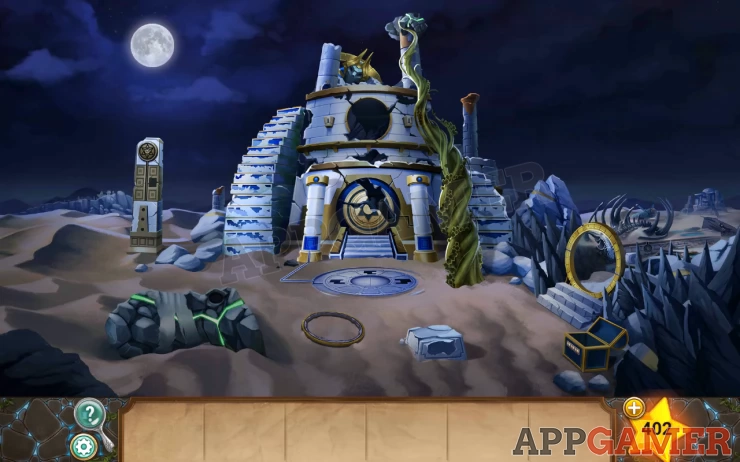
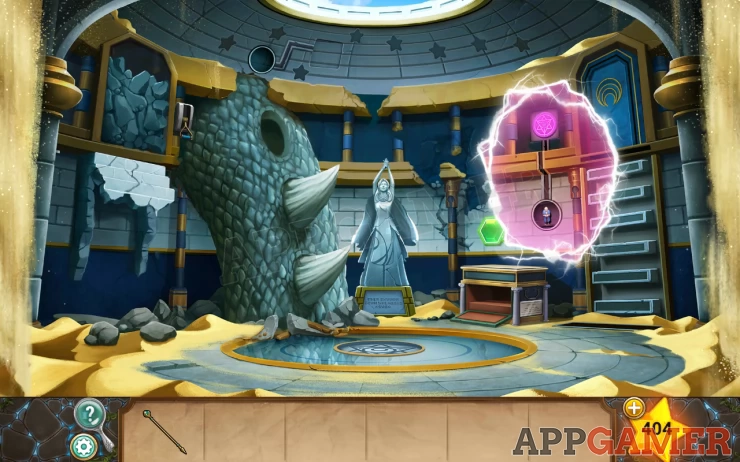
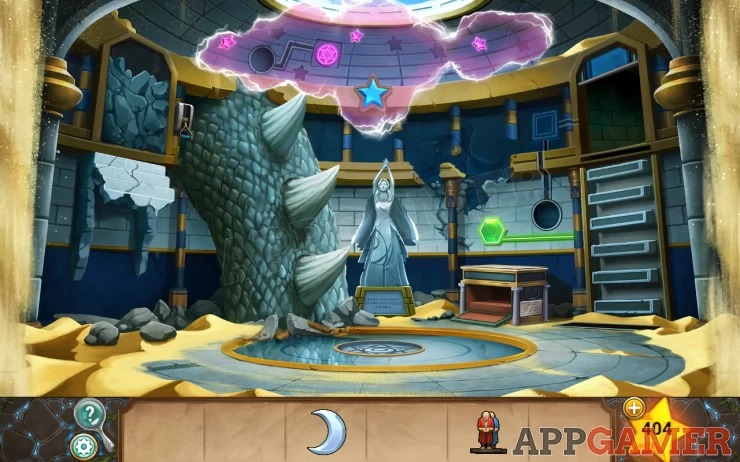
Now use the star tower on the left with the pink time stone to move to the past. Luna is here fishing.
Talk to Luna then the All-Mother will arrive. Another conversation and an explanation on how to gain the Amulet of Time.

First you should collect the fishing rod from the boat. it will be needed later.
Now tap the seal that is shown on the front of the temple.
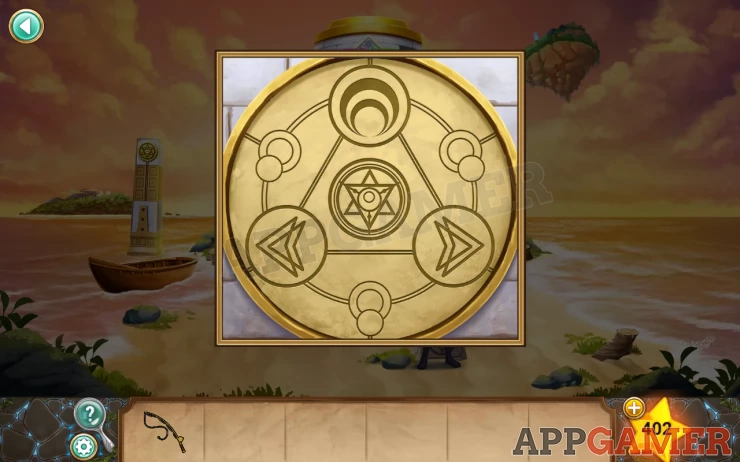
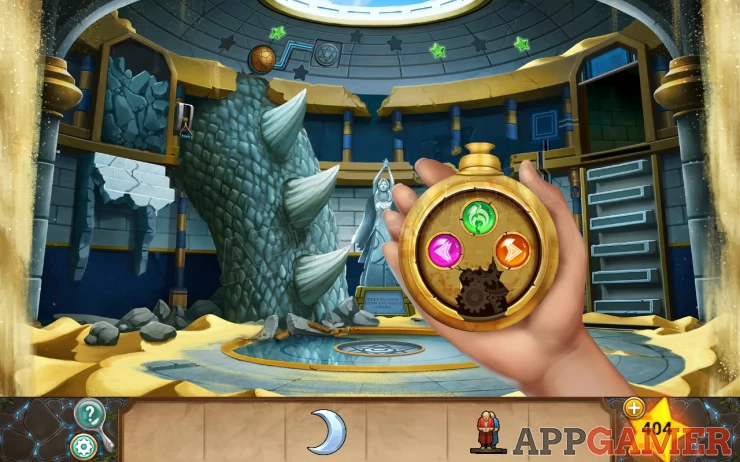
Tap the center Star symbol and use the Pink (past) time stone to activate this time periods seal.
Now use the star tower to move to the Present
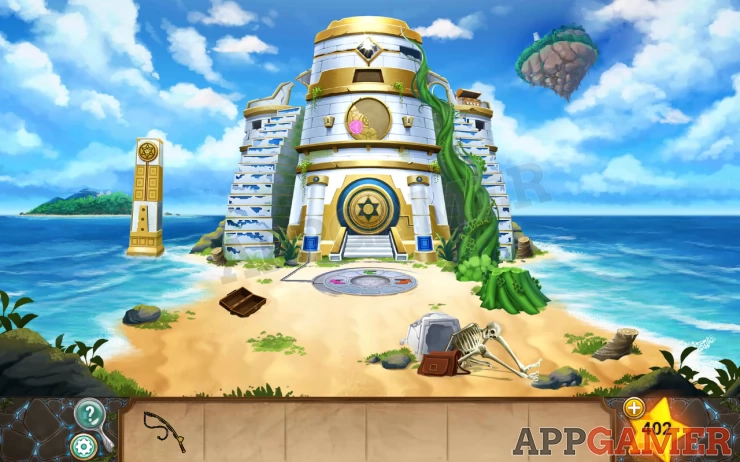
Star: on the top of the temple.
The seal here is broken.
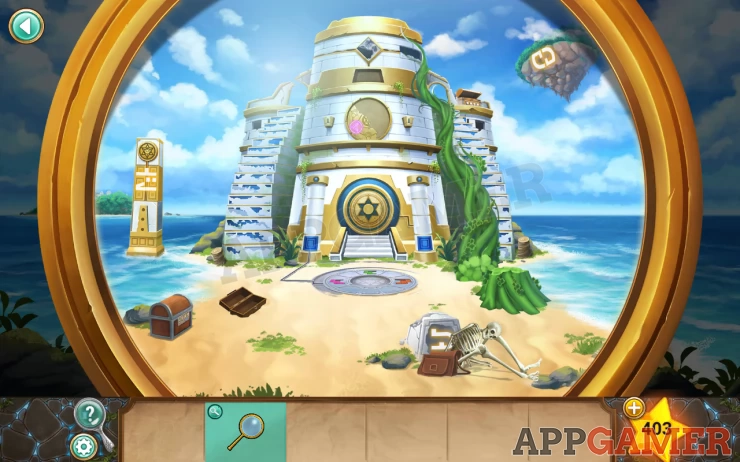
Use the fishing rod on the water on the left to find a locked chest. Then use it on the water on the right to collect a magic lens.
Use the magic lens in your inventory to look through it and reveal some hidden symbols.
Now you should also travel to the past and the future and repeat this process to find 3 symbols in each time.
In the future view with the magic lens you will also see orange circles on the ground.
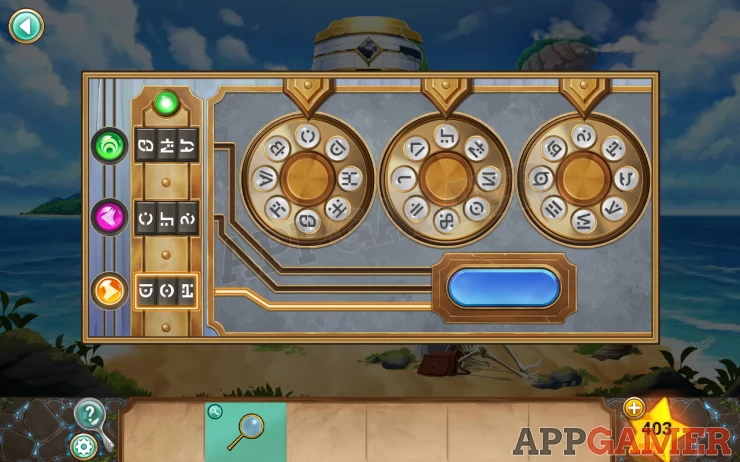
Return to the Present time and view the locked chest.
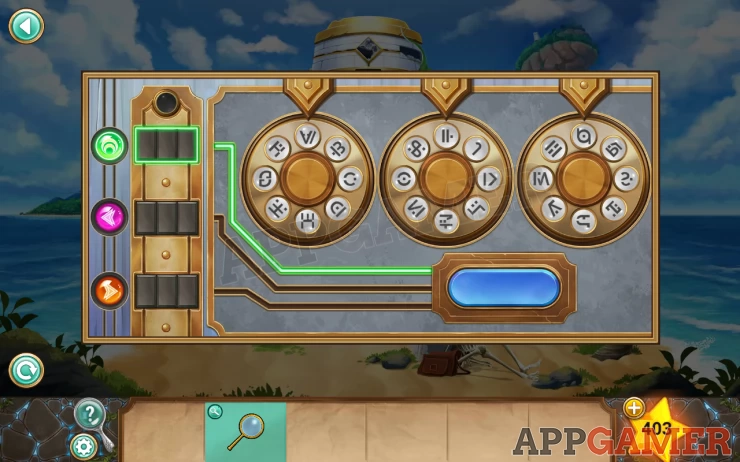
This requires the entry of 3 symbols next to green, pink and orange. Select the symbols seen in the present first and tap the blue button to enter them and move on to the next. etc.
Solution: Show
You can now collect a Door Half and a Shovel from the opened chest.
Place the door half on the temple seal to complete it.
You can then use the green time stone here to activate the top symbol.
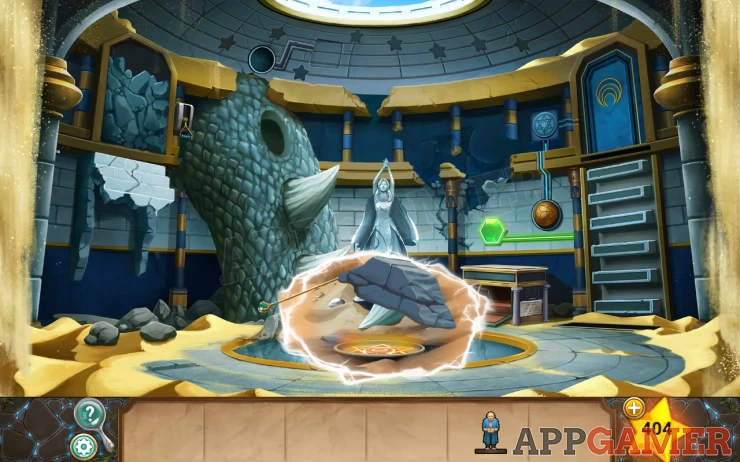
Now travel to the future.
Use the shovel to dig in the sand in the places indicated by the orange circles.
You can then collect 5 stone pieces.
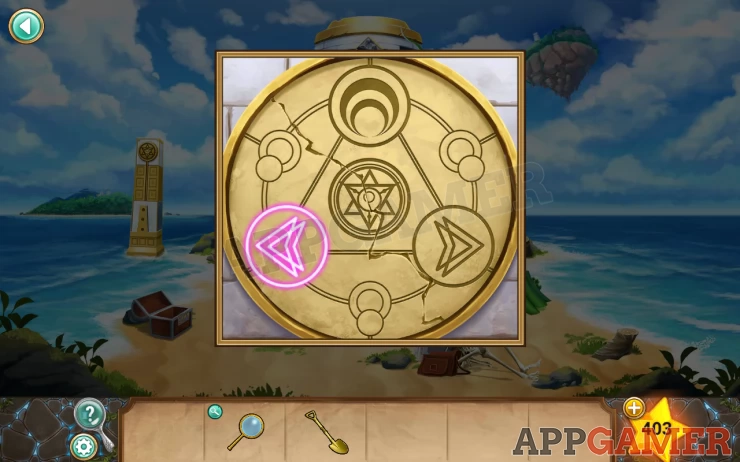
On the ground is a round door frame. View this and place the stone pieces down. This is a now a puzzle to reasseble the seal.
Pieces can be rotated by tapping them .
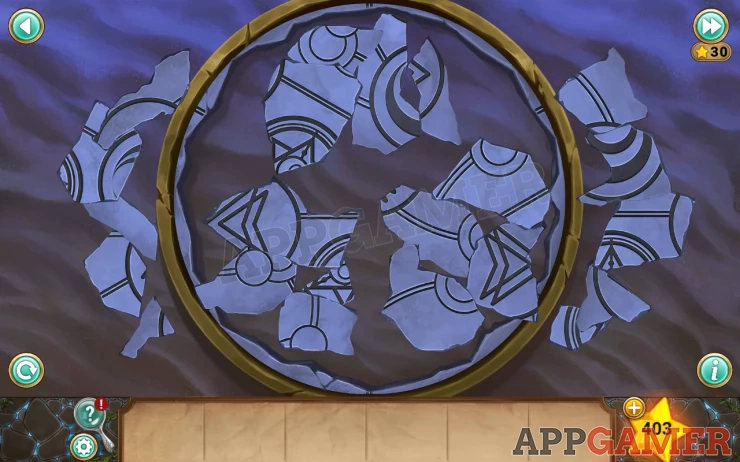
Solution: Show
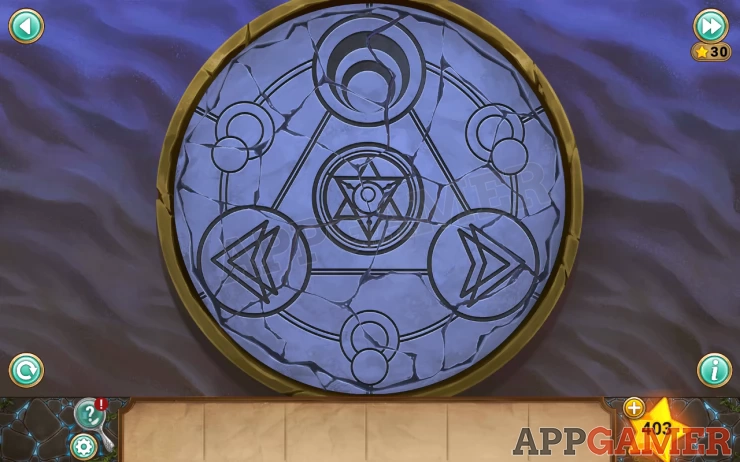
Once it is complete use the locket again with the orange time stone to activate the final symbol.
Then you can travel to the Past again to find Luna.
Together you will open the seal on the temple.
Luna will enter.
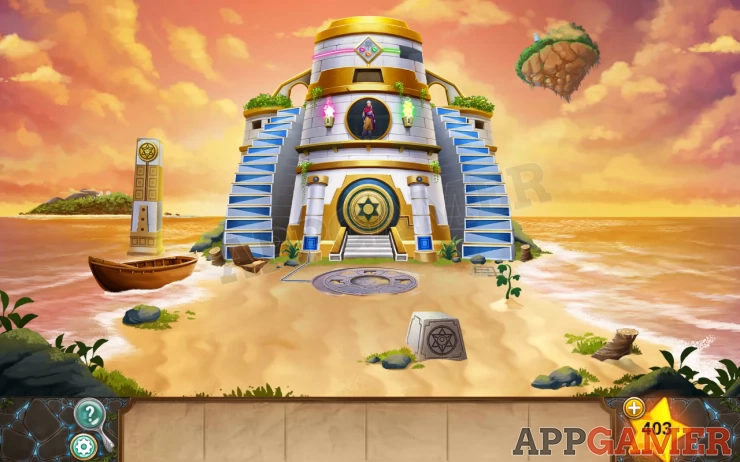
Travel to the Present time and you will enter the Temple of Time.
Star: On the hands of the statue in the center.
On the bottom left are some rocks. Tap these to move them and find a Lever Handle.
Next, on the floor int he center is a star symbol. Tap this and use the Pink time stone to open a rift to the past.
Give the lever handle to Luna.
Once done you can collect a Green Gem from the rift where Luna was standing.
Close the rift and use the green gen in the hexagon shaped hole in the wall.
You can now collect a pink Diamond.
There is a chest below the green gem with 3 diamond shaped slots. We need 3 diamonds.
You can read the inscription from on the chest for a clue to do this.
Solution: Open the rift and place the pink diamond into the first slot. Then close the rift. You can then collect the diamond in the present. Open the rift again and you sill see the first one is still there. Place your second diamond into the chest. Repeat this a third time so that in the past there are 3 diamonds in the chest .Show
The front of the chest is open. Close the rift and examine the puzzle.
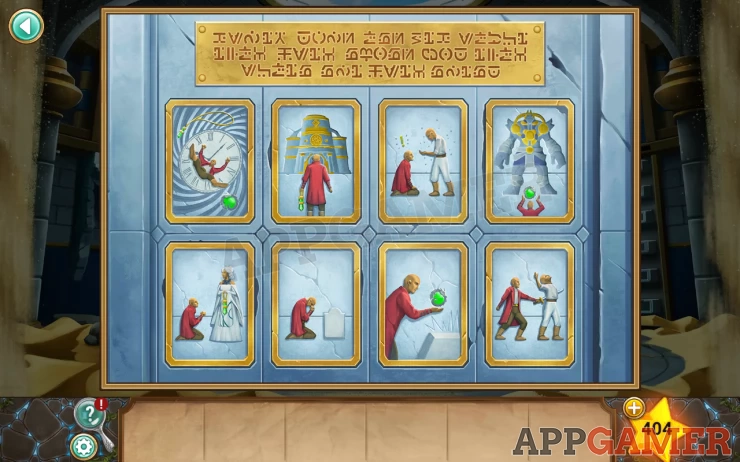
Tap the script at the top to read the translation.
“Hasty decisions may leave you to mourn, but with the All-Mother’s gift, your fate is reborn.”
“Enter the temple, its reward you must fetch. Take it to Chronos, and time is reset.”
“A second chance at life will be your reward. Wake up anew, and see the fallen restored.”
This is a clue to let you rearrange the tiles on the puzzle to the correct order.
Solution: Show
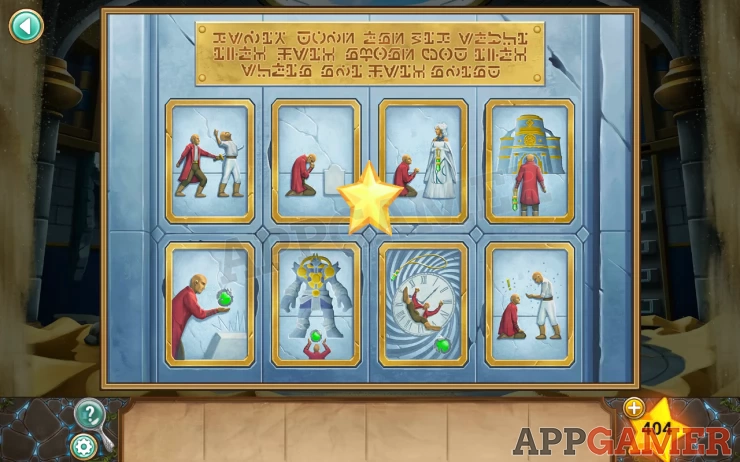
You can now collect a Scepter from inside the chest.
Open a rift again to talk to Luna. Take the Gold orb.
Place the orb in the round slot on the wall. This reveals another star symbol.
Use the pink (past) time stone to open a rift there and you can collect a village figurine.
Close that Rift and use the floor symbol to open a rift to the future (Orange).
There is a large rock. Use the scepter on it to lift it.
Collect the Dragon Spike.
Now use the top right Star symbol again with the green time stone to open the top right door.
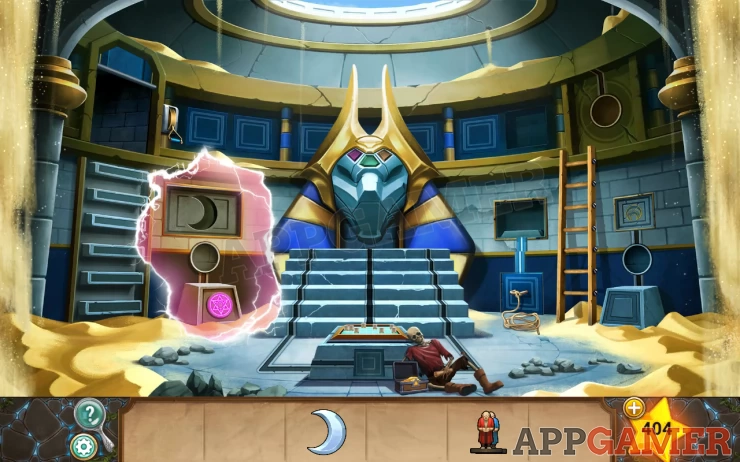
Go through to the next room.
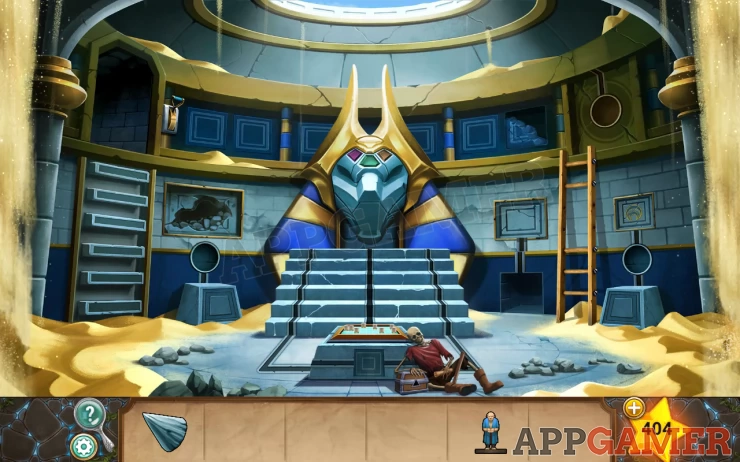
Tap the lever by the door on the top left. A metal bar appear to block the doorway.
You can now go back to the first room through that doorway. Tap the Gold orb from the slot. The door is blocked open.
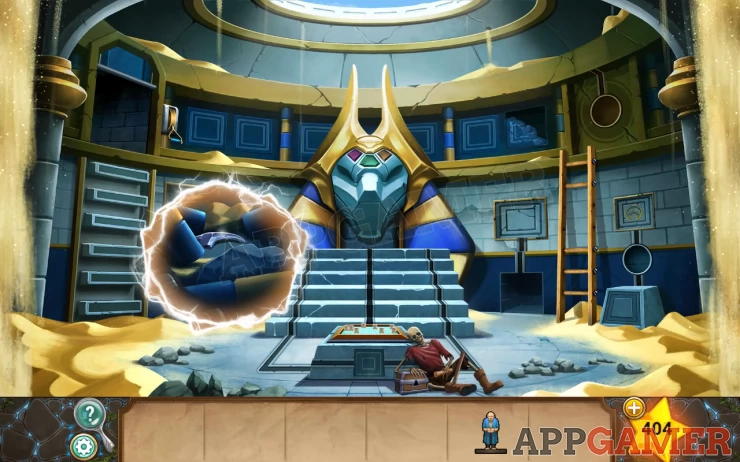
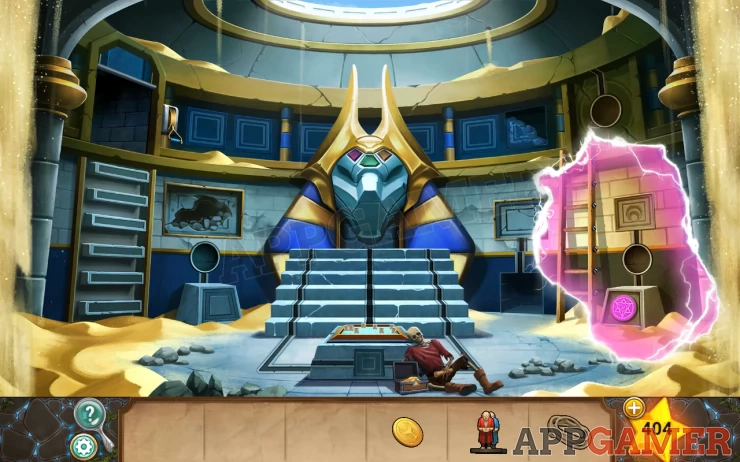
Go back through to the second room. On the left is a round slot in the wall. place the orb there.
Use the orange time stone on the revealed star symbol to open a rift to the future.
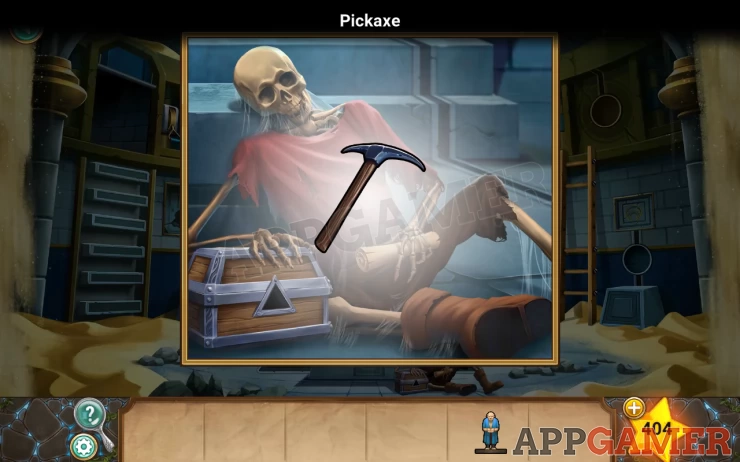
Collect a pickaxe head
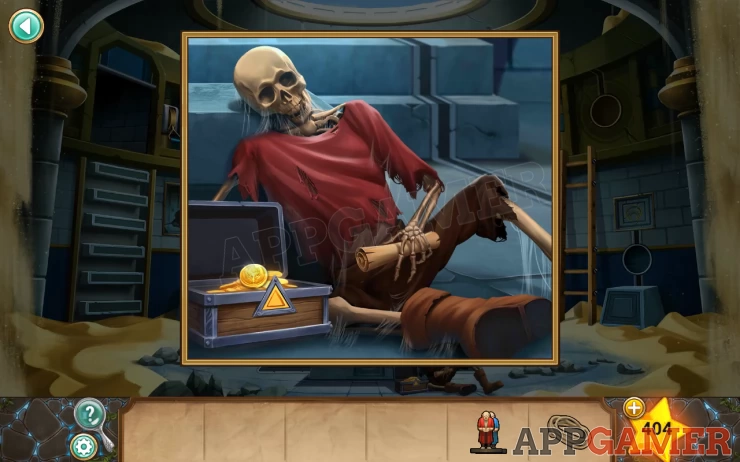
View the skeleton on the floor, and also read the scroll it is holding.

Place the pickaxe head on to the wooden handle to collect a pickaxe.
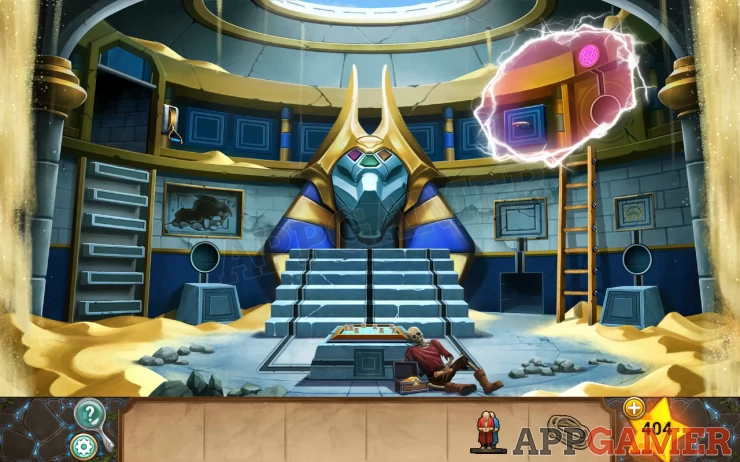
Now take the gold orb again and place it in the round slot on the right.
Use the star symbol here with the orange stone again to open another future rift.
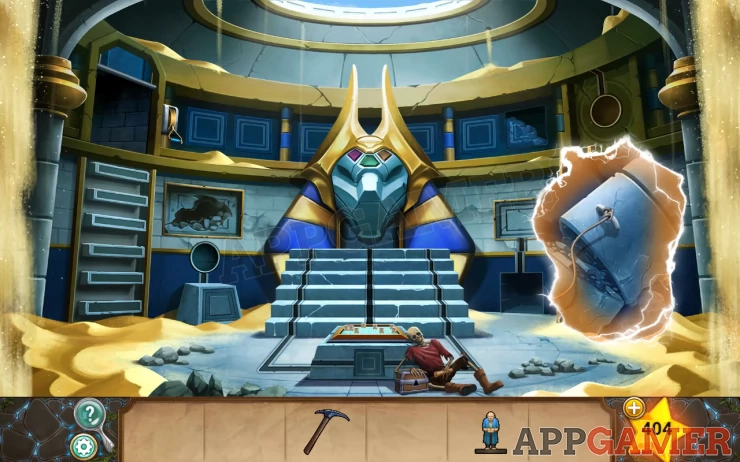
Use the pickaxe to collect the rope.
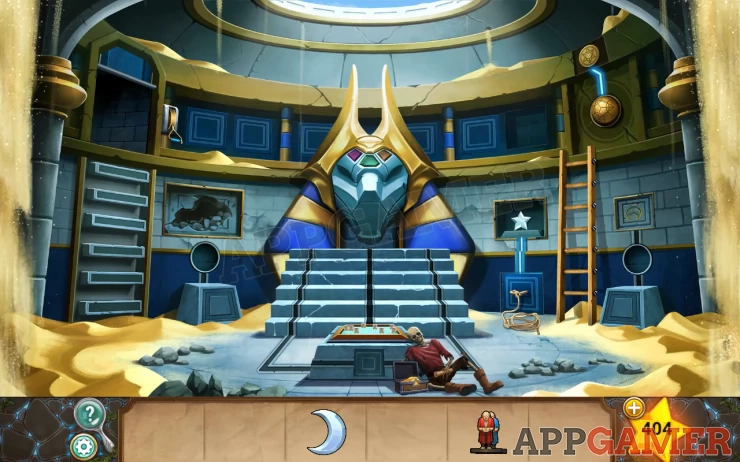
Now close that rift and use the green time stone to open a panel and collect a second villager figurine.
Collect the gold orb. Then return to the first room. Place the orb in the slot on the right wall to reveal the star symbol again. Use the orange time stone to open a future rift.
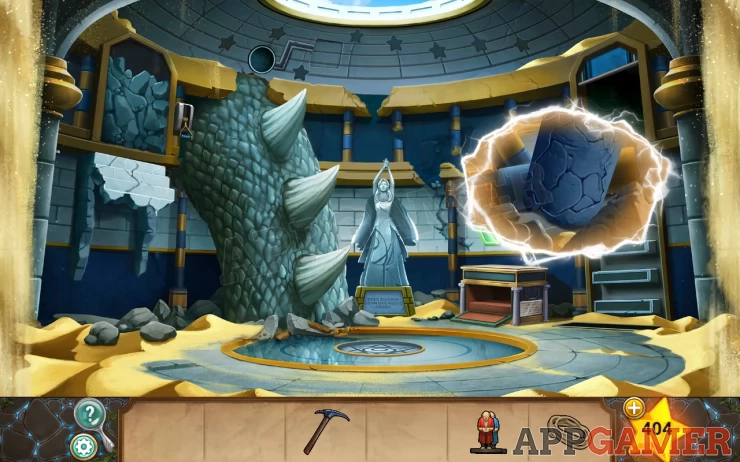
Use the pickaxe in the rift to break the cracked stone. Then take a pyramid Key from inside.
Close the rift and collect the gold orb.
Go back to the second room and use the key to open the chest that the skeleton is holding.
Collect a gold coin.
Next place the gold orb in the round slot on the right again. Open a rift to the past.
The ladder is complete there. Use the gold coin on this to let you take two ladder rungs.
Close the rift and add the rungs to the ladder to complete it.
Collect the gold orb and you can now place it in the top round slot.
Using the new revealed star symbol open a rift to the past. You will see a hoop on the wall.
Add the rope to this then tap the rope to pull the block out of the wall.
Close the rift. You can then collect a Moon Gem from the hole.
Next tap the fallen block to puck it into the hold in the wall. You can now collect a Star Gem.
Collect the gold orb
Return to the first room. Place the dragon Spike on the dragon body to complete a way up to the ceiling.
Then pace the gold orb in the top round hole.
Note the arrangement of stars on the ceiling.
Use the star symbol that is revealed with the pink time stone. This opens a past rift.
Place the star gem in the large star slot at the bottom of the rift. You will see 3 stars light up pink.
Now close the rift and you will see 3 green stars.
You can also use the orange time stone here but there is no temple roof to see.
Take back the orb and return to the second room.
Place the orb in the round slot on the left of the room. Then use the star symbol with the pink time stone to open a rift to the past.
Place the moon gem in the slot to reveal a puzzle. Close the rift so that you can view it.

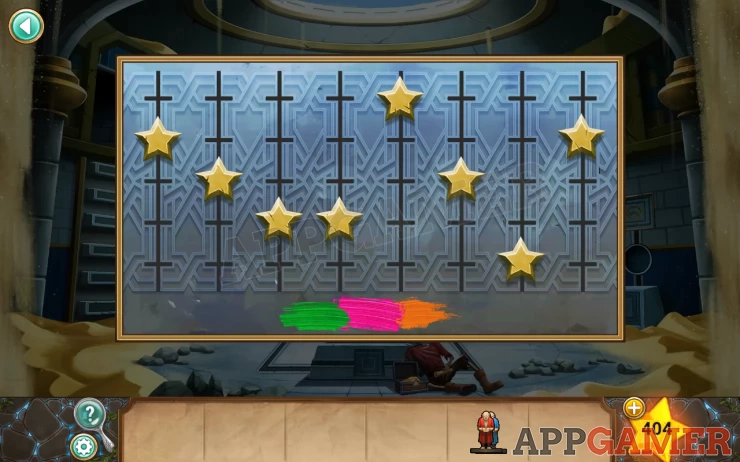
Hint: There are 8 stars as there were on the ceiling in the first room. There are 3 colors in order green pink orange.
Solution: from the star patterns you saw in the other room first use the positions of the 3 orange ones, then the 3 green ones. The final 2 are orange, we did not see them but the ones that did not light up pink or green must be them.Show
Code: Show
Collect the sword. Then also take the orb.
Go back to the first room and place the sword on the statue.
Now place the orb on the ceiling slot again and use the star symbol to open a rift to the future.
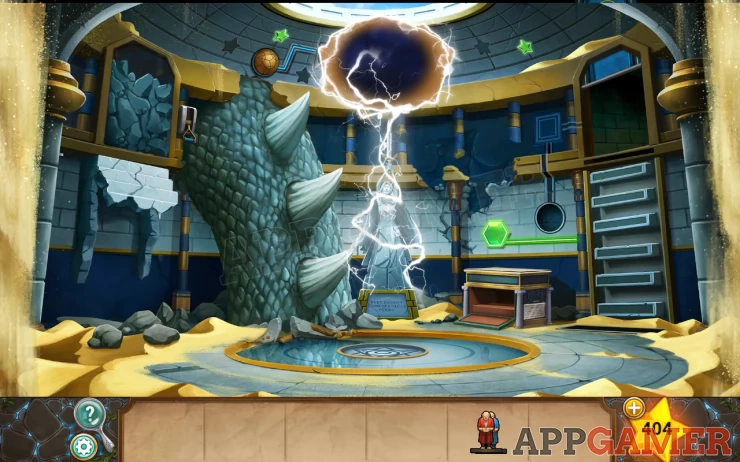
Lightning will strike the statue and you can then collect a Chronos Figurine.
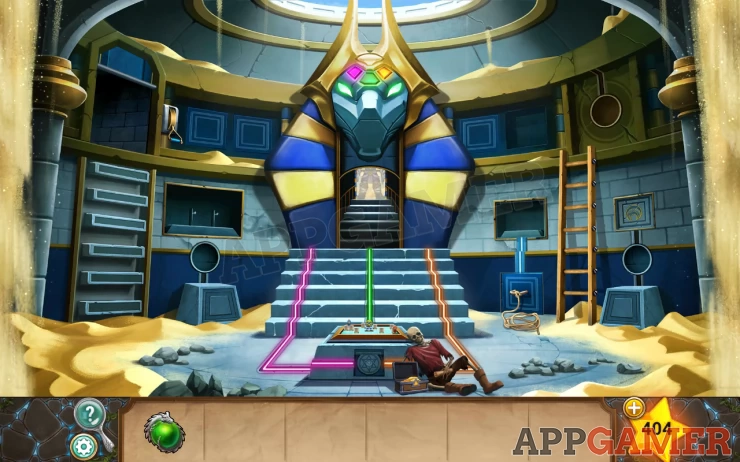
Back to the second room and view the board game in the center.
Place the 3 figures to start.
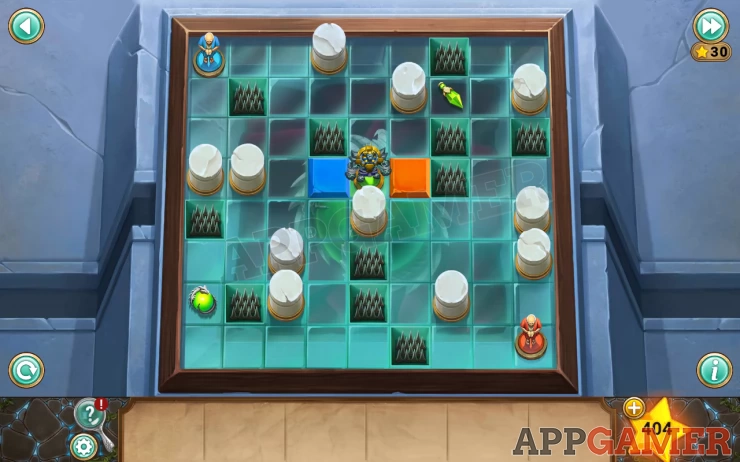
This is a movement puzzle. You can only move the blue villager and the orange one will copy the moves in reverse. Collect the 2 green items and them place the figures on the colored squares.
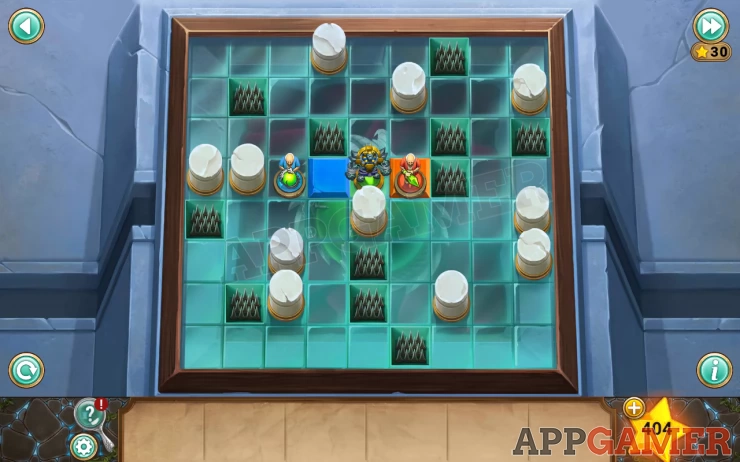
Once done you can collect the Amulet of Time.
A new star symbol will be revealed.
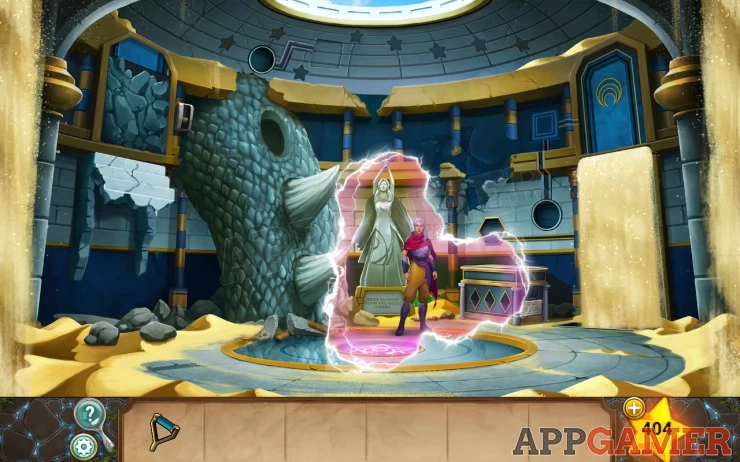
Activate the locket and tap all 3 time stones in turn to open the entrance to the throne room.
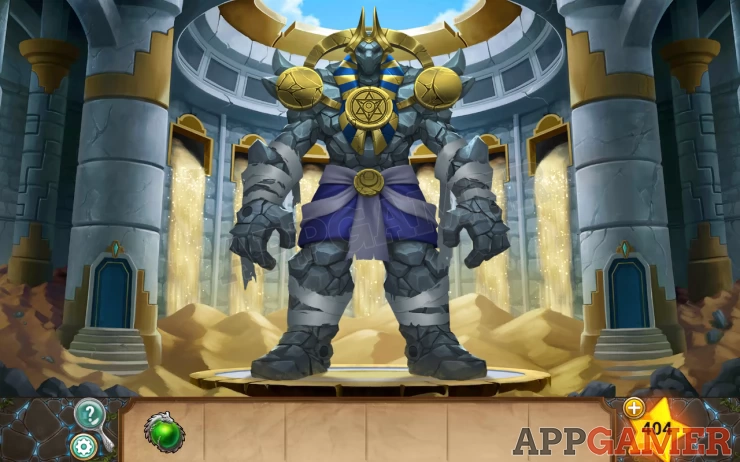
Activate Chronos with the green time stone.
Ollie appears and you are tricked into a fight against Zuriel.

Follow the instructions to fight Zuriel.
Carefully watch the colored lines that appear around him. Remember the order that each one appears and then copy the order using the time stones on the locket.
There are 3 levels to pass.
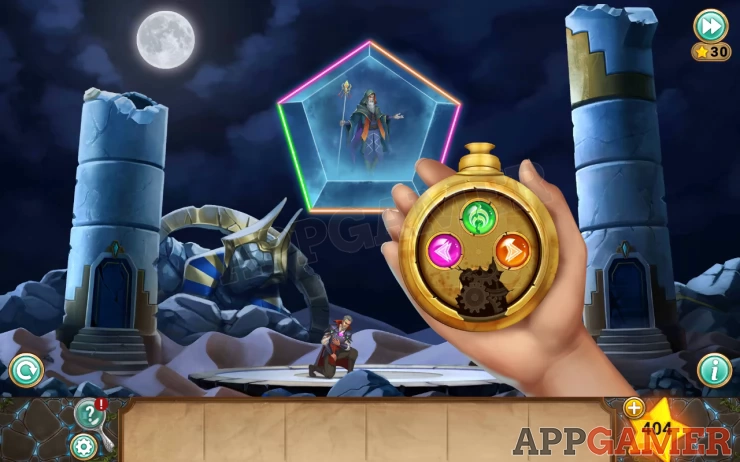
Solutions:
1: Green Orange Pink Orange 2: Pink Orange Pink Orange Green 3: Orange Green Green Pink Orange OrangeShow
You now need to travel to the past. Where Zuriel is also attacking Luna. You will need to repeat the battle process again.
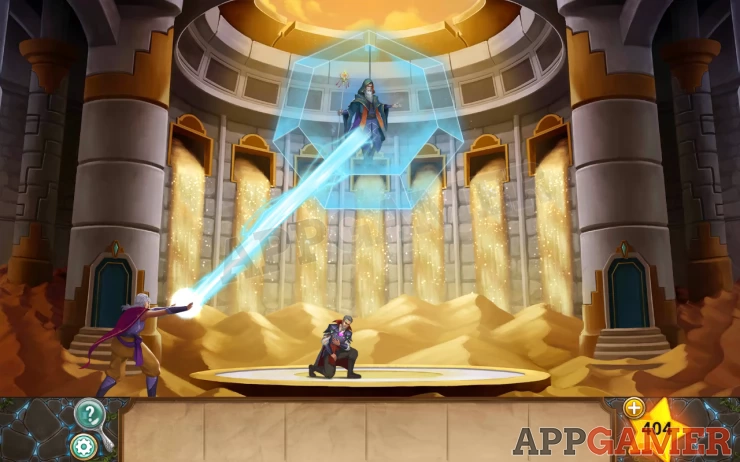
Solutions:
1: Orange Green Orange Green Pink Orange Pink 2: Pink Green Pink Orange Green Orange Green Orange 3: Orange Green Pink Green Pink Green Pink Orange GreenShow
They escape again to the present. Follow them there for the final battle.
Solutions:
1: Orange Pink Orange Green Green Pink Green Pink Green Pink 2: Orange Pink Green Orange Orange Green Green Orange Pink Orange Orange PinkShow
After this you do not need to complete the final sequence, follow the conversation scene and Zuriel will be defeated.

When the locket is raised tap all 3 stones to reset time and return to the Island of time before the event of the game.
Watch the scene with Ollie and you will complete the game.
We have questions and answers related to this topic which may also help you: Show all
 With 20 years of experience in creating video game content for the internet and over 30 years as a gamer, Mark is now a passionate mobile App Gamer. Loving a challenge, he is always ready to get stuck in to both survival builders and puzzle solving games. He has been providing content for AppGamer since 2014.