Hidden Memories Walkthrough and Guide
Hidden Memories Guide
Welcome to our full walkthrough for Hidden Memories, an escape room mystery story game from Dark Dome. Fans of the Dark Dome series will recognize the play style and themes of this new episode in the related mystery stories. Similar game in this series include Haunted Laia, Another Shadow, The Girl in the Window and more.
In Hidden memories you play as a young man who has woken up in a strange place and has no idea how he got there. Through the game you will also unlock memories and encounter other characters as you piece together the events that lead to his disappearance.
The game also features Lost Souls which are collectible items that unlock small side puzzles to complete. As well as the Shadow collectible items that feature in other Dark Dome games. Follow through our complete guide to get hints and solutions to all of the games puzzles.
Hidden Memories Guide Tips
- The game is full of complex puzzles with clues to codes and combinations hidden in the house. As with previous Dark Dome games the codes and symbols that you need will vary with each play though.
- We will give an explanation of the methods for solving each puzzle so that it your game requires a different code you will understand how to find it.
- If you have any questions for any stage of the game please head to the Answers Page to ask there.
Hidden Memories Walkthrough
After the opening scene you find yourself in a room with a door to the left and a Fish tank.
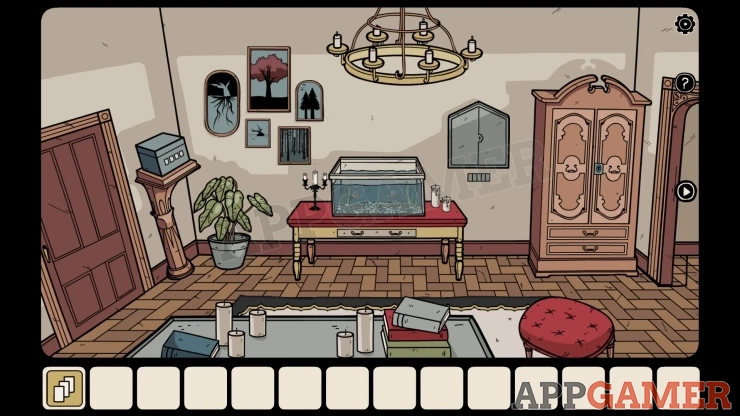
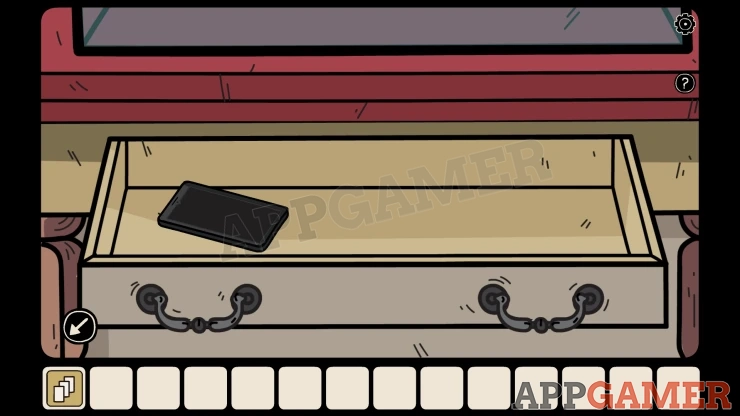
View the drawer under the fish tank and open it. Collect a Phone.
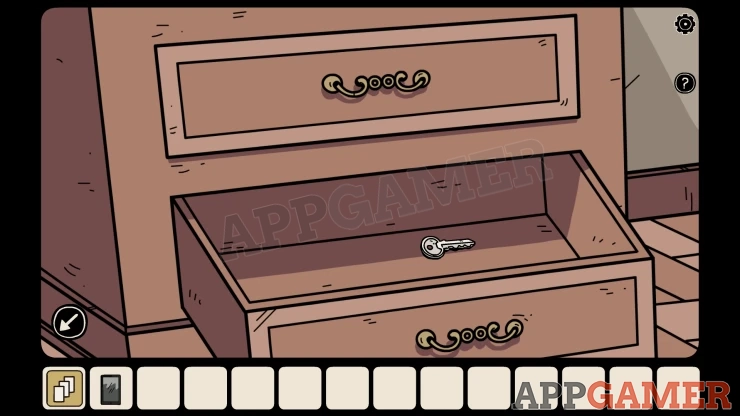
Then view the bottom of the cabinet on the right. Open the drawers to collect a Locked Notebook and a Key.
Use the Arrow on the right to move through to the next room.

Look on the floor on the left corner to see the patchwork doll. This is a lost Soul, collect it and you will now have the option to play a side challenge to help the lost souls.
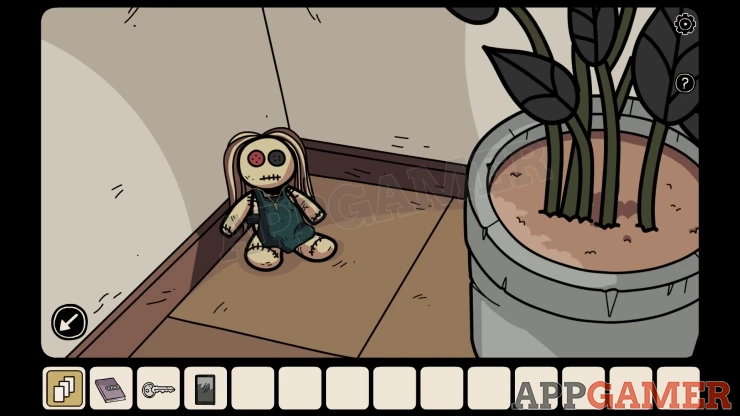
Lost Soul 1
Tap on the icon on the left side of the inventory menu to see the lost souls and also the Shadows that you have collected.
Then tap on the first lost soul.
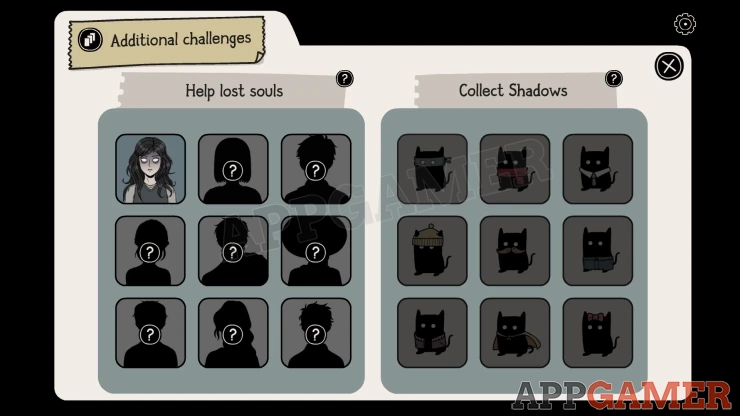
You do not need to complete these to progress in the story. Once done you have saved the first soul. The other souls can be found in the same way. However you need to have the Premium content or to watch adverts to allow you to play all of the mini games.
Back in the game look in a plant pot on the right side of the room and move the leaves. This is a collectible item, there are nine hidden in the main story. They are not required to complete the game.

Next view the pizza box on the table and open it. Collect the Pizza slice and notice the clue on the lid of the box.
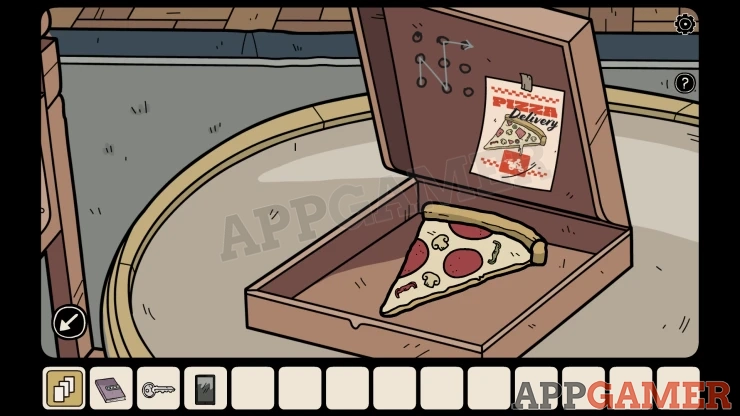
View the phone in your inventory. It has an unlock pattern. Use the clue from the pizza to draw the pattern to unlock it.
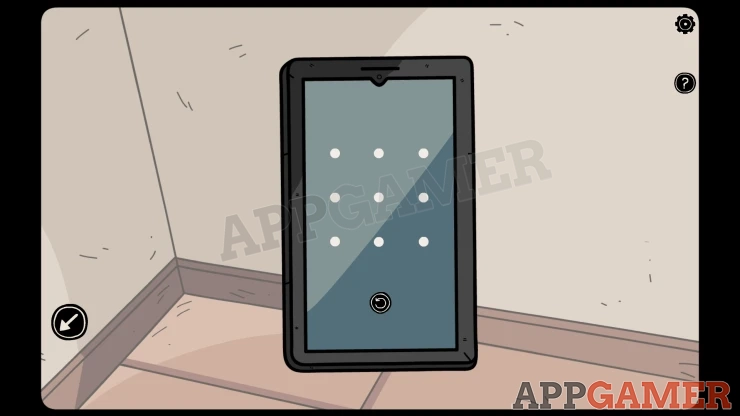
Tap on the delivery app icon (lower left) and then select the Pizza Option. You will see a receipt for a pizza delivery, note the price.
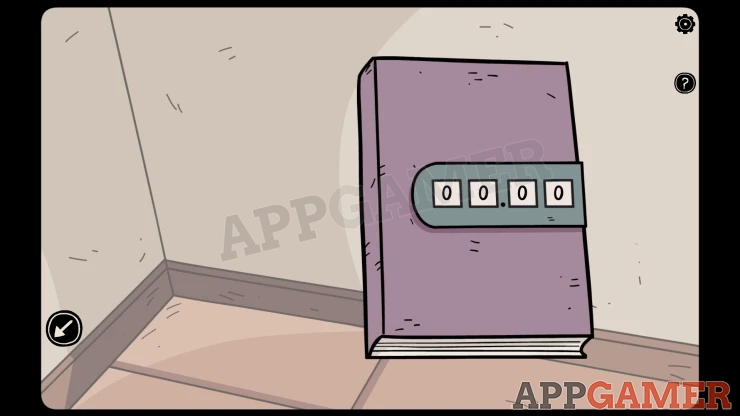
View the locked book in your inventory and use the clue from the pizza receipt to open it..
Code: 52.94Show
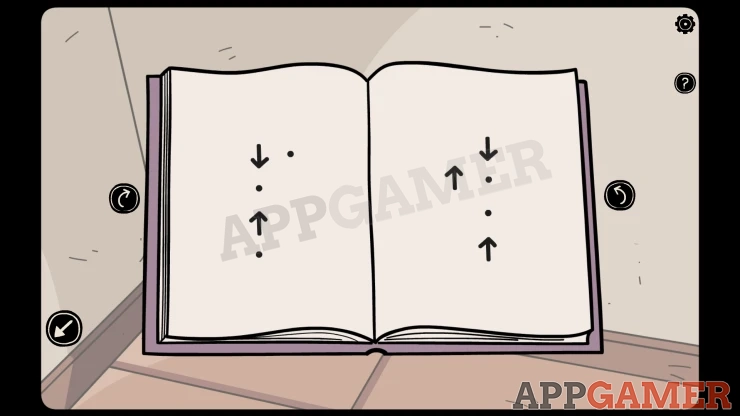
Look through the pages of the book to see clues.
Go back to the first room and view a panel on the wall to the right of the fish tank.
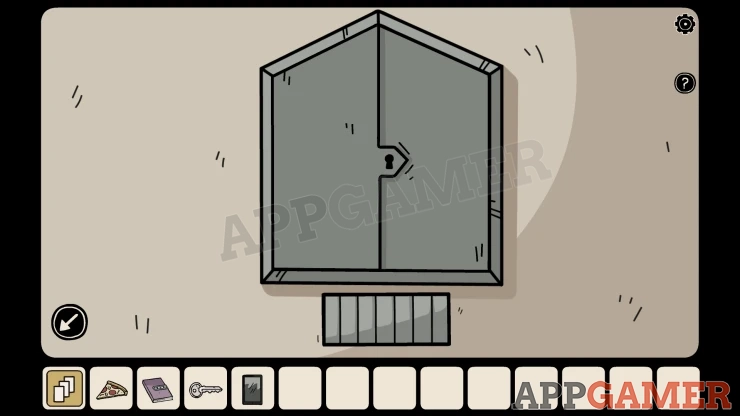
Wall Switches Puzzle
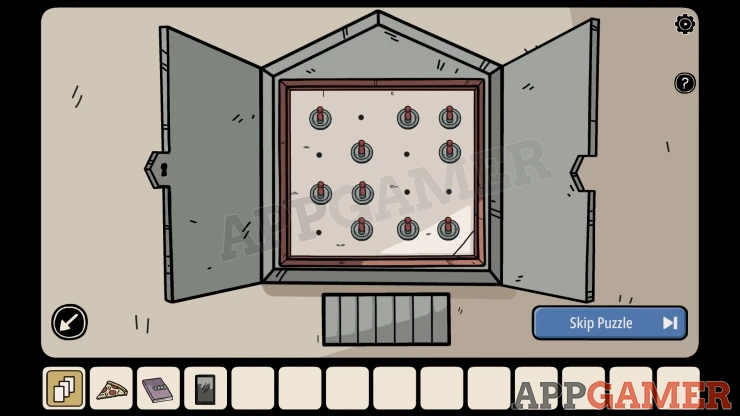
- Use the key to open the doors, inside are a series of switches that you can set up or down.
- Notice the dots between some switches.
- Look in the book to find matching patterns of dots and then use the arrow clues to set the switches.
Solution: Show
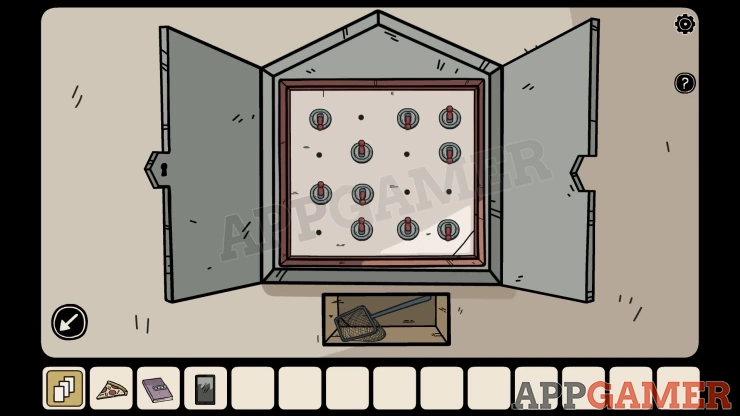
Collect a Small Fishing Net.
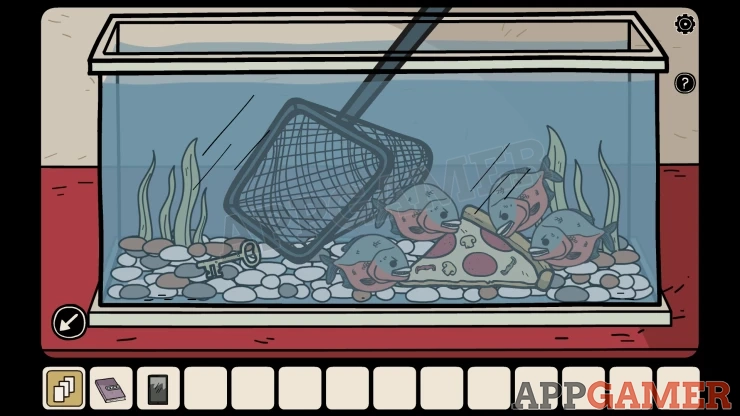
View the fish tank next. Add the Slice of Pizza to it to distract the fish. Then use the fishing net on it to collect a Yellow Key.
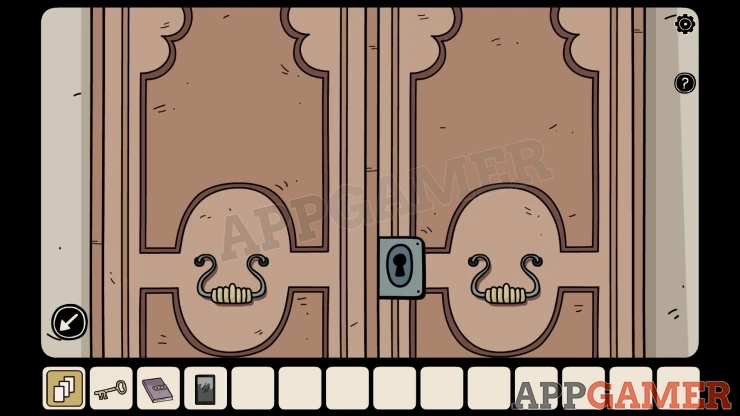
View the tall wardrobe on the right and use the key to open the doors.
You can then take a photo from the top pocket of the shirt. This will trigger a Memory.
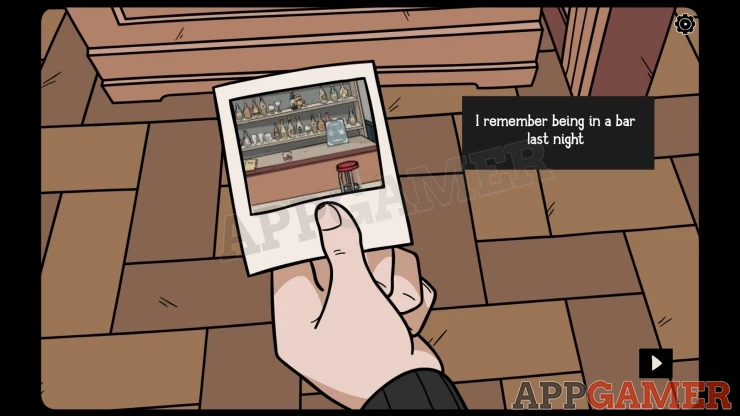
You collect the photo, you now have a pocket icon to the left of the inventory list. You can view this to see the memories you have unlocked and play their scenes.

Memory 1 - Bar
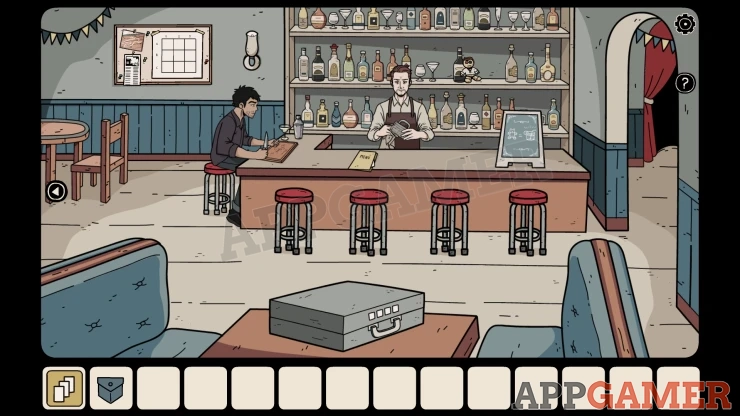
View the bar to see a menu folder. Collect a clue paper from the folder.
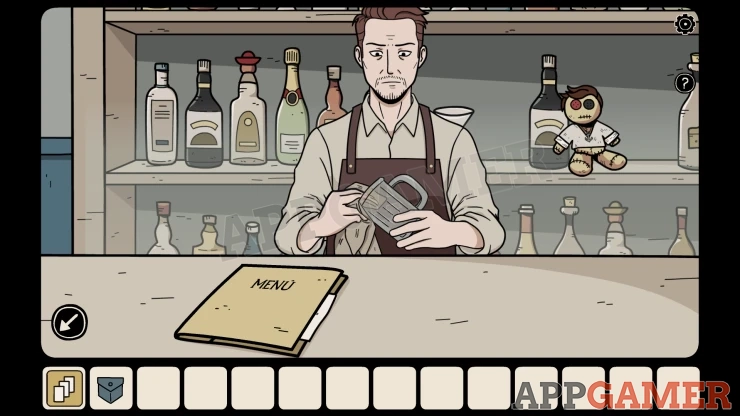
Lost Soul 2 on the shelf to the right of the barman.
Go through the arch on the right to another room. There is a magician sitting here.
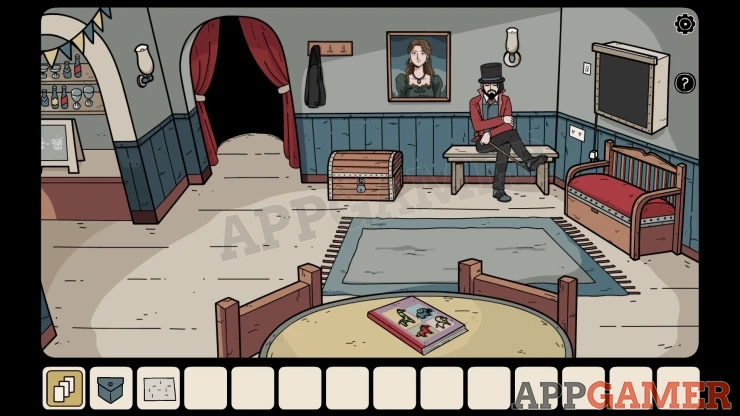
Hidden Shadow View the bench seat on the right and open it.

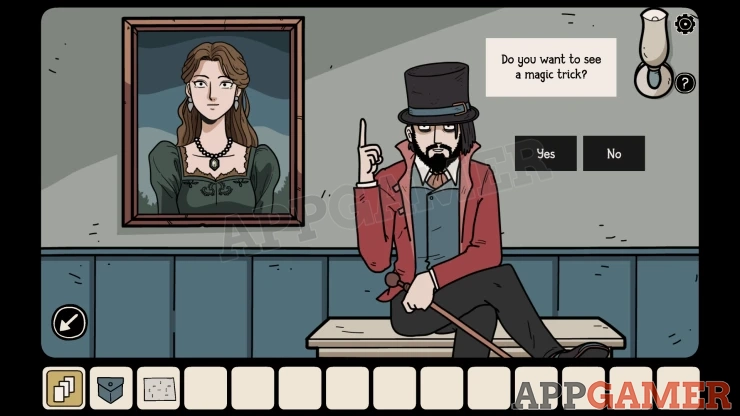
Talk to the magician, he will ask if you want to see a magic trick. Say Yes.
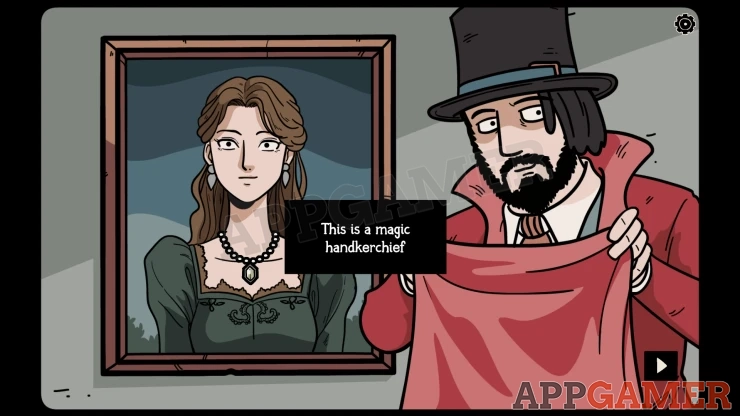
You will see a trick with a magic handkerchief and the painting. He will then give you an Art Paintbrush.
Go through the door to the left of the painting to find a stage area.
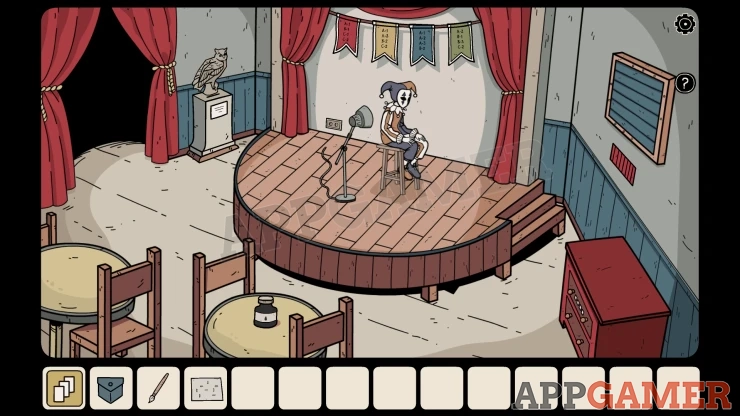
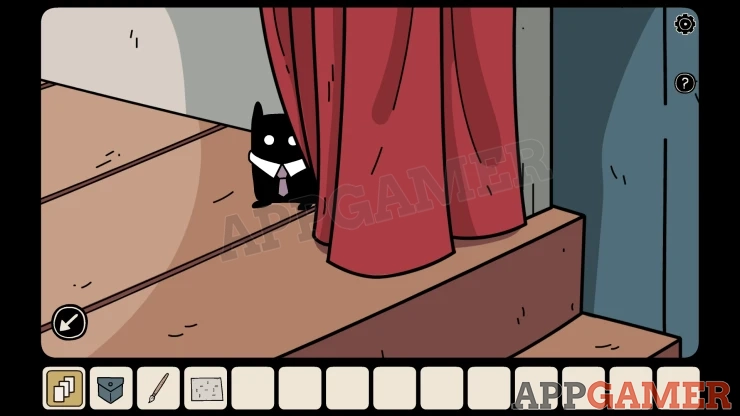
Hidden Shadow: look at the bottom of the red curtain on the right and move it.
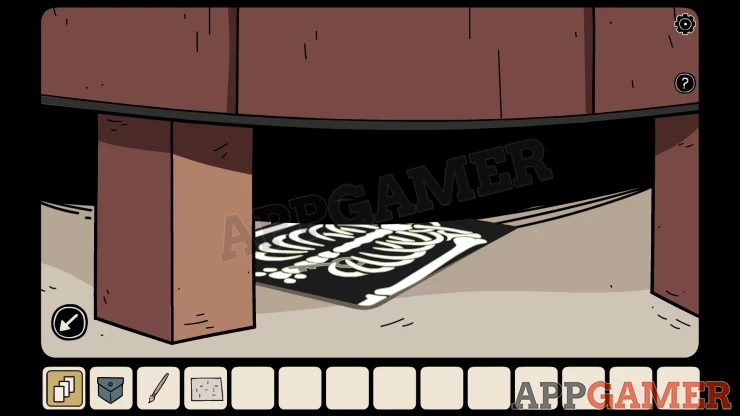
First look under the stage toward the right to see an X-Ray to collect.
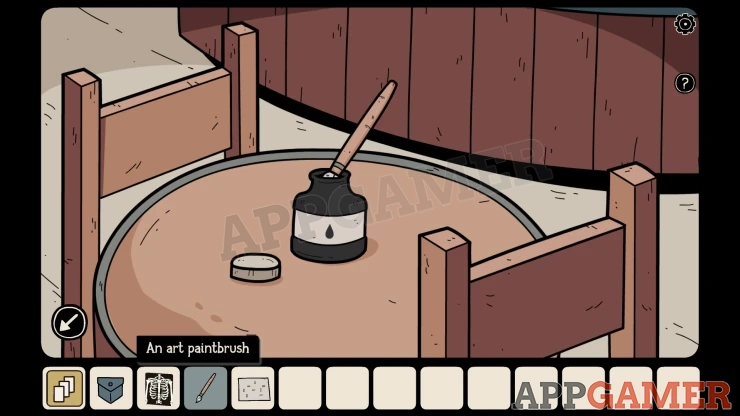
Look on the table to see a bottle of ink. Open it and use the paint brush on it. You will get the Brush with Ink.
Now look on the right wall, there is another panel.View this to find a puzzle.
Colored Points Puzzle
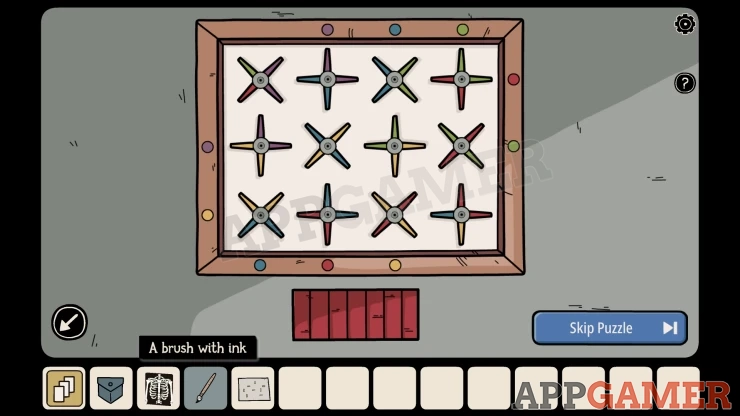
- There are twelve cross wheels with colored points. Tap these to rotate them.
- Around the edge of the board are colored dots.
- Align the points on the wheels so that the matching colored points are next to each other and the matching dots on the edge.
Solution: Show
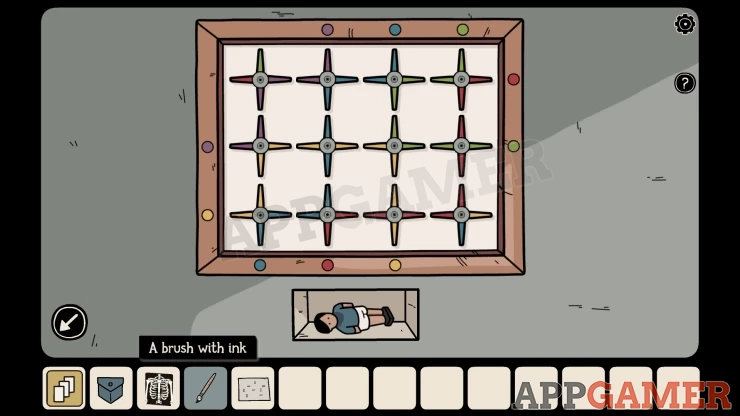
Collect a Table Football Player.
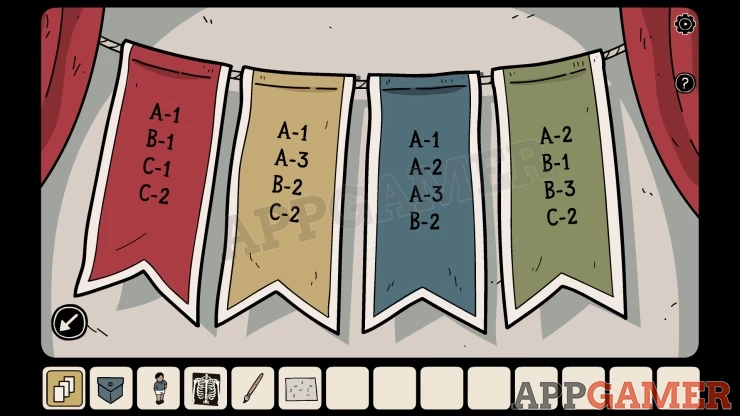
Next look at four banners hanging above the stage, these each have a color and a set of co-ordinates. These are a clue.
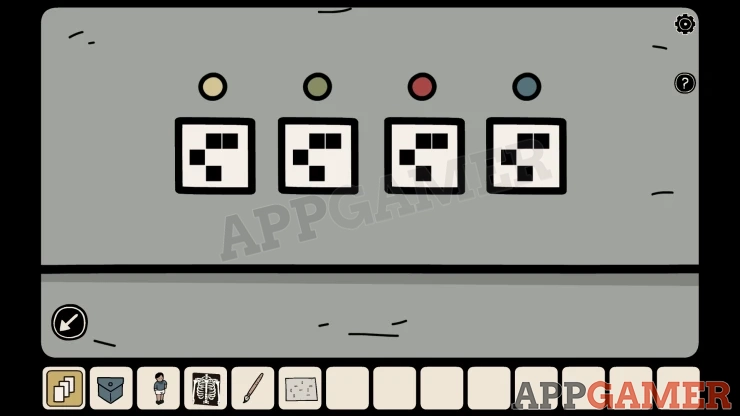
Go back to the bar look on the table to see a briefcase. This required a code of four shapes.
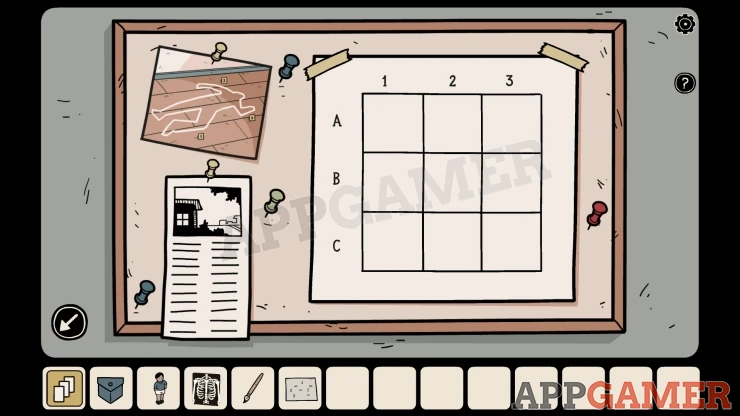
Then view a notice board on the wall to the left. There is a grid here with nine squares. You can tap the squares to change them from black to white. Using he clues from the banners above the stage set the matching squares to black. This will give you four shapes, one for each color banner.
Now on the table use this to set the correct shape for each of the colors on the code lock.
Show
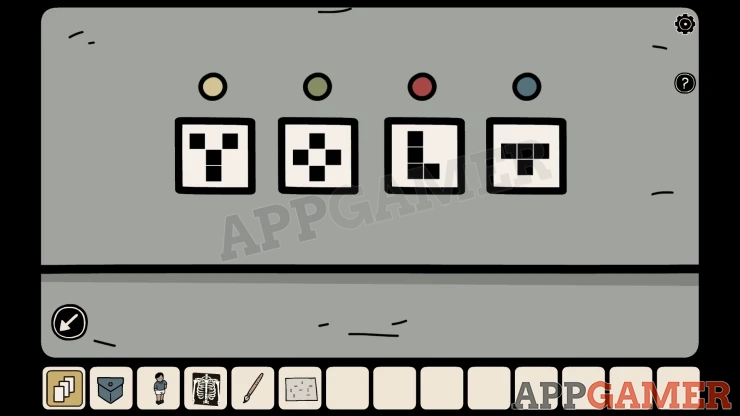
Collect a Plug and a Chisel.
Now move to the left to find a games room.
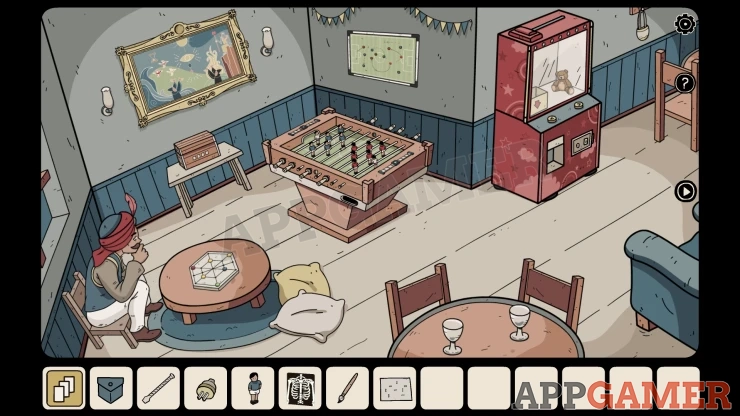
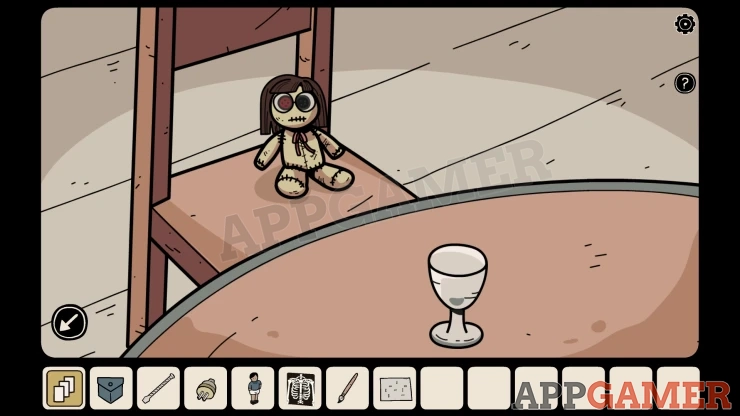
Lost Soul 3: View the table with the glass and move the chair back.
View a diagram on the wall above the football table, this is a clue.
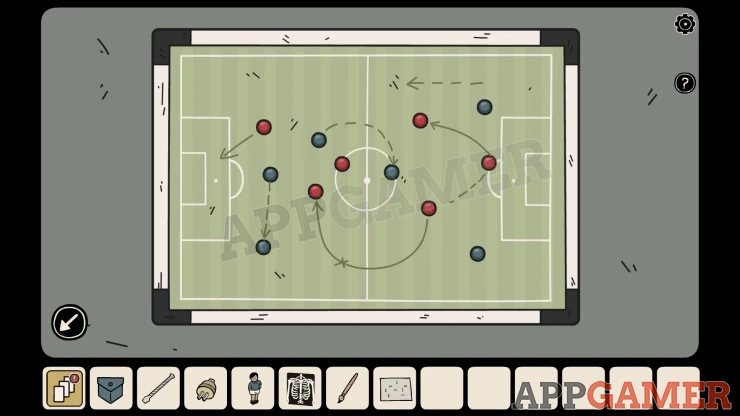
Then view the football table.
Table Football Puzzle
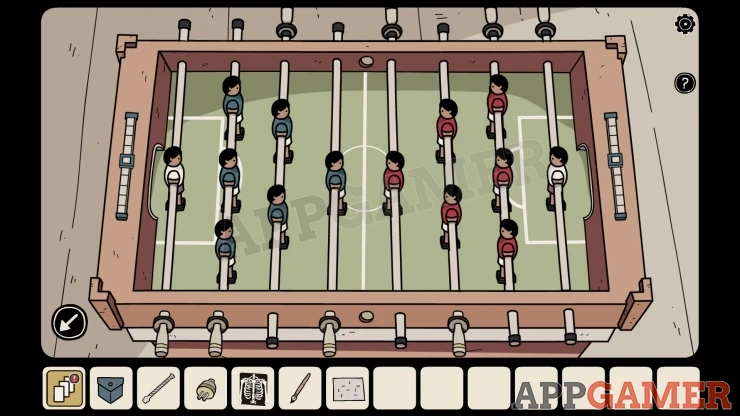
- Add the Football player to the table.
- The teams are arranged on two sides.
- Tap pairs of the players to swap their positions.
- Match the arrangement of the red and blue dots on the diagram.
Solution: Show
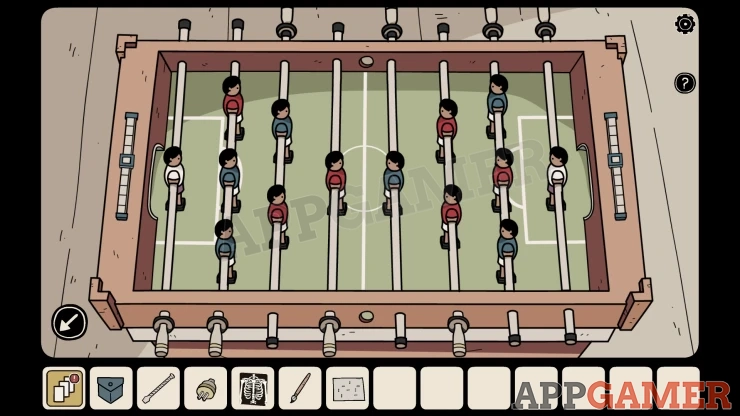
You can then collect a Table Soccer Ball.
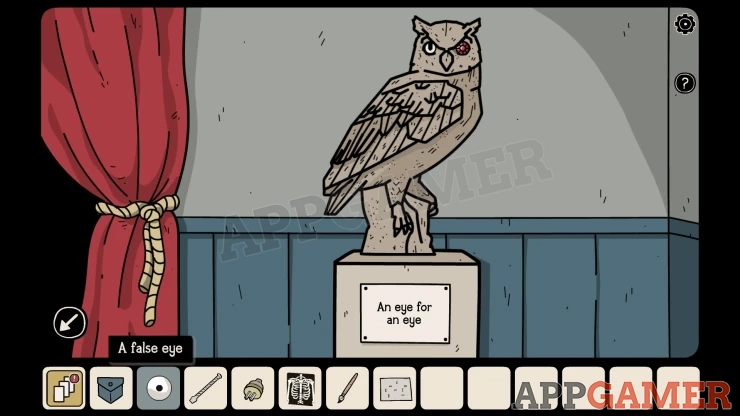
Go back to the room with the stage. Then combine the ball in your inventory with the brush with ink on it (tap one and then the other). You will get a False Eye.
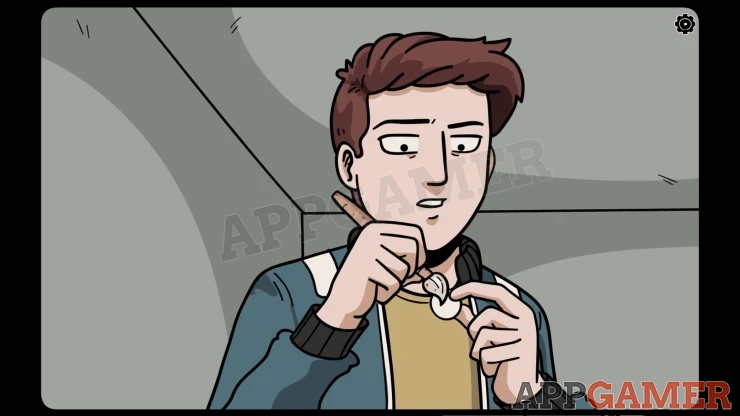
View a statue of an owl on the left. First use the chisel on it to remove the red eye and then add the false eye to it. You now collect the red Mystical Owl's Eye.
Go back to the games room and view a painting on the left wall.
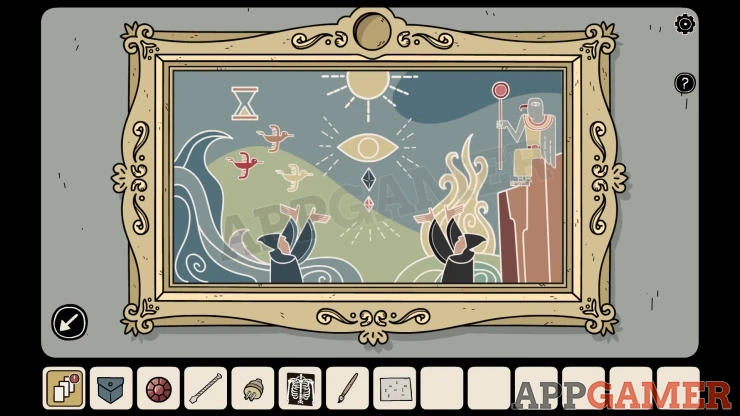
Add the Owl's eye to the top of the frame and you will see four symbols appear, this is a clue.
Show
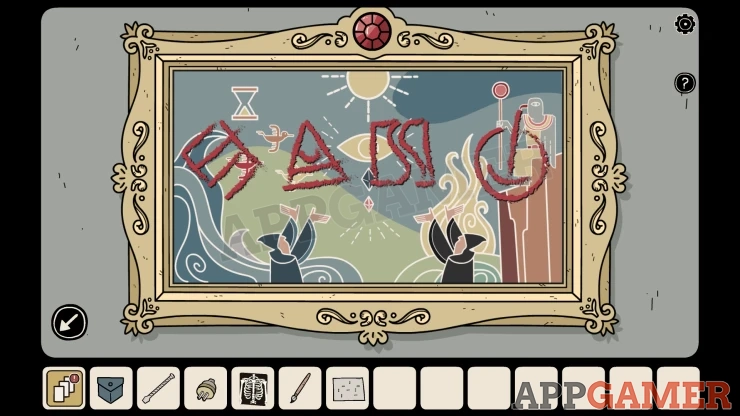
Then look at a box on a small table under the painting. Use the four symbols to open the lock.
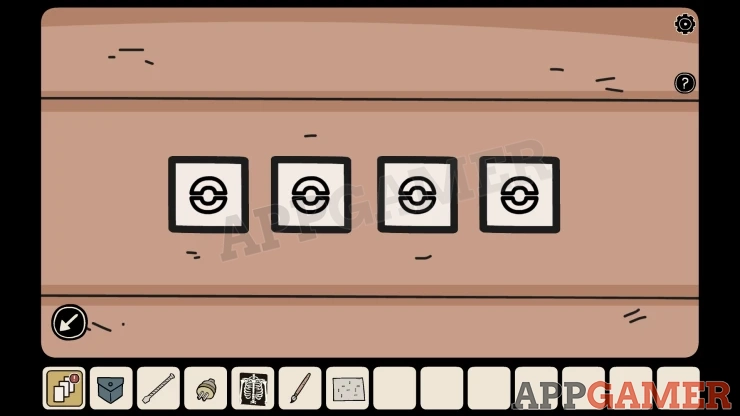
Show
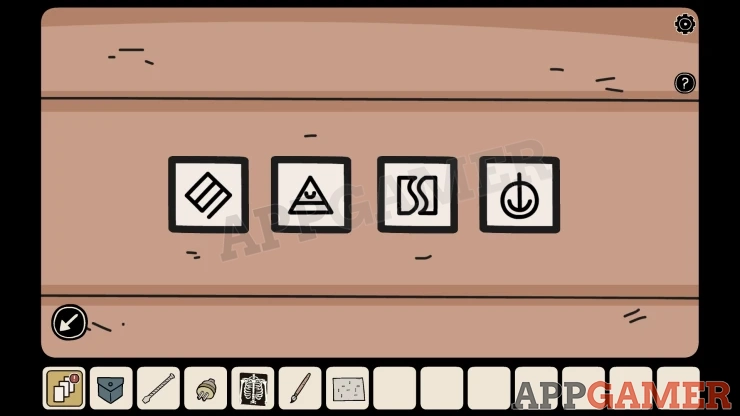
Collect a Light bulb.
Go back to the stage and first view a cable on the stage next to the socket.
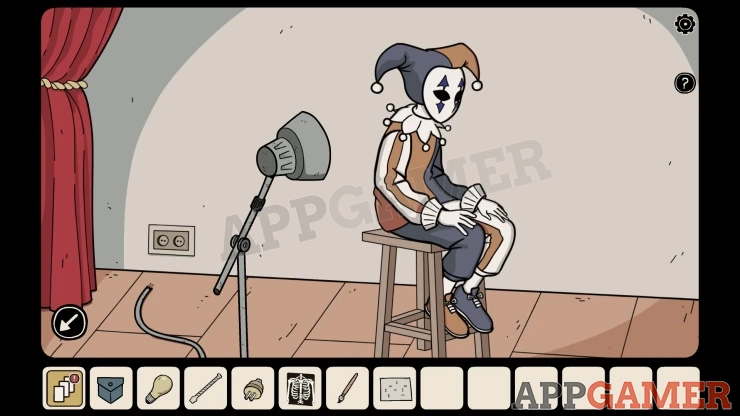
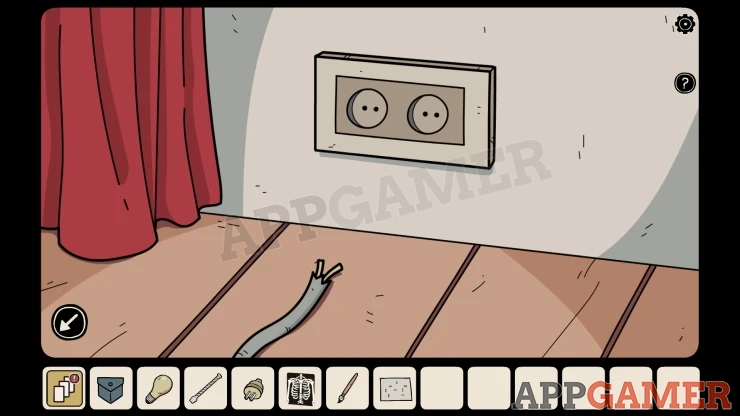
Add the plug to this and it will plug in. Then view the lamp in front of the person on the stage. Add the Light Bulb to this.
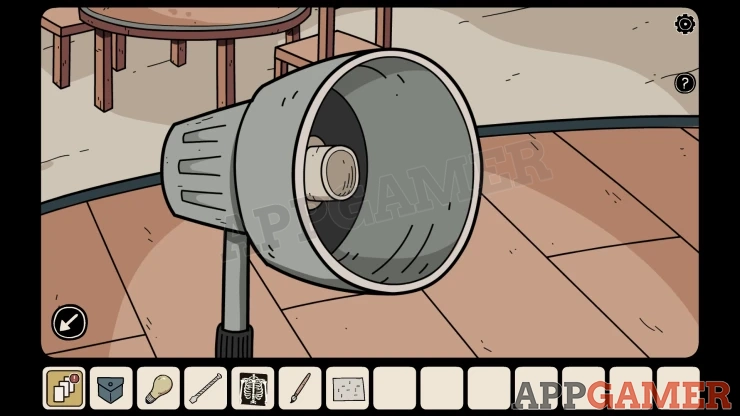
You will see the person make hand shadow puppets on the wall, this will be four animals.
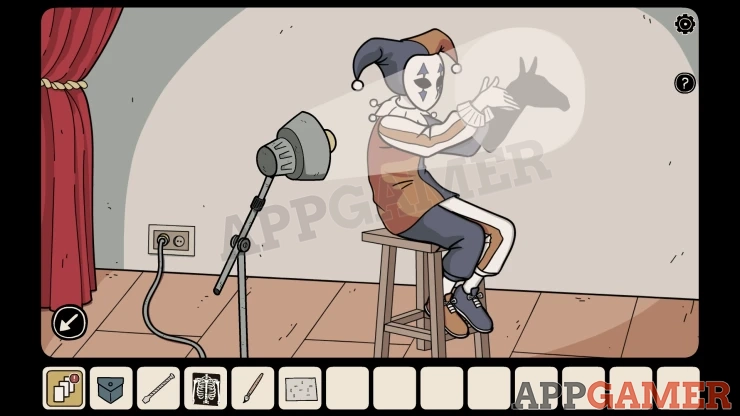
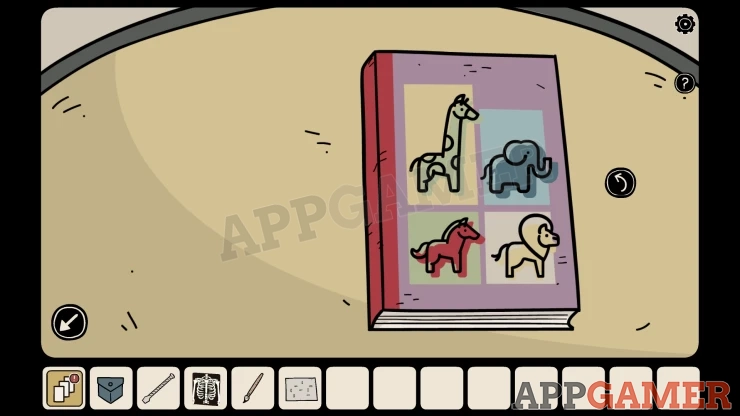
Go to the room with the Magician and then view a book on the round table with animals on it.
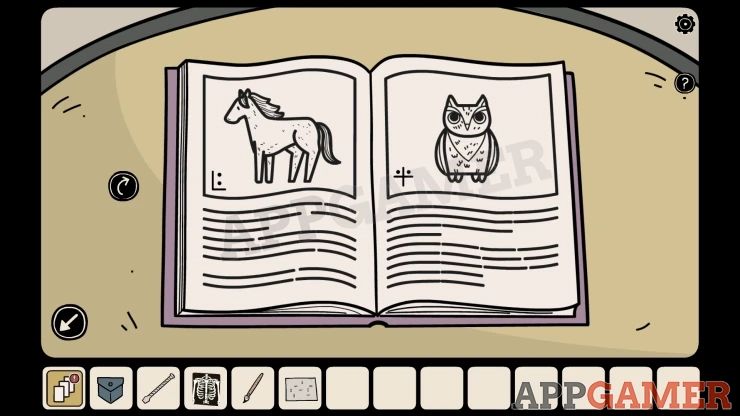
Look through the pages to find the four animals that you saw and note the symbols that are associated with each.
Now back in the room with the stage, view the red drawers on the right. This needs the four symbols to open it.
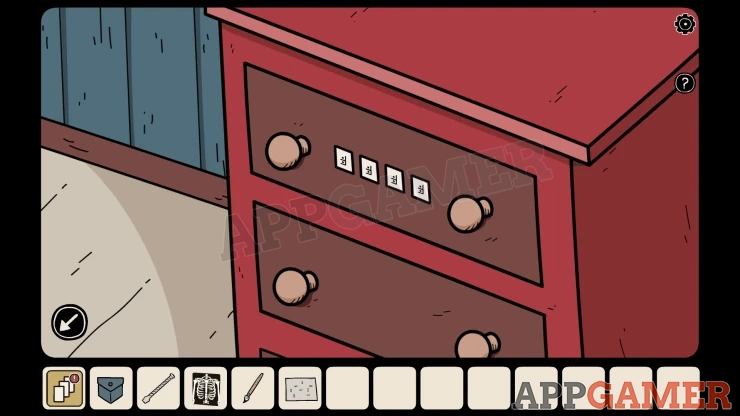
Show
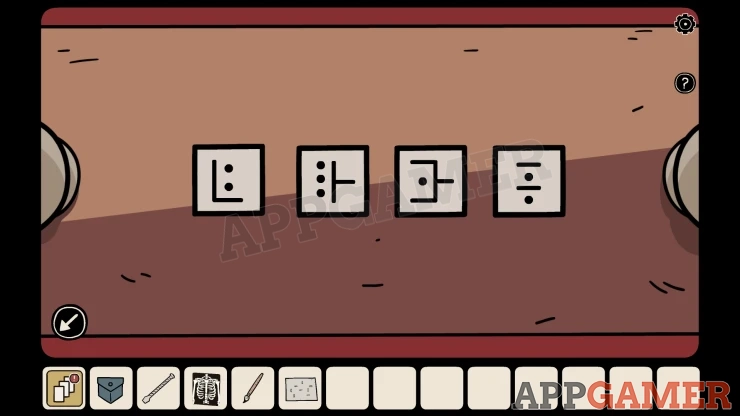
Collect a Lemon.
Go back to the Bar and view the man on the left, he is holding a knife.
Give the lemon to the man and he will cut it for his drink, then you can collect the Knife.
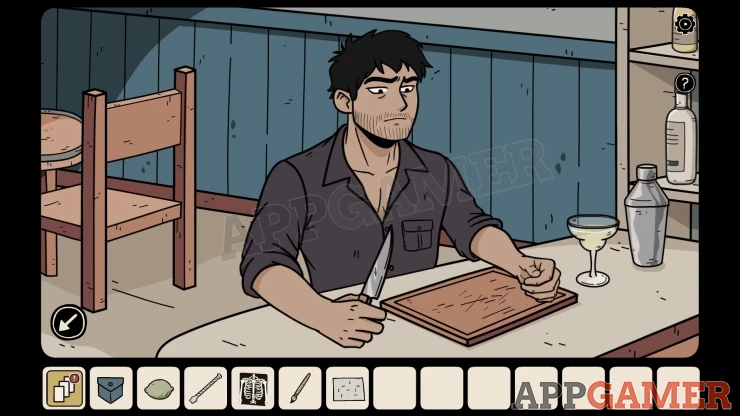
Return to the magician and then view the painting. Use the knife on this and you will remove the painting from the frame.
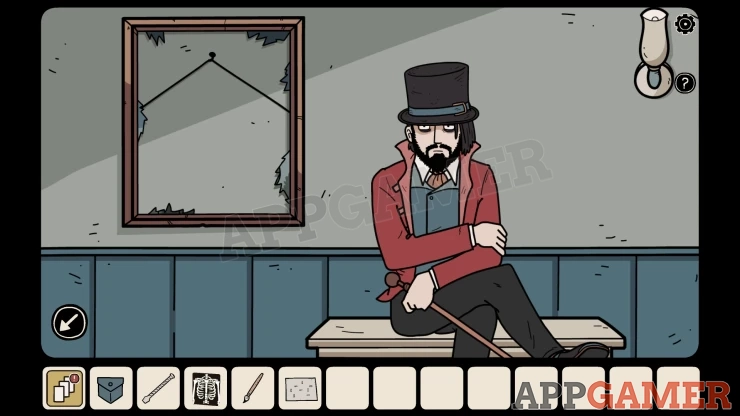
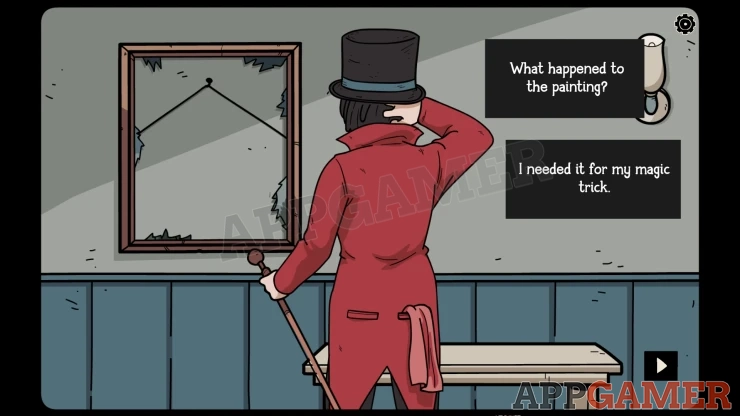
Then talk to the magician again to ask to see his trick. When he stands up and the painting is gone you can collect the Magic Handkerchieffrom his pocket.
Look on the right wall, there is an X-ray light box. First view the socket below it and plug it in.
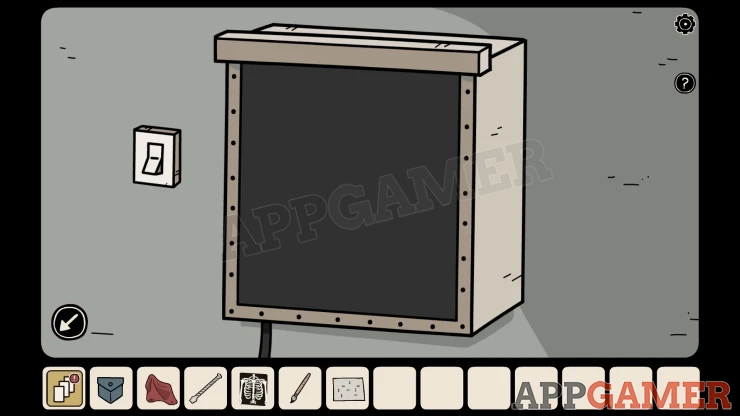
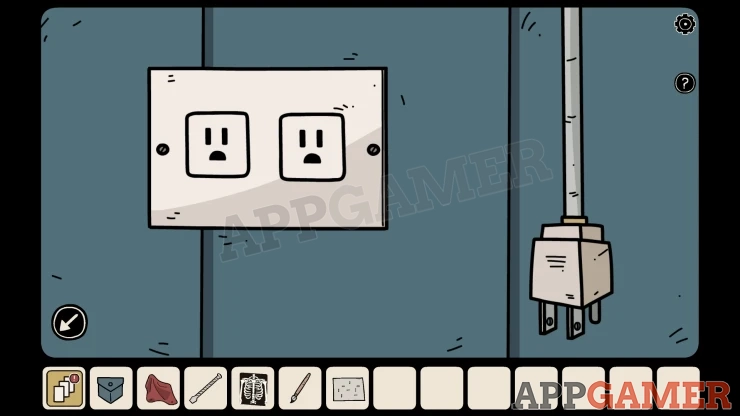
Then you can turn on the light and add the X-Ray to it. You will see a key in the image.
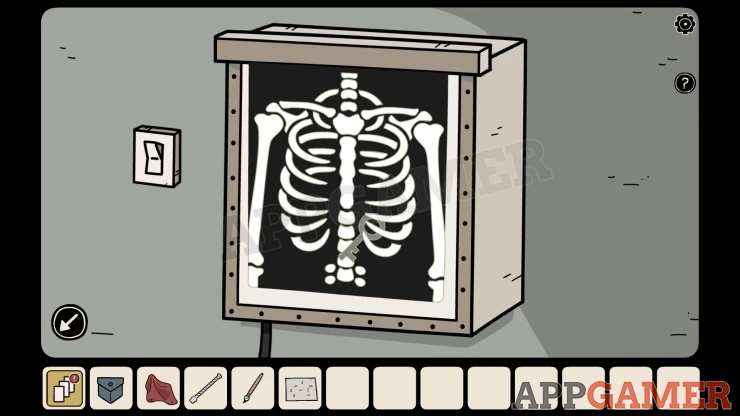
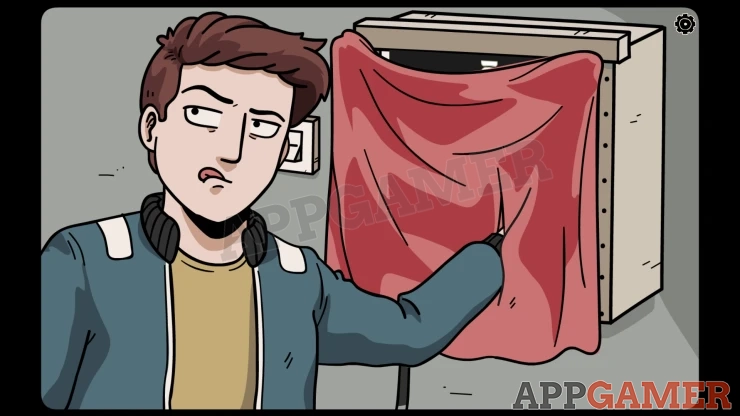
Place the Magic handkerchief on the light box, then you will be able to collect the Key from it.
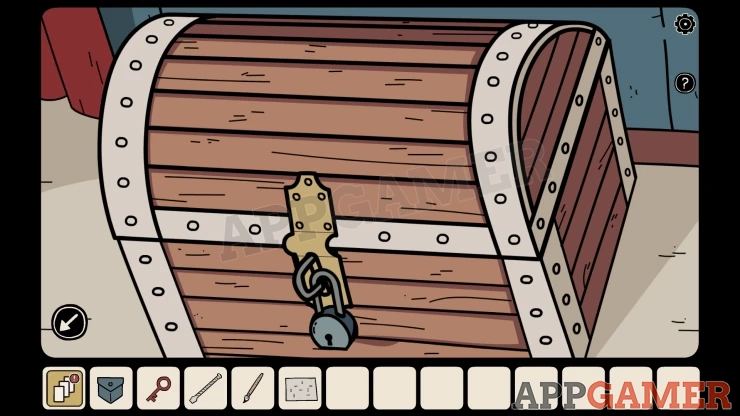
View the chest on the floor to the left of the magician and use the key to open it.
Collect a Mechanical Hook and a Paper.
View the paper in your inventory to see a a layout of colored dots on a hexagonal grid.
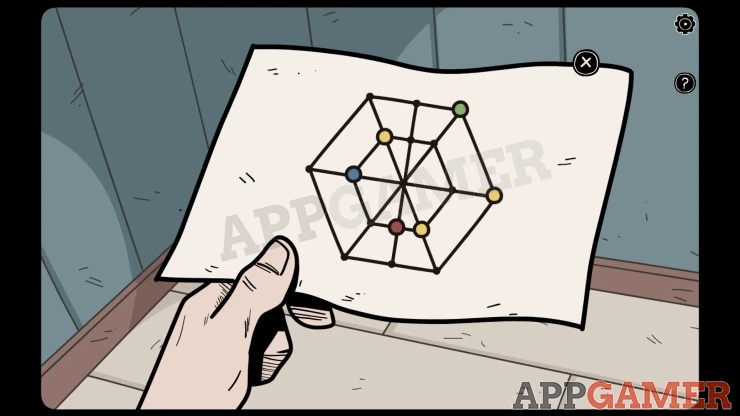
Go though to the games room and then tap on the man sitting at a round table. He will ask you to play a game.
Hexagon Board Game Puzzle
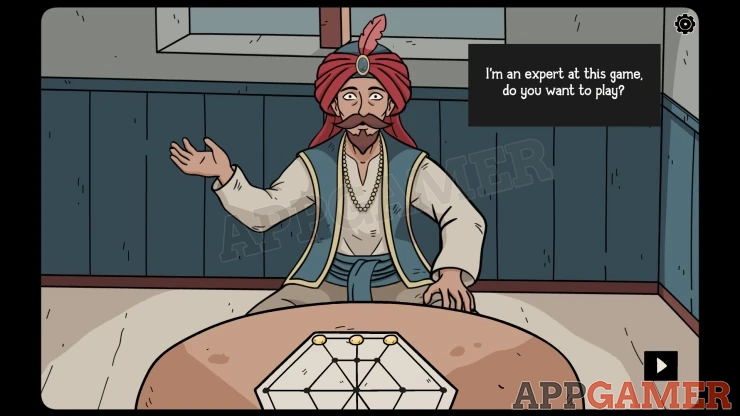
- After he makes a move you can then move your three colored pieces.
- Move them to the locations shown on the paper.
Show
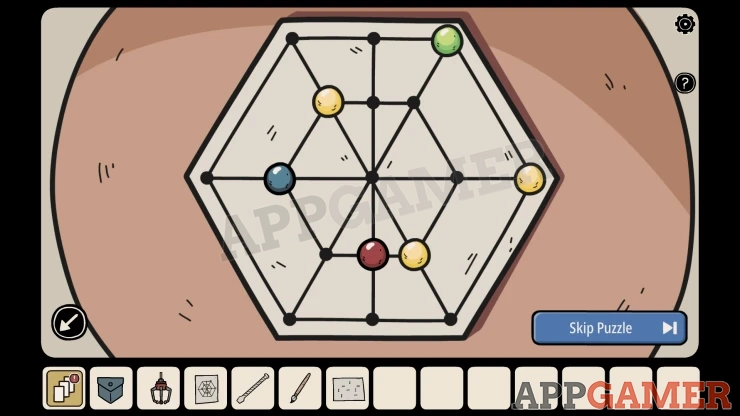
This will win the game and you will receive another Key.
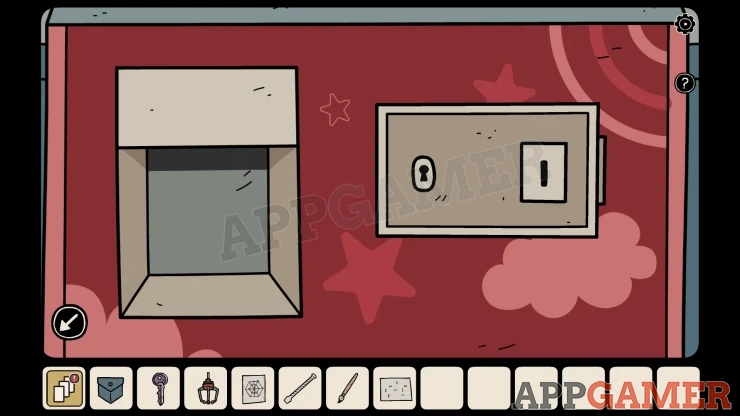
Next view a red game machine on the right.
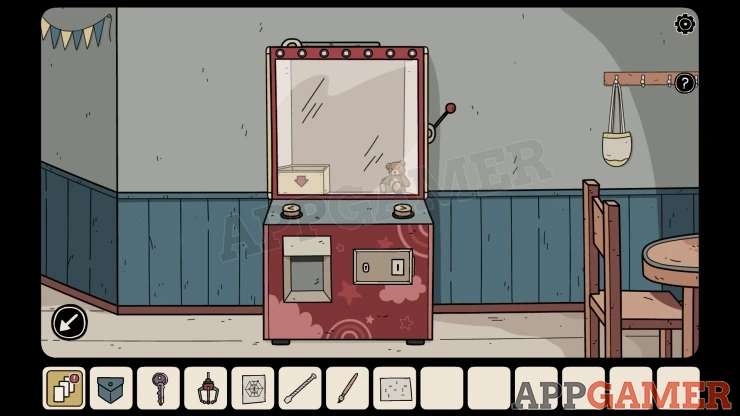
View the panel on the front and use the key to open it.
Circuit Board Puzzle
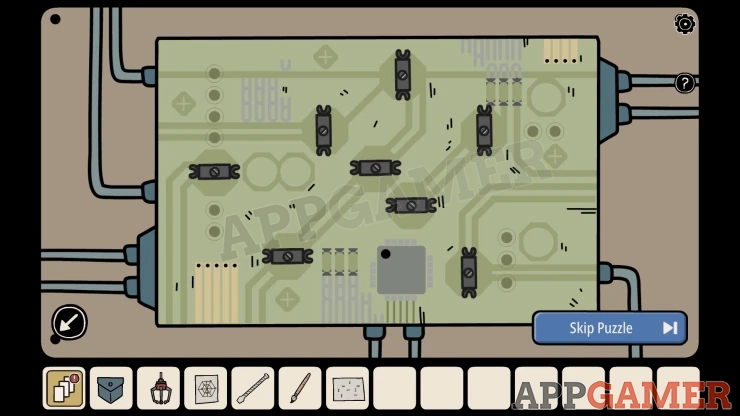
- Inside is a circuit board with switches. The switches can be rotated to different positions.
- View a paper that you collected with small lines on it. This is the clue.
- Set the switch positions to match the clue you have.
Show
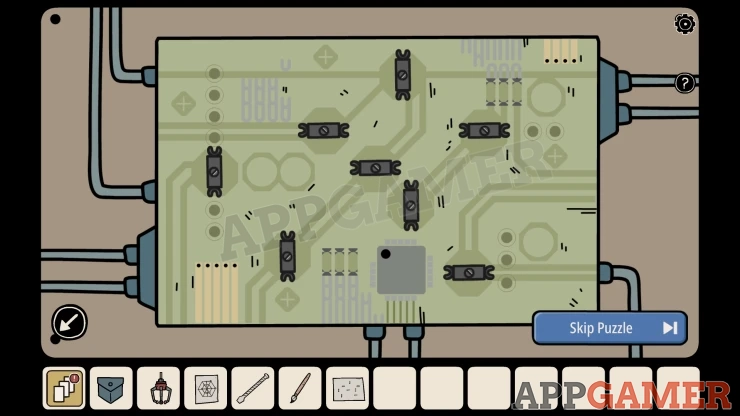
Once done the machine activates and an arm appears on the top right. Add the mechanical hook to it, then you can use the machine.
Tap the buttons to move the hook over the toy bear and then use the lever on the right to lower it and pick up the bear.
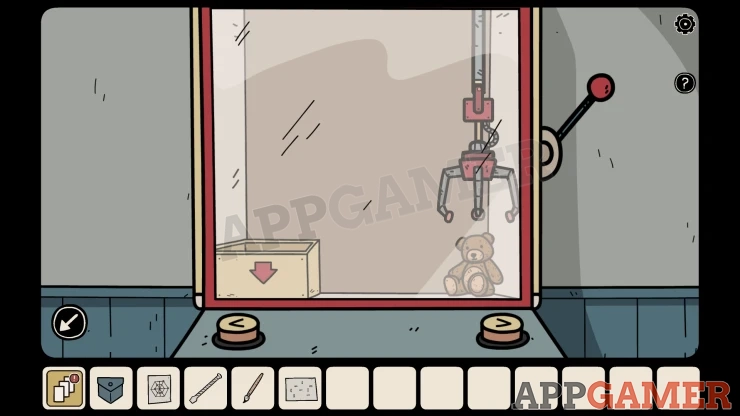
Collect the Teddy Bear.
Return to the bar and give the teddy bear to the barman. He will give you a drink.
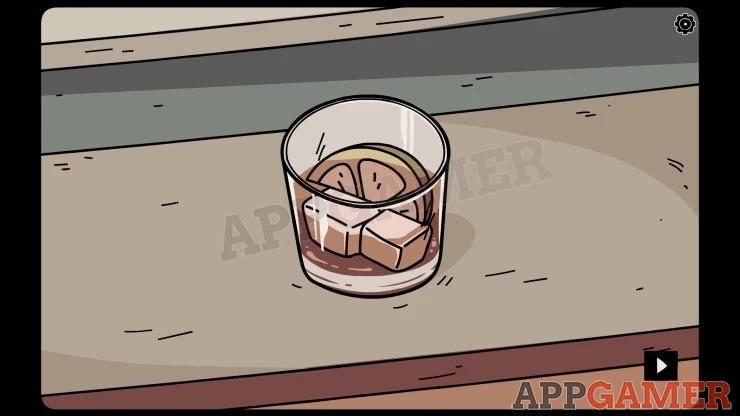
Tap to drink it and then you will see a code clue on the bottom of the glass.
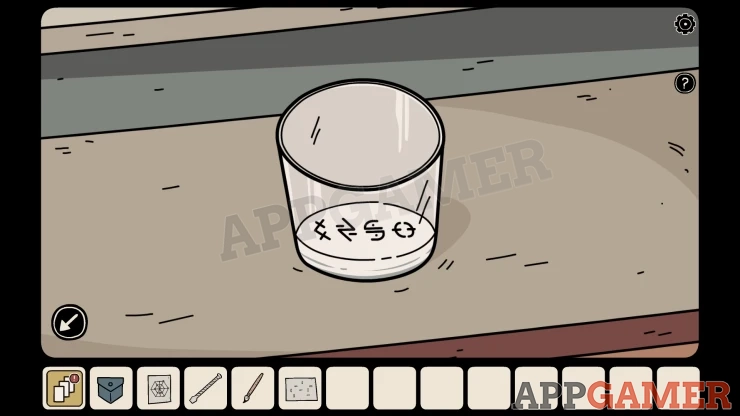
This is the clue that you need from this memory. Now tap the Pocket icon to access the memories menu and then you can return to the Unknown Place.
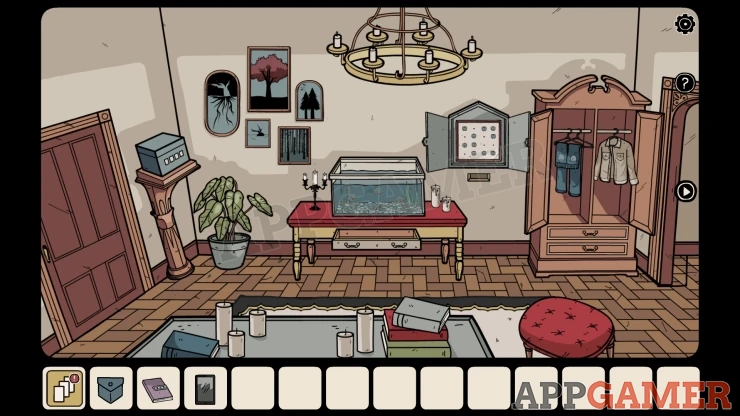
View a grey box by the door on the left of the room. This requires four symbols.
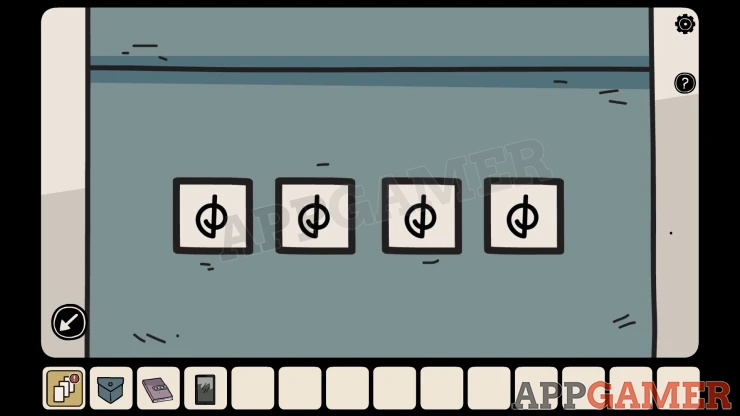
Use the symbols seen in the glass.
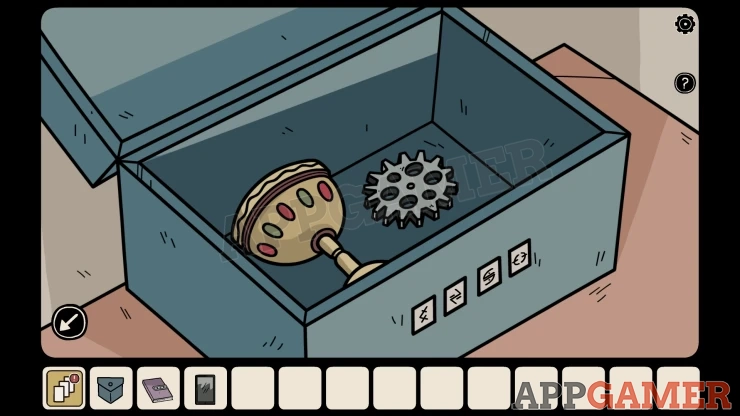
Collect a Gear and a Golden Chalice.
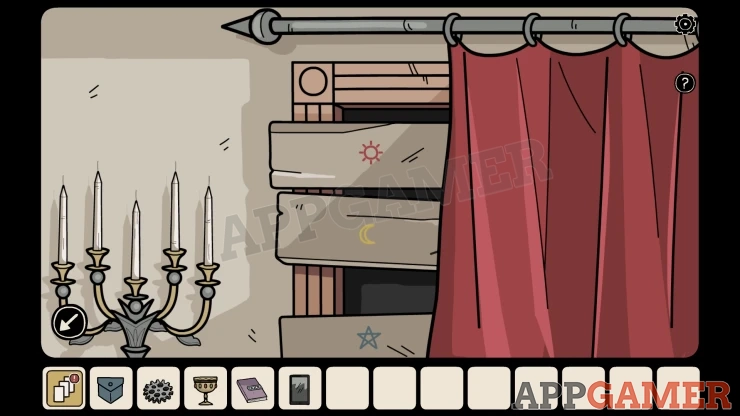
Go to the right to the room with the pizza box, then view the red curtain on the right. Move the curtain and you will see three symbols in different colors.
Next view a cuckoo clock on the left wall. Add the Gear to this to make it work.
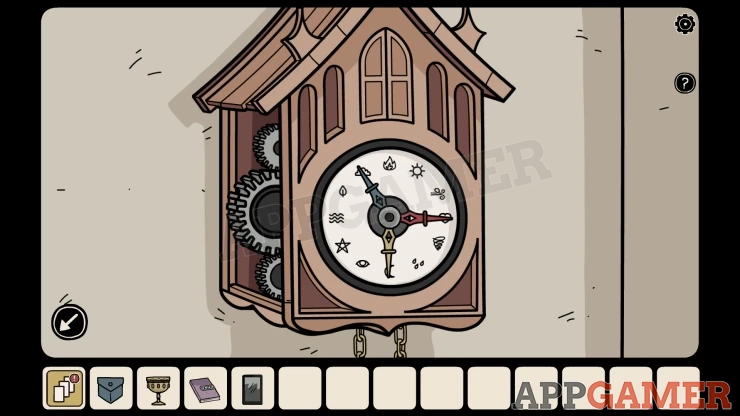
Then notice that is has three hands of different colors.
Move the three hands to point at the symbols that match the color of the hand from the clue behind the curtain.
Solution: Show
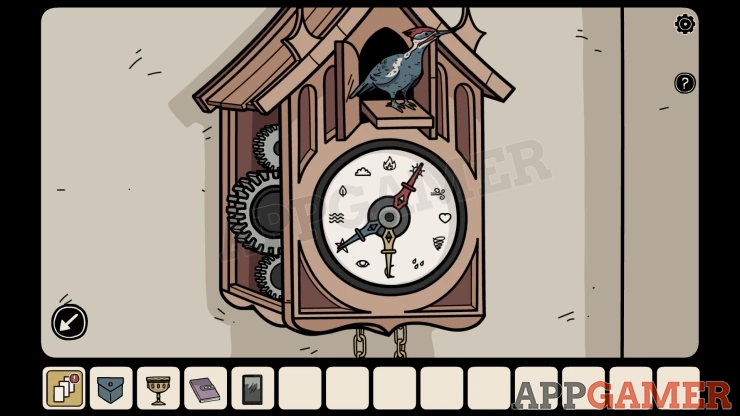
You can then collect a Wooden Woodpecker that appears on the clock.
Go back to the left room and view four pictures on the wall.
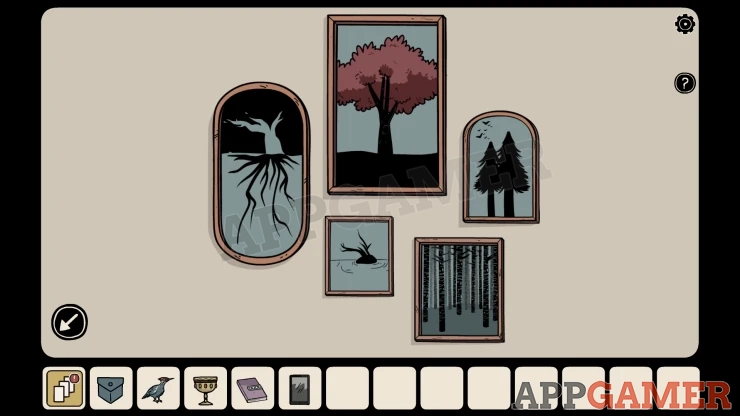
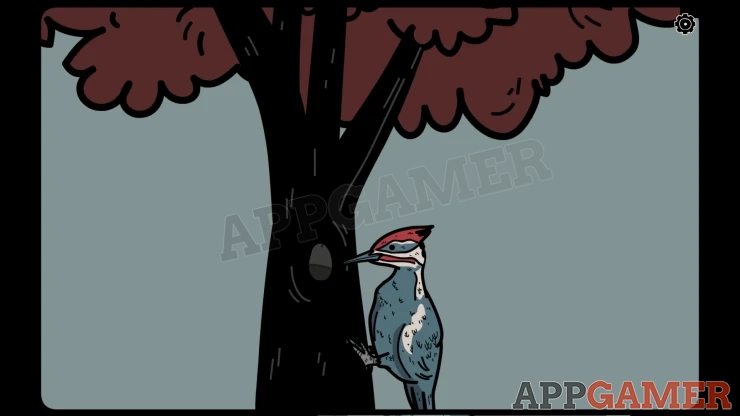
Then view the picture of the red tree and add the woodpecker to it. It will make a hole in the tree. Collect a paper.
Then go to the right room again and view a picture on the wall to the left with a line maze on it.
Line Maze Puzzle
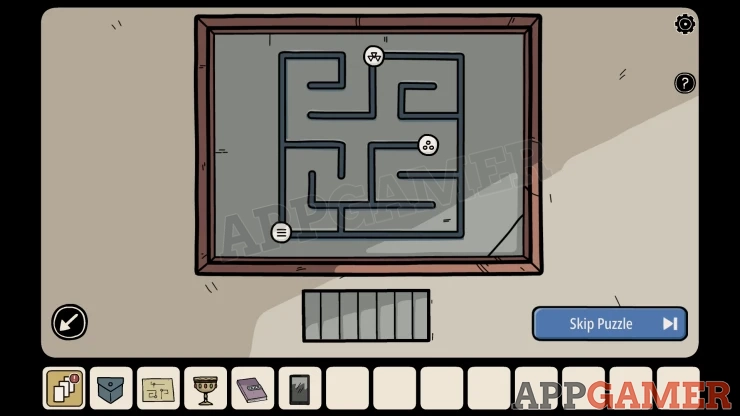
View the paper to see a clue with three lines shapes, each with a symbol circle on it.
Slide the three symbols token on the maze to the correct positions based on the clues on the paper.
Solution: Show
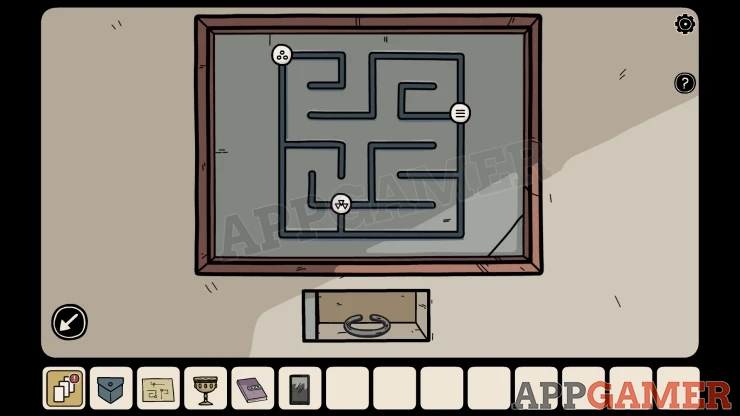
Once done collect a Metal Ring.
Look at a trapdoor in the floor on the right, add the metal ring to it.
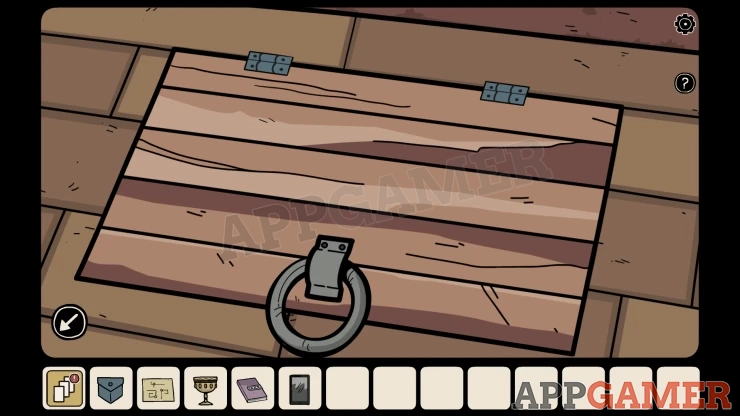
Open the trapdoor to find a Crow with another photo of a memory. This one is a garden.
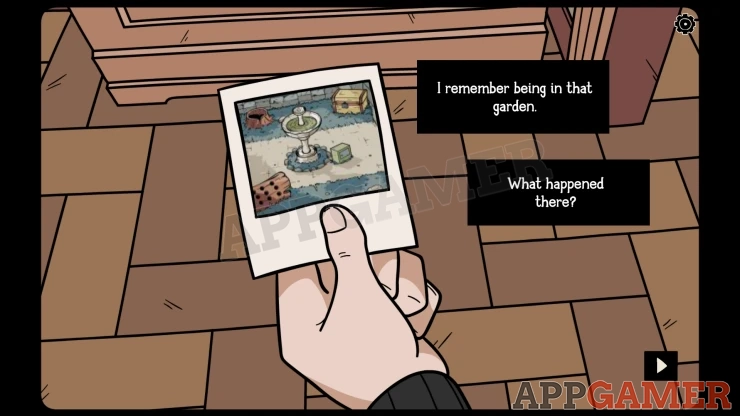
Memory 2 - Garden
You start in a center area with a Fountain.
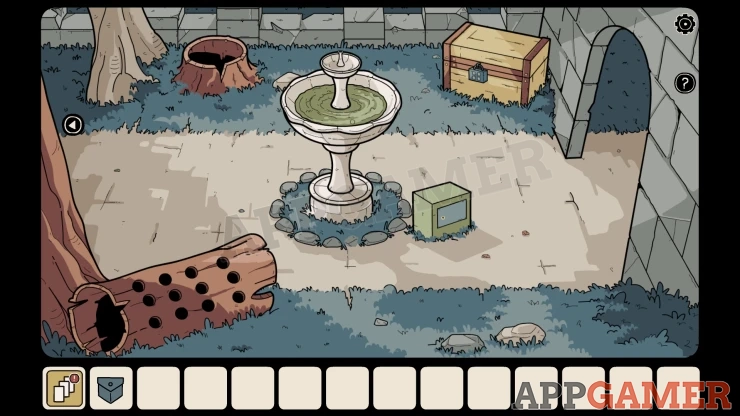
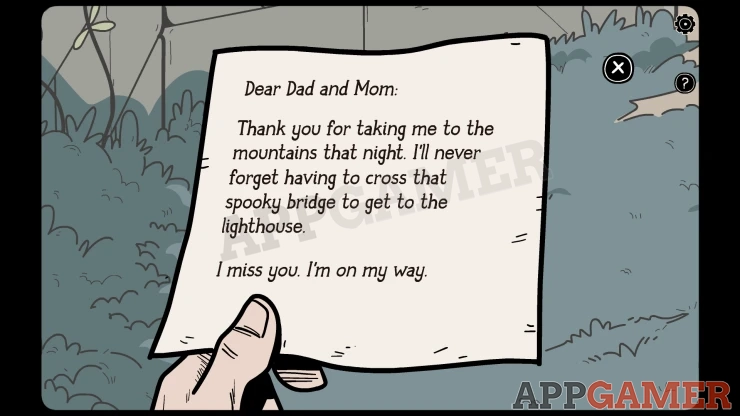
First look in the hollow tree stump on the back left. Collect a Paper, you can view this for a clue.
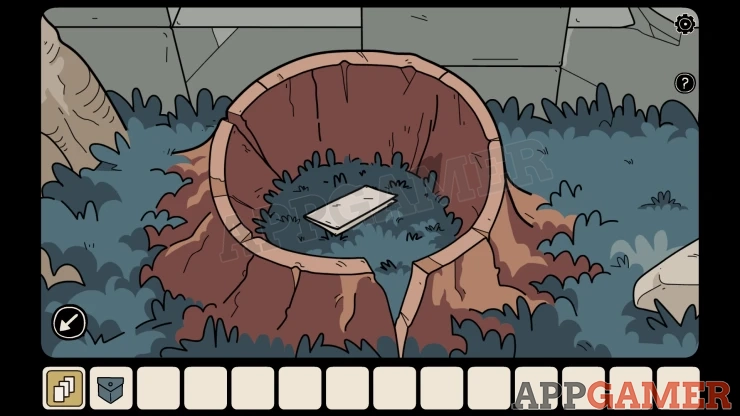
Show
Then move to the left.
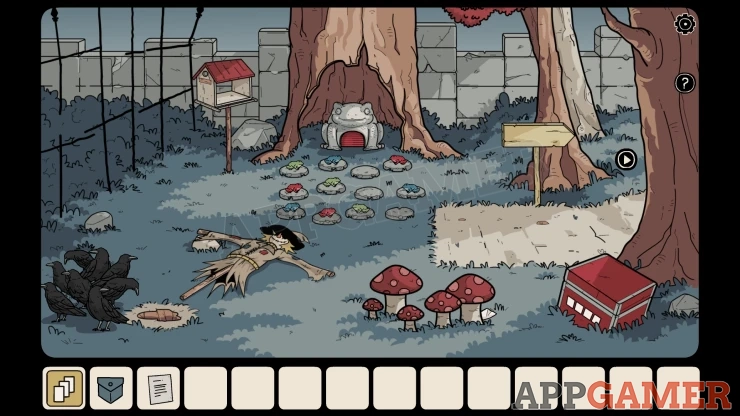
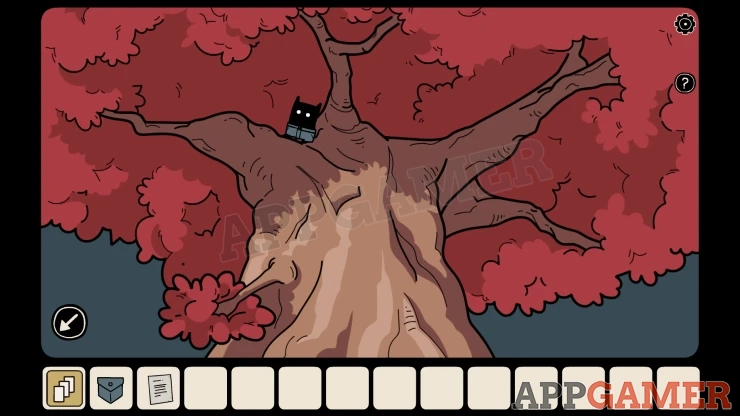
Hidden Shadow Tap the tree at the back with the red leaves to look up at it.
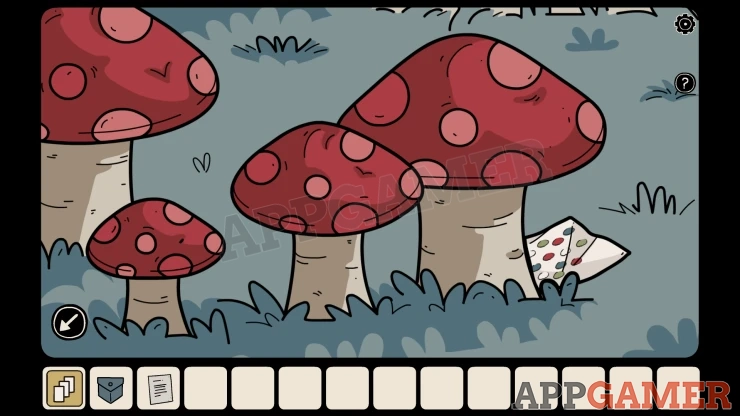
View the toadstools on the ground and collect a paper clue.
Then tap on the stones on the ground in the scene with frogs on them.
Frogs Puzzle
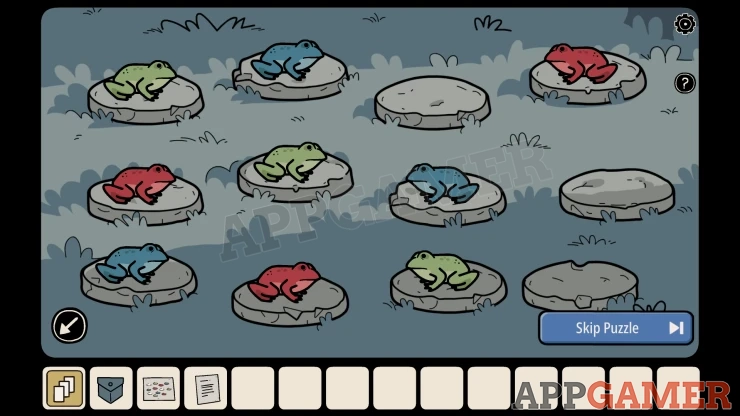
- View the paper clue to see an arrangement of colored circles.
- The frogs have the same colors.
- Drag the frogs to move them to adjacent stones, frogs can jump over one another to an empty spot.
- Arrange them to match the colors on the paper clue.
Show
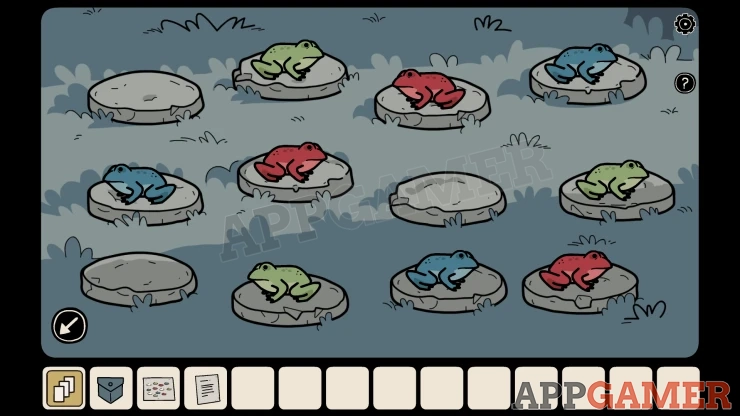
Collect the Pencil and the Valve.
Move back to the right and then go though the archway on the right to an area with a gate.
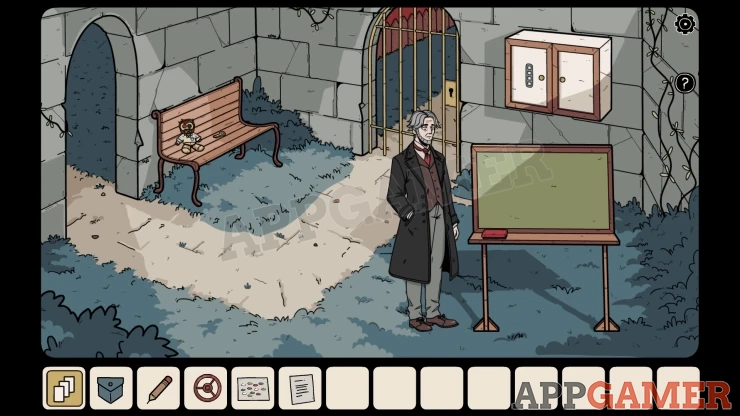
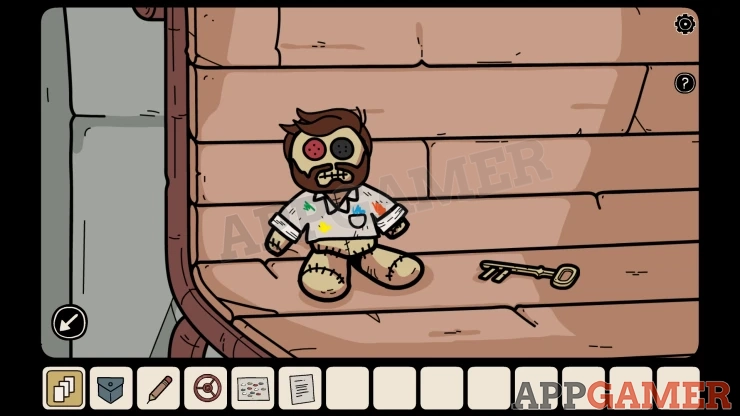
Lost Soul: Look on the bench to find the doll.
Collect a Key from the Bench.
Back up to the center with the fountain. Then view a small green box on the ground next to the fountain.
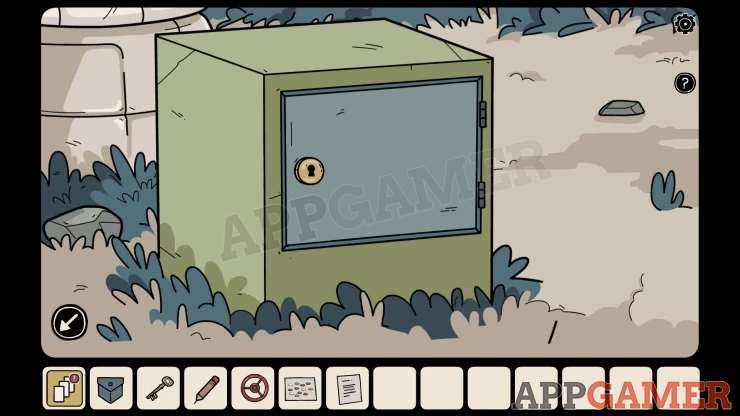
Use the key to open this and then you can add the Valve wheel to the pipe inside and turn it.
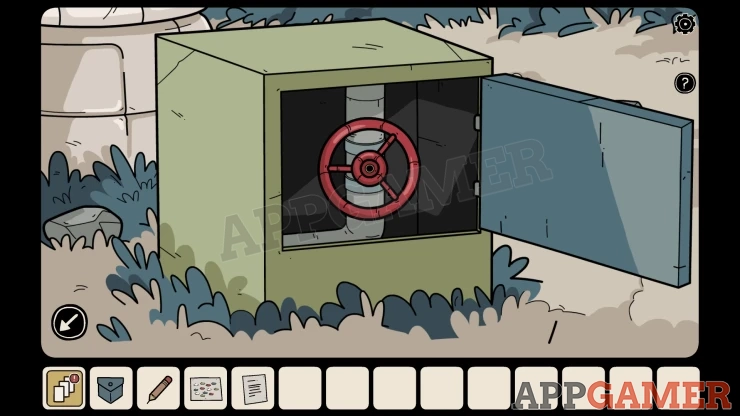
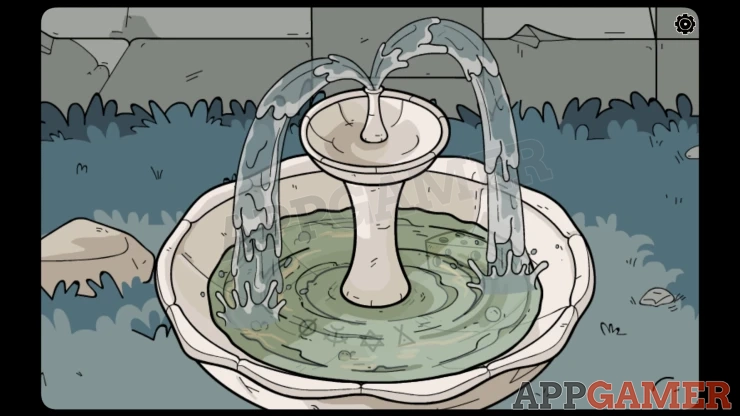
The fountain will start working and you will then be able to see a clue of symbols in the water. Also you can collect aPiece of Cheese.
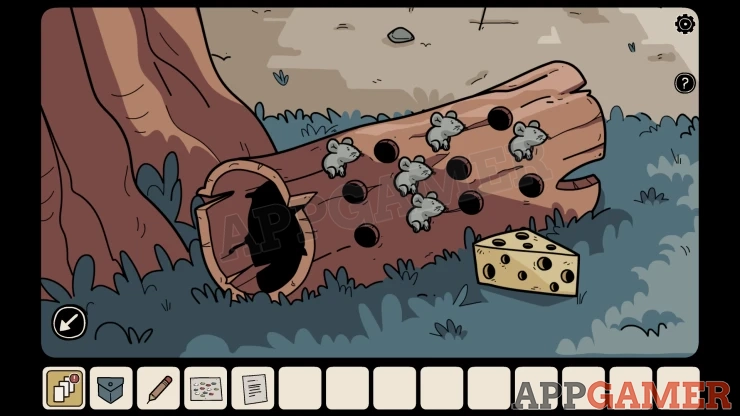
View the log on the ground to the left with holes. Place the cheese on the ground and mice will appear in some holes. This is a clue.
Move to the left again and view the red box on the ground on the right. Use the code clue from the fountain to open this.
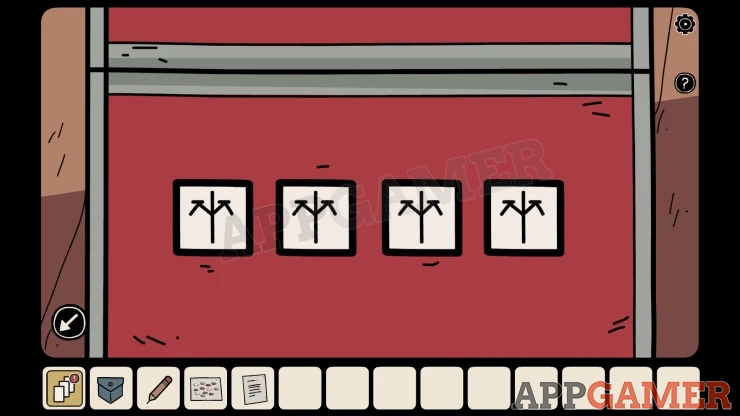
Show
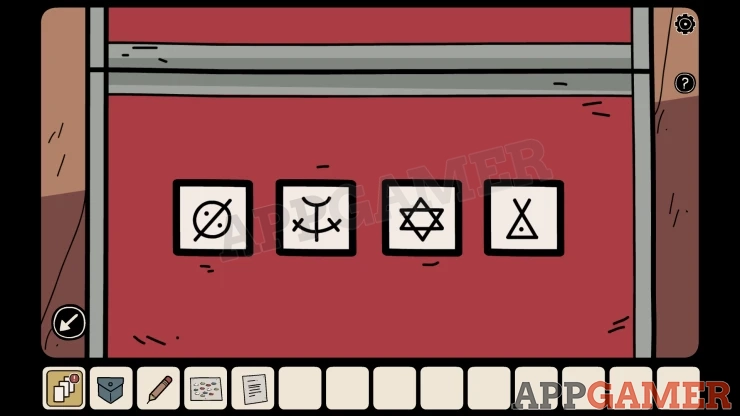
Collect a Key and some Bird Food.
Next view a small bird house on the left. Add the Bird food to it and a bird will arrive.
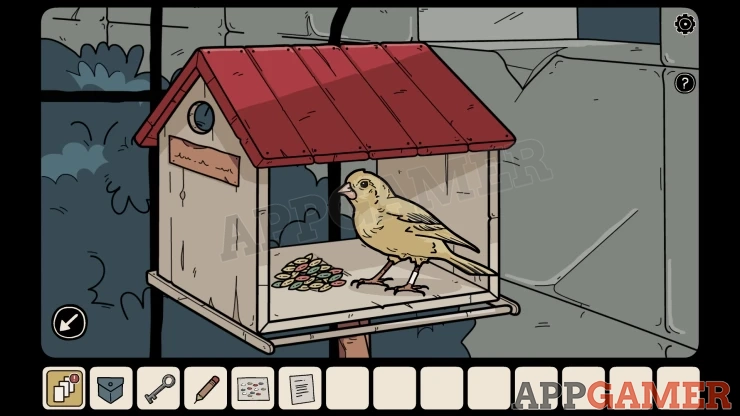
You can then view the birds foot to see a code clue on the leg.
Show
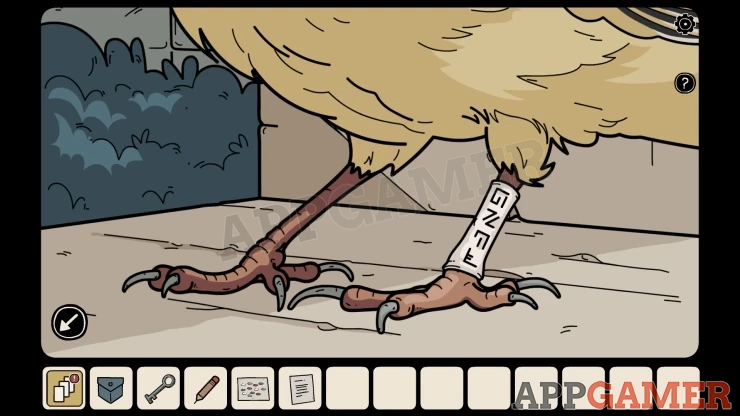
Go to the right to the area with the gate view a cabinet on the wall to the right of the gate.
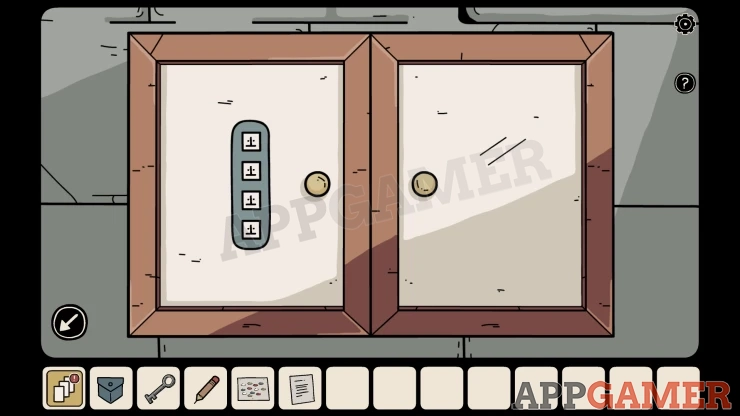
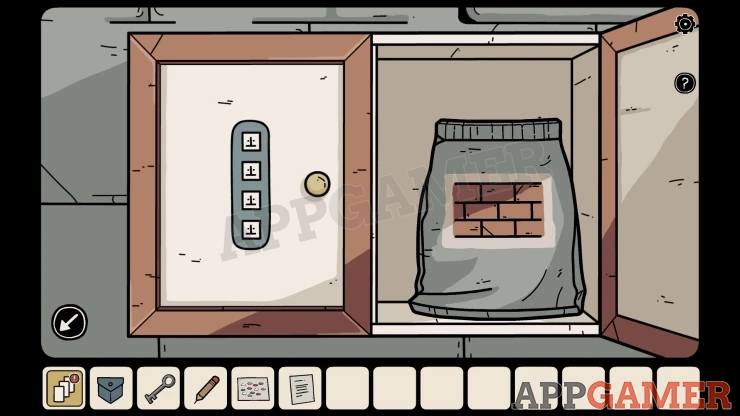
Open the right door to collect a bag of cement. And then use the code clue from the bird to open the locked left door.
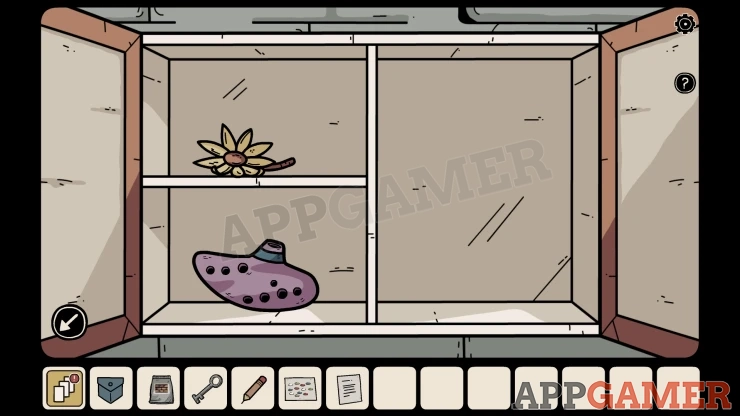
Collect a Flower and an Ocarina.
Now use the key to open the gate, go through to a new area with a shed and a cement mixer.
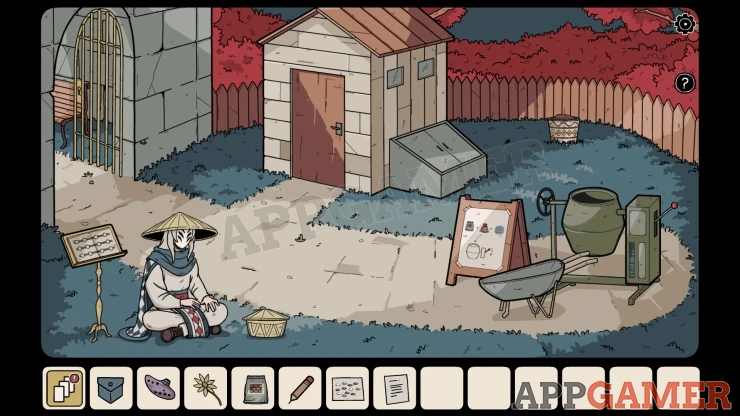
View the person sitting on the ground and give them the Ocarina. They ask you for help with the sheet music.
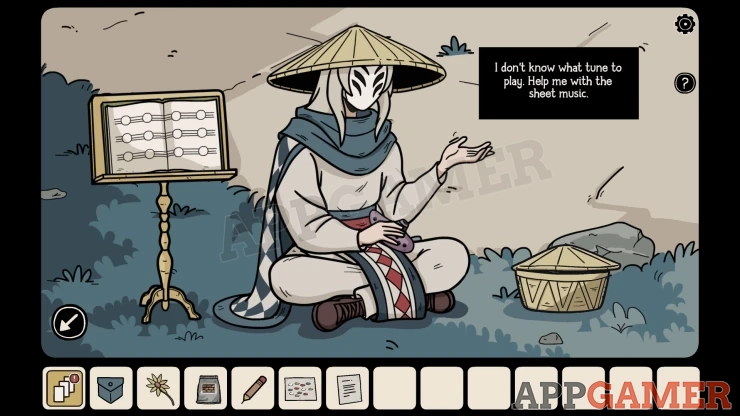
View the sheet music on the stand to the left. You can use the pencil on it and then tap the circles to mark the correct notes.
The clue for this is the mice in the holes of the fallen tree.
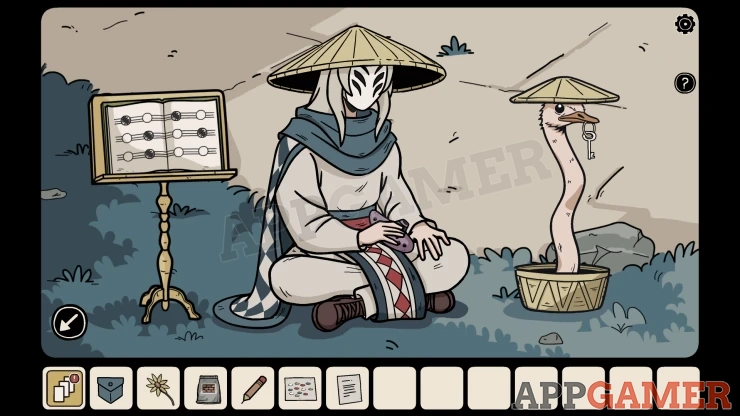
Once done tap on the musician again and they will play and you can collect a Key from the unusual animal that appears from the basket.
Now use the key on the shed door to open it and look inside.
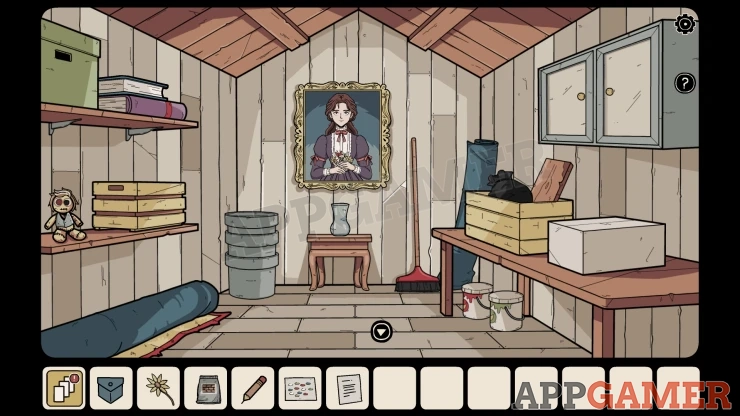
Lost Soul: on the shelf on the left.
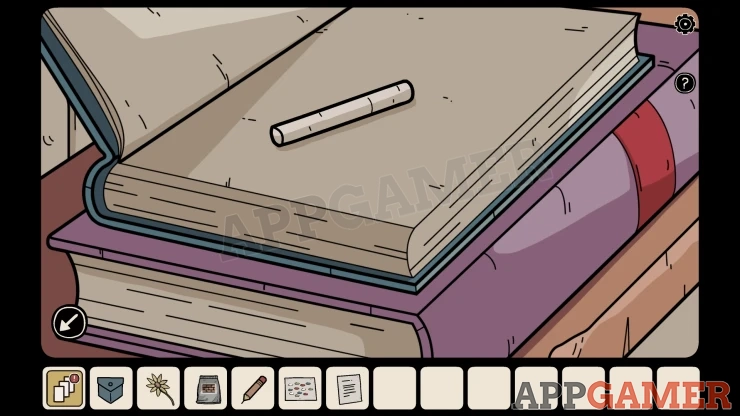
View some books on the top shelf on the left and open the top one to collect a Piece of Chalk.
Next view a box on the table on the right, open it and collect a Metal Spatula.
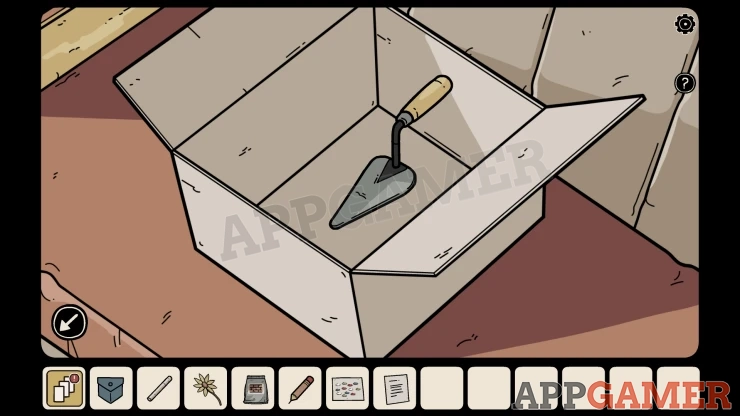
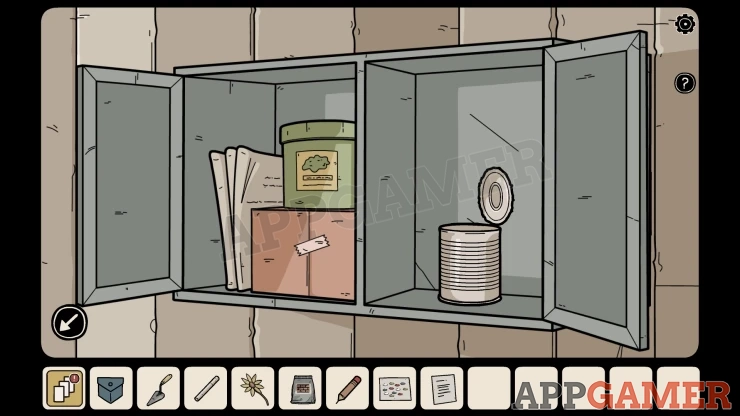
Then open the cabinet on the wall above. Collect an Empty Can.
Return to the area with the gate, there is a person with a blackboard here.
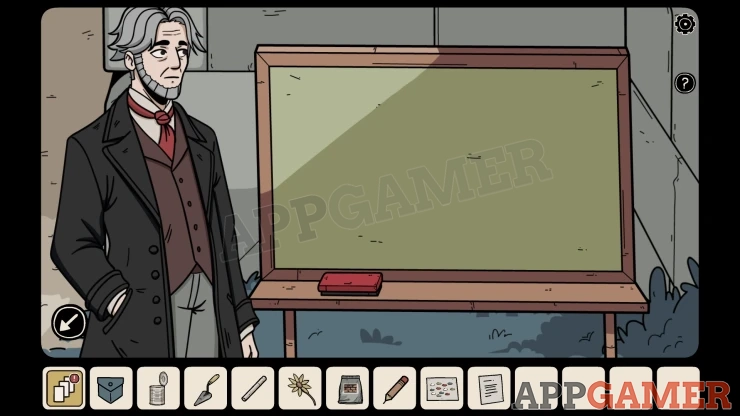
Use the chalk on the board then you can ask him to draw images for you.
Chalk Drawing Puzzle
- You need to select four items to draw, based on a clue from earlier.
- Tap the words for each item to add them to the picture.
- When you have done four you can tap 'Check' to confirm they are correct.
Solution: The note from the tree had a story, there will be items mentioned and possibly day or night. For these use the sun or the moon.Show
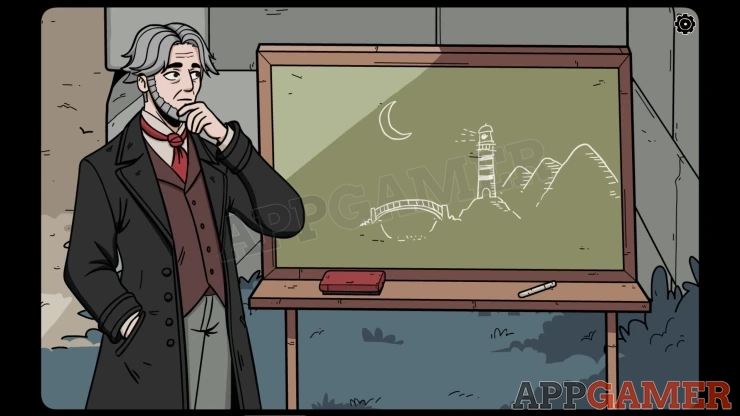
Once done you will receive a Blue Key.
Go to the left to see the fountain and use the empty can to collect a Can full of water from it.
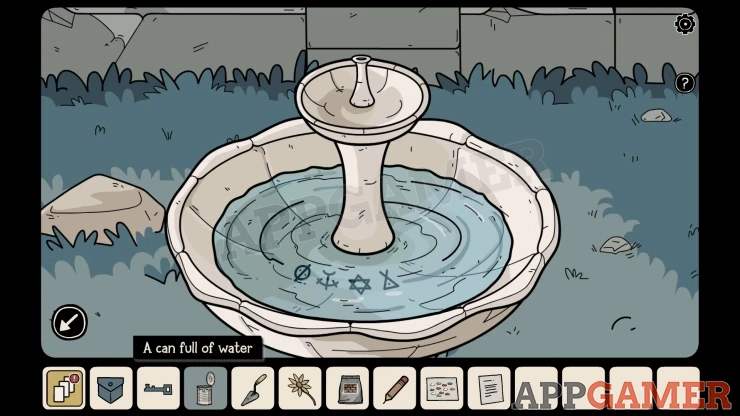
Then return to the area with the shed. Look at a locked storage box on the right of the shed.
Use the key to open this and collect a Flower and Sand Bag and a Black Seed.
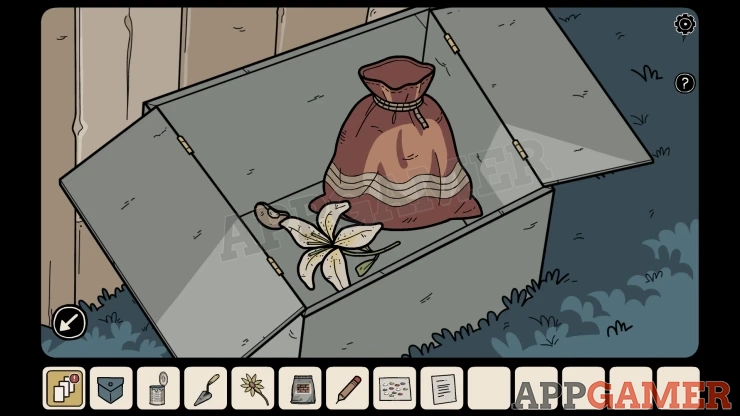
Next view a pot by the fence on the right. Add the black seed to it.
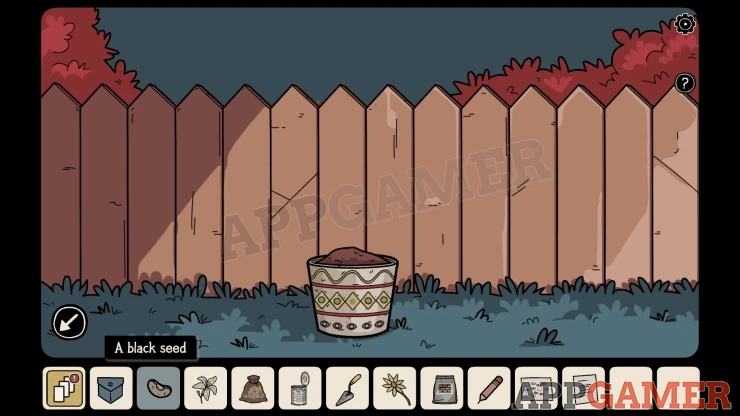
Then add the can of water and a strange plant will grow. This has symbols on it.
Show
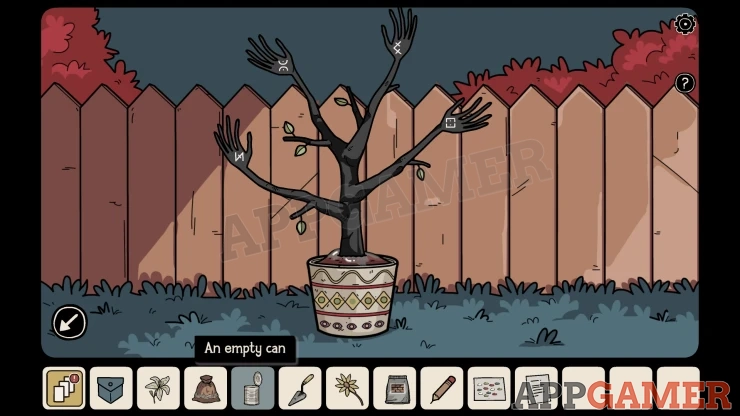
Return to the fountain and then view a large box on the top right. The lock requires four symbols.
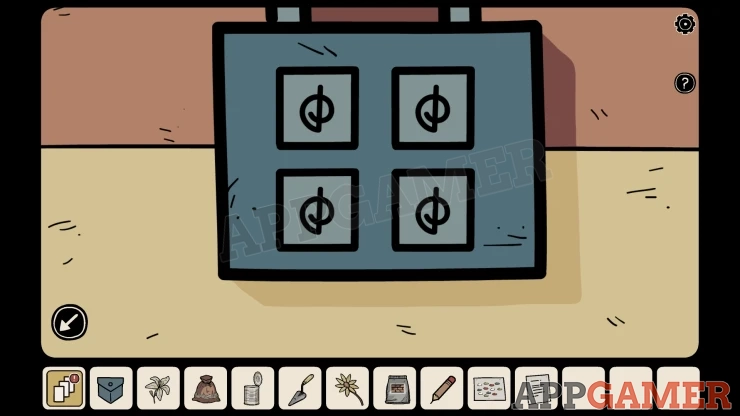
Enter the ones from the plant in the same positions.
Show
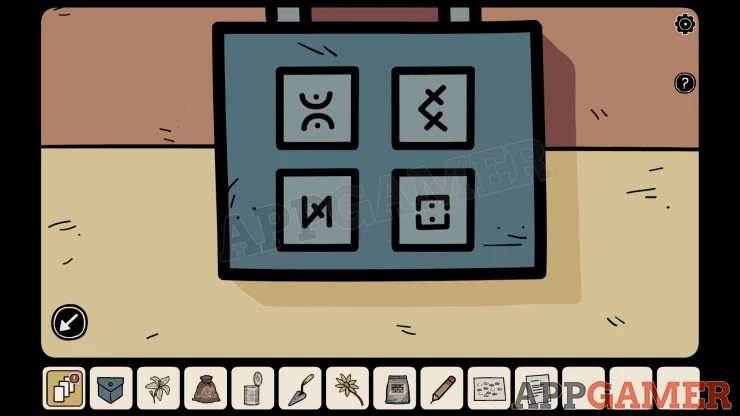
Collect a Flower and a Wheelbarrow tire.
Then view the fountain and use the empty can to collect another Can full of Water.
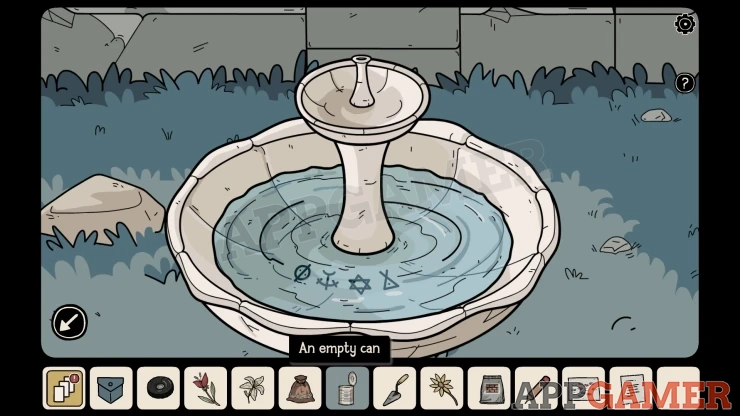
Go to the shed area and view the Cement mixer.
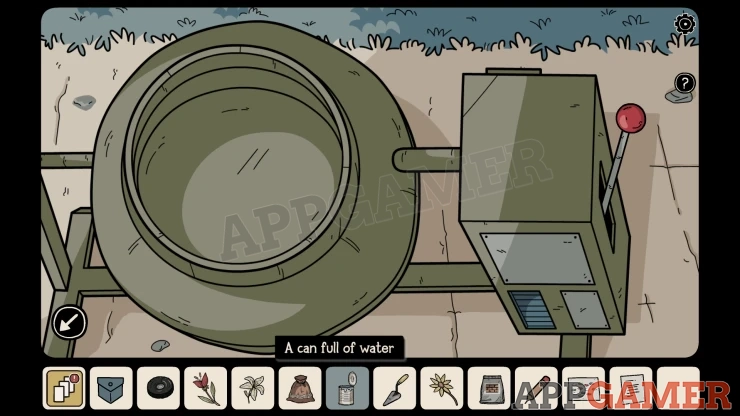
Add the Bag of cement, the Sand Bag and the can of water. Then you can tap the red lever to turn it on.
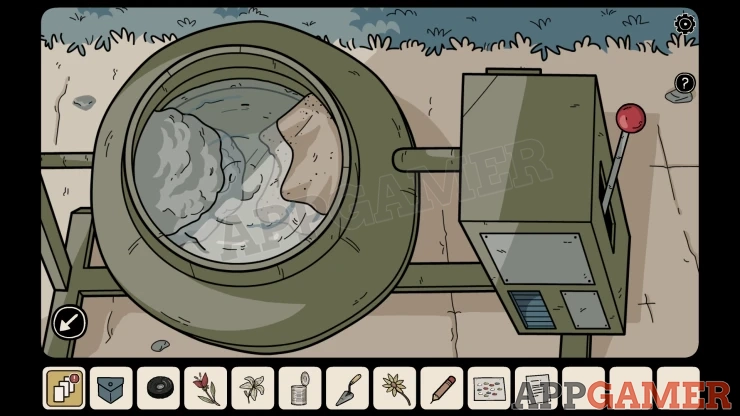
The cement is poured into the wheelbarrow. Add the Wheel to the wheel barrow. Then tap the wheel barrow to take the cement to the area with the frogs.
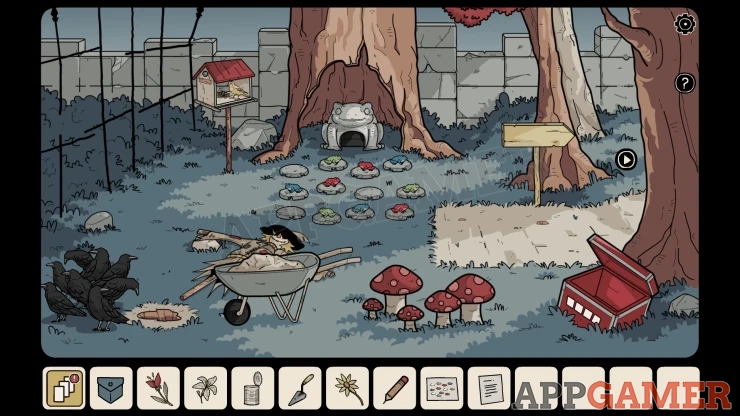
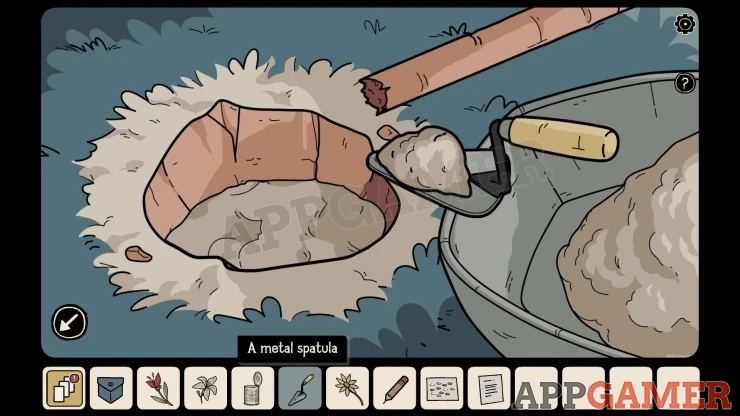
View a hole in the ground on the left. Then you can use the metal spatula on the cement to fill the hole.
Then tap the fallen scarecrow pole to place it into the cement.
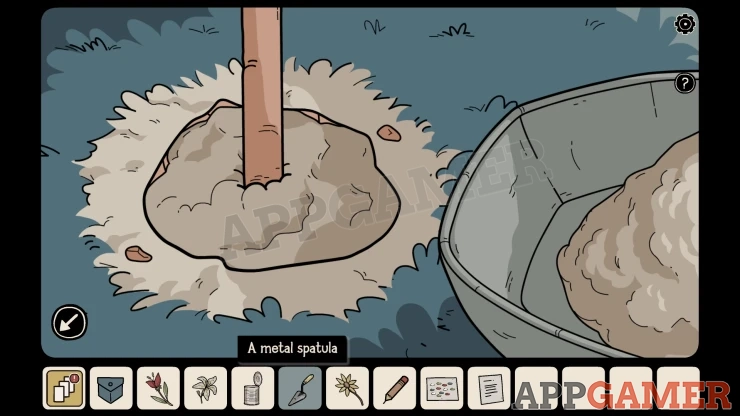
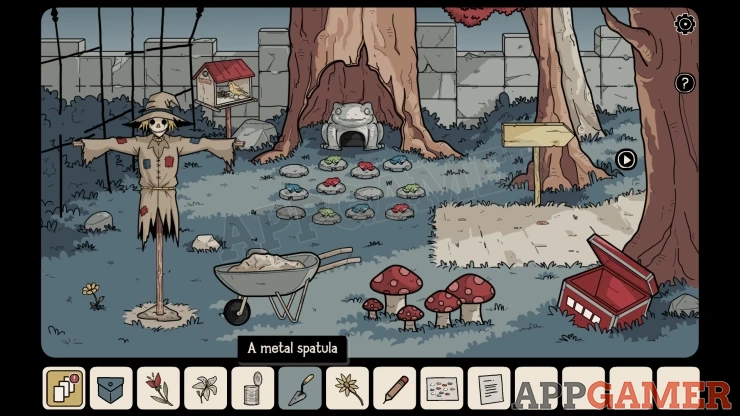
This scares away the crows on the left. View the Flower that is there and collect it.
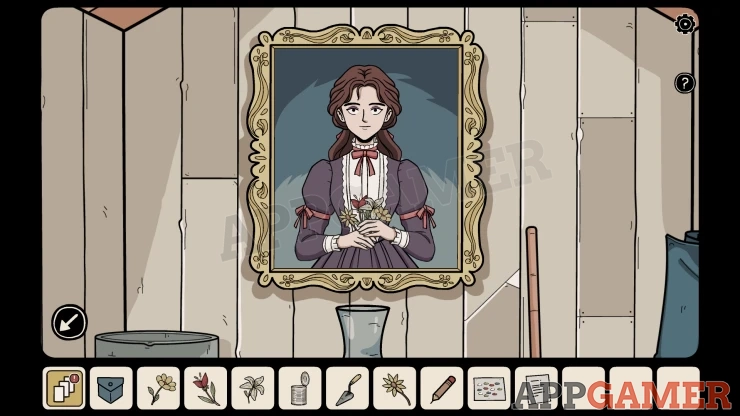
Go back to the shed and look at the painting on the wall, she is holding four flowers.
Below is a vase. Add the four flowers that you have to the vase in the same order.
Show
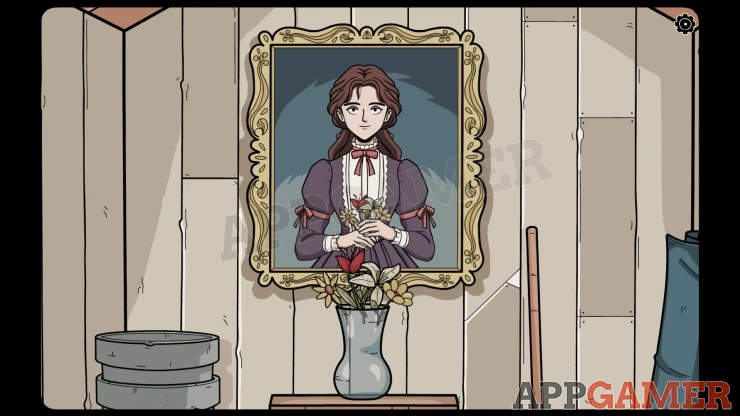
This will reveal a set of four symbols. The next clue.
Show
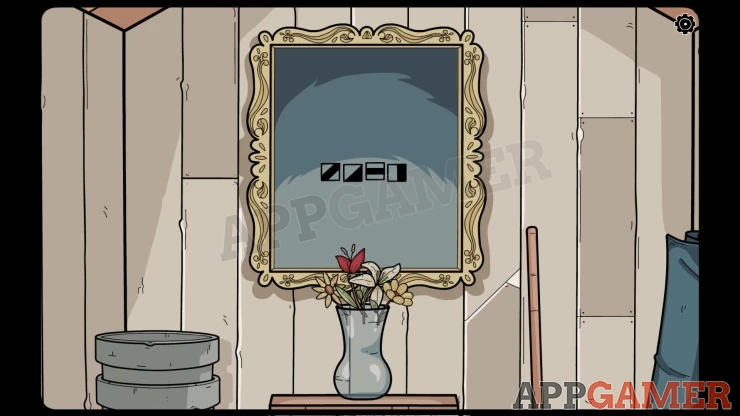
Return to the Unknown place in the memories menu.
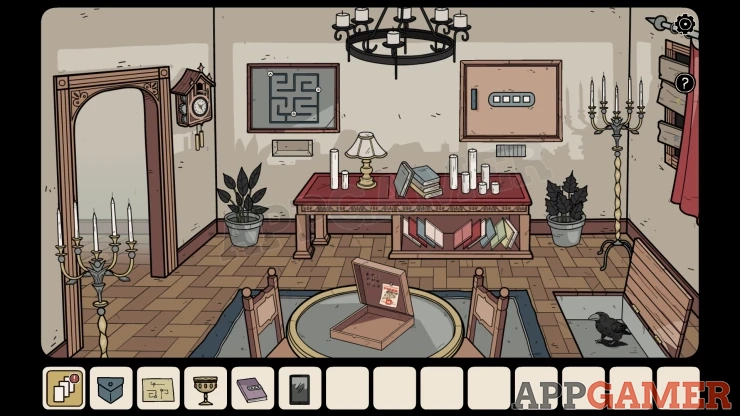
In the room with the pizza box there is a panel on the wall to the right that needs a four symbol code.
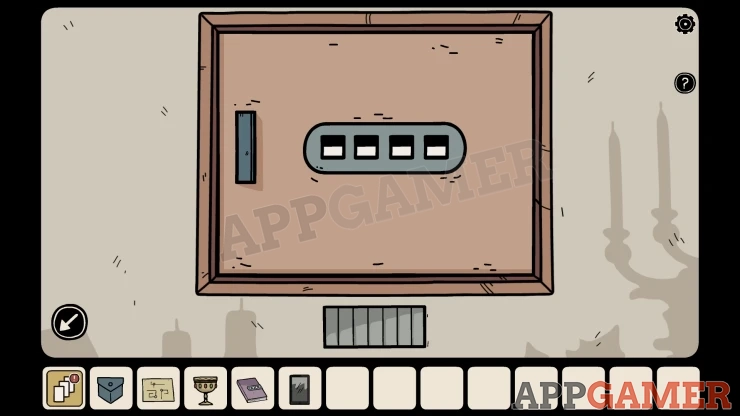
Show
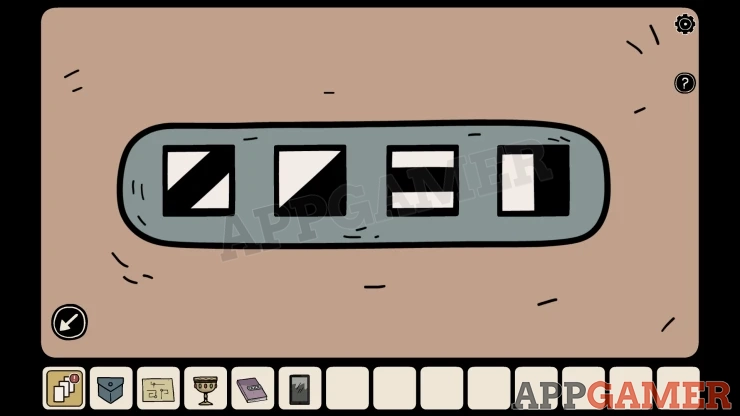
Once it is open you find a puzzle.
Jumbled picture puzzle
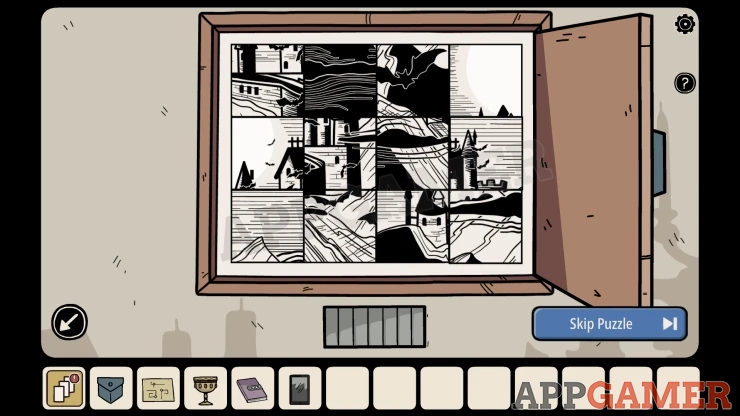
- Tap pairs of the square blocks to swap their positions.
- Complete the picture to solve the puzzle.
Solution: Show
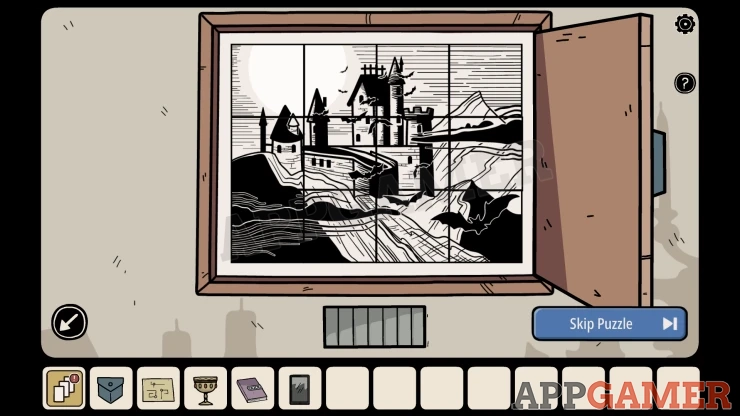
Collect a Medallion and a Blue Key.
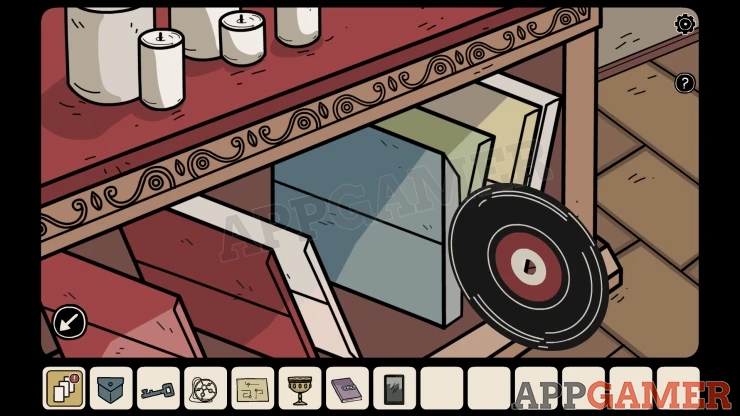
Next look on the lower shelf of the table below this, there are a number of large colored envelopes. Look through these and collect a Vinyl Record.
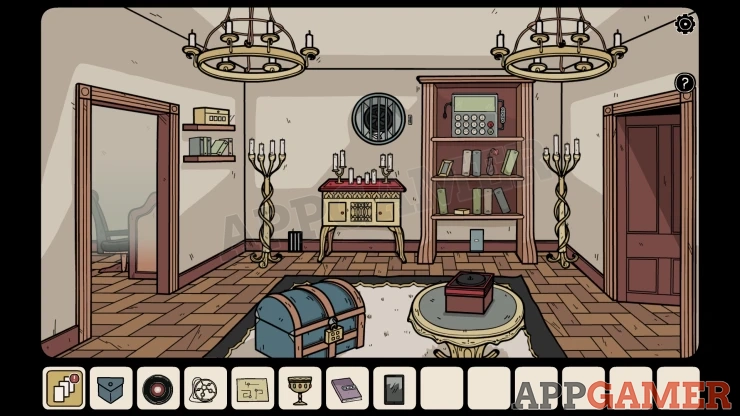
Go to the left and then you can use the blue key to open the door on the left. Go though to a new room with a large blue chest on the floor.
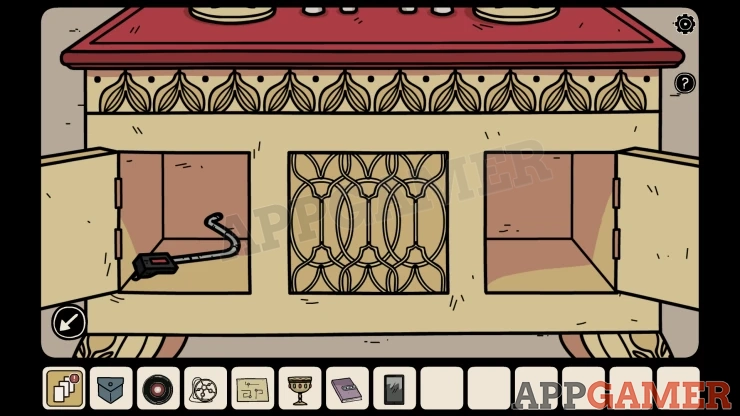
View the yellow cabinet on the back wall and open the left door, collect the Arm of a Phonograph.
Now look on the round table on the right, there is a phonograph.
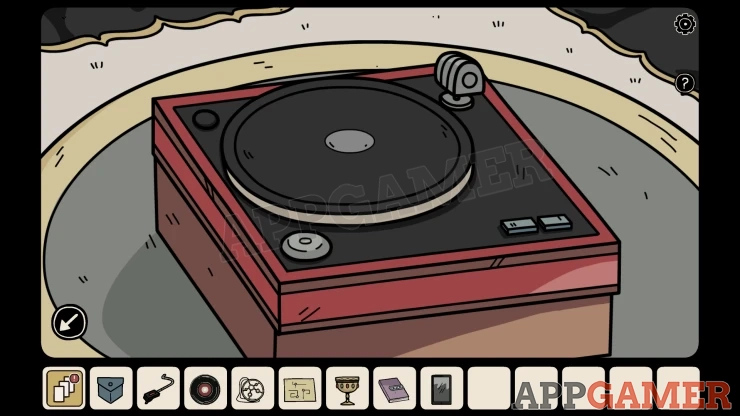
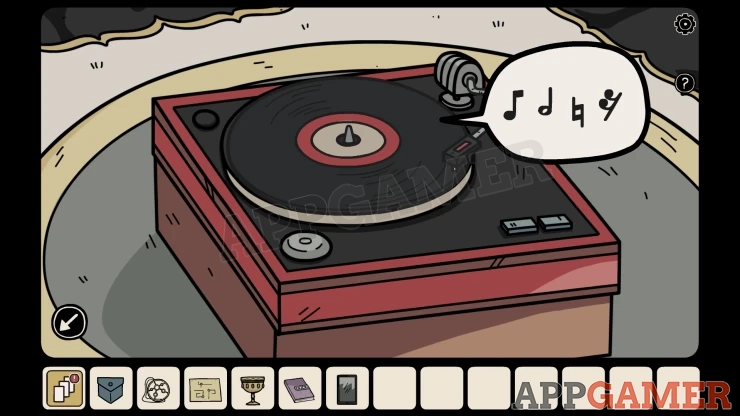
Add the arm to it and the vinyl record. This will then show four musical notes.
Show
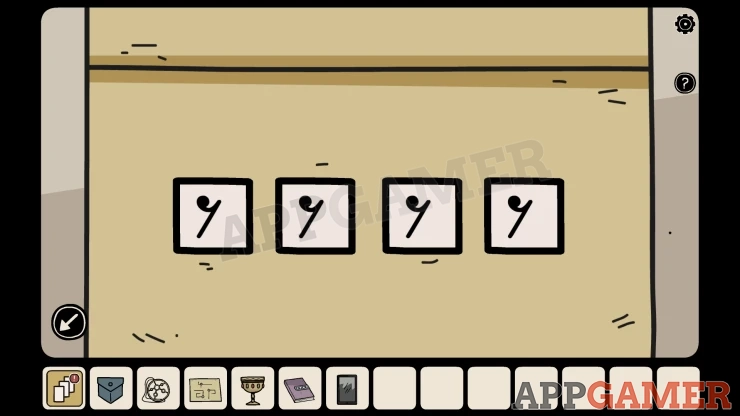
Next view a yellow box on a shelf on the left. Use the four notes to open this.
Collect a Wind-up Toy Key.
Now go through the archway to the left, there is a large wooden door here.
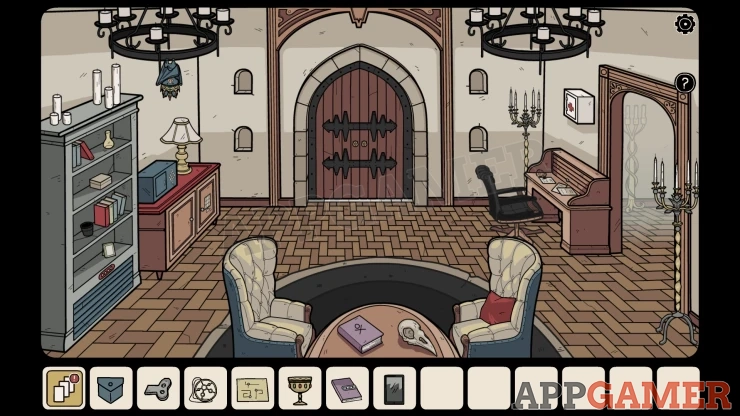
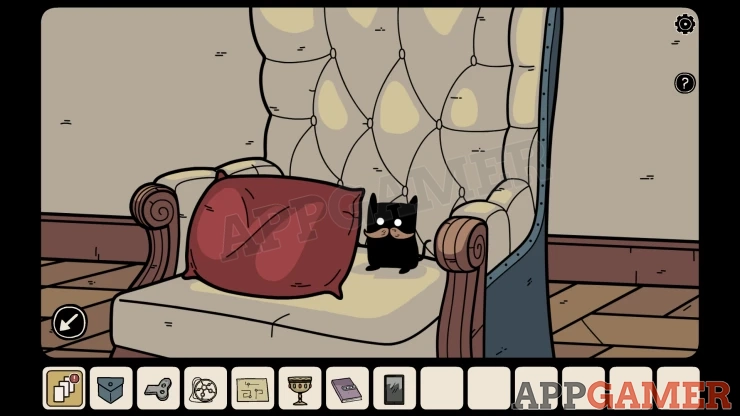
Hidden Shadow: view the large chair on the right and move the red cushion.
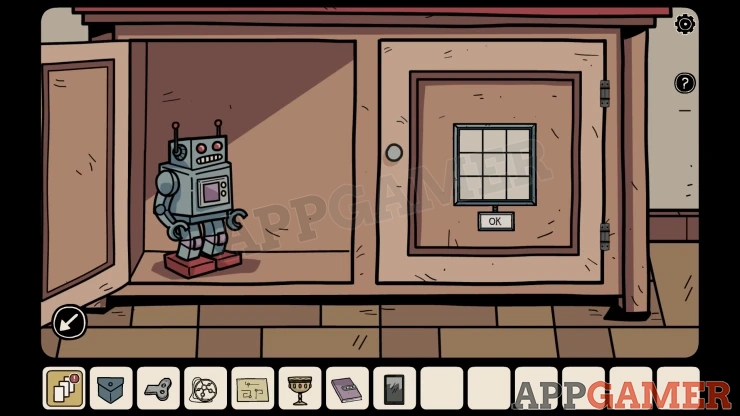
View the lower cabinet on the left wall and open the left door. Collect the Toy Robot.
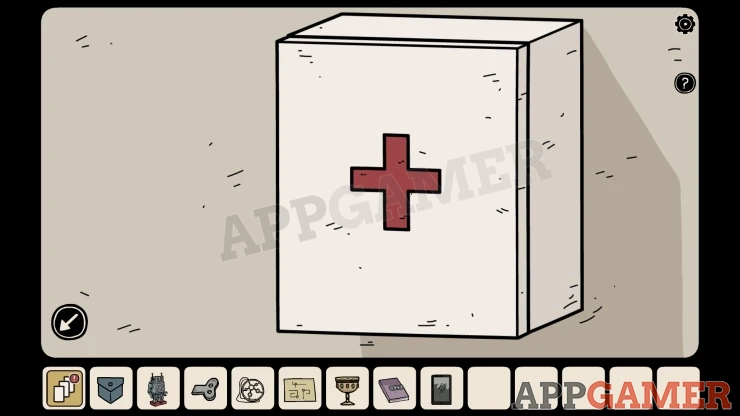
Then view a first aid cabinet on the right wall. Collect an Adhesive Bandage.
Go back to the right and then view a small door that is under the bookshelves on the right. Place the Toy robot here and then you can use the wind-up toy key on it.
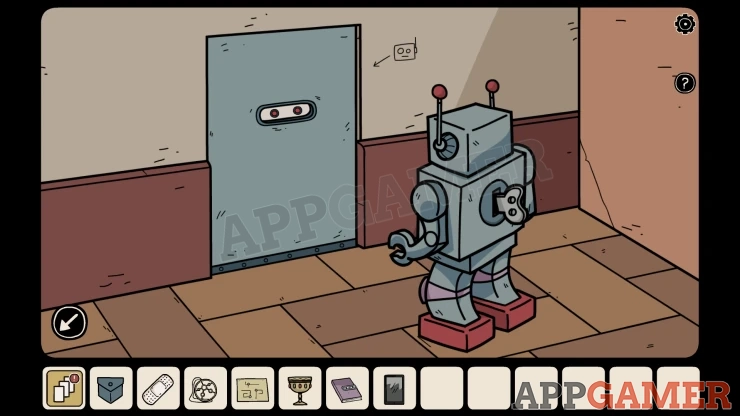
The robot will go through the door and then deliver you a Red Key.
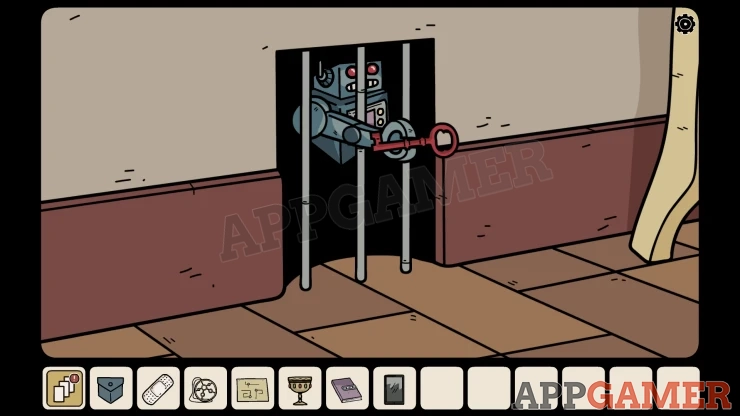
Go to the room on the left and then view the desk on the right wall.
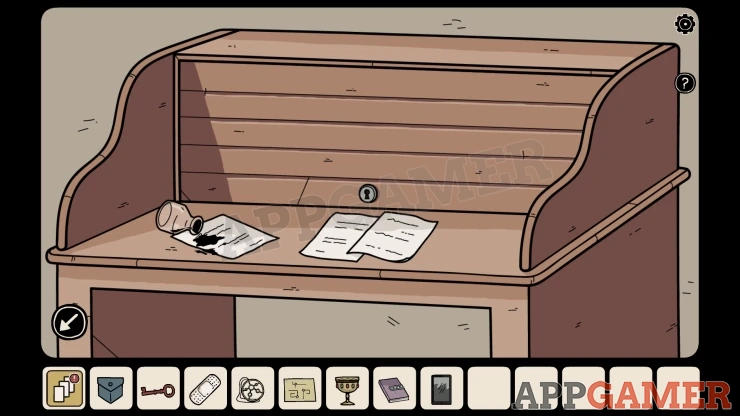
Use the red key to open the panel on the desk. On the top shelf is a glass tube.
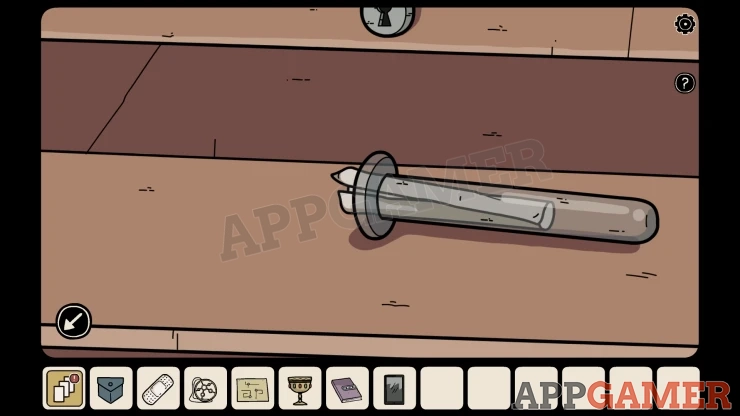
Tap this to collect another Memory Photo. Find this in the Memories menu.
Memory 3 - Laboratory
You start in a room with a computer and a cat on a shelf, it is black and white.
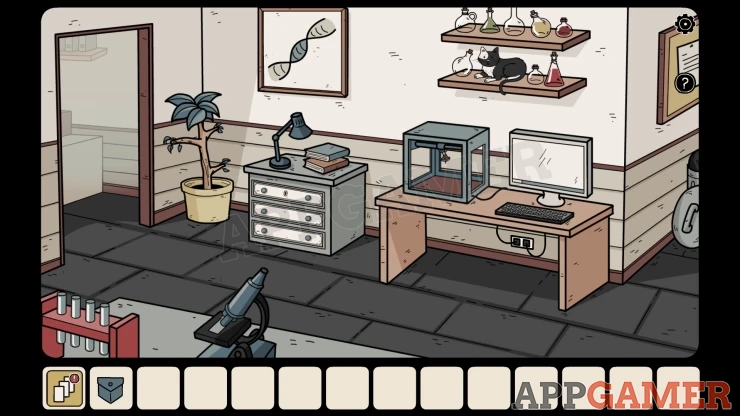
Hidden Shadow: Tap on the microscope and then change the magnification to 100x to see it.
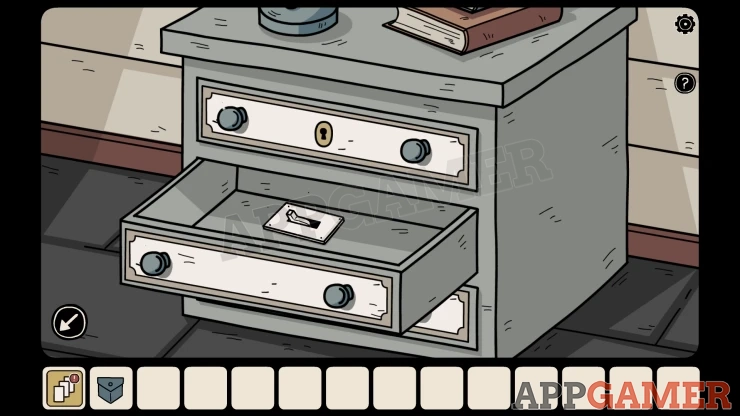
View the chest of drawers and open the middle drawer to collect a Switch.
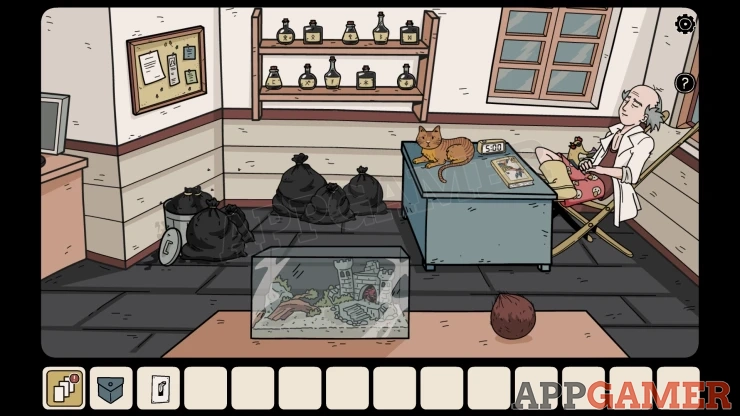
Move the the right to see a room with a desk and rubbish bags with flies, there is another cat here, it is orange.
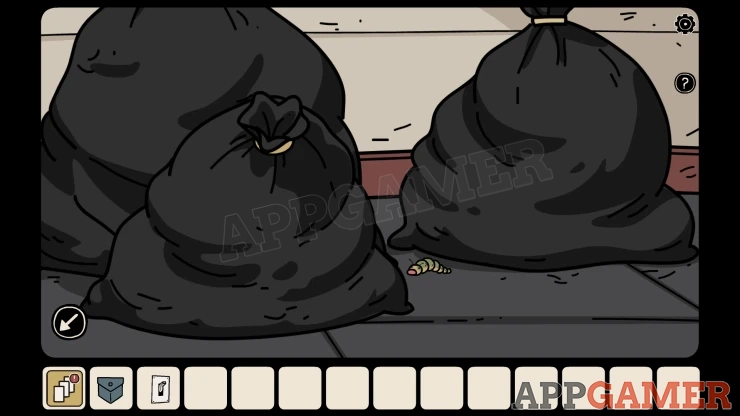
View the notice board to see a note about the flies. Then view the bin bags under the shelves and move the center one to let you collect a Caterpillar.
Now go back to the left and then left again to the next room. There is a white cat here on the table with candles.
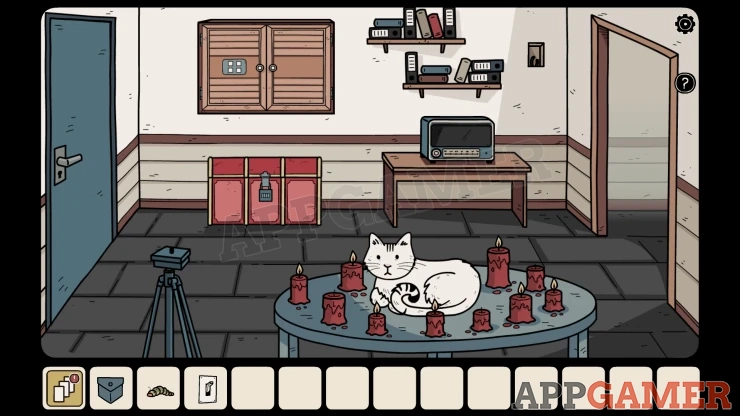
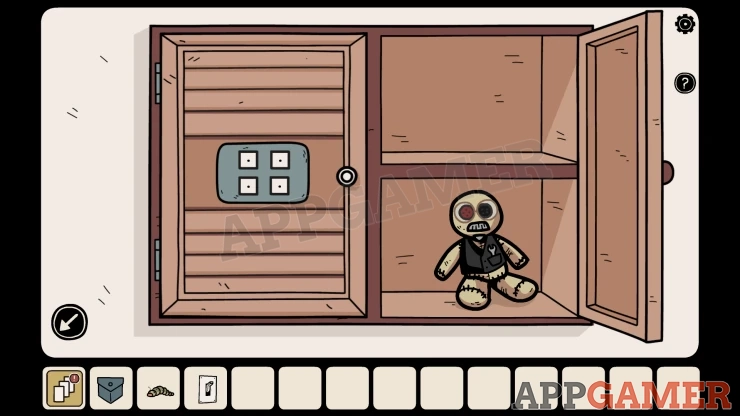
Lost Soul: Open the right door of the wall cabinet to find the doll. Notice that the left cabinet door has a code lock.
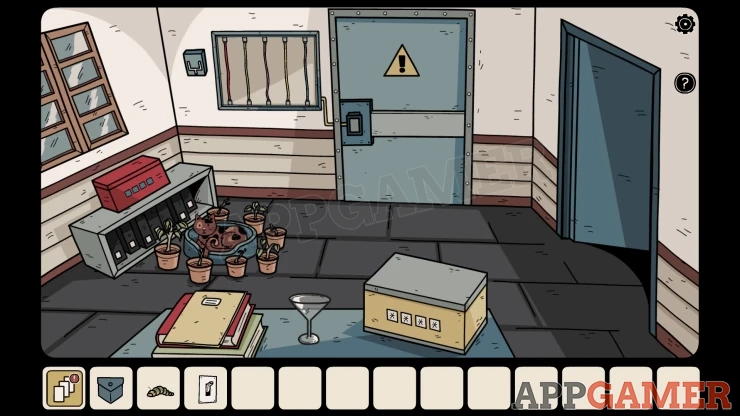
Open the door on the left of the room and go though. In this room there is a brown cat with spots on the floor.
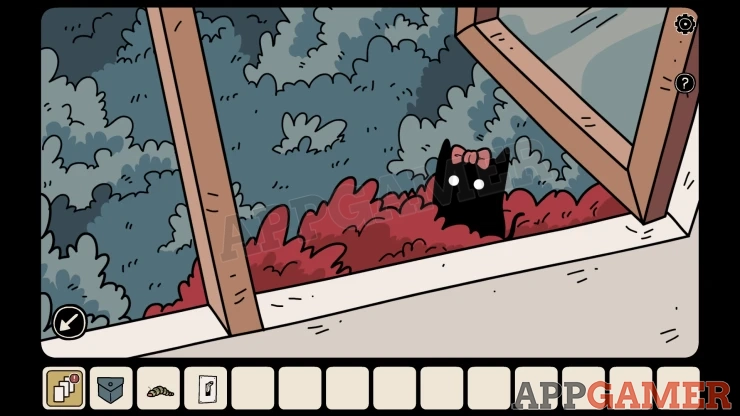
Hidden Shadow: open the window on the left and look out, then tap in the red bushes.
Collect a Crystal Goblet (Glass) from the table with the yellow box. Then view a yellow notebook on the table in the room. Open it and collect a drawing of cats. These each match the four cats you have seen in the rooms.
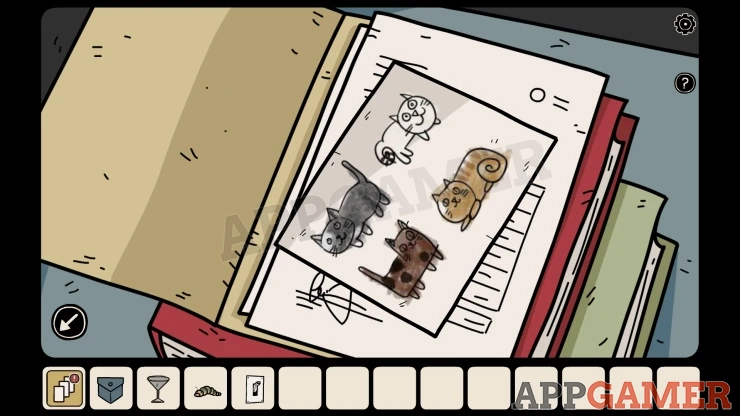
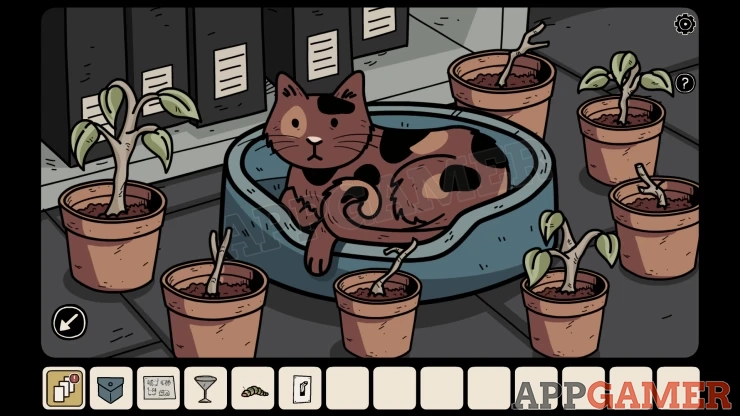
View each of the cats, they are all surrounded by sets of items. Some are different from others.
You need to find a number clue or count the number of specific items next to the cats to get fours numbers arranged in a square like the drawing.
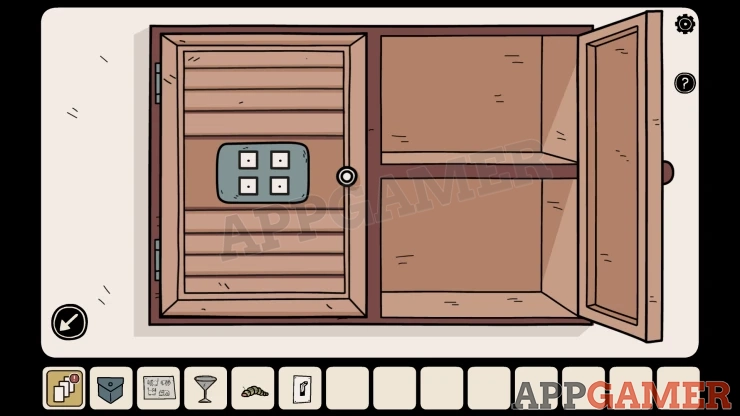
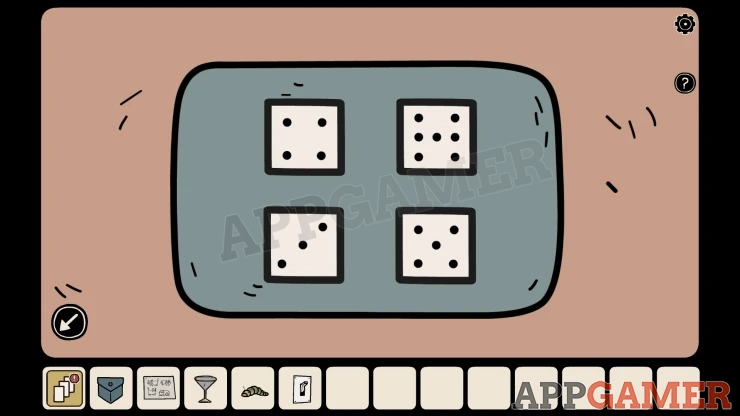
Then you can view the wall cabinet again in the room with the white cat and use this code to open the left door.
Solution: The numbers can vary for you but count the following.Show
Black/White cat: Flasks with colored liquid in them.
White Cat: Lit candles
Brown cat: Plants with leaves
Orange cat: Time on the clock.
Open the cabinet and collect a Can or Sardines, and a Video Recorder.
Move to the right to the room with the black cat on the shelf, then view a plant pot in the left corner. Add the caterpillar to the plant and then a chameleon will appear. Collect the Chameleon.
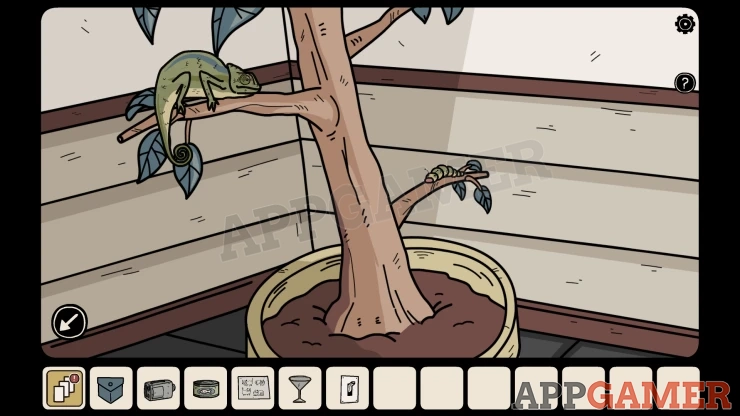
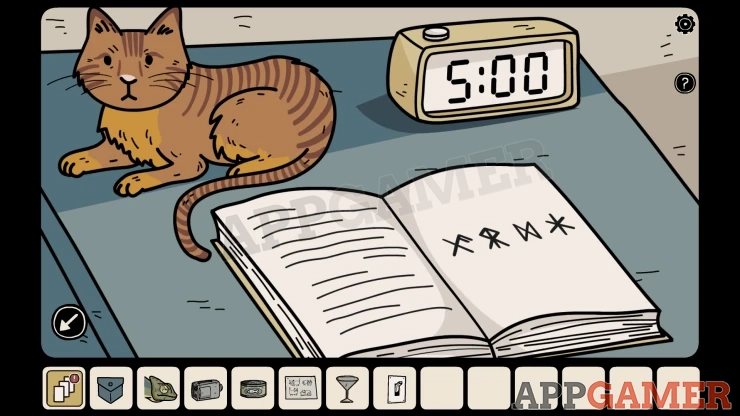
Move to the right to the orange cat and view the desk again. There is a book with a chameleon on the front.
Open the book to see a clue with four symbols.
Now view the shelves on the wall, there are bottles with more symbols on them.
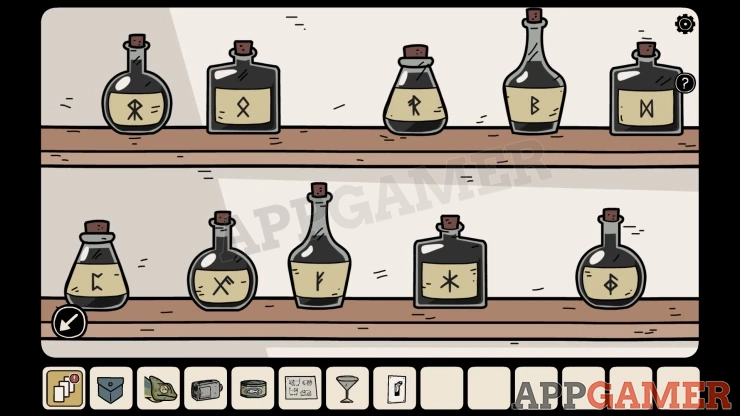
Add the chameleon to each of the bottles that match the symbols in the book. The chameleon will change color. This gives you a sequence of four colors.
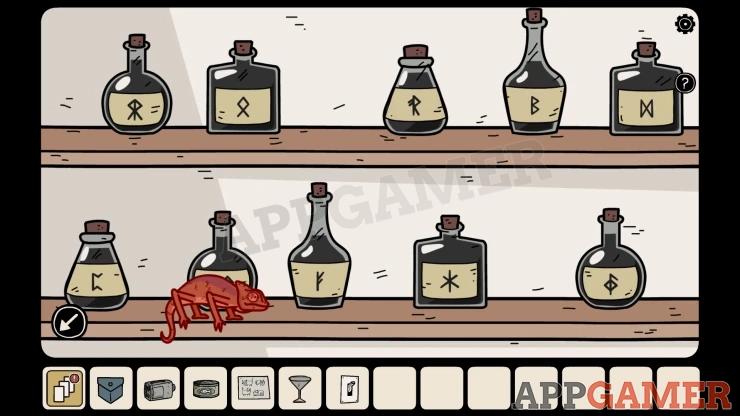
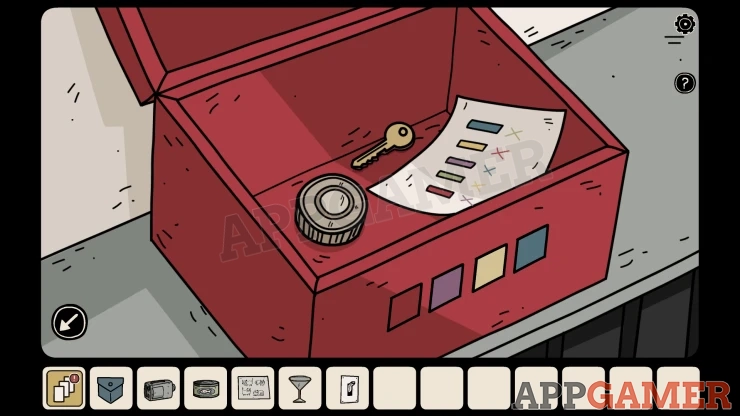
Now go to the room on the far left (Brown Cat). There is a red box under the window.
Set the four colors to match the clue.
Collect a Key, a Radio Knob and a Paper clue.
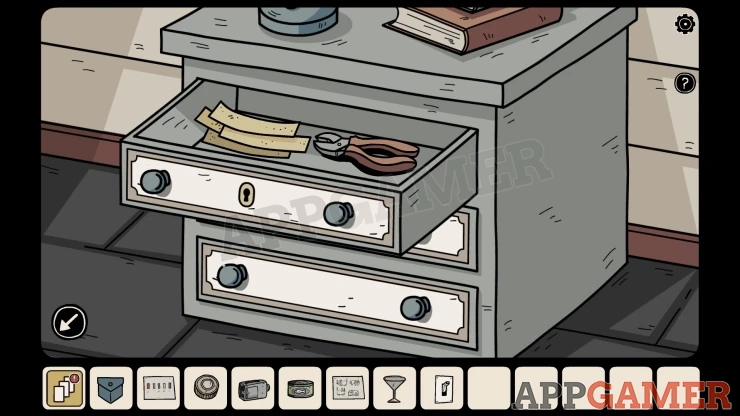
Go to the room with the black cat and view the set of drawers again. Use the key to open the top drawer and collect the Fly Tape and a Pair of Pliers.
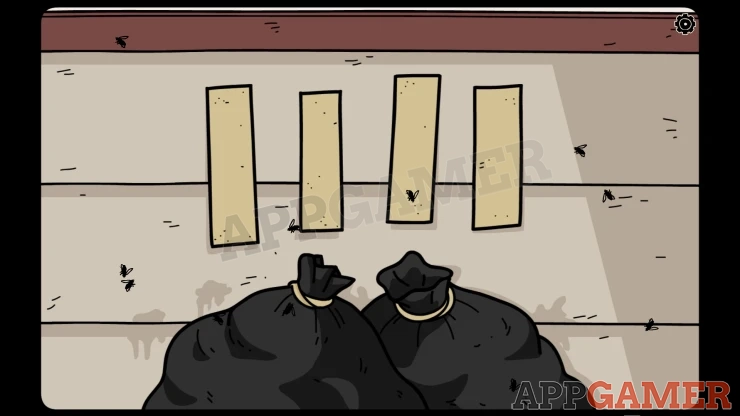
Move to the right and view the bin bags under the notice board. Add the fly tape to the wall above the bin bags.
This will trap some flies on the four tapes. This is a clue.
Move to the left to the room with the White cat. Then view a large red chest on the floor. This has flies on the combination lock.
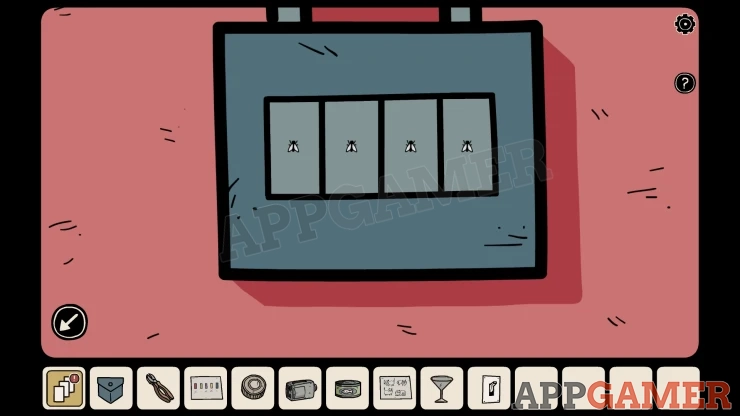
Set the correct number of flies for each dial according to the clue.
Show
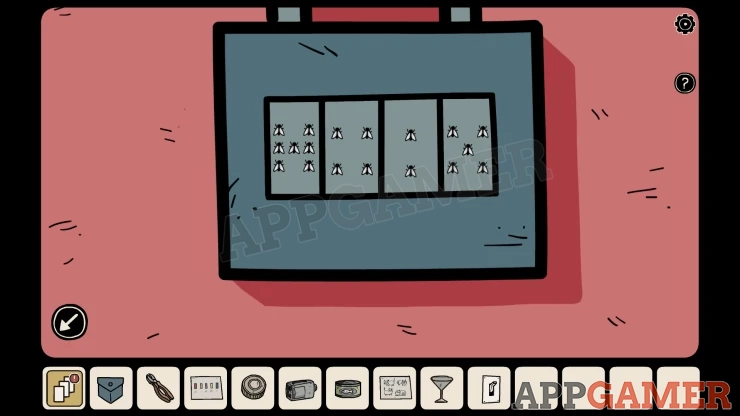
Then you can collect an Egg, and a Night Vision Attachable Lens and an Access Card.
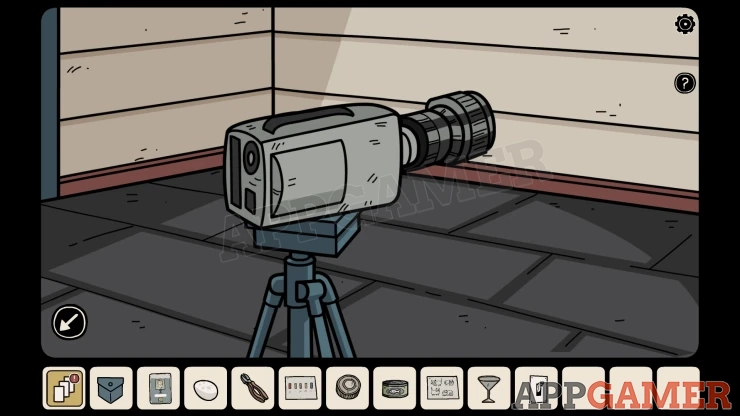
Now view the tripod stand on the lower left and ad the video recorder to it. Then also add the night vision lens.
Next look on the wall on the right to see a small square hole.
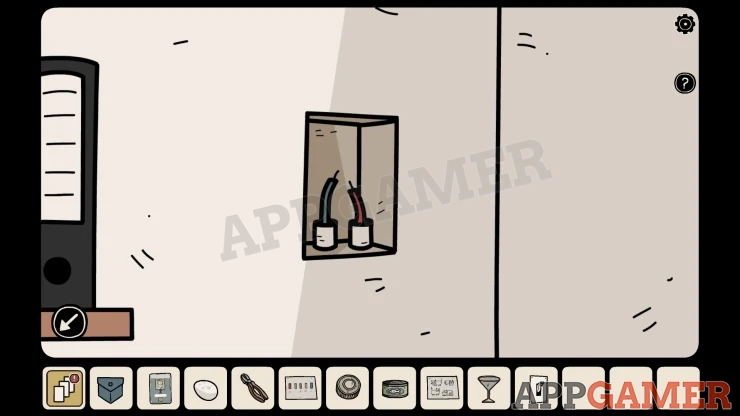
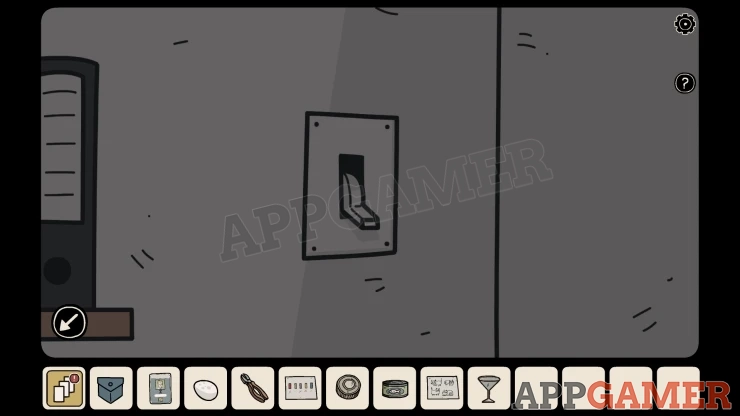
Add the light switch to it and then use it to turn off the lights.
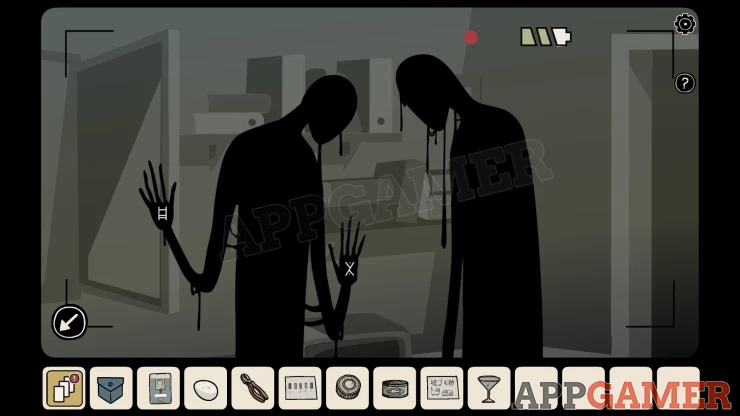
View the video recorder again and open the side to let you view the screen. You will see two shadowy figures.
Tap each figure and you will see two symbols on each of them. A four symbol clue.
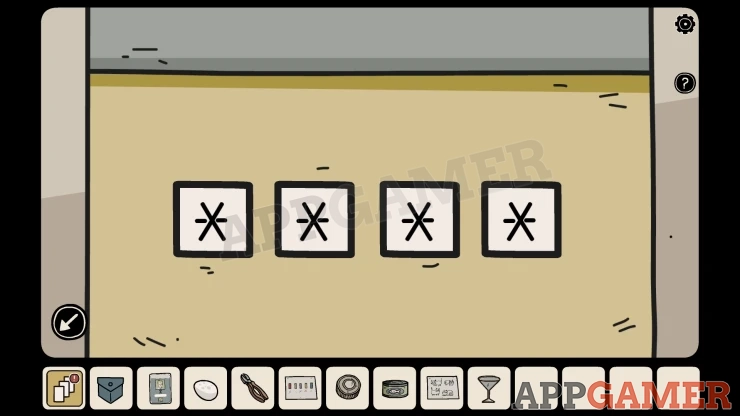
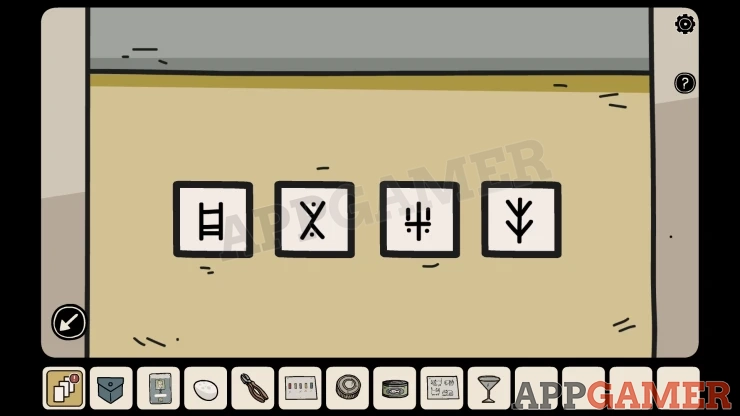
Now you can move to the left room and view a yellow box on the table. Use the four symbols to unlock this.
Show
Collect a Pair of Tweezers and a USB Drive.
Move to the right to the room with the black and white cat on the shelf. Below it is a computer.
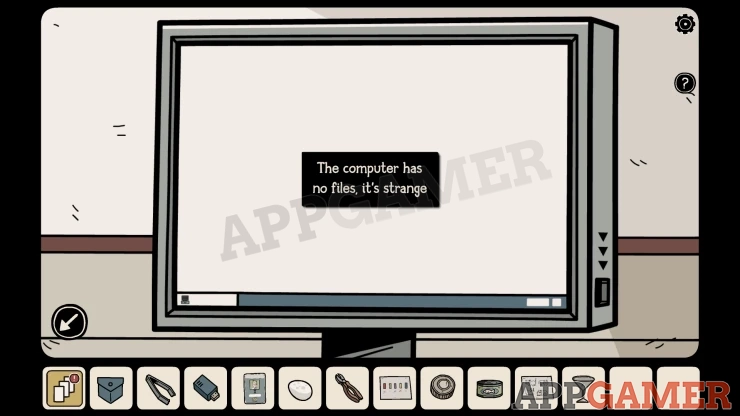
View this and add the USB drive to it. You then have an option for 'Cloning'.
Tap this and then you need to enter a code. To find the code view the Access card in your inventory.
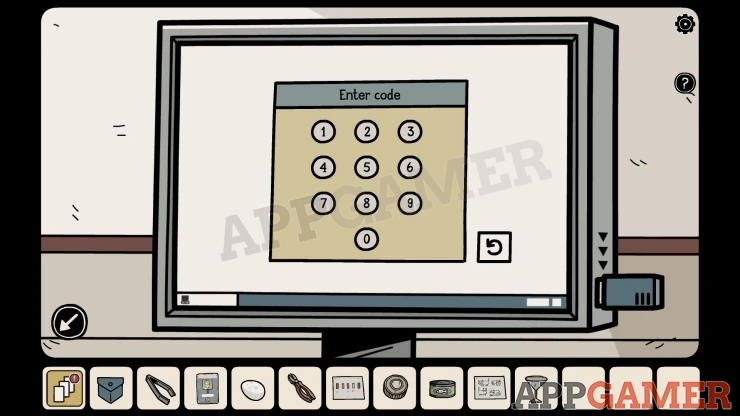
Code: 532009Show
You can read the _txt file about the cloning, then open the _img file and press Print.
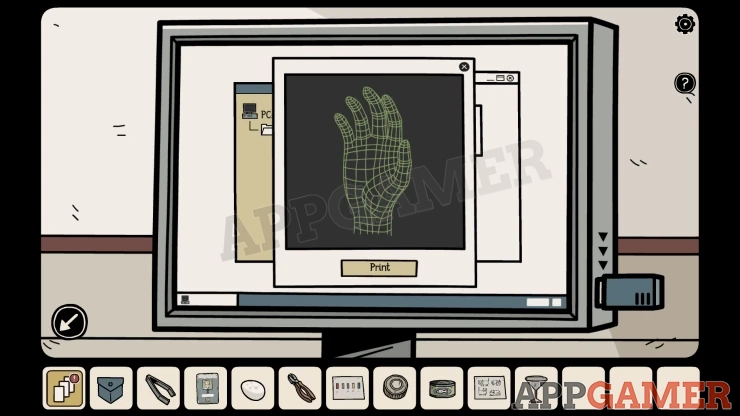
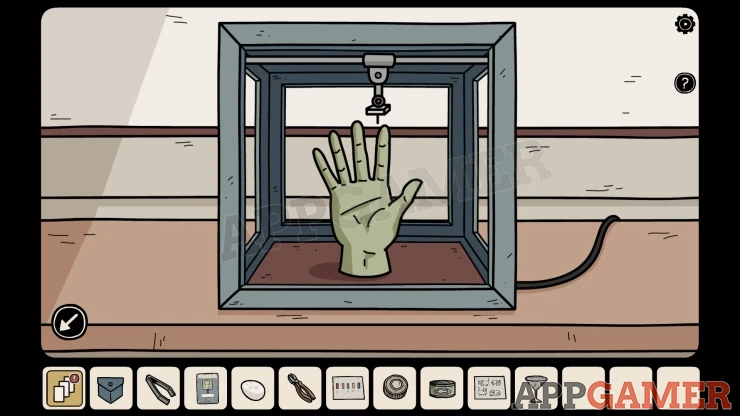
When the hand is printed you can tap to collect an Exact replica of a scientists finger.
Move to the room on the far left with the brown cat. There is a security door with a fingerprint scanner. It is not working yet. First view a panel to the left of the door with 5 wires.
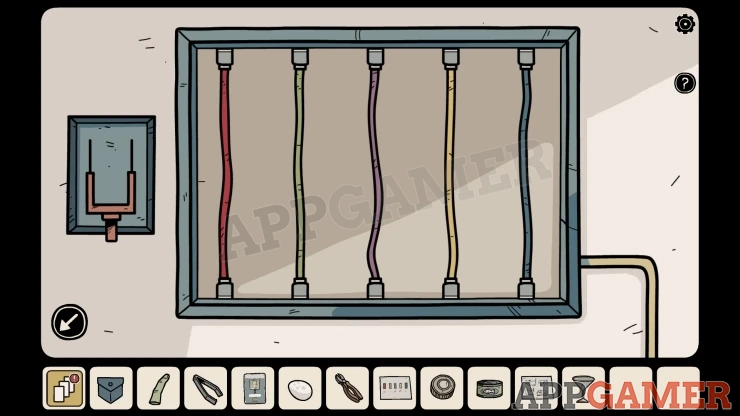
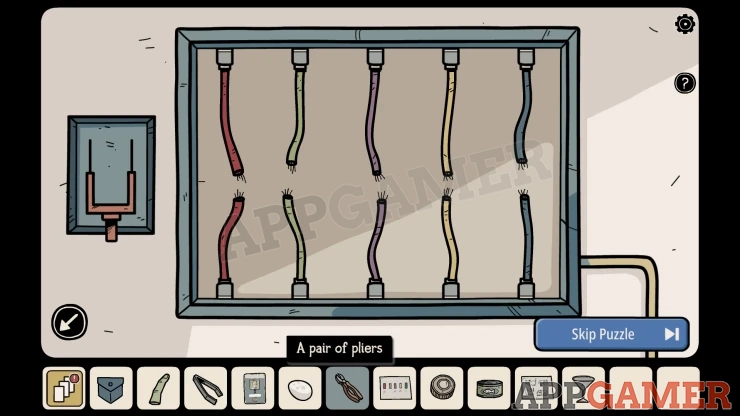
Use the Pliers to cut all five of the colored wires.
Next view the paper clue with five colored lines and X's .
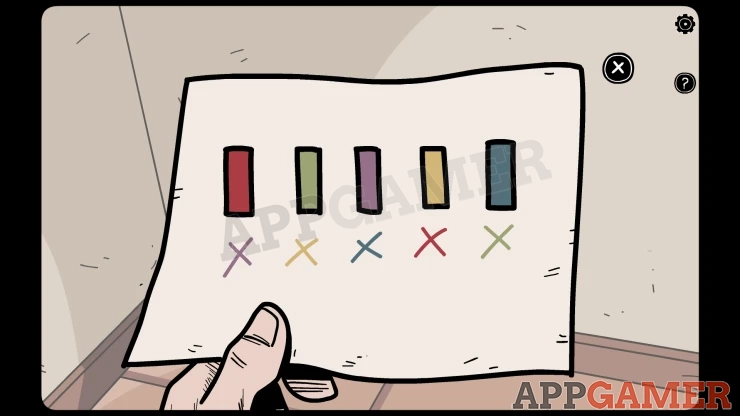
Notice the color of each line and the X below it.
Now tap pairs of wires (one top and one bottom) to connect them together).
Solution: From the paper take the color of the upper line and the color of thee X below it.Show
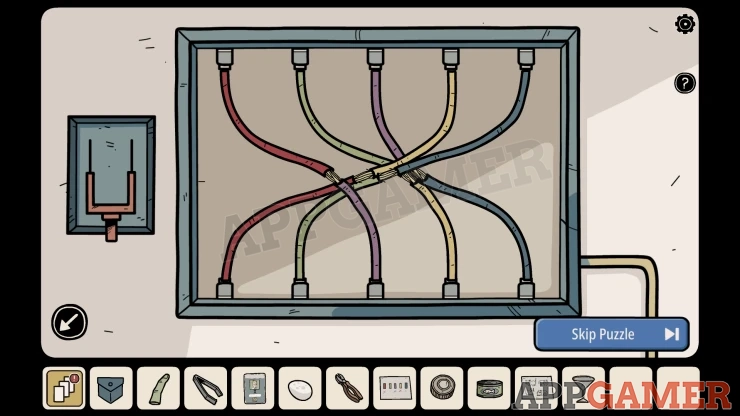
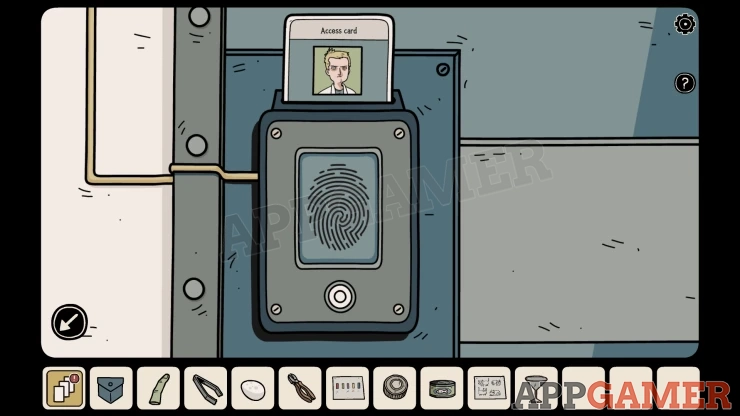
Once done you can use the switch on the left to turn on the power to the scanner. View the scanner and add the Access card to it. Then use the finger on the scanner to open the door.
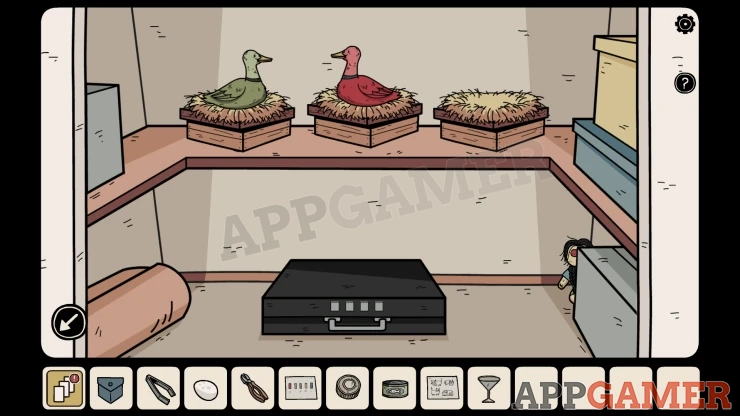
Look inside the store cupboard.
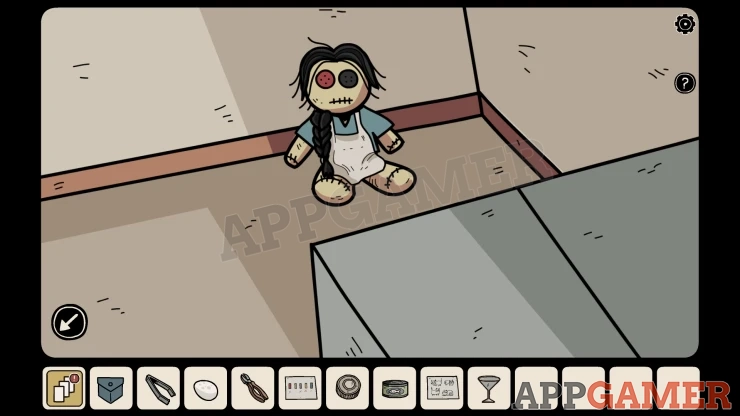
Lost Soul: behind a box on the right.
View a blue box on the shelf on the left. Open it. Collect a Can Opener and an Umbrella. Notice the clue on the inside of the box.
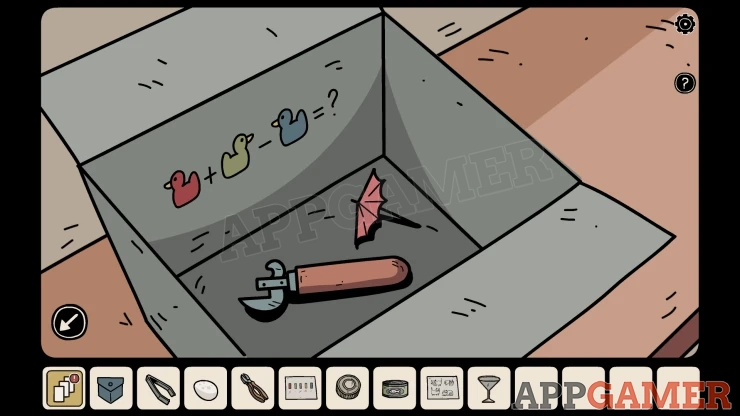
Combine the Can opener with the Can of sardines to open it. Then go to the room on the right with the orange cat, there is a fish tank on the table.
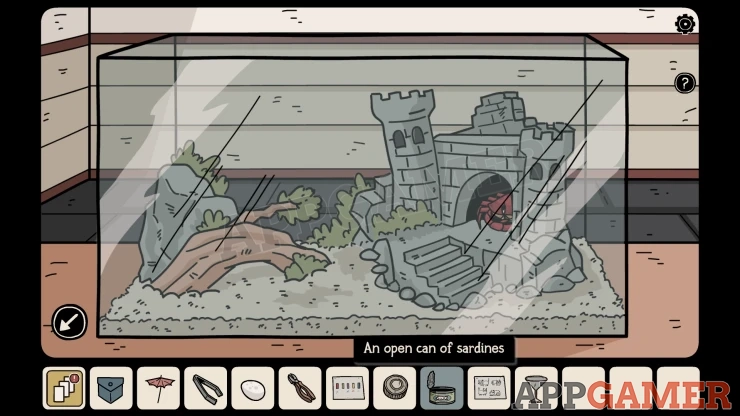
View the fish tank and use the can of sardines on it to drop in a sardine. This will bring out a Crab.
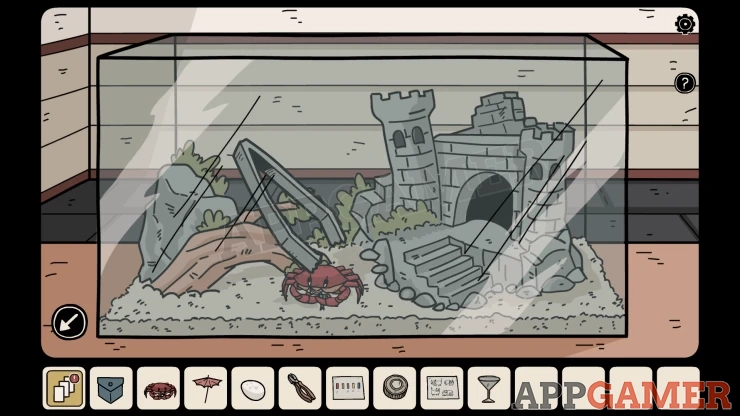
Next use the pair of tweezers to collect the Crab with Sharp Claws.
Then you can view the Coconut on the table. Add the Crab to this and it will break open the coconut.
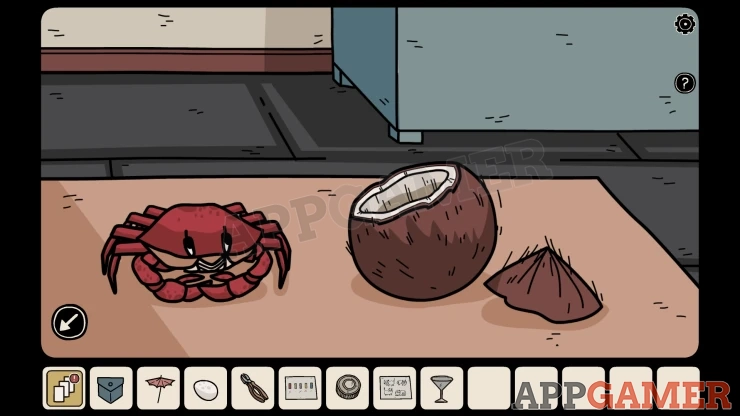
Collect the Coconut with a good tasting liquid.
Next combine the Crystal Goblet and the Coconut to get a Refreshing Drink. Then combine the Umbrella with the Refreshing Drink, this will give you the Refreshing Drink Properly Decorated.
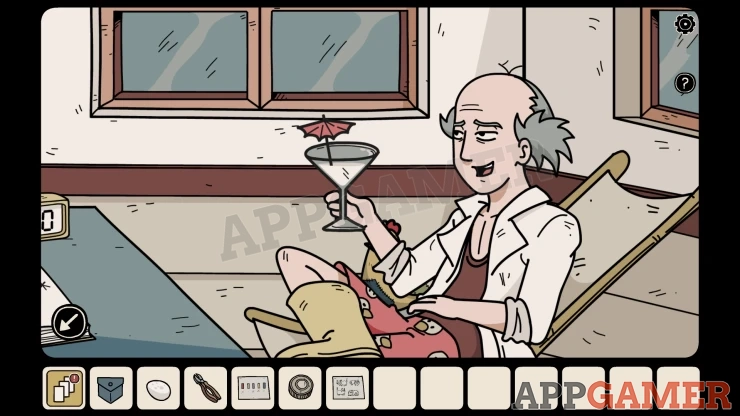
Then view the man in the chair and give him the drink. He will give you the Cloth Chicken.
Move to the far left and enter the store cupboard again. There are three nests.
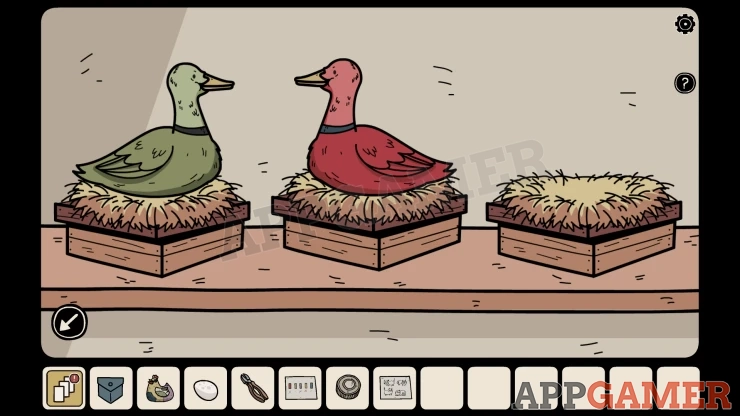
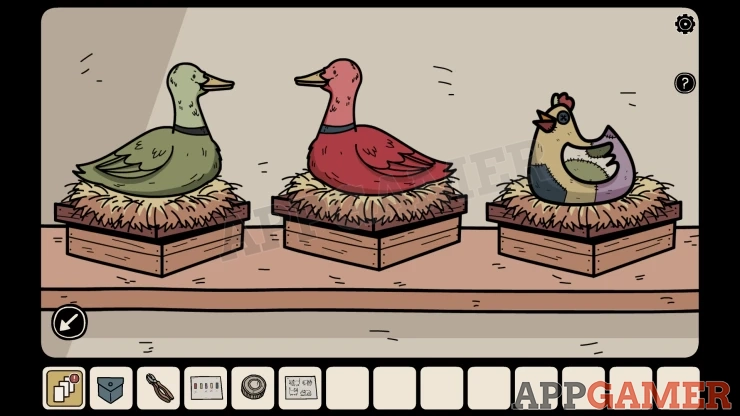
Place the Egg into the empty nest, then add the Cloth Chicken on top.
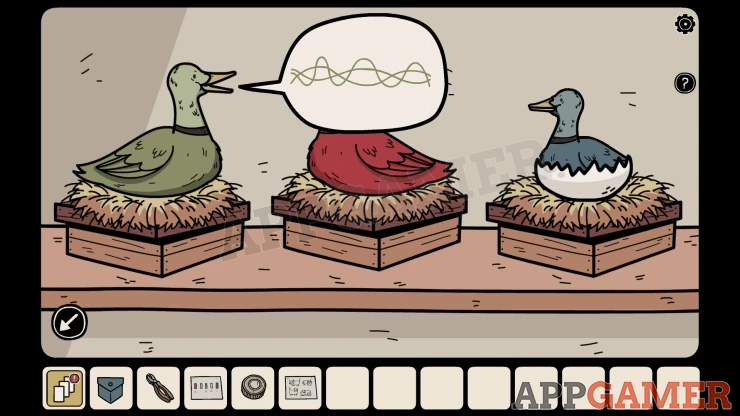
The egg hatches to produce a blue bird. Now you can tap on all three birds. Each one will make a sound and you will see a pattern of waves.
Return to the room with the white cat, if it is still dark then use the switch to turn the lights back on. On the table below the light switch is a radio, view this and add the Radio button to it.
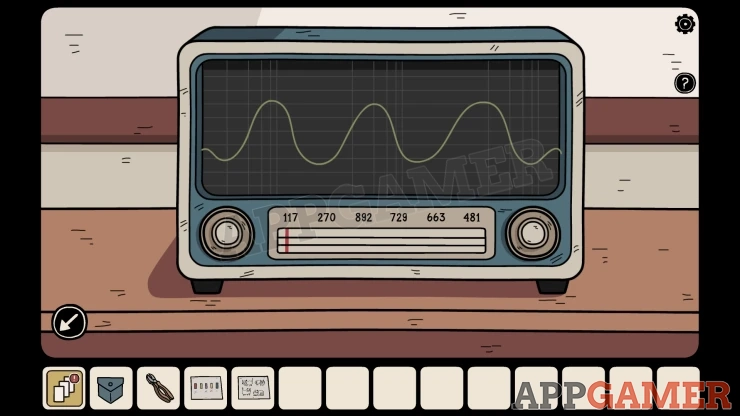
Now you can use the buttons to change the frequency on the dial, at each setting you will see a different wave pattern.
Find the three patterns that match the ones from the birds and note the numbers.
This will give you three numbers, then you can use these with the clue from the box.
Red + Yellow - Blue =
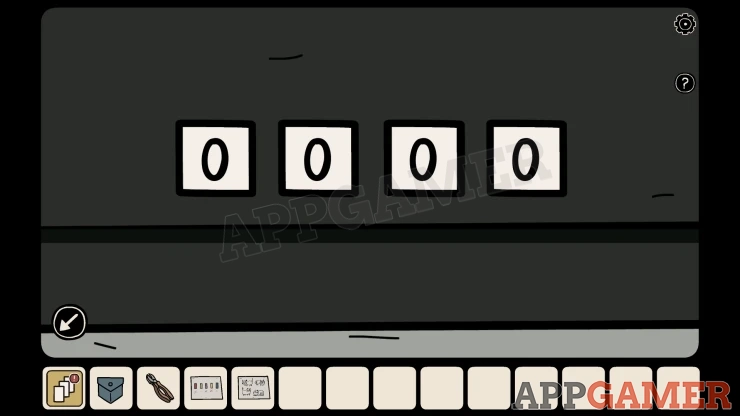
Once you have this answer Go back to the store cupboard and view a black case at the bottom. Use the number to open the case.
Code: 1438Show
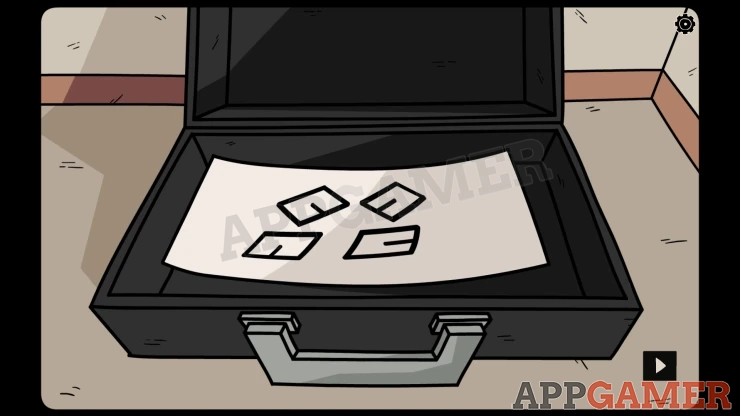
You will see a paper with four symbols, this is the clue from this memory.
Show
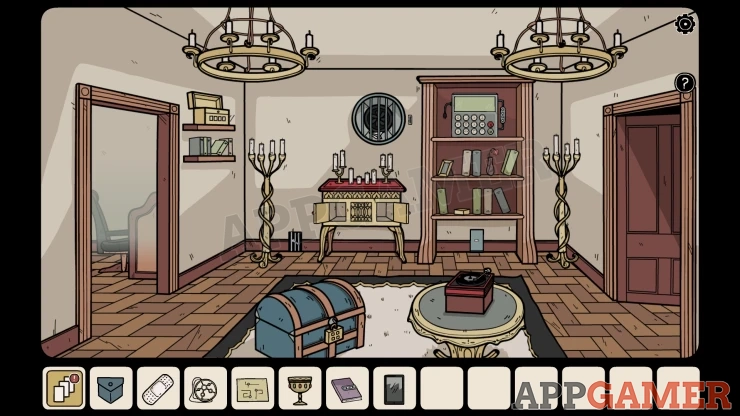
Go back to the Unknown Place.
Move to the right to the room with a large blue chest on the floor.
View the chest and then tap on the four symbols to turn them to match the ones seen in the clue.
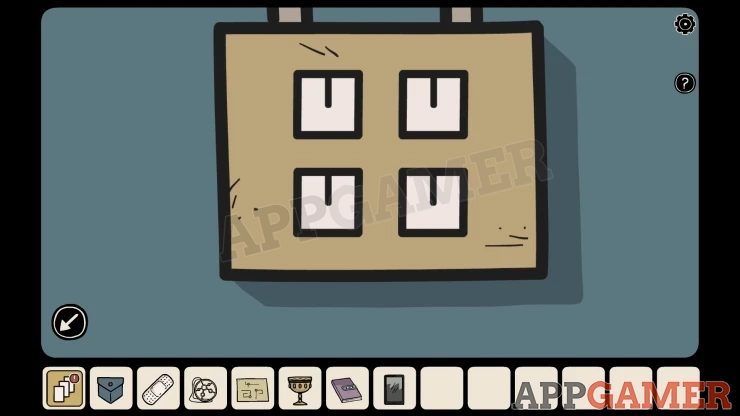
Show
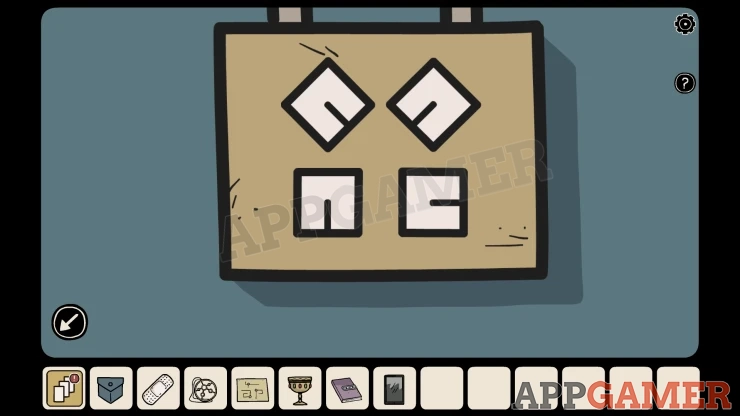
Collect a Skull and a Red Lever. You will also see a clue drawn inside the chest.
Move to the left to the room with the large doors and then view the small cabinet on the left, the locked door has a 3x3 pad of buttons. Use the clue from the chest to open this.
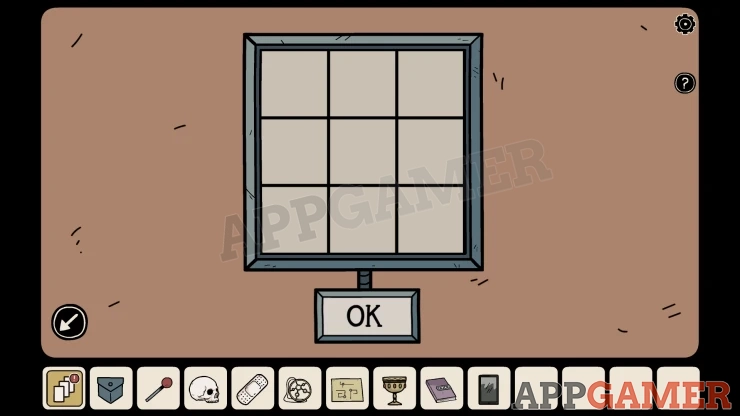
Solution: The clue shows a 3x3 grid with four of the squares marked with 1, 2, 3 and 4 dots. Press the matching buttons in this order. Then press OKShow
Collect a Battery.
Move to the right again and view the circular vent in the wall. There is a paper plane inside it.
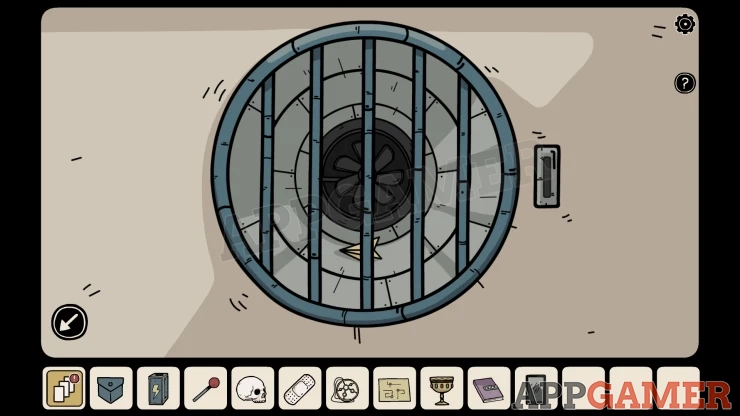
Add the red lever on the right and then move it to start the fan, the plane will be blown out, then you can collect it from the floor.
View the paper in your inventory to see four strange symbols.
Show
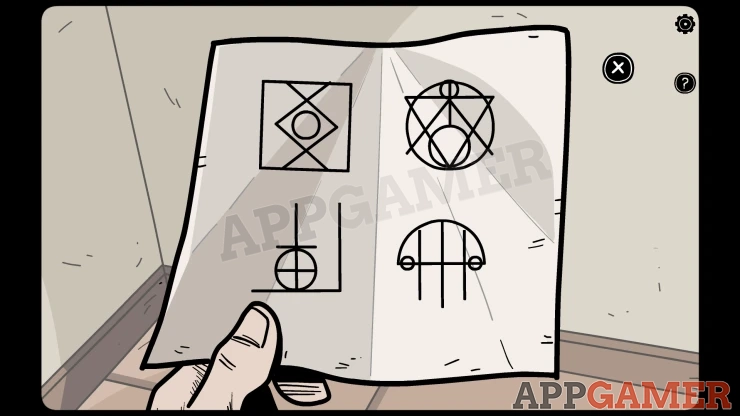
Next view the top of the book shelves to the right of the vent. There is a device here with buttons. Add the battery to it.
Strange Symbols Puzzle
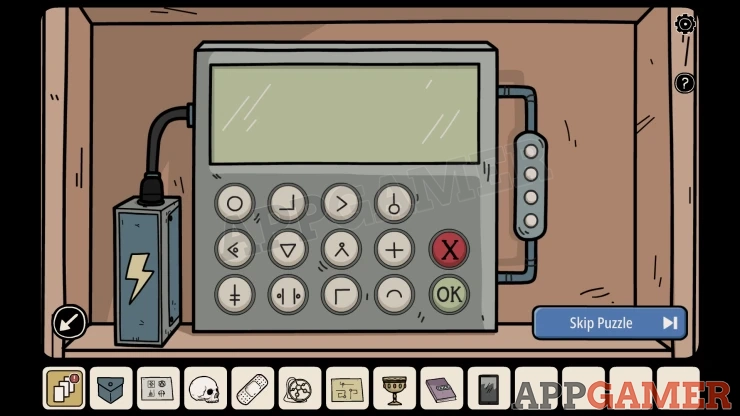
- Press the buttons on the device to draw the shapes on the screen.
- Find 3 or 4 button shapes to add together and match one of the symbols from the paper clue.
- When you have a matching symbol tap the OK button to record it.
- Then move on to make the other three symbols.
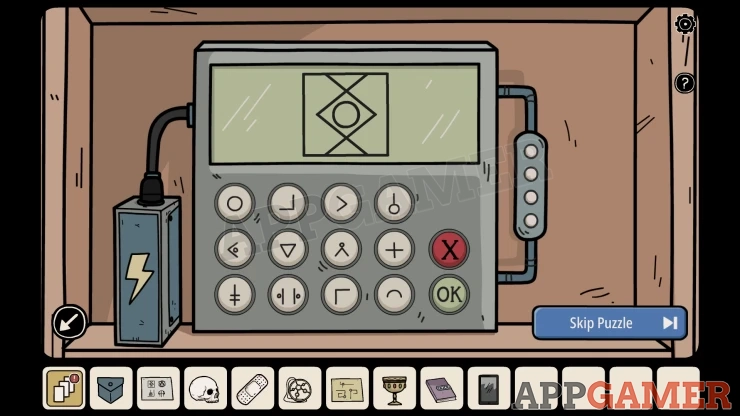
Once you have all four you will see a new clue with four symbols on the screen.
Move to the left room with the large door. Then view the bottom of the grey shelves on the left, there is a locked panel.
Use the symbols from the clue to open this.
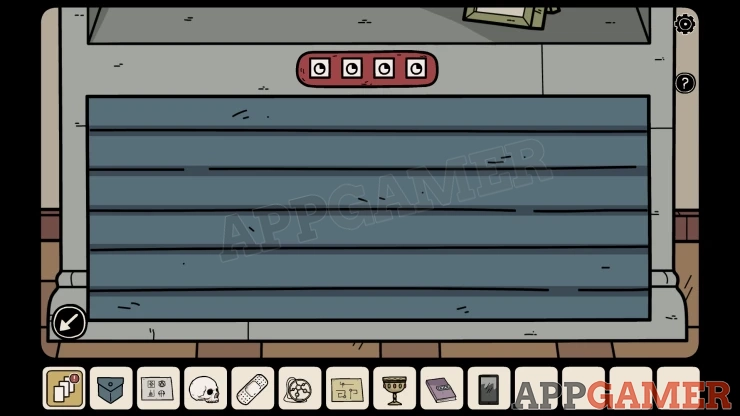
Show
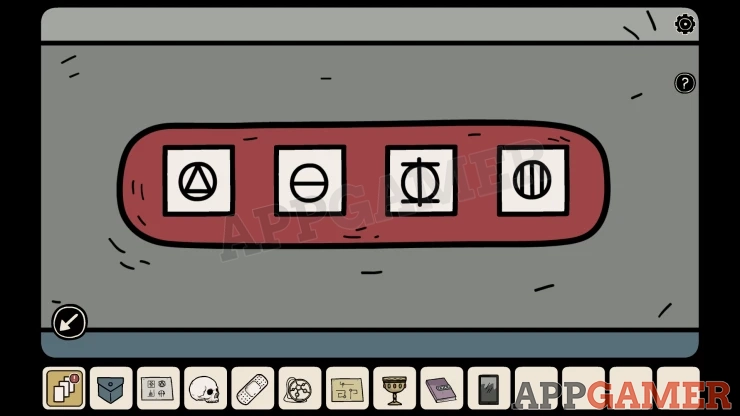
Look inside the Red book that you find. There is another memory Photo
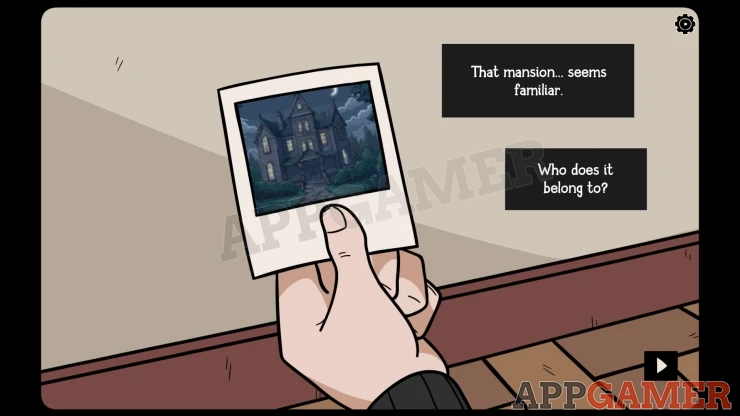
Memory 4 - Mansion
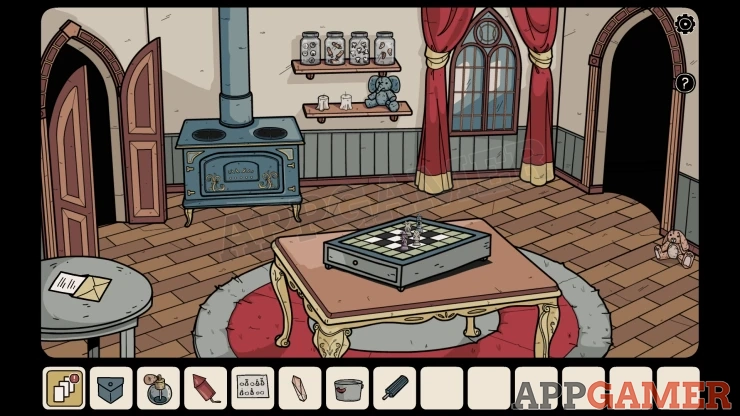
You start in a room with a large stove on the back wall.
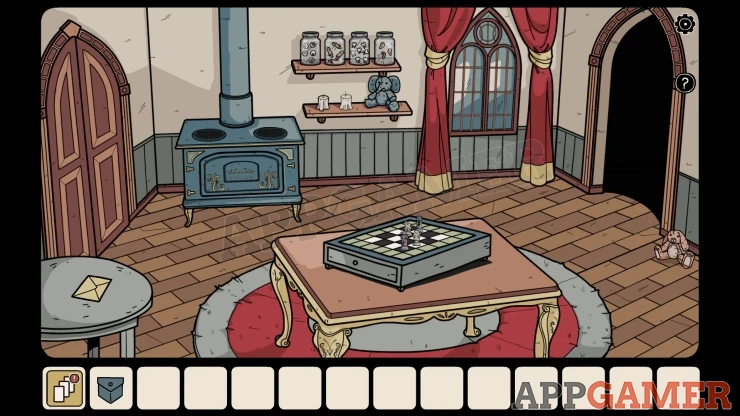
View the envelope on the small table on the left, then read the note inside, this is a clue.
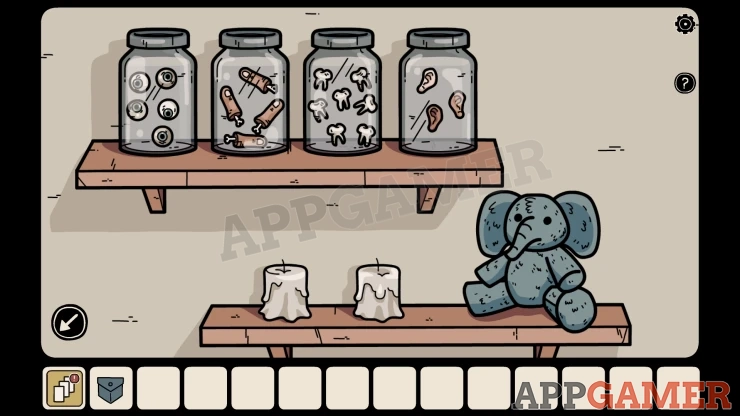
Then look on the top shelf next to the stove to see four jars, there have a number of items in them, this is another clue.
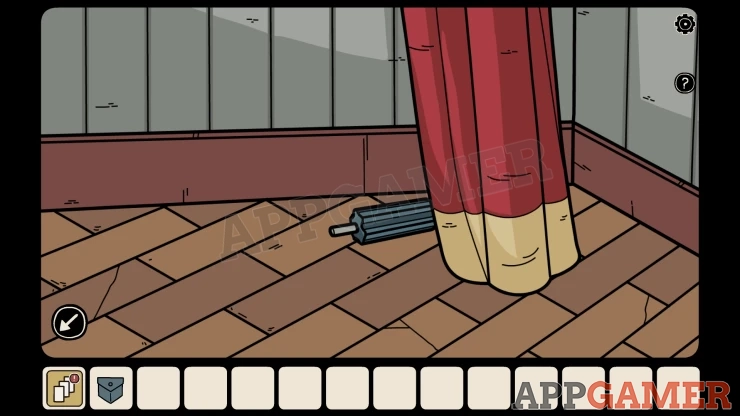
View the bottom of the right red curtain and move it to collect a Screwdriver Handle.
Then go through the archway on the right. This is a corner room.
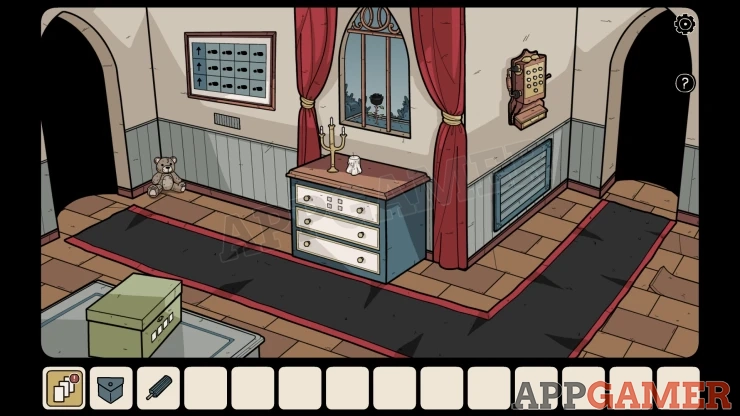
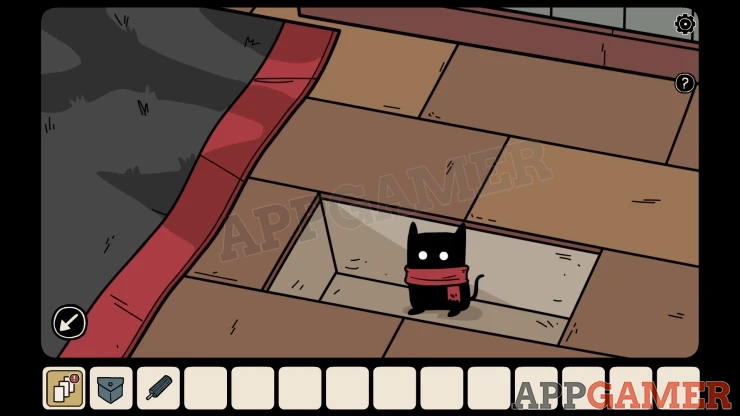
Hidden Shadow: view a loose floor board on the right side.
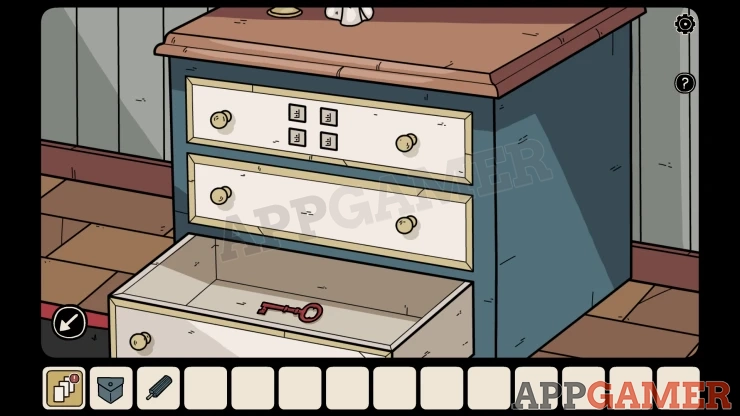
View the Chest of drawers and open the bottom drawer to collect a Red Key.
Then move through the right doorway to the next room with a girl sitting on the floor.
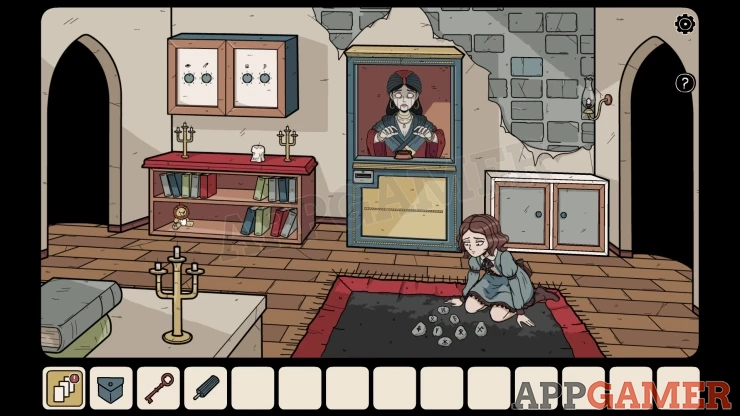
Open the cabinet on the right behind the girl and collect a Pot.
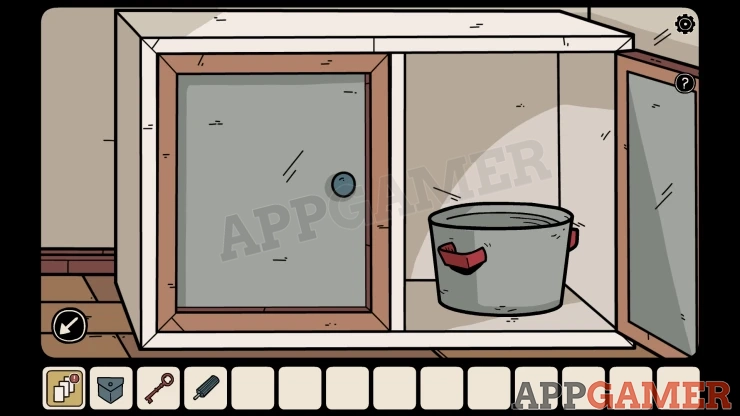
Then view a wall cabinet on the left.
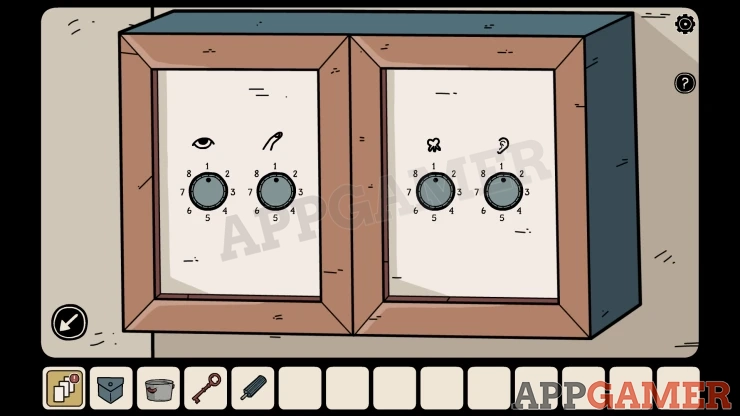
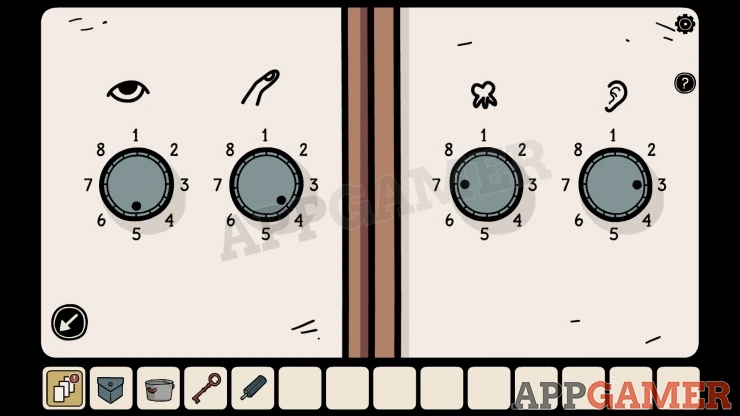
There are four dials, each has a small symbol as the clue.
Solution: The symbols match the items in the jars from the first room, count the number of each item.Show
Collect a Quartz crystal, a paper clue and a red Fireworks Rocket.
Move to the next room on the right. There is a large crystal structure.
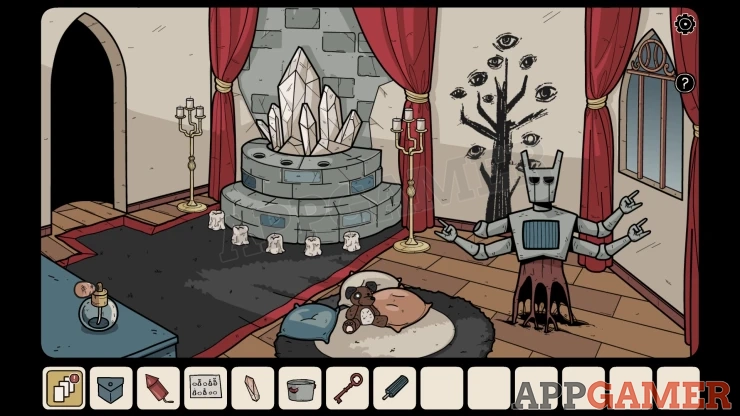
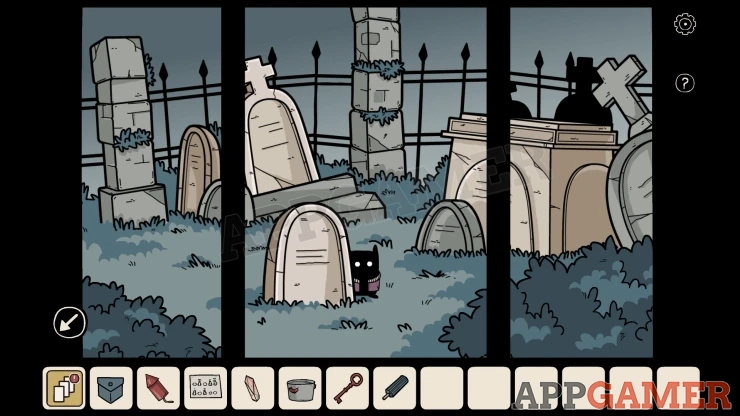
Hidden Shadow: Look out the window on the right. Then tap on the center grave stone.
Collect a Perfume bottle from the lower left of the room.
Now move back to the first room on the left. There is a door on the left wall.
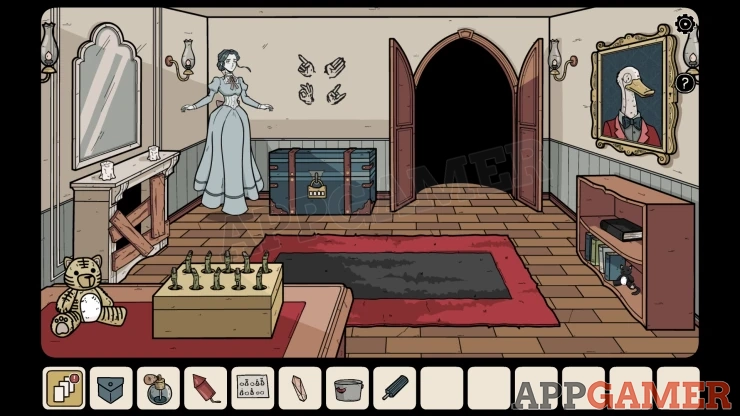
Use the Red key to open the door and go through. There is a large blue chest and a woman floating on the left side.
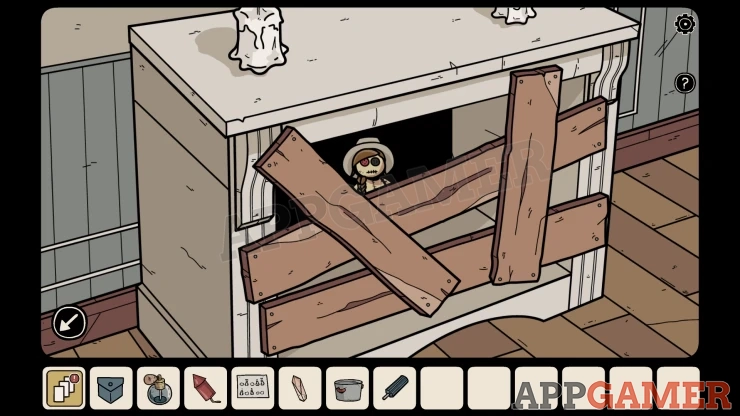
Lost Soul: look in the boarded up fireplace.
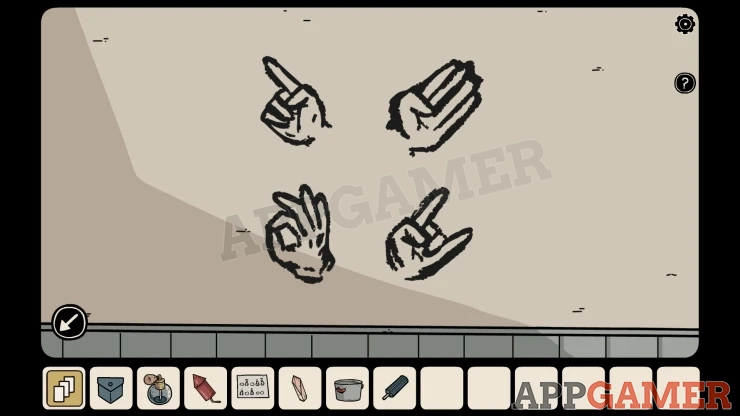
Look on the wall above the blue chest. There is a clue for later with four hands.
View a yellow box on the lower left with fingers. Look at the paper clue in your inventory which has fingers drawn on it. Five of these will be numbered with lines. This is the clue to open the box.
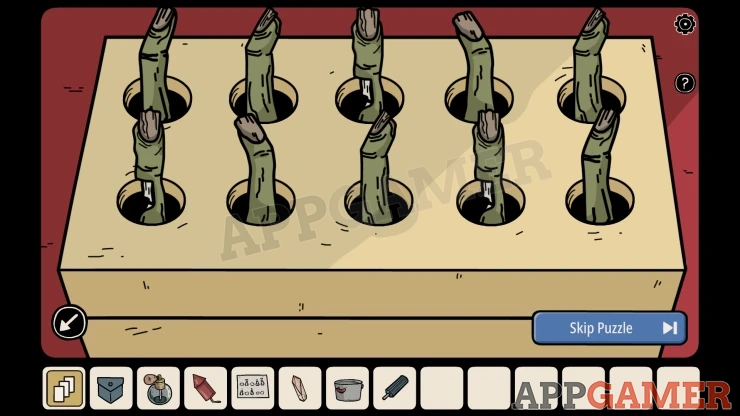
Tap the fingers on the box in the order shown by the five numbers on the paper.
Collect a Screwdriver Bit, an Adhesive Tape and a Key.
View the painting on the right wall, there is a keyhole.
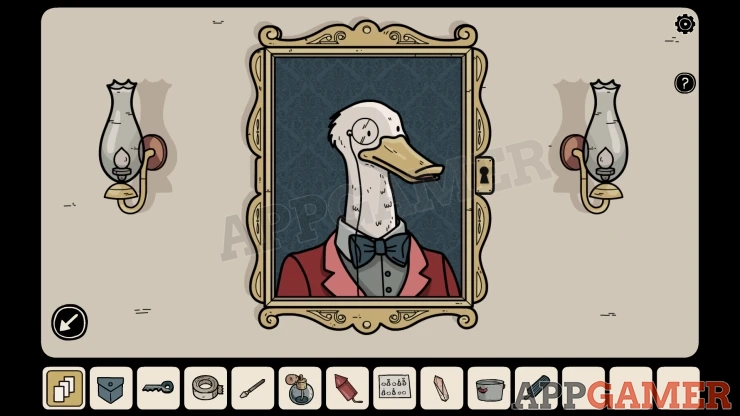
Use the Key to open this and move the painting. There is a symbols clue on the wall behind it.
But now you need to look in the mirror on the opposite wall. This will show you the symbols revered and with more details.
Show
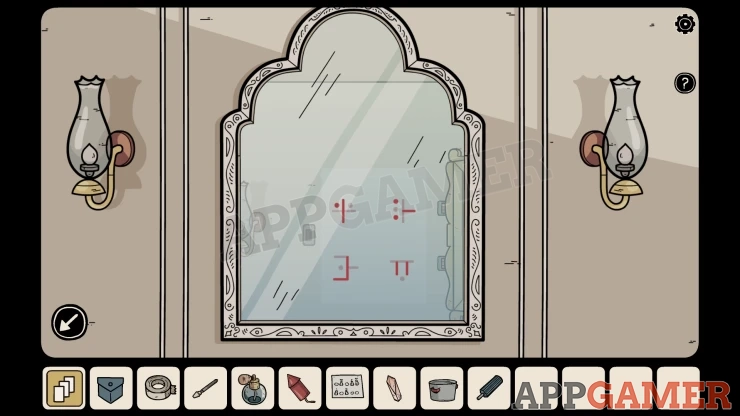
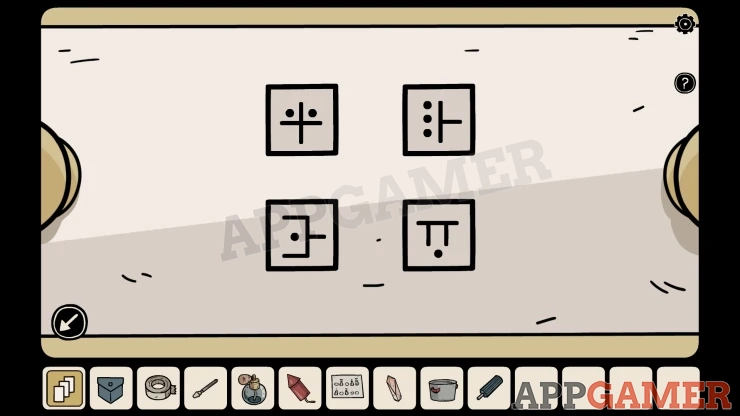
Go back to the corner room with the chest of drawers. Then view the top drawer.
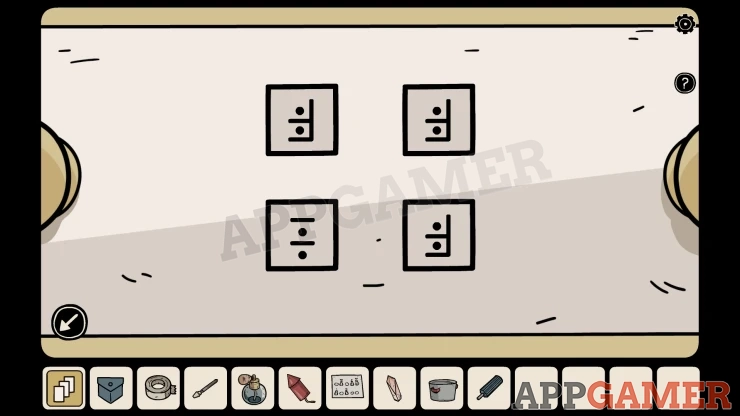
Use the clue symbols from the mirror to open this. Then yo can collect a Matchbox and some Oil.
Show
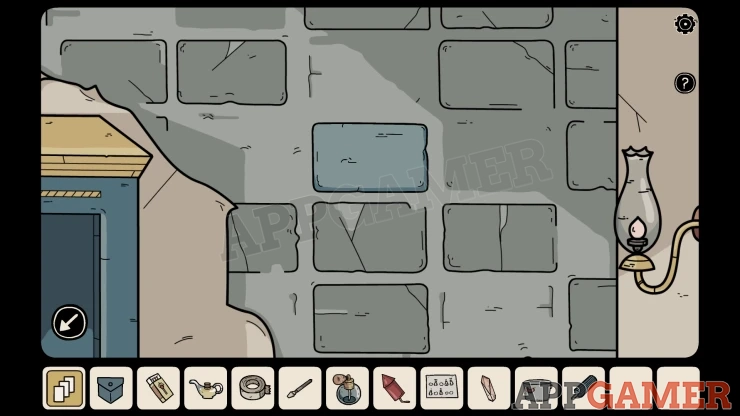
Move to the right to the room with the girl on the floor. Then look on the wall above her to see the exposed bricks.
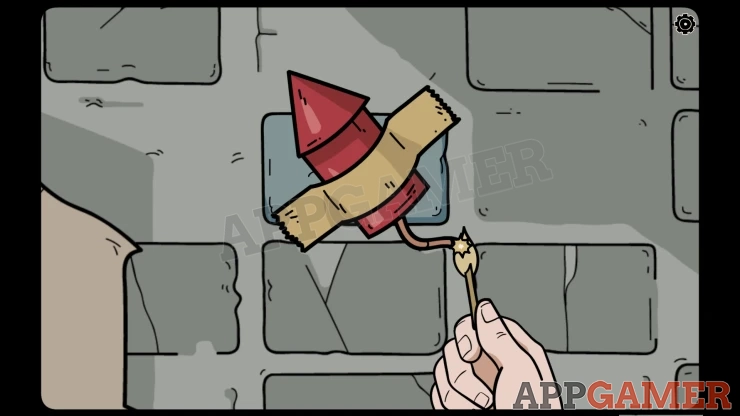
Combine the firework rocket with the adhesive tape, then place the rocket with tape on the wall. Use the Matchbox on the rocket to light it. This will make a hole in the wall to reveal a number clue.
Move to the left to the corner room and then you can view a telephone on the wall on the right.
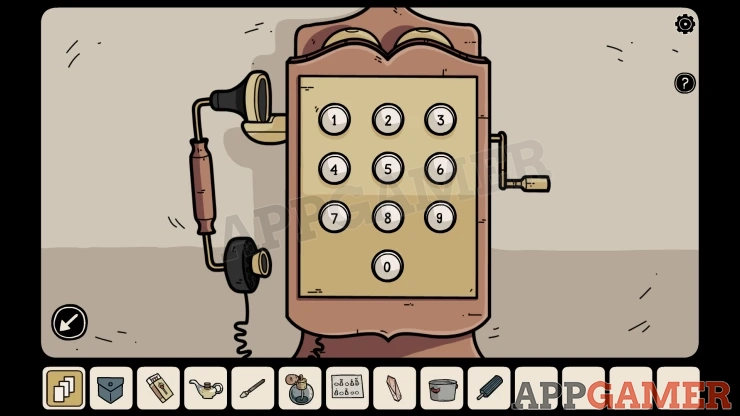
Tap to lift the receiver and then enter the number from the wall.
469-2209Show
You will be told some directions to move in.
Show
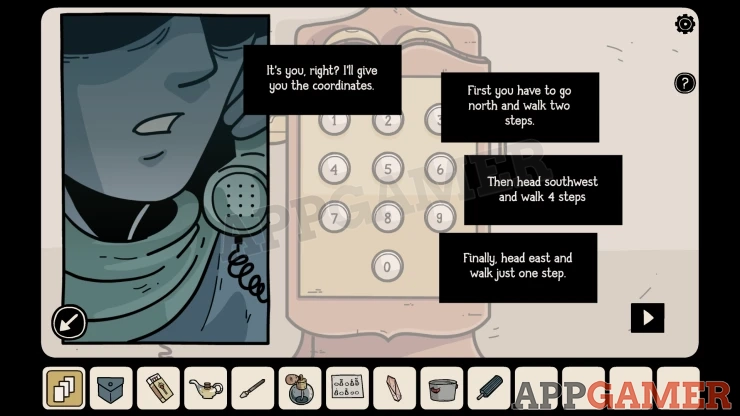
Look on the wall to the left of the window to see a picture with footprints and arrows.
Footprints Puzzle
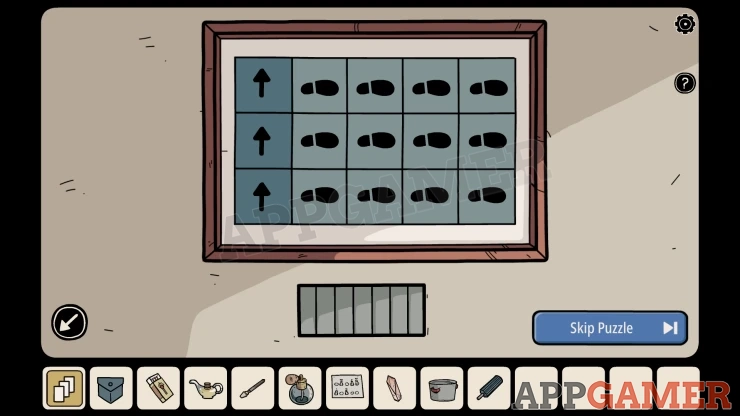
- Tap the arrows to turn them, tap the footprints to change them to X.
- Set the arrows and footprints to represent the directions you were given on the phone.
Solution: Turn the arrows to the three directions you were given, e.g. north, east etc. Then in each row leave the first number of footprints for each of the direction and turn the rest to X.Show
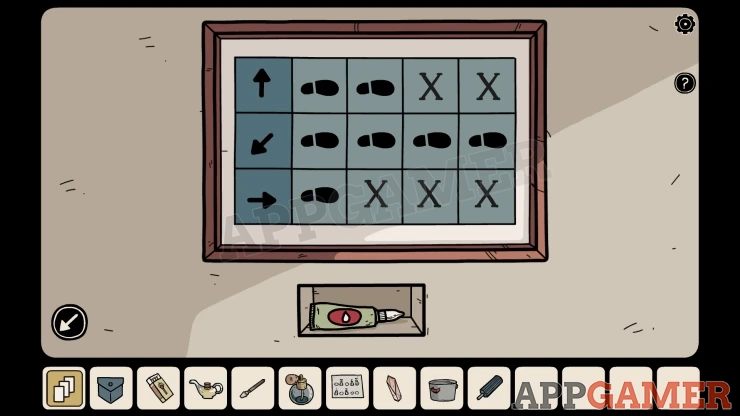
Collect the Extra Strong Glue.
Now combine the Screwdriver Handle and the Screwdriver Bit in your inventory and add to it the extra strong glue.
This gives you the Repaired screwdriver.
View a vent on the right wall below the telephone. Then you can use the screwdriver to open it.
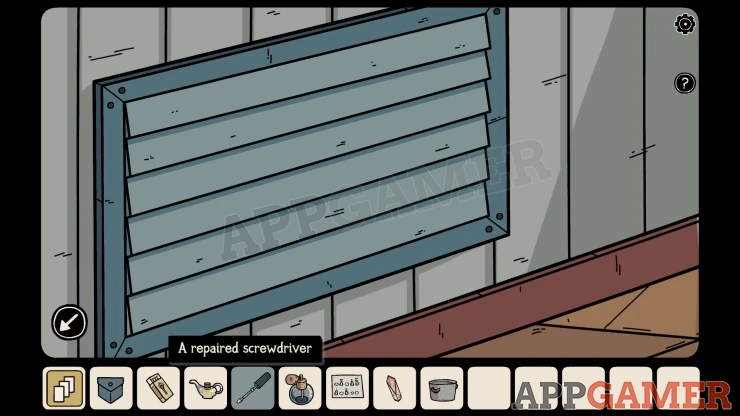
Lost Soul: found in the vent.
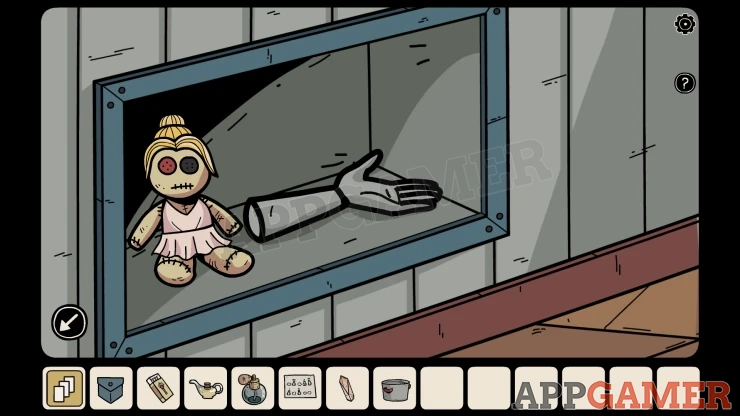
Collect the Statues Arm.
Move to the right. There is a statue with three arms.
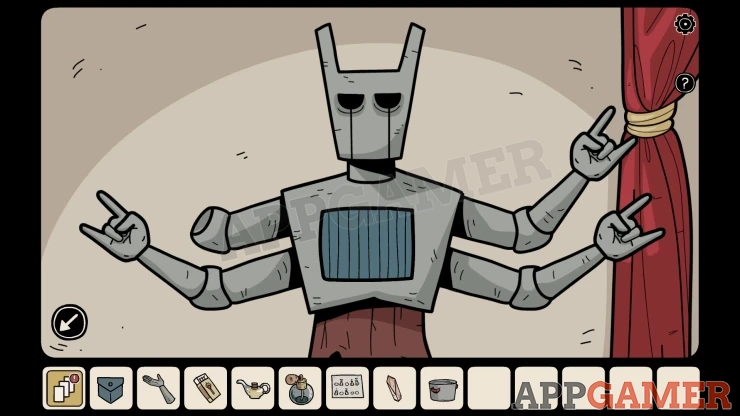
Add the extra arm to this. Now you can tap the hands to change the gesture the hand is showing.
The clue for this was seen on the wall in the far left room with the blue chest.
Show
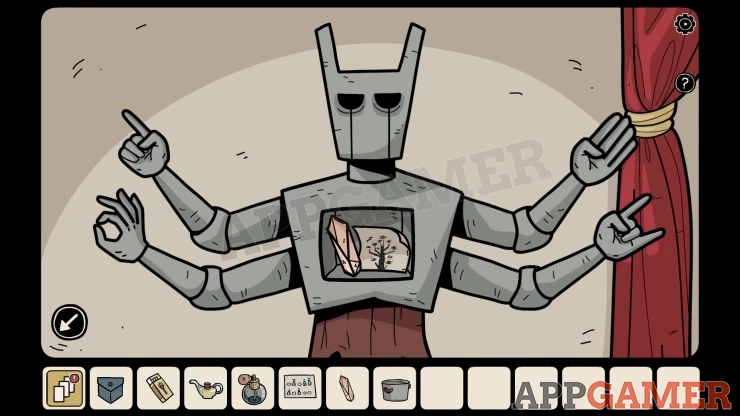
Once you have set all four correctly you can collect a second Quartz and another paper clue with eyes.
View a drawing on the wall with a tree of eyes.
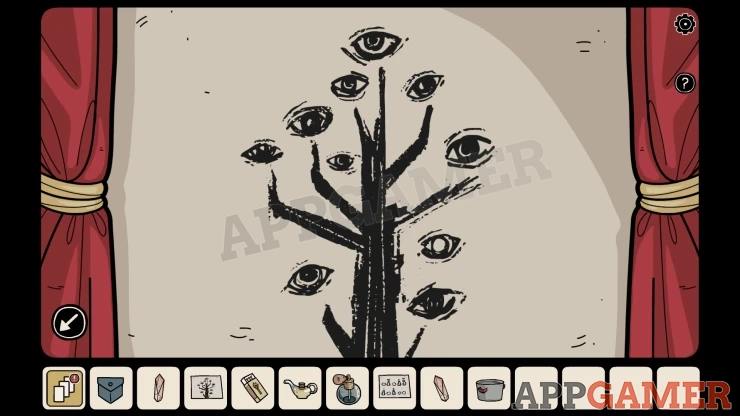
Then check the paper clue with eyes to see that four are numbered in the same was as the fingers.
Show
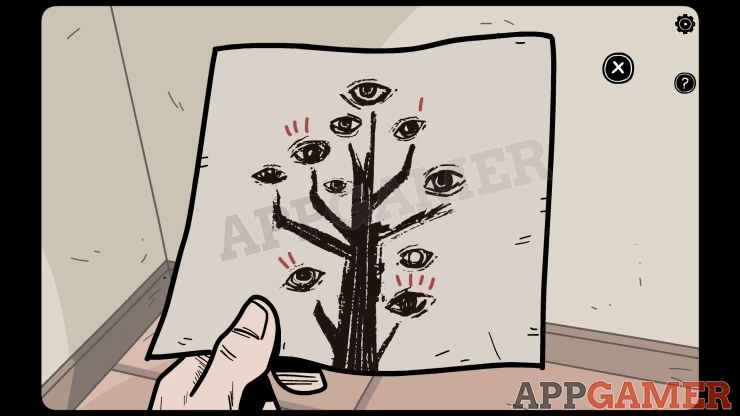
Tap the four eyes on the wall that match the numbered ones on the paper. The eyes will close a number of times. Remember these numbers and their order.
Move to the corner room and view a yellow box on the lower left.
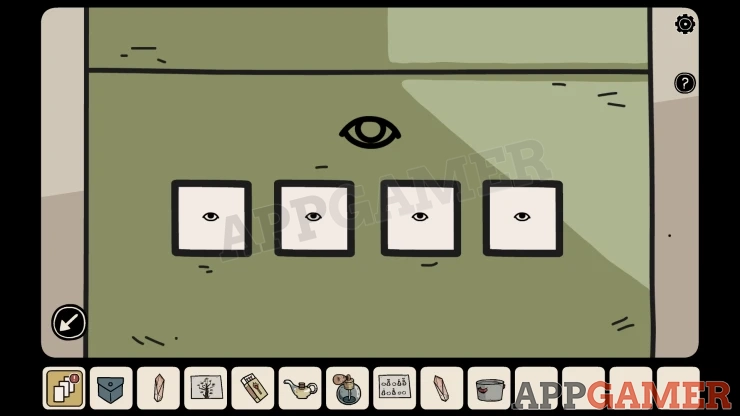
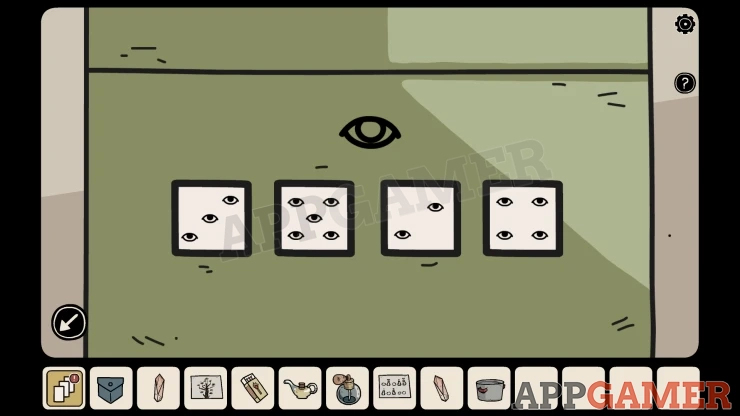
You can use the numbers from the eyes to set the code to open this.
Show
Collect a Crystal Ball and a Straight Razor.
Go to the far right room again and view a toy on a rug on the floor. It you tap it it makes a noise.
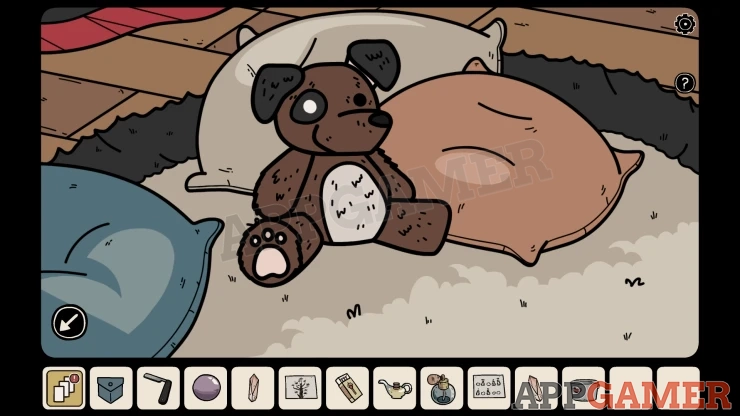
Use the razor on the toy to cut it open and then collect a Box of crayons.
Move to the left and then tap on the girl to talk to her. She wants to paint the stones she has.
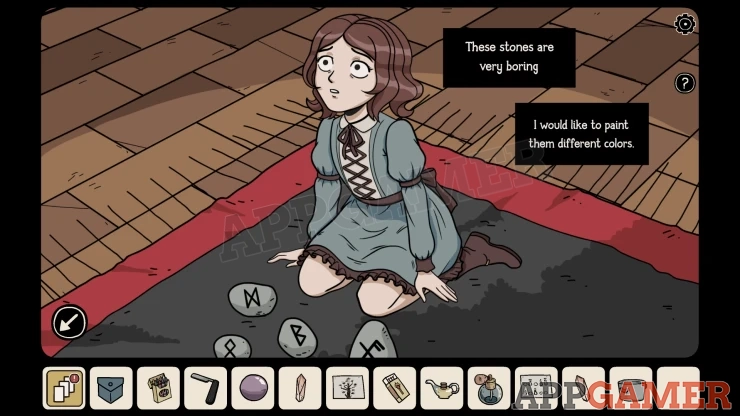
Give her the crayons and she will color them, she will also give you another Quartz.
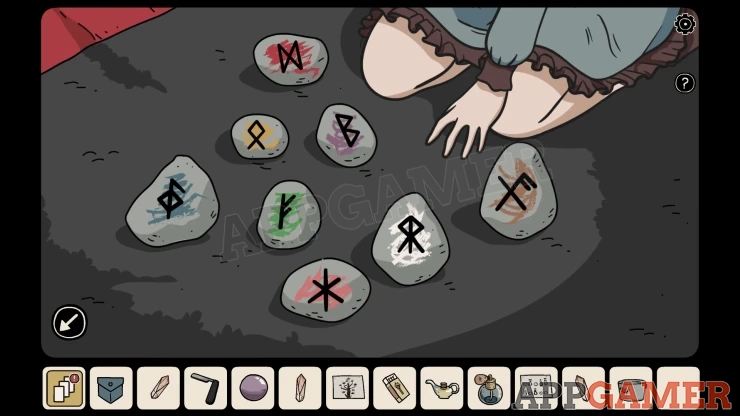
Notice the colors and the symbols on the stones.
Move to the right again and view the large crystal on the back. Add the three Quartz crystals to it. The large crystal will then change colors to give you a sequence of four colors.
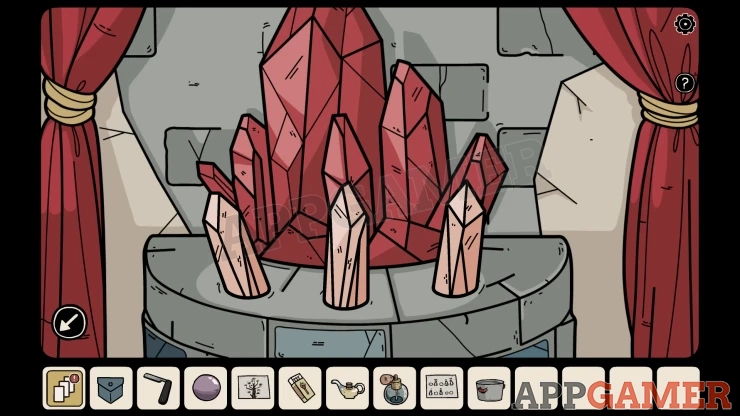
Combine the colors with the stones with the colors and symbols on them and you will have a sequence of four symbols.
Now you can move to the far left room again and view the large blue chest. Use the symbols to unlock this.
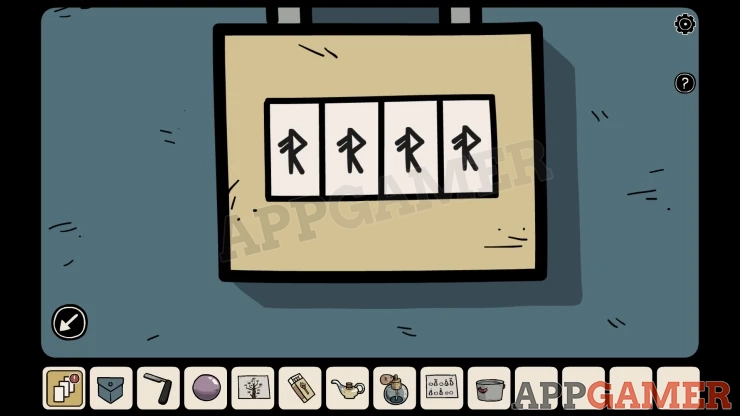
Show
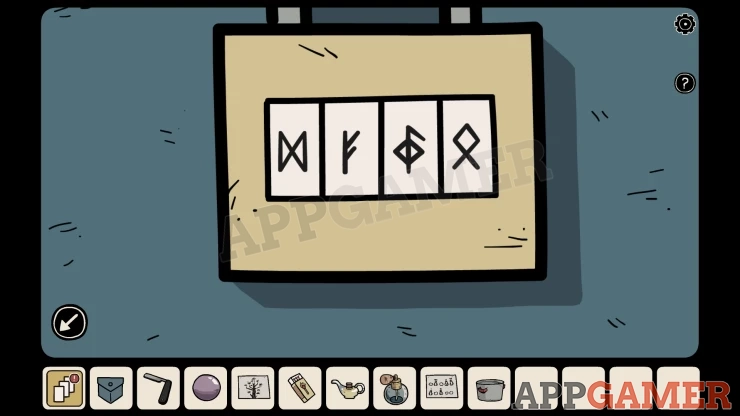
Collect a Chess piece in the shape of a dragon and some Firewood.
Move to the right and view a game that resembles a chess board. You will be shown how the four pieces on it move.
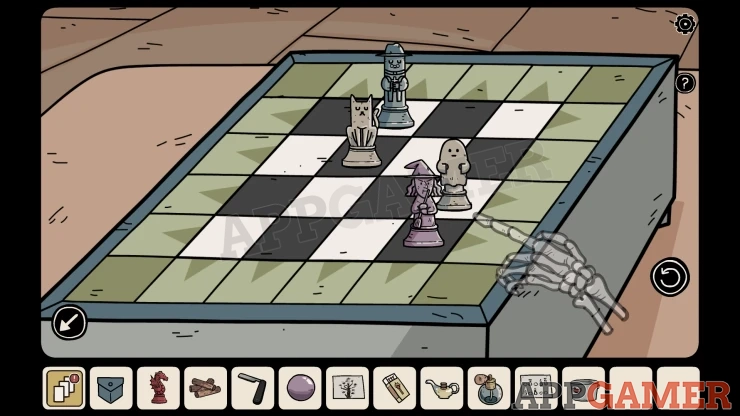
Add the Dragon chess piece to the board to start a puzzle.
Dragon Chess Puzzle
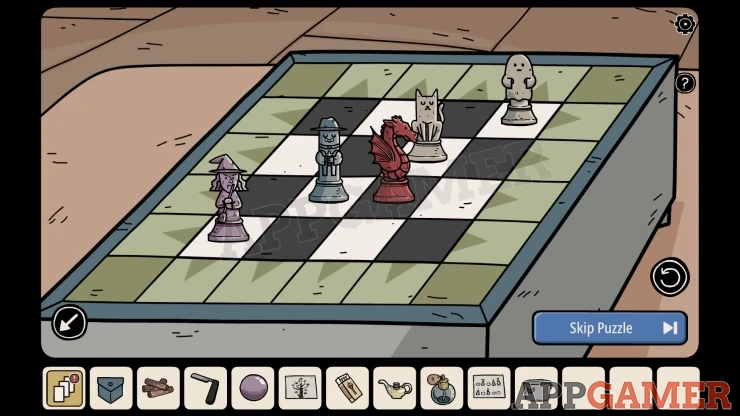
- There are two pairs of pieces that you an move.
- You can move the purple Witch piece, this will also move the Cat piece in the same direction.
- You can move the Exorcist (blue man with a hat), this will move the ghost shaped piece in the same direction.
- If a piece is moved off the black and white section of the board it will reappear on the opposite side.
- The dragon piece is fixed. It can be used to block the movement of another piece.
- To clear the board you need to get the Witch to catch, land on the same square as the Cat, and get the man in the hat to catch the ghost.
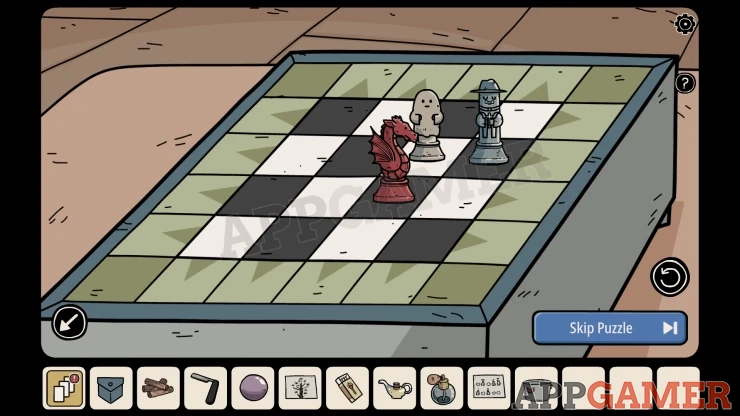
Once done you can collect a Gardening Glove.
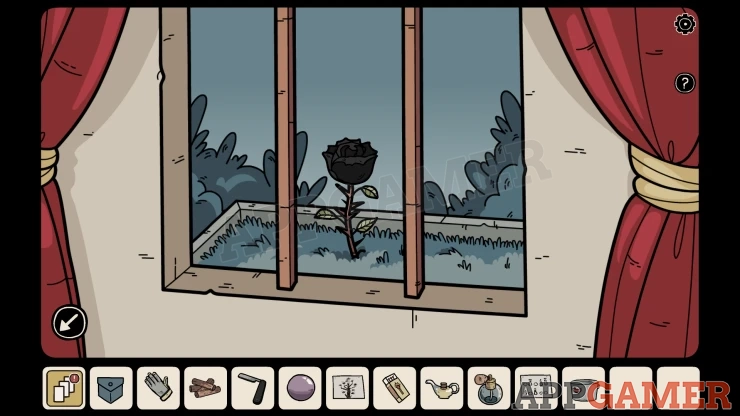
Move to the corner room and look through the window. Use the Glove to let you collect the Black Rose.
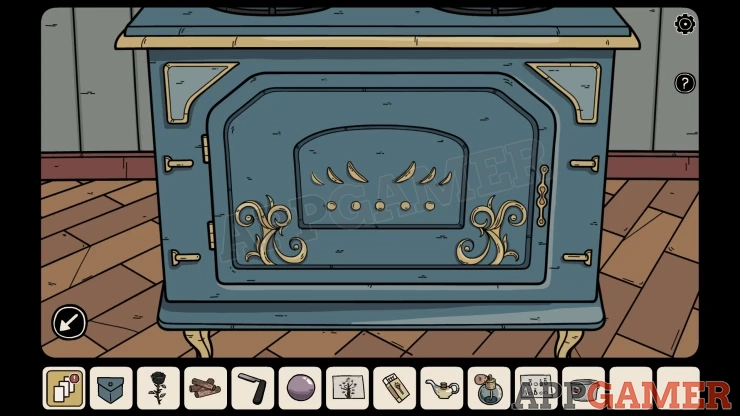
Move to the left and view the large stove.
Open the door and add the Firewood, then use the matchbox to light it.
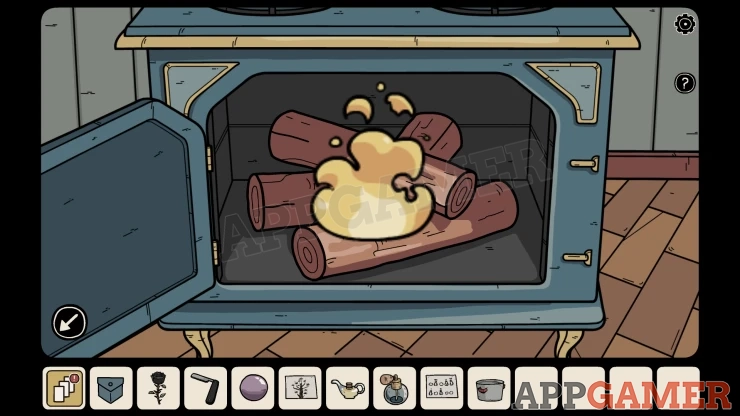
Now look on top of the stone and place the Pot.then add the Oil to it and the Black rose.
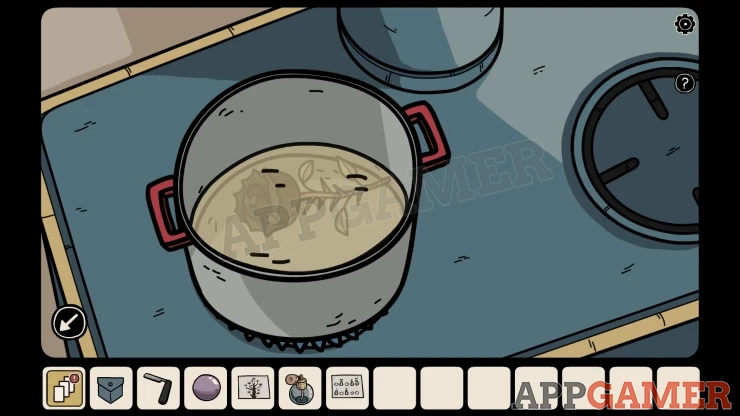
Next use the Empty perfume bottle on the pot to collect the Black Rose Perfume.
Move to the left and view the floating ghost lady. Give her the perfume.
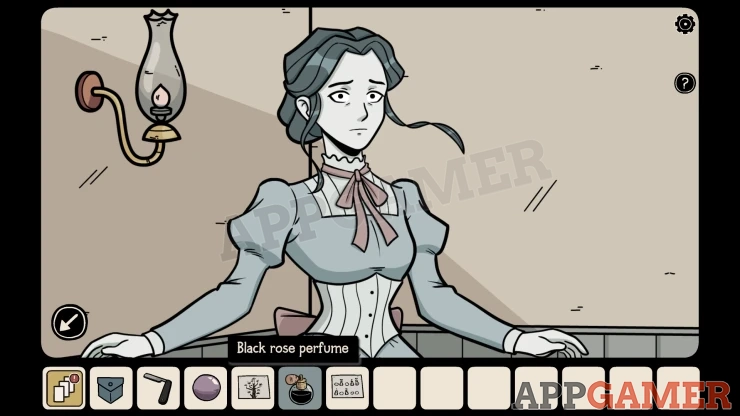
She will disappear and then you collect a Ticket.
Move to the room with the girl on the floor and then view the fortune telling machine behind her.
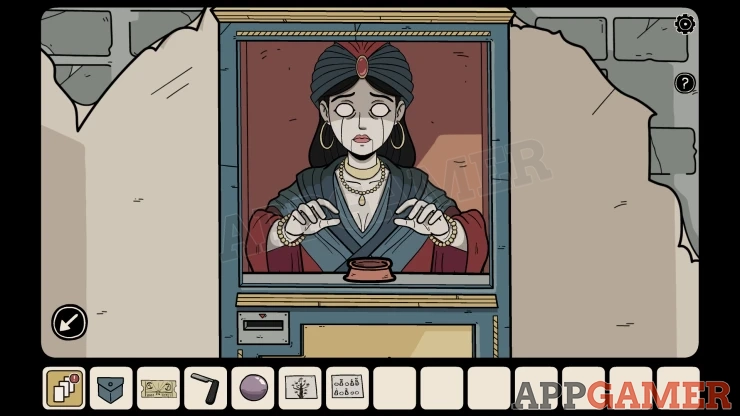
Add the Crystal ball to it and then insert the ticket into the machine. You will see a clue appear in the crystal ball.
Show
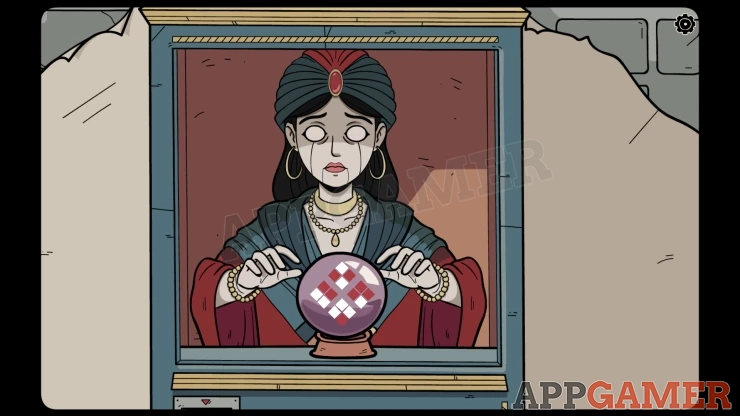
You can now return to the Unknown Place.
Move to the left room and then view a safe on top of the small cabinet on the left wall.
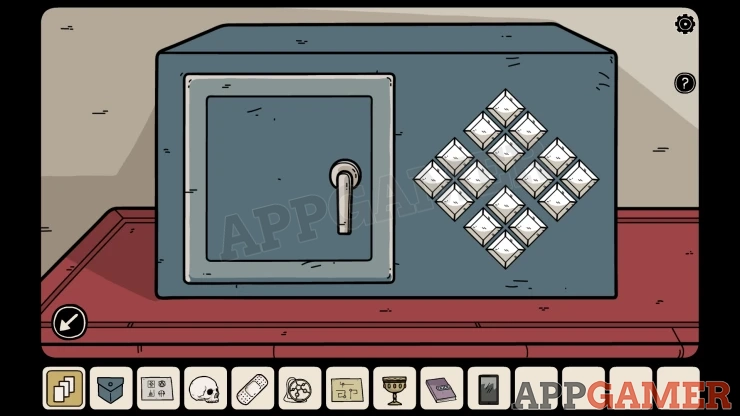
Use the clue pattern seen in the crystal ball to set the buttons to open it.
Show
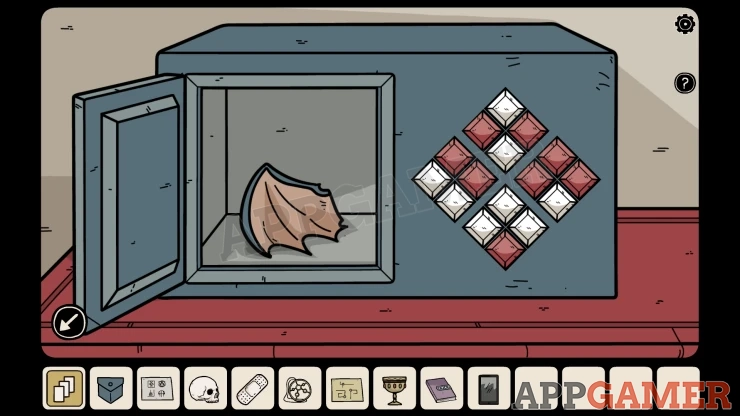
Collect the Wing of a Bat.
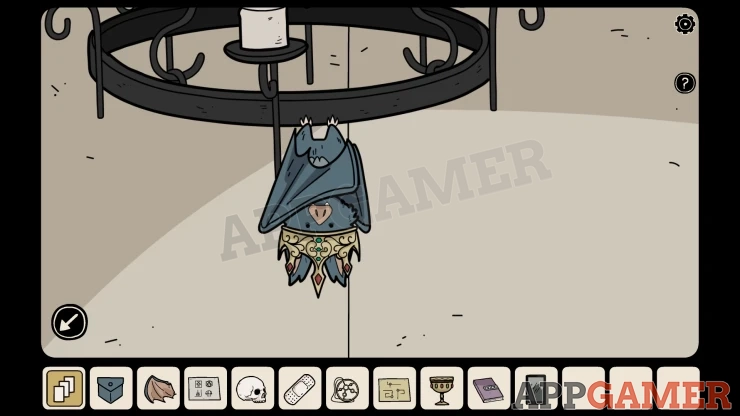
Next look on the chandelier on the left to see a bat with a crown hanging from it. It has a broken wing.
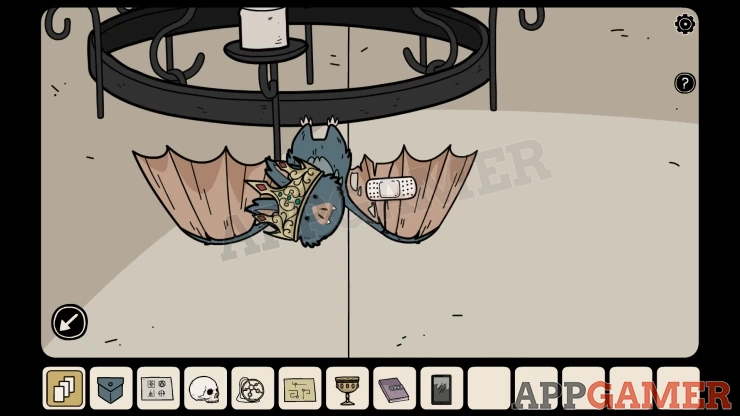
Combine the Bat wing with the Adhesive bandage. Then add this item to the bat.
You can then collect the Crown from the bat
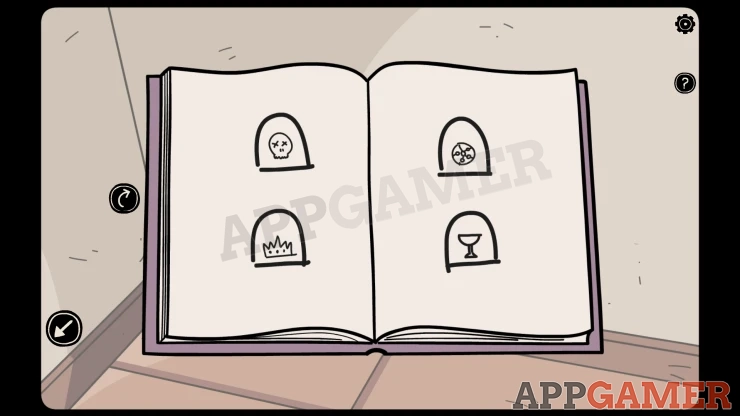
Look inside the book you have in your inventory with clues. Turn the pages to the right to find another clue with four items in alcoves.
Next to the door in the roof are alcoves, two on each side.
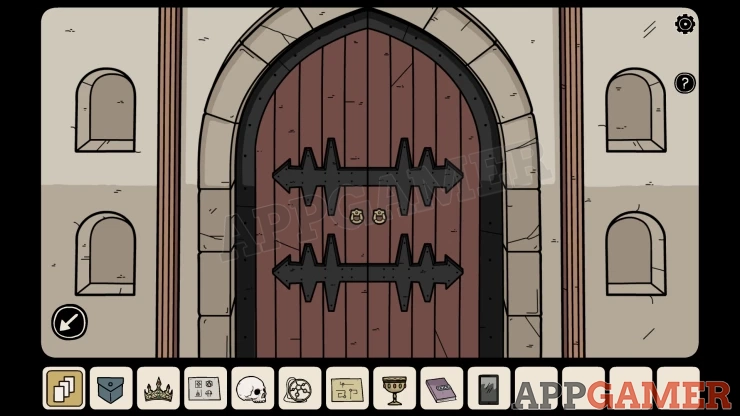
According to the clue in your game place the Skull the Crown, the Medallion and the Golden Chalice into the correct alcoves.
The door will open.
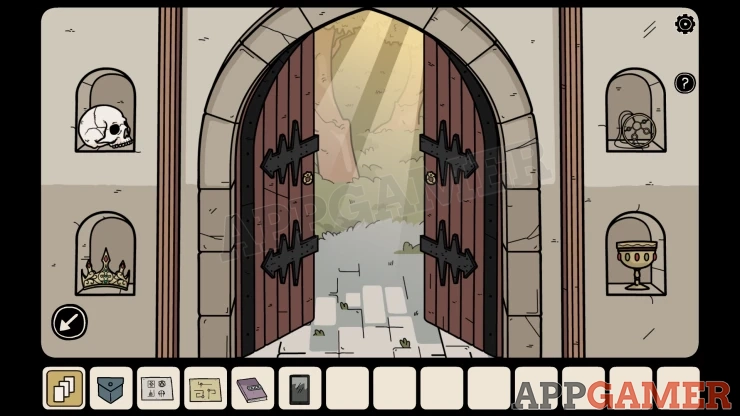
As you try to escape you learn the truth about why you are there.
This completes the main game.