
Premium Content Walkthrough
More Hidden Memories
This is our walkthrough for the additional premium content of Hidden Memories. This is an extra chapter at the end of the main game that you can play if you purchase the Premium Content pack.
In the premium content chapter you play as Mina, the girl who has been helping the vampires claim victims to secure her freedom but is now locked up against her will.
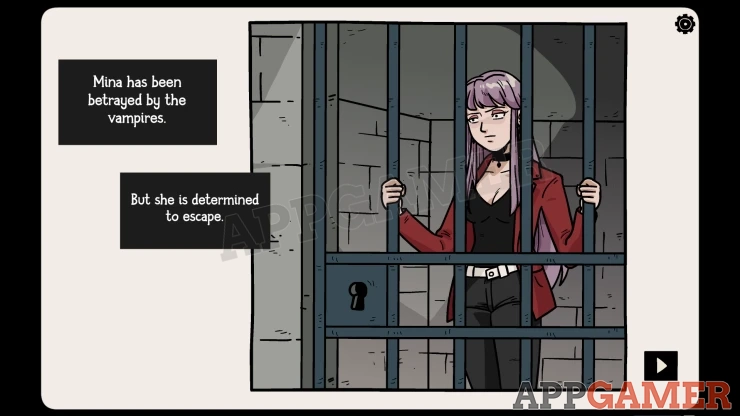
Premium Content Walkthough
You start in the cell that Mina is locked up in. There are two rooms.
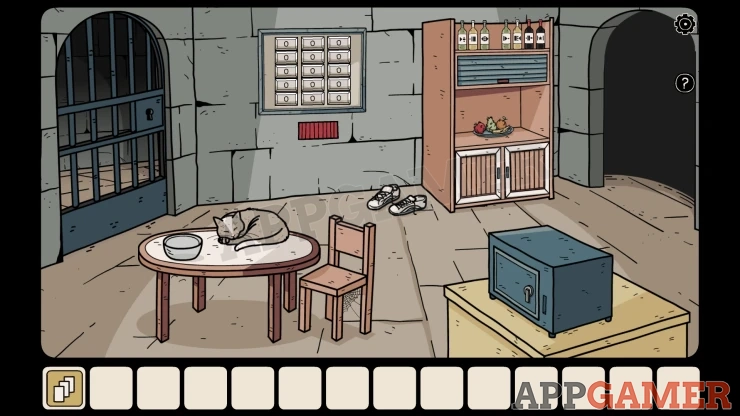
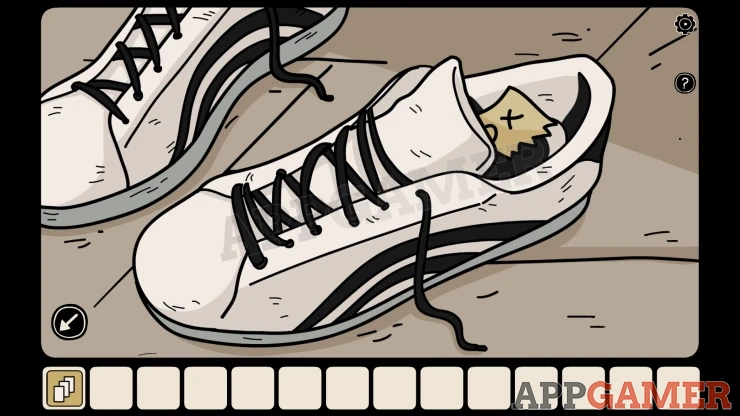
View the shoes on the floor, then collect a Torn Paper from them.
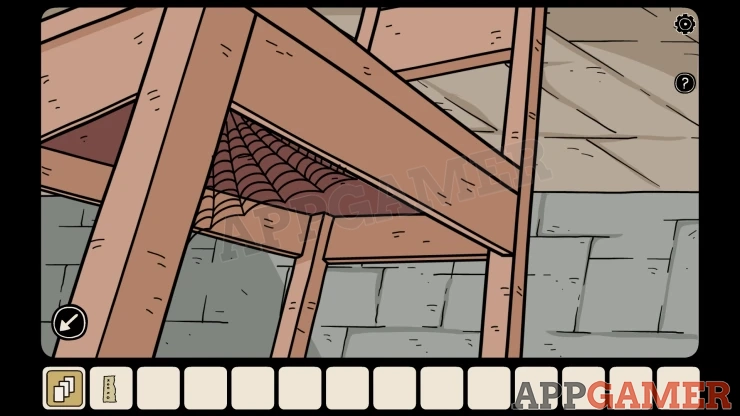
View the chair next to the table, collect the Spider Web.
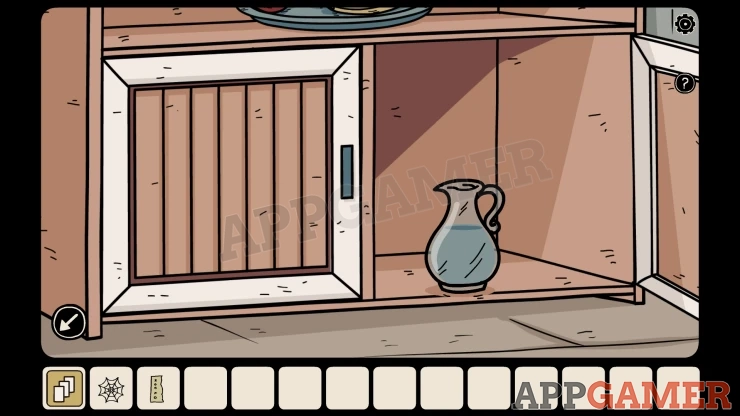
Then look at the cabinet doors at the bottom of the shelves on the back right. Open the doors to collect a Pitcher of Water.
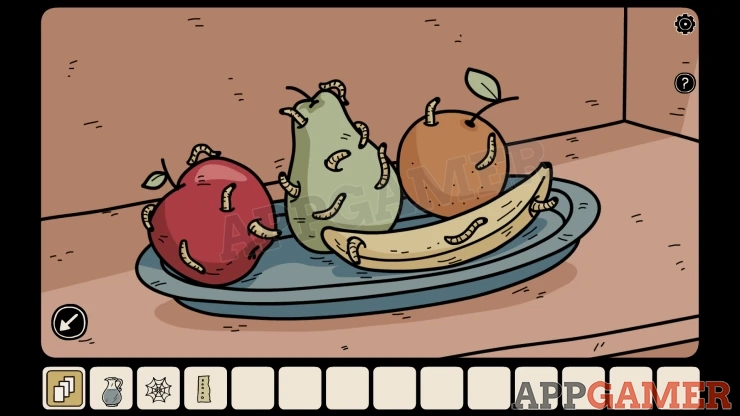
Then look at the bowl of fruit on the shelf above the cabinet, there are worms in each piece of fruit. This is a clue.
Move through to the room on the right.
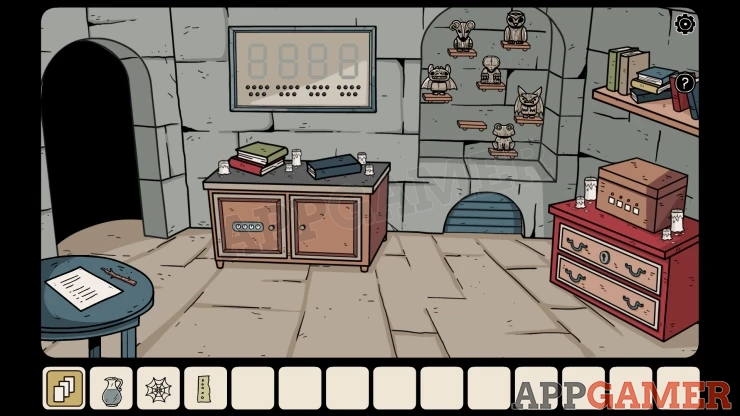
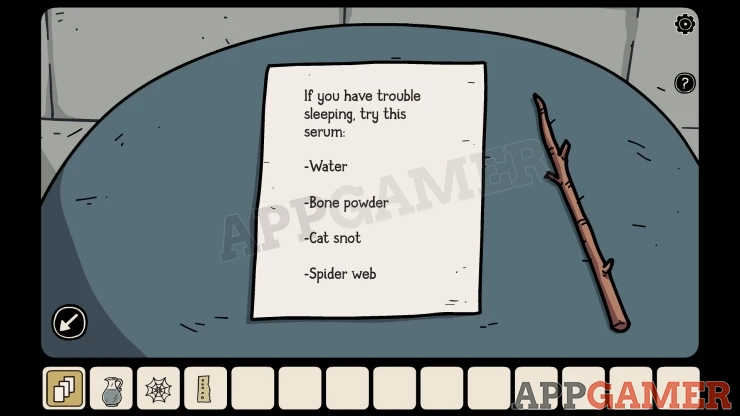
View the round table on the left, there is a note with a serum recipe. Collect the Branch.
Then view a box on the red cabinet on the right. There are four dials with a color above each.
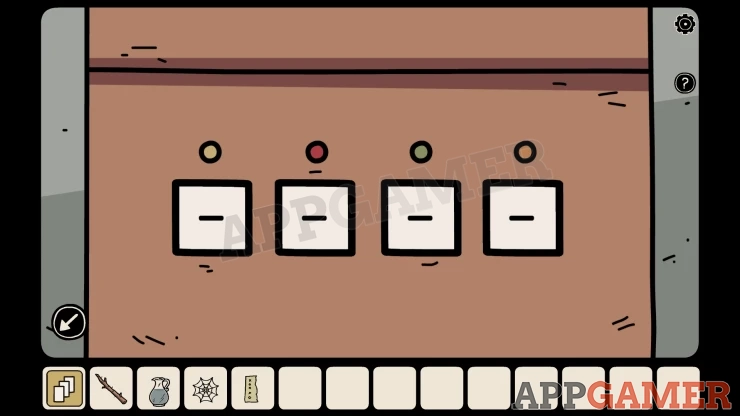
To open this count the number of worms on the piece of fruit that match each color.
Show
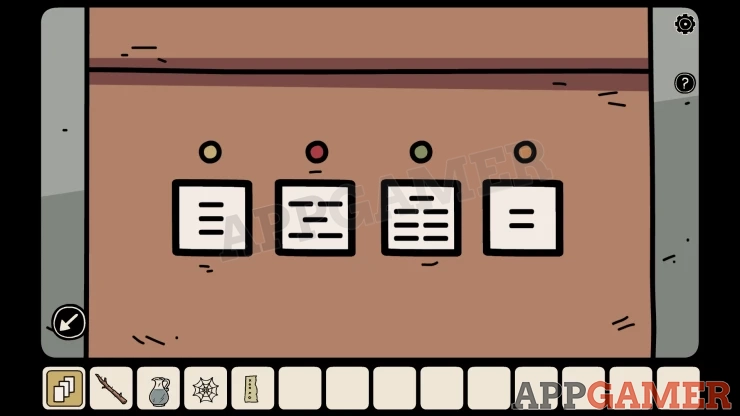
Collect a Statue.
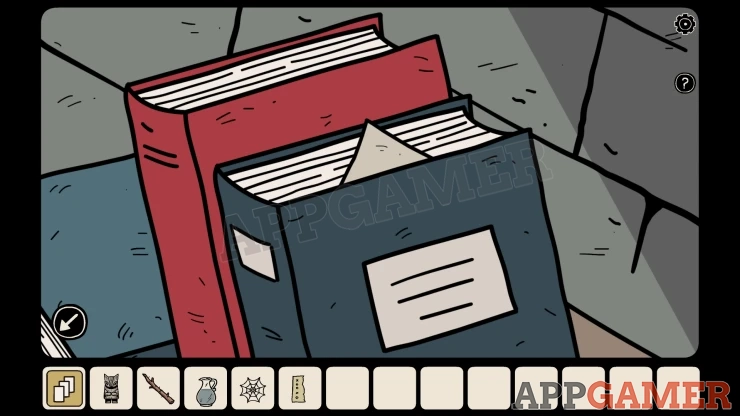
Then view the books on the shelf on the right wall above the box. Collect a Paper clue from the book.
Next view some shelves on the back wall with small statues on them, add the statue you have to the empty shelf.
Statue Puzzle
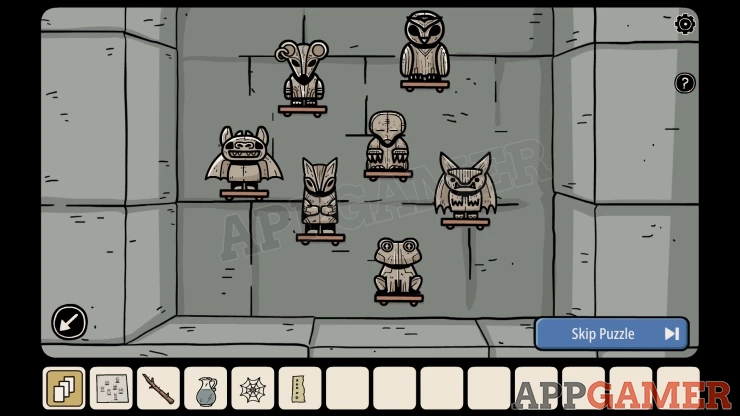
- View the paper clue to see the same shelves with the statues arranged.
- Tap pairs of the statues to swap their positions.
- Match the statues to the arrangement on the paper.
Show
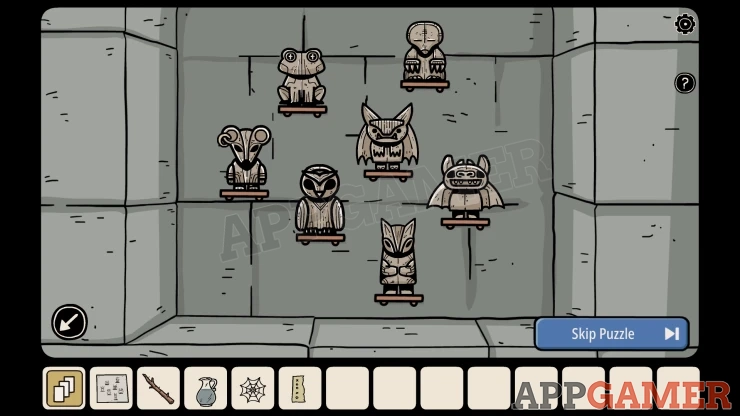
Once done you can collect a Bottle of Wine and a Note.
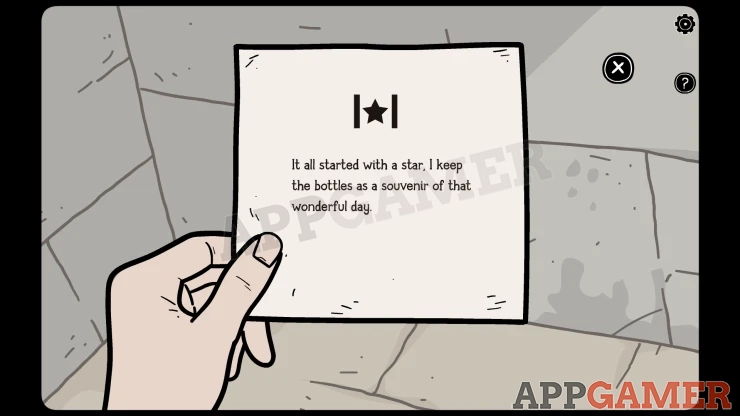
Go back to the first room and view the shelf at the top of the large cabinet on the right. There are more bottles here.
Wine Bottle Puzzle
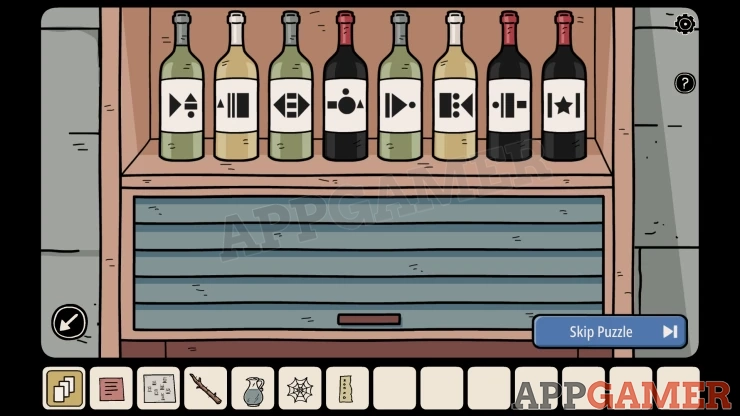
- Add the bottle of wine to the shelf and then read the note.
- Tap pairs of bottles to swap their positions.
- Start with the bottle with the star on the left and then match the symbols to arrange the bottles in the correct order.
Solution: Show
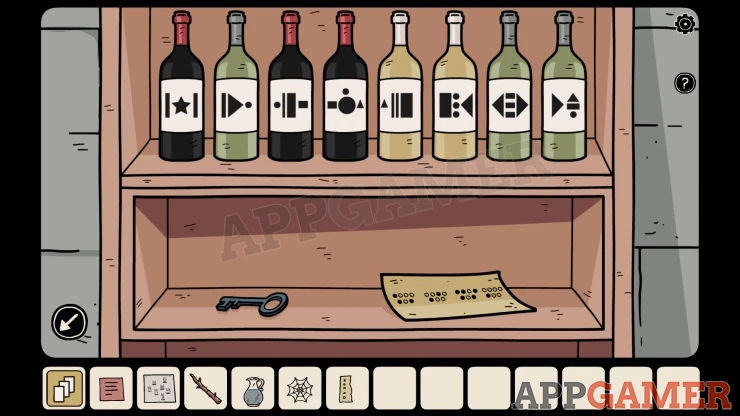
Collect a Key and a Paper Clue.
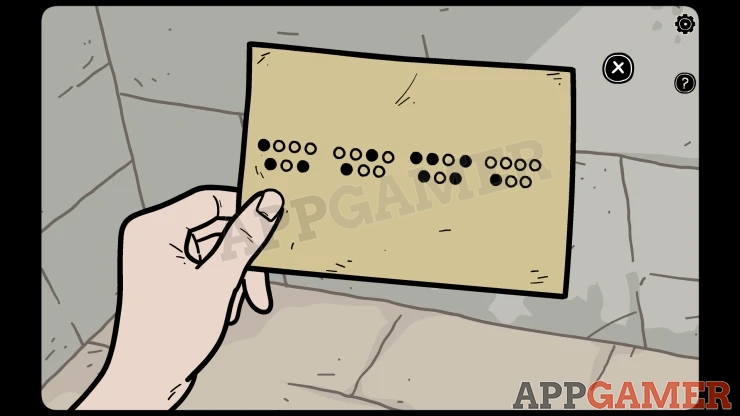
Move to the room on the right. View the red drawers on the right and use the key to unlock the top drawer. Collect a second Torn paper.
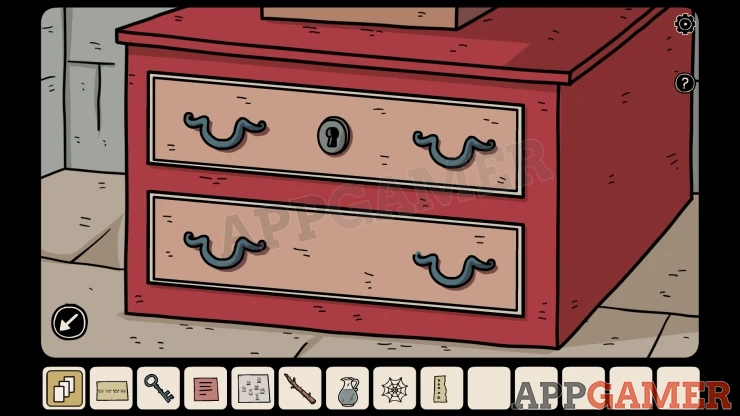
Then look at a large display on the wall.
Digital Display Puzzle
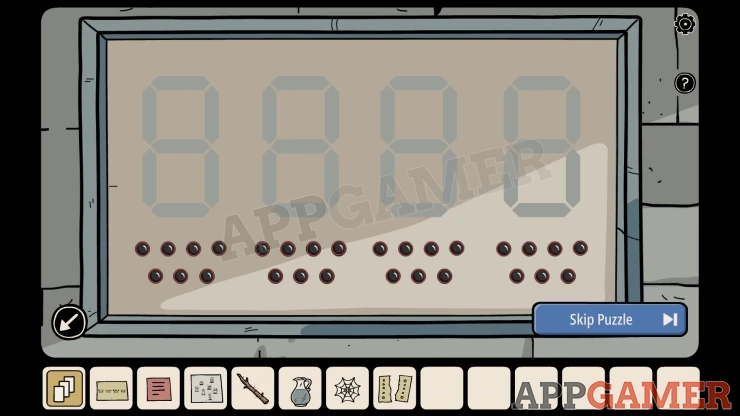
- This has four digital number displays with buttons below each one.
- View the paper clue that you have with four sets of circles.
- Then tap the buttons below each display to match the black and white circles on the paper.
- You will see four numbers on the display.
Solution: Show
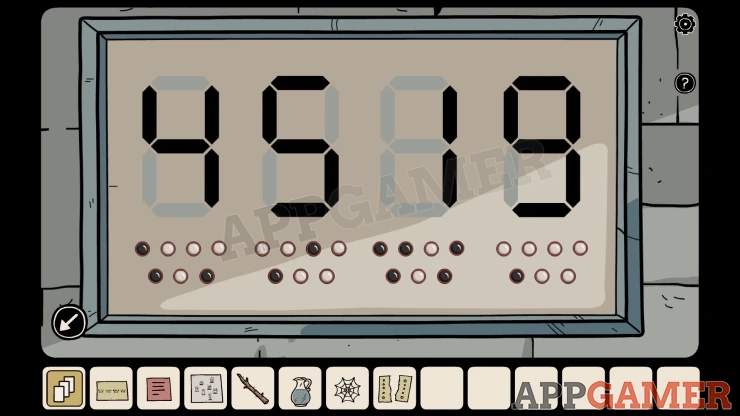
Now go to the cell door to look outside. There is a guard sitting there who asks you for numbers. Enter the four digit number you have from the display.
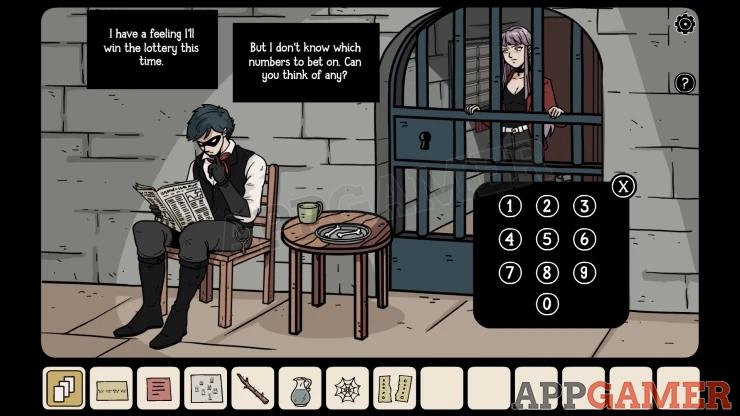
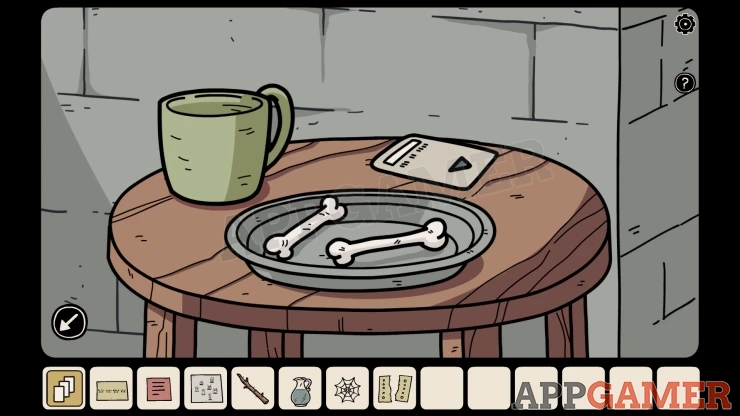
He will leave a card on the table, collect the Access Card and also a Bone.
Next view the blue safe on the lower right of the room and use the access card to open it.
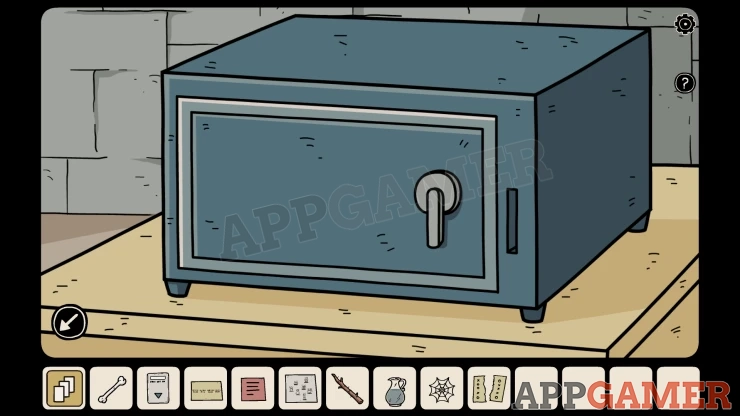
Collect another Torn paper and a Grater.
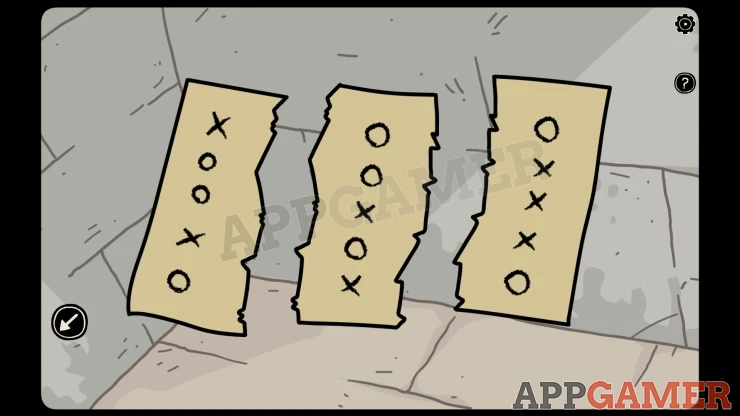
You now have three torn papers. View these to see the clue with X and O.
Show
Then you can view the board on the wall next to the cell gate.
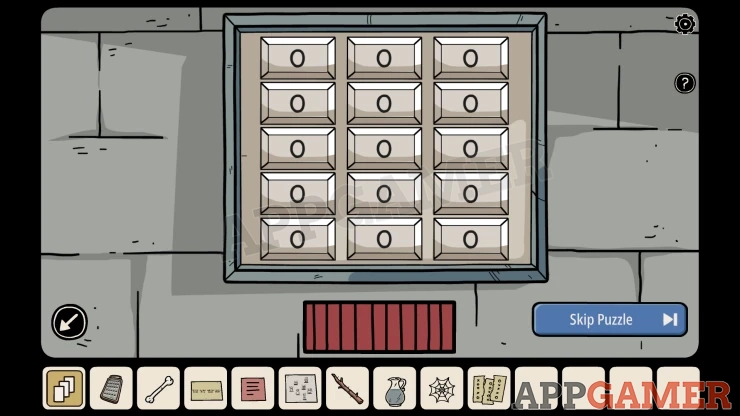
Using the clues on the papers tap the buttons to set the correct combination of X and O.
Show
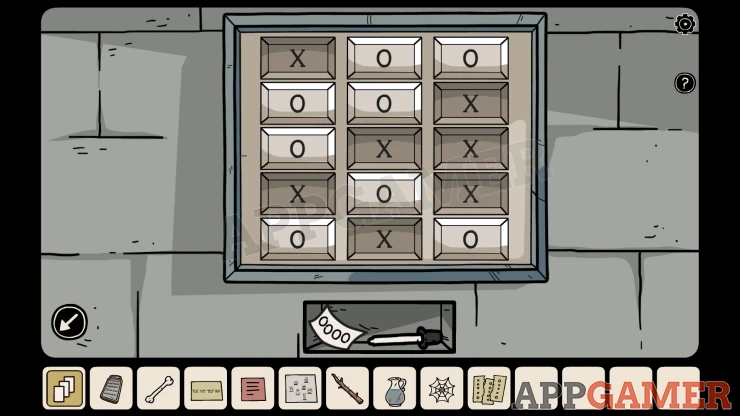
Collect an Eyedropper and a paper clue.
Now more to the second room and view the left cabinet door with the combination lock.
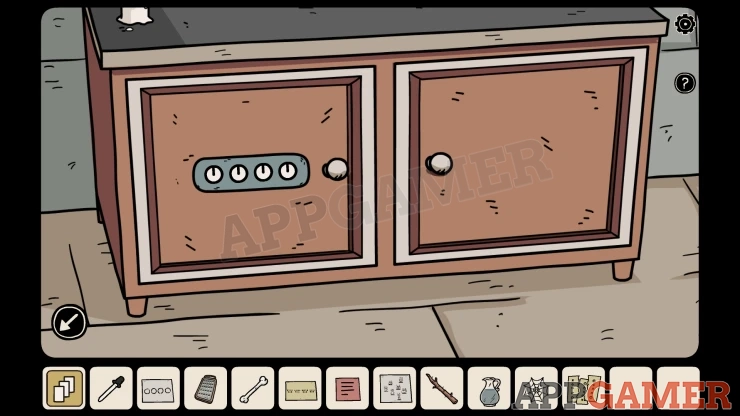
Tap the circles to turn them and set them according to the paper clue.
(move the lines to where the gaps are in the circles on the paper)
Show
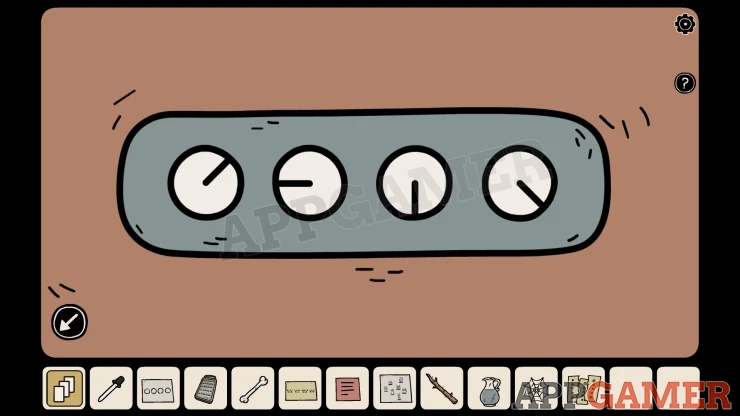
Collect a Pepper Shaker.
Go to the first room and view the cat on the table with a bowl.
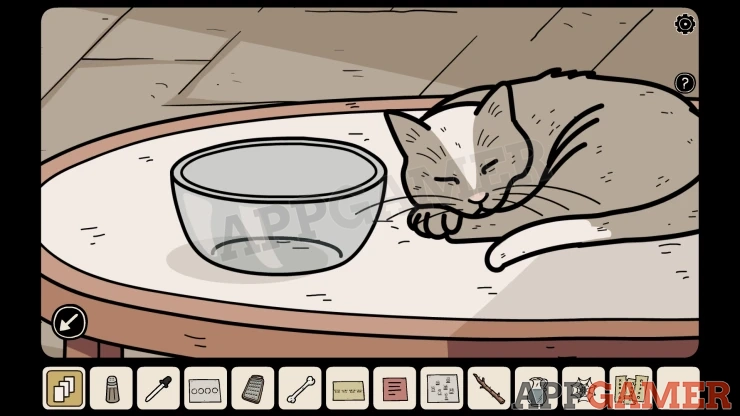
Use the Pepper on the Cat and it will sneeze into the bowl. Then combine the Bone and the Grater in your inventory to get Bone Dust, and add this to the bowl. Next add the Spider Web and the Pitcher of water.
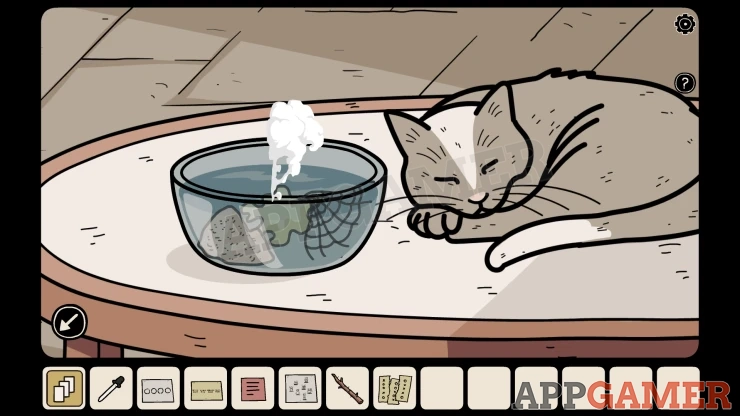
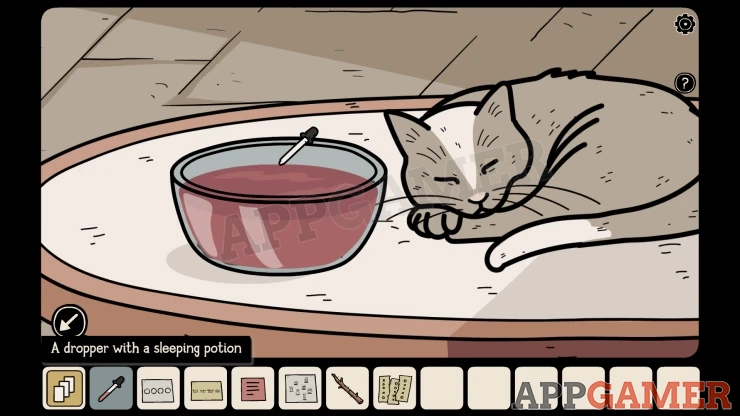
Then you can use the eyedropper on the bowl to collect an Eyedropper with Sleeping Potion.
Look outside the gate again and view the small table. Use the Eyedropper on the cup to add the sleeping potion.
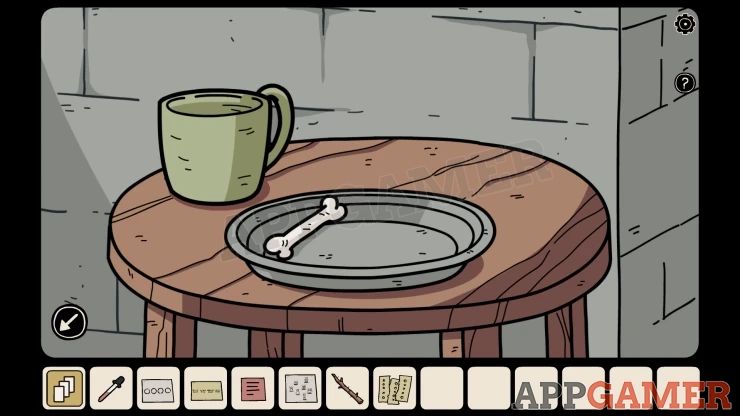
The Guard will drink it and fall asleep. View the Guard's Keys on his waist and use the Branch to collect it.
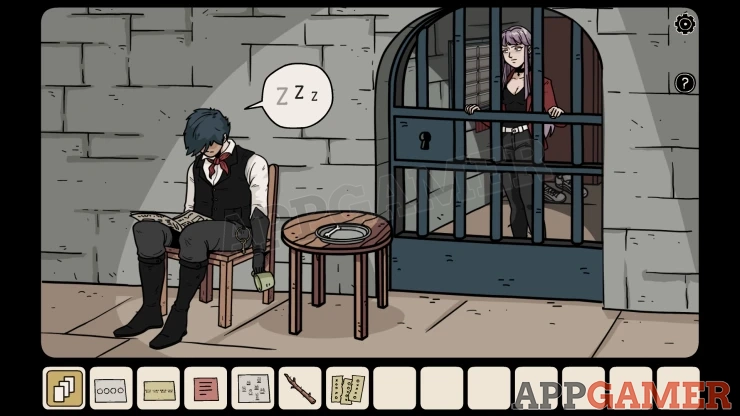
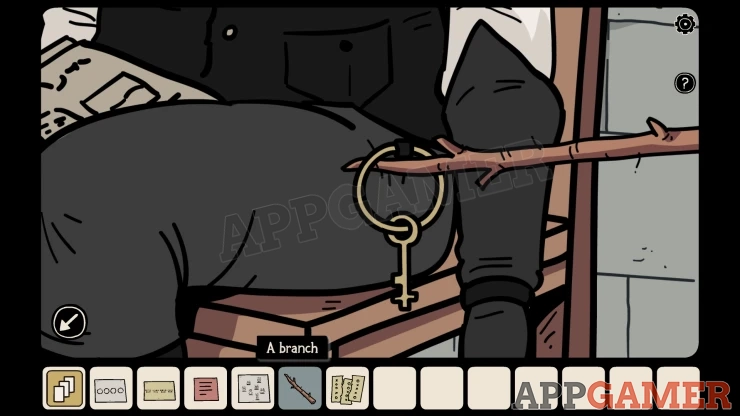
Use the Key on the gate and the door is open, you have escaped.
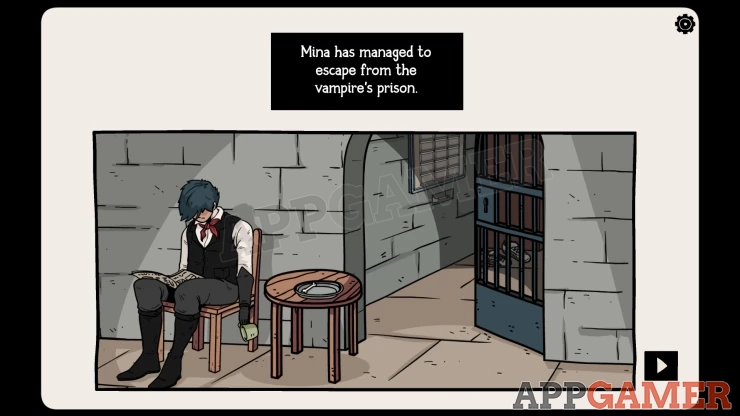
That completes the additional content for the game. And perhaps lets us know what might be coming up in the next game from Dark Dome.
We have questions and answers related to this topic which may also help you: Show all
 With 20 years of experience in creating video game content for the internet and over 30 years as a gamer, Mark is now a passionate mobile App Gamer. Loving a challenge, he is always ready to get stuck in to both survival builders and puzzle solving games. He has been providing content for AppGamer since 2014.