Escape Room: Ally's Adventure Walkthrough
Escape Room: Ally's Adventure Guide

Escape Room: Ally's Adventure is a puzzle game from ENA Game Studio. It is a puzzle adventure that follows the story of Ally and her father who is trapped on an alien planet. As you play though the levels you will help them to find a way to connect the two worlds so they can be reunited.
Each level has a number of puzzles to solve and items to find to enable you to progress. Some are easier to follow than others and all will give your puzzle solving skills a test.
There will be a variety of ares to explore and clues to investigate as you work through the level. If you struggle with any of the rooms you can use the hints system in the game to get help or follow our walkthroughs here.
Level 1
Level 1 begins with a back story to introduce the characters and explain the predicament you are in, hiding from a rogue AI. You can then follow a short tutorial if you wish.

Objective: Get inside the Ship
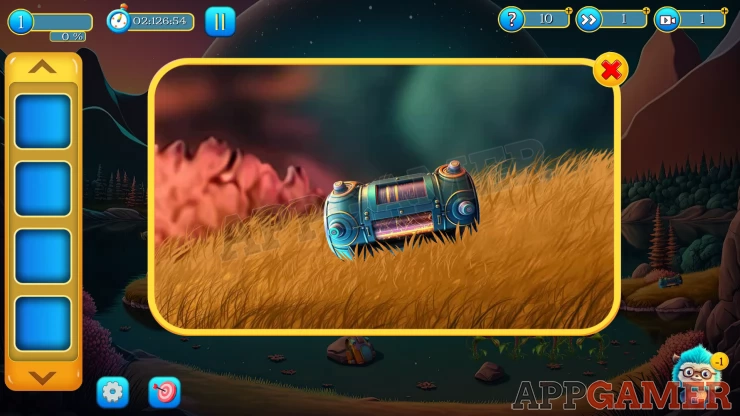
First tap on the headland on the right side of the lake and collect a Power Cell.
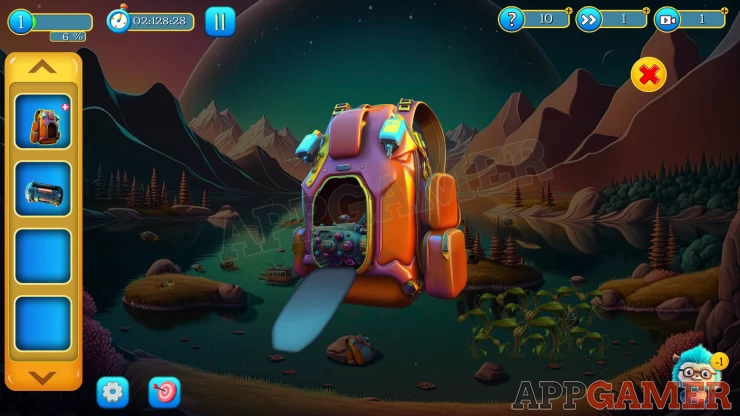
Then collect a Bag that is on a rock in the water at the bottom of the screen. View the bag in your inventory and open it to collect a Poison Gun.
Then view the poison gun and add the power cell to it. You can now use this on the biting plants on the right side to kill them.
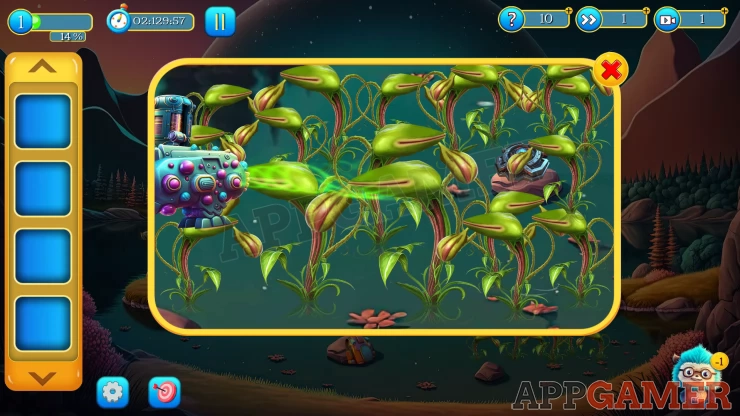
Collect the Shield Projector that is on the rock in the plants.
Now place the shield projector into the center of the lake to make a bridge. You can then tap on the small island on the left and move the items to collect a Chip.

Next tap on he island to the right to see a device. Add the Chip to it. You will then see a clue. Remember the symbols
Show
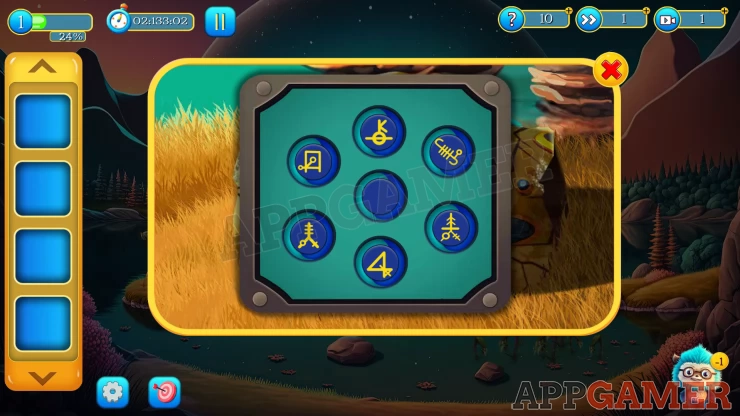
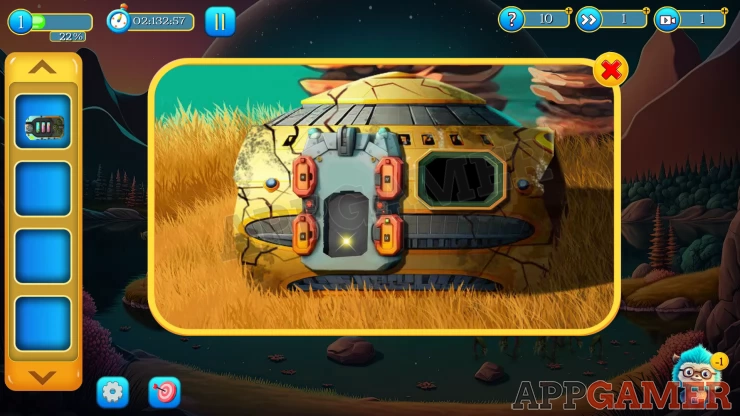
Now tap on the half sunk ship in the center of the lake to see the door. There is a puzzle on the door to solve.
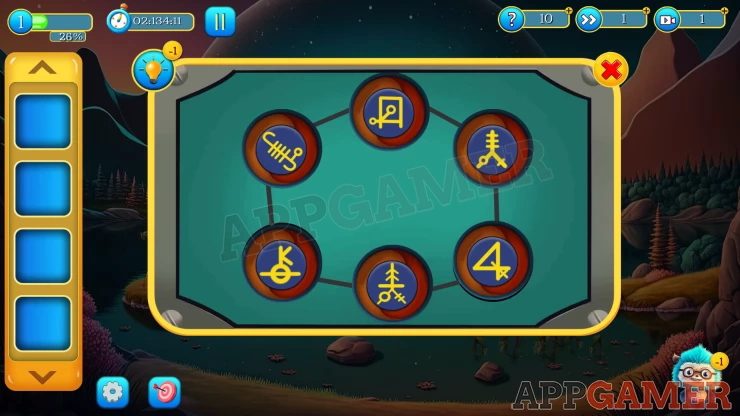
- Tap pairs of adjacent symbols to swap their positions.
- Use the clue from above to solve it.
Solution: Show

Enter the Ship to complete the Task.
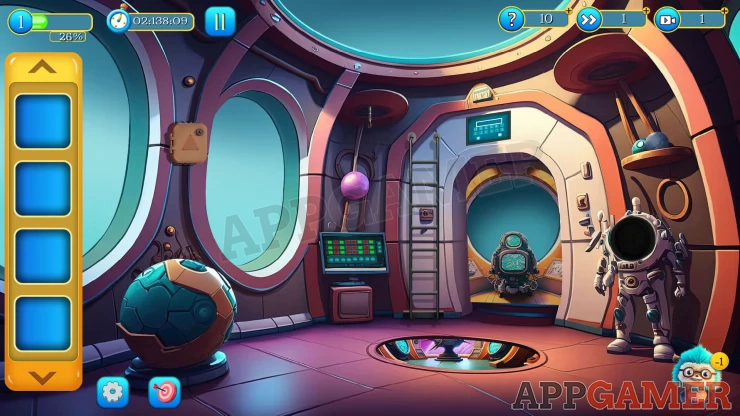
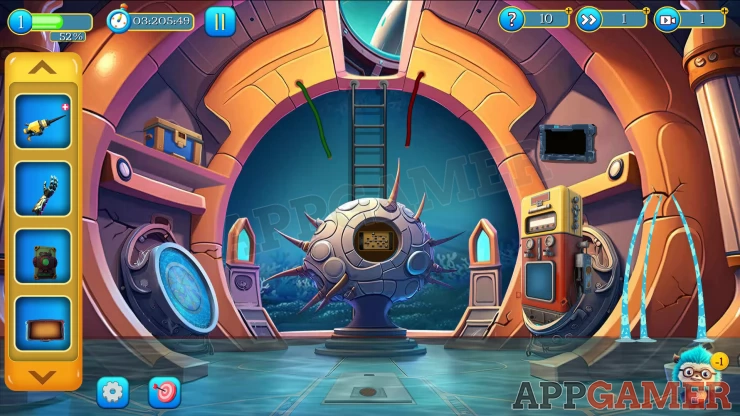
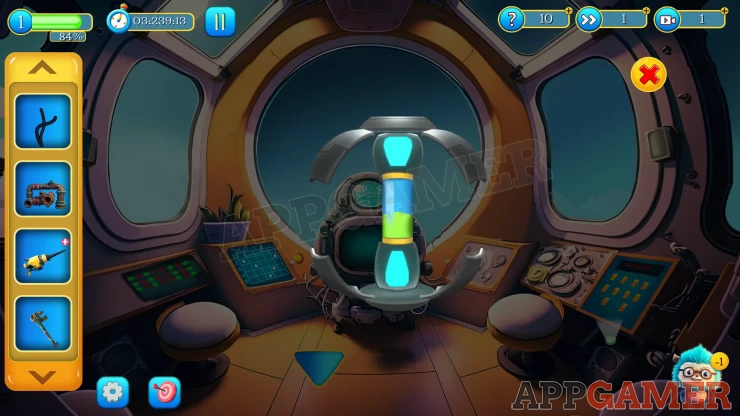
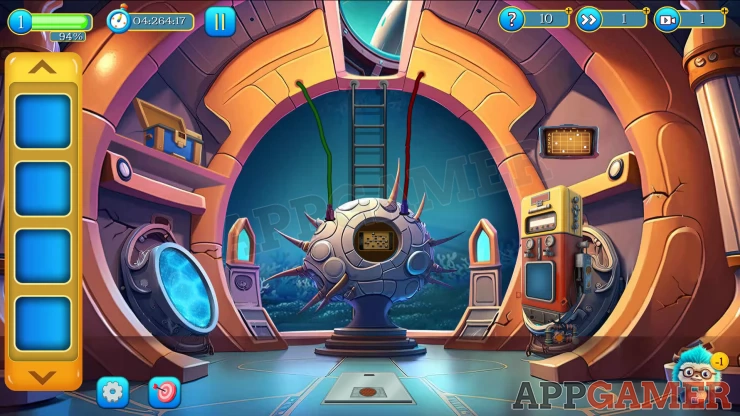
Objective: Fix the Ship
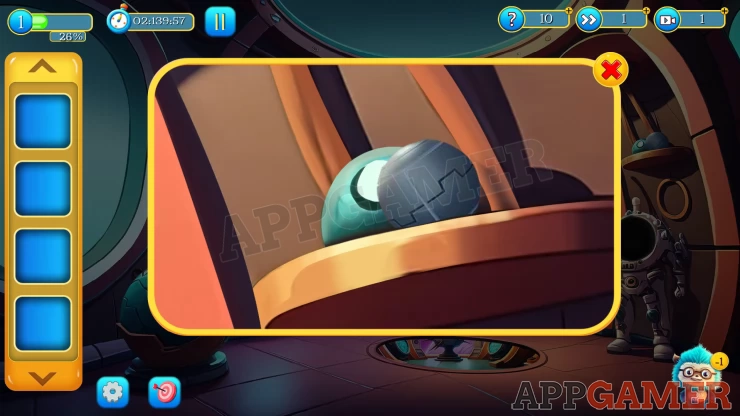
View a small shelf on the top right to collect a Metal Orb
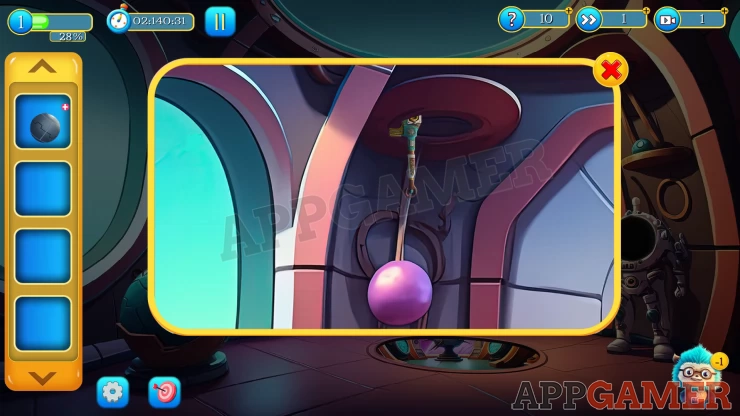
Then view the pink orb to the left of the ladder to find and collect a Spanner that is hanging above it.
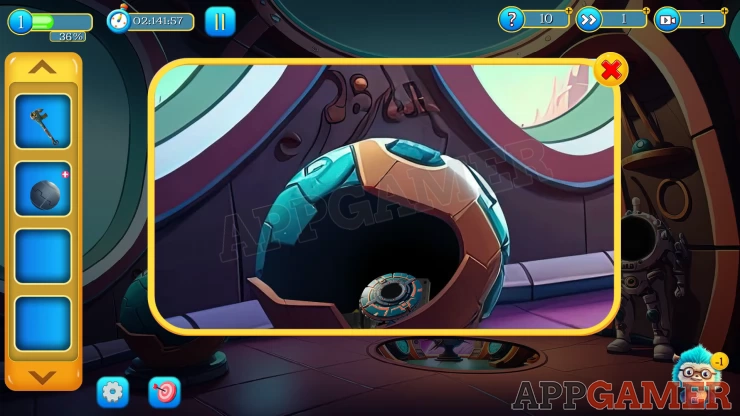
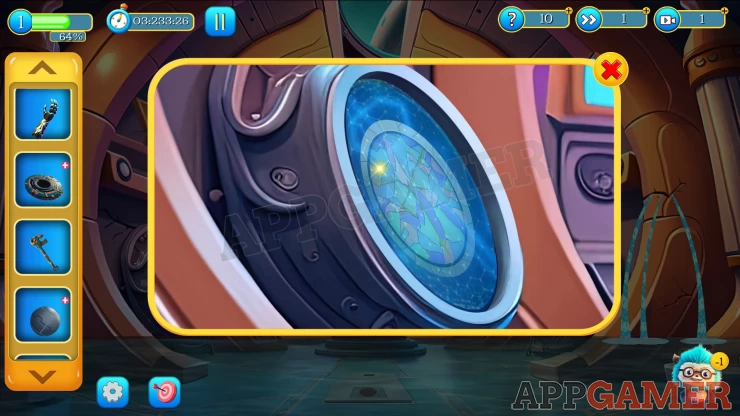
Finally view the large round blue device on the left and then tap to open the panels on it and find a Metal Piece to collect.
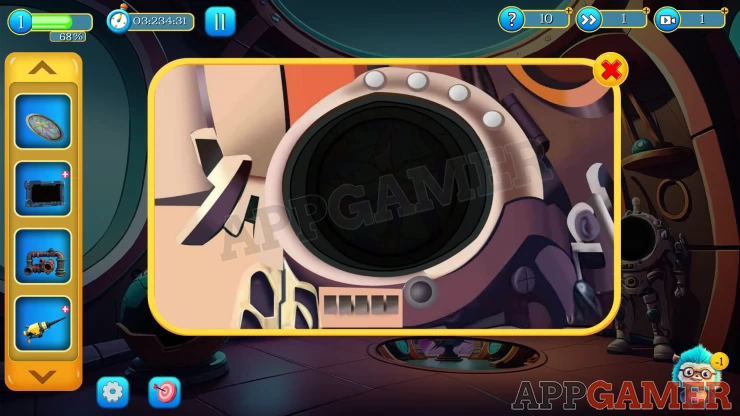
Tap the doorway to go through to a cockpit area.

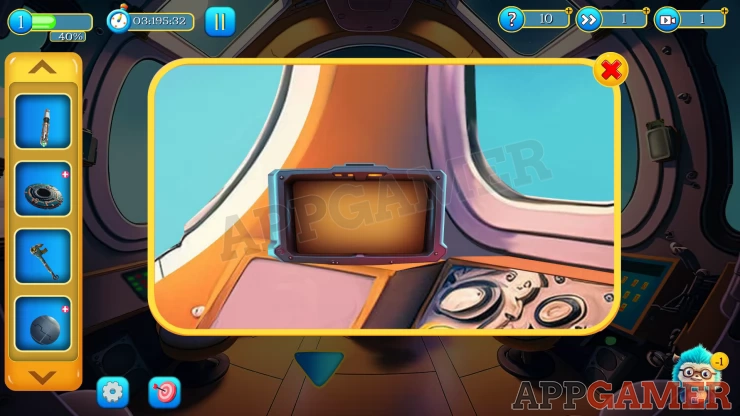
Collect a Screwdriver from the floor in the center and then view the yellow screen to the right of the round window. Collect the Tab.
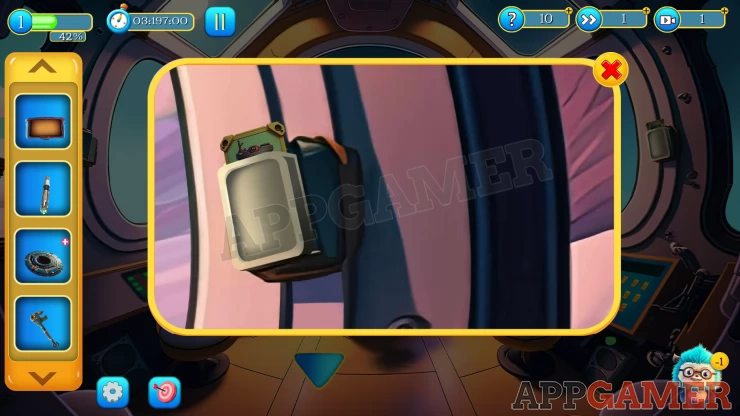
Next take an Access Card from the top of a box on the right wall.
View the screen to the left of the center console and tap the yellow button to activate it. This shows various co-ordinates as a clue.
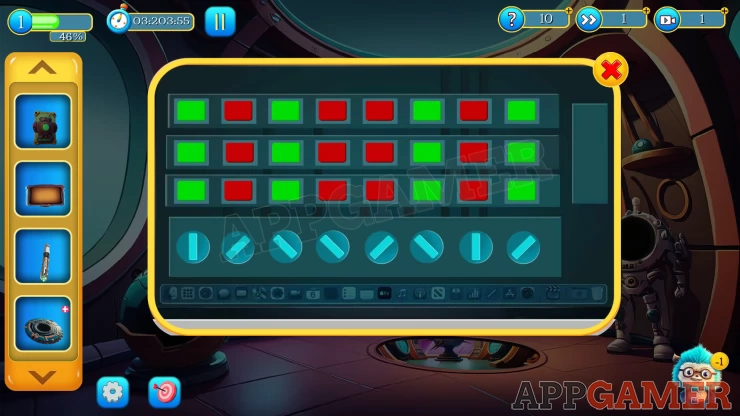
Then view the larger screen on the left with red and green lights, this is another clue.
Back up to the previous room and you will see another panel on the left with red and green lights. You can use the dials below each column to change the displayed lights above.
Solve this puzzle by changing the lights to the same as the ones in the cockpit room.
Solution: Show
Collect the Robotoic Hand
Next view the small box on the wall on the left.
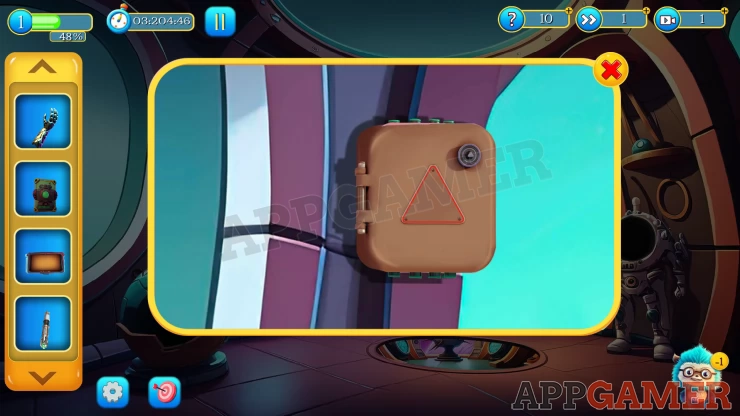
Use the screwdriver to open this and collect the Sealing Gun.
Next tap the hole in the floor to go down to a lower level. It is flooded here.
View the blue box on the top left shelf.
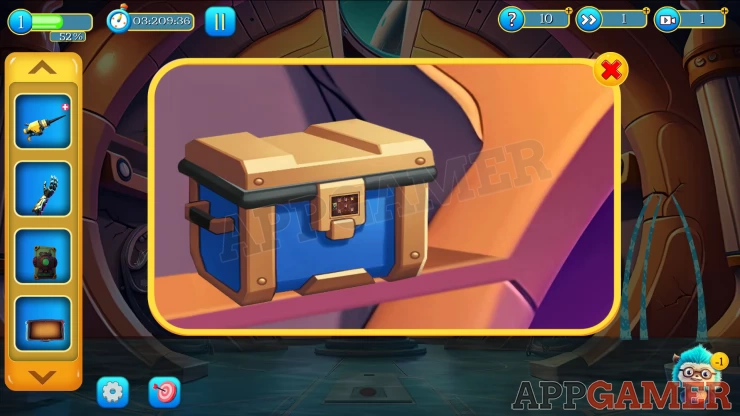
View the lock on the front and add the access card to it to start a puzzle.
As before you need to arrange the symbols on the right to match the layout on the left.
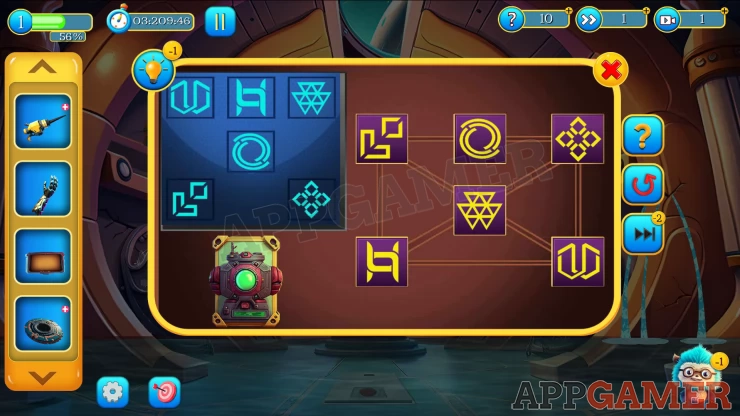
Collect the Motor from the box.
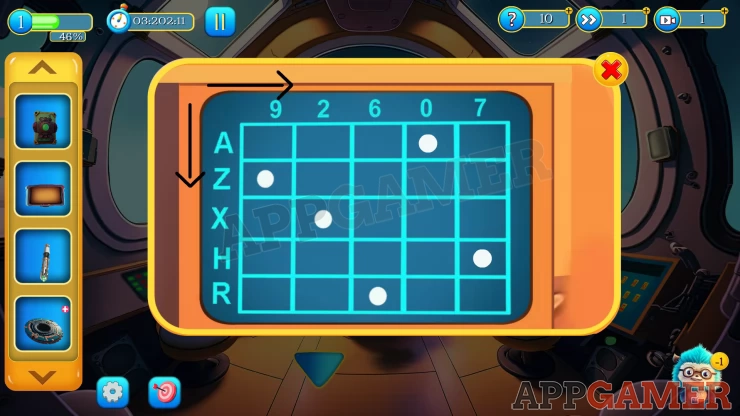
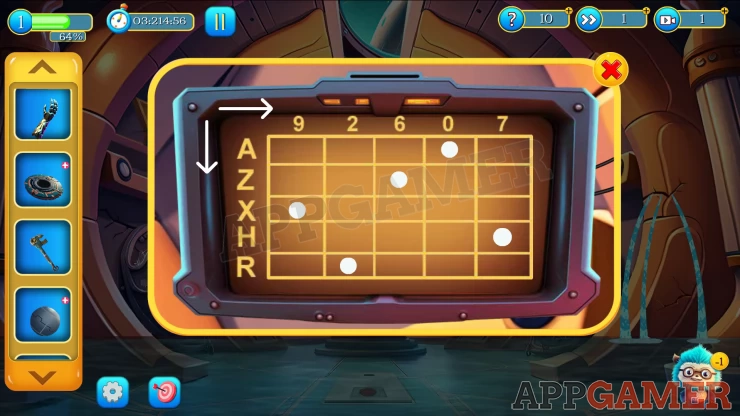
Next view a display on the wall on the top right.
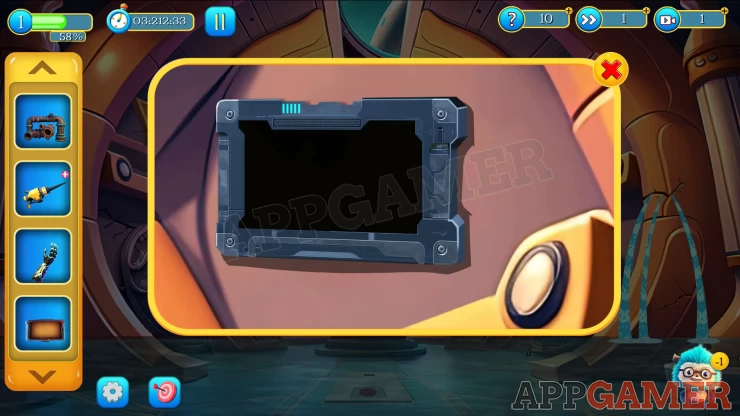
Collect the Ship Monitor and the place the Tab that you have in the same position. Tap the wires hanging on the right to connect it and you will see a similar grid with co-ordinates to the one you saw before. Another Clue.
On the left of the room is a round chamber with a force field protecting it.
Use the Robotic Hand on this to reach through and collect the Spacesuit Glass.
Go back up to the first area and view the space suit on the right.
Add the spacesuit glass to it and you can then collect some Pipe.
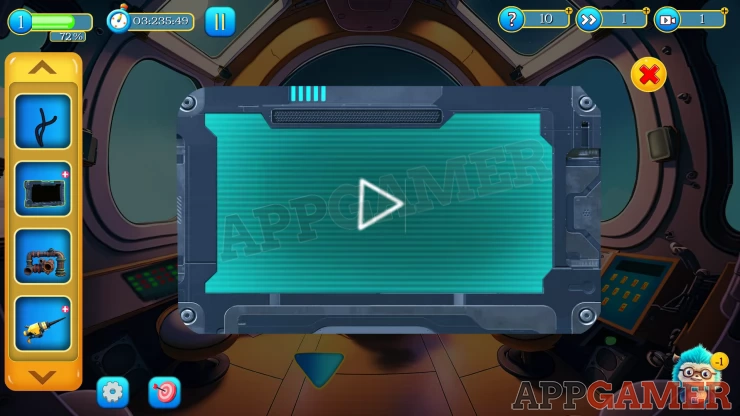
Enter the cockpit again. View the Ship Monitor that you have collected and tap the play button in it to see a clue.
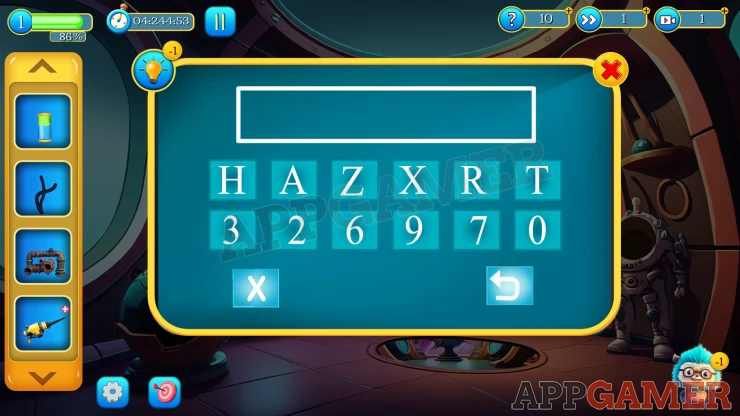
Then view the desk on the right of the room to see a panel with a code entry screen.
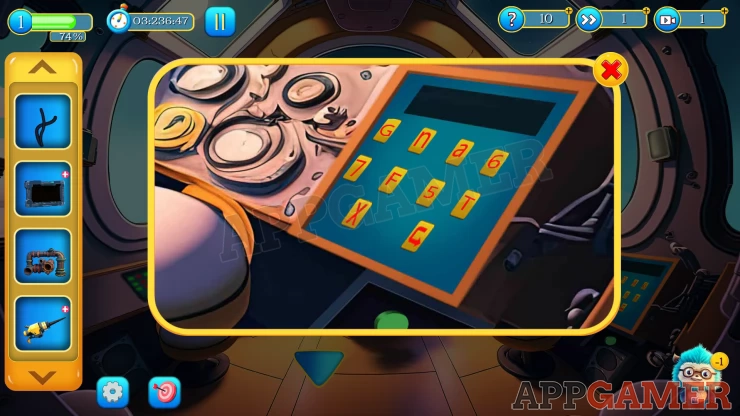
Enter the code from the clue
Code: GF09T7Show
Collect the Metal Piece that appears.
You now have 2 metal pieces. Fins the original one in your inventory and then add the second one to it to collect the Metal Disk.

Then view the Metal Orb and add the Metal Disk to it. You can then collect the Sealing liquid.
Back out to the first room and view a panel above the doorway.
This requires another code entry. The letters and numbers are similar to those seen on the 3 grids of coordinates.
Solution: From the 2 grids that you have seen there are 2 coordinates that are the same on both. Use these as the code.Show
Code: A 0 H 7Show
Collect the Connector Cables.
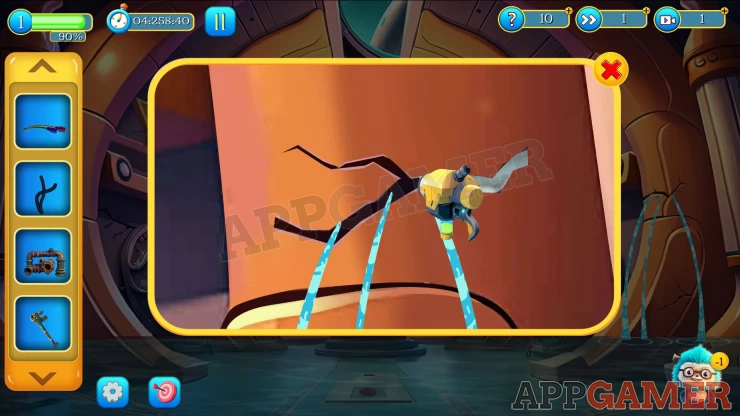
Go back down to the lower area. View the Sealing Gun in your inventory and add the liquid to it. Collect the gun again. Now view the cracks in the wall on the right and use the sealing gun on them to stop the water.
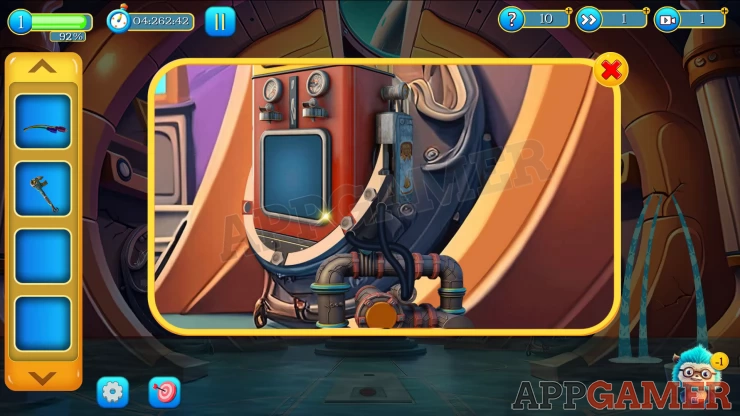
Next tap on the device on the right of the room and pace the motor in front of it. Then add the pipes and finally use the spanner to connect them.
Objective - Activate the weapons systems
Use the connecting cables on the large round device on the center to connect it to the cables above.
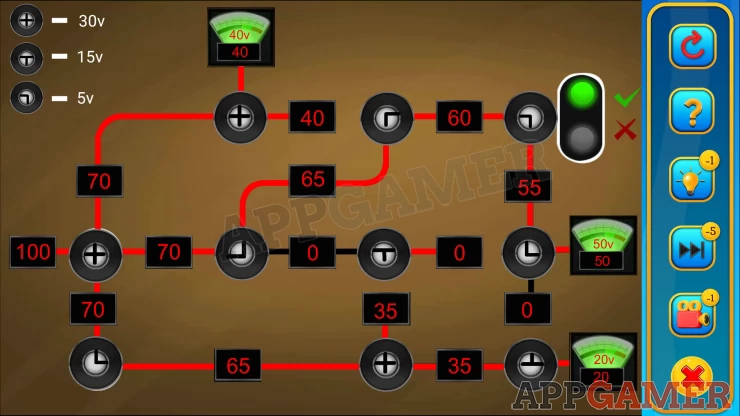
Then view the panel in the center for a puzzle.
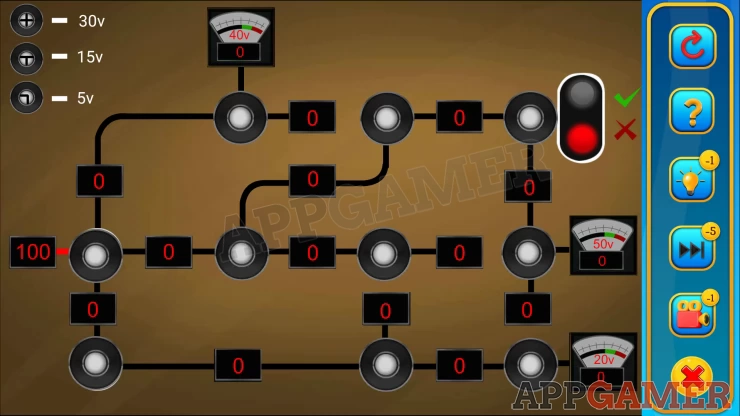
- Starting from the left (100V) set the connectors to pass the power along the lines to the meters.
- You need to arrange the connectors to allow the correct voltage to reach each of the meters.
Solution: Show
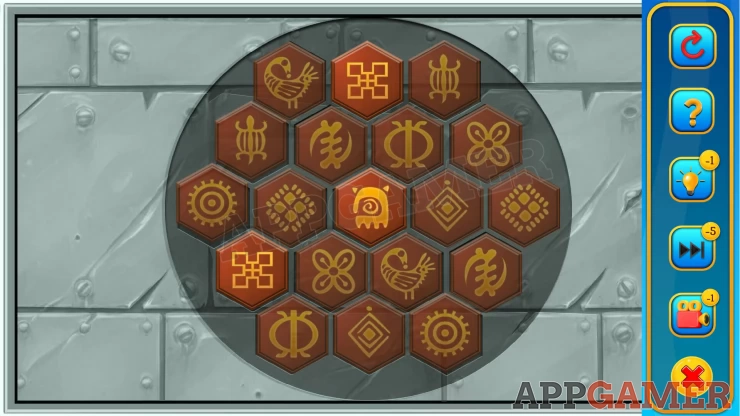
Now view the hatch in the floor of the ship. There is another puzzle.
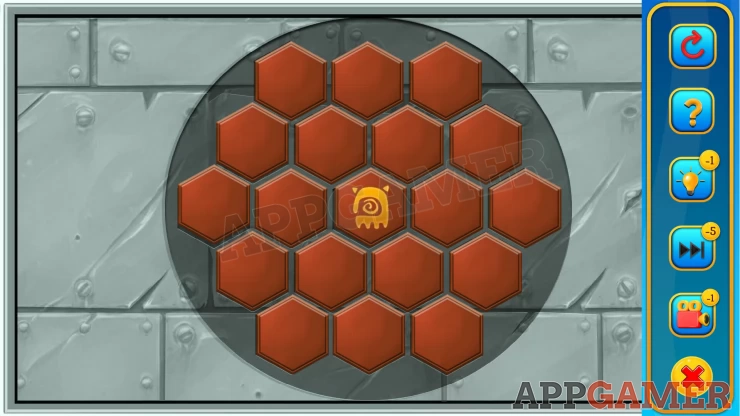
- This is a matching pairs game.
- You need to find the pairs of matching symbols.
- If you make a mis-match then the remaining pieces on the board will move to new positions.
Solution: Show
Collect the Access Card.
Return to the cockpit and view the screen in the center of the room.
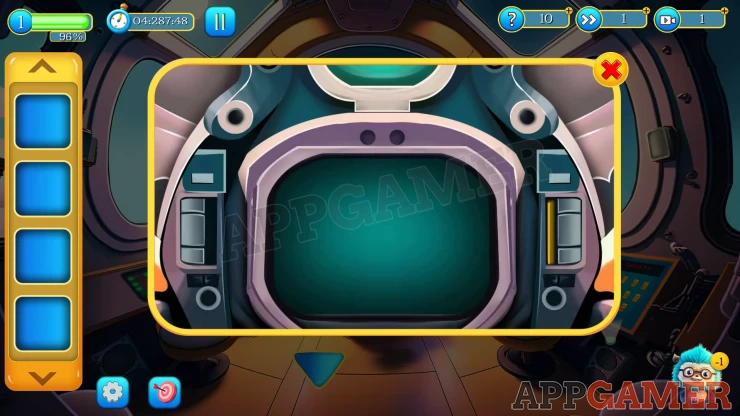
Use the access card here to activate it and then tap the screen to start the ship.
This will complete Level 1.

Move on to Level 2