Strange Case 2 - Chapter 3 Walkthrough
More Strange Case 2: Asylum Escape
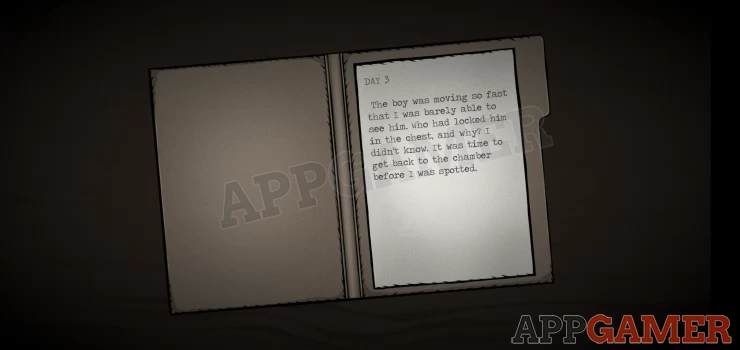
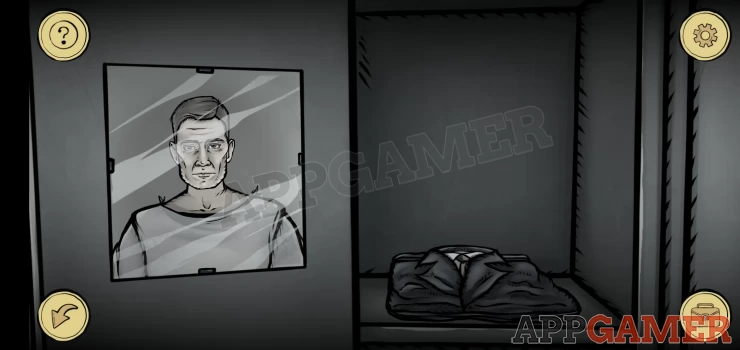
In Chapter 2 you found a secret room that container a large chest with a boy locked in side. You have let him out and he has disappeared. Now you need to get back to your room before anyone notices you are gone. Our Strange Case 2: Asylum Escape Chapter 3 walkthrough will tell you everything you need to know to complete this level.
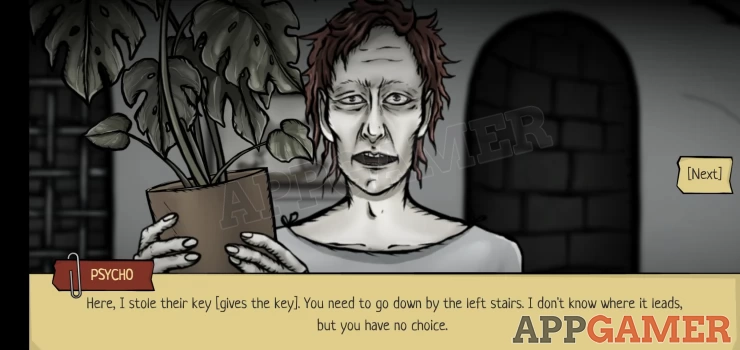
First talk to your friendly psycho patient, he will give you a key and tell you that you need to leave by the left stairs to avoid the orderlies.
Use the key to open the gate on the left door and then go down those stairs to the next room.
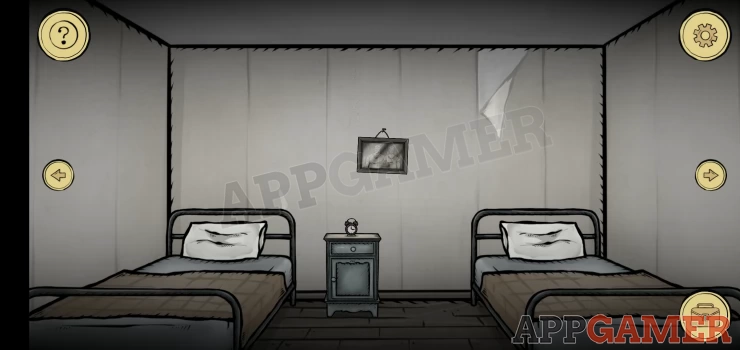
Orderlies Room
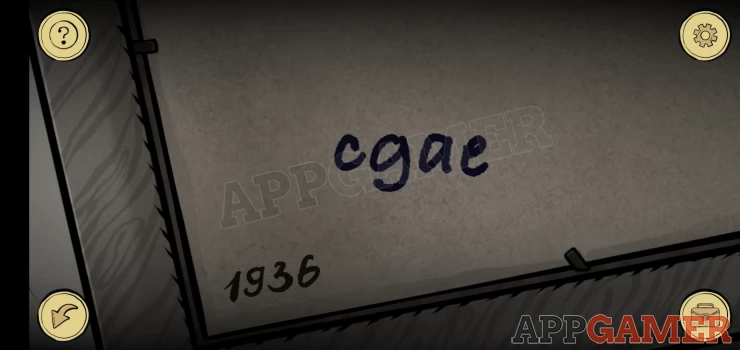
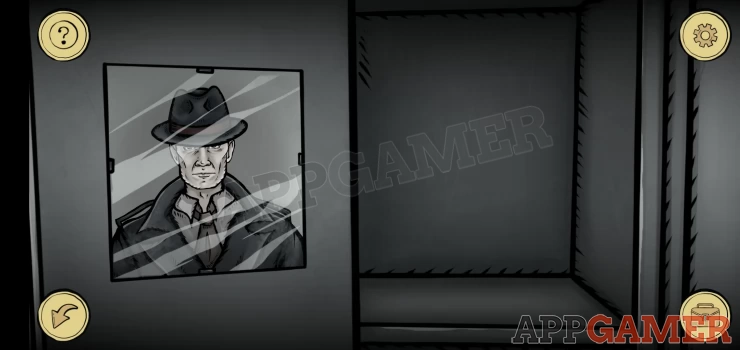
This room appears to belong to the Orderlies. View the photo on the wall, 150 years old.
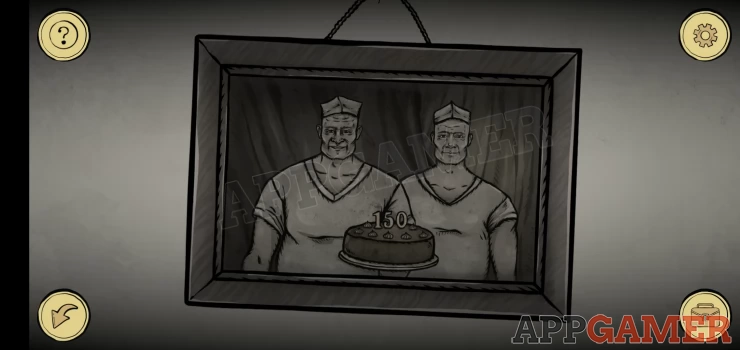
Then tap the photo to look on the back for a clue.
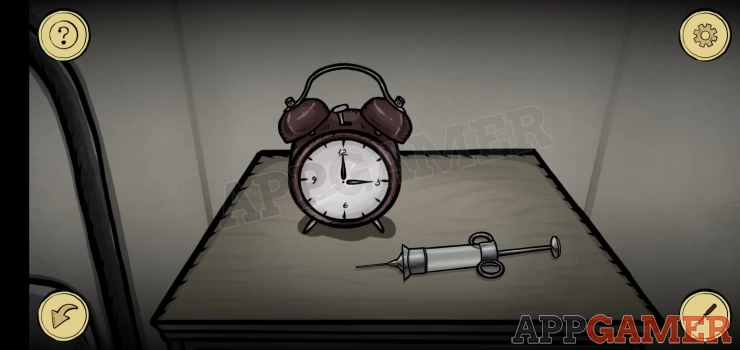
Next look at the top of the nightstand below the photo, there is a syringe on it that you need to collect.
Now turn to the right to see a table and chairs with a checkers board on it.
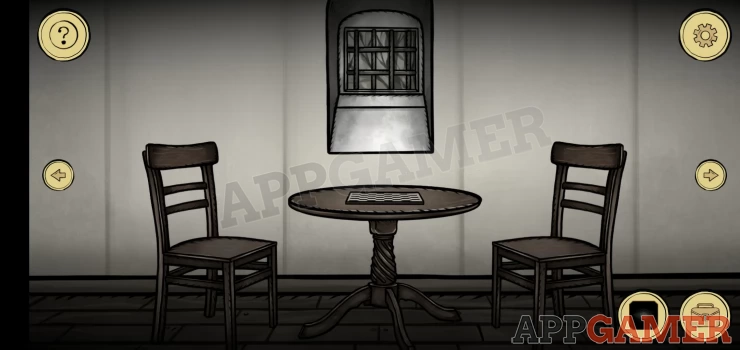
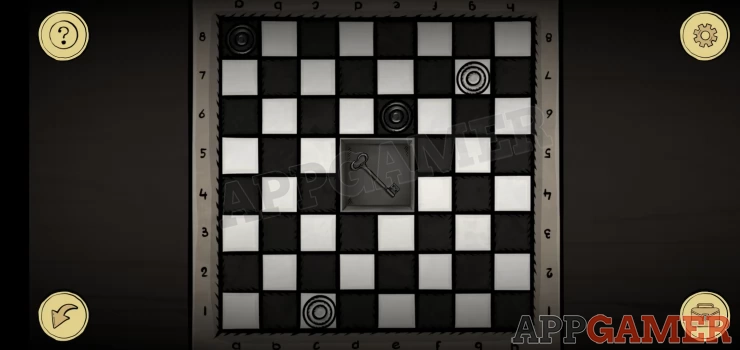
Checkers Puzzle
View the board to see 4 checkers.
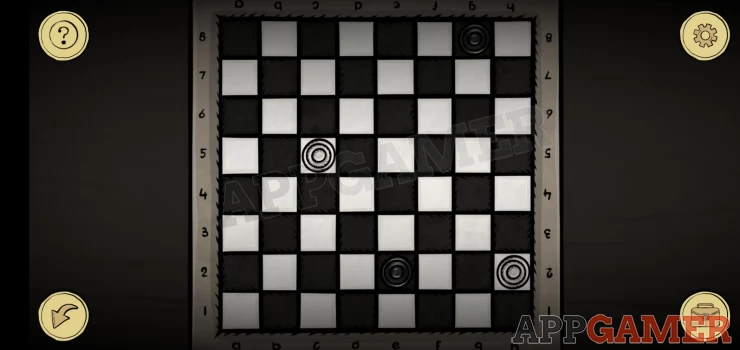
- Use the clue above to move the checkers around to the correct positions.
- You can move then diagonally on their own color squares.
- Notice the rows are numbers and the columns have letters.
- See the solution below.
Solution: from the photo, first subtract 150 from 1936 to get 1786. Then combine the letters and numbers to give you co-ordinates c1, g7, a8, e6Show
Collect the key. Now turn right again to see 2 gates. The open gate on the left is where you came in from, do not go back though here or you will be caught.
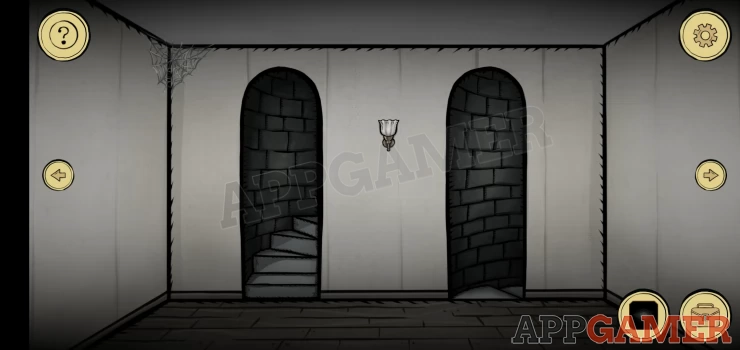
Use the key to open the gate on the right and take the stairs down to an operating room.
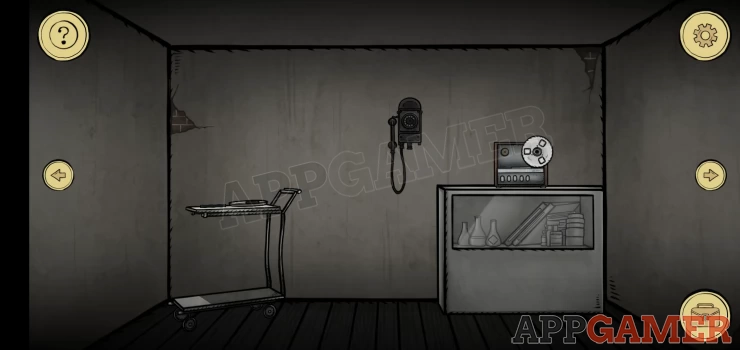
Operating Room
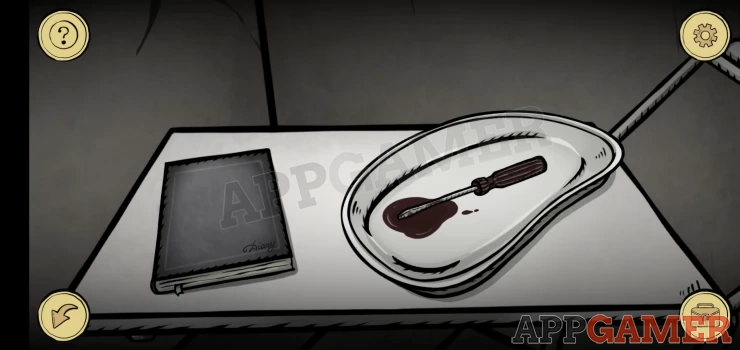
First view the trolley on the left and collect a screwdriver from the top. You can then also open the diary on the left to read about the boy.
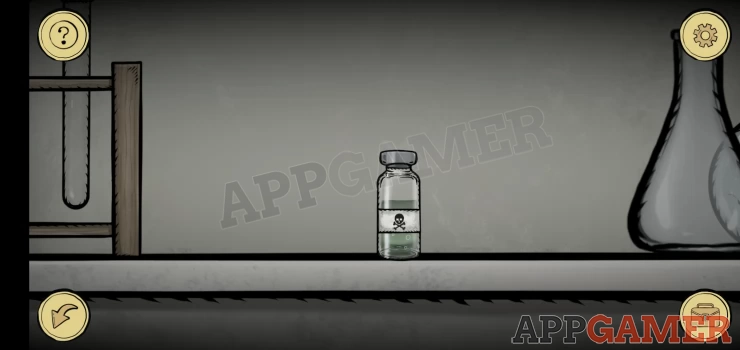
Next tap to view the glass cabinet on the right below the tape recorder. You can collect a bottle of Poison.
Turn to the right twice to face the opposite wall and see the steps you enter from. On the left is a yellow generator.

View the control panel to see a button puzzle to start it.
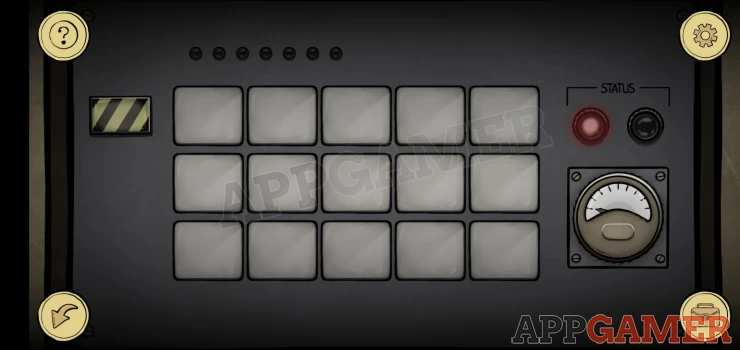
Generator Puzzle
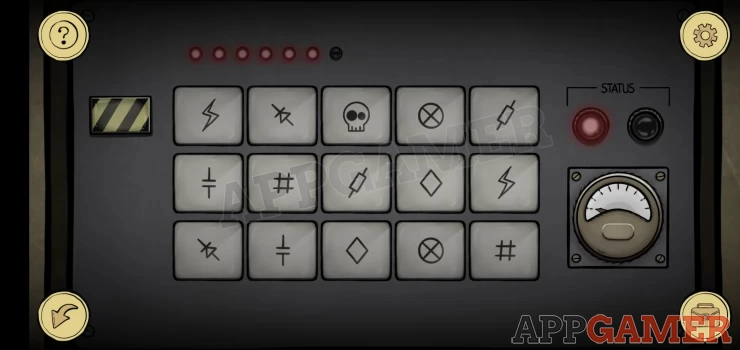
- Tap the button on the left to see a set of symbols appear on the buttons, after a few seconds the symbols will disappear.
- You need to remember the locations of the symbols.
- You then need to tap on the matching pairs of buttons, avoiding the Skull.
- When you have found the 7 pairs the generator will power up.
- This is a difficult puzzle as the placement of the symbols is random and will change with each time you play.
- If you have trouble then try to screenshot the hint you get so you can look at it outside the game and confirm the positions.
Once done the generator it running and you have power in the room. Tap to view the oscilloscope on the right of the doorway. for the next puzzle.
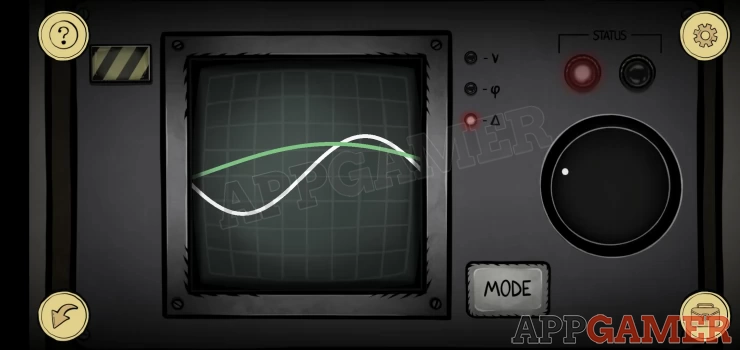
Oscilloscope Puzzle
- The display will show 2 trace lines. white and green.
- You can use the controls on the right to select from 3 modes and then turn the dial to adjust the green trace.
- Change the controls to make the green lines match the white one.
- The dial control is a bit fiddly so make small adjustments at a time.
- You can watch the video below for help.

When you get a green light the puzzle is complete. Now turn to the right to see a patient in the chair attached to various pieces of equipment.
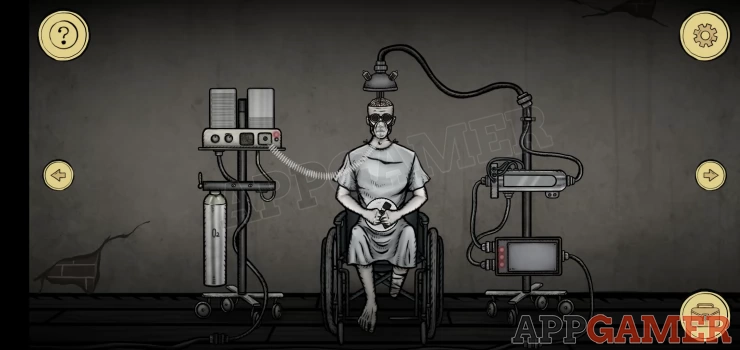
Tap on the bottom right box with 3 red lights.
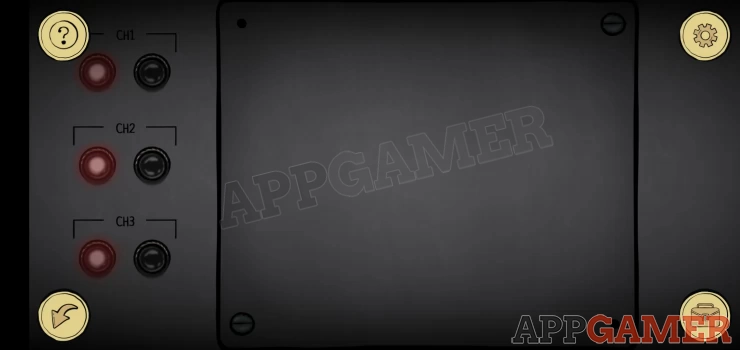
Use the screwdriver to remove the 2 screws on the plate on the right side to open it.
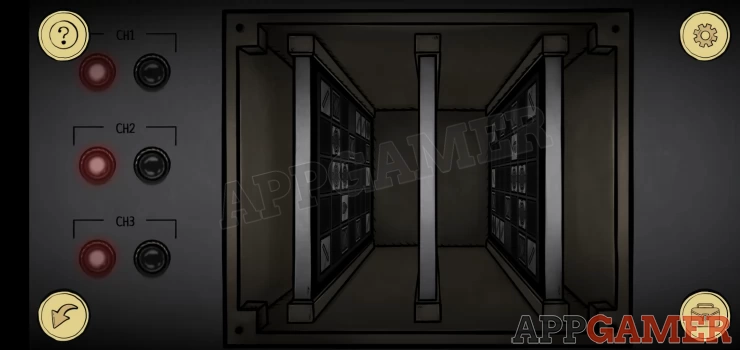
Inside are 3 boards you can tap on each one to start a puzzle.
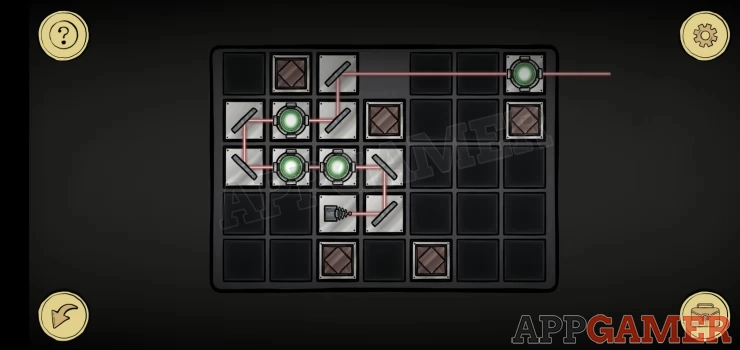
Laser Puzzles
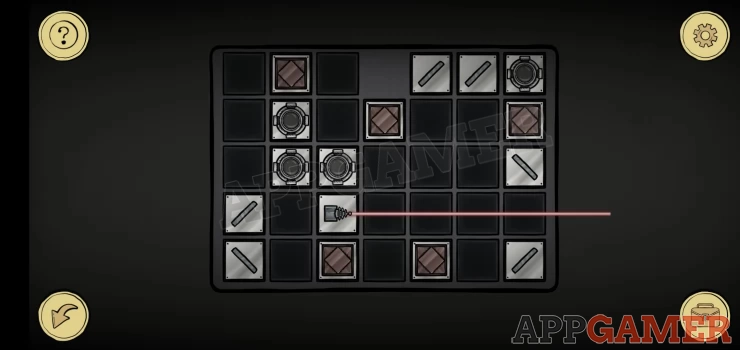
- Each board has a layout of round diodes, square blocks and angled mirrors. There is a laser shining.
- You can move the angled mirrors around the board to direct the laser.
- You need to make the laser pass through all of the diodes on the board without being blocked.
- The beam can pass though a diode in 2 directions.
- The solutions are shown below in the order of left to right.
Left Board: Show
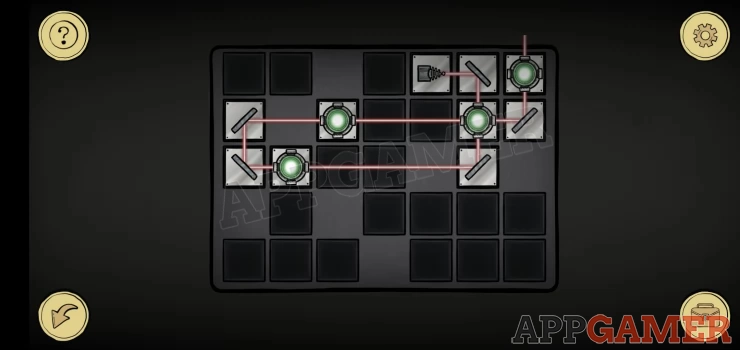
Middle Board: Show
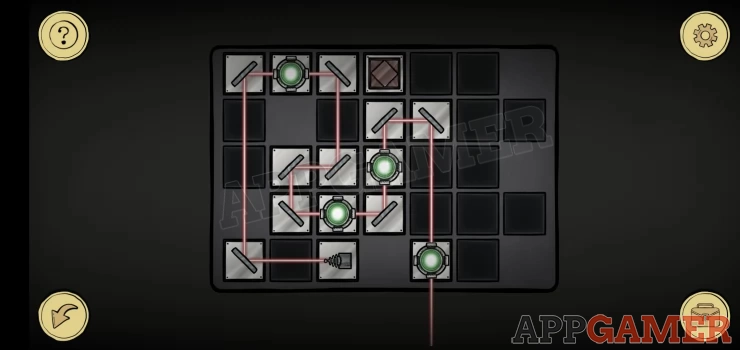
Right Board: Show
Once done you should have 3 green lights on the box. Now view the next piece of equipment on the top right.
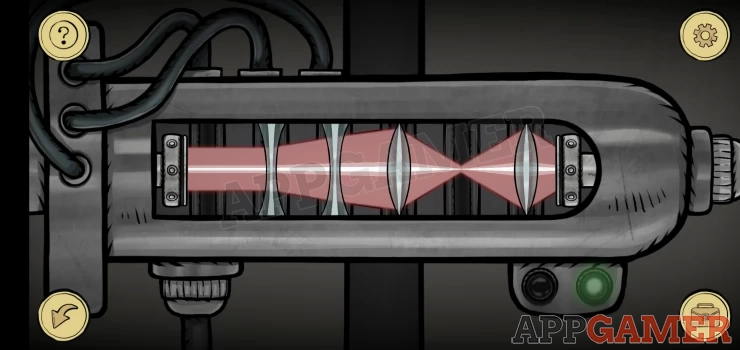
Light shape puzzle

- This also has a red light beam passing through it.
- The shape of the light is altered by moving the lenses around in the case.
- Move the lenses to adjust the light beam size to match the dark outline behind the light.
Solution: Show
Now tap on the patients head to look at his exposed brain. This has another puzzle
Brain puzzle

- You will see a set of nodes with lines between them.
- You can drag to move the green nodes, as you do so you will be untangling the lines.
- Arrange the green nodes so that none of the lines cross.
- When they are un-crossed the lines will turn green.
- There are 3 levels of the puzzle to complete
- Watch the video below for help.

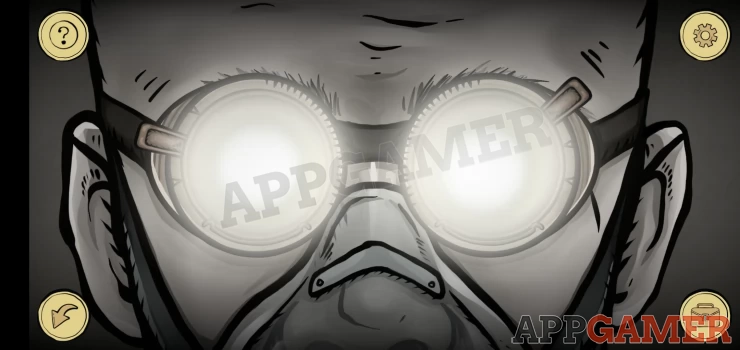
Once completed the cap will be placed on the patients head and you will see that the eyes are glowing.
The goggles he is wearing have settings on the side.
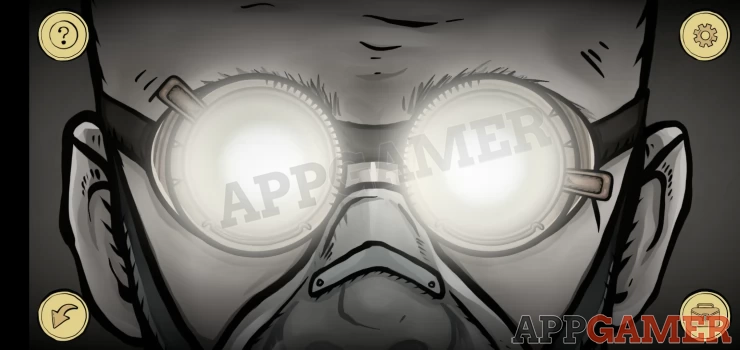
If you turn around to face the opposite wall in the room you will see that the wall has projected images on it from the eyes.But these are out of focus.
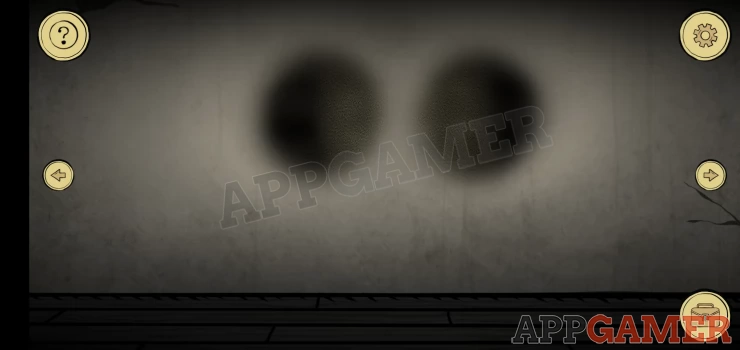
Return to the goggles and change the settings on each until you find the correct one to let you see a focused image on the wall.
Solution: Show
You will now see a clue to a padlock code on the wall. Turn to the right and head up the stairs to the Orderlies room again. Then turn left to see a large cabinet with a padlock.
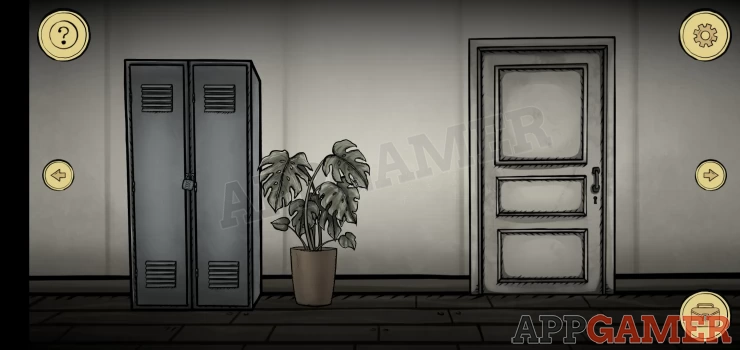
View the lock and use the code you have found to open it.
Code: 4326Show
Open the cabinet and look inside.
Collect the 'Cloth' (clothes) from the shelf. And then also take the key that is under the clothes.
Back up and turn to the right to see the beds. Then view the night stand. Use the key to open it and you can collect a hat.

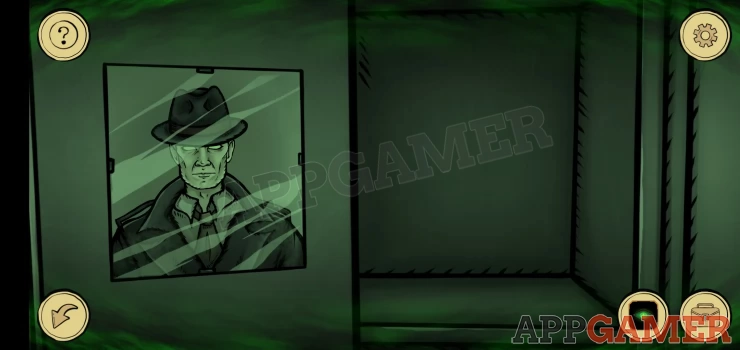
Turn left and view the open cabinet again. You can now use the clothes and the hat on the reflection in the mirror to put them on.
Then select the Trinket in you inventory as well and use it on your reflection. This will release the demon in your head, and you will gain Ghost vision. The ability to see things hidden in other dimensions.
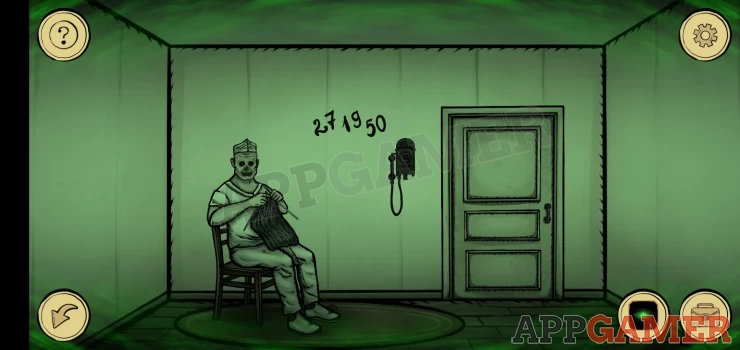
Now tap on the door on the right to look through the key hole. The orderly is outside knitting. You can tap again to pass through the door and use your ghost vision to see the room with a number on the wall next to a phone.
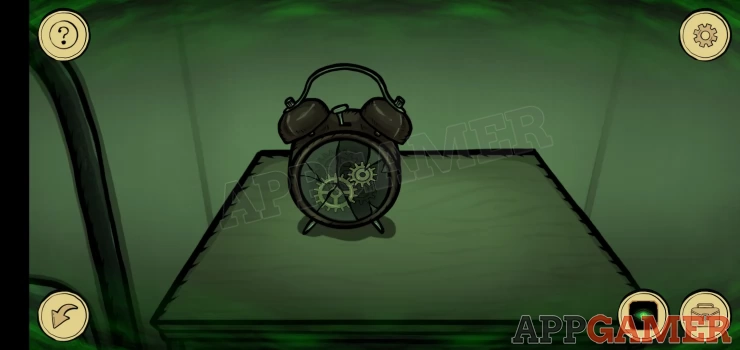
Now back up and turn right to see the beds again. Then view the top of the night stand to see the alarm clock. In your ghost vision it is broken and you can collect the 2 gears.
Now back up and turn around, then go down the stairs to the operating room again. Turn left to see the patient with his spirit hovering at his shoulder. Tap him and he will tell you he cannot breathe.

View the machine on the top left. This is missing some gears.
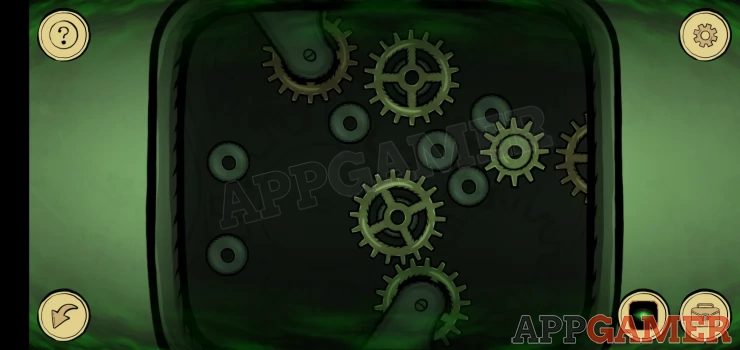
Gears Puzzle
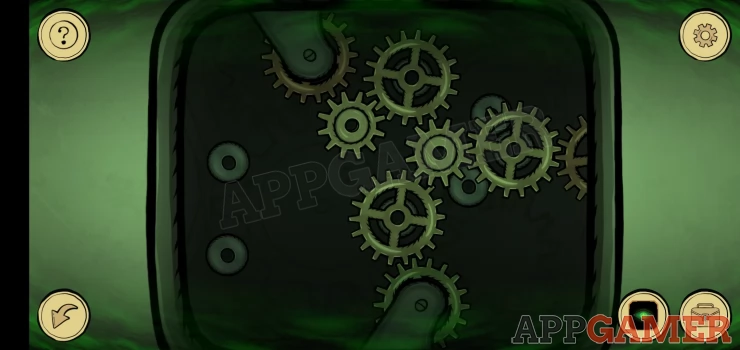
Add the 2 that you have and then solve the puzzle by arranging the gears so that they all turn.
Solution: Show
Now the machine is working tap on the spirit again and he will tell you he is in pain. Open your inventory and combine the poison with the syringe. You now have the Syringe with poison.
Then talk to the patient again. You can give the syringe to the patient.

Now you can collect the Reel from the patients hands. Turn to the right and view the tape recorder on the right. Add the reel to it to start a puzzle.
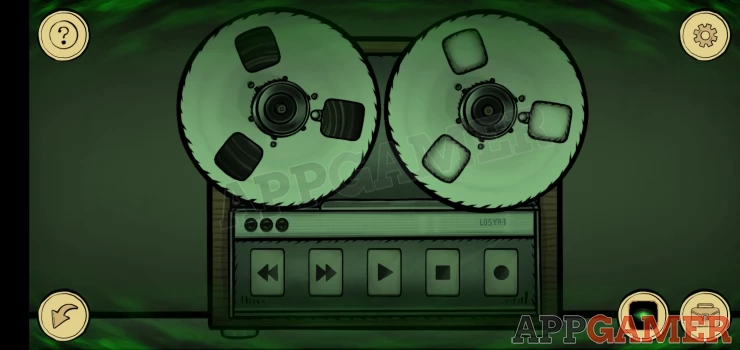
Tape Recorder Puzzle
- You will see buttons light up in a sequence, you then need to tap the buttons to copy the sequence.
- There are 3 levels, the first has 3 buttons, the second has 4 and the last one has 5.
- Check the solutions below:
Solutions:
Sequence 1: buttons 4, 1, 5 Sequence 2: buttons 2, 3, 1, 5 Sequence 3: buttons 4, 3, 5, 2, 1Show
Once done a recording of the doctor plays. Now tap on the telephone on the wall to view the rotary dial.
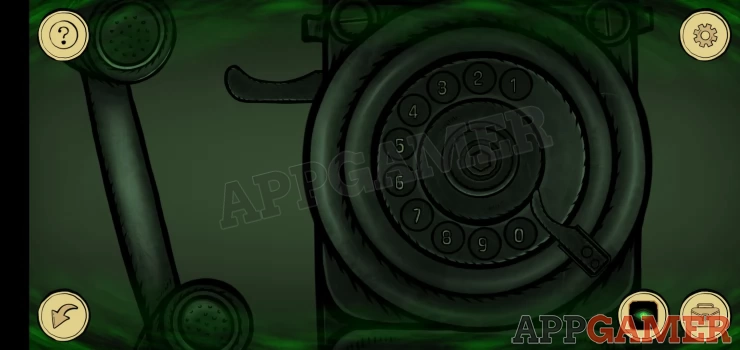
Enter the number that you saw as a clue above.
Number: 27 19 50Show
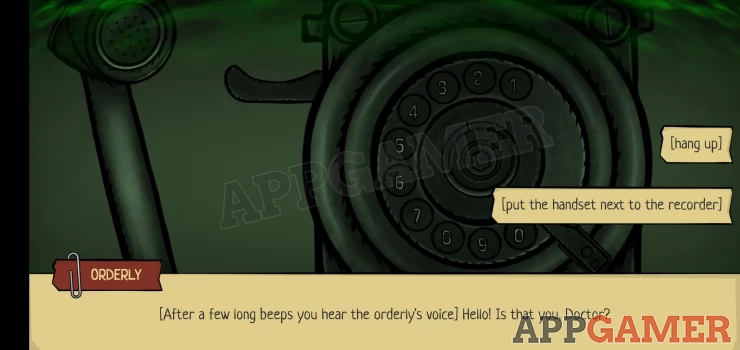
Follow the prompt to put the handset next to the recorder. Then turn to find the doorway and head back up the stairs. Turn left to see the door that the Orderly was blocking before.
Tap to look through the keyhole, the orderly is gone. You can now tap to go through the door and again to escape the building.
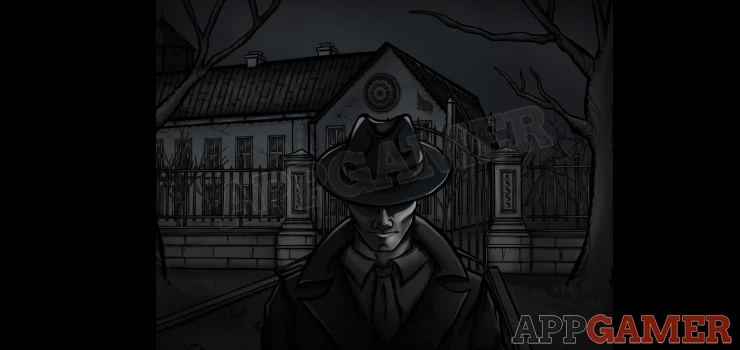
Congratulations you have completed Strange Case 2, if you have any questions please head over to the Answers Page to ask there.
 With 20 years of experience in creating video game content for the internet and over 30 years as a gamer, Mark is now a passionate mobile App Gamer. Loving a challenge, he is always ready to get stuck in to both survival builders and puzzle solving games. He has been providing content for AppGamer since 2014.