Nowhere House Part 1
More Nowhere House
This is Part 1 of our walkthrough for Nowhere House, a mind bending escape room style game from Dark Dome.
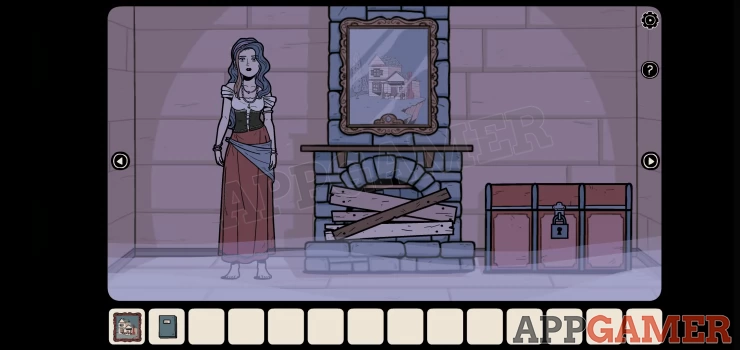
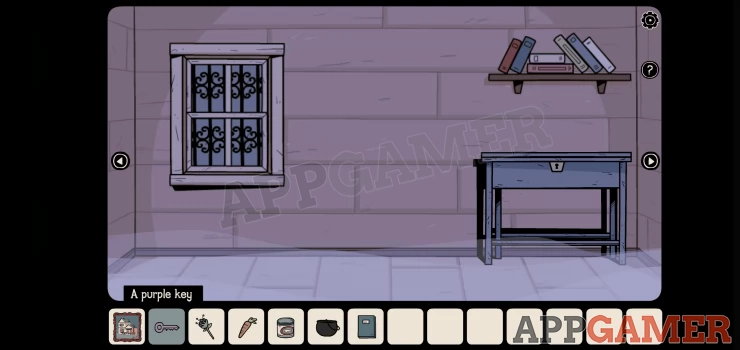
This is the story of Adria who you play as as you try to find a way to escape from the cursed house of the witch. When you start you are trapped in a room.
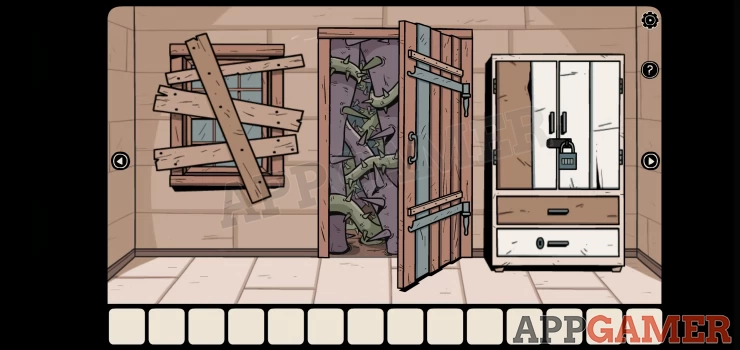
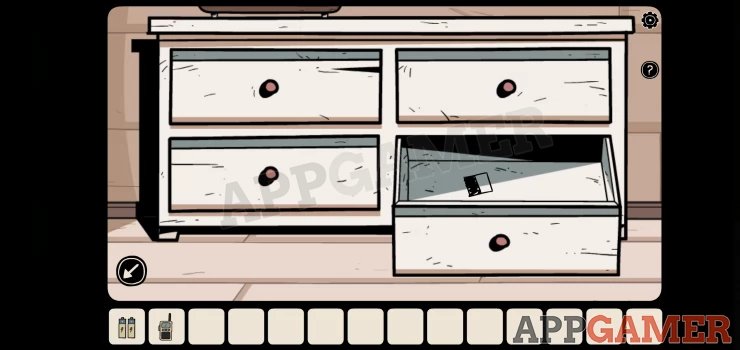
First view the bottom of the cupboard on the right and then open the brown drawer to collect a photo.
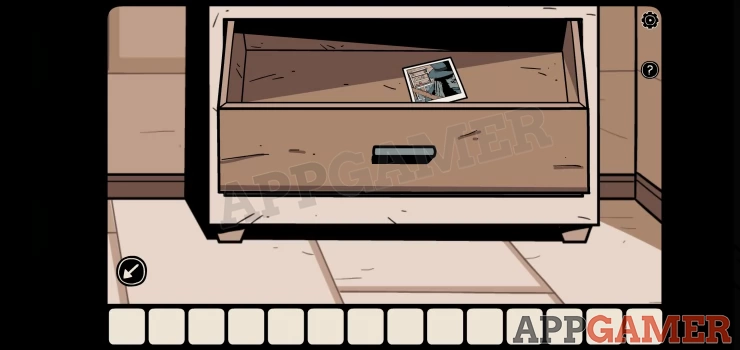
Now you can tap the photo in your inventory list at the bottom to view it. This is a clue for later.
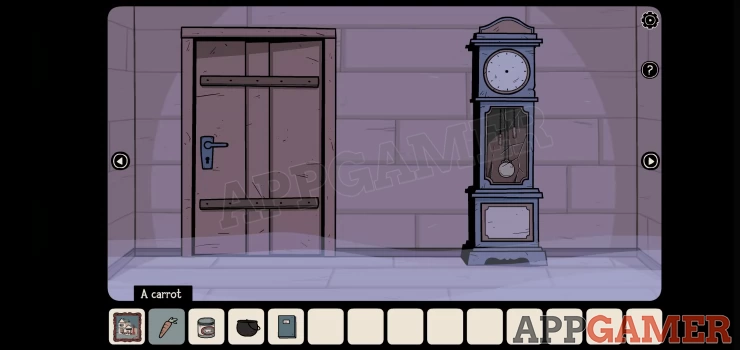
You can tap the arrows on the left and right of the screen to rotate your view and look around the room. To the right is a clock, note that the time will change every time you look at that view.
Look around to the opposite side of the initial view to see a blue door.
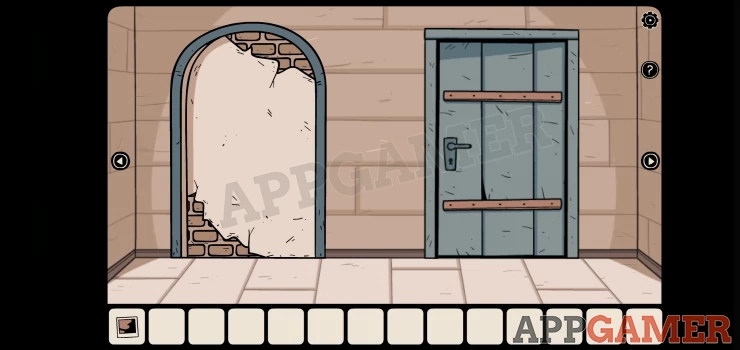
Open this and go through to the next room, there is only 1 view here.
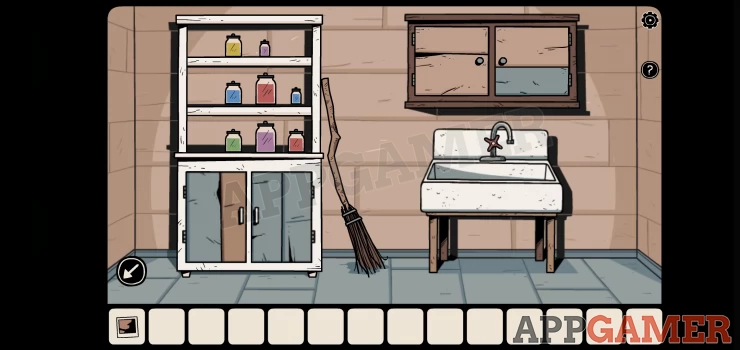
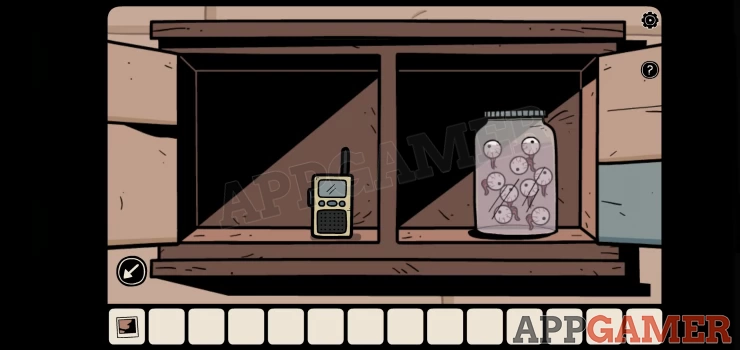
View the wall cabinet above the sink and then open the doors.
Collect the walkie talkie.
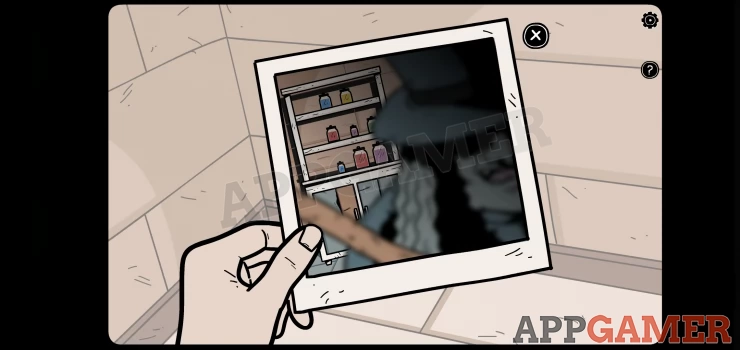
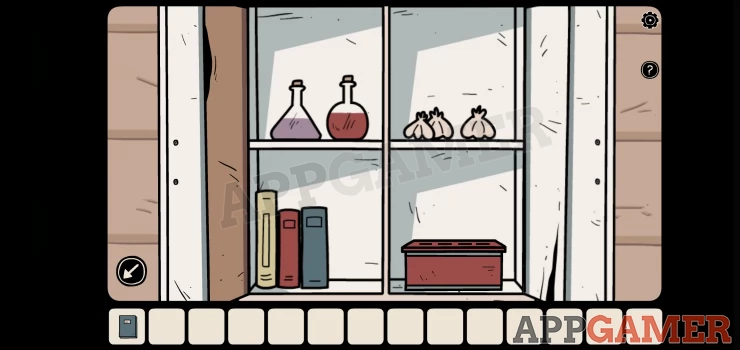
Now check the shelves on the left. There are colored bottles on them, this is a puzzle.
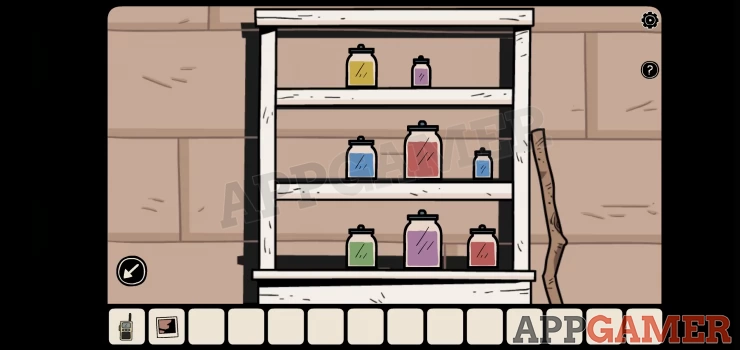
Hint: Check the photo that you collected.
Solution: tap pairs of jars to swap them and arrange them in the positions show in the photo. If your photo is different then follow that. This was my solution.Show

The bottom cupboard will now be open. You can collect a red key
Once done the broom in the room will fly away. You can now back out to the first area.
Look to the view on the right to see a chimney.
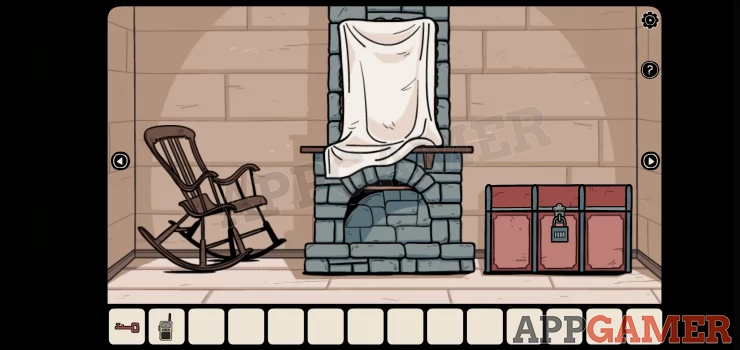
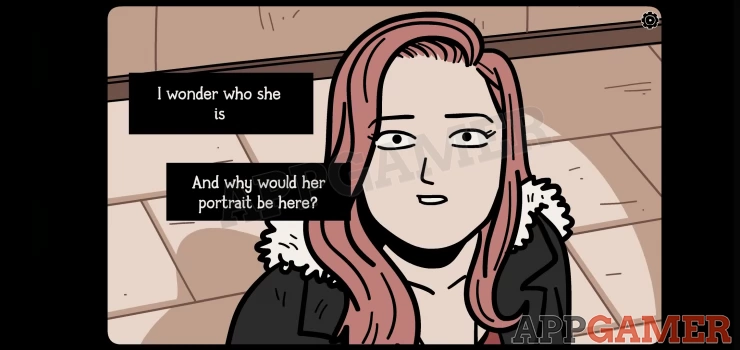
Pull down the white sheet to find a portrait and get a cut scene.
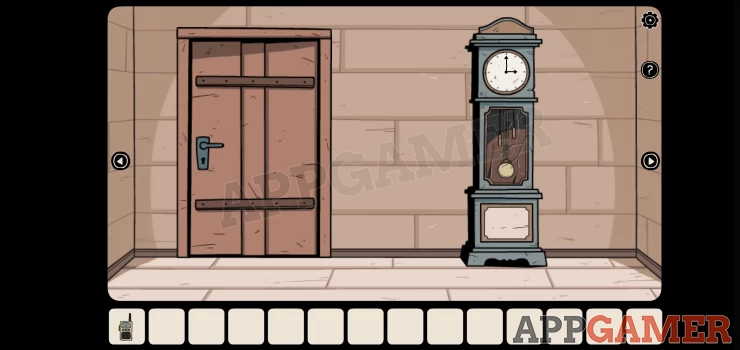
Rotate your view of the room to the clock again. On the left is a brown door.
Use the red key on the door to open it and move through. There is a set of stairs.
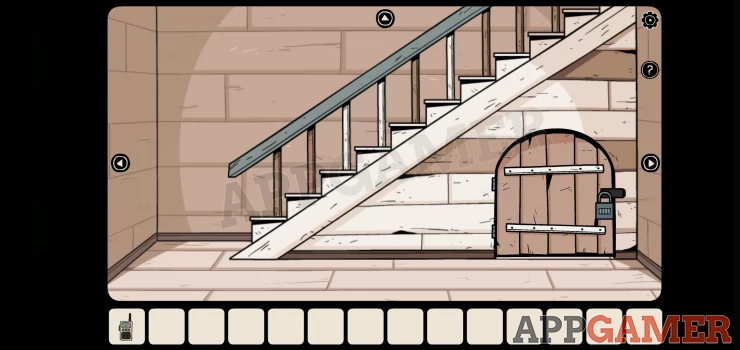
Look around the room, on the right is a view with a white door.
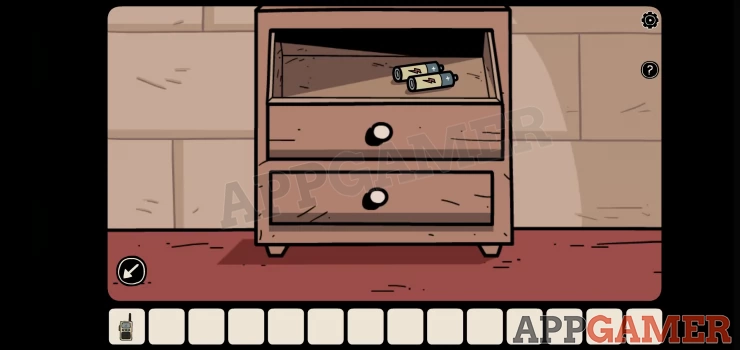
To the right of the door is a table with a small drawer unit on top. view this and open the top drawer to collect some batteries.
Next look to the right to see the open door that we came through.
There are several clues here, check the grid on the wall. Then also look in the bottom right drawer to see a clue item You will need to remember this for later.
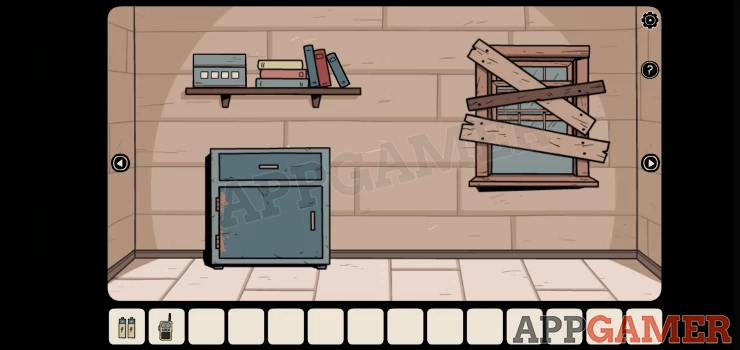
The next view to the right has a shelf above a cabinet.
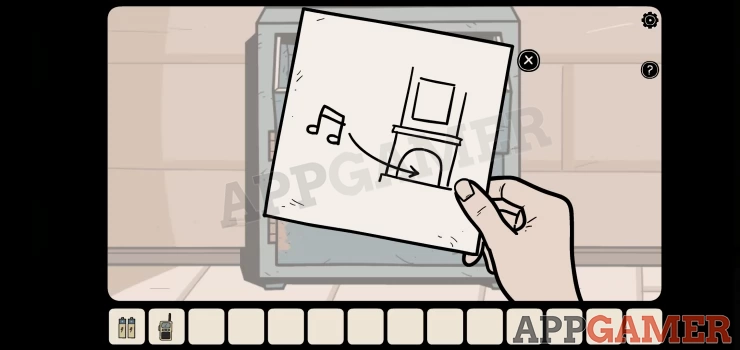
Open the drawer at the top of the cabinet to find a note with a clue on it. A musical note pointing to the chimney.
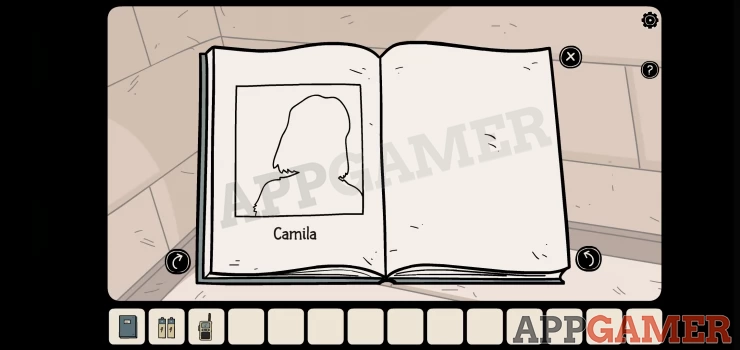
Next view the books on the shelf. Collect the book on the right.
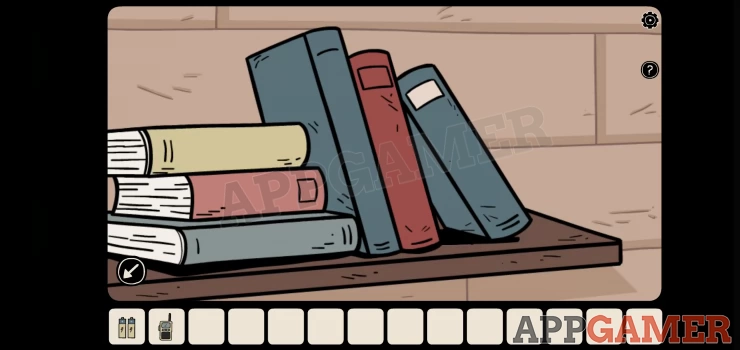
Select the book in your inventory and use the 'Look' option. Check through the pages to see outlines of portraits and the names of the people. More clues.
Turn around to find the open door and head back though to the room with the fireplace / Chimney.
The clue from above had music by the Fireplace.
Select the walkie talkie in your inventory and select 'Grab'. Then select the batteries and they will be combined with the walkie talkie.
Now select this item again and select 'Look'.
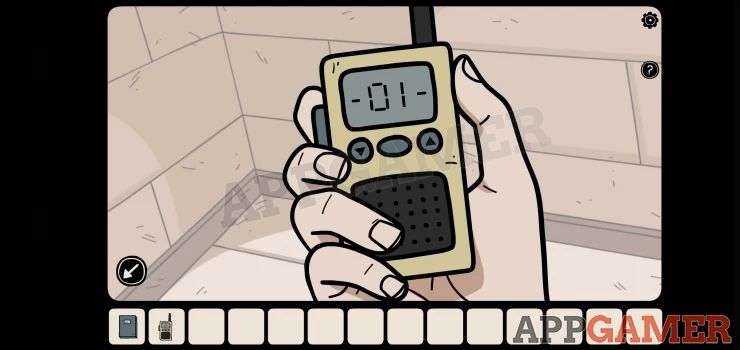
You will now be able to change the channel on the walkie talkie.
Hint: you need music
Solution: Make sure you have the sound on so you can hear when you find the channel with the music. It was channel 4 for meShow
Now close the Walkie talkie view (with the music still playing) and tap to view the fire place.
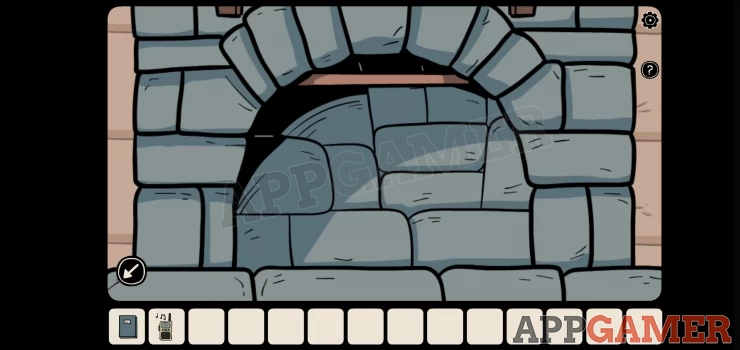
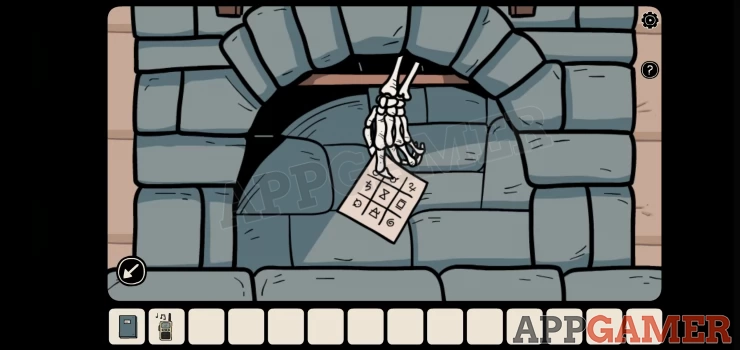
Select the Walkie talkie (Grab) and tap the fireplace. when the music plays you will then receive a paper clue from a skeleton hand.
Turn around and go back through the door to the room with the stairs. Then turn again to find the white drawers with the radio on top. We have another puzzle to solve.
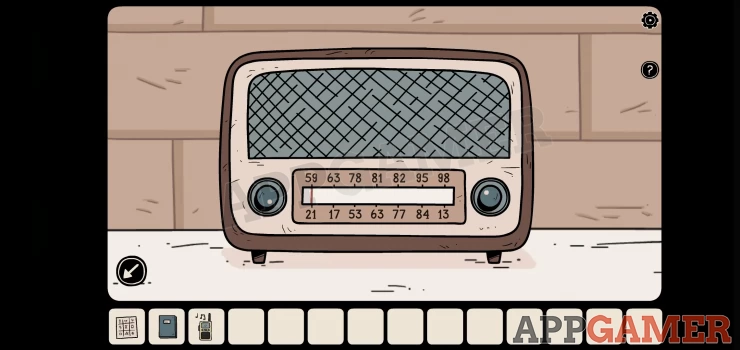
First listen to the walkie talkie music again to make sure you remember the tune.
Next tap to view the radio on the unit.
Use the dials to change the station until you find one playing the same tune as on the Walkie Talkie. Make a note of the numbers from the dial
Solution: Mine was 9813. Make sure to check yours in case it is different.Show
Next tap to view the grid on the wall for the next clue.
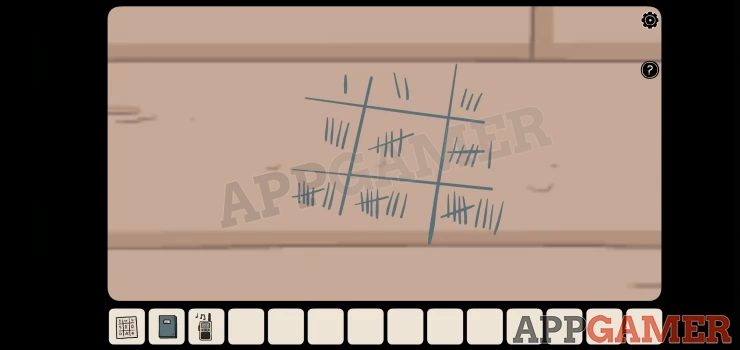
Note how the numbers in the 3x3 grid increase to give you an order. from 1 to 9.
Now view the note in your inventory to see a similar 3x3 grid. This has 9 symbols.
Lets return to the first room again. From this position go through the open brown door to the fireplace, then turn right to see the front door and the cupboard on the right.
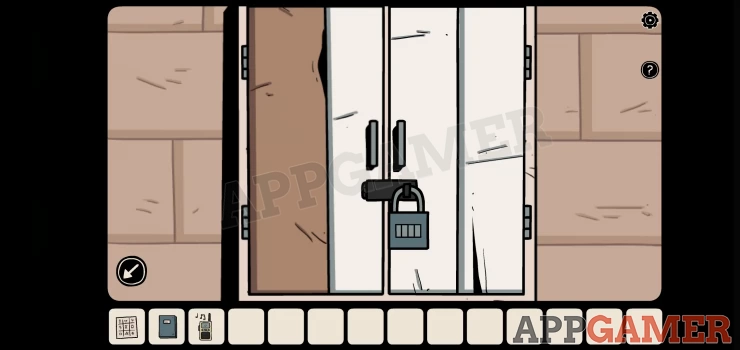
On the cupboard door is a padlock. View this.
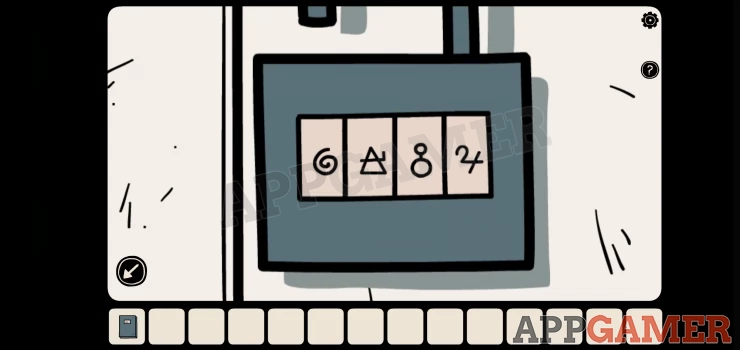
You need a 4 symbol combination to open it. Use the clue above to find this.
Solution: The radio frequency numbers tell you the positions on the 3x3 grid, get the symbols from those 4 positions from the note. These will vary for you.Show
Open the cabinet doors. Then tap on the red box on the bottom right.
The lid has a puzzle to solve.
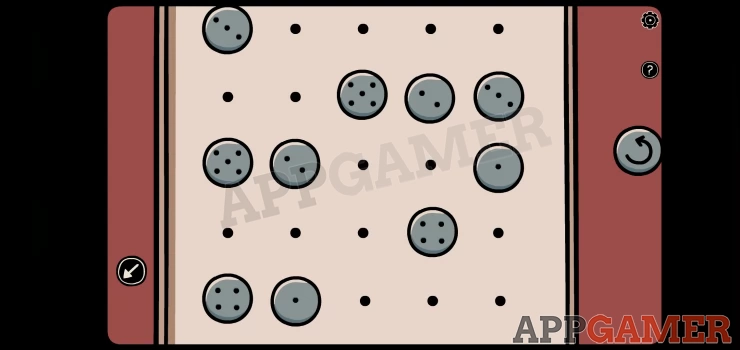
Hint: there are pairs of buttons with the same number of dots on them.
Solution: this is a connect / flow puzzle. draw lines to connect the matching buttons without crossing.Show
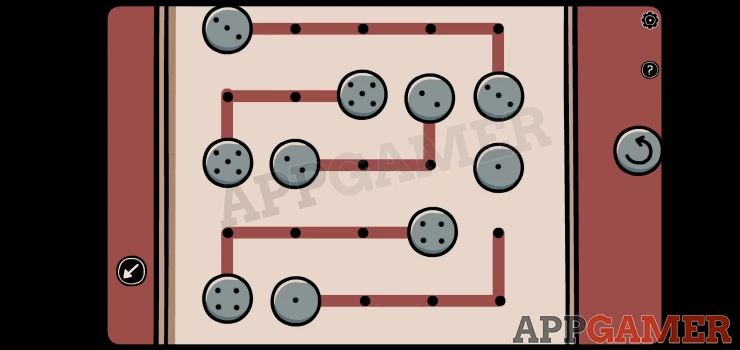
Once done the box opens. Collect a white diamond.
Now return to the fireplace (change the view to the left) and view the portrait on the wall above it.
At the bottom on the frame is an empty slot. View this and then add the diamond to it.
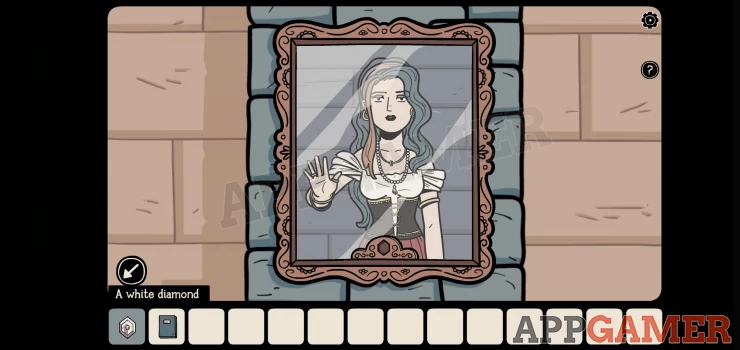
You are transported into a world within the painting.
Tap the woman to talk and find out that she is Meridia and she wants you to help find her cat.
You can now transition between the house and Meridia's world by tapping the painting in the first slot of your inventory.
Stay in Meridia's world and look to the left to find a blue door.
Open it and go through.
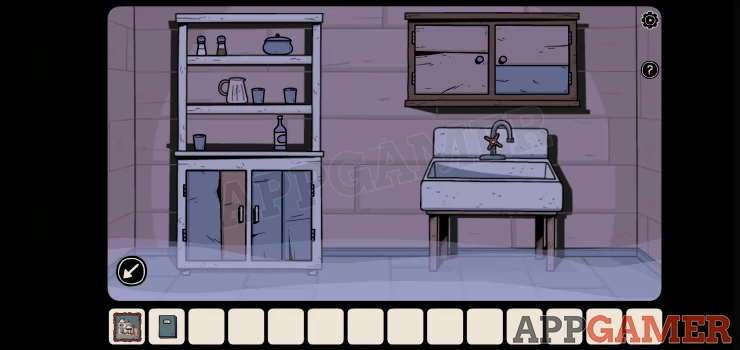
Open the doors on the bottom of the left unit. then collect the cauldron from inside.
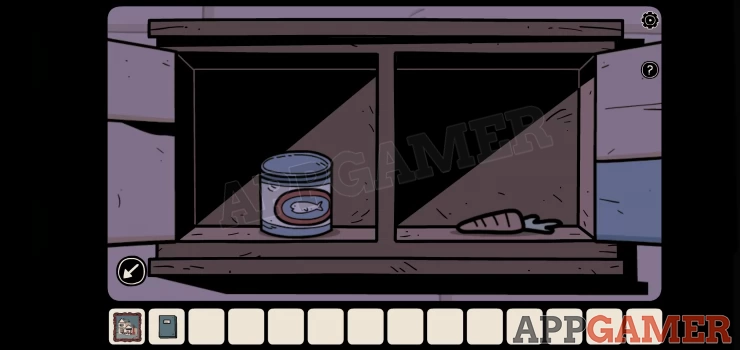
Now open the wall cabinet on the top right and collect a can of tuna and a carrot.
Exit this room and look to the left to see the clock.
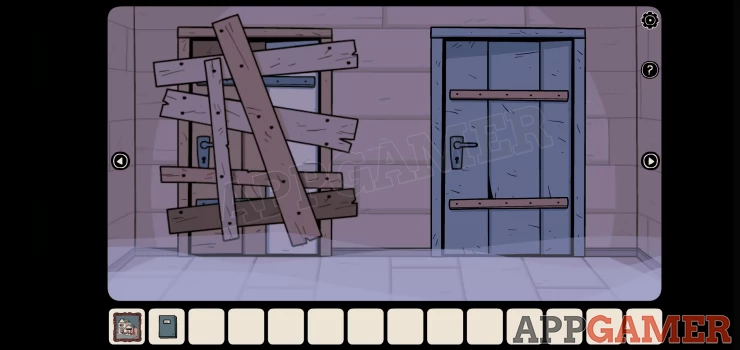
Open the brown door and go through. The stairs are broken in this world.
Rotate the view twice to find the open door and the white drawers.
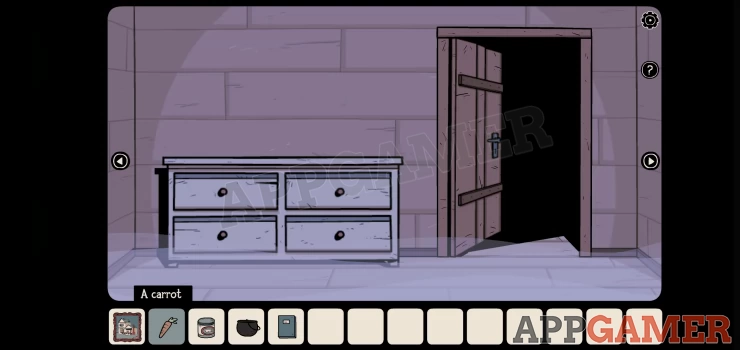
Check the drawers to find and collect a gardening tool. You will also see a shape clue in the top left drawer.
This is a clue for later.
Rotate the view to the left to see a white door.
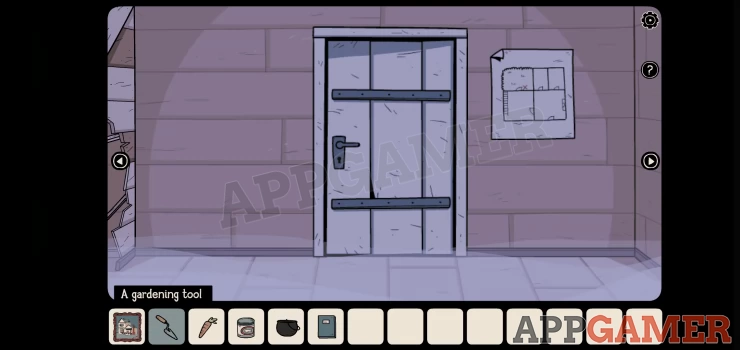
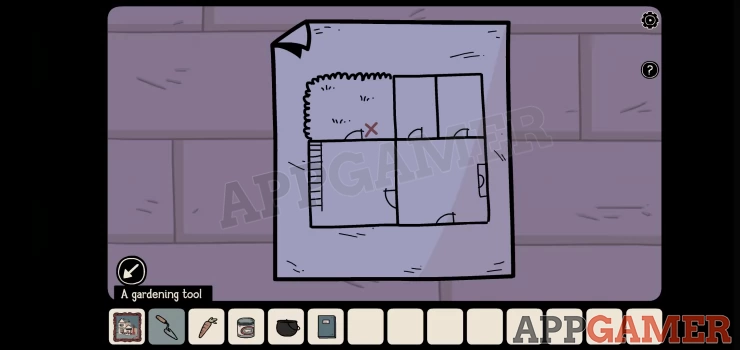
First tap the map on the wall to view it. take a note of the red X. That area is just outside the white door.
Now open the white door and go through to the outside area.
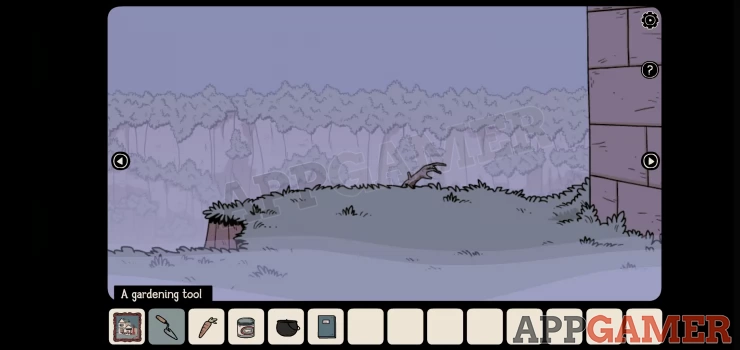
First tap to view the branch sticking up, you will get a view over a cliff.
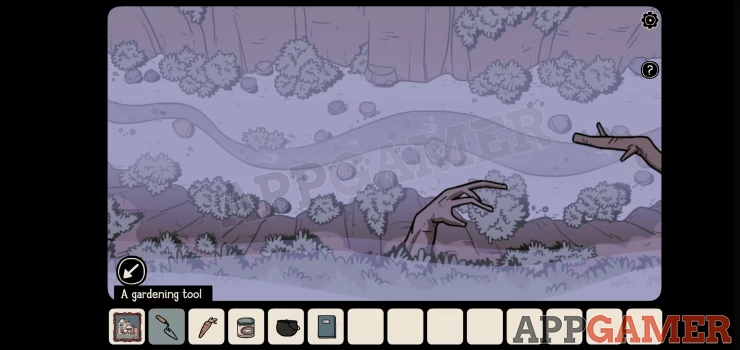
Tap the branch on the far right to view it and you will find an OWL. This is a collectible. Tap the settings cog icon to see 9 owl symbols with 1 now crossed out. Try to find them all.
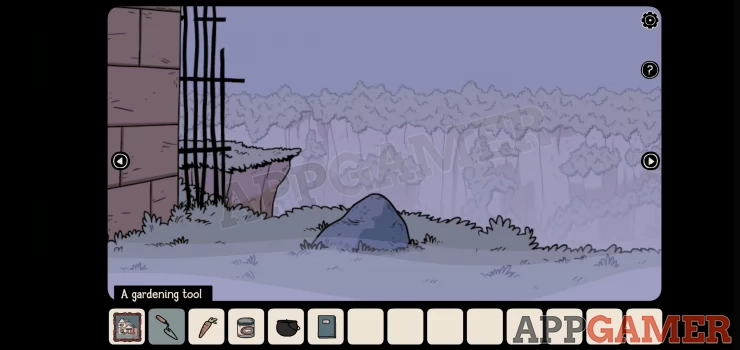
Back up and rotate the view to the left to see a rock.
Tap it to look behind it to see a Blue flower. Collect this.
Now it is time to find the X spot from the map. (it was right outside the door)
Look to the left again to see the door you came out of. Select the gardening too the tap the ground to the left od the doorway to dig.
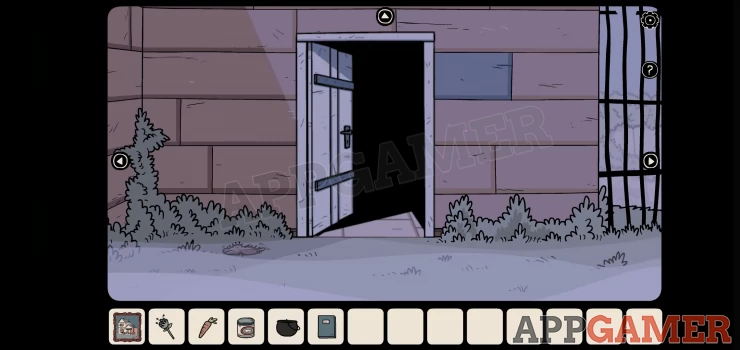
View the hole and you can collect a purple key.
Now go back inside, turn left and go through the brown door to return to Meridia.
Once there turn to the right to see a blue desk.
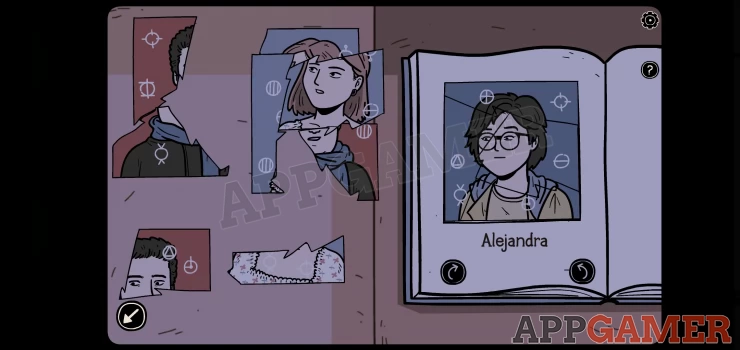
Use the purple key on the desk to open it. There are scraps of photos.
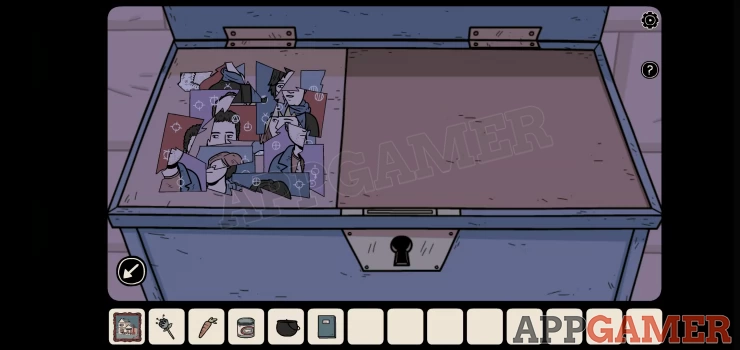
'Grab' the blue book from your inventory and place it on the right.
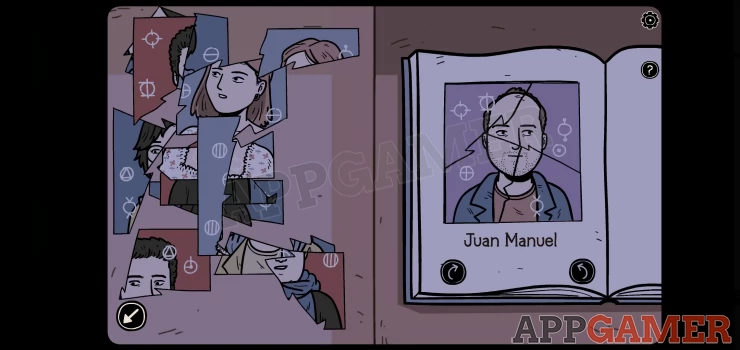
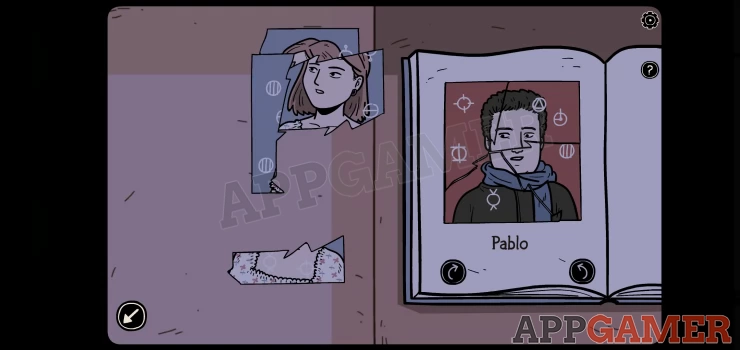
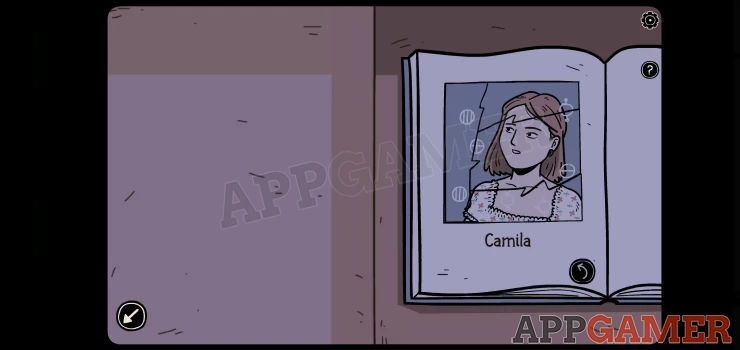
You can now flip through the pages of the book and assemble the correct photos pieces to complete each image of the 4 people.
Show
Show
Show
Show
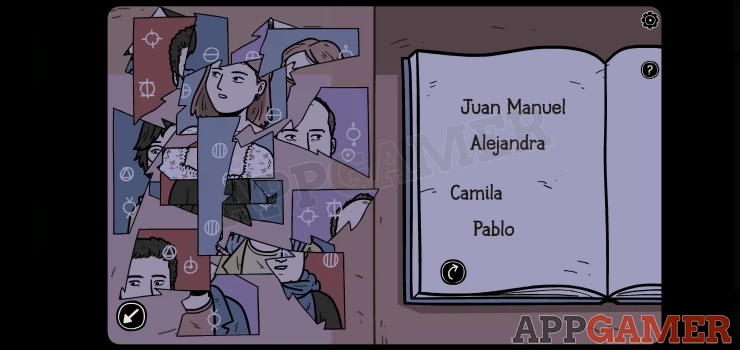
We can now use the clue in this book to get a code.
Solution: Each of the 4 photos has a number of symbols on it. Look at each photo and spot the symbol the the eyes are looking at. Then use the order of the 4 names on the last page to get the order of the symbols. You will need to make a note of these symbols.Show
Once done return to the original world (Adria's world) by tapping the painting in your inventory. You will be back at the fireplace with the painting.
Turn around and go through the brown door to find the staircase. Then tap the Up arrow to go upstairs.
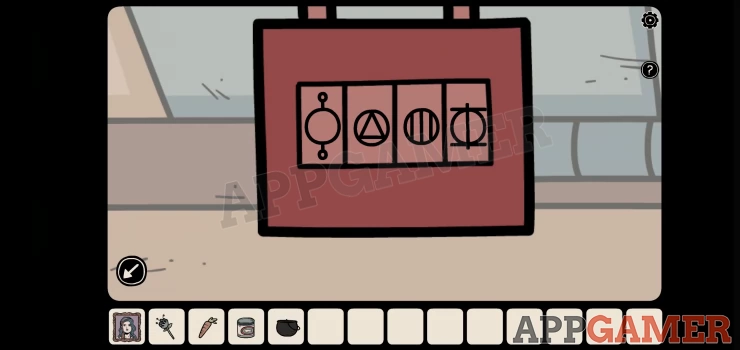
There is a trapdoor at the top with a padlock.
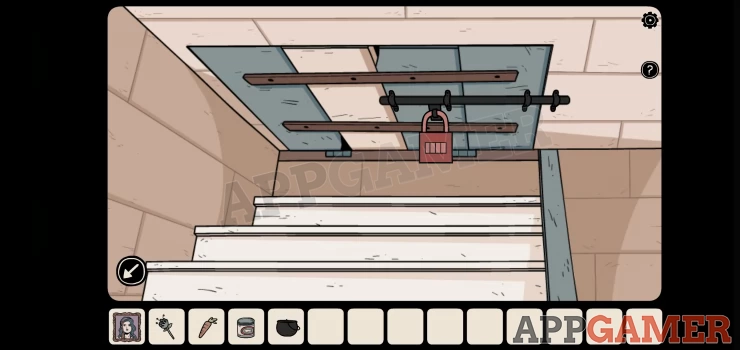
Use the symbols code found from the book above.
This was my solution.Show
Once opened go through to the top floor.
We will continue the walkthrough in Part 2
We have questions and answers related to this topic which may also help you: Show all