
Bonus Chapter - Part 2
More Lost Lands 10
Welcome to Part 2 of our Lost Lands 10 Bonus Chapter walkthrough. This game is another in the popular line of Mystery escape room and puzzle games from Five-BN games. This game features beautifully designed environments and a diverse range of puzzles and hidden objects to find.
The bonus chapter will open up once you complete the main game and focuses on Kiana and her journey to find Susan again after they are separated at the mine. In part 1 You have reach a labyrinth near the dam and manage to pass through it. You now arrive at the Dam and need to talk to the worker.
Bonus Chapter Walkthrough - Part 1
You arrive at the Dam.
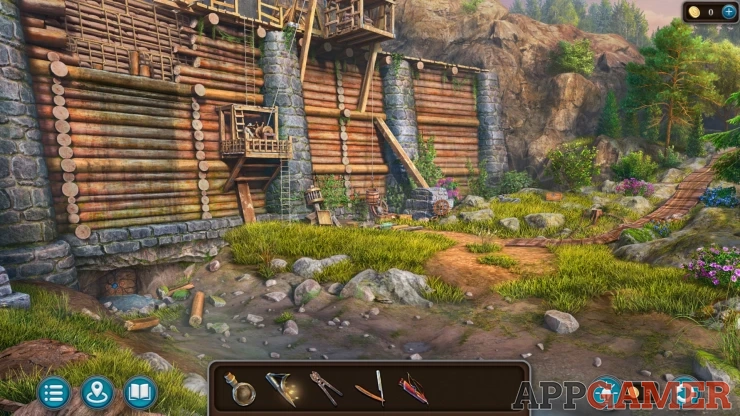
Collection Item: Fluffy, animal in the grass just below the right stone column of the dam.
Morphing Object: Changing hoof print on the ground near the lower right.
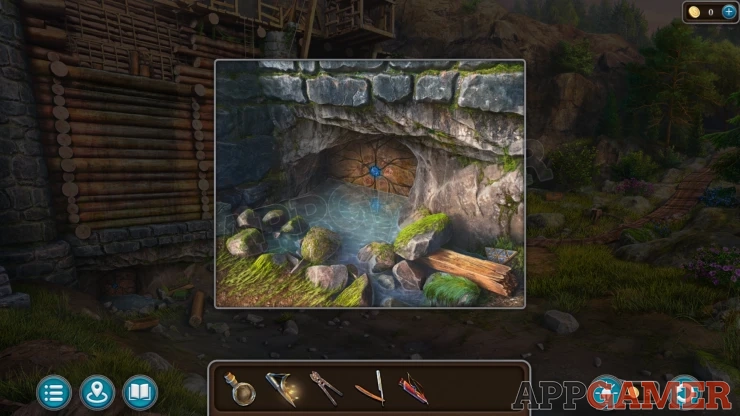
First view the secret door under the dam to the left. Collect from the ground a Patterned Trapezoid.
Next tap on the worker on the platform.
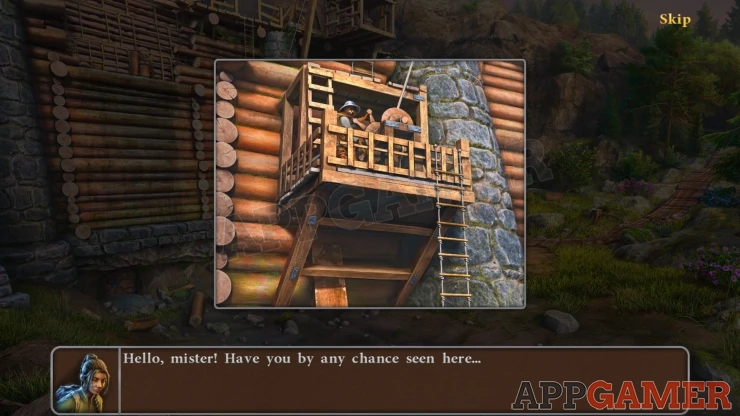
You need to find some nails to help him secure the winch. On the ground to the right of the platform is a pile of items. View this.
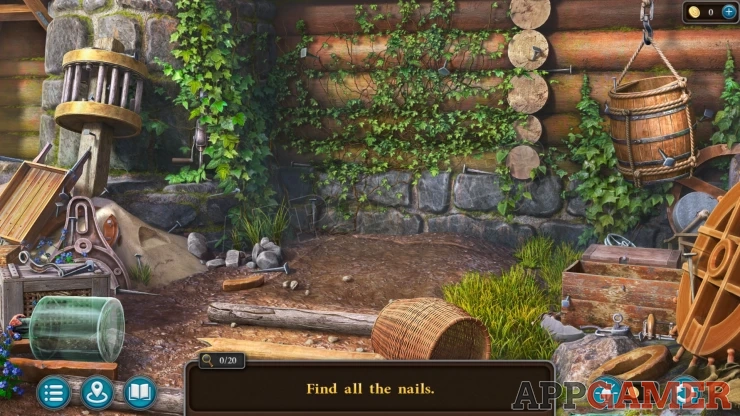
There are many nails here, you need to find 20 to collect.
You cannot collect ones that are stuck into objects, only loose ones. The positions may vary for you but for me I found the following:
There are 10 to collect in the main scene. Then tap on the pile of sand on the left side, there are 3 more nails here.
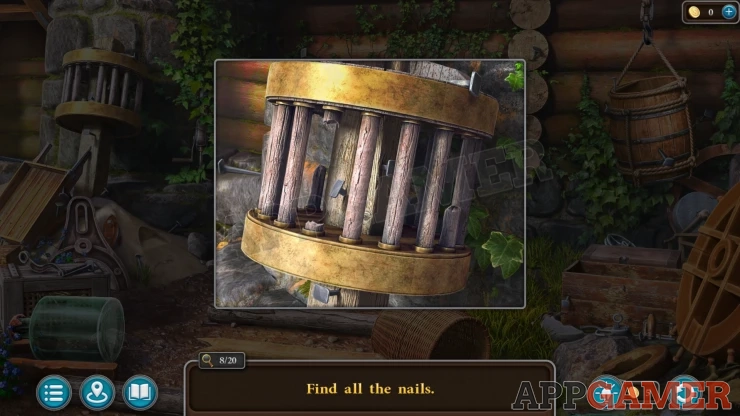
View the gear box on the upper left to see more nails, Collect 2 nails from here.
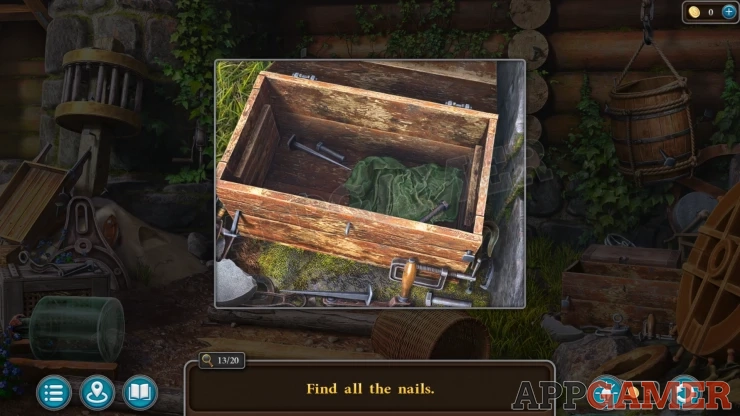
View an opened wooden box on the lower right. Collect 2 nails from here.
View the hanging bucket on the right, this has broken glass in it. Collect 3 nails from here (one is outside the bucket).

Now give the box of Nails to the worker. He will then be able to talk to you.
You will receive a Pike Pole.
Task - Dwelling in the mountain
Return to the top of the cliff with the broken bridge. Collect a second Patterned Trapezoid from the grass under the tree on the right.
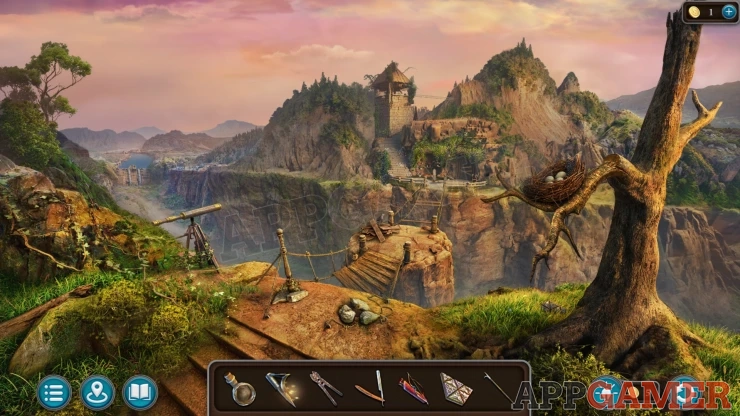
Now view the broken bridge again and use the pike pole on it to pull up the fallen section and repair it.
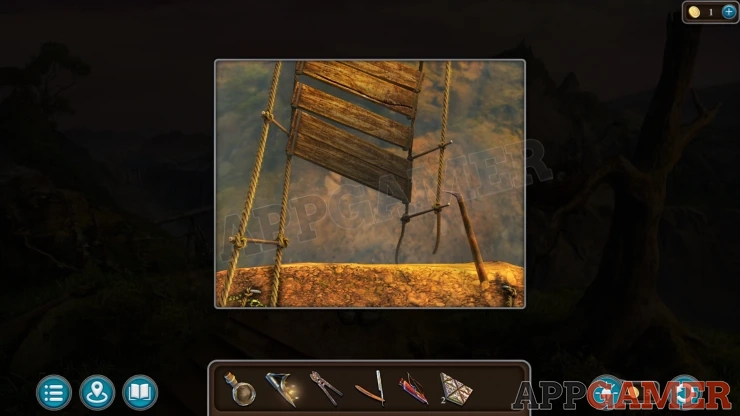
There is now a bridge with a missing section. Now you can go back to the dam and view the end of the wooden ramp on the ground. Tap this.
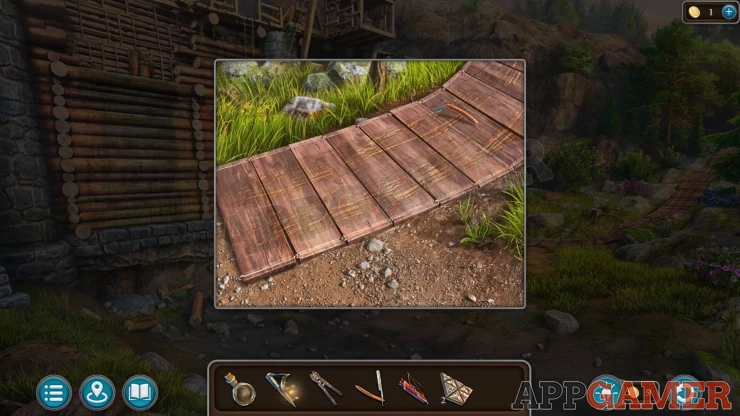
Next you can use the straight razor on this to cut the ropes and collect the end Part of the ramp.
Go back up to the bridge and add this to the missing gap to complete it.
Tap the center section of the bridge now to move forward.The Vulture is there blocking your path.
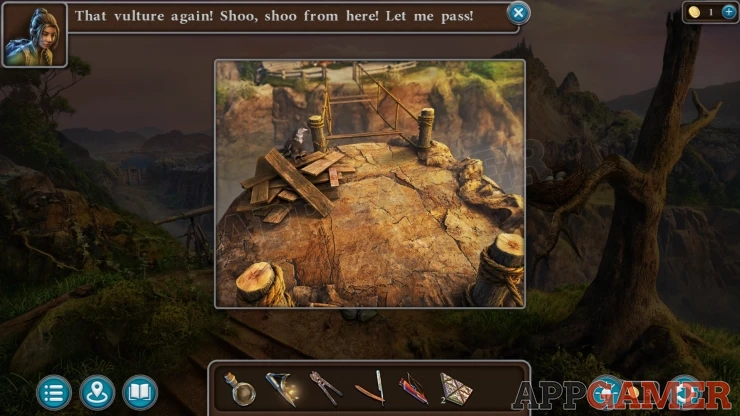
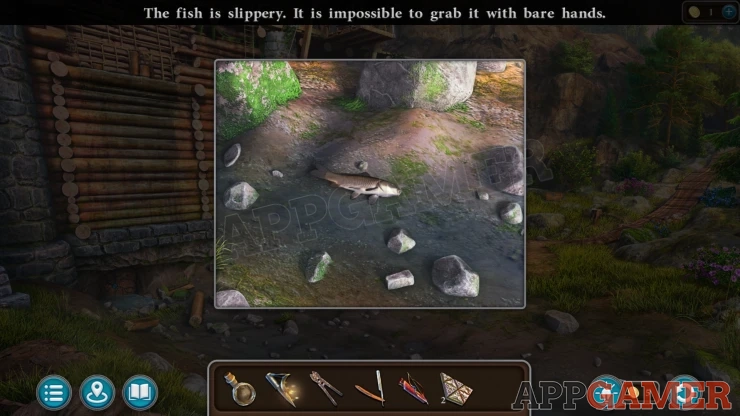
Return to the dam and look in the small stream. There is a fish here but you cannot pick it up.
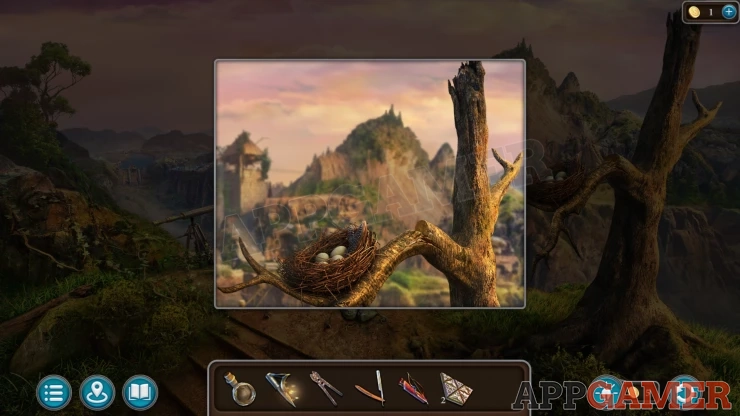
Go back to the bridge and then look again in the nest in the tree. Collect the Spiked Glove.
Now you can use this to collect the fish from the stream at the dam.
Once you have this move onto the bridge and give the fish to the vulture. It will fly away.
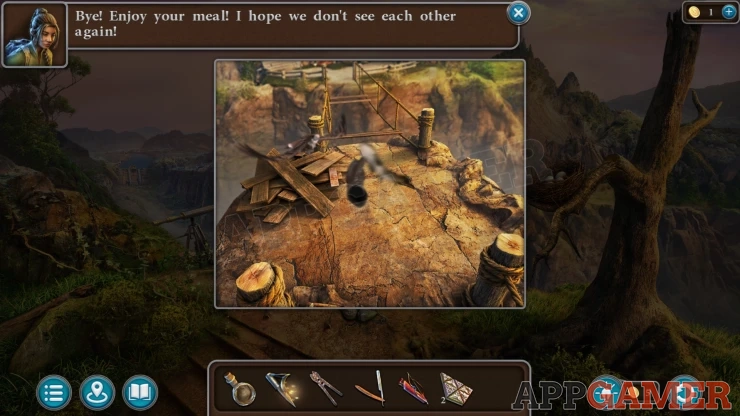
Tap the pile of planks on the left and then on the next section of bridge to start a mini game.
Bridge Plank Puzzle
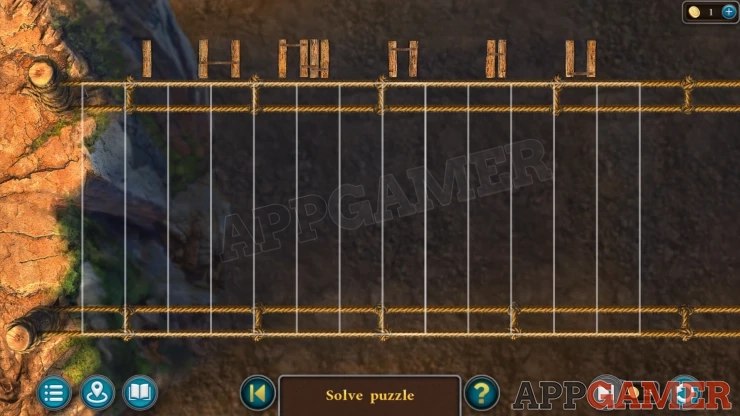
- You have section of planks in various configurations at the top of the screen.
- Drag and place these into the slots on the bridge ropes to rebuild the bridge.
- You need to find the correct way to slot them all together.
Once you complete the first section there is a second section to solve.
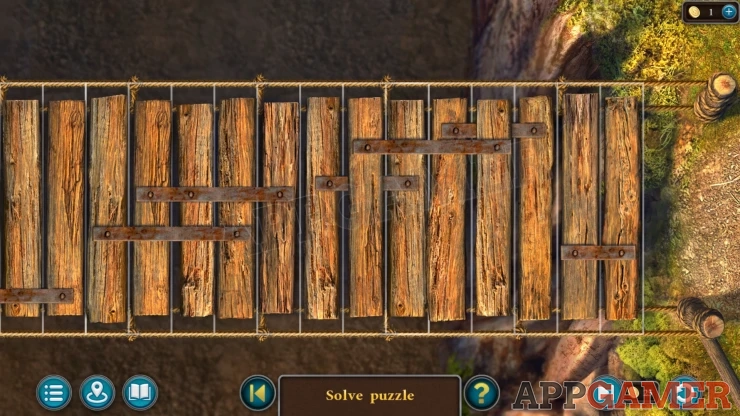
Once this is done you can reach the far side of the canyon. The vulture is still with you.
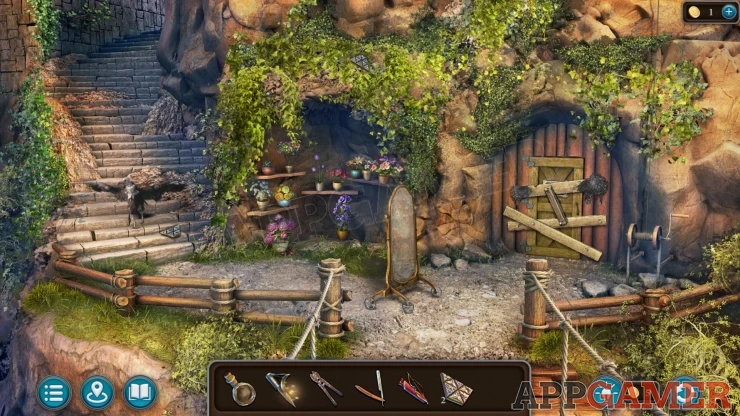
Collection Item: Fluffy, animal just behind the low wooden fence on the left.
Morphing Object: small pouch above the door on the right.
Use the bow and arrow to also collect another Patterned Trapezoid (3) that is in the climbing plants above the small shelves to the left of the door.
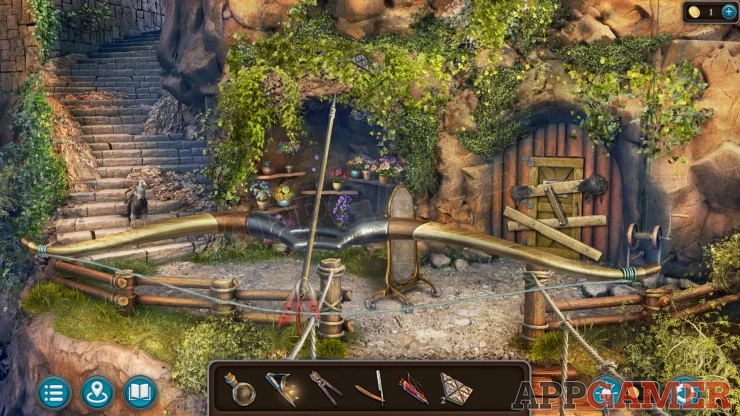
View the door on the right, it is boarded over. Use the Nippers on the door to remove all of the boards with nails.
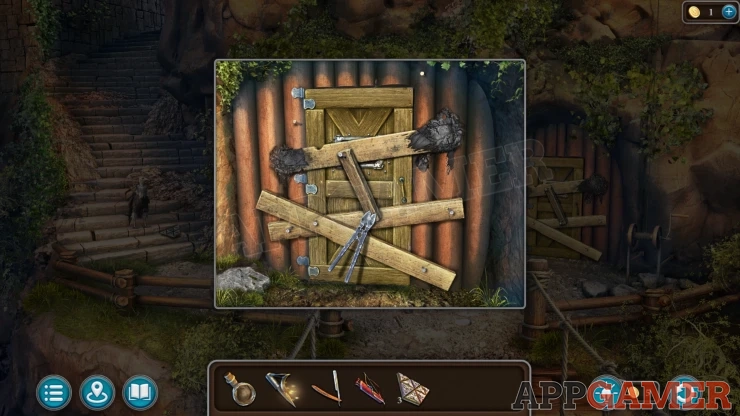
There is one board left that is glued in place.
Back up to the other side of the bridge and tap on the telescope. Turn the telescope until it says that the sunlight is concentrated into a hot beam.
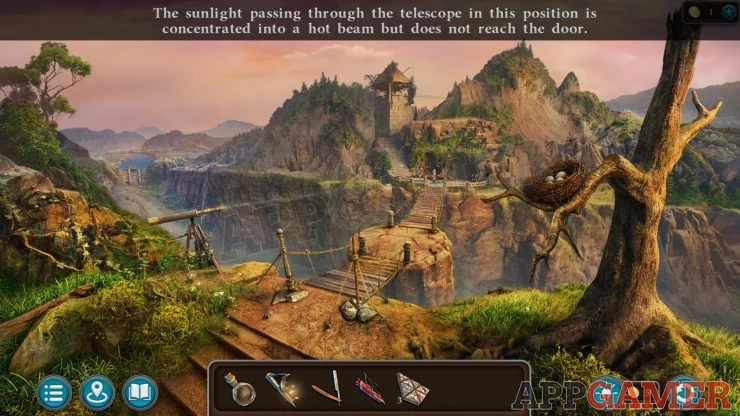
Return to the front of the house, you need to direct the beam to the door. Tap the mirror to move it into the beam.
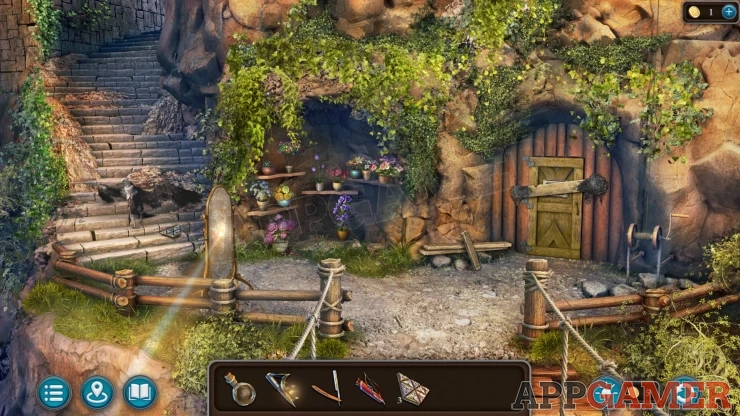
Then you can tap the mirror to adjust the angle. Keep doing this until you hit both glued ends of the plank on the door.
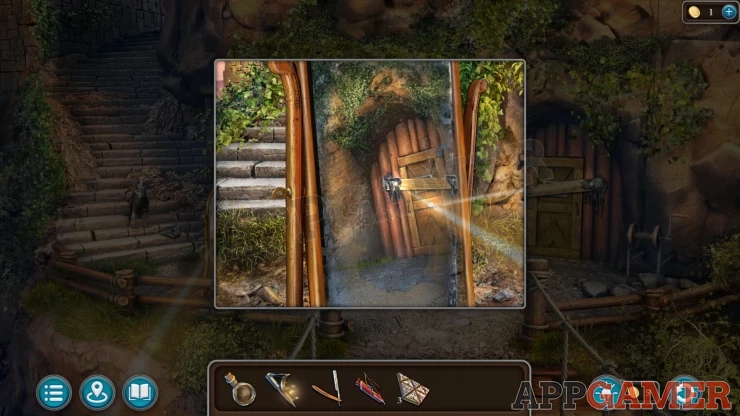
Then move it one more time to scare the vulture away.
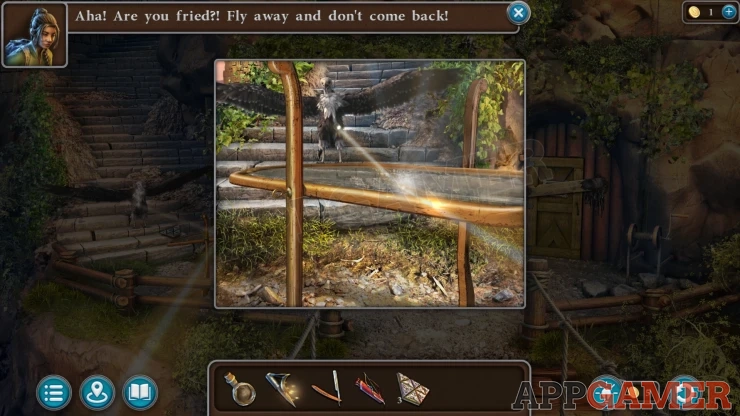
With the bird gone you can collect another Patterned Trapezoid (4) from the steps where it was sitting.
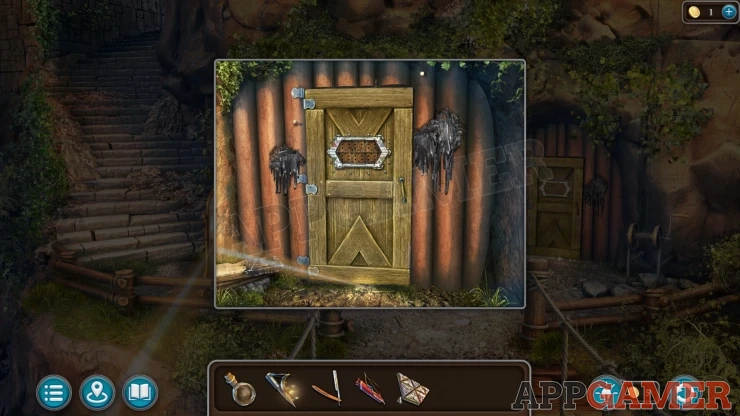
You can view the door and remove the final board, but you cannot open the door yet.
Go up the steps to the bell tower above. The vulture is here now.
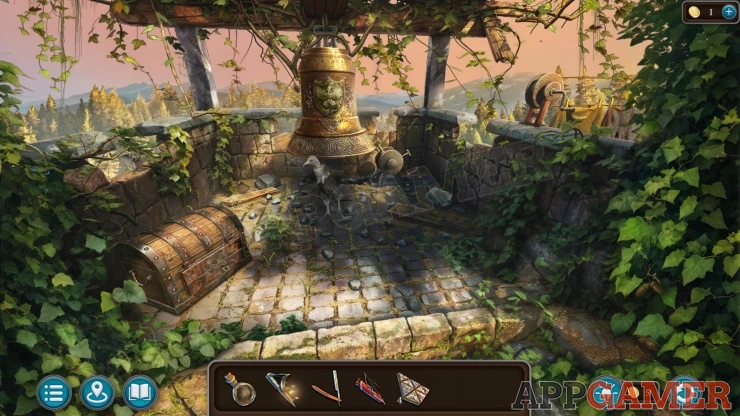
Collection Item: Fluffy, animal under some vines on the wall on the left.
Morphing object: Acorns / seeds hanging on the green ivy on the lower right.
Look on the right wall to see a winch with a washing line.
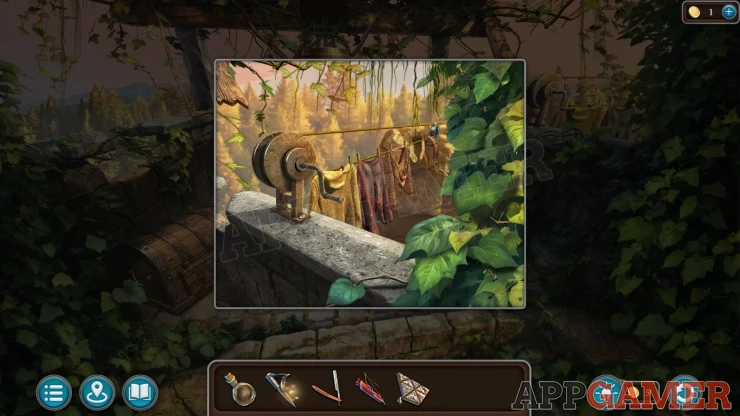
Tap the winch to reel in the line and remove the clothes, when you get to the end you can collect a Fabric Belt.
Go back down the steps and collect a Wooden Block from the ground to the left of the door.
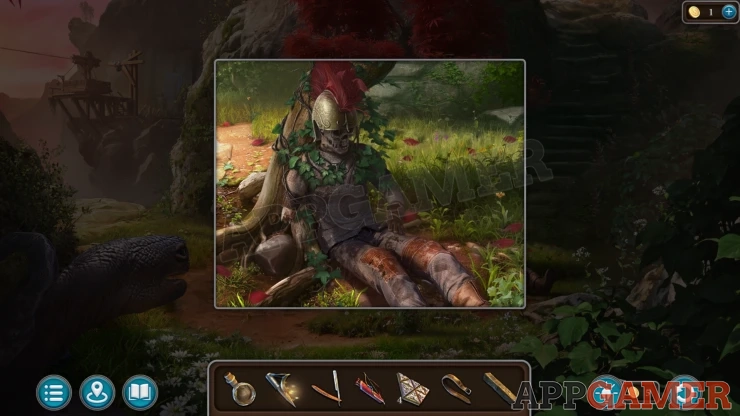
Then back up to the tree with the skeleton under it. View the skeleton again and use the straight razor to cut and collect the Leather Belt.
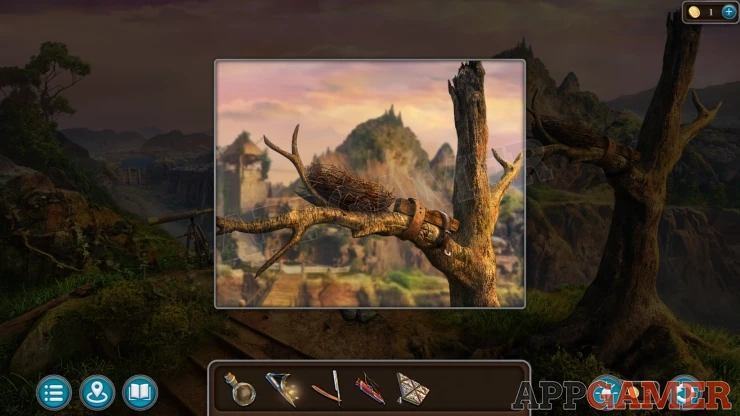
Go back up to the cliff with the tree that has the vultures nest in it. View the tree. Add the wooden block and then the two belts, this will fix the branch. The vulture will return to the nest.
Go back to the bell tower. Now you can look at the bell to see it and the conveyor belt of hammers.
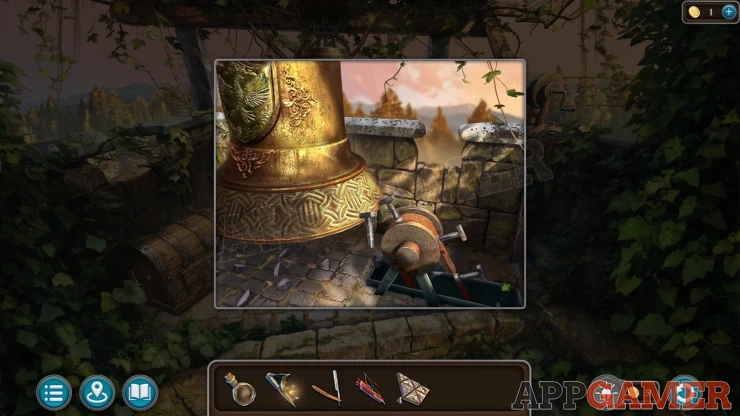
Select a hammer that is on the ground under the bell and use it on the bell to start it ringing. The hammer belt will then move to ring it some more and then you can collect a paper from the belt. Read this for a clue.
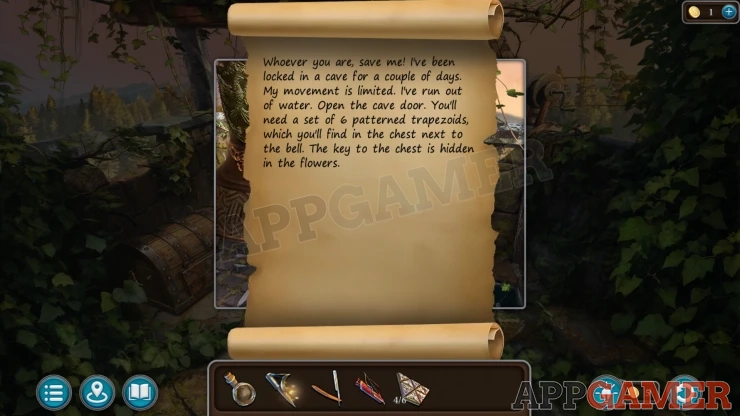
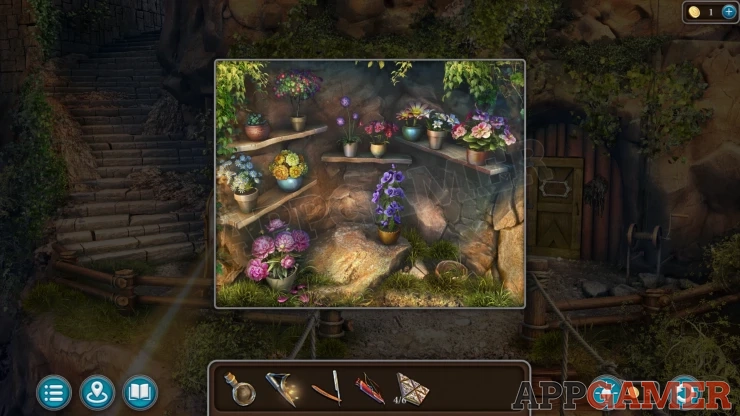
Go back down and view the shelves with the flowers. Tap the flower pot on the ground on the left to collect the Key to the Chest.
Go back up to the tower and use the key to open the chest on the floor on the left. This reveals a puzzle
Bell Tower Chest Puzzle
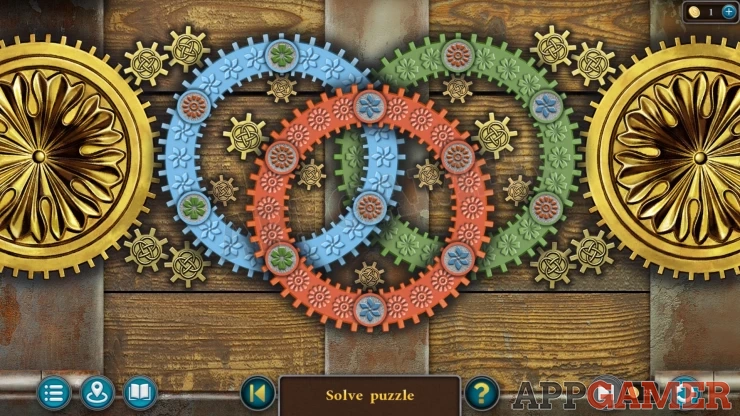
There are three colored gear circles that you can rotate.
Each of the circles has 6 slots for colored flowers.
The flowers are jumbled up, move the circles and arrange the flowers so that the colored flowers are on the matching colored circles.
Solution: Show
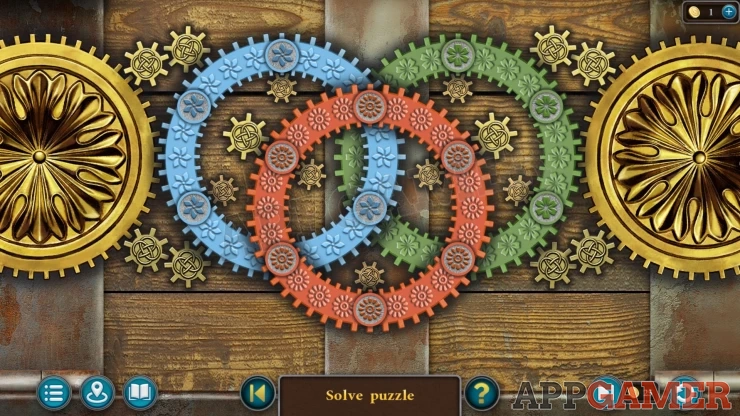
Empty the contents of the chest on to the ground and then you can collect a fifth Patterned Trapezoid (5). You are still missing one.
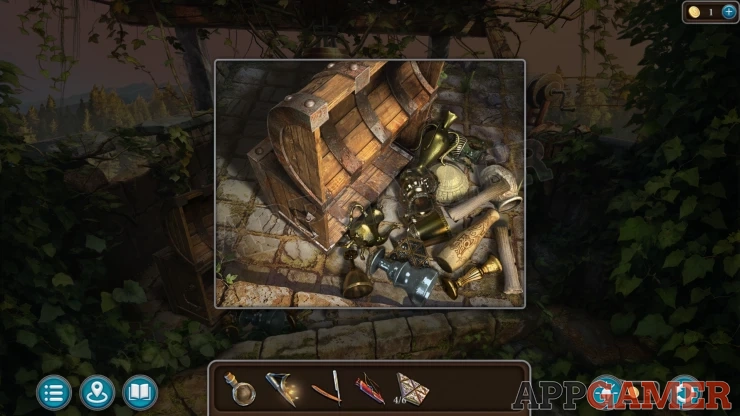
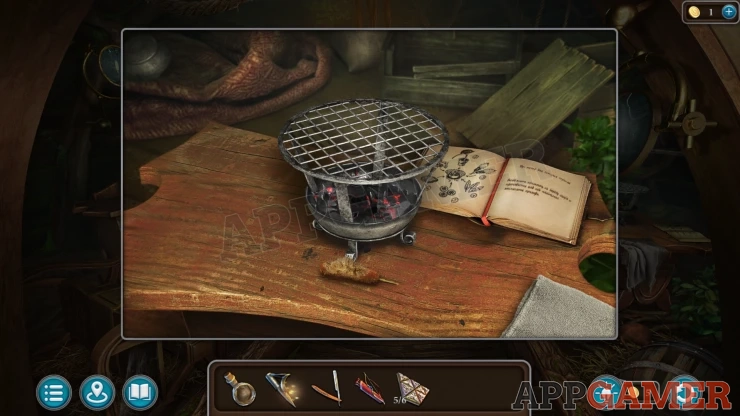
Travel back to the house in the tree and view the portable stove on the table on the right. Collect from here a Charcoal Stick.
Return to the bell tower and view the bell again. Then tap the note on the final hammer to view it again.
Use the charcoal stick on the paper to add your own message. Then ring the bell again with the hammer and the message will be delivered back inside.
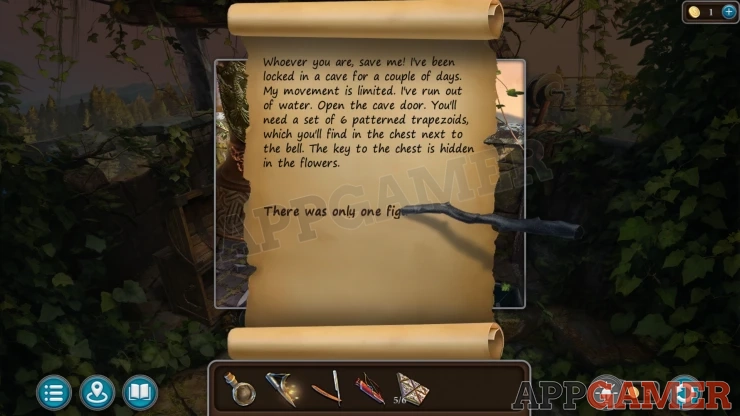
View the bell one more time and a new message will appear, read this. Then you can tap a small parcel on the hammer belt to open it and collect the final Patterned Trapezoid.
Go back down and view the door, add the 6 Patterned Trapezoids to the panel to start a puzzle.
Trapezoid Puzzle
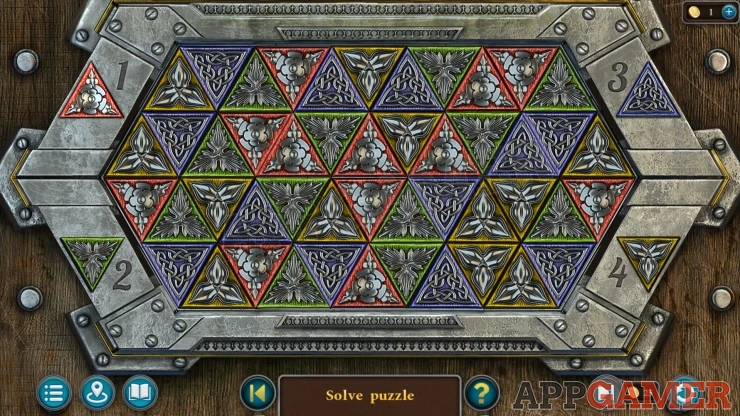
- The board is made up of triangle of four different colors.
- You can clear (deactivate) the triangle by tapping four at a time on the order of "Red, Green, Blue, Yellow"
- Work your way around the board and clear all of the triangles in this way.
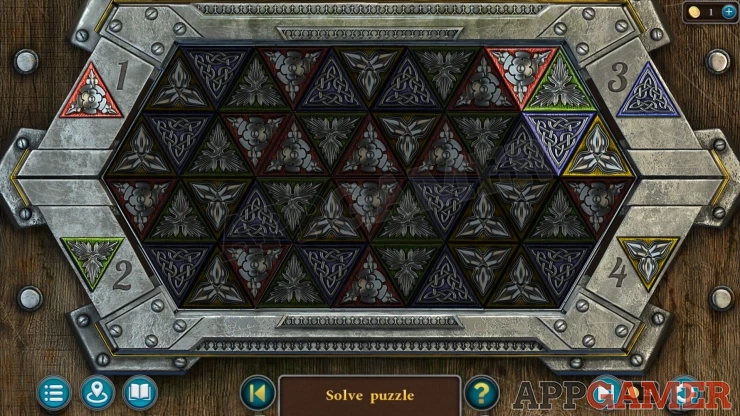
Once done the door is open. Enter the Dwelling.
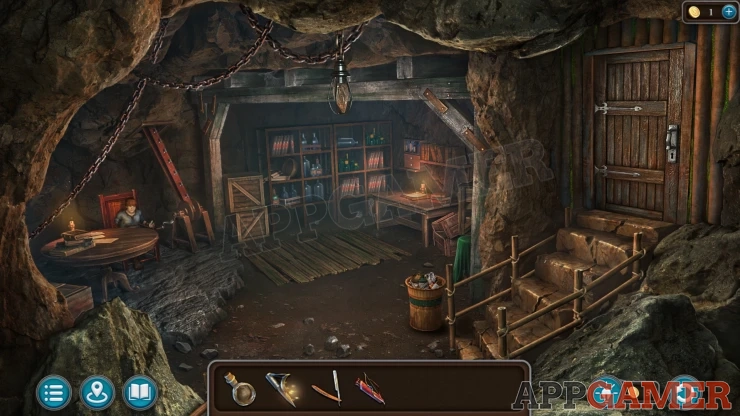
Collection Item: Fluffy, animal on the wooden rafter near the chain.
Morphing Object: Round object on the shelves at the back.
Give the bottle of water to the resident of the cave. Mora.
Task - Mechanisms for Mora
View the waste bin by the steps and tap it to tip out the contents.
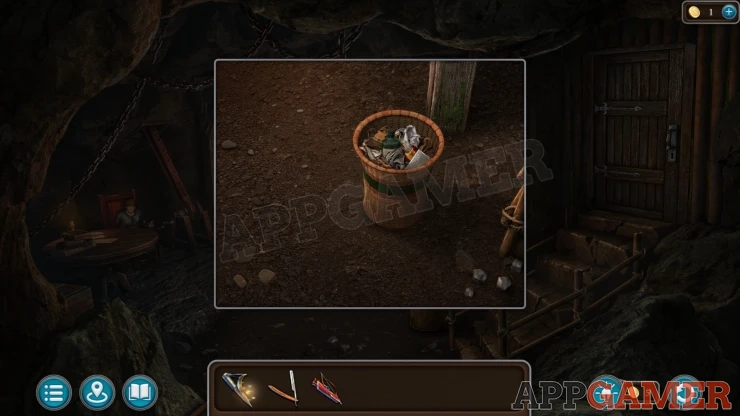
View each of the balled up papers until you collect the Drawing of a leg Prosthesis.
Now view the table on the right of the room.
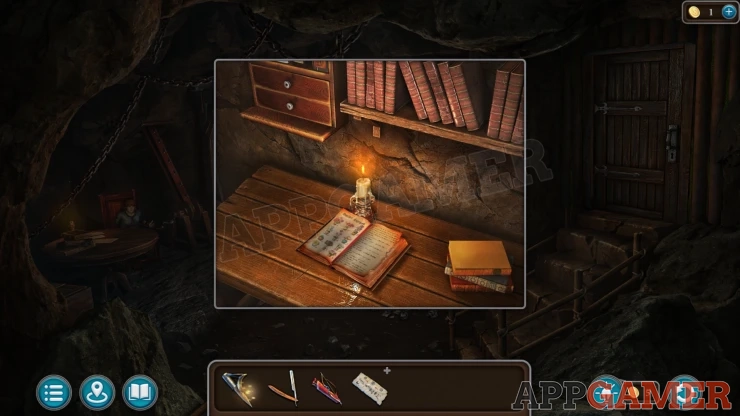
View the book on the table to see information about flowers and then you can collect a Workshop Key from under it.
There are a two small drawers on the upper left, open the lower one to find a Blunt pencil. Use the straight razor on this to sharpen it and you will collect the Pencil.
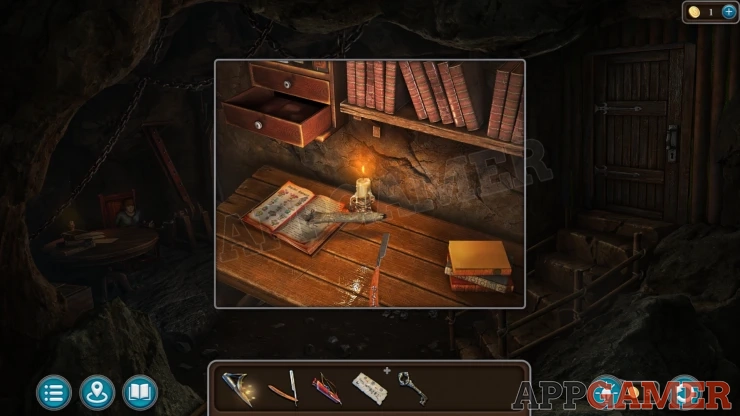
Now view the door on the right, after trying it you can use the key to open it.
Enter the workshop.
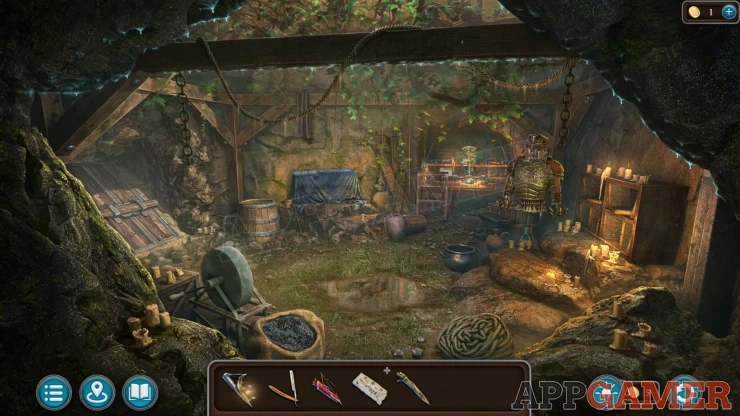
Collection Item: Fluffy, animal to the left of the barrel on the left side of the room.
Morphing Object: Pin/peg on the rocks on the lower left by some candles.
View the basement doors on the left of the room. they are barred with a plank. You need a screwdriver.
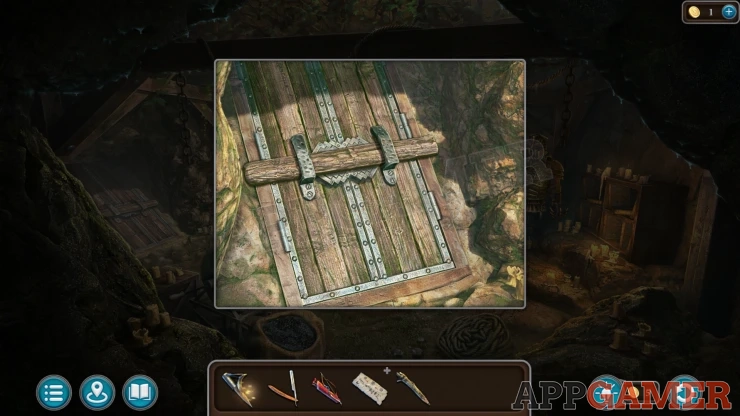
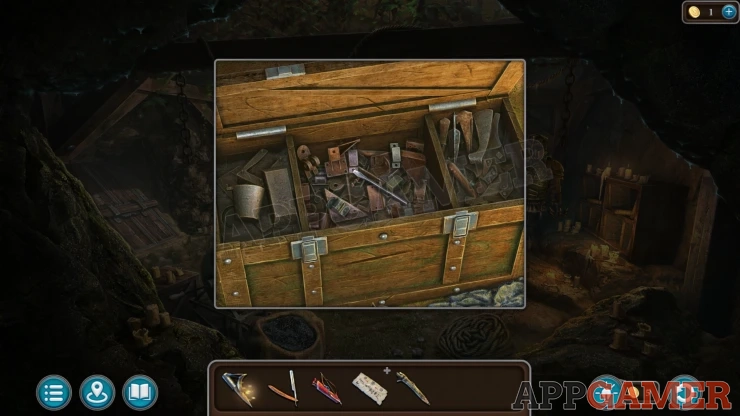
Next view a blue sheet covering a box on the back of the room. Remove the sheet to find a large crate. Open the crate and then you can collect a Screwdriver Stem.
Return to the Dam and view the pile of items below the high platform. Collect a Hand drill from behind some ivy on the left side.
View the hand drill in your inventory, tap the copper screws at the drill end to loosen then and remove the drill bit. You can then add the screwdriver stem to this to then collect the Hand drill with a screwdriver.
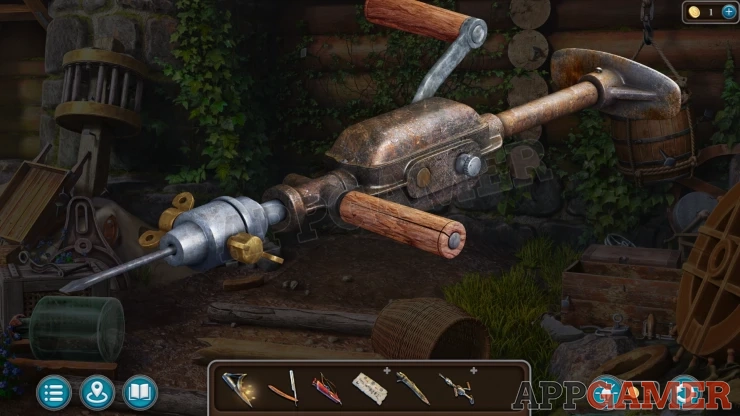
Return to the workshop in the cave and use the screwdriver on the basement doors to remove the plank.
You then find a puzzle
Workshop basement doors puzzle
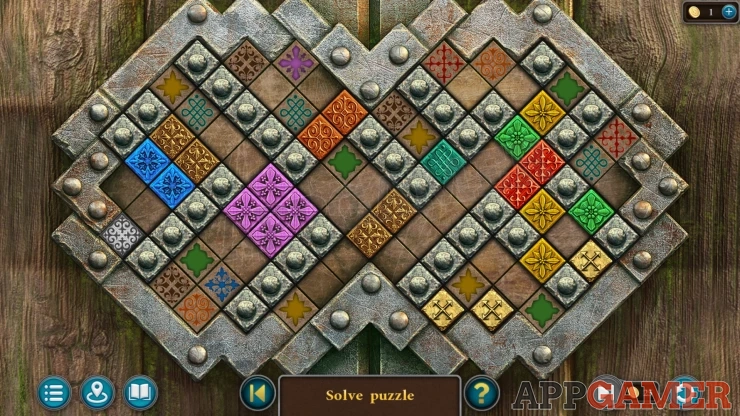
The board is made up of empty tiles, some of them have colored patterns on them.
There are also fixed blocks that you cannot move and special colored tiles that can be activated and deactivated like a gate.
On the lower right are three yellow squares with crosses on them that you need to move around the board to reach the grey highlighted tile on the left side. Your board may look different.
Method: To start, move a yellow square onto the normal tile with the yellow symbol on it. This will deactivate (open) all of the Yellow tiles on the board. The other two yellow squares can then be moved past the yellow tiles. You will need to use one of them to deactivate the green tile to move them on further. Keep moving the tiles around like this until you can move them all to the end positions on the right.
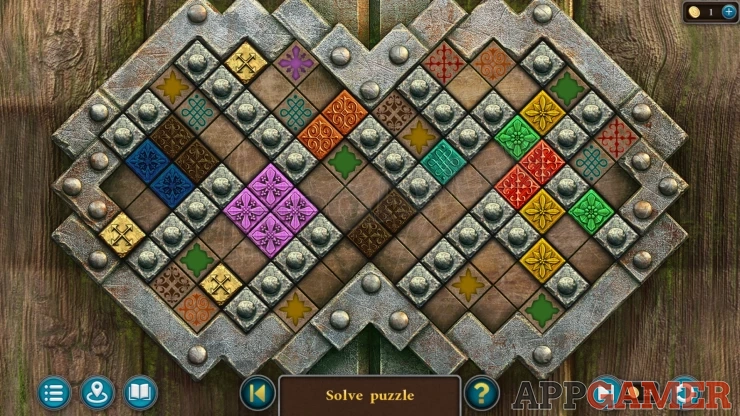
Once done the doors will be open and you can enter the cave warehouse. It is dark, you need to collect some fireflies.
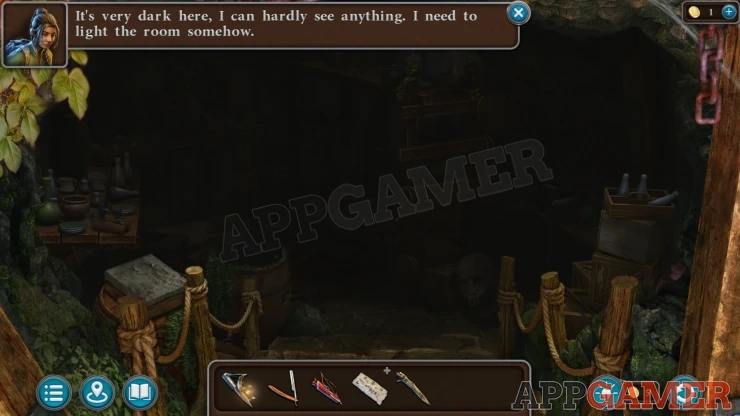
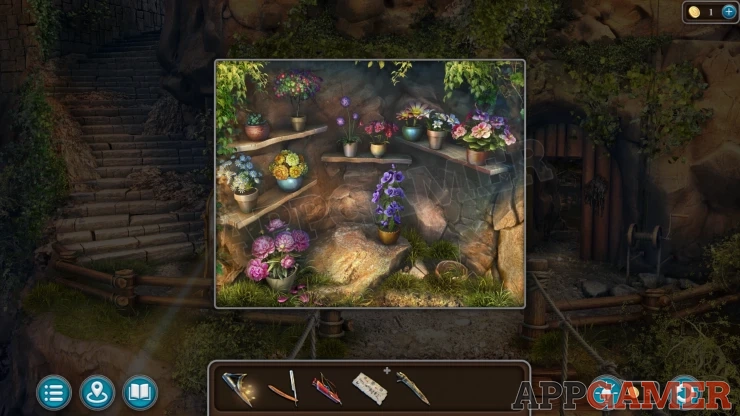
Back out to the cave entrance and view the shelves of flowers again. Tap the tall purple flowers to collect some Firefly Violets.
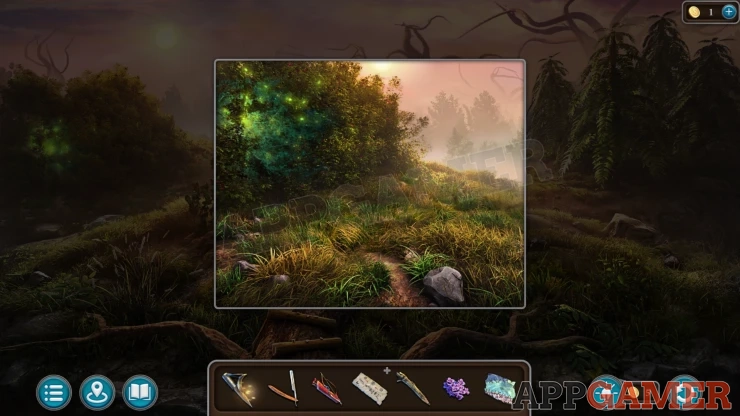
Then return to the firefly forest where you first landed. First go up the tree to the stone memorial, then tap the fireflies on the left, You need to find a way to collect them.
Now you can go back down to the bottom of the tree and view the parachute chair on the left.
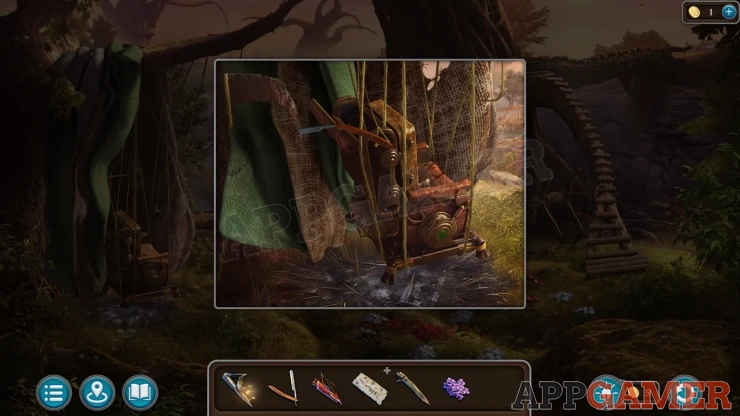
Use the Straight razor to cut and collect some Parachute Fabric.
Tap the tree branch on the right to move up to the stone memorial again, then view the bush on the left with the fireflies.
Place the parachute fabric down and then add the firefly violets. When the fireflies move to the flowers, tap the fabric to collect the Fireflies.
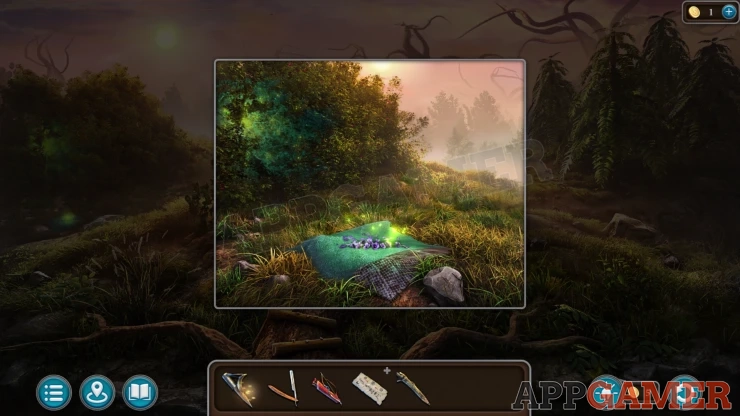
Now return to the cave and the warehouse, release the fireflies here to light up the room. You now need a list.
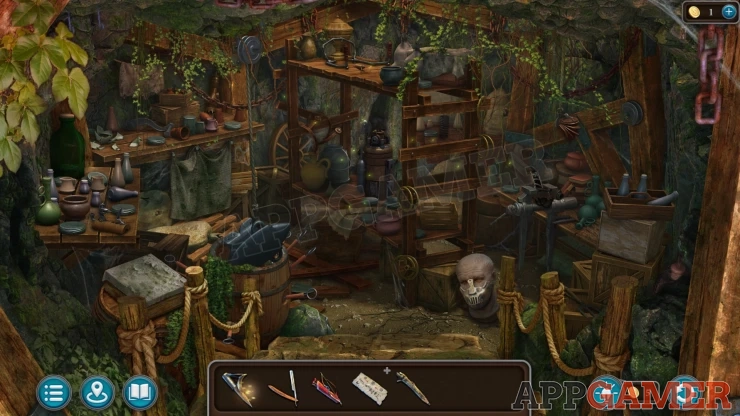
Back up to the workshop and then view some small shelves on the right.
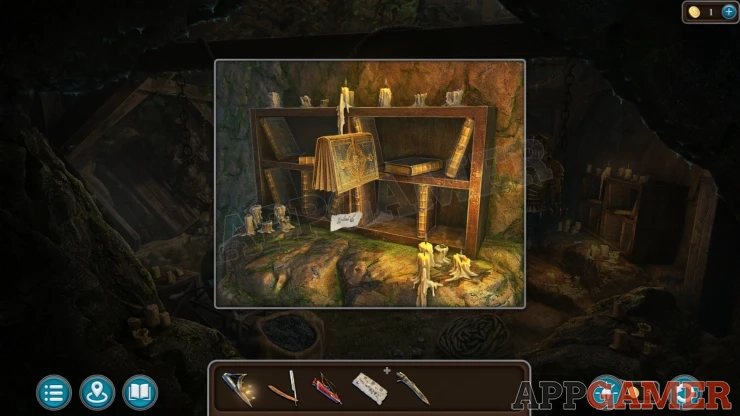
Tap each of the books in turn to shake them until you find a paper falls out of one. Collect the Drawing of a prosthetic arm.
Now look at the back of the workshop to see the shelves and workbench.
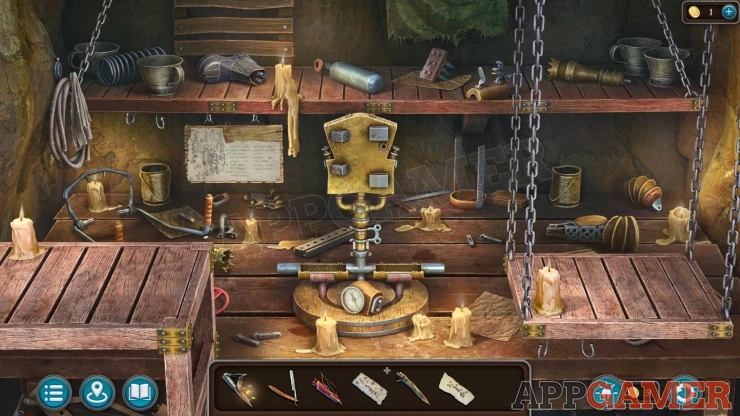
On the left under the shelf is a paper with a list and a diagram. There are parts missing.
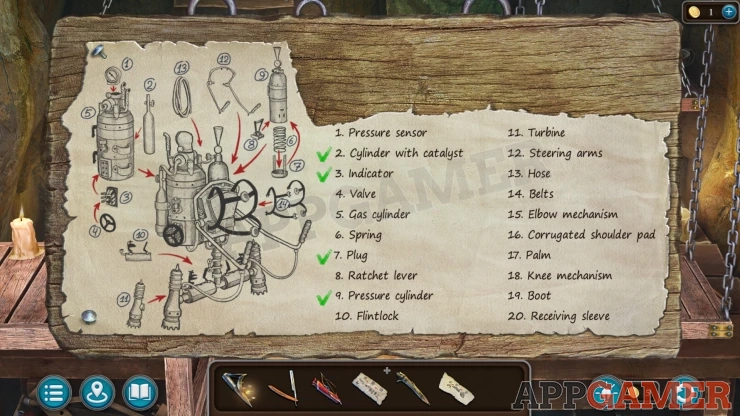
Add the drawing of the prosthetic arm to it. Then view the drawing of the prosthetic leg in your inventory.
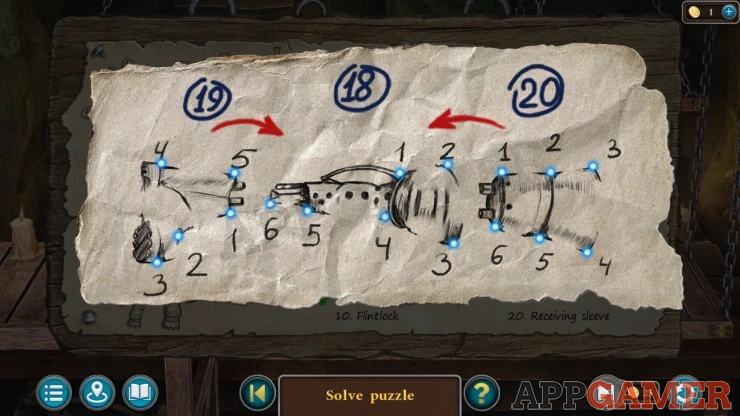
Use the pencil on this and you will see blue dots appear next to the numbers. This is a connect the dots puzzle.
There are three sections to the drawing, in each one tap the dots in the order of the numbers to draw in the lines and complete the drawing.
Once you collect this again. View the diagram by the work bench again and add this as well, you then have the Drawing of the Rocket Carrier.
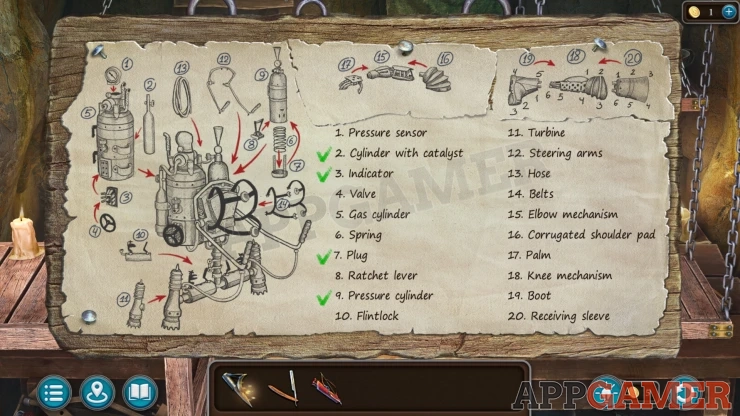
With this list you now need to find the parts to assemble it. Some of the parts are already at the work bench and are ticked off.
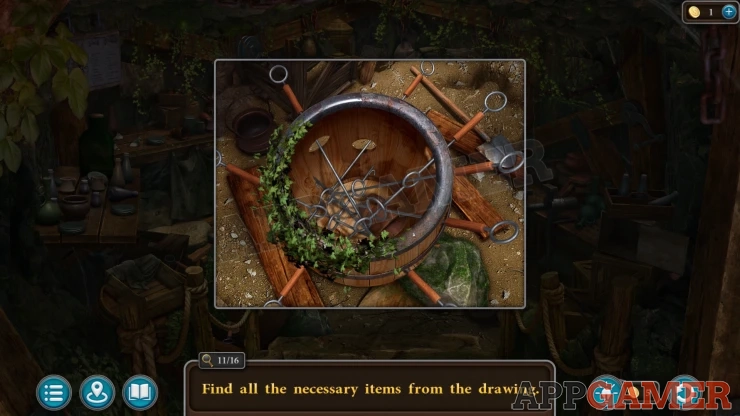
Go back to the warehouse area and use the list here. You can then start to search for the items. Check around the entire warehouse to find items to collect. you can find these in the various tables and shelves, some are hidden behind other items.
There is a barrel to the left that has a heavy weight on top if it. You need to find a handle on a shelf near it and then add it to the winch on the right to then let you lift this so you can look inside, then you need to remove the poles that are in the barrel in the correct order so you can find an item at the bottom.
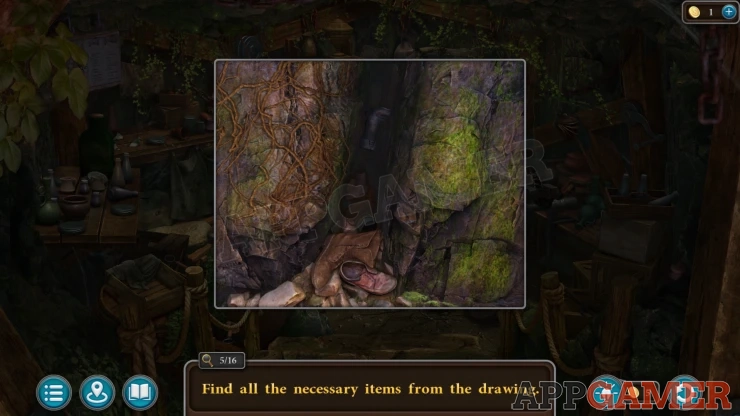
There is also a crack at the back of the cave wall behind the center shelf that you need to look into to find another item.
Once you have all the items you will collect the Set of Parts
Go back to the workbench and add the set of parts to it. Now you can assemble the Rocket carrier as well as the two prosthetic limbs.
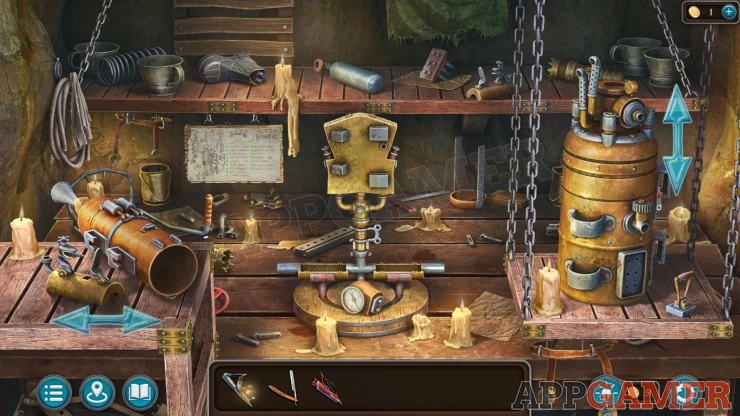
Follow the order on the paper sheet to add the rocket carrier parts to the base in the center.
The bench on the left will slide left and right to reveal more parts. The platform on the right will lift up and down to find more parts.
Add the rocket carrier parts to the center.
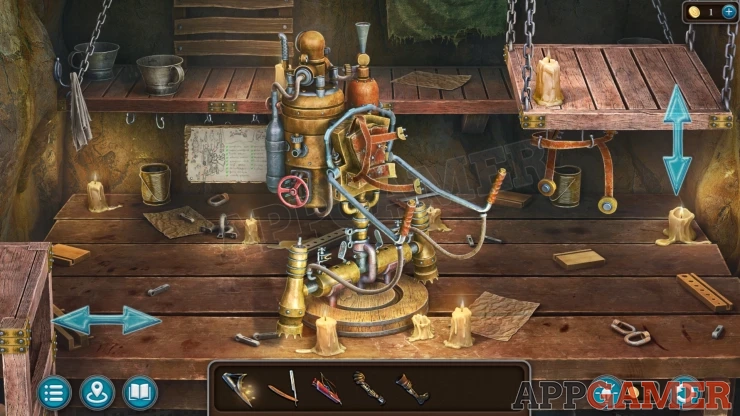
Look for an arm part on the right behind the moving shelf and add a hand and a shoulder piece to it to get the prosthetic arm.
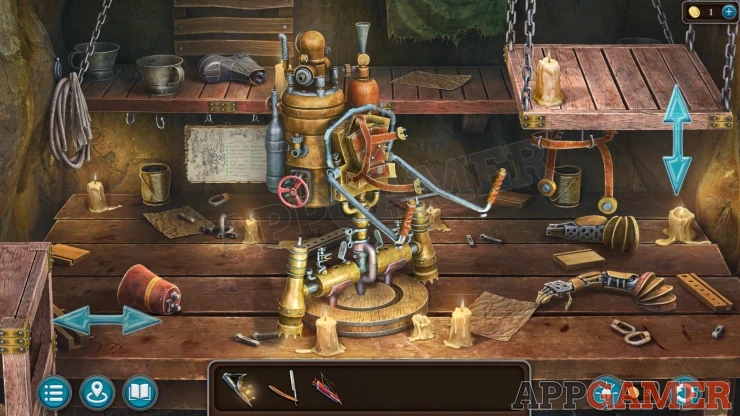
Look for a leg piece on the right behind the moving shelf and add a foot and upper leg piece to it to complete the prosthetic leg.
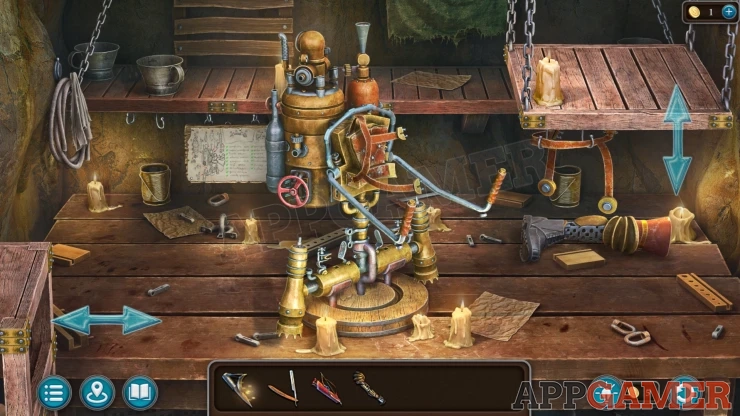
Once you have all three back up to the cave area and give the two prosthetic limbs to Mora. Now you need to get gas to let you try out the Rocket carrier. You will receive the Machine Guide Setup.
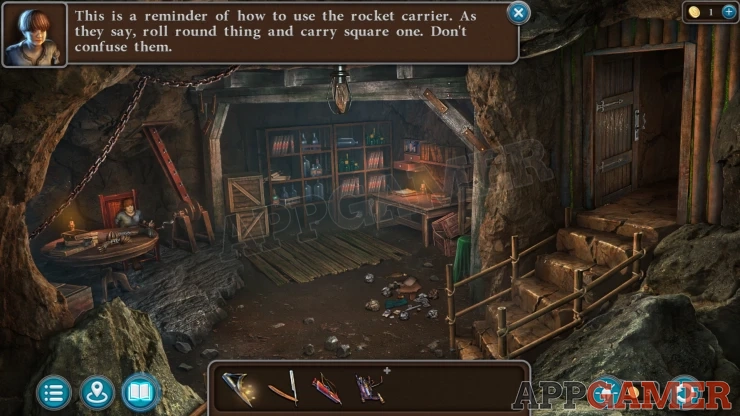
Task - Flight
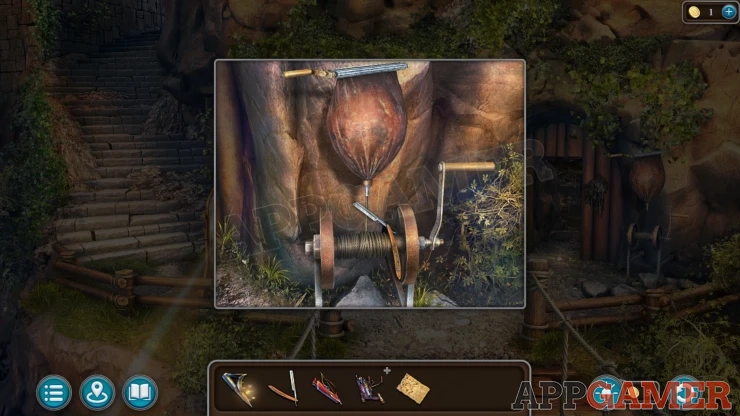
Back out to the front of the cave entrance and then look on the right of the door to see a winch. Tap the handle to lower a bag of gas.
Use the straight razor to cut the rope and collect the Wineskin with Gas.
Now view the rocket carrier and add the Machine guide to it. this will let you view the Machine Guide to see the instructions for assembly of the apparatus.
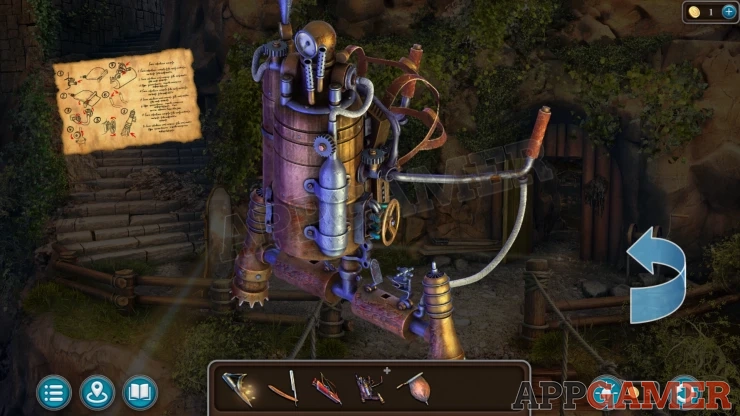
While viewing the carrier you can turn it using the arrows to see the left or right side.
Add the wineskin with gas to the rocket carrier and the gas will be squeezed into the tank. You will collect the Empty Wineskin.
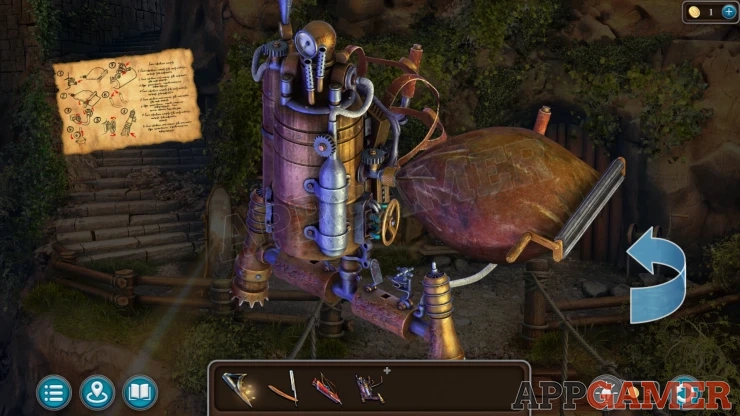
Turn the apparatus to the other side and then tap the three small control valve wheels at the top right to apply pressure.
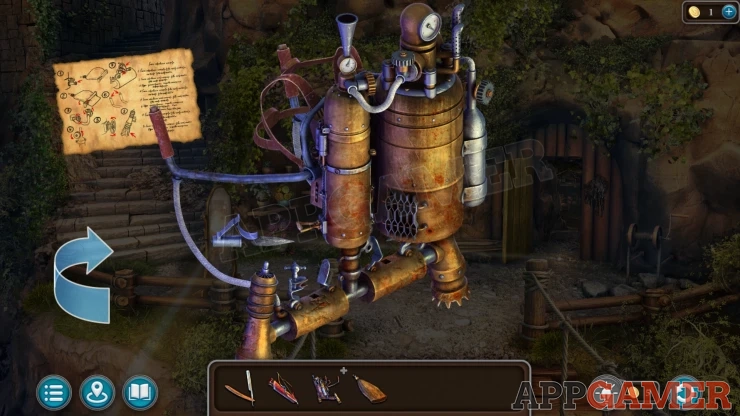
On the lower left is a holder for the flint to ignite the gas. Add the Flint that you have to this to add it. Make sure to tap the small flap next to the flint igniter to move it to the lowered position.
Press the button on the handle to test the ignition.
Turn the carrier back to the other side and the turn the large round valve handle in the center.
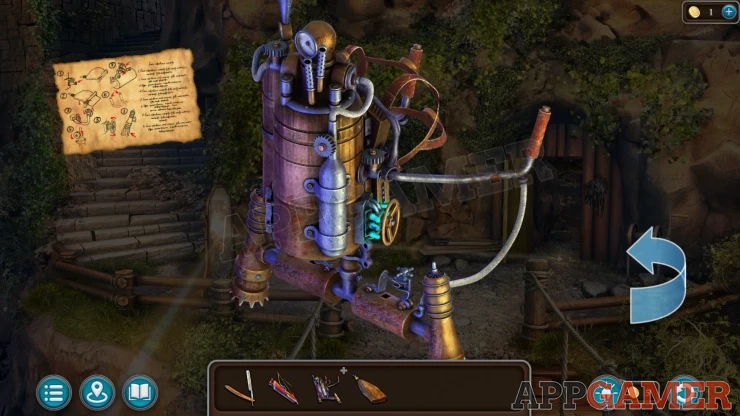
Then also check the small flap behind the flint ignition on this side is also down and forward.
Press the button on the handle again and you should see flames from the nozzles. If not check that you have completed all of the steps in the instructions.
If it fires correctly then you will collect the Rocket Carrier.
Go to the area with the tree and the skeleton.
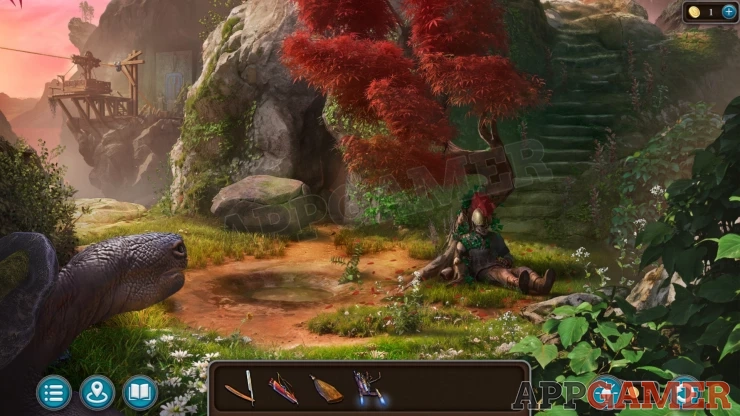
Use the Rocket carrier on the far ledge on the left and you will fly over to the other side of the dam to the doors to the temple. You will see Buldan arrive and enter the temple.
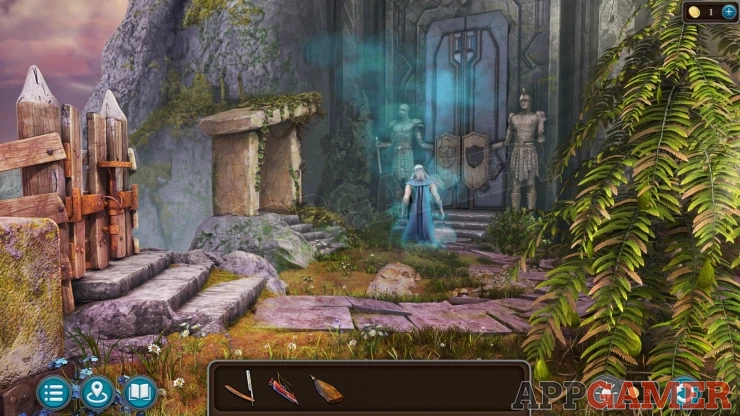
You need to find a way to open the doors.
Task - Temple Entrance
Collection Item: Fluffy, animal above some small steps to the left of the main door.
Morphing Object: Changing Symbol on the rock face high and to the left of the doors.
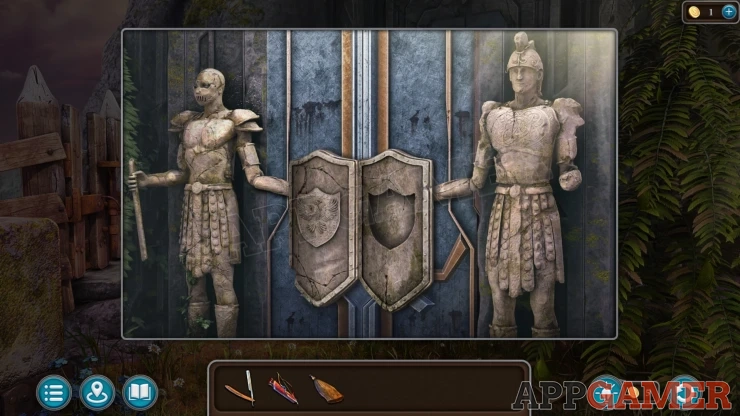
View the doors to see the two figures, you will get a message about them needing to be the same. There are some missing items to collect.
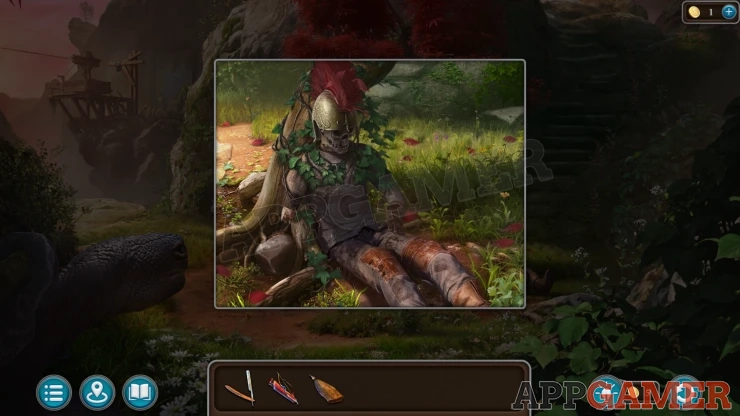
Go back to the area with the skeleton under the tree, view the skeleton and collect the Helmet.
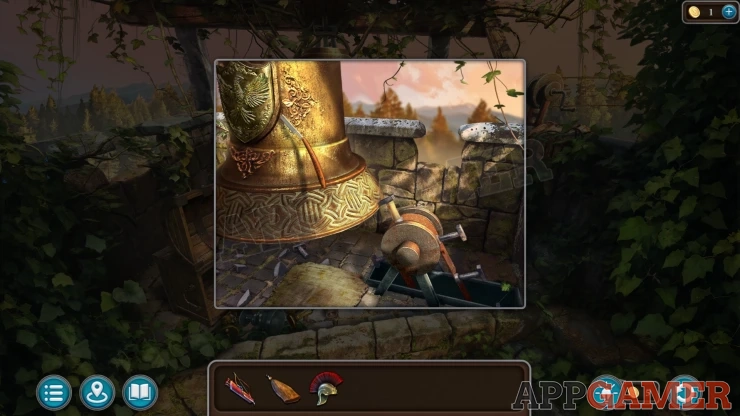
Travel to the bell tower above the cave and view the Bell. Use the Straight Razor on the shield shape on the front to remove it and collect the Heraldry.
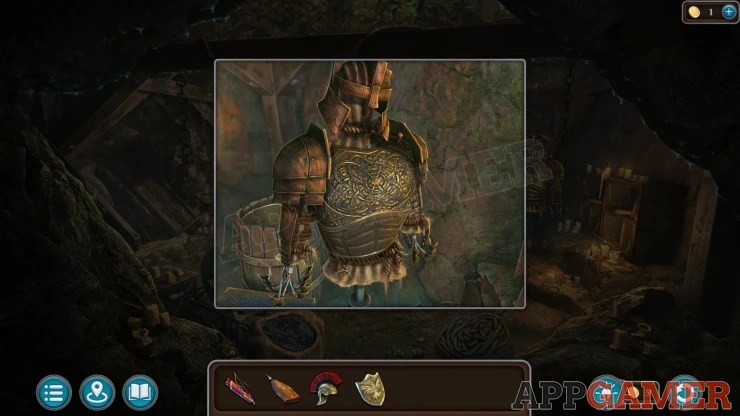
Then go to the workshop in the cave, there is a stand on the right with some armor pieces. Remove each one until you collect the Cuirass.
Then look in the warehouse and collect a face Visor from a head on the floor.
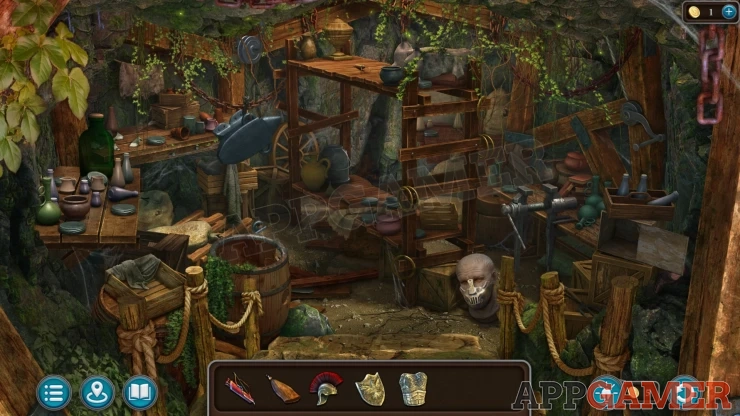
Go back again to the tree with the skeleton under it. Mora is here. You need to fly over again. When you receive the Rocket carrier, give it to Mora.
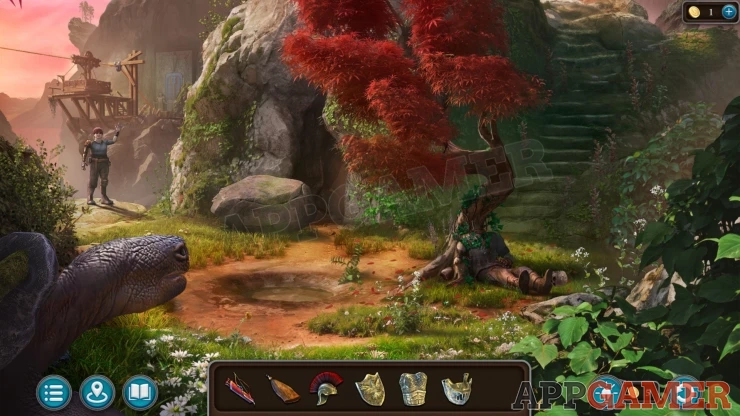
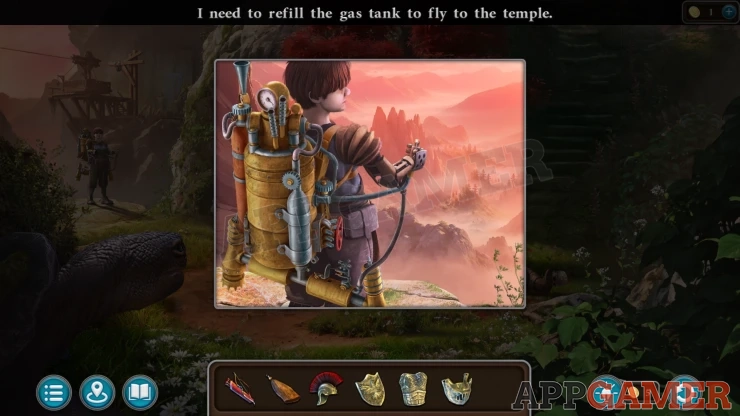
The rocket carrier is out of gas.
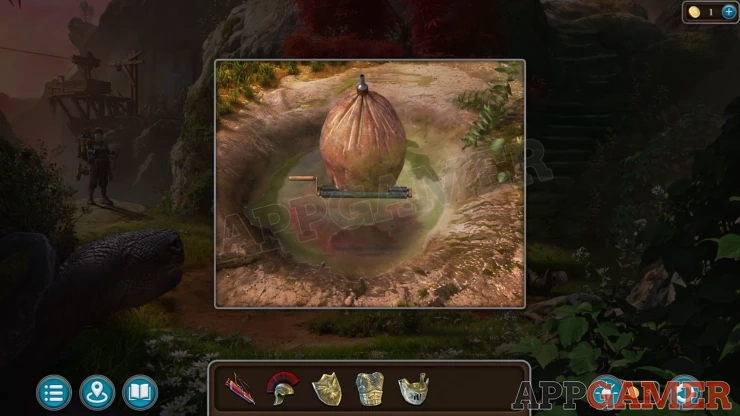
View a small puddle on the ground, this is giving off gas. Use the Empty wineskin on it and it will be filled with gas.
Now view Mora with the rocket carrier and add the wineskin with gas to it.
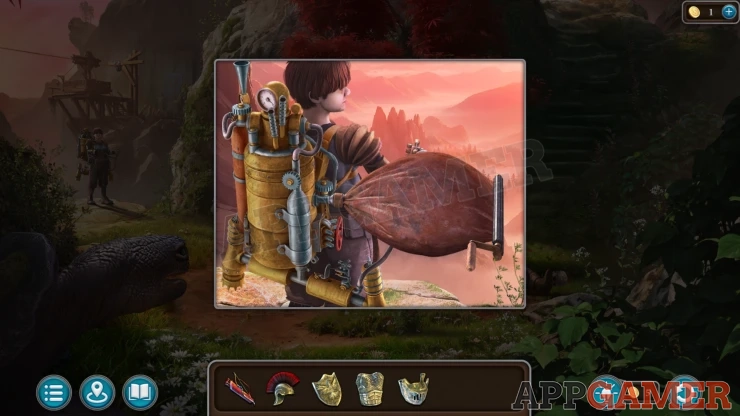
When it is full, tap the red handle and you will travel over to the temple doors again. View the doors and then you can place the four items onto the two figures.
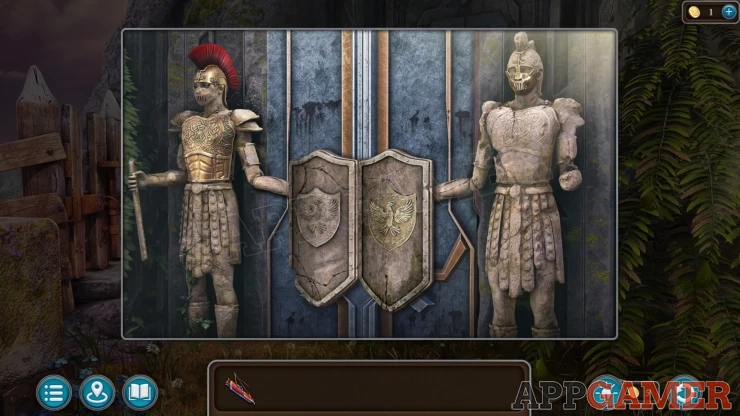
This reveals a puzzle.
Temple Doors Puzzle
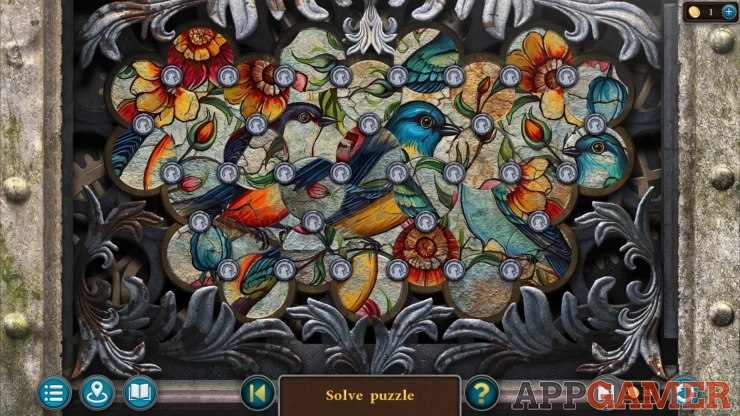
- This is an image of birds and flowers.
- There are many circle sections that are jumbled up.
- Tap the small arrow buttons to swap circles around and re assemble the full picture.
Solution: Show
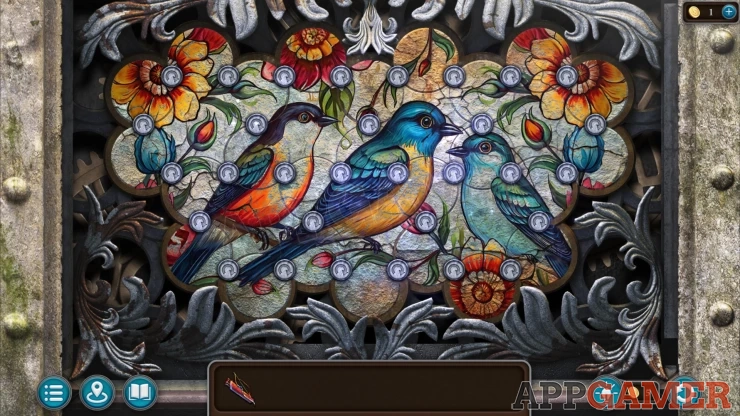
Once done the doors will open. Tap to enter the temple. You will see Buldan attacking Susan. This is now the final cut scene as you see the events from Kiana's perspective.
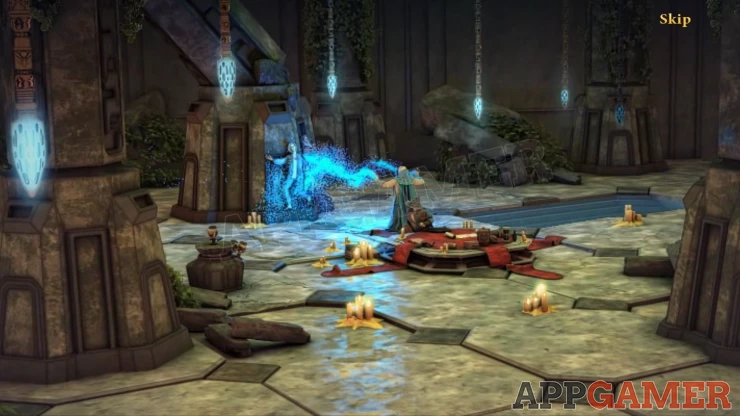
This completes the bonus chapter and the game.
We hope this guide was useful. If you have any questions about the game please go to the Ansers Page to ask there.
We have questions and answers related to this topic which may also help you: Show all
 With 20 years of experience in creating video game content for the internet and over 30 years as a gamer, Mark is now a passionate mobile App Gamer. Loving a challenge, he is always ready to get stuck in to both survival builders and puzzle solving games. He has been providing content for AppGamer since 2014.