
Chapter 2 Walkthrough - Part 2
More Legendary Tales 5
This is our full walkthrough for Legendary Tales 5 - Price of Power. The latest in the series of games from Five BN. This guide includes all collectible item locations as well and hints and solutions for puzzles.
This is the second part of the Chapter Two walkthrough. For the first part go here. In Part 1 we have taken the voyage to the island to look for the technology to repair the artifact. We have found the ancient abandoned city and used a bomb to blast a hole to get back inside.
After making the hole in the wall you pass through to the Southern Square.
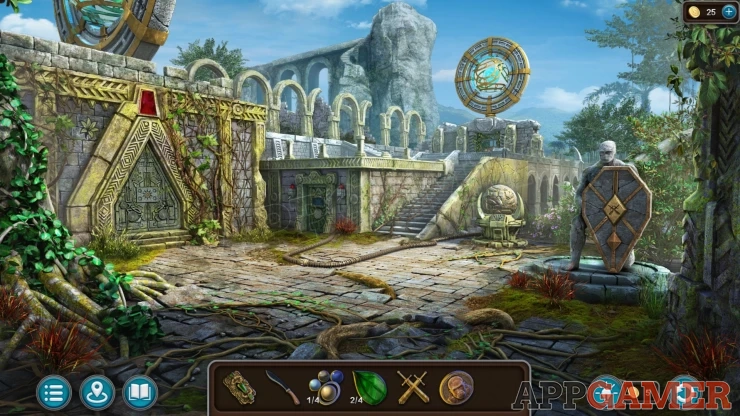
Task - Restore the Energy Supply
Collection Lily: Shape on the wall on the left of the triangular door.
Morphing Object: Small tree/plant above the wall just to the left of the statue.
View the statue on the right with a shield. Add the Swords emblem to the center and you can then collect another Emerald Leaf (3 of 4).
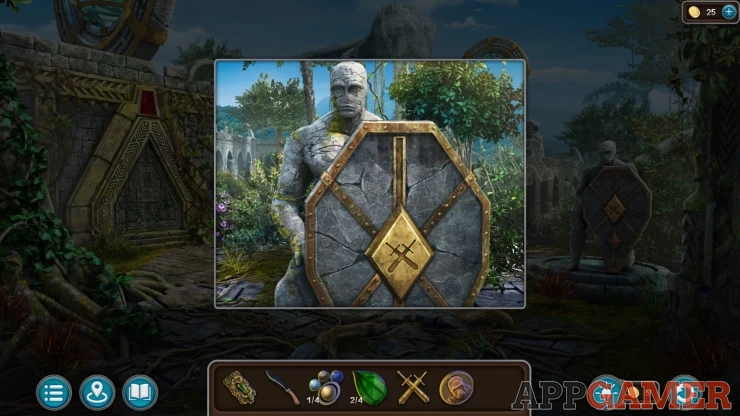
View the door on the far left, collect from here a Gear.
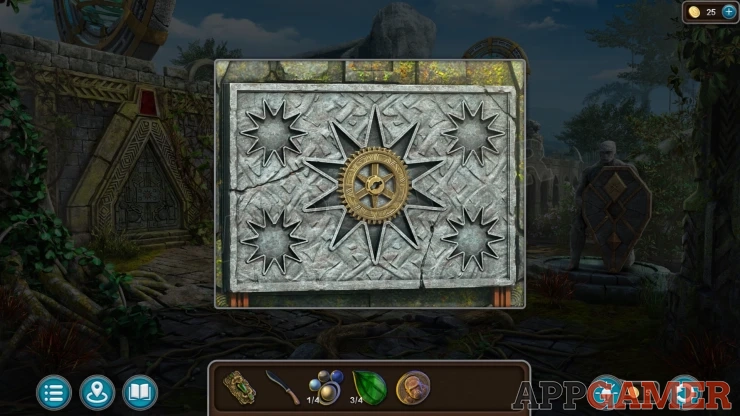
Then view another door to the left of the steps. You cannot open it yet but notice the four shapes.
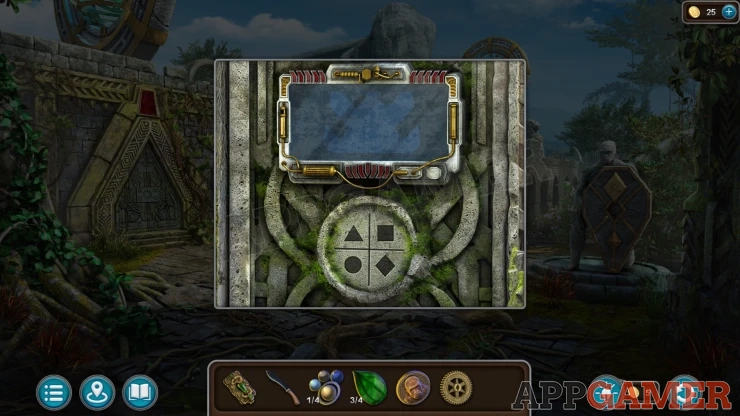
Next tap on a gate at the to of the steps. It has a broken part.
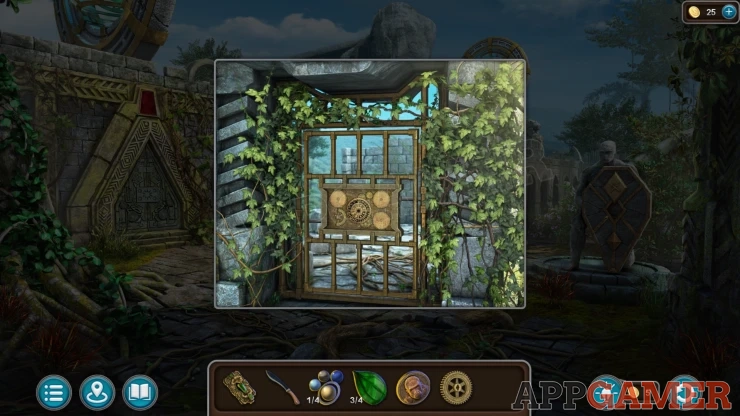
Add the Gear here to replace it and then you can view the gate puzzle.
Southern Square Gate Puzzle
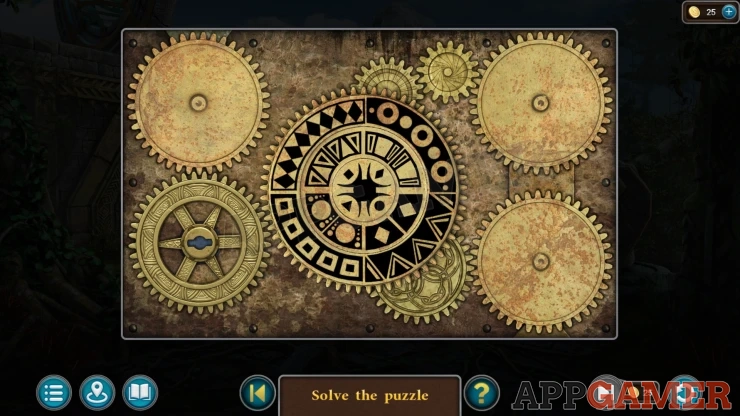
- The center circle has 3 ring sections. Each one is divided into four segments with patterns of different shapes.
- The shapes are triangle circles, squares, diamonds.
- There are three control gears that you can tap to turn one of the three rings.
- Align the three rings so that the matching shapes are in the same positions as the ones shown in the clue on the previous door.
Solution: Show
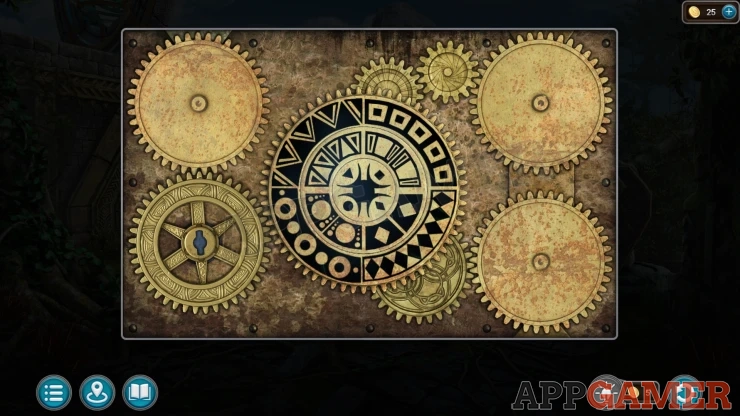
When the gate opens go through to the Alley of Light.
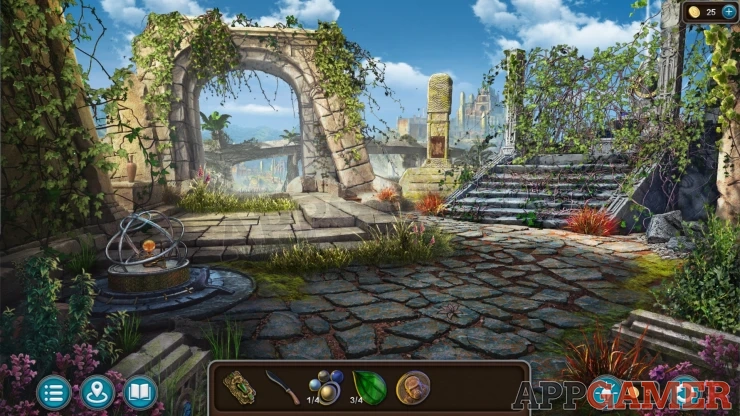
Collection Lily: symbol on a floor paving stone bottom center.
Morphing Object: vase / hourglass on a low wall on the left above the Orrery.
View the vines covering the top of the steps. Use the machete here to curt them away. You find a solar collecting device it is broken.
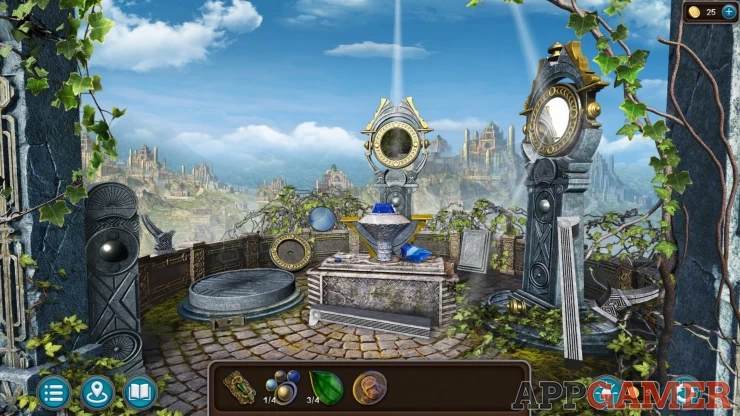
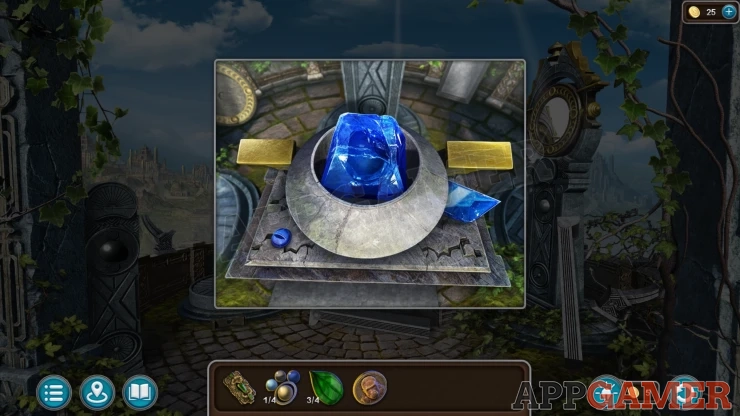
View the central plinth with a broken blue crystal. Remove the broken crystal and collect a Blue Eye.
Next back up and go through the arch on the left to reach an area with a hot air balloon on the left.
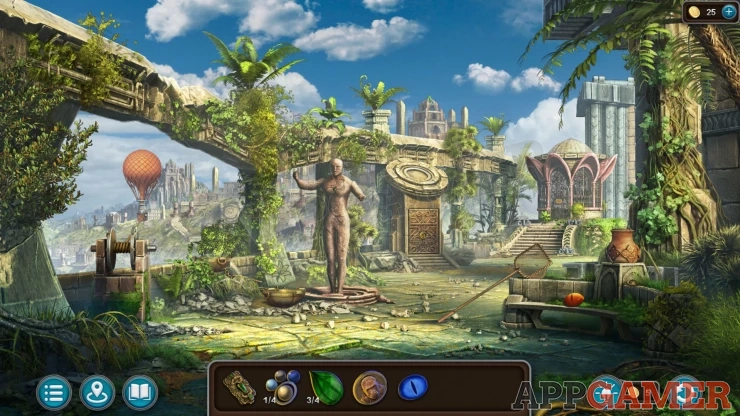
Collection Lily: on the base of a pilar on the left of the central statue.
Morphing Object: roof of the round building on the right.
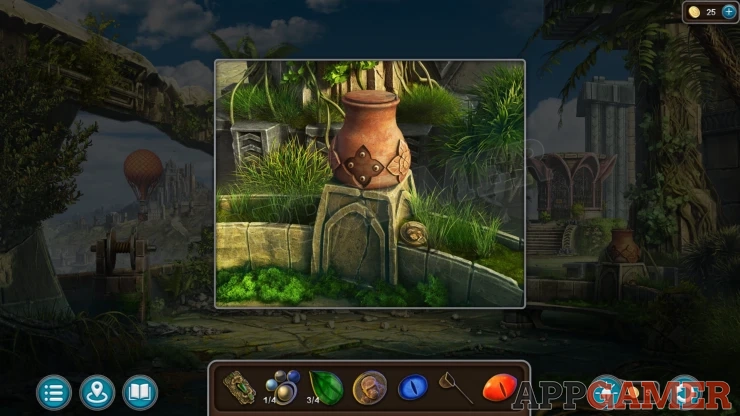
Collect a Net and an Orange Eye from the seat on the right. Then view the seat with a pot above more closely. Collect a Puma Medallion.
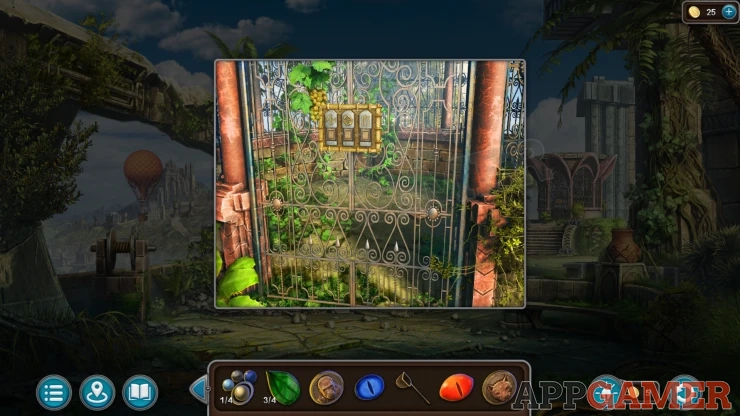
Then view the gate to a round building on the right at the top of some steps. Collect some Grapes.
Now return to the Kainbekh temple. View the palm of the hand on the left, there is a device. Add the Orange eye here to reveal a puzzle.
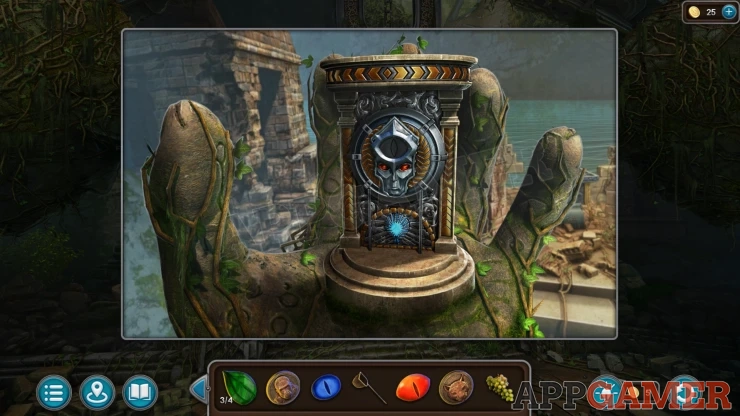
Kainbekh - Left Hand Puzzle
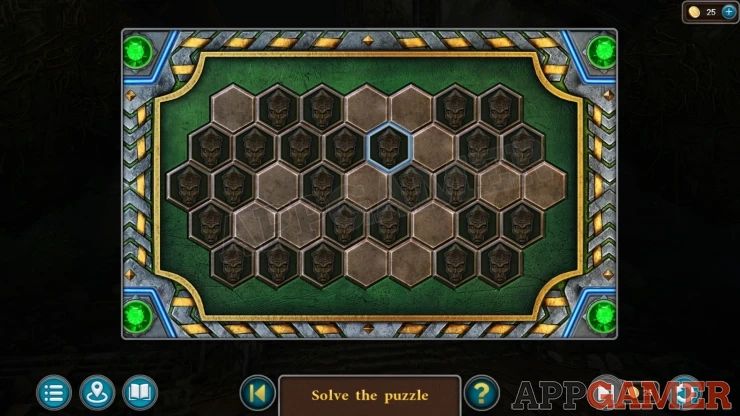
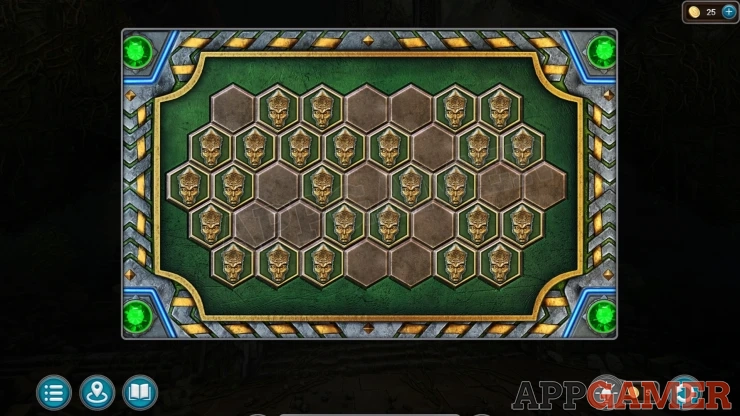
- This is alights out / on puzzle.
- Tap any of the face tokens to turn it on or off.
- When you change one token it will also change all of those that touch it.
- Get all of the tokens to be activated (on) to complete the puzzle
Next view the right hand to find another device, add the Blue Eye to it.
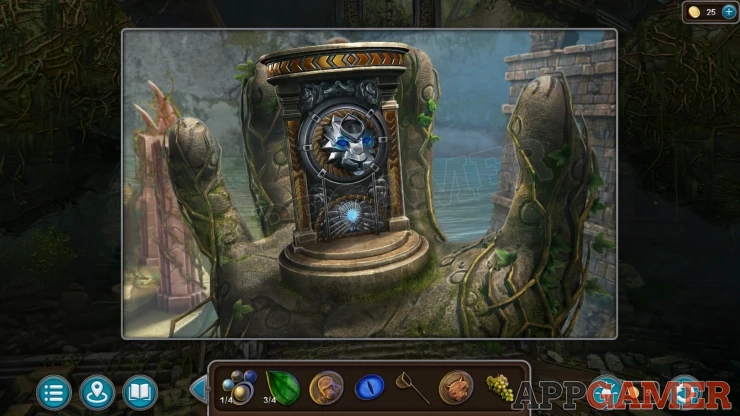
Kainbekh Right Hand Puzzle
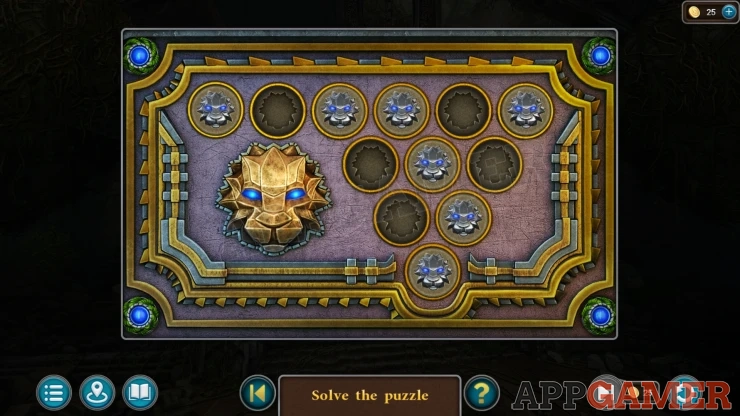
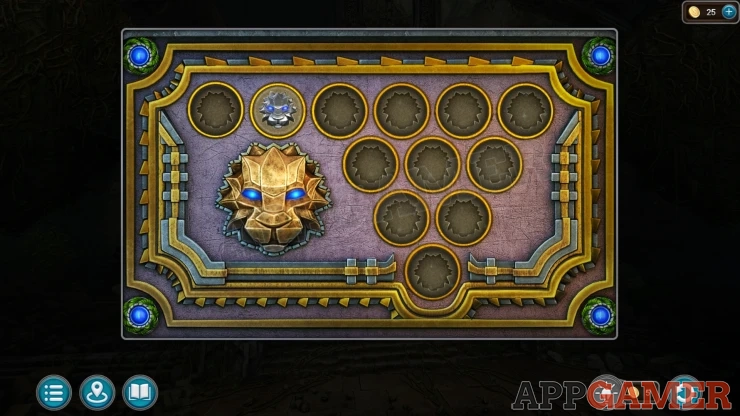
- This is a game of solitaire.
- Remove pieces by jumping one over another into an empty space.
- Each one you jump over is removed.
- Continue until there is only one piece remaining.
Once you have complete both hand puzzles you can collect the Energy Crystal from the center.
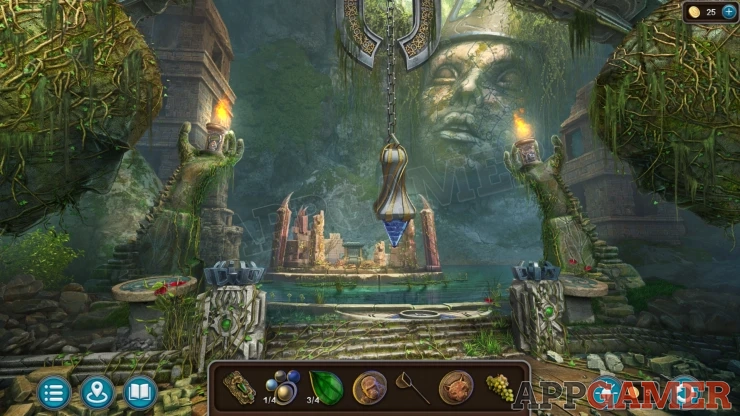
Back up from the temple to the path, there is a chest on the left with a monkey on top.
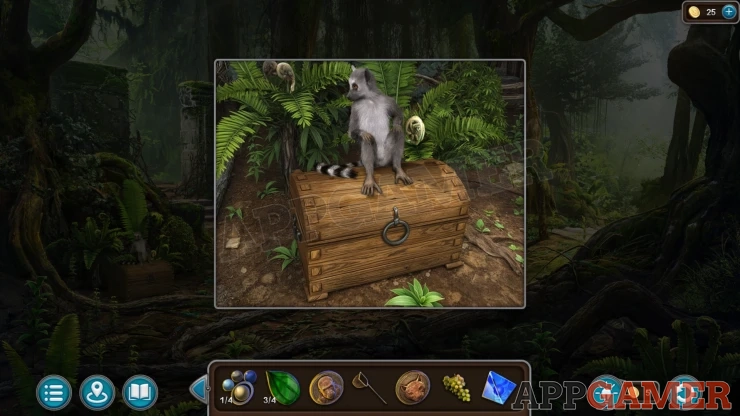
Give the grapes to the monkey, it will leave and you can open the chest, collect some Wine Vinegar.
Go back to the Alley of Light with the solar collector, and first view the square pillar to the left of the steps.
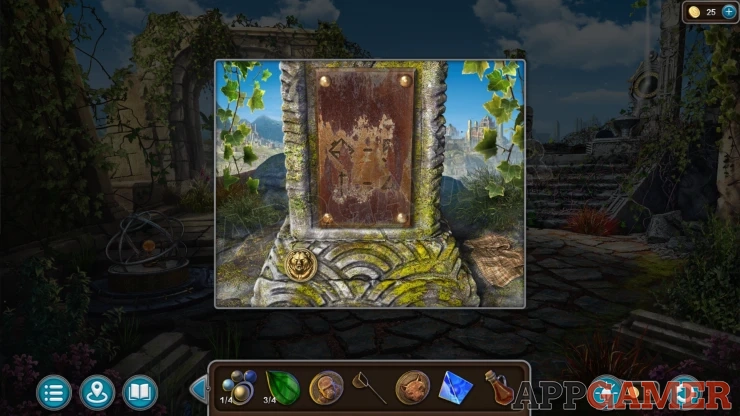
Collect a Bear Medallion and then use the Wine vinegar on the plaque on the pillar. Use the cloth on the ground on the right to wipe it clean and reveal a clue.
Go through the arch on the left again and view the gate to the building on the right. The lock has three symbols. Use the clue seen on the square pillar to set the combination according to the three symbols.
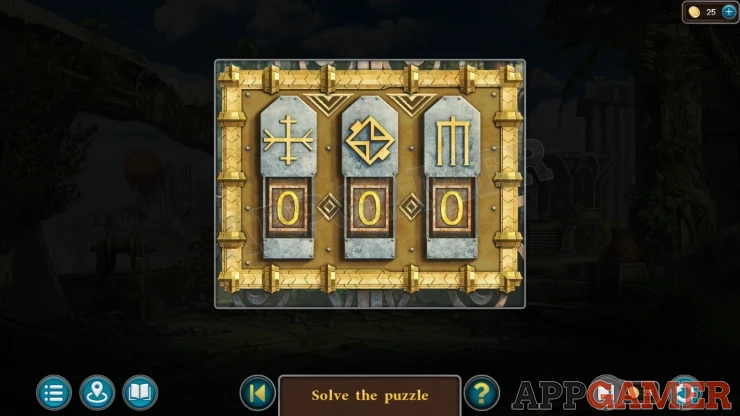
Solution: Show
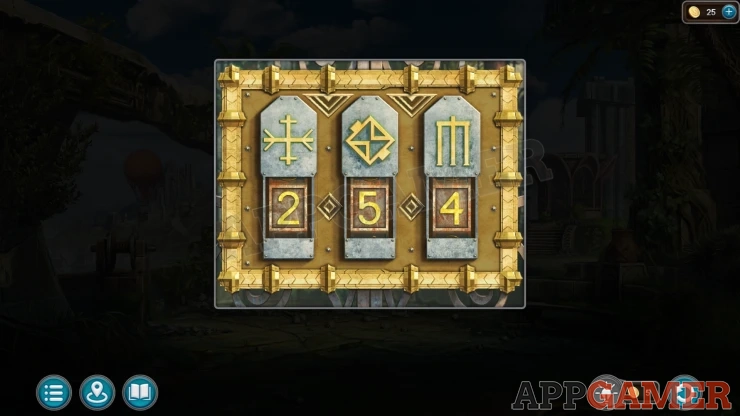
Collect an Iron Petal from inside.
Now back up to the alley of light and view the Solar collector on the right again and place the Energy Crystal into the center holder.
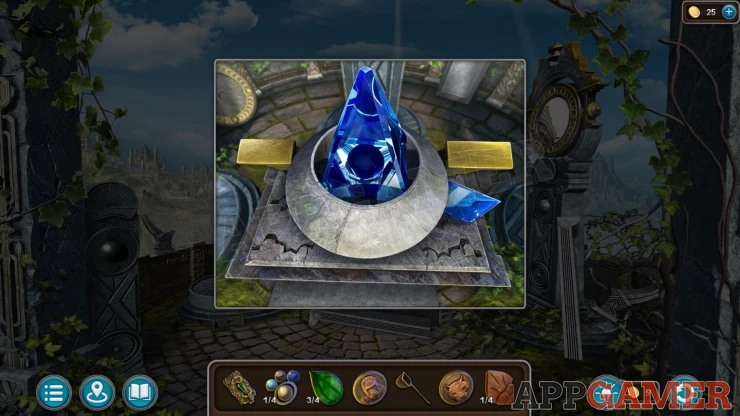
Solar Collector Pillar Puzzle
- Repair the left pilar by finding the parts around the scene and placing them back in the correct order.
- Copy the construction of the other two pillars.
- Some parts are small and need to be placed carefully. You many need to zoom into find them all.
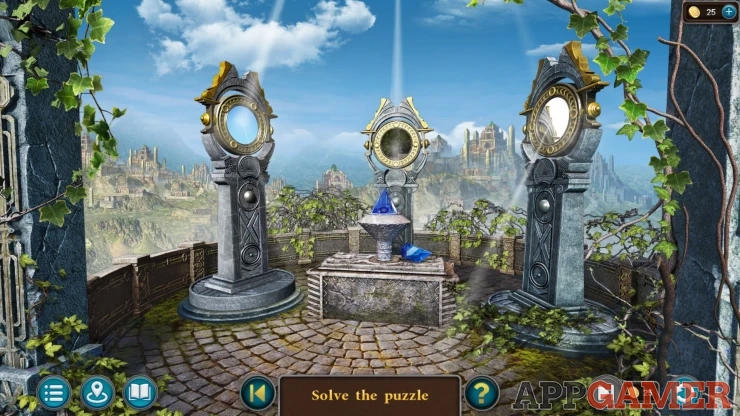
When the pillar is complete you can tap each of the mirrors to line the beams up onto the crystal.
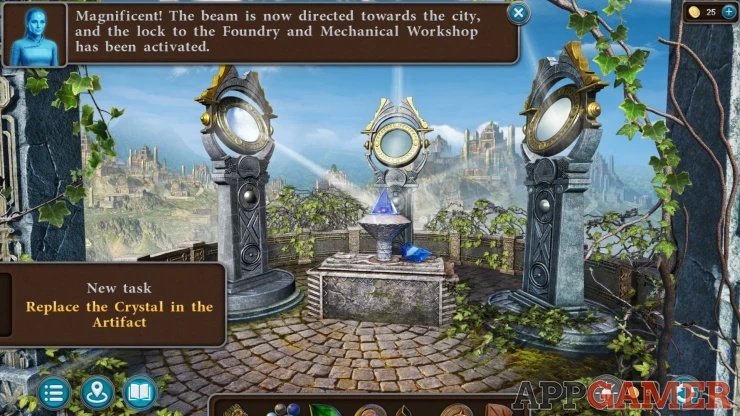
Task - Replace the Crystal in the Artifact
Back up to the southern square and view the door to the left of the steps again. This now has power.
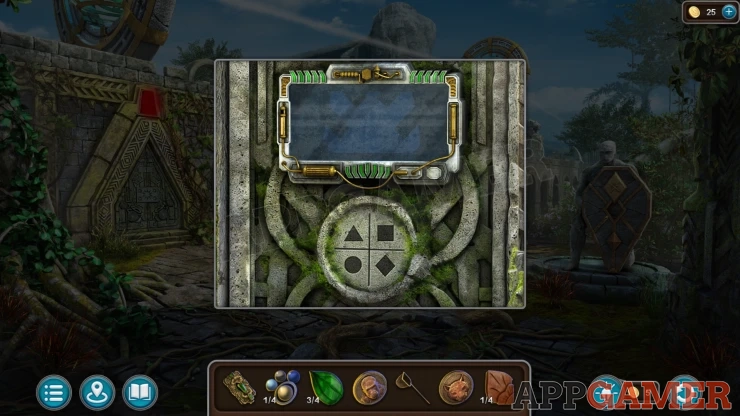
Tap the screen to see a puzzle.
Southern Square Powered Door Puzzle
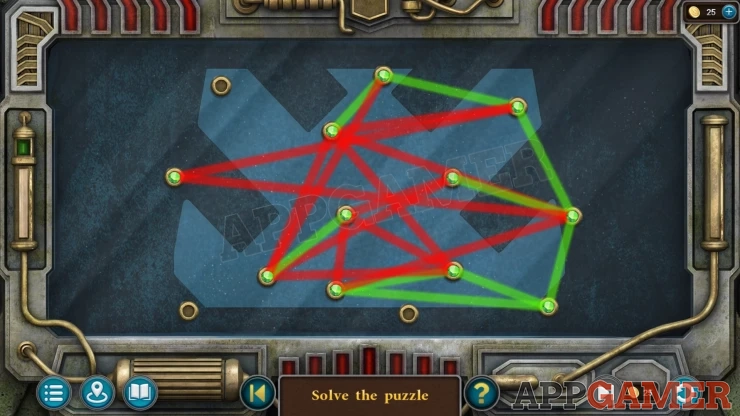
- This puzzle has a net with 7 nodes connected by lines.
- You can move the nodes around to any of the circle points on the screen.
- The lines will be red if they cross other, and green if they do not cross anything.
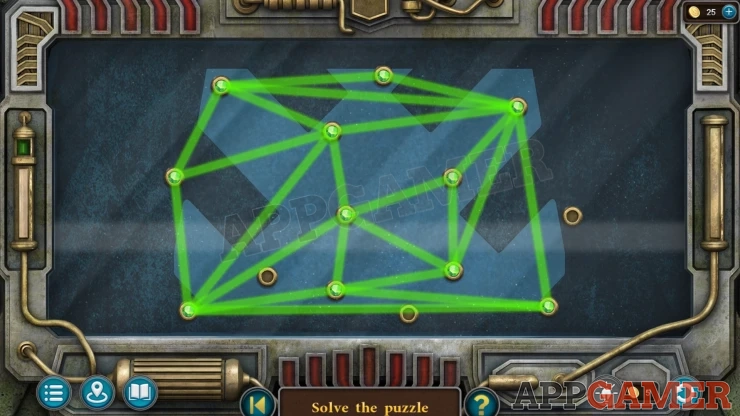
- Move the nodes around to arrange thee lines to all be green.
- The layout may be different in your game
My Solution: Yours may be differentShow
Enter the Workshop.
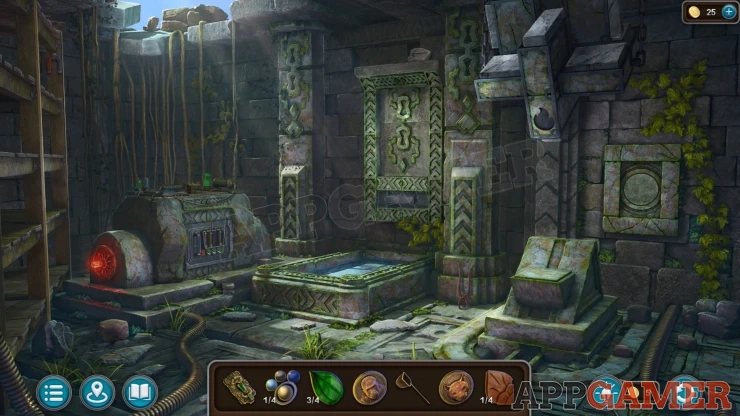
Collection Rune: On top of a stone safe on the back wall in the center.
Morphing Object: horseshoe/magnet on a shelf on the top left.
View a large device on the left, Collect some Small Scissors and a Small Sun Key (1 of 4).
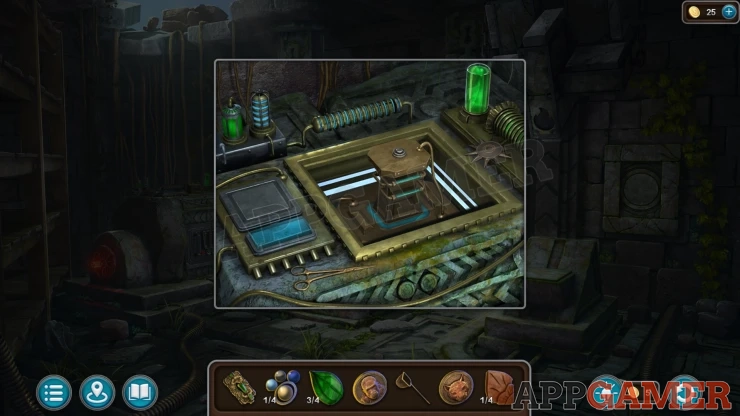
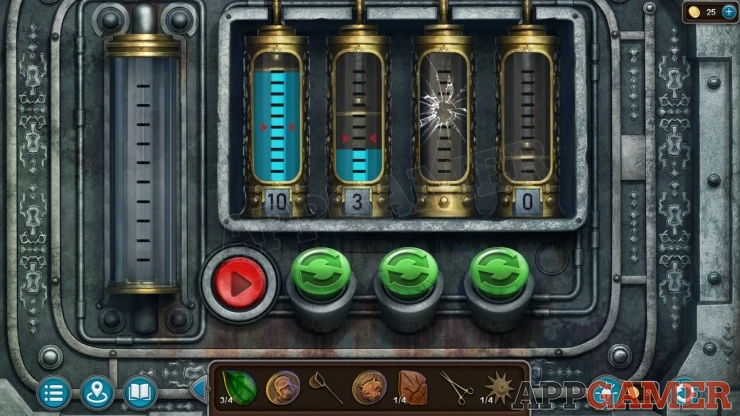
Then you can look on the front of the device to see four flasks, one is broken and needs to be replaced.
Go to the enclosed corridor at the entrance to the city where you used the bomb before. Look in a pond on the left side to see leaves floating.
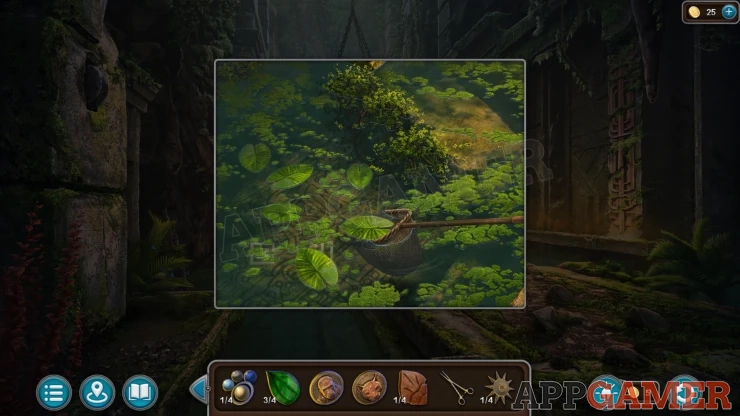
Use the net here to remove the leaves and you will reveal a clue.
Then go back to the workshop. Look on the wall in the center to find a type of safe with a combination lock with three symbols.
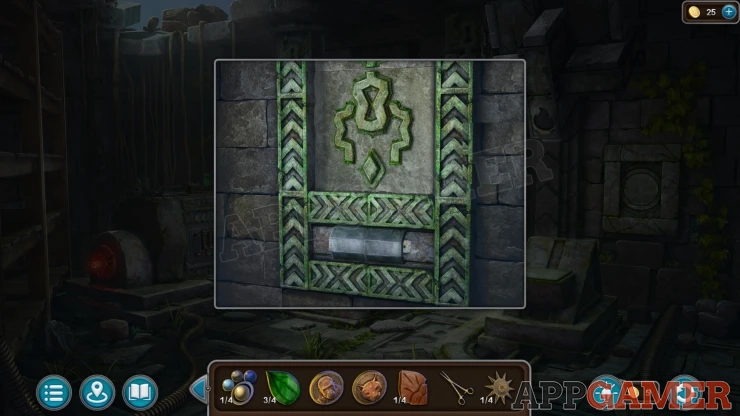
Workshop Safe Puzzle
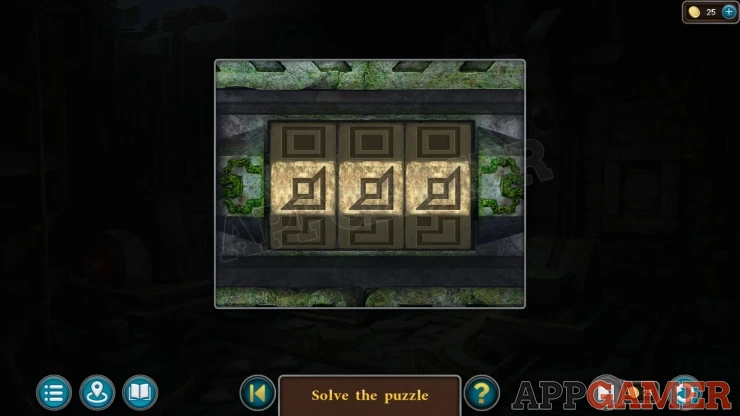
- Set the correct combination to open the safe.
- The clue is found in the water in the corridor seen above.
Solution: Show
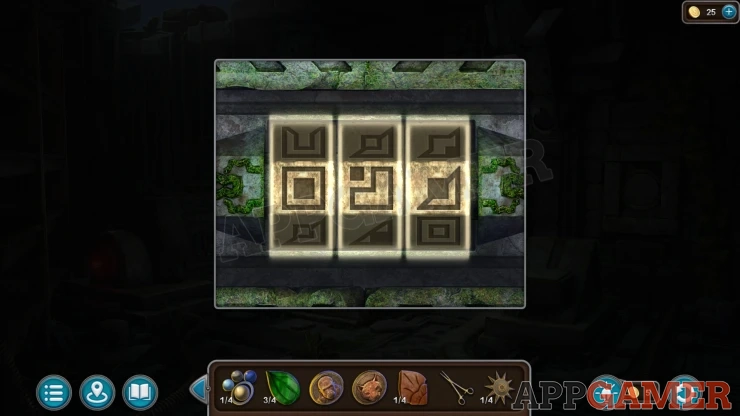
Collect a Crystal.
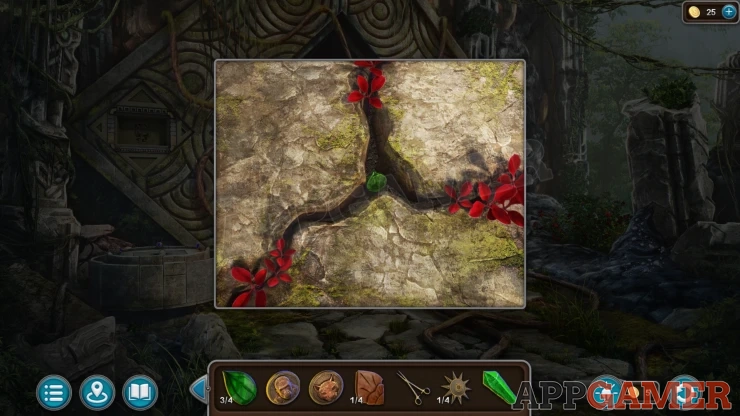
Now return to the city gates area. Look on the ground in front of the open gate to see a gap with red leaves. Use the small scissors her to collect the Emerald Leaf (4 of 4) from the crack.
Now go to the Ruins in the forest path, on the right of the steps is a block. View this.
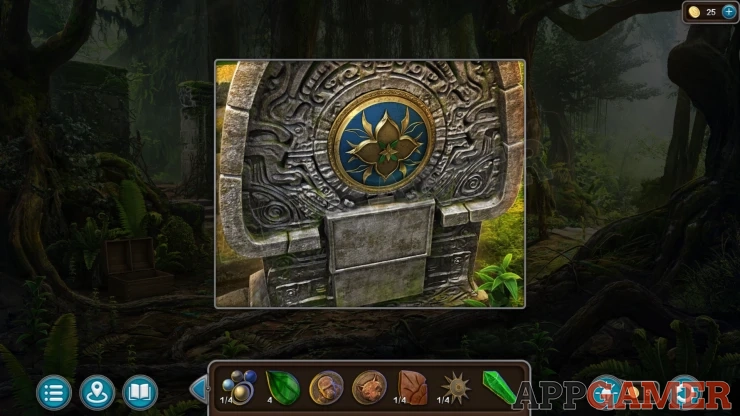
Add the four emerald leaves to the center and you will find a puzzle.
Forest Ruins, Emerald Leaves Puzzle
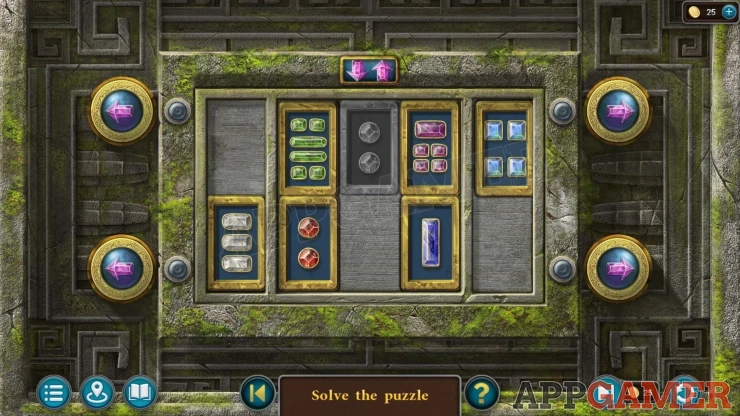
- There are six blocks on the board that have markings for the number 1 to 6.
- Use the pink arrows on the left and right to slide the rows left and right.
- The arrows at the top will swap over any blocks in the center section, from top to bottom.
- Arrange the blocks in the number order in the center section as show below.
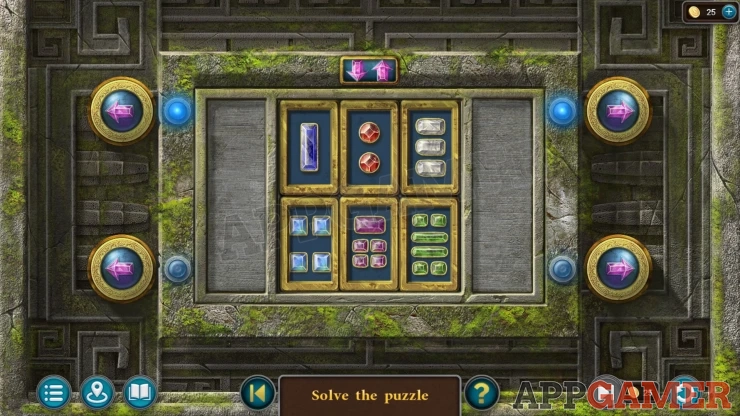
Once done collect the Stone Key.
Go to the right to the courtyard area. Look inside the opened building the center and place the stone key onto the pedestal.
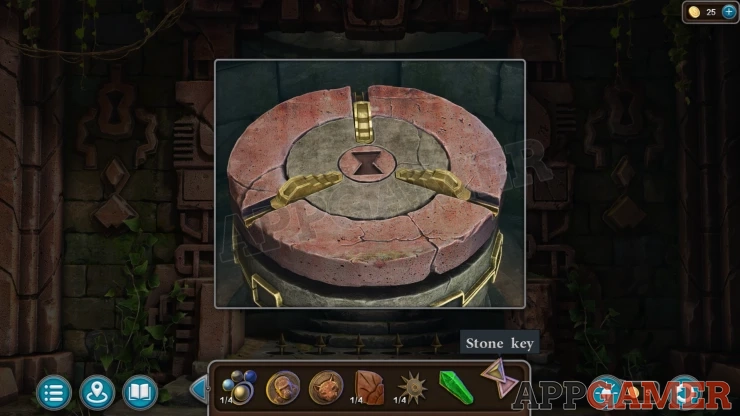
Collect the Diving Helmet, a Lever and a Planet (2 of 4).
Now view the pool of water in the center of the courtyard. Place the Diving Helmet on the ground.
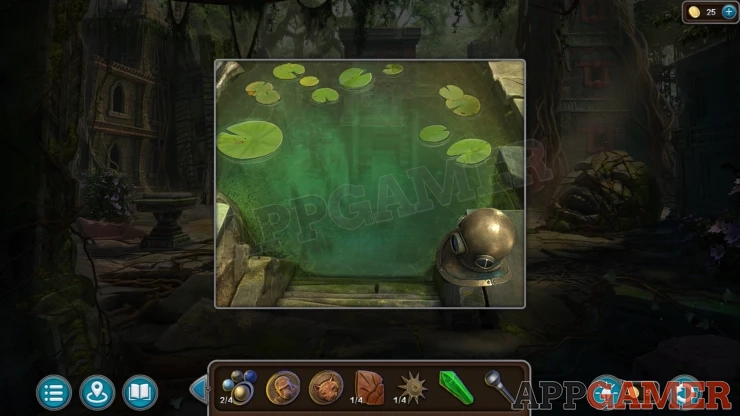
Now you can tap the water and dive underwater.
Diving Triangle Puzzle
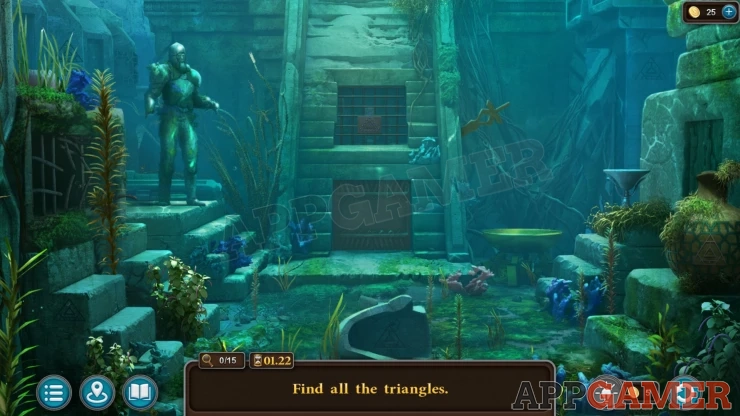
- There are 15 triangles hidden in the underwater area. Find all of them to complete the puzzle.
- Many are symbols hidden in patters and on objects.
- There is a lever on the right to open a gate in the center.
- Examine various areas and move objects around to find them all.
- You have a time limit to find them all. If you do not then you need to start again.
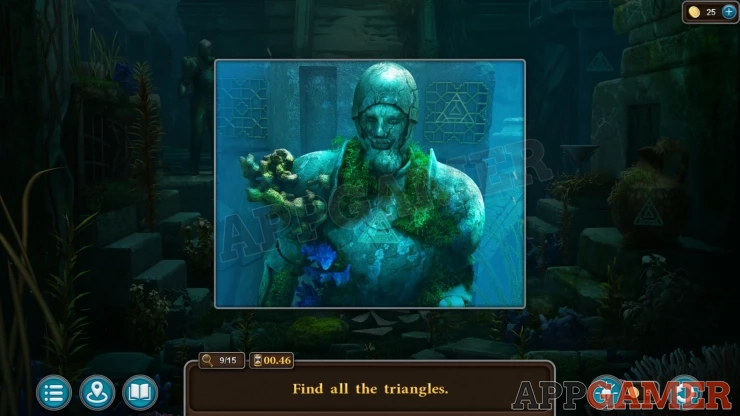
Once you have them all a panel opens and you can collect a Neocube.
Go to the City gate and view a round pedestal on the left. Add the Neocube to the center.
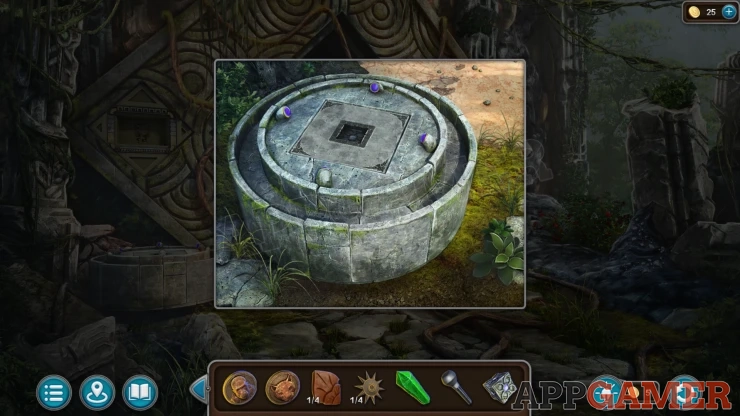
Neocube Puzzle
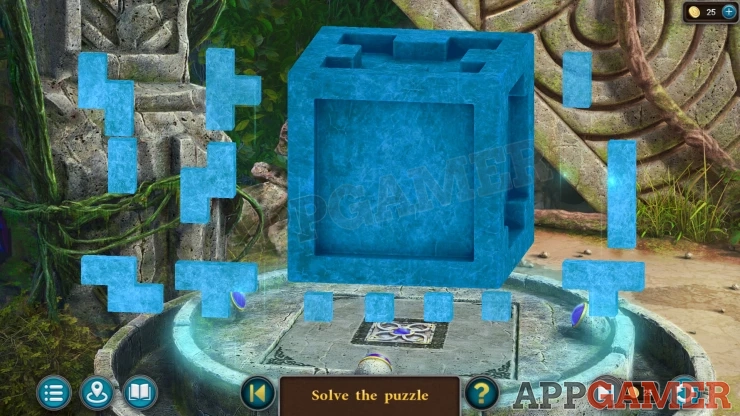
- You will see a projected cube. Each side has sections missing and there will be blocks to fit into the spaces.
- Complete each side of the cube by fitting in all of the available pieces.
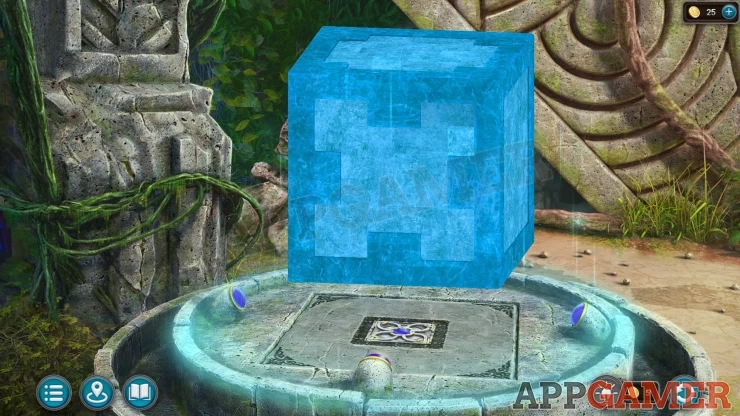
When all sides are done you can collect a Flask and a Planet (3 of 4).
Go back to the workshop and view the front of the large device again. Add the Flask here to replace the broken one.
Workshop Flask Puzzle
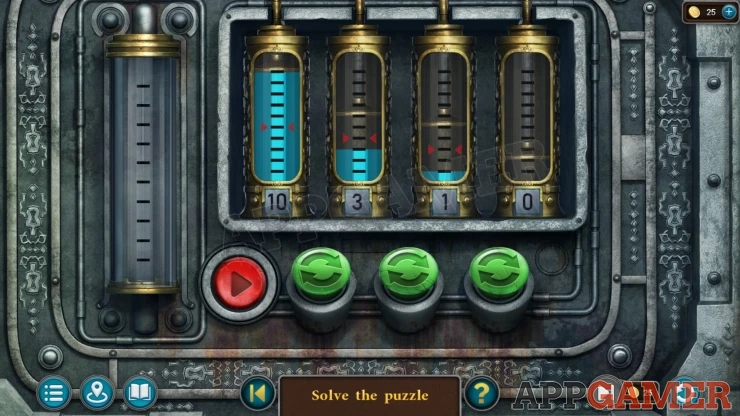
- There are four flasks with amounts of blue liquid in them. The numbers at the bottom show the number of unit of liquid present.
- The green buttons can be used to swap the positions of the flasks.
- On the left is a red button that will move liquid from the far left side flask to the one on its right.
- When moving liquid this will pass over to the flask on the right only up to the height of a piston inside the flask.
- There are red arrow markings on three of the flasks. You need to fill these three flasks up to the red marks.
- The markings and liquid in the flasks can be different in your game.
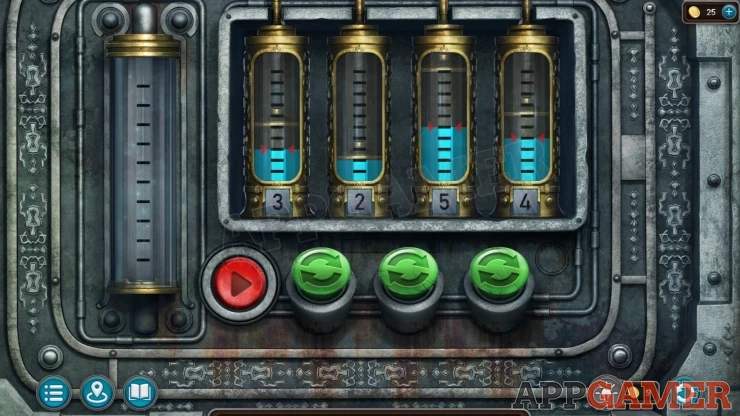
Once done the device is active.
Look on the top of the device and first place the Artifact onto the large center section. The open the panel on the left and place the Crystal inside.
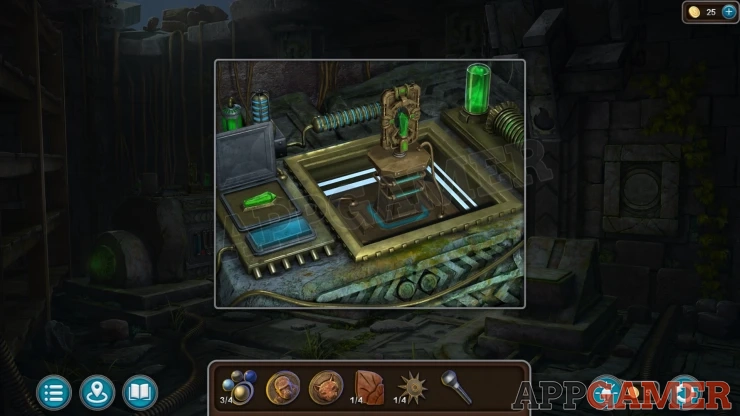
Press the blue button on the left and the crystal will be replaced. You can collect the Uncharged Artifact.
Task - Charge the Crystal
Look again inside the top of the device and you can collect a Snake Medallion.
Go to the courtyard with the stone head and look on the left side to find a small table. Add the four medallions you have here to activate a puzzle.
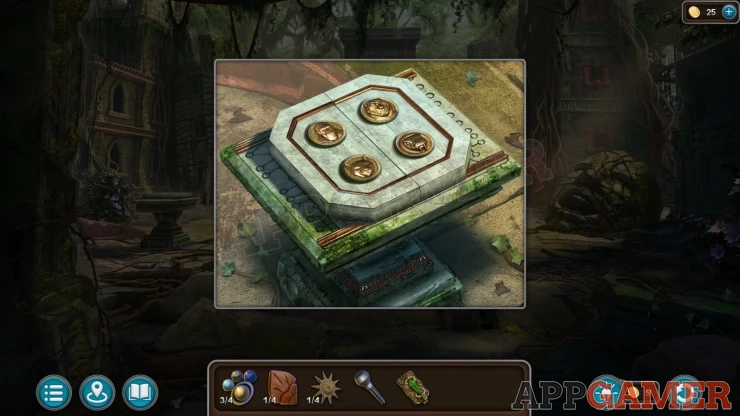
Medallions Puzzle
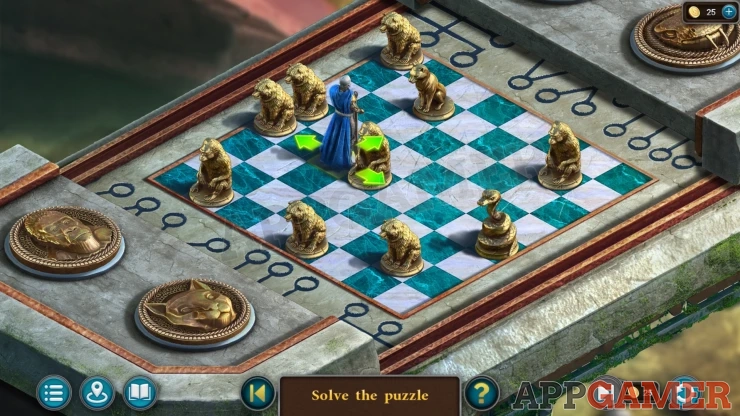
- There is a chess style board with a Knight figure and a number of animal pieces.
- Select a direction to move the knight, it will only move in a straight or diagonal line towards an animal figure.
- Find a path to move it around the board to eliminate all of the animal pieces.
- The layout of the board can be different
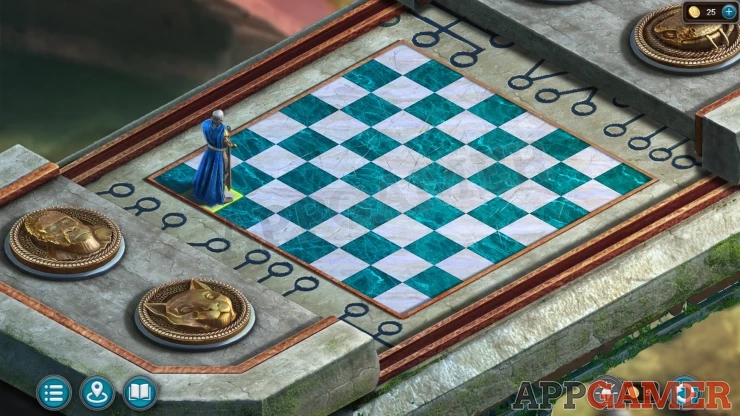
Once done you will collect another Iron Petal (2 of 4) and a Planet (4 of 4).
Go to the corridor at the city gates, look on the top left to see a slot where you can add the Lever.
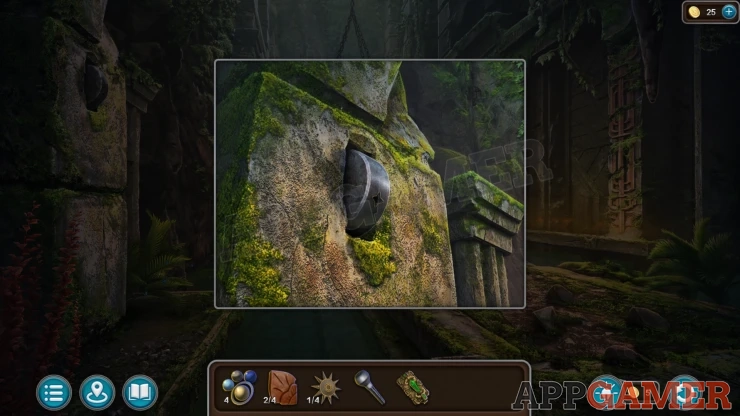
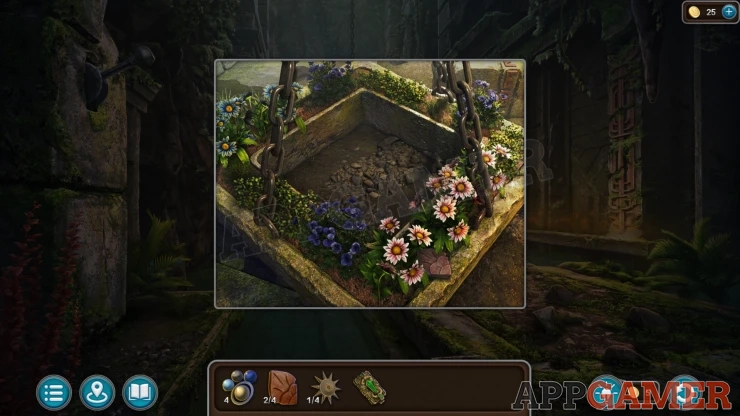
Pull this to lower a hanging planter. Then examine this and collect another Iron Petal (3 of 4).
Next go to the alley of light and view a small orrery on the left. You can add the Planets to this to activate it. Collect a Palm Tree emblem, a Wire, and a Small Sun Key (2 of 4).
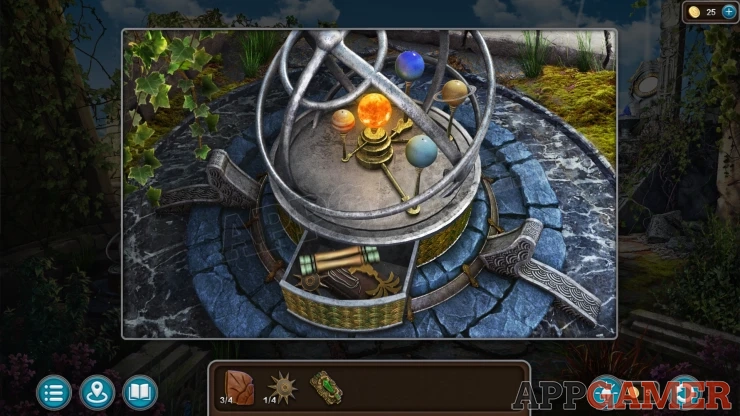
Go through the arch to the area with the Balloon. View the large pedestal to the right of the statue with a circle on top. This has a panel on the front with a palm tree slot.
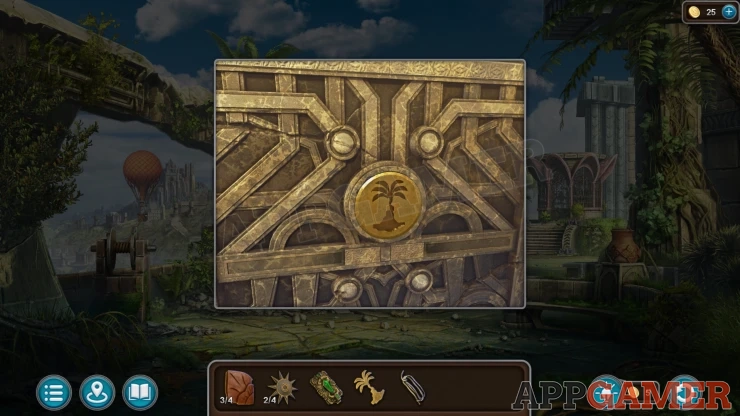
Use the Palm tree here to open it and you can collect a Casting Mold, and another Iron Petal (4 of 4). Then move some pots on the floor to collect a Fish.
Next look on the ground to the left to see a dish with a broken chain. Use the wire on this to repair the chain.
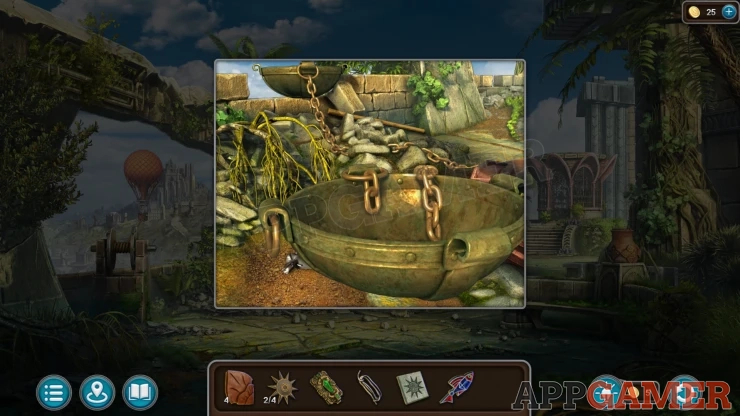
Then tap a rod on the ground behind the dish, and then on the other dish on the background on the wall. This will cause it to fall and move the dish to reveal a Handle to collect.
View the winch on the left holding the Balloon. Use the handle on this to reel it in and then collect another Small Sun Key (3 of 4).
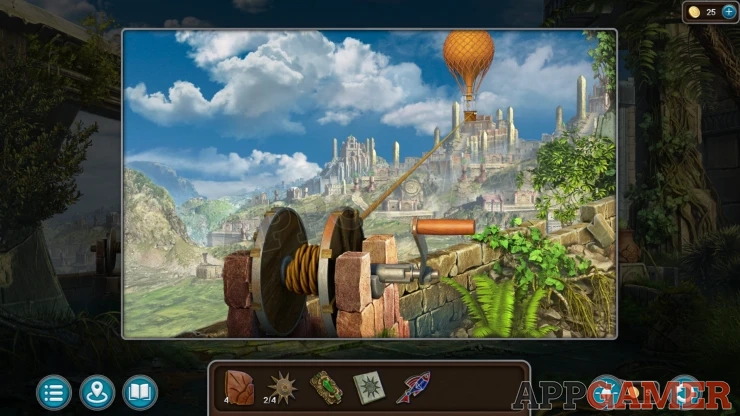
Now view the pot on the right of the scene above the seat. Add the four Iron petals to this to open the top.
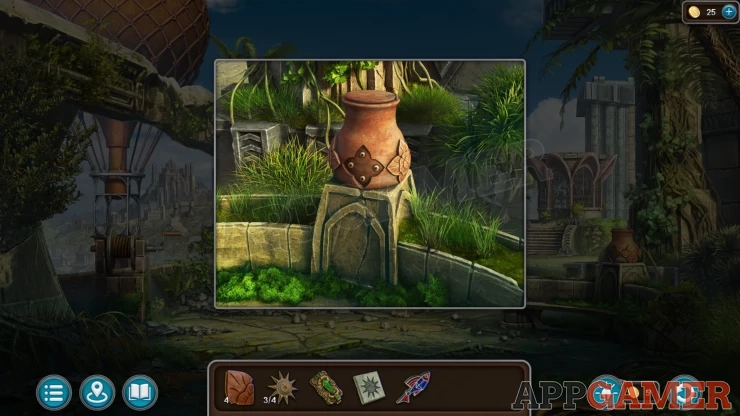
Look inside to see a clue.
Your Clue may be different.Show
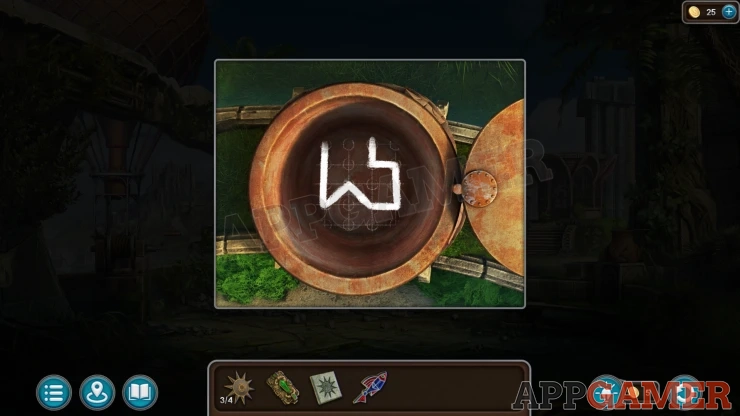
Now return to the Kaibekh temple. Look on the floor in the center at the top of the steps to see a semi circle section with a pattern.
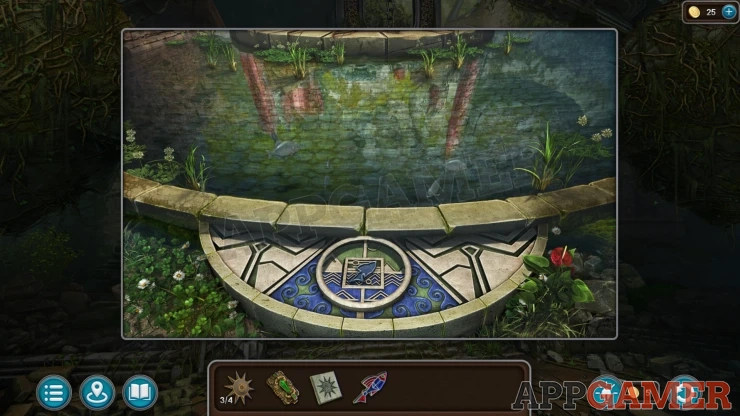
Place the Fish into the slot int he center to activate a puzzle.
Kainbekh Fish Puzzle
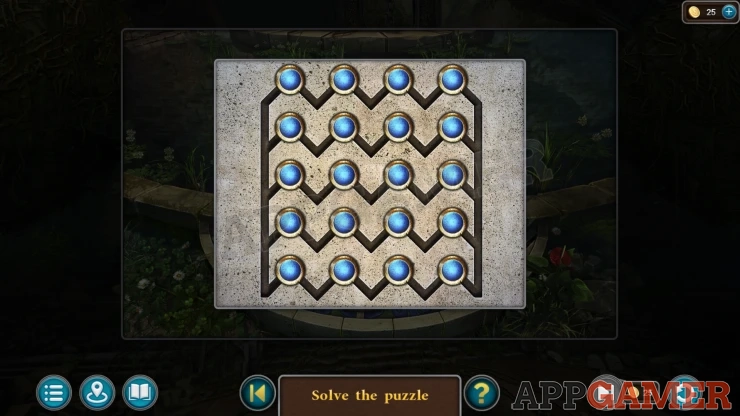
- Tap the buttons to draw a line pattern between them .
- Copy the pattern from a clue seen above.
- The pattern can be different in each game
Steps will rise and you can now access the center of the room. Press the red button on the table to find another puzzle.
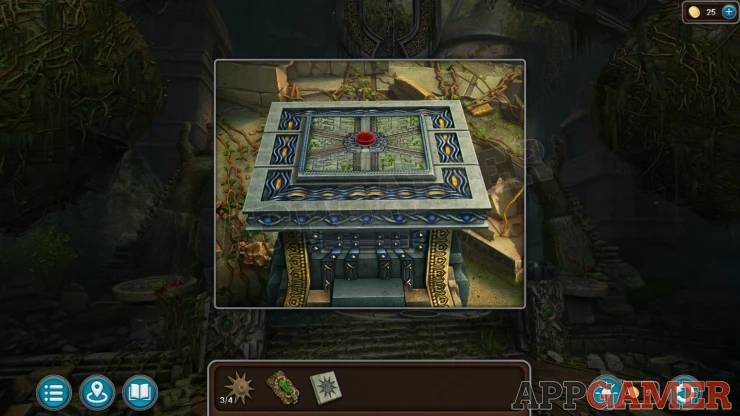
Kainbekh Table Puzzle
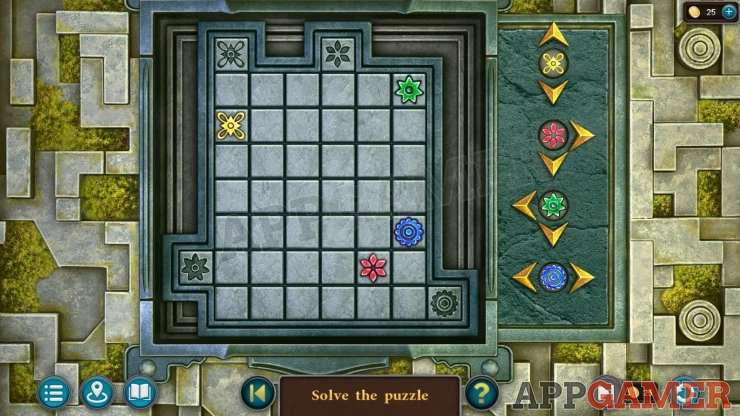
- The board has four colored tokens that can be moved using the buttons on the right.
- Each one can only be moved in certain directions.
- You need to move the tokens to the matching symbol slots around the edges of the board.
- You will need to use some tokens to help you move other in the correct directions.
- The layout will vary for each game
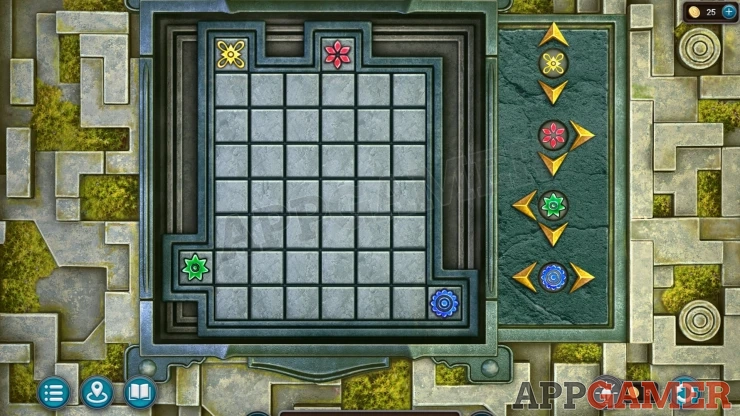
Once done collect a Fire Symbol and a Small Sun Key (4 of 4) from the drawer.
Manuscript - in the drawer.
Return to the workshop. On the right is a small platform, view this and add the Casting Mold to it.
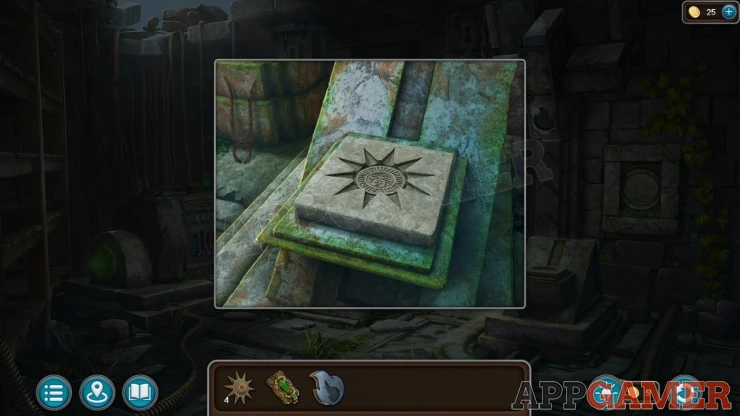
Then look above this and place the Fire Symbol in the matching slot, this activated a molten metal furnace.
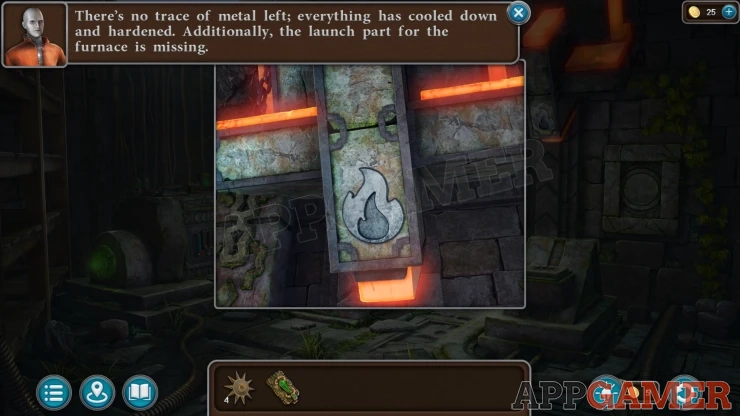
Press a large round button on the wall and the molten metal will be poured into the mold.
View the Mold and tap it to break it apart. Then you can use the tongs that are on the ground behind it to place the hot metal into water. You then collect the Big Sun Key.
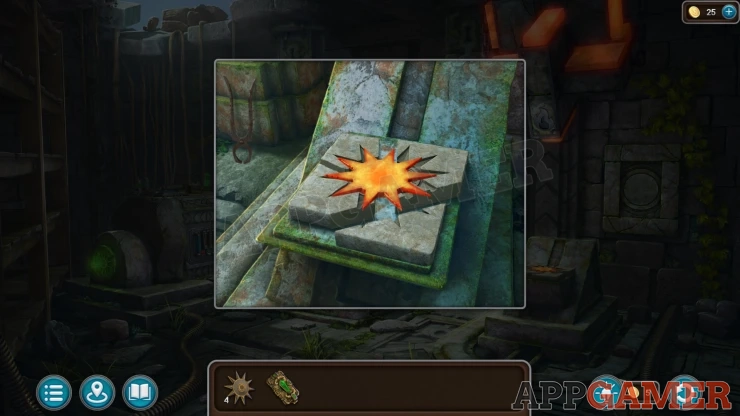
Back out of the workshop and view the triangular door on the right. Place the five sun keys here.
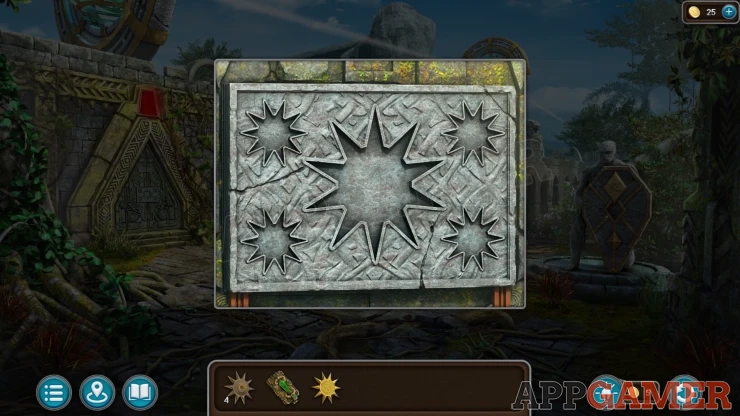
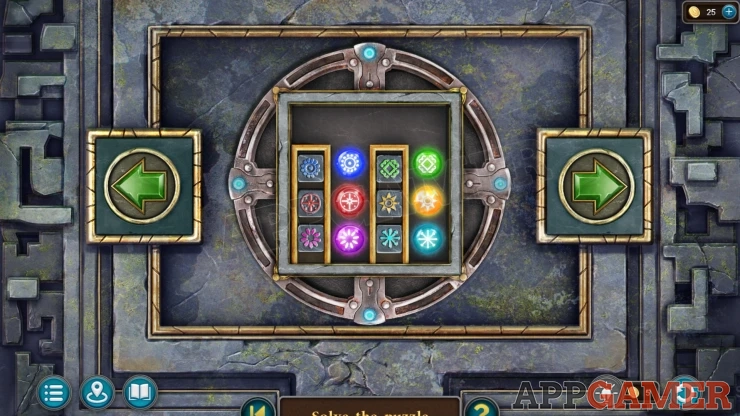
Sun Key Door Puzzle
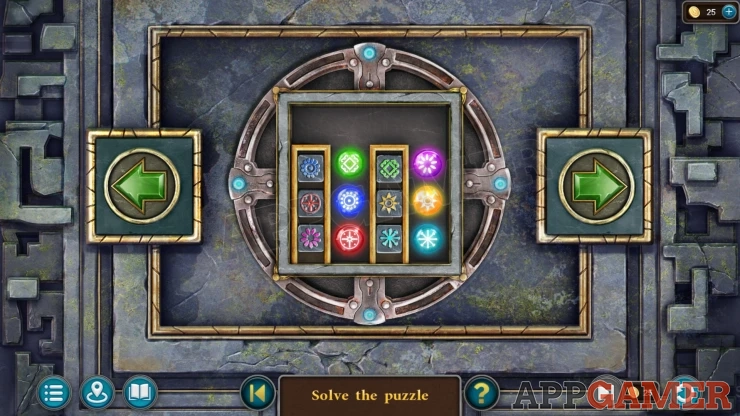
- The center board has six colored tokens with symbols. These are arranged in two slots next to fixed symbols.
- The green arrow buttons will rotate the board to the left or right.
- Use the controls to move the tokens around and arrange them in the two columns so that they are next to the matching colored symbols.
Solution: Show
Once done you can enter the Reactor Hall.
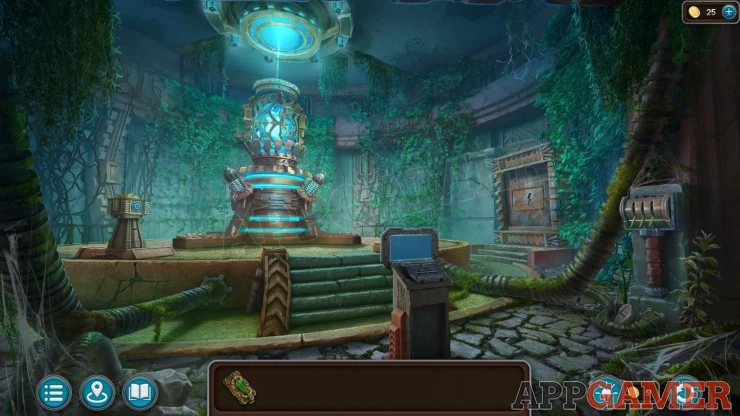
Collection Rune: Rune Stone on the ground on the right.
Morphing Object: Torch/Quiver to the left of the steps.
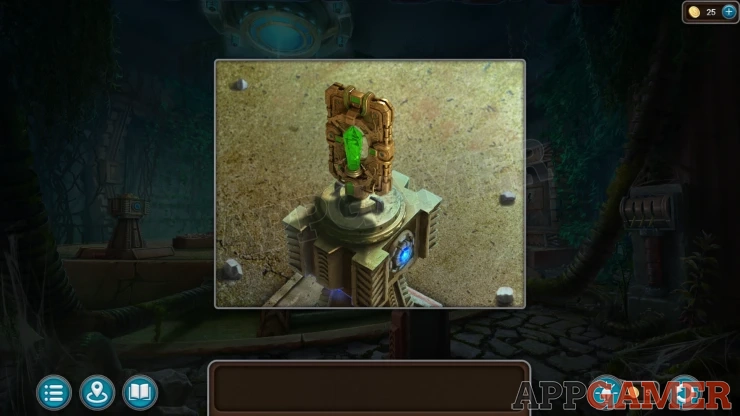
View a small platform on the left and place the Artifact here.
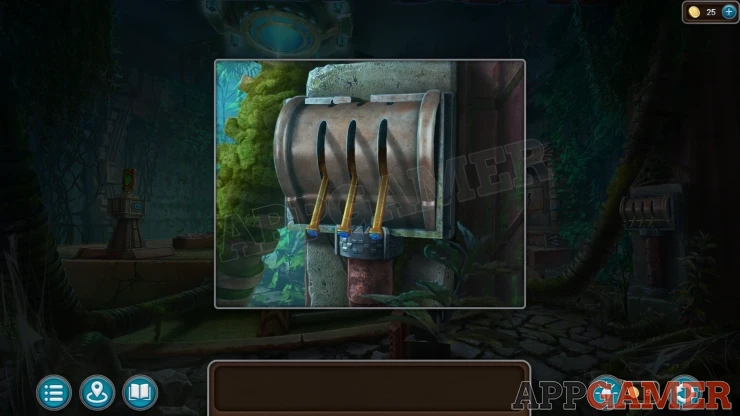
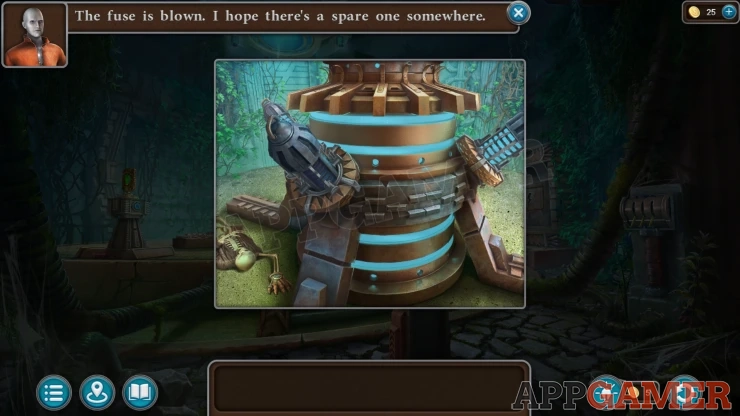
Then view the levers on the right, tap these to start the reactor but a fuse breaks.
Then view the reactor in the center. Collect a Control Glove from the hand of the skeleton on the ground.
Back out of the reactor hall and then view a stone sphere on the right of the steps.
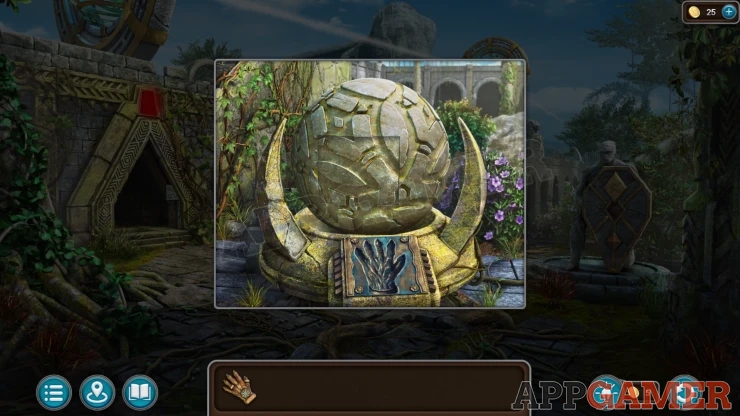
Use the Glove on this to open it and then collect the Lightning.
Go back into the reactor hall and view a panel on the wall on the right. Use the Lightning on this to open it, then you can collect a Fuse
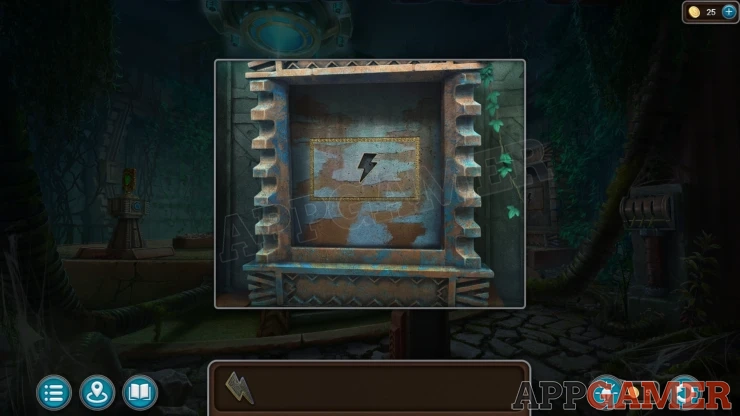
Manuscript: inside the panel.
Go back to the center reactor and tap the fuse on the left to remove it. Replace it with the Fuse you have collected.
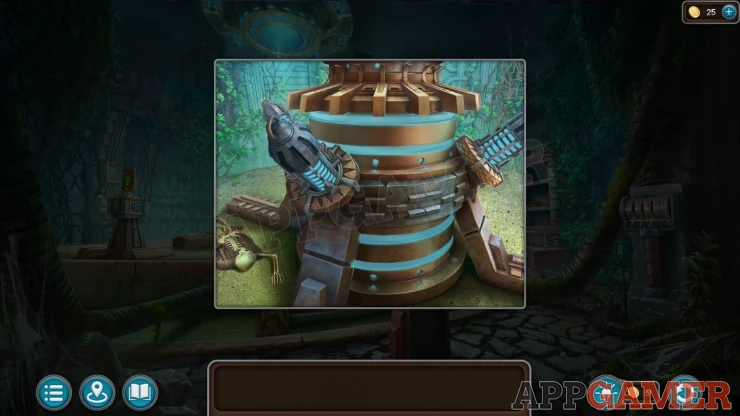
Now view the triple lever on the far right. and turn the reactor on. Now you can view the control panel in the center for a puzzle.
Reactor Hall Control Panel Puzzle
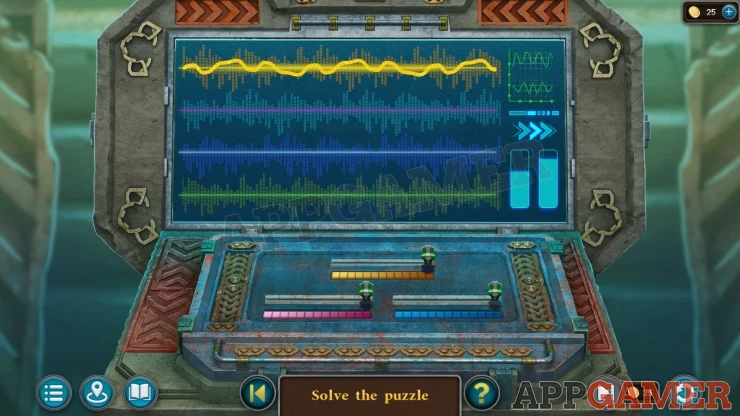
- There are four colored lines on the screen, the first is Yellow and will be showing a random waveform.
- Adjust the three sliding controls below until the yellow line becomes flat and steady.
- Then you will need to repat this for the Pink, Blue and Green lines.
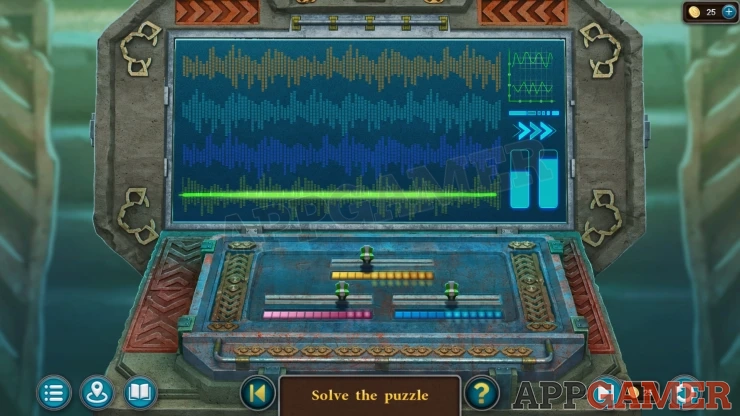
Once all lines are flat you will have stabilized the parameters. Collect the Artifact to complete the Chapter.
Now you can move on to Chapter 3.
We have questions and answers related to this topic which may also help you: Show all
 With 20 years of experience in creating video game content for the internet and over 30 years as a gamer, Mark is now a passionate mobile App Gamer. Loving a challenge, he is always ready to get stuck in to both survival builders and puzzle solving games. He has been providing content for AppGamer since 2014.