
Chapter 2 Walkthrough - Ancients Technologies
More Legendary Tales 5
This is our full walkthrough for Legendary Tales 5 - Price of Power. The latest in the series of games from Five BN. This guide includes all collectible item locations as well and hints and solutions for puzzles.
Price of Power is a story of magic and struggle in a world ruled by witches. Featuring allies and characters from previous Legendary Tales games you will join the battle for freedom as you travel across the ruins of lost civilizations and solve the many puzzles that you encounter on the way.
Following Chapter 1 where you managed to retrieve the artifact from the abandoned mines on the island. You now need to find a way to use the technologies of the ancients.
Chapter 2 - Ancients Technologies Walkthrough
This chapter begins with Lucia sending the Artifact that was discovered to Anum on the mainland so that there he can find a way to activate it. You go to meet Egil.
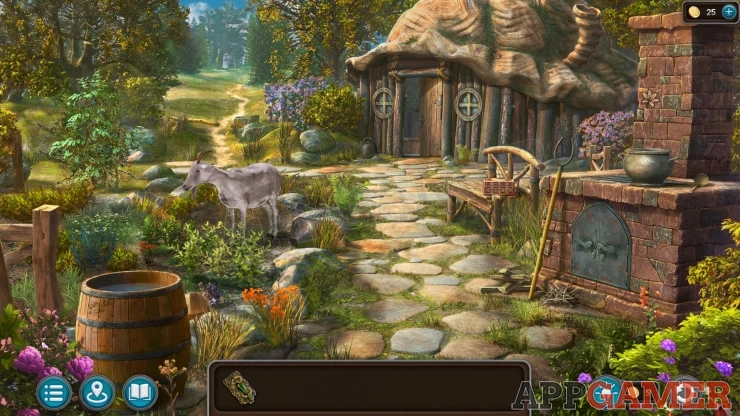
Task - Speak with the Druid
Tap the house to enter it and talk to Egil. You discuss the artifact and how to repair it.
You need to reach the southern isle by boat but first you need to disguise yourself.
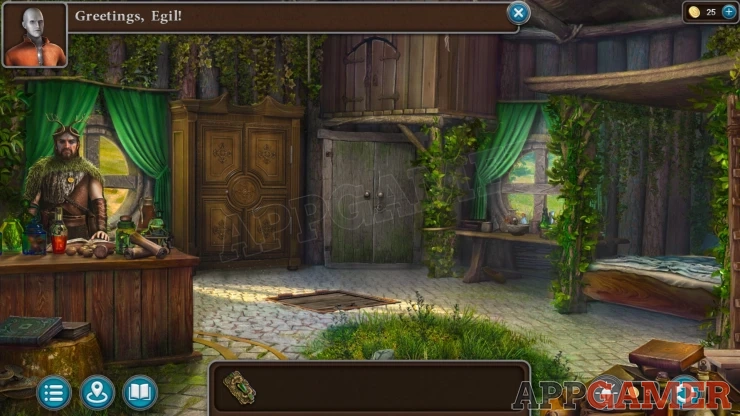
Task - Procure a Disguise
Collection Rune: Stone in the grass on the floor in the center of the room.
Morphing Object: Shoe under the table under the window on the right.
Collect a ladder from the right side of the house interior.
Then exit the house.
Collection Lily: Symbol on the chimney of the stove on the right.
Morphing Object: Bell/Bottle on the ground to the left of the door of the house.
Use the ladder on the side of the house to the right of the door. You can then look on the roof, collect a Carved Flower (1 of 4).
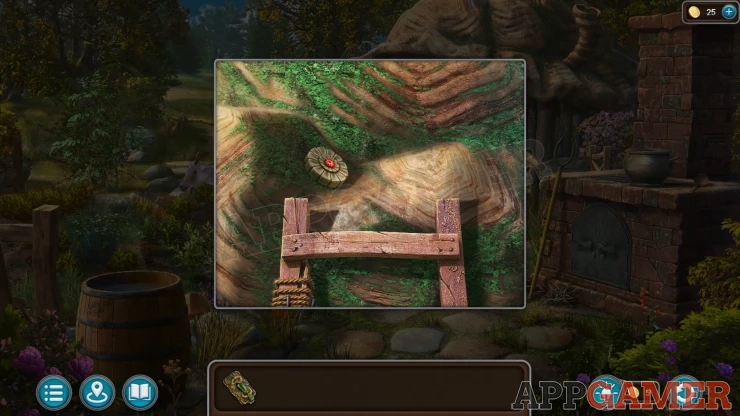
View the large brick stove on the right of the path and then collect the Pot Hook.
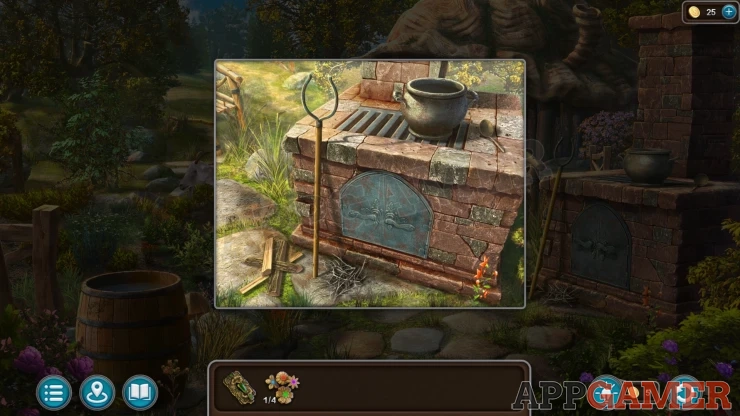
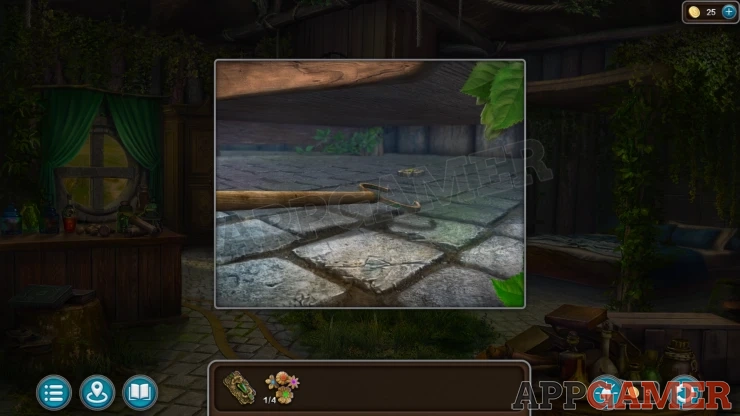
Go back into the house and tap on the bed on the right to look under it. Use the pot hook here to collect another Carved Flower (2 of 4).
Next exit the house again and then tap on the path on the left to move into the woods.
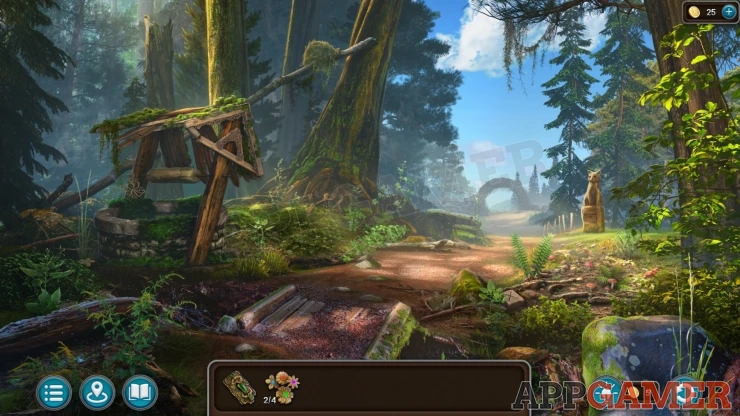
Collection Rune: Stone on the ground on the right edge of the path.
Morphing Object: Nest in a fallen branch among the trees top center.
View a well on the far left of the scene and collect another Carved flower (3 of 4) from the ground.
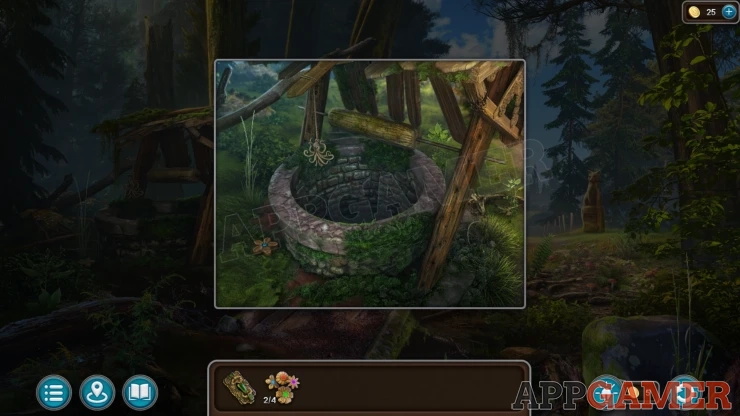
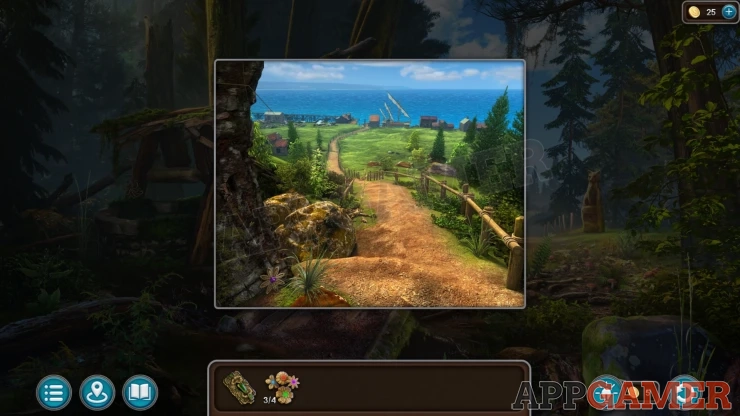
Then tap the road in the distance to move forward, you cannot proceed to the port yet, but collect another Carved Flower from the ground on the lower left.
Back up into the house and then you can view a wardrobe by the window on the left. Add the four carved flowers here to start a puzzle.
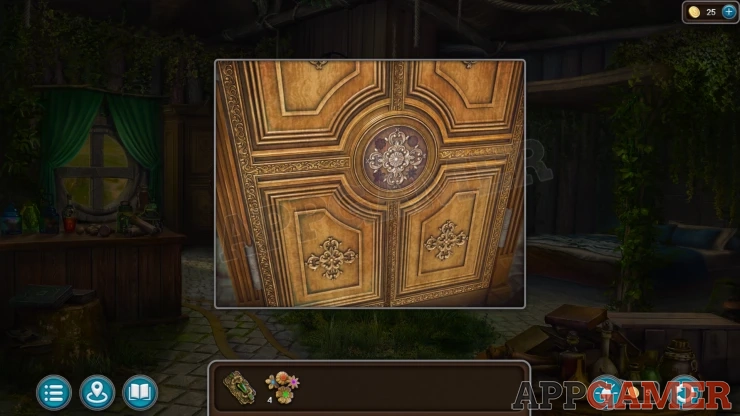
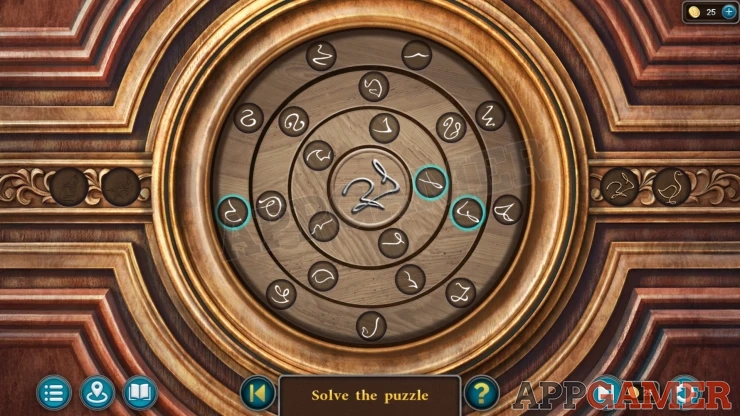
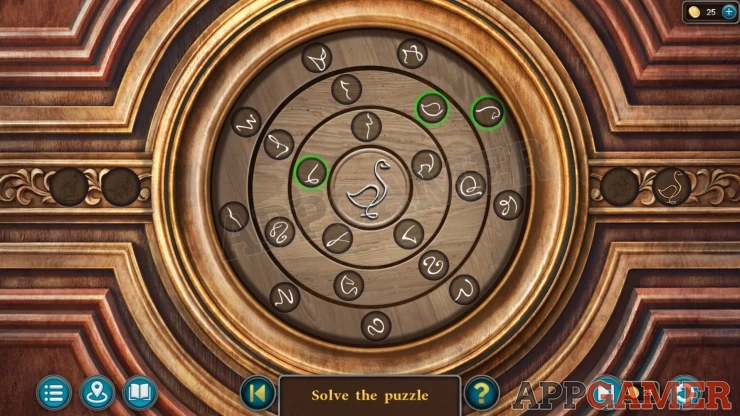
Carved Flowers Puzzle
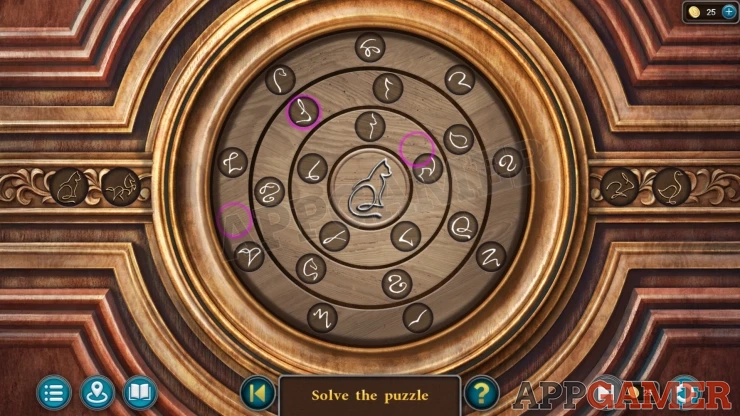
- There are three rings with symbol fragments on them. You will also see a colored circle on each ring.
- In the center is a complete symbol.
- Rotate the rings to select three fragments in the blue circles. These need to be able to combine to match the symbol in the center.
- There are four symbols to match to complete the puzzle.
- The symbols can be random for each game.
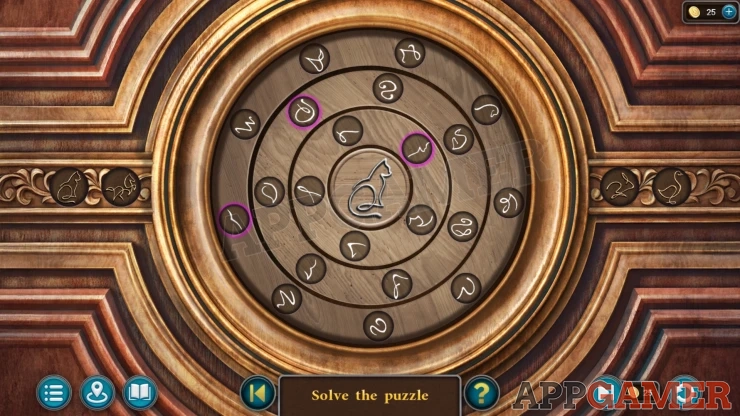
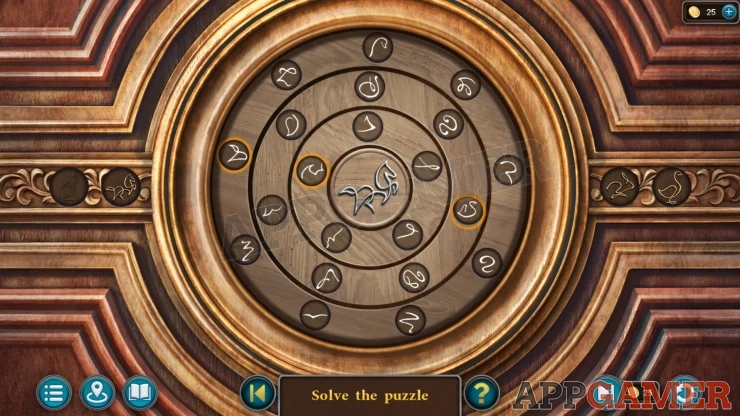
Solutions: These were my solutions: Collect a Wooden Leaf (1 of 2) and then open the small curtain to collect some boots, a cloak and hood.Show
Task - Travel to the Isle
Go back to the path in the woods and then move forward to reach the port.
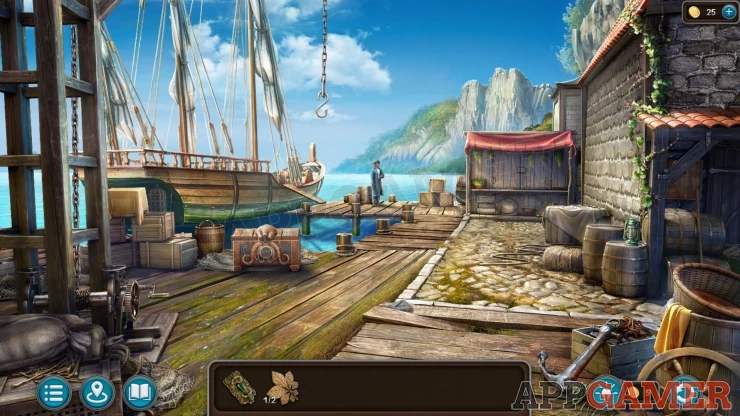
Talk to the ship captain, he asks you to help heal his daughter.
Task Aid the Captain
Collection Rune: on a broken floor board on the ground at the bottom center.
Morphing Object: Cage on some crates on the dock on the left.
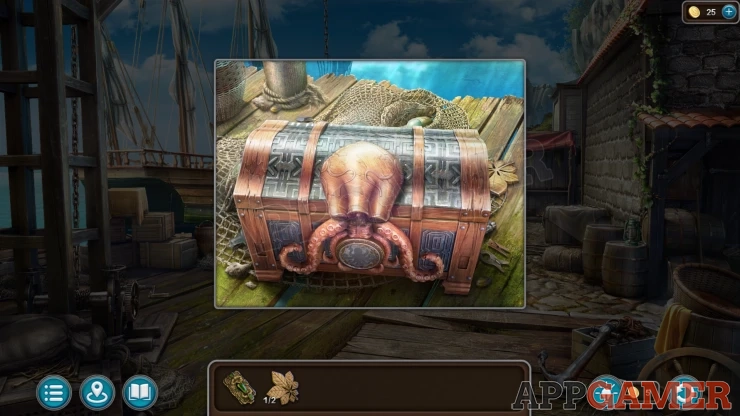
View a chest on the left side of the dock, collect another Wooden Leaf (2 of 2).
Go back to the path outside the house and view a bench on the right by the stove.
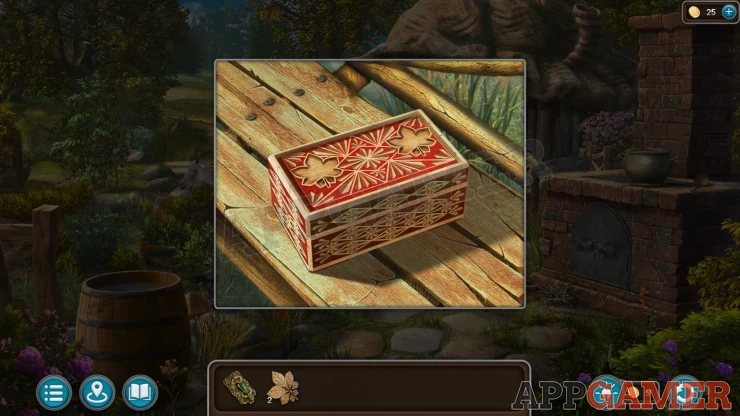
Use the wooden leaves on the box to open it and collect a Key and some Matches.
Enter the house again and now view the double door in the center. Use the key to open these.
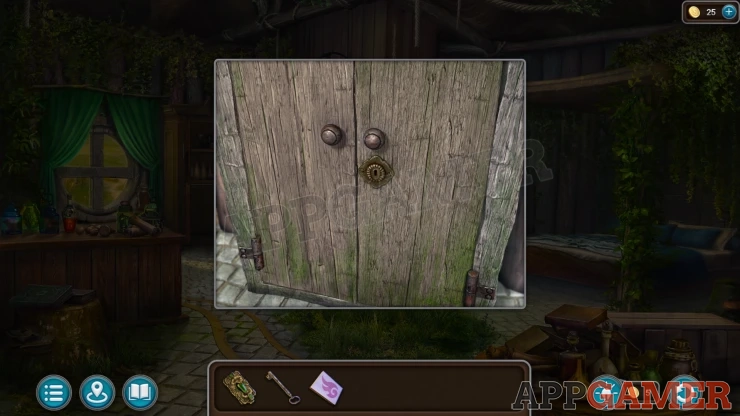
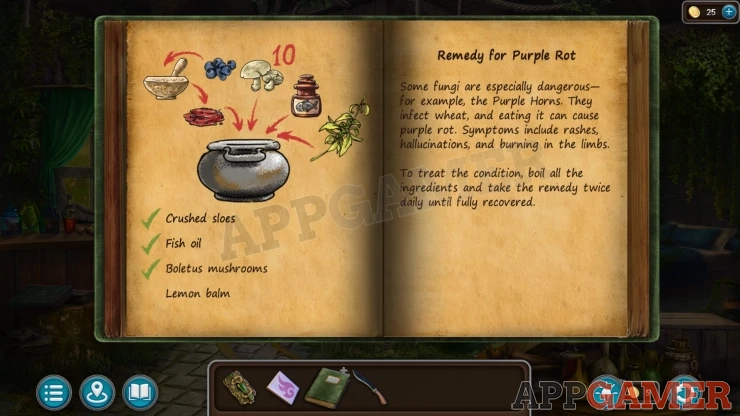
Collect a Handle from the bottom shelf. Then view a book of Children's Ailments on the center shelf. This will let you view the Remedy for Purple Rot, collect the Book.
View a trapdoor in the center of the floor, use the Handle on this to open it.
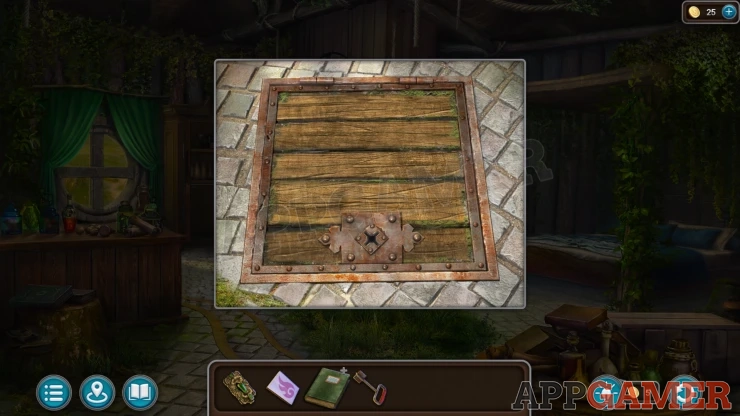
Manuscript: Druids.
Collect an Axe, a Cabbage and a Basket.
Exit the house and then give the Cabbage to the goat that is grazing. It will move and then you can view the plants it was eating. Collect some Lemon Balm, and then also collect a Steering Wheel Handle that appears.
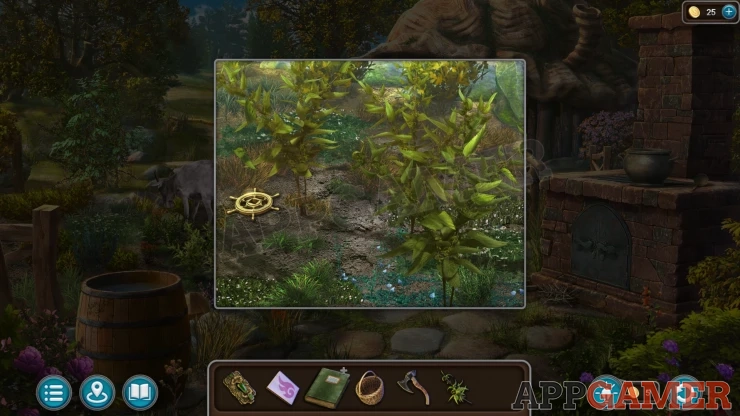
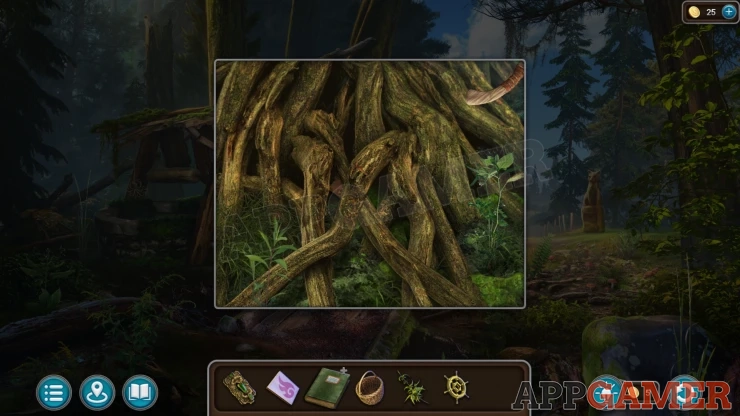
Now head into the woods again an view a large tree on the left of the path. Use the Axe on the roots to cut them away. Collect a Fox emblem.
Then view a Fox statue on the right. Add the Fox emblem to it.
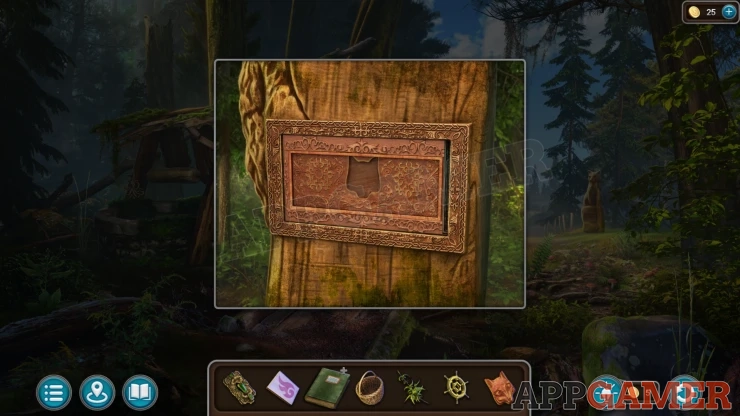
Fox Statue Puzzle
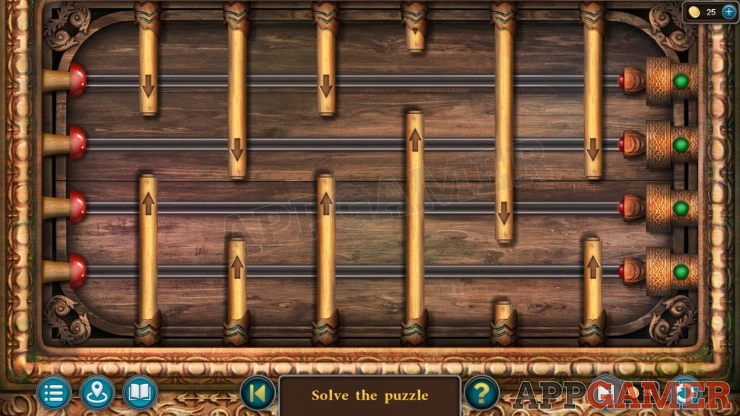
- There are four red buttons on the right and four plungers on the left.
- In between are six bars that you can move up and down to line up the gaps.
- Moving each bar can also move others.
- Line up the six bars to allow one of the plungers to pass through the gap and activate a button on the right.
- Then repeat this to activate all of the other buttons.
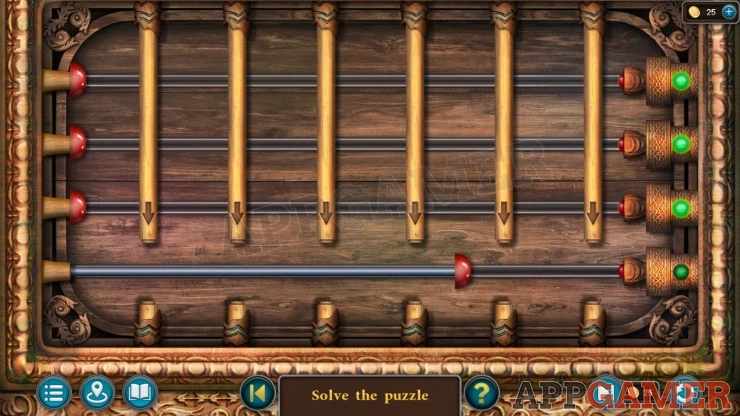
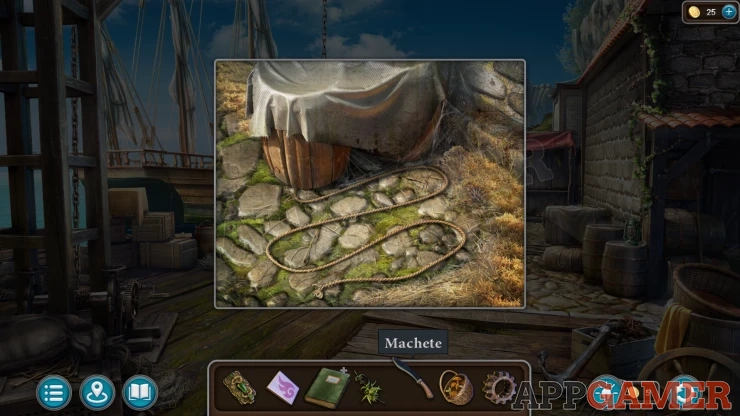
Once done you can collect a Machete.
Next place the basket on the ground on the right near some mushrooms. Then tap the backet to view this area.
Mushroom Puzzle
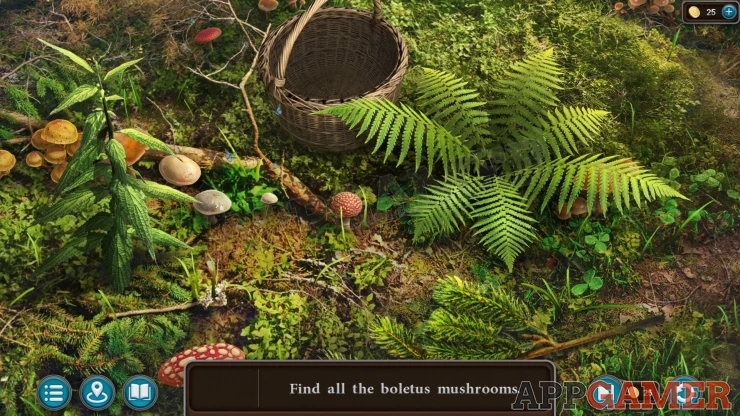
- You need to find 10 Boletus Mushrooms hidden amongst the others on the ground.
- You can scroll the view around to see the full area.
- Some mushrooms are hidden under or behind other plants and mushrooms.
- You can only collect the ones that match the picture of the Boletus Mushroom.
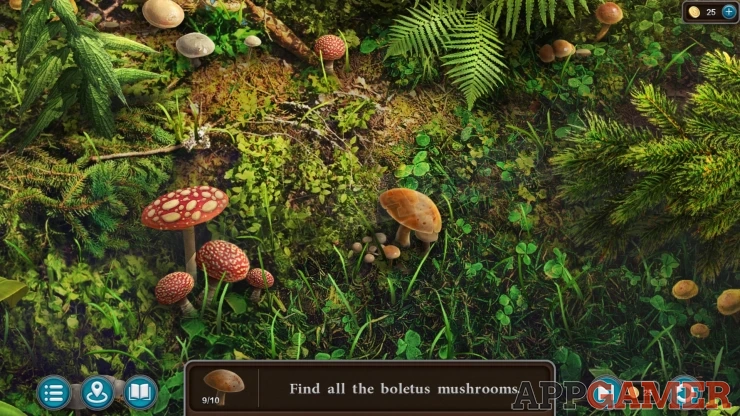
Once you have 10 you will collect the Boletus Mushrooms.
Now return to the Port. View a lantern on a barrel on the right side. Add the Steering wheel handle to this to open it, then collect a Gear.
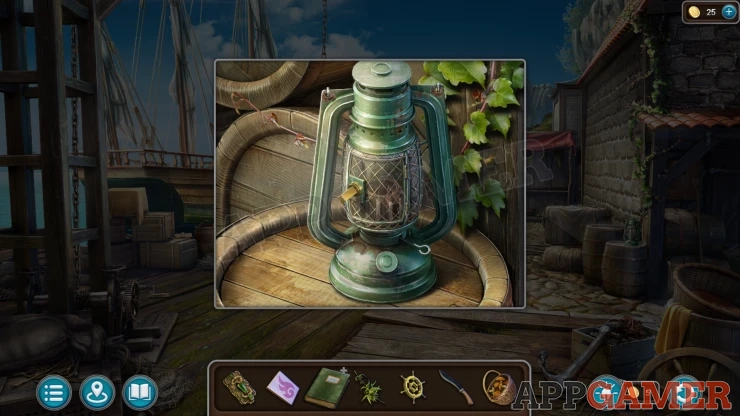
Then look on the floor next to the barrels, use the machete here to collect a Rope.
Next view a Winch mechanism on the lower left. Add the gear to this.
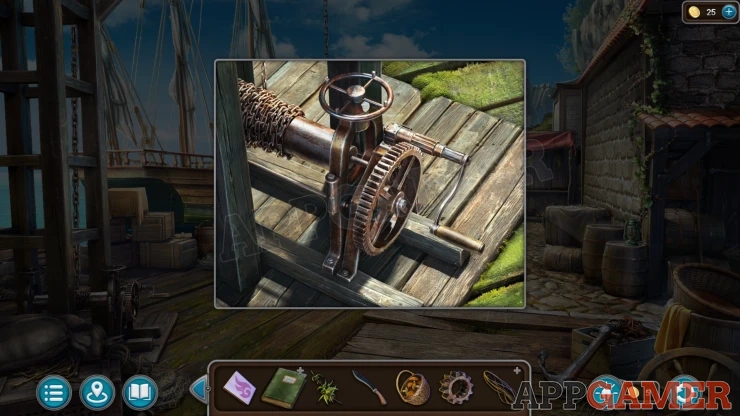
Tap the handle to turn it and a chain will lower, collect the Hook from the end. View the Rope in your inventory and add the hook to it. You get the Rope with Hook.
Back up into the forest and then view the well on the left, there is an octopus emblem hanging, tap this.
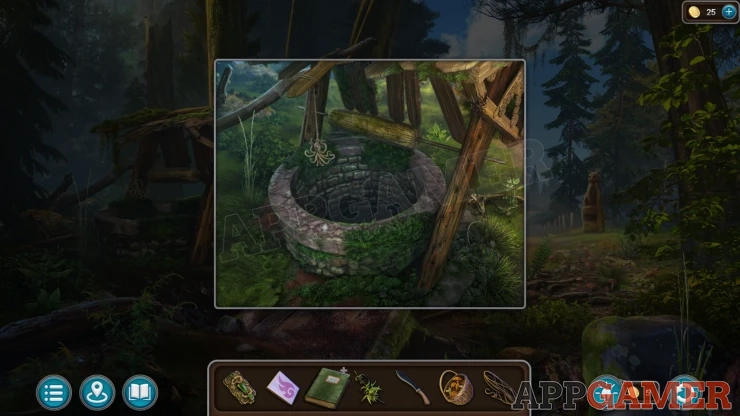
It will fall into the well. Look down and then you can use the rope with hook to collect the Octopus.
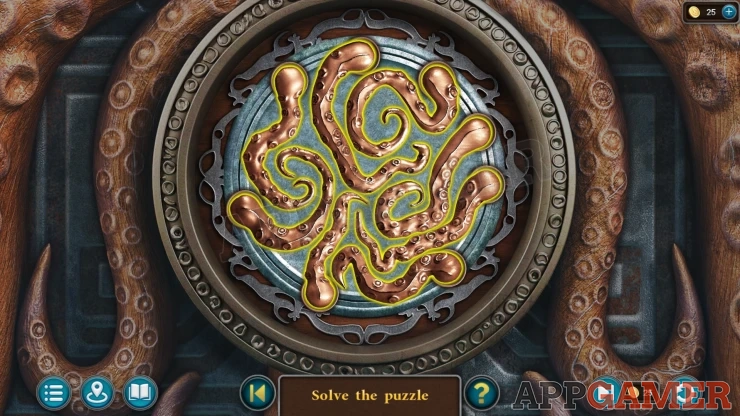
Go back to the port and view the chest on the left again. Add the octopus to it to start a puzzle.
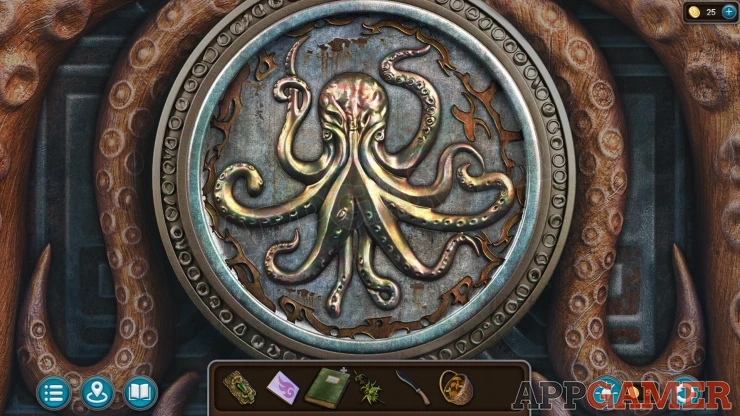
Octopus Tentacle Puzzle
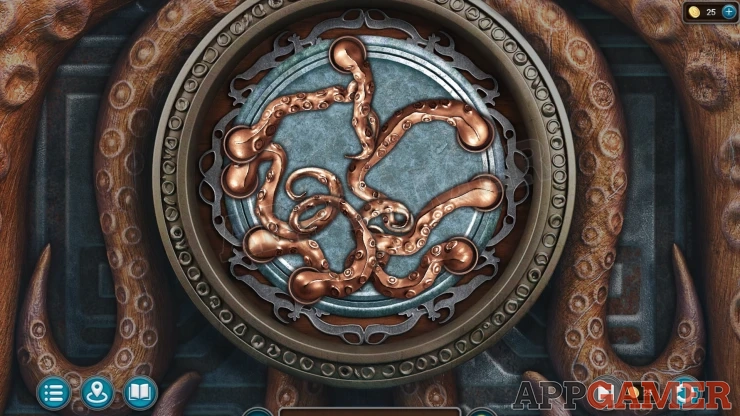
- There are eight tentacles placed around the circle.
- Each one can be slid around the edge of the circle to change its position.
- Move them around to place them so that none of them are overlapping each other.
Solution: Show
Collect a Glove, and a Fisherman's Token.
Now view the doors to a cabinet on the right. Use the Token here to open them.
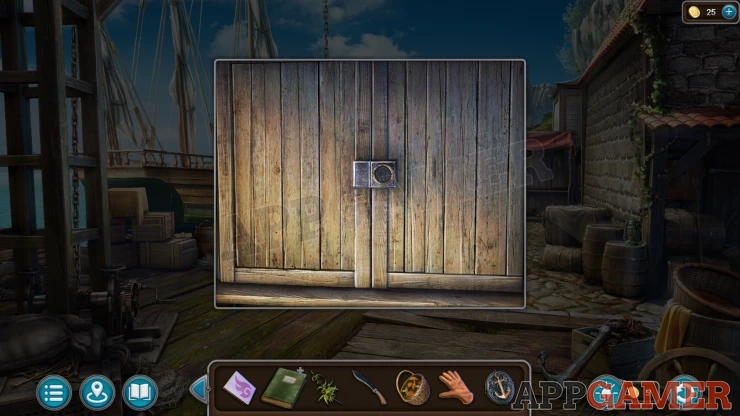
Fish Stall Puzzle
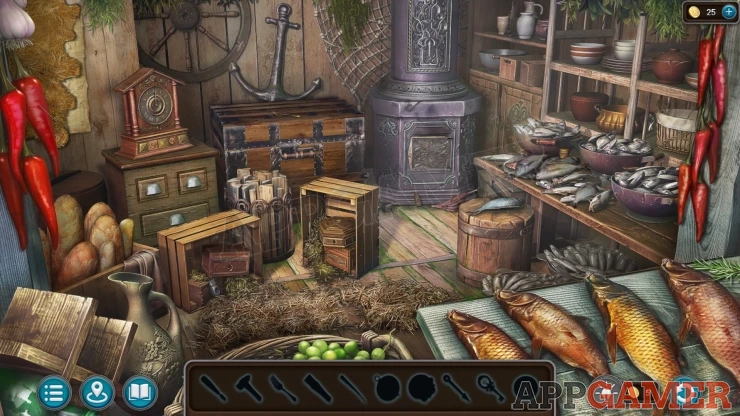
Investigate the shop to find the items shown in silhouette at the bottom until you collect the Fish Oil.
View a large wooden chest at the back and collect a Fork.
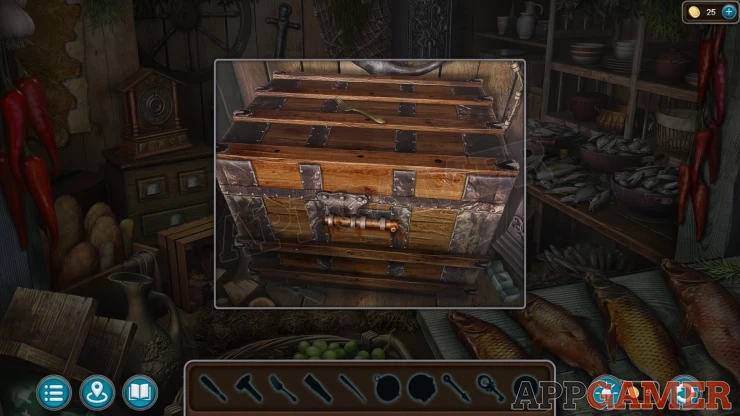
Next view a bench on the right and then move as many fish as possible to reveal a Clam shell. Use the fork to open this and collect the Pearl.
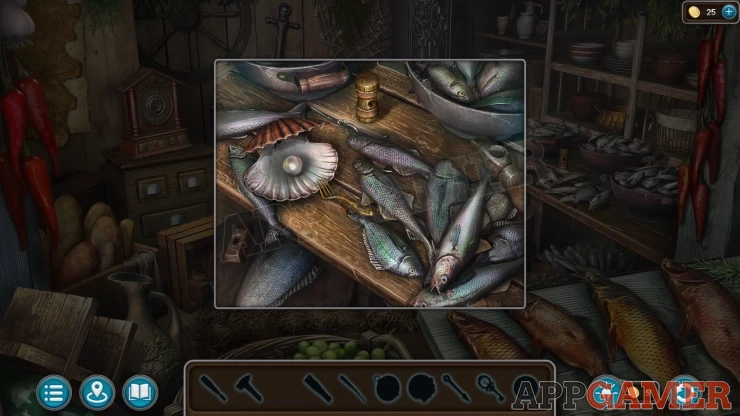
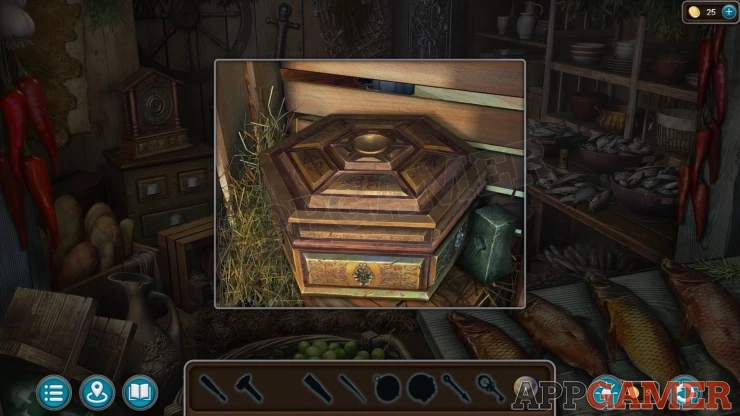
View a crate on the floor in the center, then you can add the pearl to the top of a box to open it and collect a Compass.
Next look on the top left of the scene and move a cloth to find a chart. Collect a Spoke.
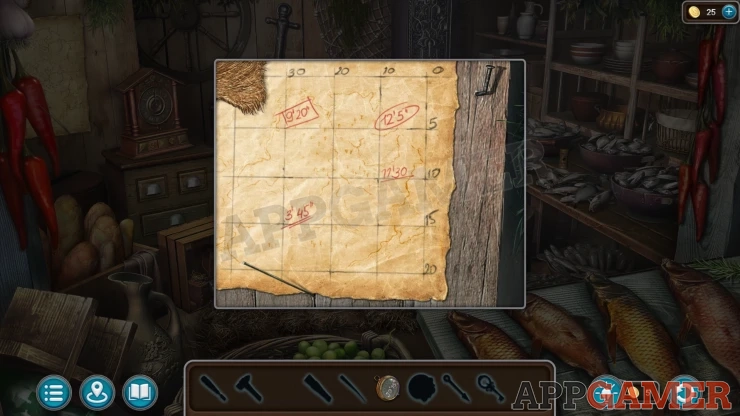
Then hang the compass on the right, you will see a set of coordinates on the compass, These will lead you to one of the red sets of numbers on the chart. This is a clue.
View the bench on the right again and use the Spoke to collect a Small Key that is stuck between the boards.
Next look in another crate on the floor on the left to find a red locked box. Use the key to open this and collect a Knob.
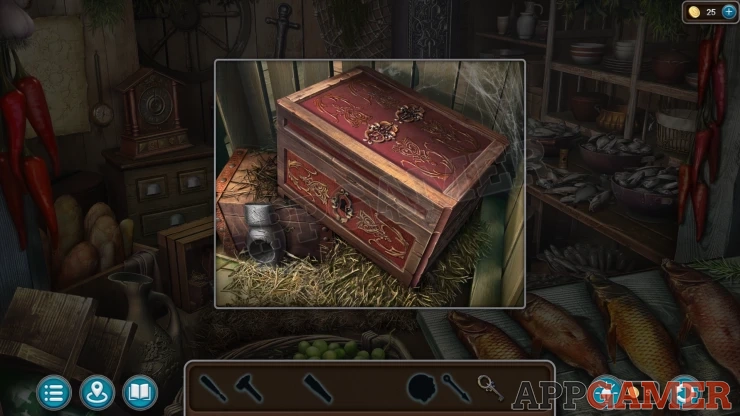
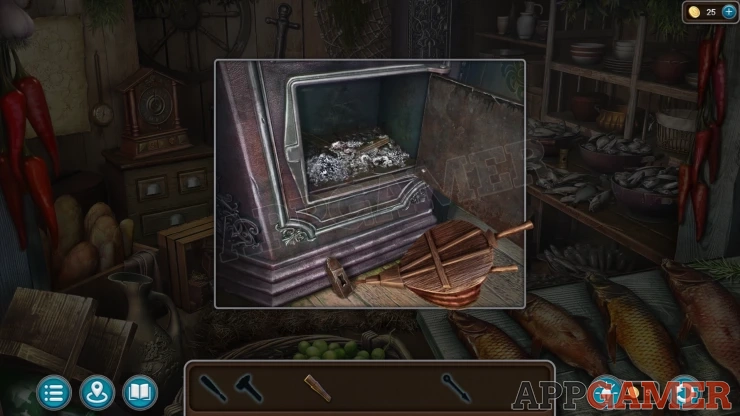
View the stove in the back and add the knob to the door to open it.
Collect a Wooden Handle from the ashes and then tap the bellows and use them on the ashes to reveal a Clock Hand to collect.
View the clock on the left side and add the clock hand to it. Now you need to set the time. Use the numbers from the clue on the chart. Solution: 3:45Show
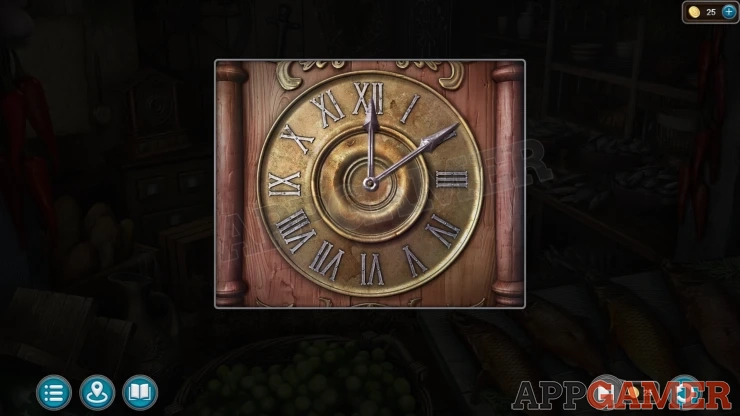
This opens the clock and you can collect a Chisel.
View the bench on the right again and tap on a hammer head that is on the floor on the left. Add the Handle and this will let you make and collect the Hammer.
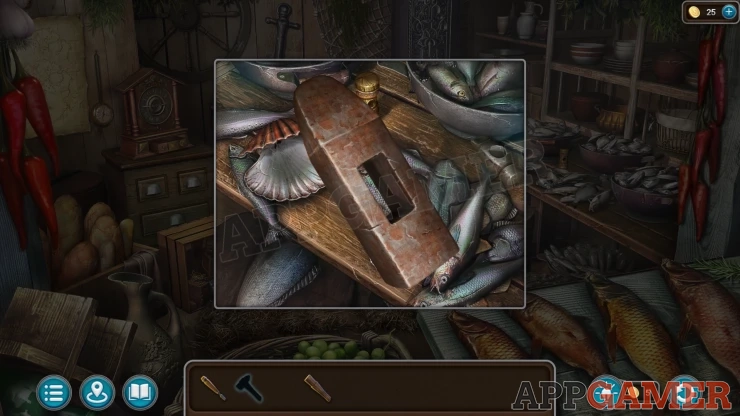
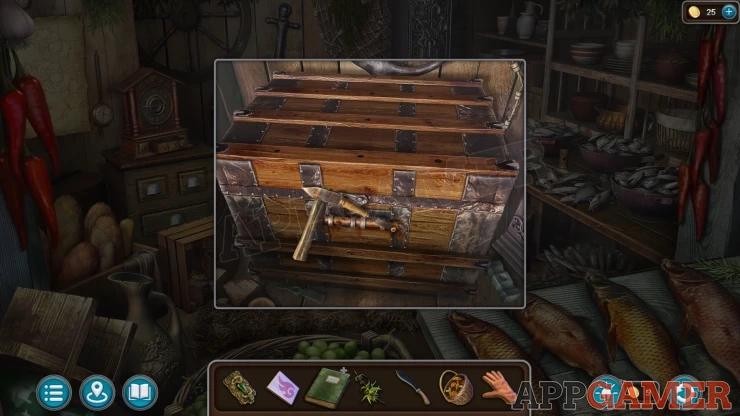
Now view the large chest at the back again. Add the Chisel to the bolt on the front and then add the Hammer. This will open the chest and you can collect the Fish Oil.
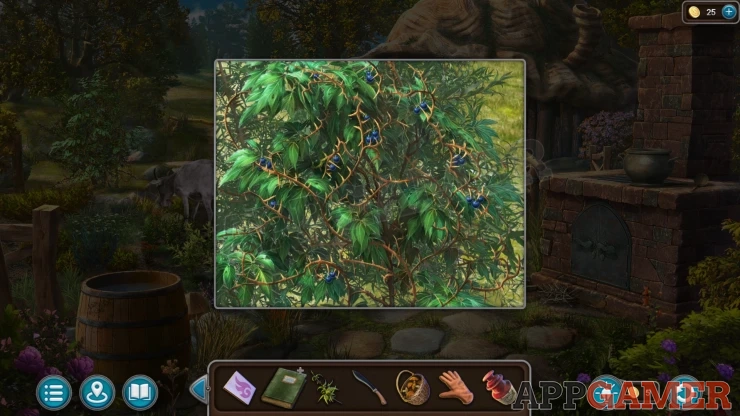
Go back to the garden of the druids house. View a bush on the left next to the goat and then you can use the glove here to collect Sloes.
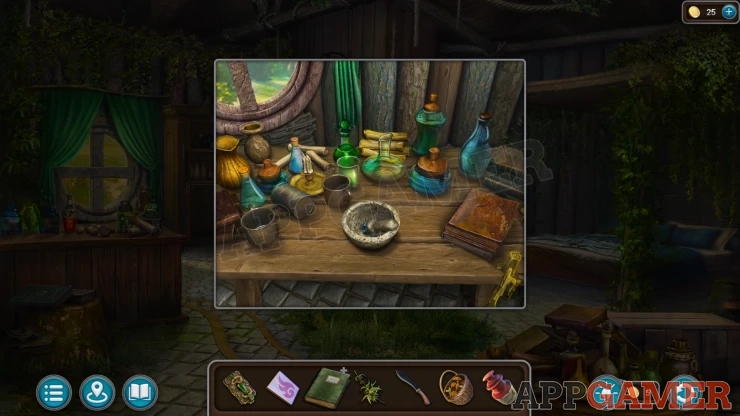
Enter the house and view a bench under the window on the right. Add the sloes to the small dish then tap to crush them. Collect the Crushed Sloes.
Now you can view the Book again and add the four required items to it, you will collect the ingredients.
Exit to the garden and view the brick stove on the right and collect a Cauldron from the top.
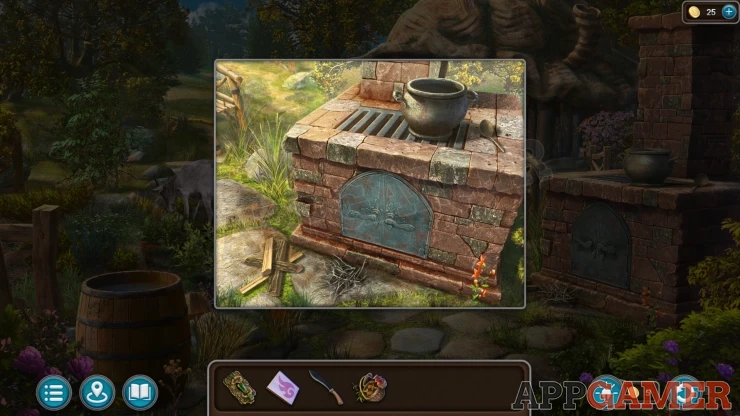
Then open the doors on the front and tap the wood and kindling to place it inside. Use the matches to light the fire.
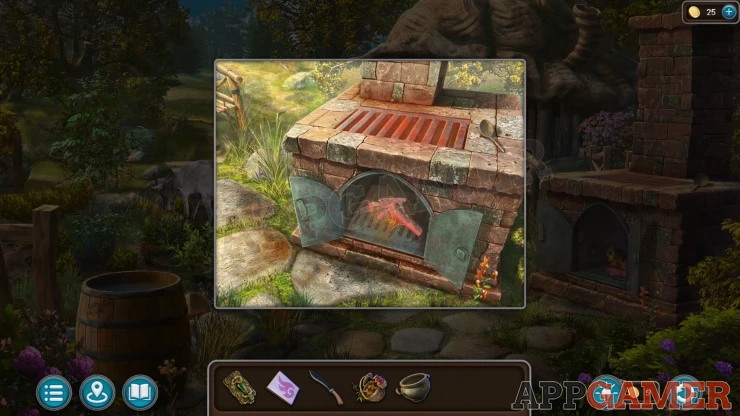
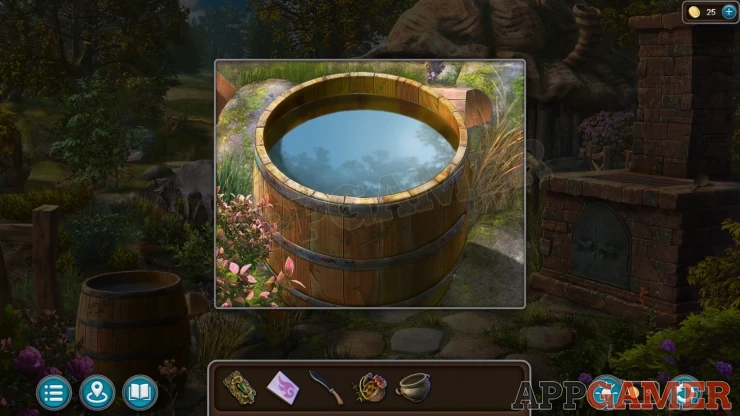
Now look on the left side of the garden an view the barrel. Use the cauldron on this collect a Cauldron of Water.
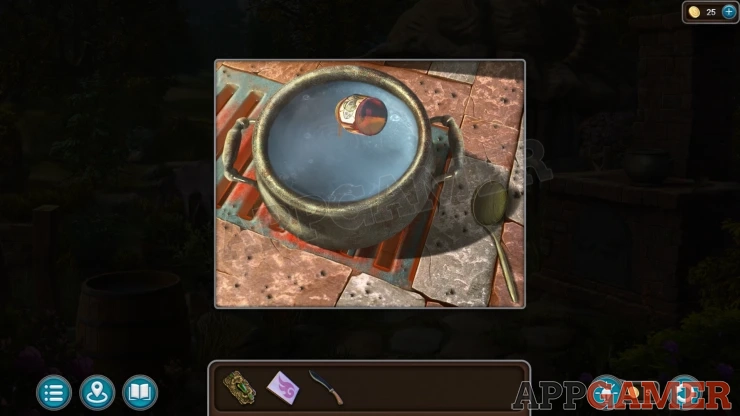
Place this back onto the Stove. Then add the ingredients. You can then collect the Remedy.
Return to the port and give the remedy to the captain. You can then travel to the Island.
Task - Reach Al Karankah
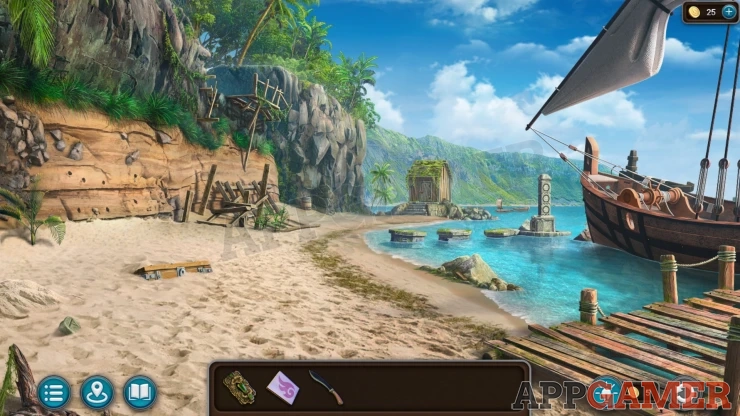
Collection Rune: Stone in the sand on the bottom left.
Morphing Object: Small boat in the distance to the right of the hut.
First view a rock on the edge of the water close to the dock. Collect a Button, then use the Machete on the rock to reveal a symbol, this is a clue.
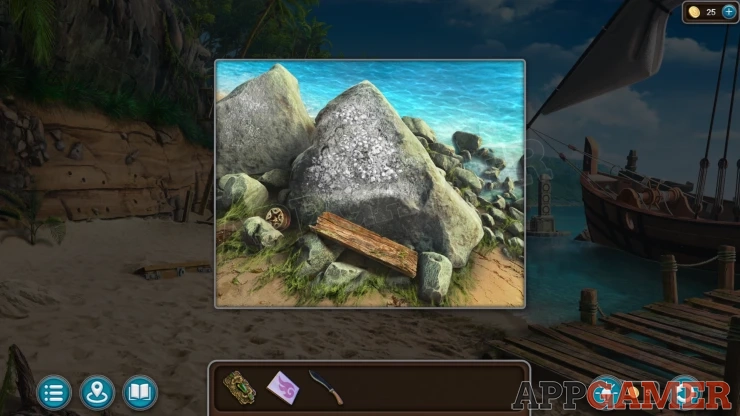
Next view a small wooden hut at the far end of the beach.
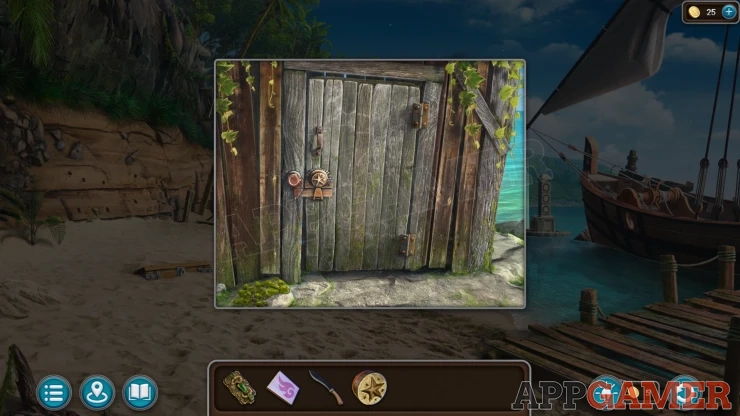
View the lock and add the button to this to start a puzzle.
Beach Door Symbol Puzzle
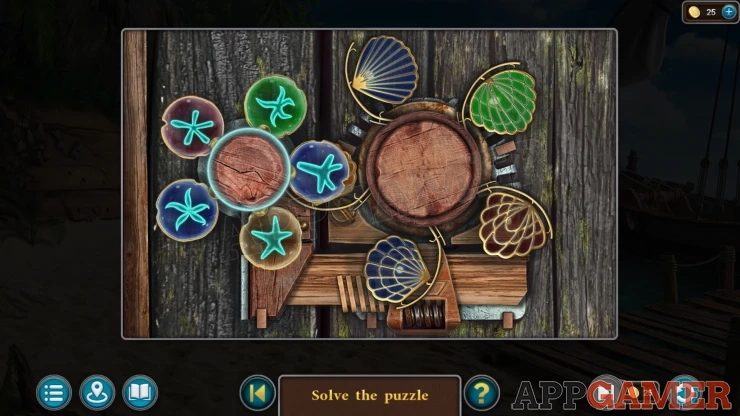
- Tap the two buttons to rotate the symbols.
- Combine the two symbols on the center overlapping section to match the ones seen on the rock clue.
Once done the door opens.
Manuscript: inside the hut.
Collect a Shovel and a Poker and a Cast-iron Ball.
Next view the bank on the left side of the beach with some holes in it.
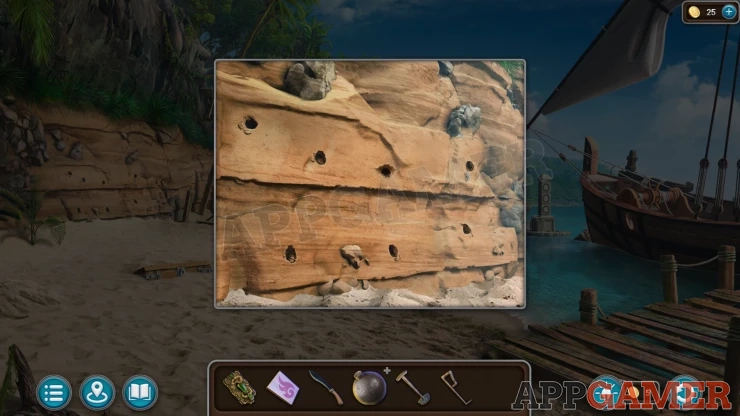
View a hole near the center and use the Poker on it, this will let you collect a Small Key.
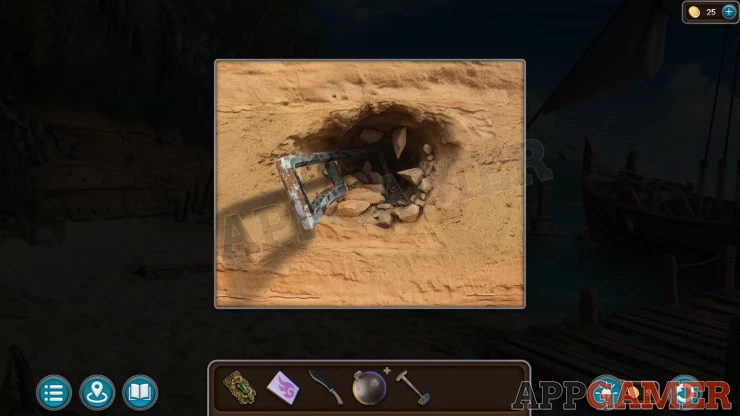
Now you can view a chest buries in the sand. First use the shovel to dig it out and then use the small key to open it.
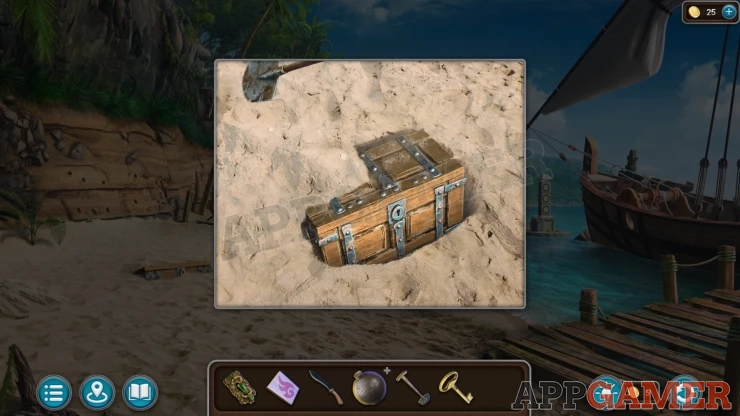
Collect some Climbing Picks and some Gunpowder.
Next view the rock cliff face at the end of the beach on the left. Use the climbing picks here to start a puzzle.
Cliff Climbing Puzzle
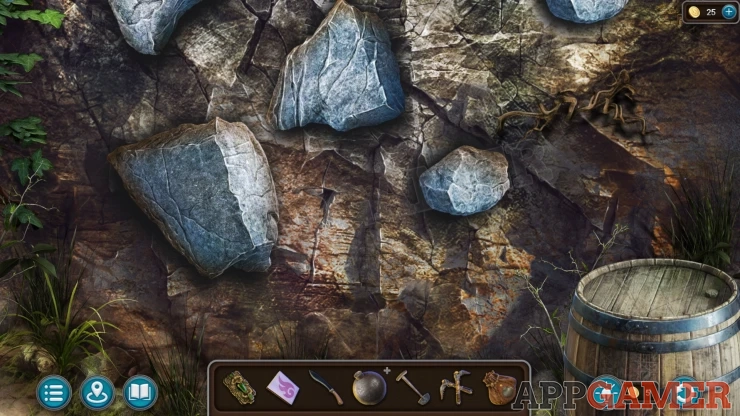
- Tap one of the rocks that you see protruding from the cliff to chose it to use a pick on to climb.
- After each choice you will ascend a level and need to chose the next rock.
- If you pick the wrong rock you have to start again.
You will reach some ruins at the top.
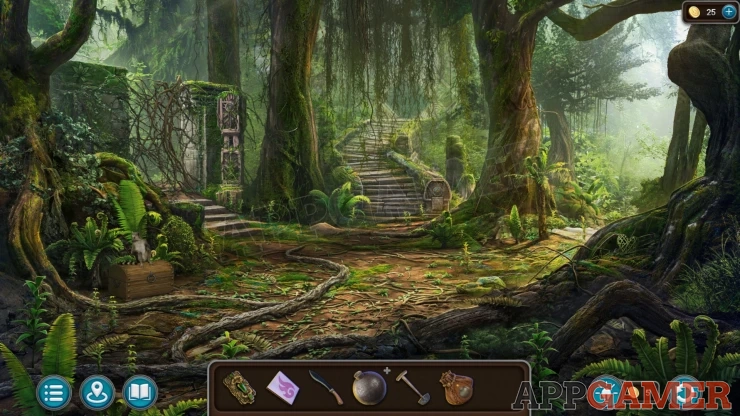
Collection Lily: on the top of the wall on the top left.
Morphing Object: Star/Heart in the roots on the lower right.
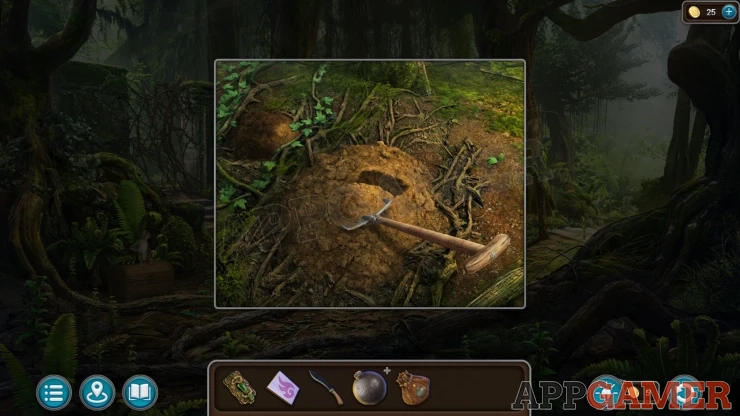
View a pile of dirt on the ground to the left of the steps that are directly ahead. Use the shovel on this to dig and collect a Head emblem.
Next view the path that leads to the left. Use the machete to clear the vines.
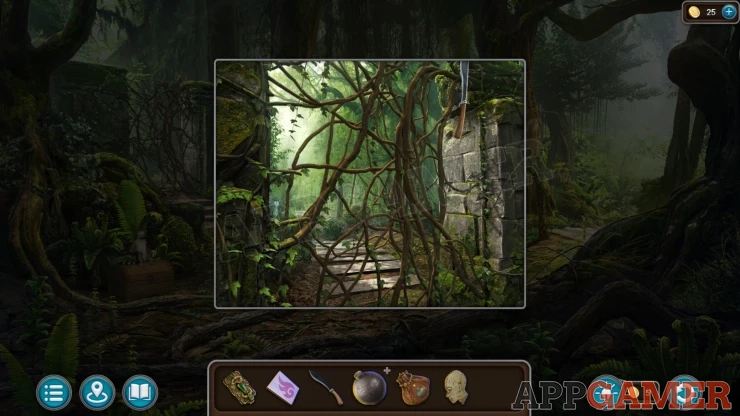
Go through to reach the Kainbekh.
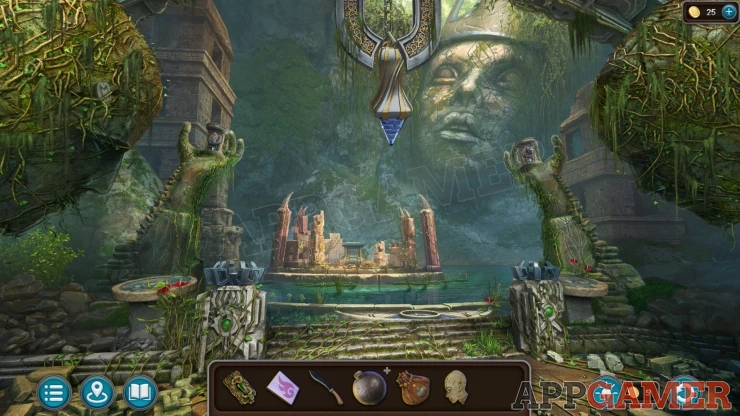
Collection Rune: on the large green rock on the top left.
Morphing Object: Symbol on the forehead of the large face on the back wall.
View two blue round plaques that are on the left and right of the center steps. below the hand statues. There have patterns with shapes on them. This is a clue.
Show
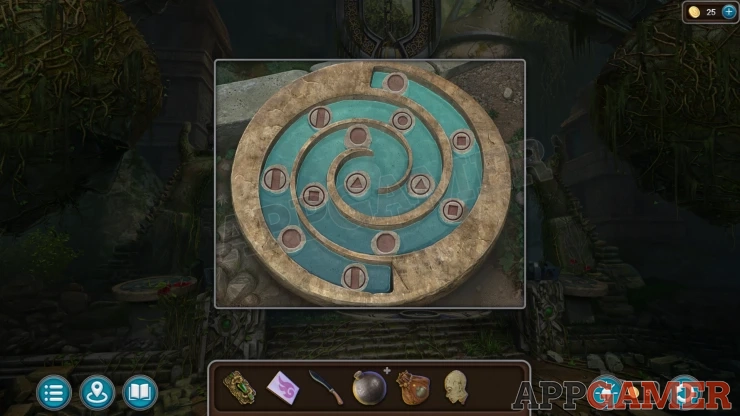
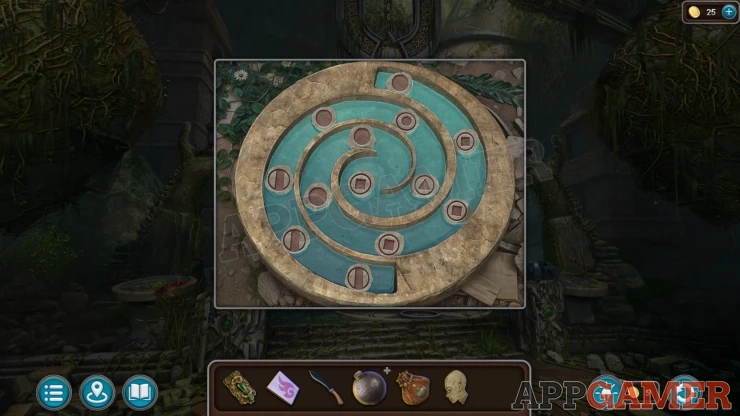
Then back up and go to the path on the right, this takes you to a Courtyard with a well.
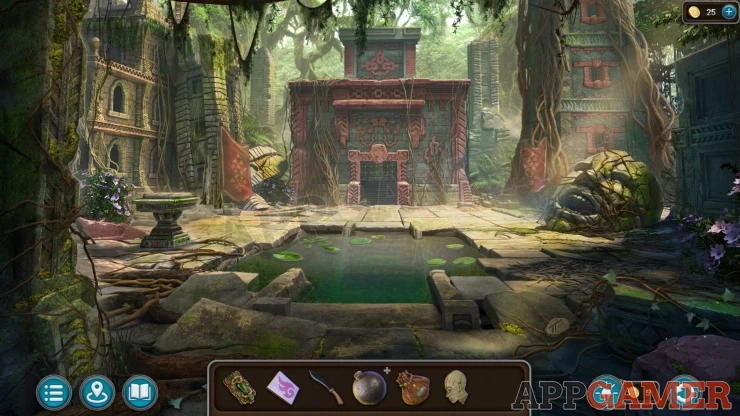
Collection Rune: stone on the ground on the lower right.
Morphing Object: Small stone finial decoration on the wall on the top left.
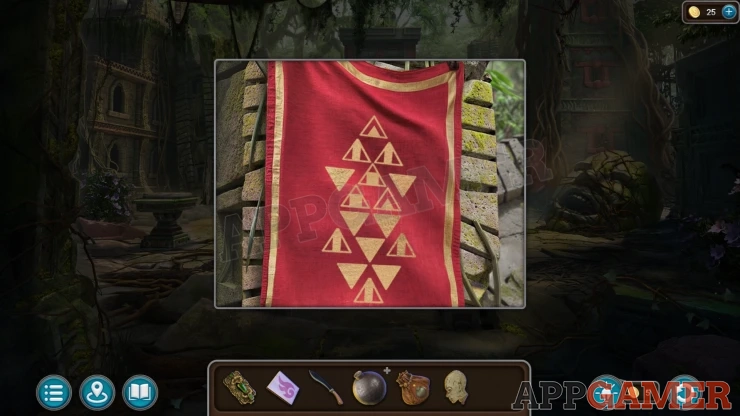
Look at two red banners that are to the left and right of the center building. These also contain patterns of shapes.
Next back out to the ruins and then go up the steps in the center. You each the city gates.
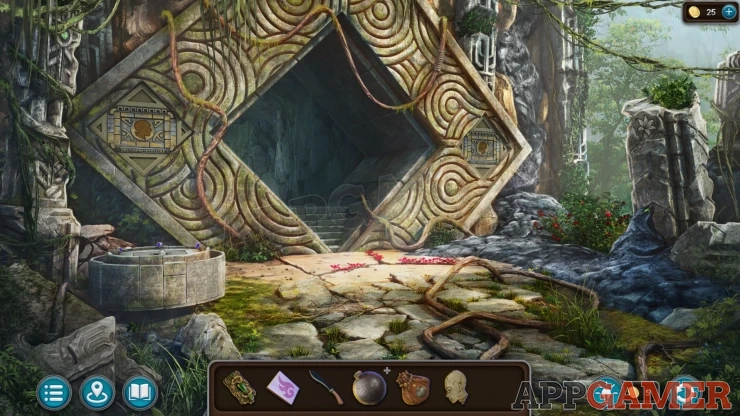
Collection Lily: Pattern on the broken stone column on the right.
Morphing Object: Coil on the vine hanging over the door to the right.
View a panel on the right side of the gate with a head shape. Add the head that you have here to reveal a puzzle.
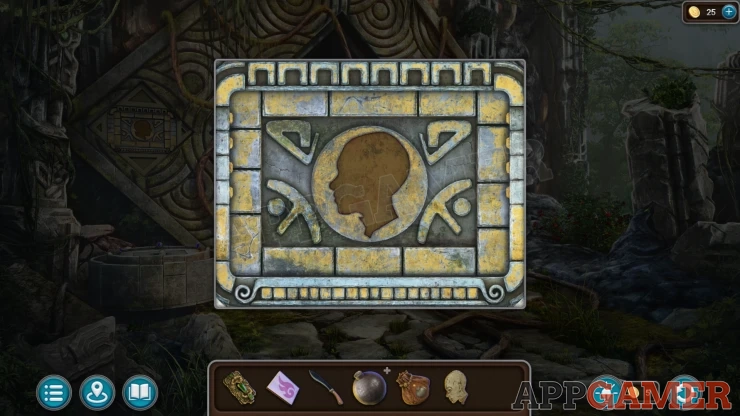
City Gates First Shapes Puzzle
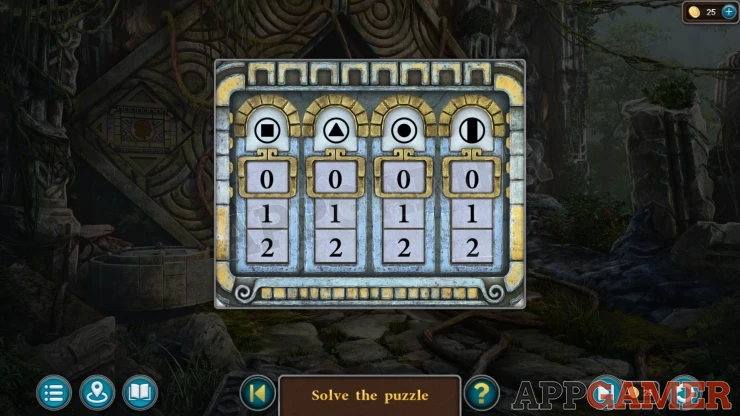
- There are four columns with a shape at the top of each.
- You can slide up or down the numbers below to set a number for each column in the gold square.
- Using the clue seen above set the correct number for each shape.
Solution: Count the shapes in the two clues in the Kainbekh, This can be different in each game.Show
Collect another Head, an Emerald Leaf and a Planet (1 of 4).
Now view a similar panel on the left side of the gate. Add the second head here.
City Gates Second Shapes Puzzle
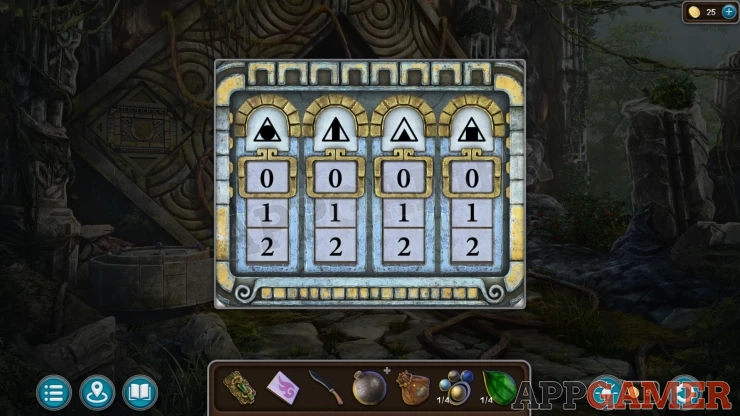
- As with the previous puzzle you need to set the numbers associated with the shapes.
- These shapes are found on the red banner in the courtyard.
Solution: As before the answer can vary, check the banners in the courtyardShow
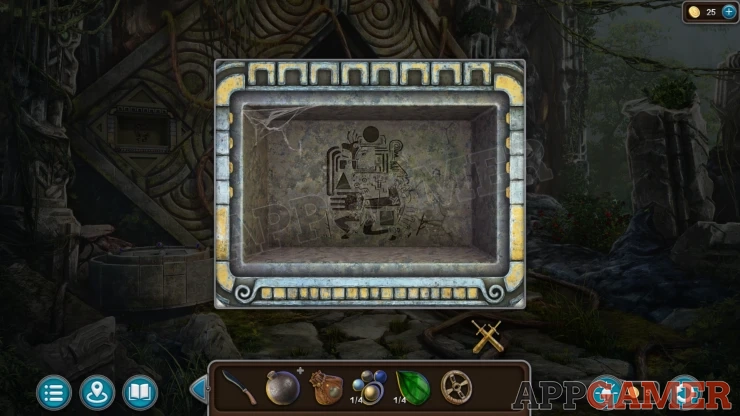
Collect the Swords and a Valve wheel. Notice also the design inside the opened panel.
Go back to the courtyard and view a large stone head on the right with roots covering it.
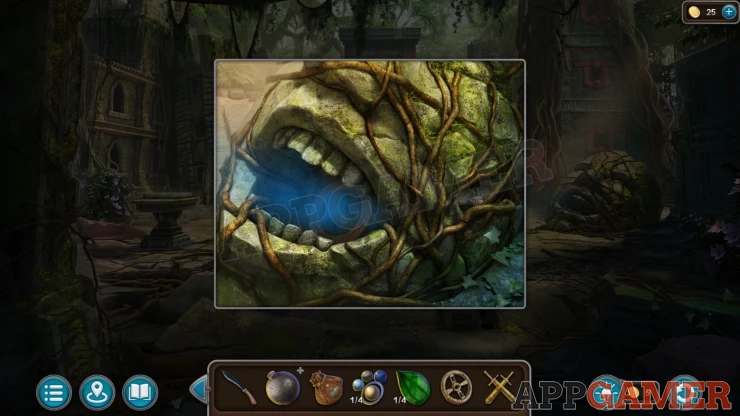
Use the machetes to clear some roots, then you can use the Valve wheel on the right side of the head and turn it to turn off the steam that is coming out. Collect a Stone Ring from inside the mouth.
Next view the doorway to the building in the center. It has bars with rings.
Courtyard barred doorway Puzzle
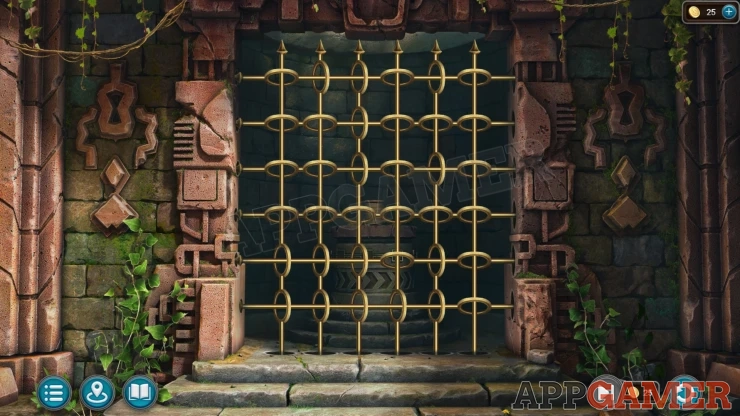
- Each of the bars needs to be slid back to remove it. Either slide them down or to the right.
- The bars interlock with the rings.
- You need to find the correct order to remove them one at a time.
- Start with the vertical bar on the right.
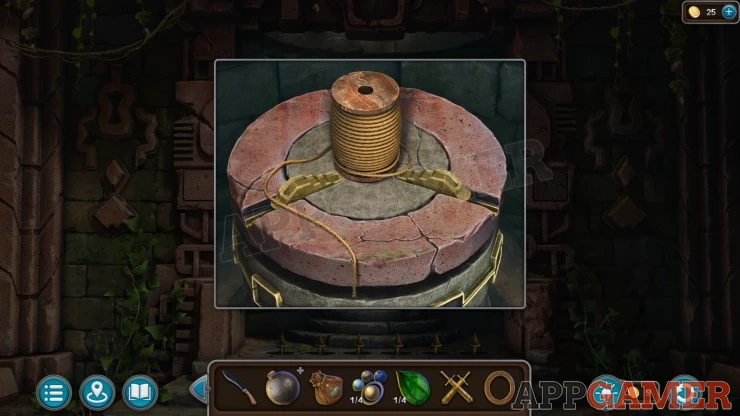
View the pedestal inside and collect the Cord.
Now go back to the city gates and pass through. It is dark inside.
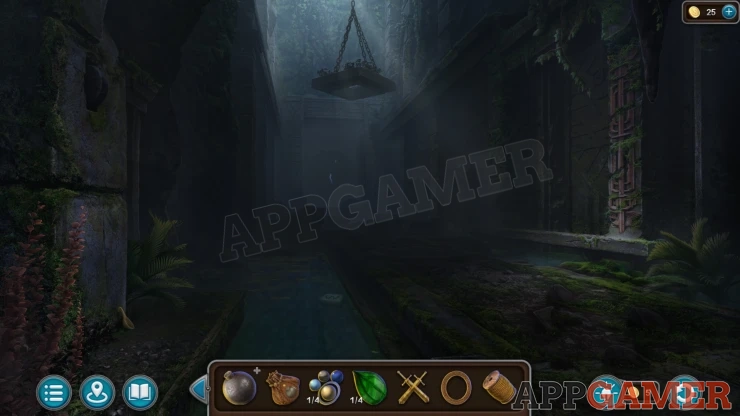
View a channel on the right wall. Use the matches on this to light some oil so that you can see.
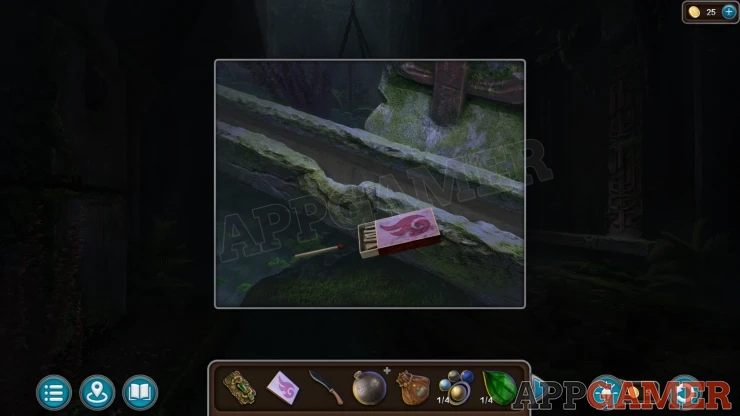
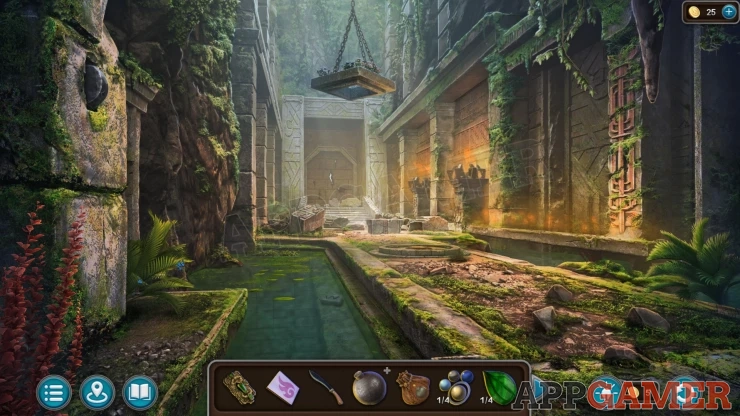
Collection Rune: Stone in the water on the lower left.
Morphing Object: Pipe/spoon on the ground by the wall on the bottom left.
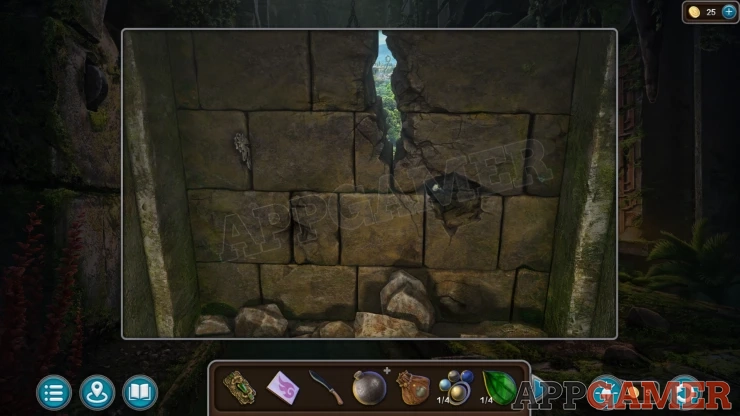
View a bricked up wall at the end of the passage. You need to destroy the wall. Collect a Seahorse from the stone wall.
In the ground near the center is an oval panel. Place the stone ring in the center of this to reveal a puzzle.
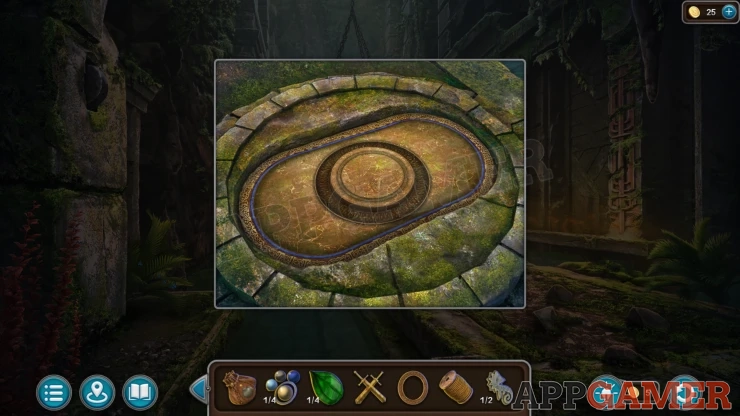
Rotating Grids Puzzle
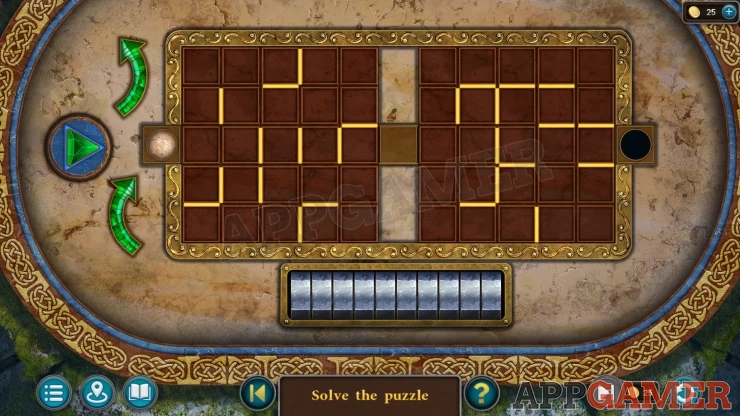
- There are two square boards made up of 5x5 grids.
- On the left is a ball, this needs to pass through the two boards to reach the hole on the right.
- The puzzle is done in two stages.
- On the left are turn arrows that you can use to generate a sequence of moves, each move will rotate the first board left or right (anticlockwise or clockwise).
- When you press the play button the ball will move forward towards the right. The board will then make the first turn.
- The ball will then move to the right again and the board will turn again following your sequence.
- Using trial and error you can discover the correct sequence to enter to get the ball from the left to the center.
- Once this is done you can repeat this process to get across the second board to the right side.
- The boards can vary with each game
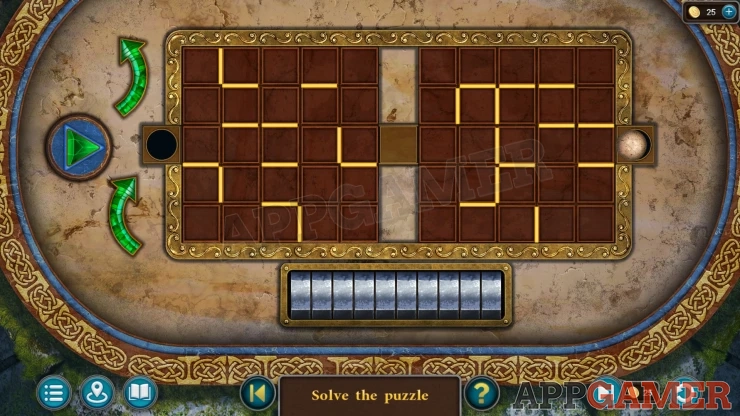
Once done you can collect a navigation device bracelet called NUR.
Then also collect the Pickaxe and another Seahorse (2 of 2).
Back up to the city gates and then view a stone column on the right.
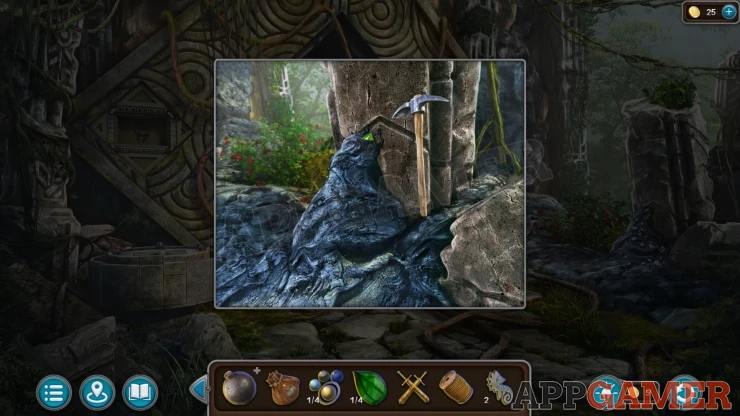
Use the pickaxe on the black rock to chip it away and then you can collect another Emerald Leaf (2 of 4).
Then back up to the beach where you arrived on the island. In the water on the right is a stone pillar, view this.
Beach Stone Column Puzzle
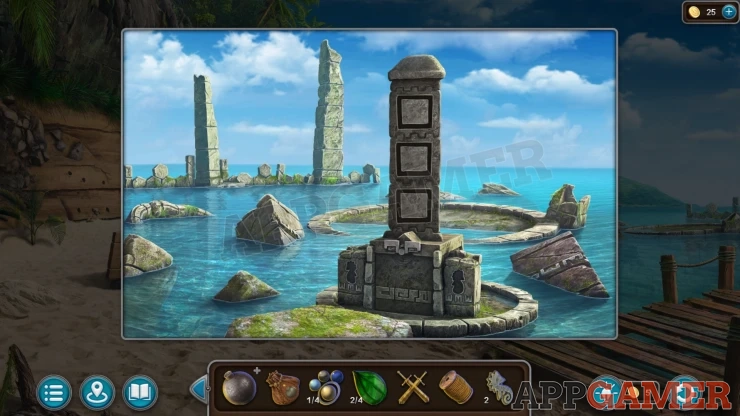
- Add the two seahorse to the base of the column to activate it.
- Then you can tap each of the three section to turn it and display a different shape.
- Set the shapes according to a clue seen above.
Solution: The clue is the pattern inside the left panel by the city gate. This has three shapes hidden in it from top to bottom.Show
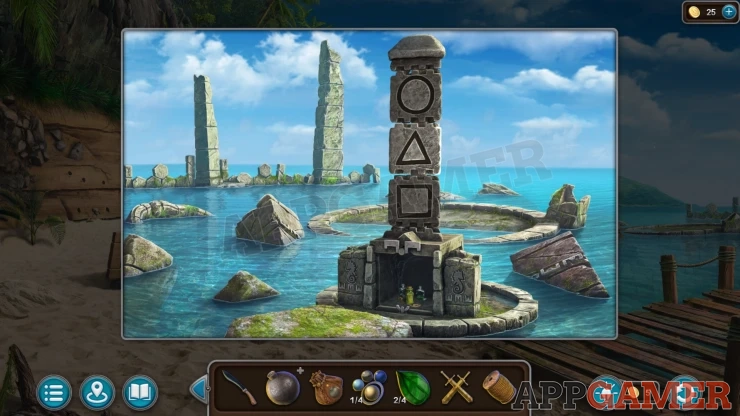
When the base opens collect some Oil and a Gorilla Medallion.
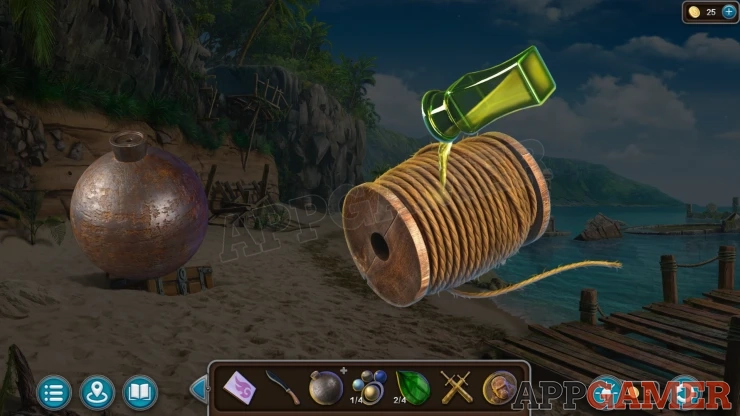
Now you can view the Cast Iron Ball in your inventory. Add to it the gun powder.
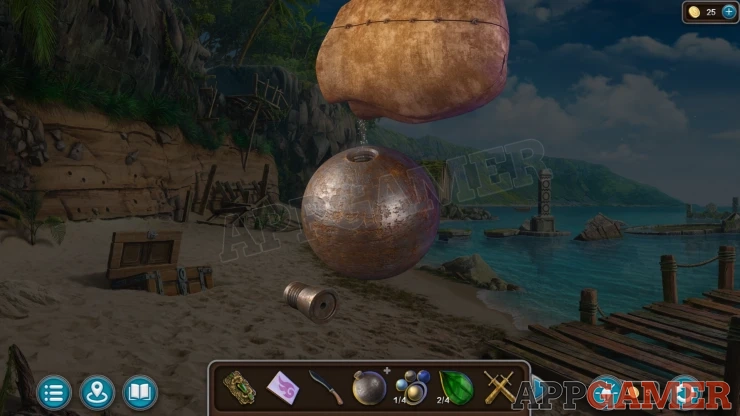
Next add the Cord and the Oil. You can then collect the Bomb.
Go to the passageway through the city gate and view the wall at the end. Place the bomb here.
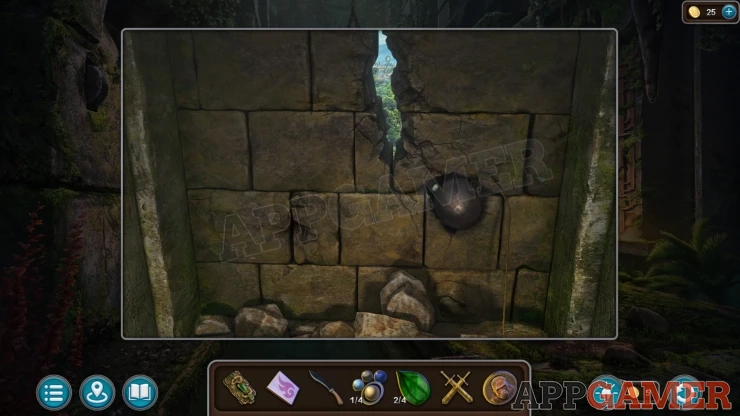
Then you can use the matches on the end of the cord that is on the ground, this will detonate the bomb and make a hole in the wall.
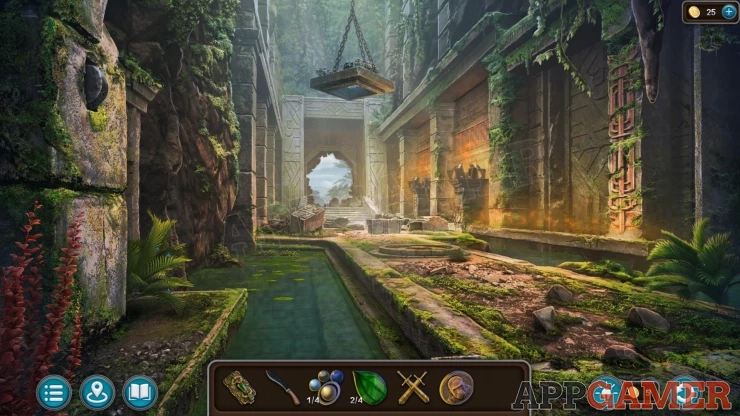
Continue the guide in Chapter 2 - Part 2.
We have questions and answers related to this topic which may also help you: Show all
 With 20 years of experience in creating video game content for the internet and over 30 years as a gamer, Mark is now a passionate mobile App Gamer. Loving a challenge, he is always ready to get stuck in to both survival builders and puzzle solving games. He has been providing content for AppGamer since 2014.