
Chapter 1 Walkthrough - Part 2
More Legendary Tales 5
This is our full walkthrough for Legendary Tales 5 - Price of Power. The latest in the series of games from Five BN. This guide includes all collectible item locations as well and hints and solutions for puzzles.
This is the second part of the Chapter one walkthrough. For the first part go here. In Part 1 we have woken up Dervolets and then performed the ritual to unlock the passage behind the waterfall. Now we need to open the door and enter the catacombs.
Task - Get Inside the Mountain
You have arrived at a passage behind the waterfall.

Collection Item: Mug, by the top of the step on the lower left.
Morphing Object: Symbol on the top of the stone face above the doorway.
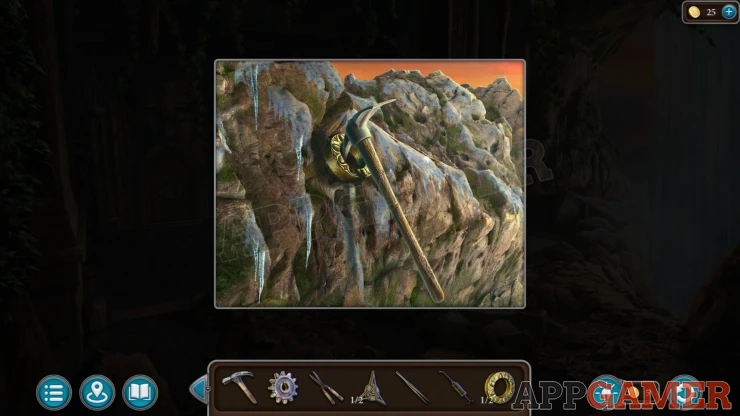
On the right next to the waterfall is a pickaxe in the rocks. Try to reach this, but the path is too icy.
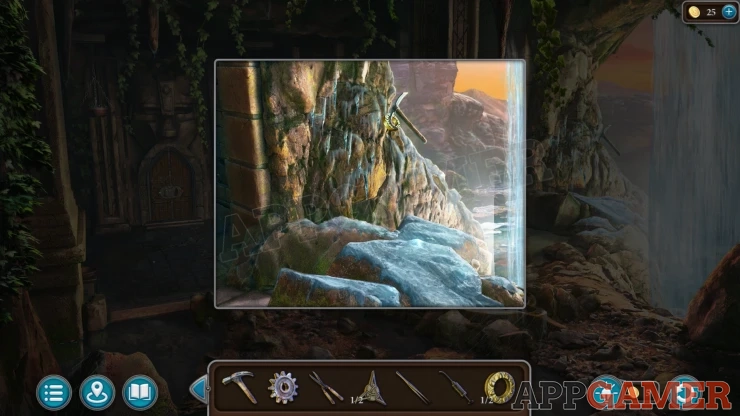
Return to the Settlement camp and then look in a Tent on the lower right. There is a large chest to the right of a wagon.
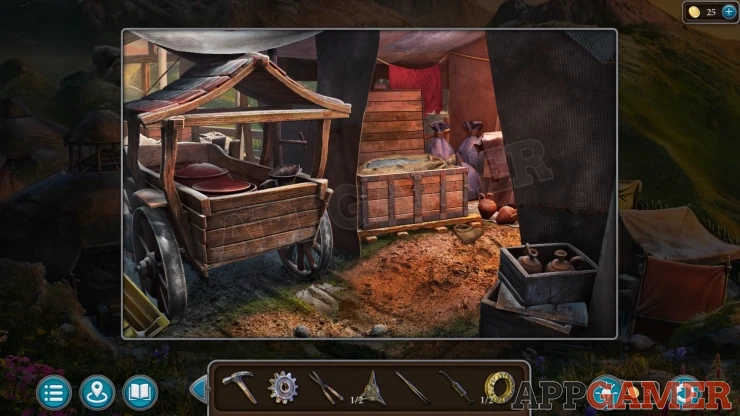
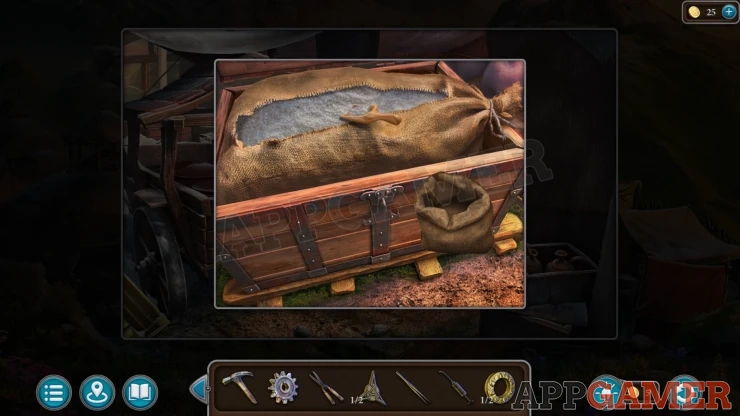
View the chest and use the knife to open the sack inside. Then you can use the Scoop to collect a bag of Salt
Go back to the passage behind the waterwall. Then you can place the salt onto the icy path.
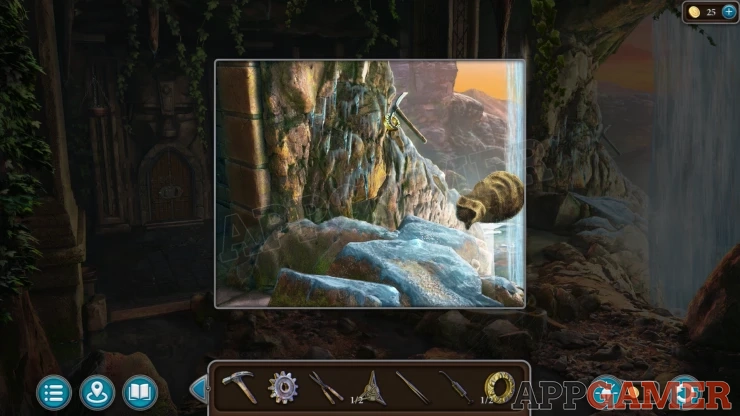
Then Collect the Pickaxe and also a Hoop (2 of 2).
Now go back to the end of the path in the magical forest, by the Nook. At the bottom of a tree on the left is an old shield.
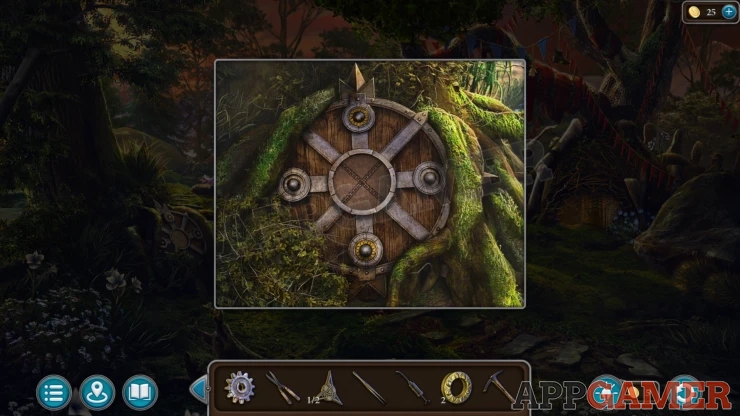
Add the two Hoops to the shield to start a puzzle.
Shield Puzzle
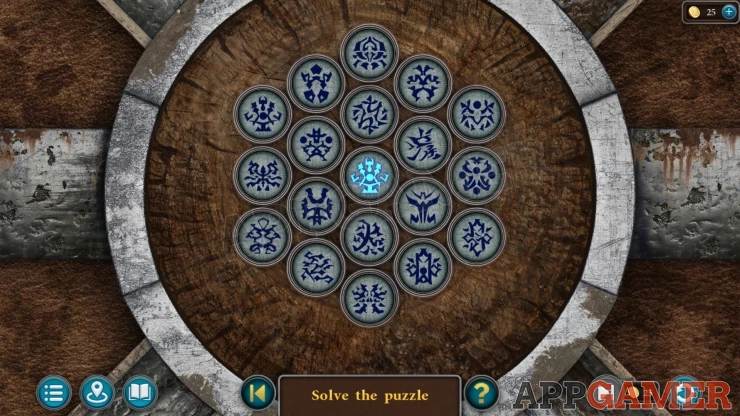
- This is a pattern matching puzzle.
- One of the symbols will be highlighted. Find and tap on the matching puzzle to clear it.
- You will then have another one highlighted.
- Continue to find the matches until all of the symbols are cleared.
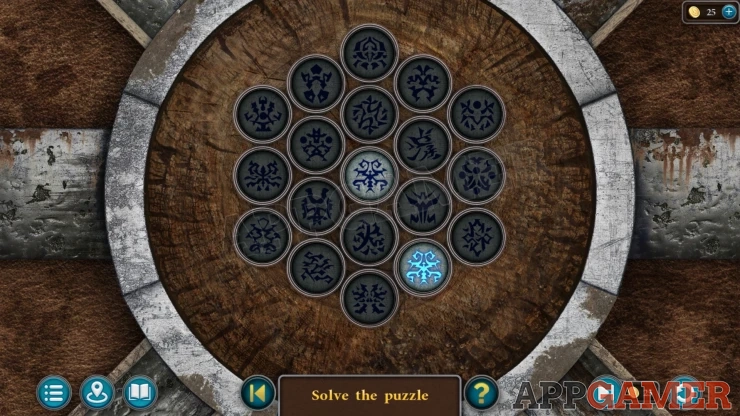
Once done collecrt a Symbol (2 of 2) and a Star.
Go back to the door behind the waterfall. then look in the right of the passage to find a coffin.
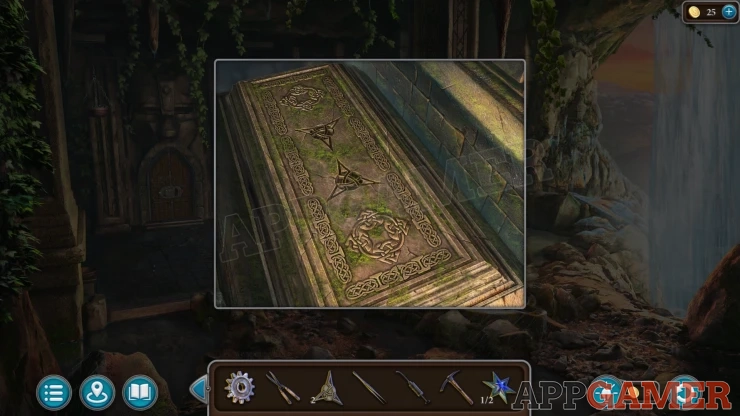
Place the two symbols onto the lid to open it. Then you can collect a Lever from the body inside.
Look on the ground on the right by the waterfall to see an X shaped slot. Place the Lever into the center.
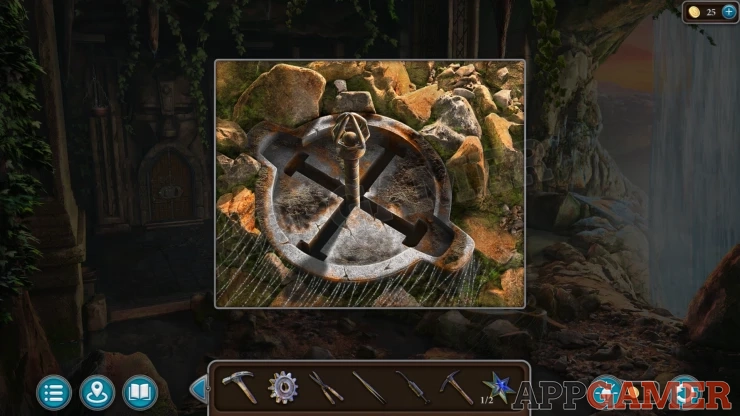
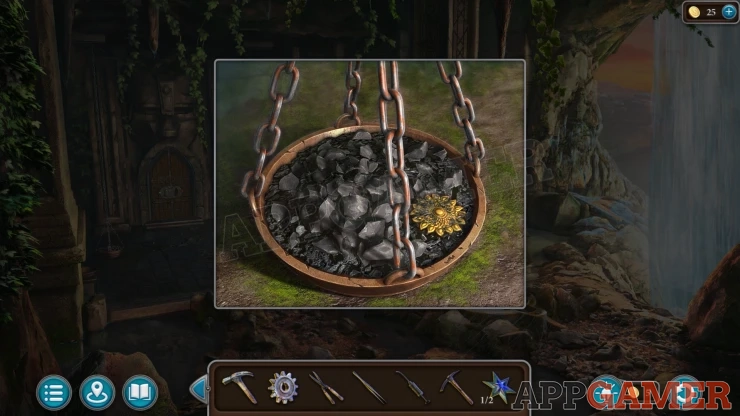
This will make a dish lower on the left of the passageway. Look in the dish and move the coal to find a Flower (3 of 3).
Travel back to the Settlement starting area. At the back on the top left is a doorway in the rocks.
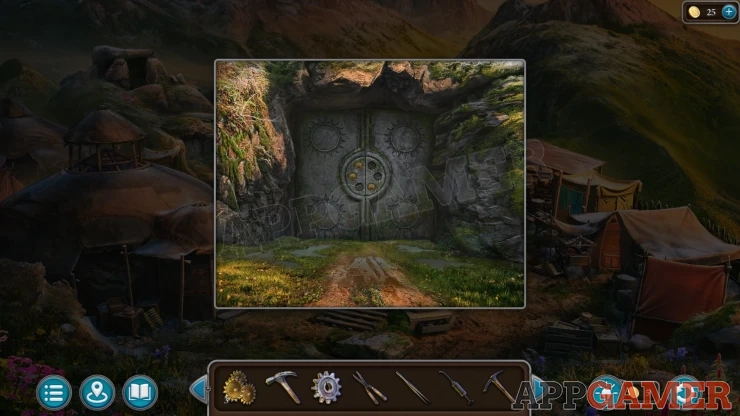
Add the Three flowers here to open the door. Then enter the altar room.
Altar Hidden Object
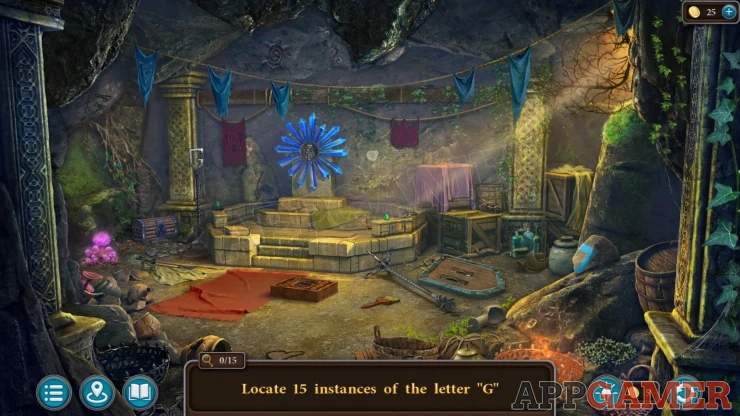
- In this room you need to find 15 items that are shaped like the letter 'G'.
- These maybe items that are a 'G' as well as lines and shapes that form the same shape.
- In many cases you need to move items to find the G or assmeble the G shape.
Once you find them all you can colect a Bas-relief from the center of the blue crystals on the altar.
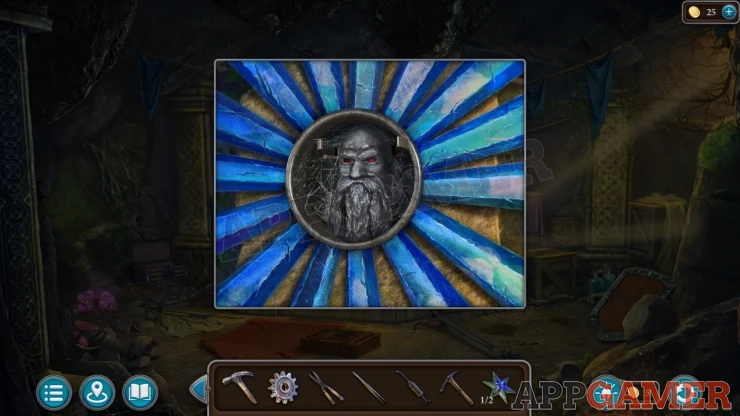
Return to the passageway behind the waterfall and then view the door. Add the Bas-Relief to the front to reveal a puzzle.
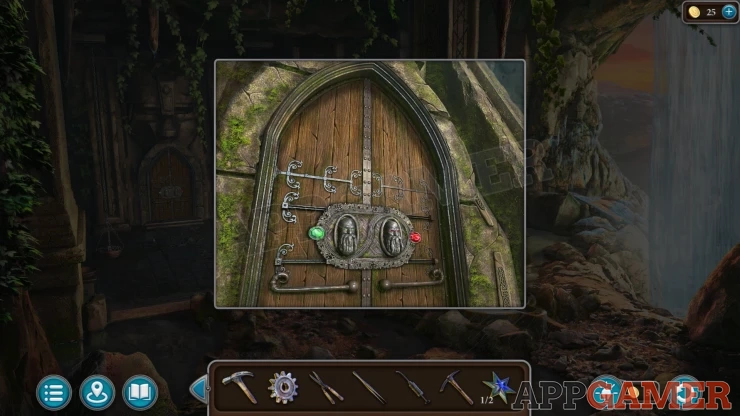
Catacombs Doorway Puzzle
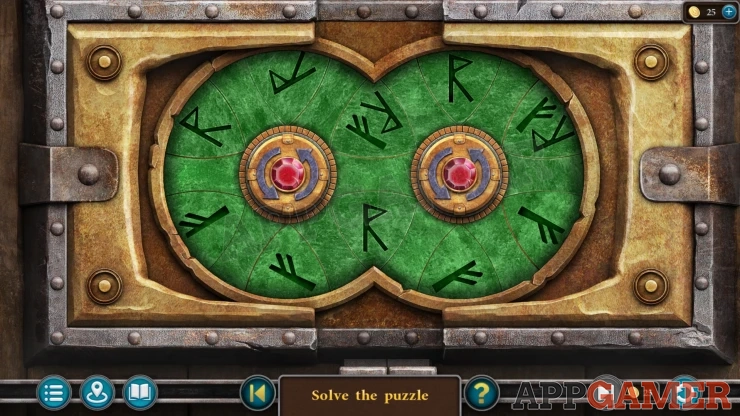
- There are two inter connecting circles with symbol on them.
- There are two types fo symbol with some sections showing both of the symbols.
- Tap the buttons at the cetner of each circle to rotate them.
- Arrange the segments so that each circle has all of the same sybmols on it.
Solution: Show
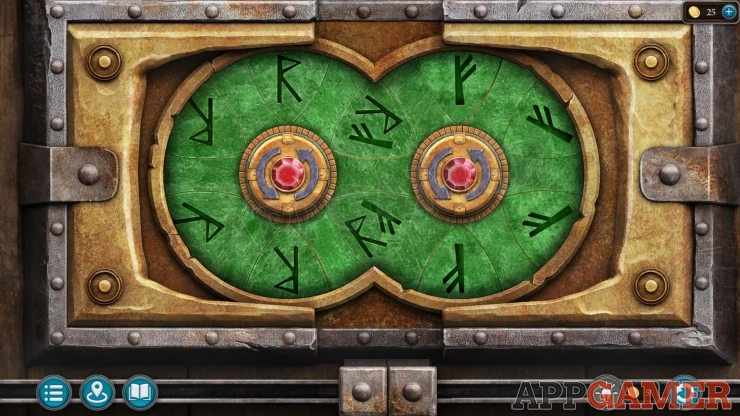
The door opens and you can enter the catacombs.
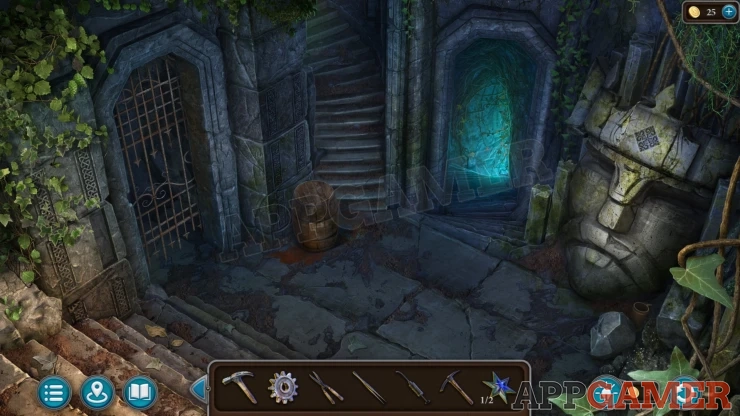
Collection item: Mug on the floor on the right by thr large stone head.
Morphing Object: Leaves on the vines on the top left.
First view the barrel on the left side. Use the hammer on this to open the top.
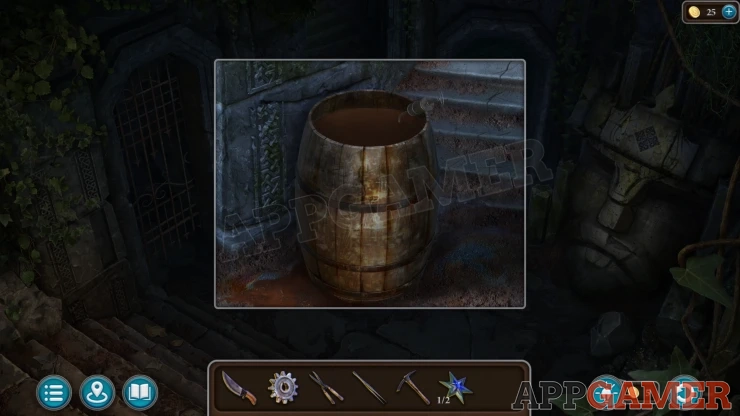
Then use the Empty Oiler on the opened barrel to fill it anc colect the Oiler.
Then view the glowing steps leading down. Collect a Triangle (1 of 3) from the steps.
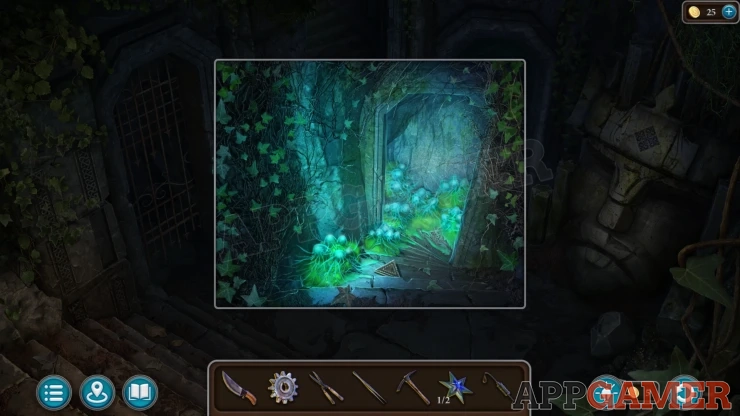
Next tap the dark steps leading up there is an overgrown doorway at the top. Use the Garden shears to cut away the branches.
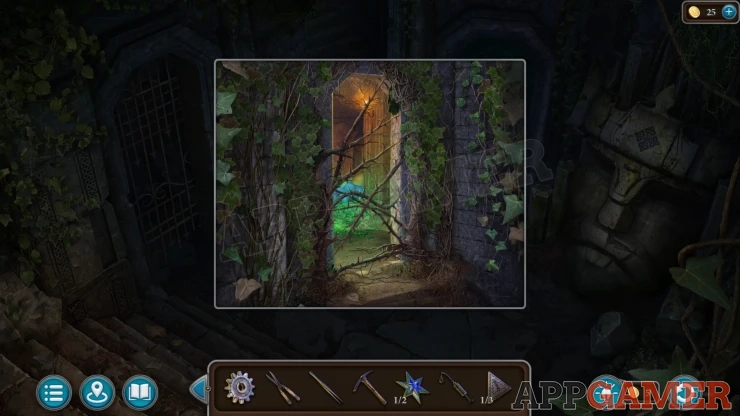
This next room is a puzzle to find the marked items.
Catacombs Puzzle Room
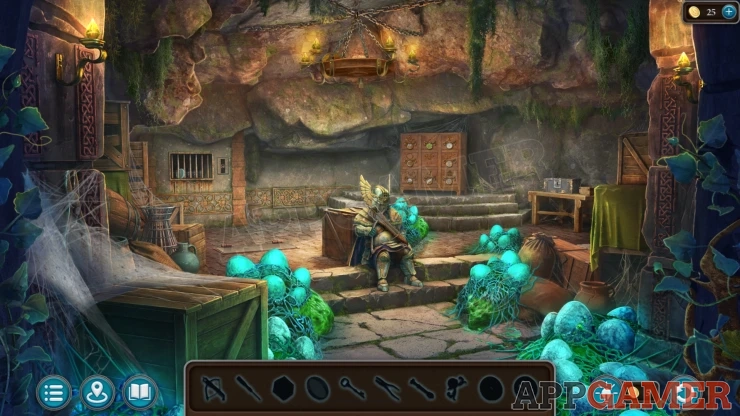
Remove the cobwebs on the far left, then collect some Pliers.
View the bars on the back wall and collect a Lens.
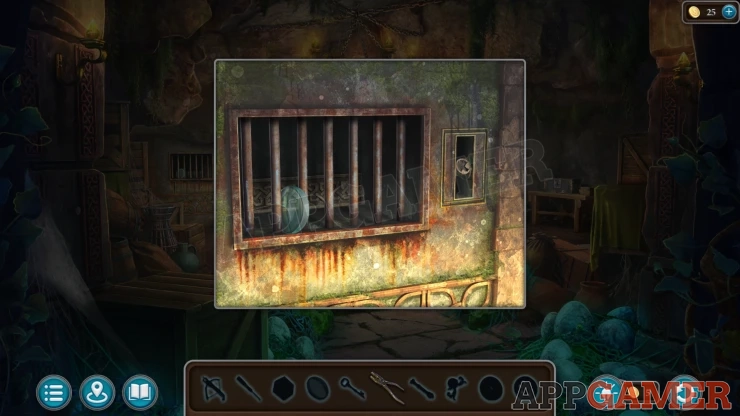
Then view a broken grate in the floor at the back and collect a Lever.
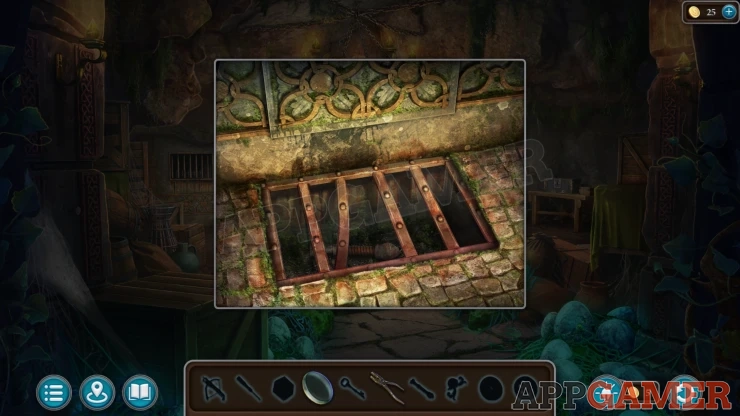
View a locked box on a small table on the right. Collect a Handle from the small open box.
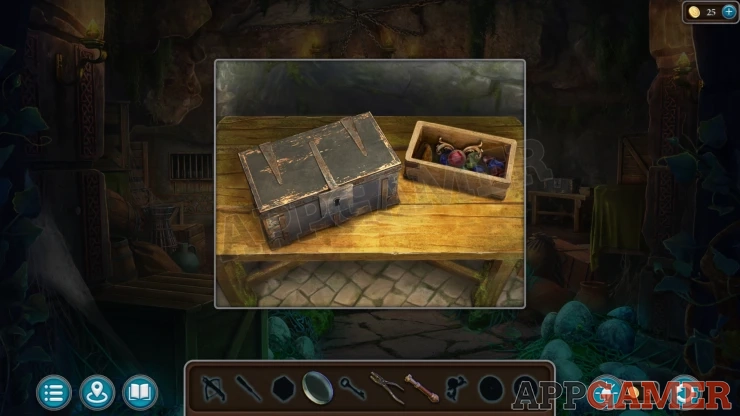
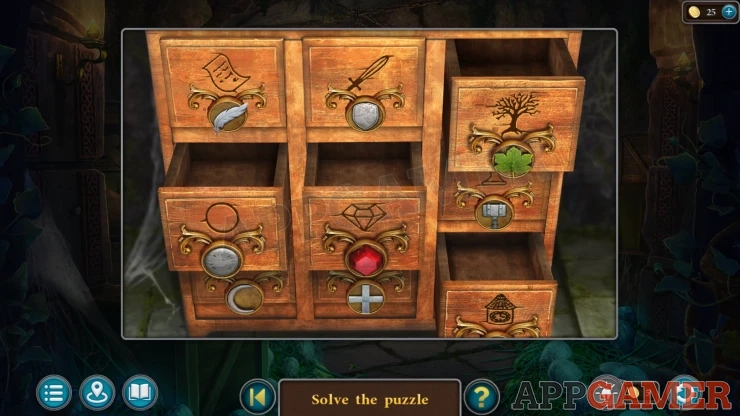
Then view a large set of drawers in the back corner. Add the handle to the center to start a puzzle.
Drawers Puzzle
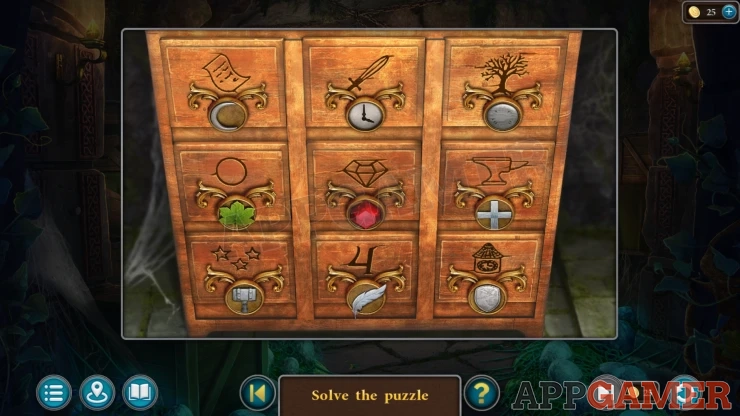
There are nine drawers with symbol on them. Each of the handles also has a symbol.
Swap pairs of handles over to arrange them so that the handle symbol is related to the drawer.
Solution: Show
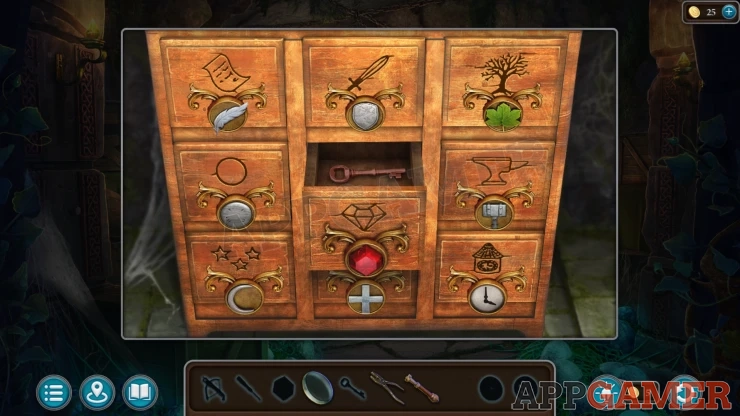
Collect a Key. Then return to the small table.
Use the key on the locked box, then use the pliers to let you turn it.
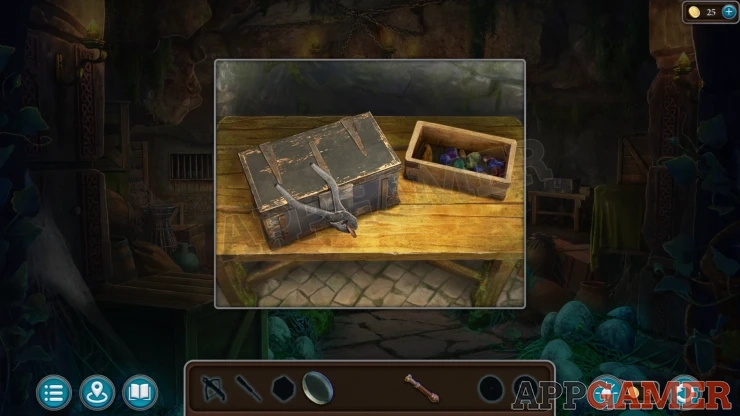
Collect a Screwdriver from the box and then notice the clue on the inside of the open lid.
Place the Lens onto the lid to let you see the clue. It matches the drawers. Notice that four of the blocks are highlighted.
Go back to the drawers and open the four marked drawers from the clue.
A panel will open for you to collect an Emblem.
Show
View the suit of armour in the center of the room. Use the screwdriver on the hand to release the hand, then collect the Crossbow.
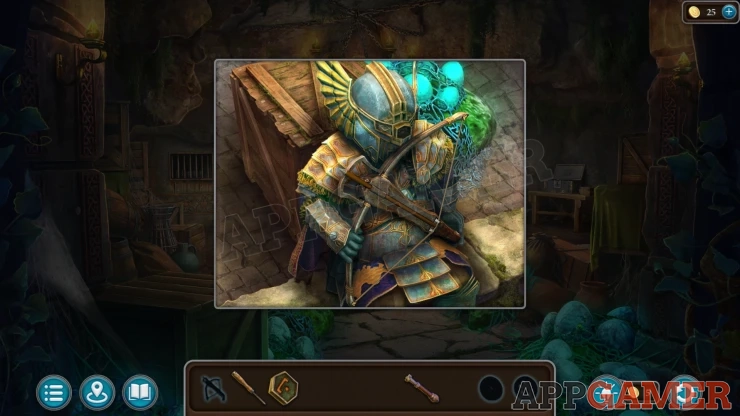
Place the Emblem on to the slot on the helmet. It will open and you can collect a Detail.
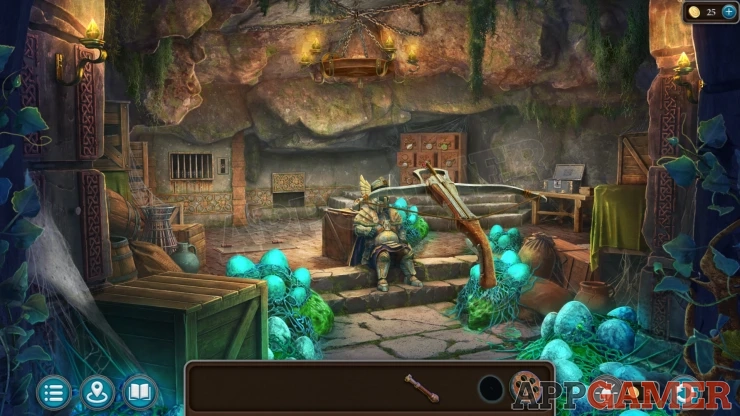
Next use the crossbow on the chandelier to knock down and collect another Detail.
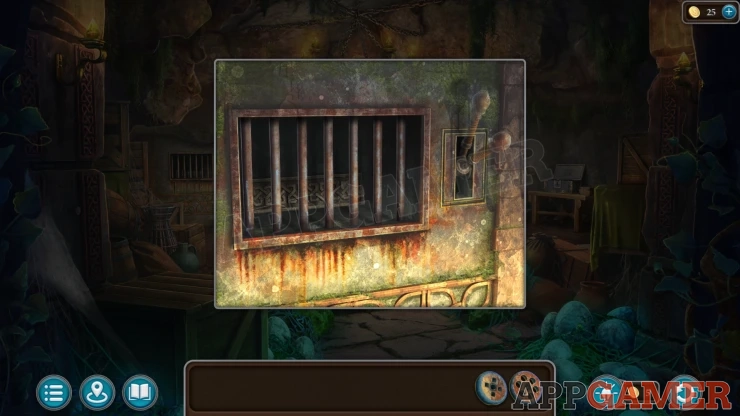
Look again at the bars on the back wall and place the lever onto the slot on the right. Pull this to open a panel in the floor.
Look inside the floor panel and place the two Details into the empty slots.
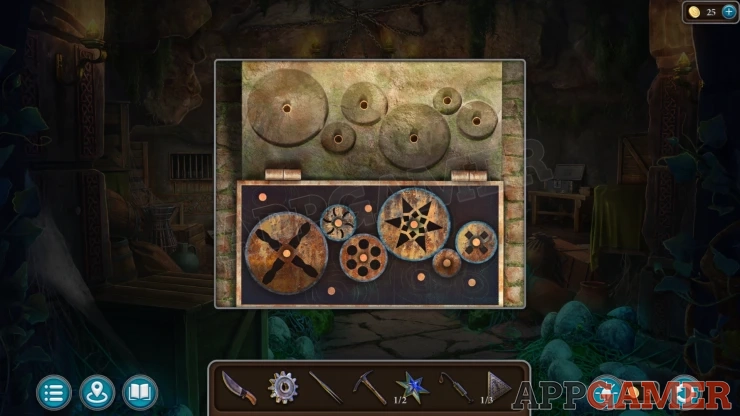
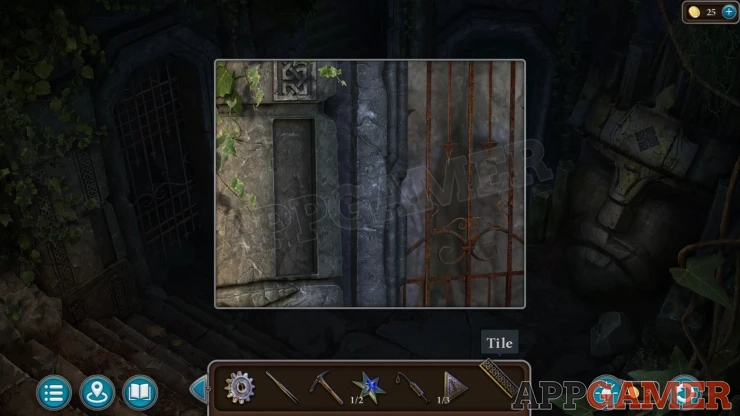
The bars open on the back wall and you can collect a Tile. This completes this room.
Back up and then view the wall to the left of the gate on the left side. Place the Tile here to open the gate.
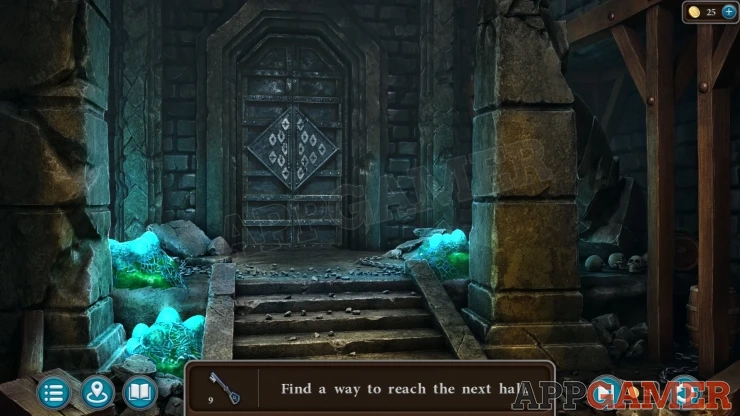
Find a way to reach the next hall
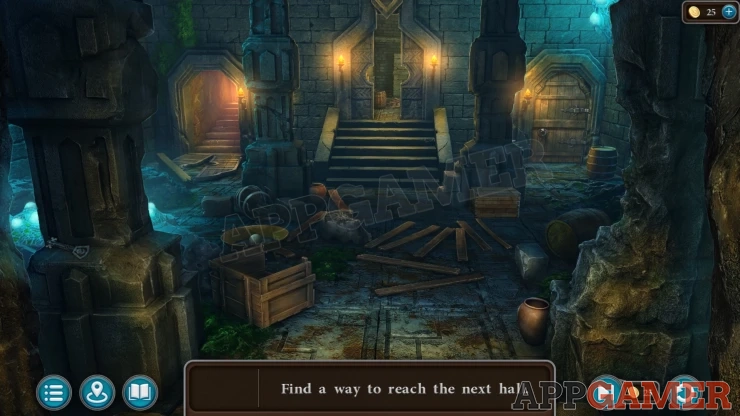
- You now enter a series of room that are a maze puzzle. You need to check through each room to find keys, you need to find nine in total.
- Each room will branch out into more rooms.
- In each room look for boxes to open, or other areas to look in to find the keys or open more parthways to continue searching. The keys may not always be in the same paces in each game.
- You will also find small puzzles to place stones, levers to place and then adjust to the correct positions.
- The first key is found on the stone pillar on the left of the first room.
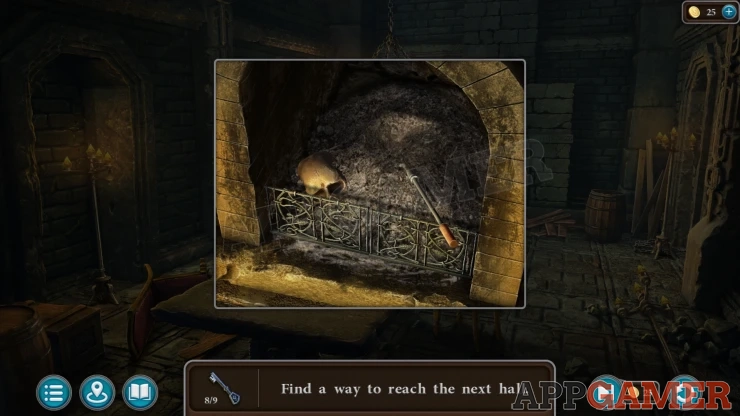
Once you have all nine keys find the room with a large door with many locks. Use the keys here to opewn it and continue on.
You reach a partly flooded hall.
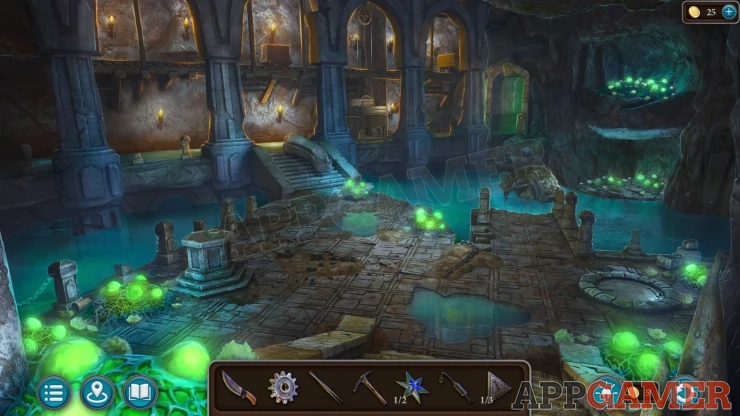
Collection Item: By the glowing eggs on the lower left.
Morphing Object: Small pointed stone pillar by the water on the right.
On the right of the steps is a mechanism with gears. View this. Collect a Pattern from the bottom.
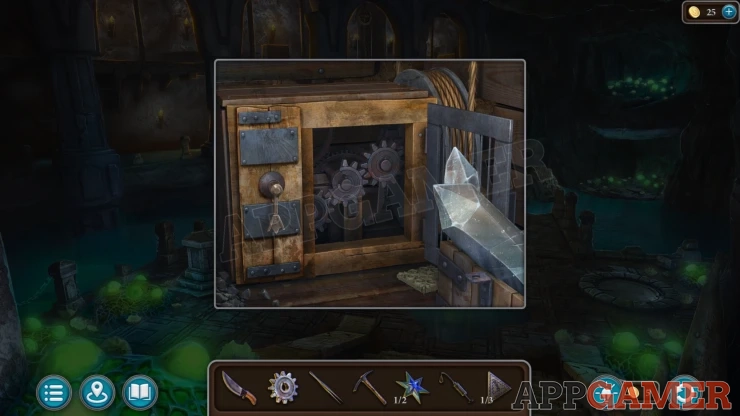
Remove the broken gear and place the one that you have. Then use the Oiler on this.
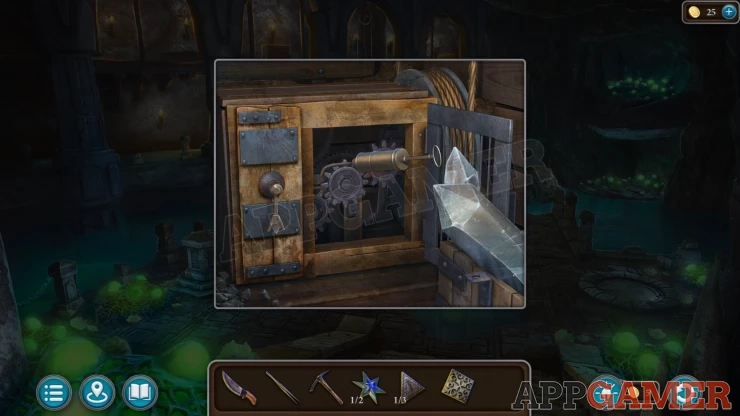
When the door closes tap the level on the left to activate it and raise a platform.
Now you can access the top level, in the center of the top walkway is a covered cart, view this.
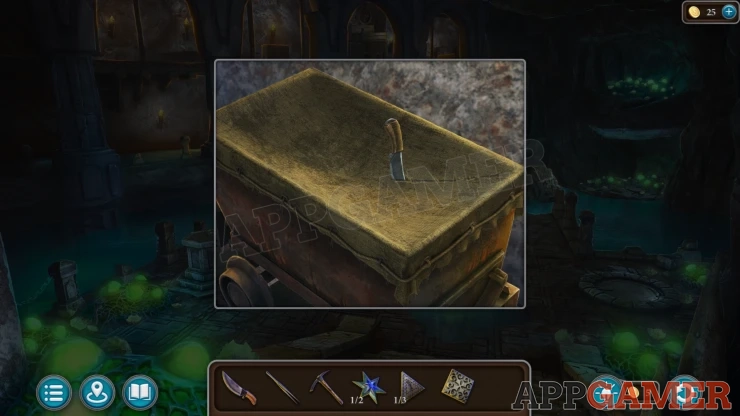
Use the knife on this to cut it open and then you can collect a Key, some Pincers and a Sphere (1 of 6).
Backup to the entrace room of the catacombs with the many steps. On the right is a large face in the rock, view this.
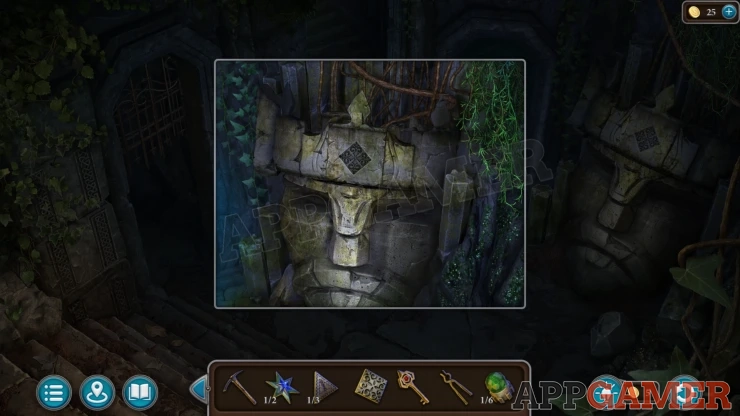
Place the pattern on the top of the face to activate a puzzle.
Stone pattern puzzle
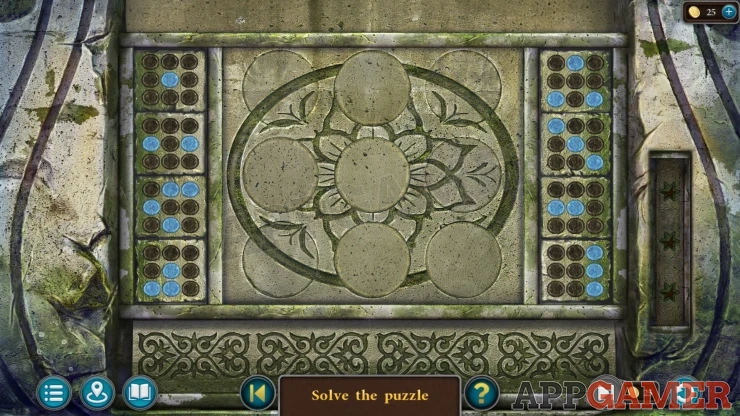
- In the center is a stone pattern with nine circles that can be flipped over to hide or reveal parts of the pattern.
- On the left and right are eight buttons that you can press. each one will tun over the circles marked in blue on the button.
- Use the buttons to show the complete pattern.
- Once you complete this once there are two more patterns to solve in the same way.
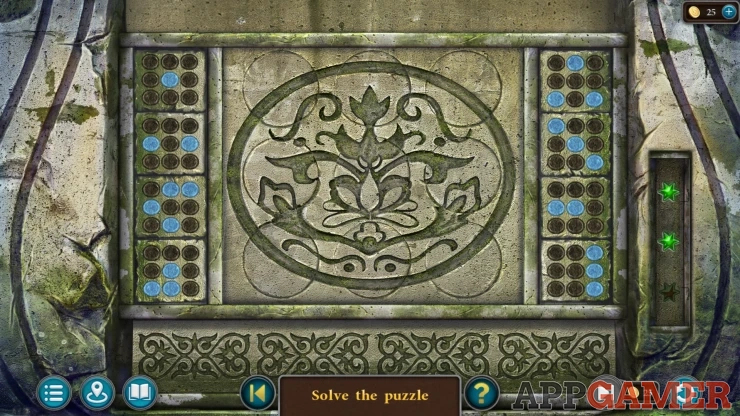
Once done you can collect a Sphere (2 of 6), and a second Star (2 of 2).
Go back to the flooded hall in the catacombs. Look in the water on the right to see a half sunken statue.
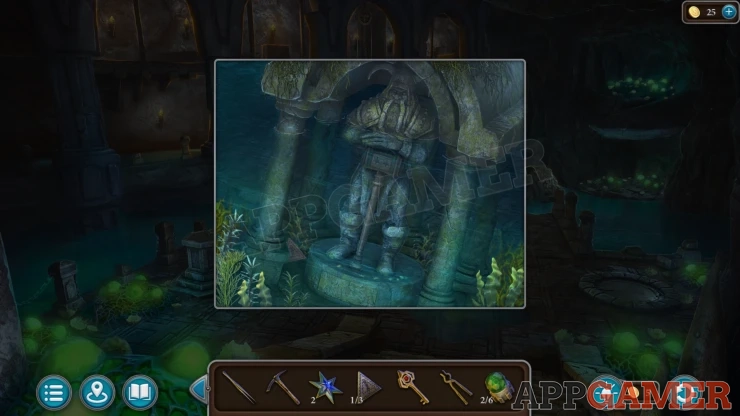
Collect a Triangle (2 of 3) from the lower left.
Tap to view the hammer on the statue and then you can place the Stars to find another puzzle.
Yellow Gems Puzzle
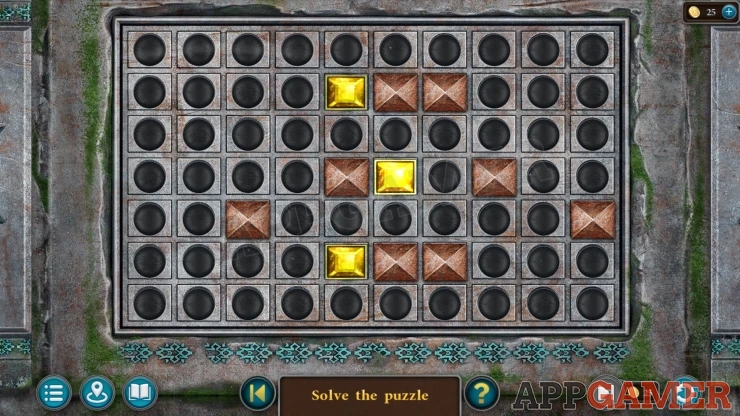
- There are three yellow gems on the board that you can select and move using the arrows that appear.
- These will move in the chosen direction until they meet an obstacle. Filling in the circles as they pass over them.
- You need to use the gems to fill the board.
- The layout can be different for each game
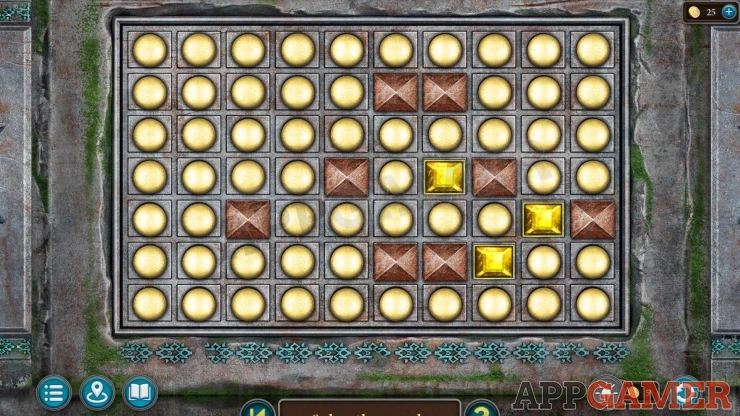
Manuscript: The Gmuri
Once done you will find a Manuscript and can collect a Stone Symbol (Blue) and a Sphere (3 of 6)
Next go through the glowing doorway on the back right. You reach another room with a large glowing orb in the center.
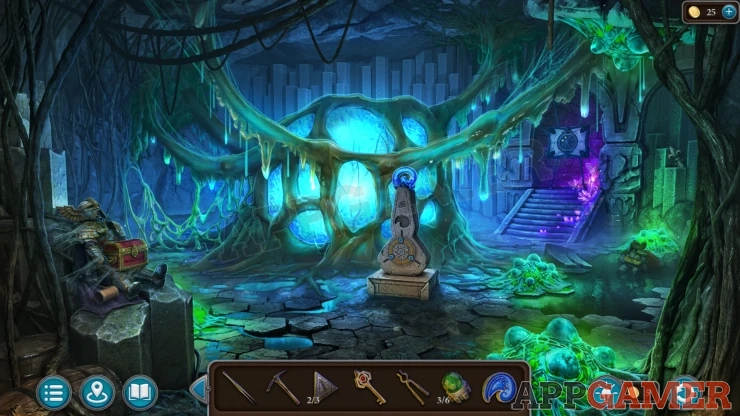
Collection Item: Mug on the stones on the lower left.
Morphing Object: Pointed detail on the stone columns on the far right.
On some stones on the left is a red box. view this. Then use the Key to open it and collect a Corkscrew and an Eye (1 of 2).
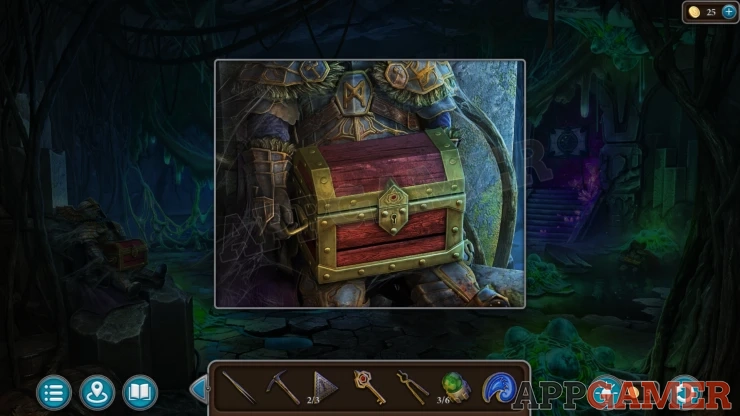
Then view the stone monument with the blue crystal on top.

Place the Stone symbol here to activazte another puzzle.
Blue Stone Symbol Puzzle

- On the bottom left is a laser. Tap the blue symbols to connect the laser light through them, these need to be in a straight line.
- You must connect all of the symbols and then make the laser light reach the exit on the top right.
- The layout of the symbols can be different in each game
Solution: Show
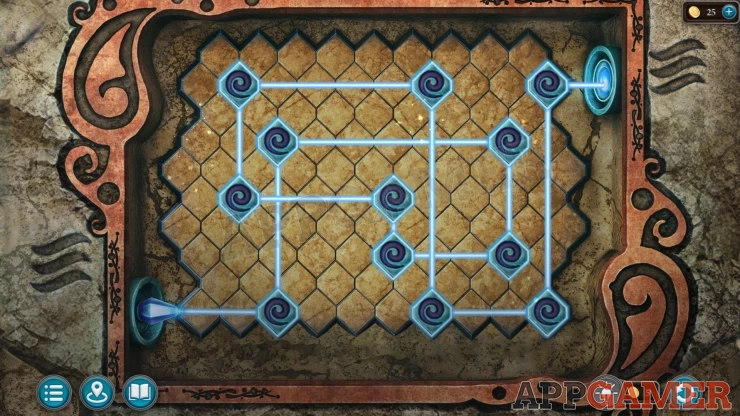
Collect a Wrench and another Eye (2 of 2).
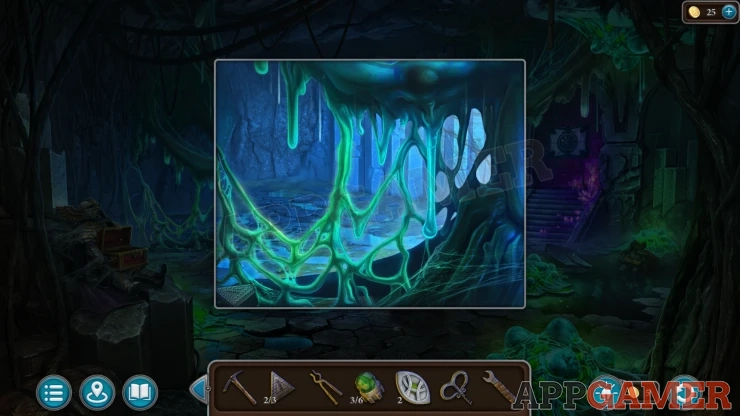
Now view the green strands of slime on the left side of the large blue orb. Collect another Triangle (3 of 3) from the floor on the bottom left.
Back up to the flooded hall and then view a round cover in the floor on the right. Use the Wrench here to open the cover. Collect a Signet Ring.
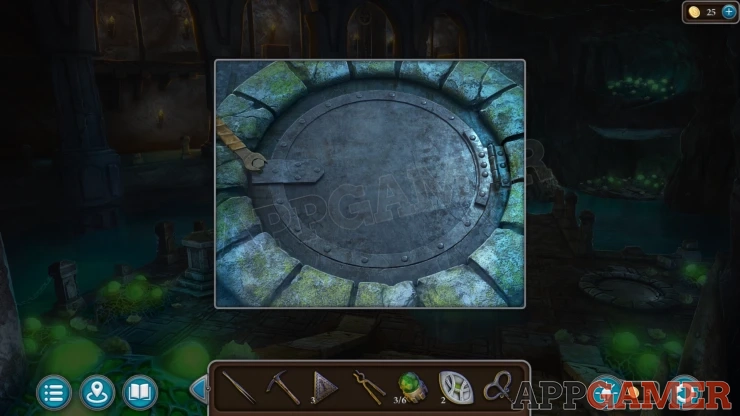
Now view a stone pedestal on the left, there is a Book on top.
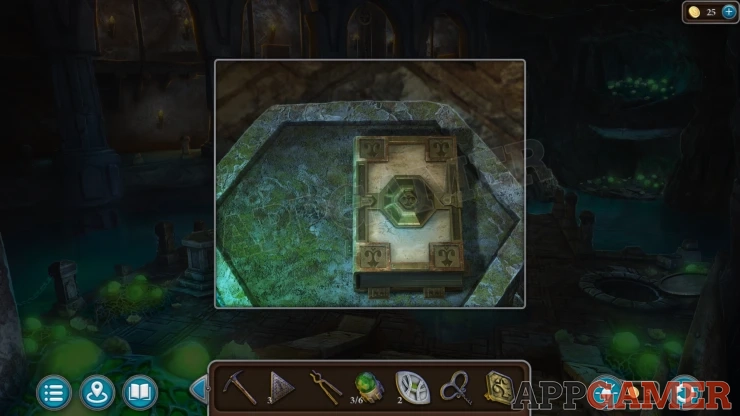
Use the Signet ring on the book to open it. Collect a Rune (1 of 4) and another Sphere (4 of 6)
Now return to the area with the large skull in the Magical Forest. On the hill above the skull is a stone chest.
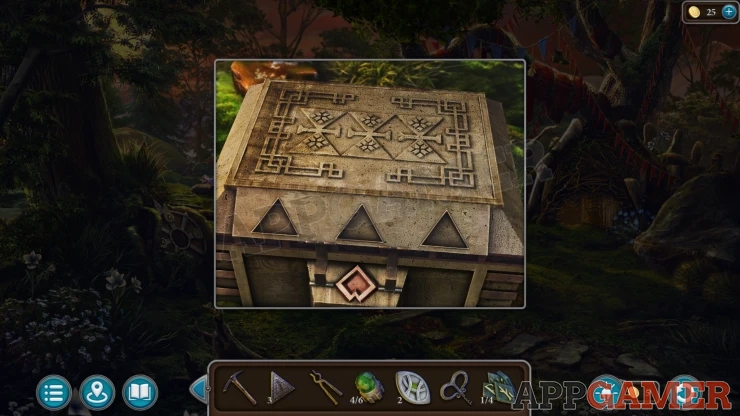
Add the Three Triangles to this to open it. Collect a Sphere (5 of 6).
Then enter the nook below the tree again. View glass bottle. on the table on the right.
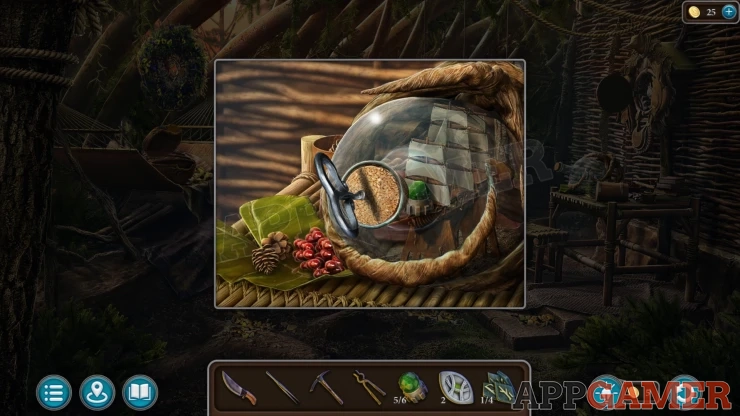
Use the corkscrew to open the bottle, then use the Tweezers to collect from inside another Sphere (6 of 6).
Return to the room in the catacombs with the large blue orb. On the right is a panel suspended between chains. View this.
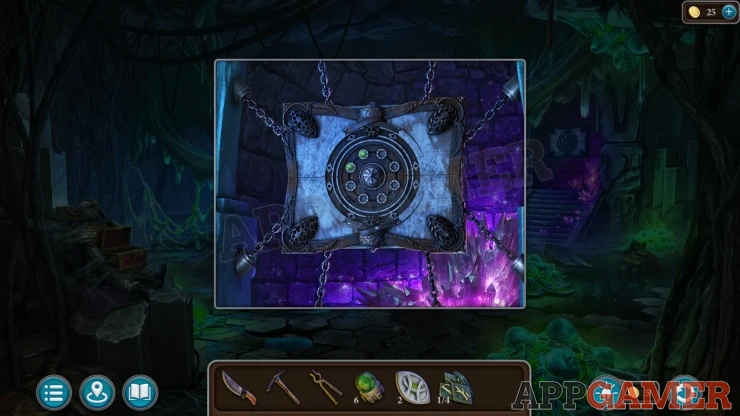
Add the 6 spheres to it to start a puzzle.
Hearts and Swords Puzzle
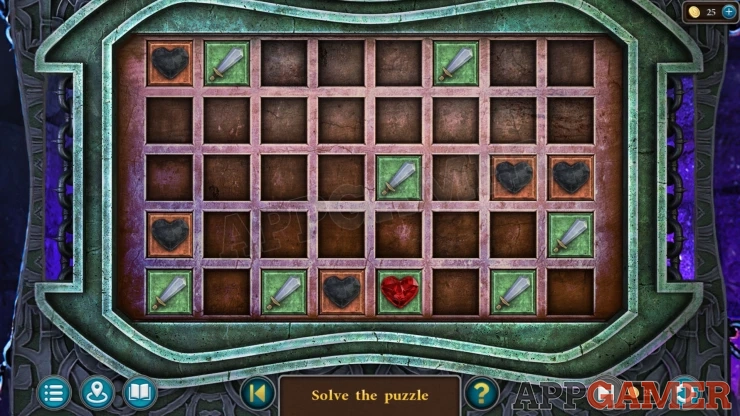
- The board has six fixed Sword blocks and six Heart Blocks that you can move.
- Select a heart and then pick a direction to slide it in. It will move until blocked.
- The hearts need to be moved to positins on the board so that they are not adjacent to any Sword blocks.
- Using the sword blocks and the other heart blocks find the correct positions for all six hearts.
- The layout of the blocks can vary for each game
Solution: The layout of the blocks can vary for each gameShow
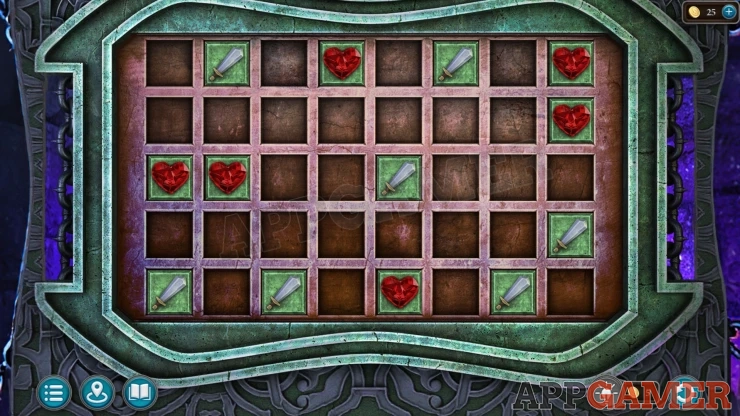
Once done a secret doorway opens. View the strands of slime on the left again and use the knife to start cutting them away. You are attacked by one of the monsters.
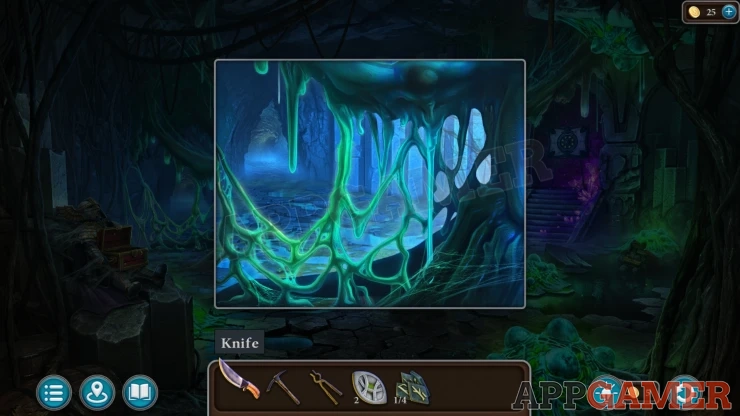
After the cutscene you end up in a cave.
Task - Get out of the Trap
You area in a large cave with a chasm and a broken bridge.
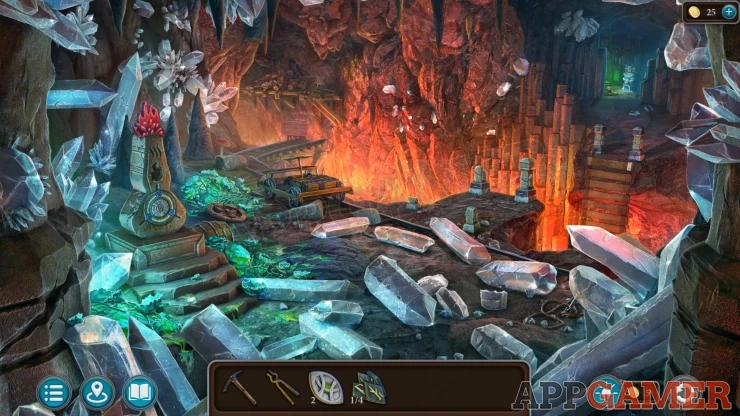
Collection Item: Mushroom by the edge of the chasm on the left.
Morphing Object: Small mine cart in the distance near the top center.
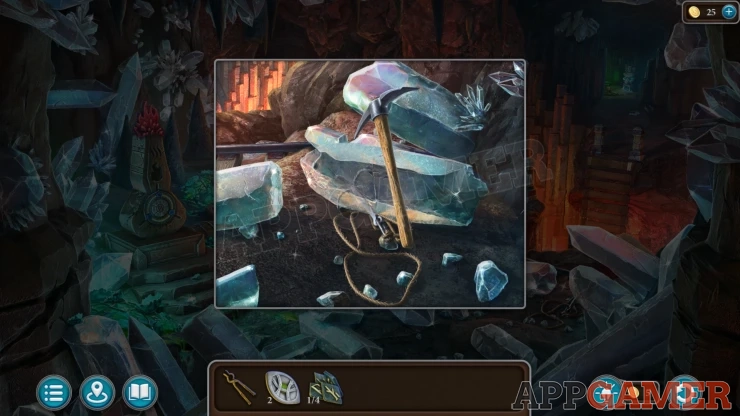
View some crystals on the floor on the right. Use the Pickaxe on them to release a Grappling Hook to collect.
Then view the fallen bridge over the Chasm. Use the Grappling hook here to grab and repair the bridge.
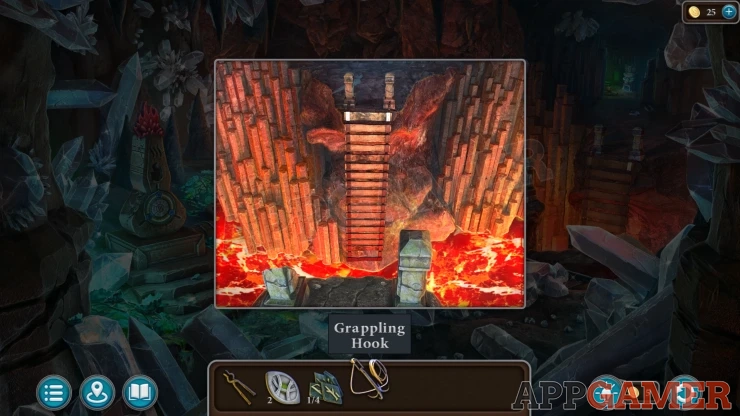
Move over the birdge to the next chamber, the Artifact is here.
Task - Take the Artifact
Collection Item: Mug on the floor next to the large head on the right.
Morphing Object: small round object on the stones on the bottom right.
View the large stone head on the left, add the two Eyes to it. Then tou can collect a Stone Symbol (Red).
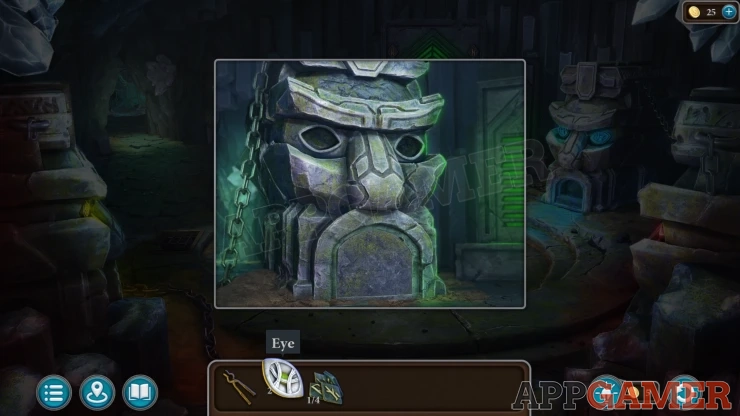
Then view a crack on the floor below the stone head on the right. Use the Pincers here to collect a Rune (2 of 4).
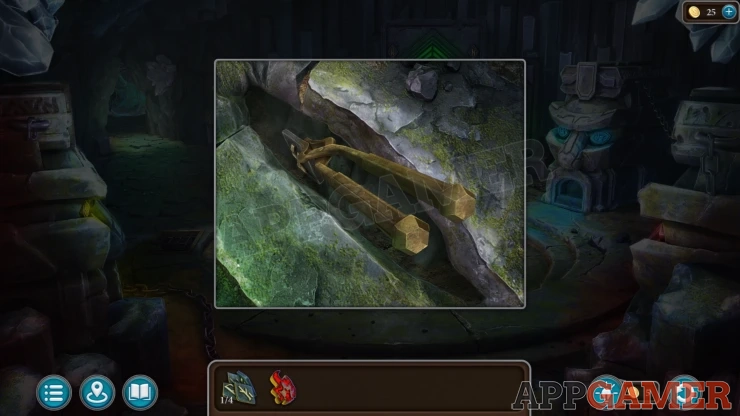
View a grate on the floor to the left of the artifact. Collect a Ram from the floor.
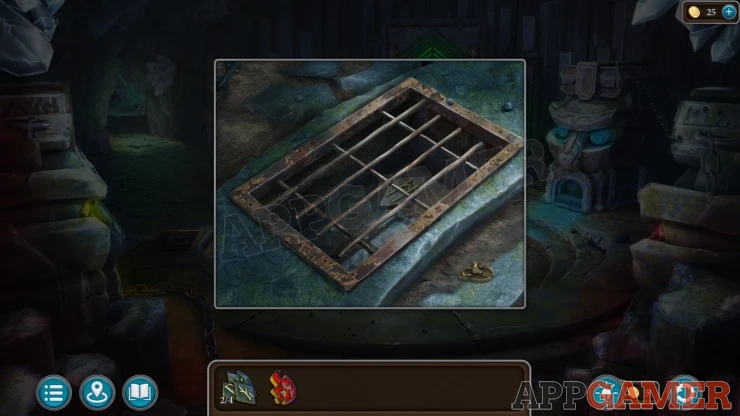
Go through the doorway on the left to get back to the room with the blue orb.
Look on the right by some glowing eggs to see another locked box. Use the Ram emblem to open this, then collect a Cross.
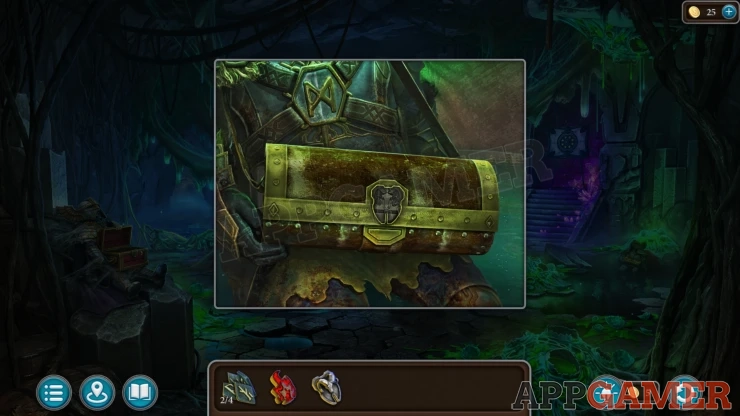
Return to the room with the chasm and the bridge. On the left of the bridge is a cart with a wooden chest.
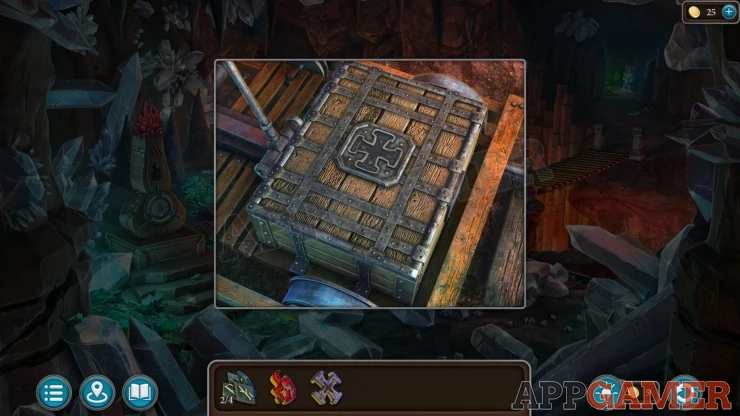
Use the Cross to open this and collect a Hacksaw.
Then view the Stone monument on the left with the red crystal.
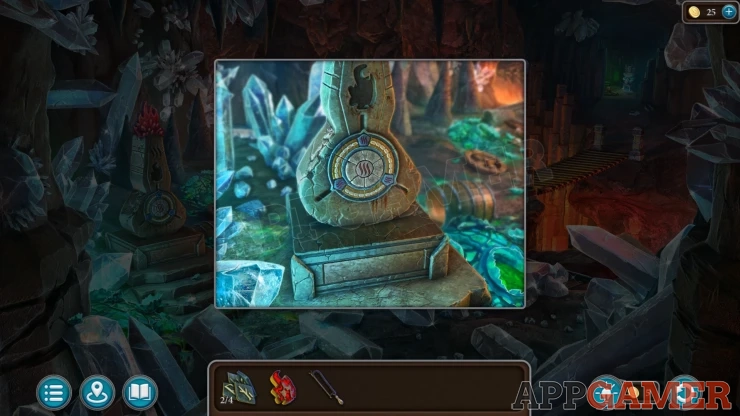
Add the Stone symbol to find another puzzle.
Red Stone Symbol Puzzle
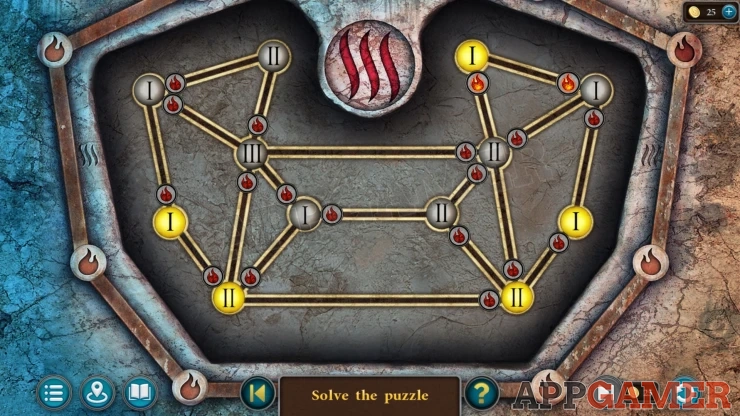
- There are 12 yellow circles connected by lines. Each circle has a number from 1 to 3 on it.
- There are small red flames on the lines. Tap a circle to move the flames on any connect lines towards or away from the circle.
- Arrange the flames so that the number of them touching each circle is the same as the number on the circle.
Solution: Show
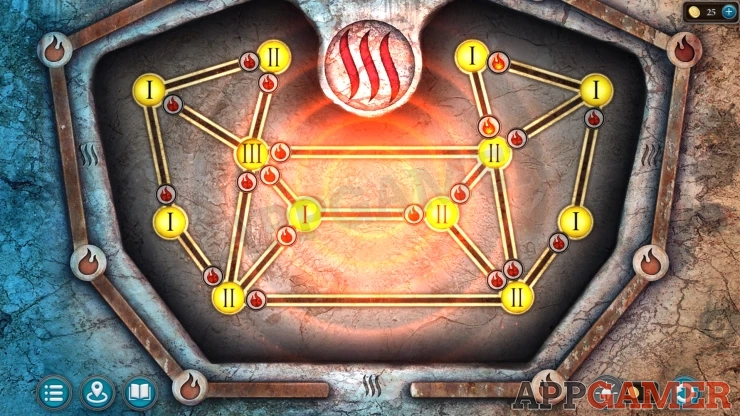
Once done collect another Rune (3 of 4).
Go to the Artifact room and view the grate on the floor again. Use the Hacksaw here to cut it open and then collect the final Rune (4 of 4).
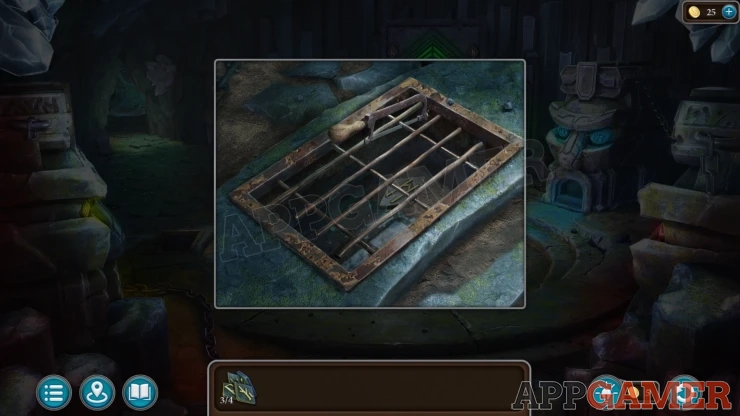
View the large arch to the right of the artifact and place the four runes here.
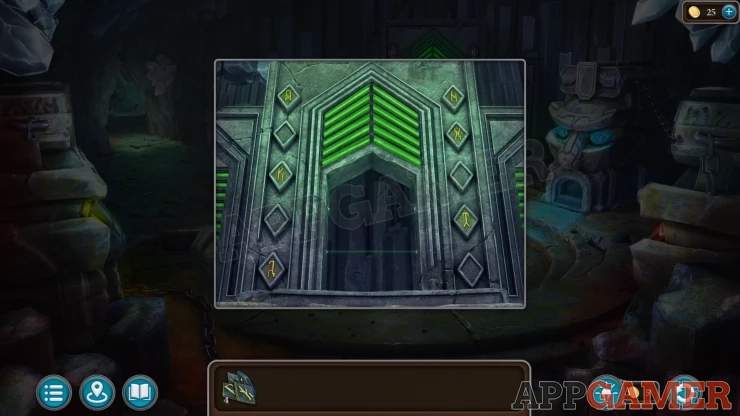
Runes Puzzle
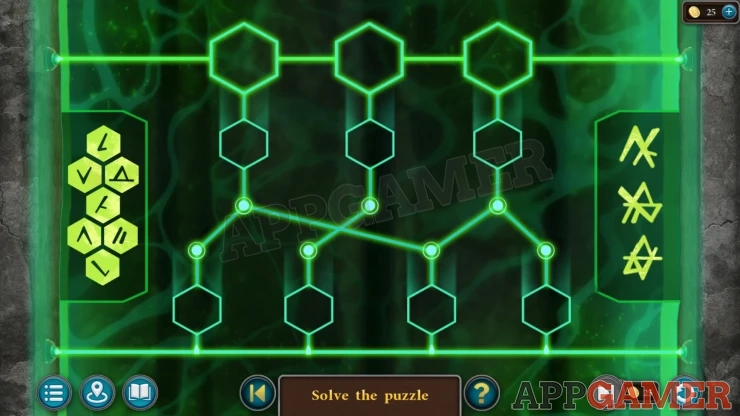
- On the left are seven line shapes and in the center are seven slots linked together with lines.
- Above this are three large areas where rune symbols will be generated.
- Place the line shapes into the slots so that the ones connected by lines will add up to make a single rune symbol at the top.
- Once all sever an placed in the correct slots you will see the matching three runes that are shown on the right.
Solution: Show
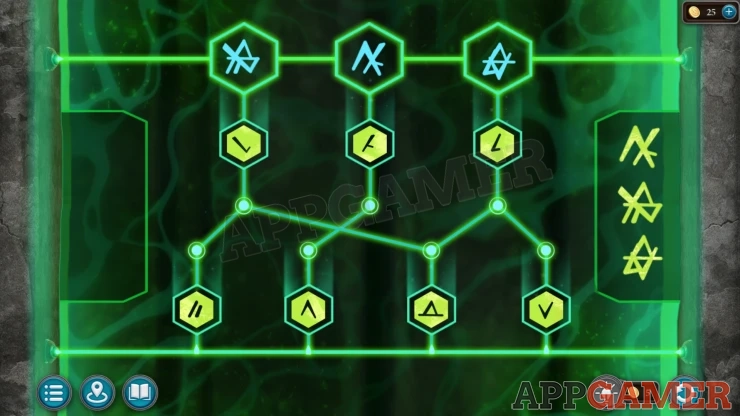
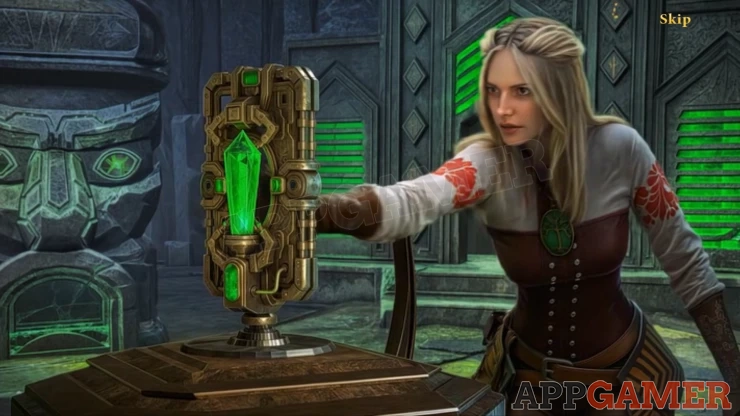
Now you can collect the Artifact and watch the final cutscene of Chapter 1.
We have questions and answers related to this topic which may also help you: Show all
| Chapter 1 Walkthrough - Secret of the Island | Back to Top | Chapter 2 Walkthrough - Ancients Technologies |
 With 20 years of experience in creating video game content for the internet and over 30 years as a gamer, Mark is now a passionate mobile App Gamer. Loving a challenge, he is always ready to get stuck in to both survival builders and puzzle solving games. He has been providing content for AppGamer since 2014.