The Ghost Case Part 2
More Ghost Case
This is Part 2 of our guide to Ghost Case, another creative escape room mystery story game from Dark Dome. In part 1 we begin our investigation at the Murder house and have just solved the clock puzzle and collected a Red Key.
Back out of the room with the clock and enter the door on the left. View the cabinet door on the right below the fish tank.
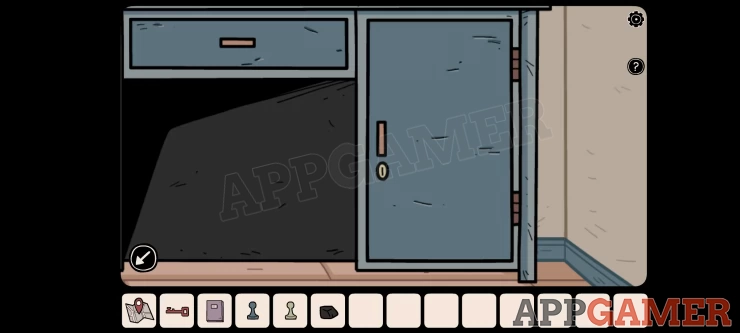
Use the Red key to open this and collect a Purple Token and Fish Food.
Now view the fish tank above.
Use the fish food on the tank. You can then view the tank again to see that the fish have changed.
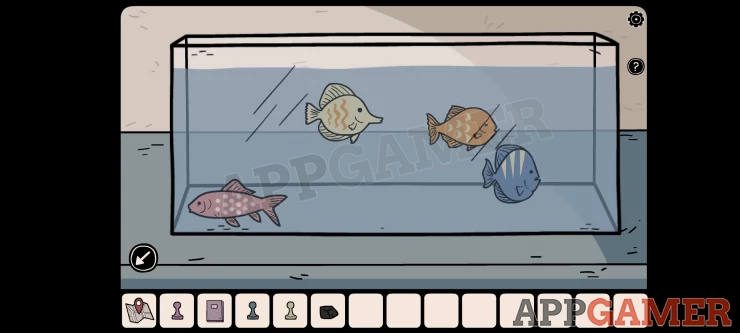
Check the fish to see that each one has a pattern on it. These can vary for you.
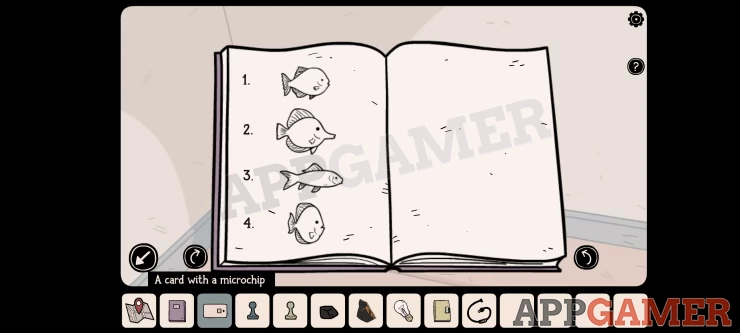
You should now check in the purple book that you collected to see the order of 4 shapes of fish.
Exit the room and turn left to see the mirror and lamp. Tap to view a box on the table by the lamp.
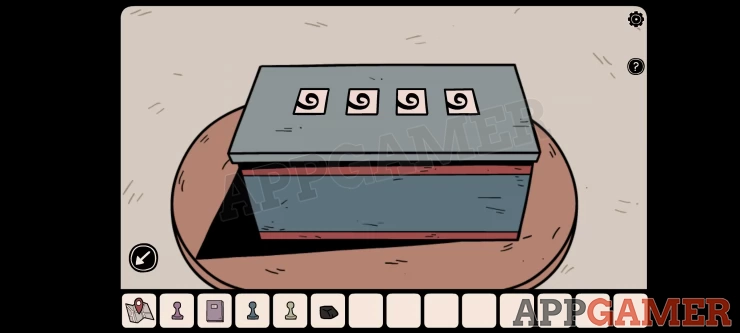
Hint: the combination is 4 patterns.
Solution: this will vary for you, but match the 4 fish drawn in the book to the 4 in the tank and get the order of patterns to use.Show
Collect a Red Token
Turn left again and find a low blue table on the left. View this.
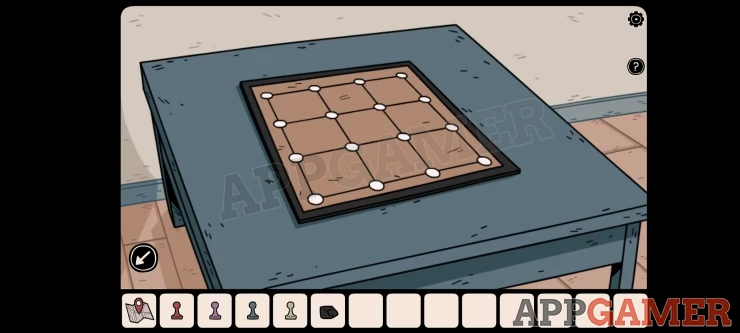
Add the 4 tokens to the table, another ghostly figure will now arrange them on the board for you and leave a 'round tile' for you to collect. Remember the position of the tokens in your game.
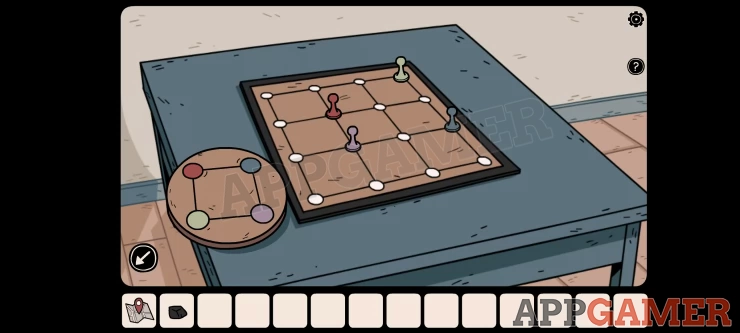
Now view the top of the tall cabinet on the right of the room.
Add the round tile to it to start a puzzle.
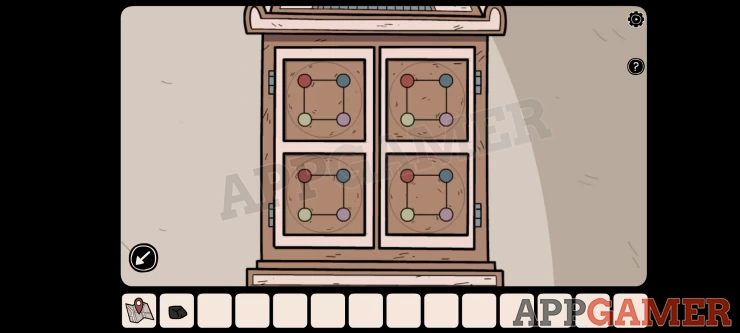
Solution: the positions of the tokens on the board will vary for you. You need to rotate the 4 tiles on the cabinet to place the correct colored color to match the positions on the board. Image the board as actually 4 squares.Show
Once done the doors open and you can collect some 'projector slides' and a letter.
There was a projector back in the office at the police station, to get there tap to open the map in the inventor and select the Police Station.
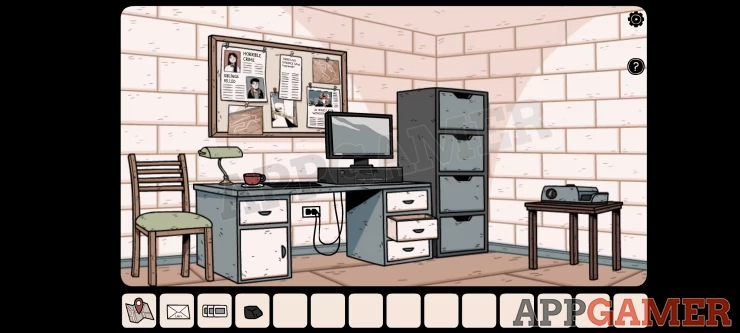
View the Projector on the right and add the slides to it.
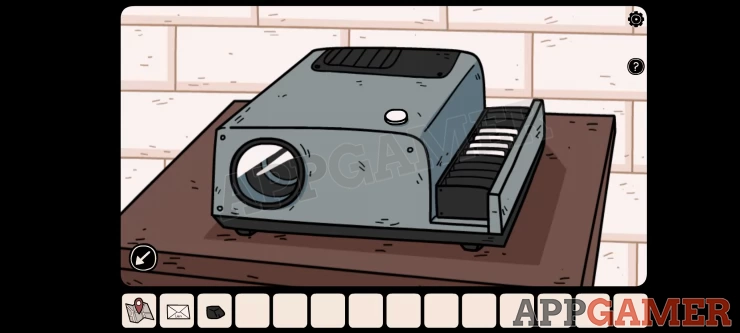
Tap the button on top and you can view the 4 slides.
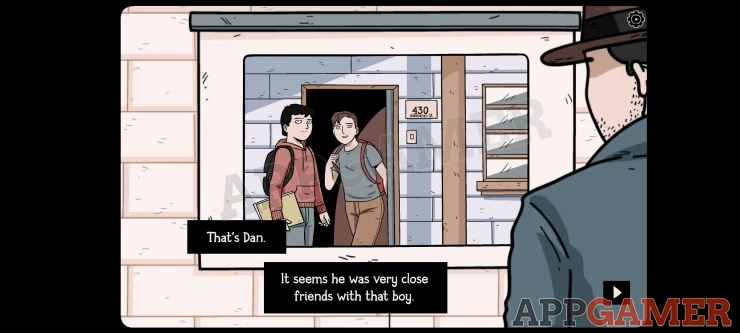
This will give you a clue to another line of investigation. The address of a friend of the murdered boy.
Lian's House
Collectible: Before moving on look through the rest of the slides and keep going until you discover another Owl.
Open your map again and move to Lian's House.
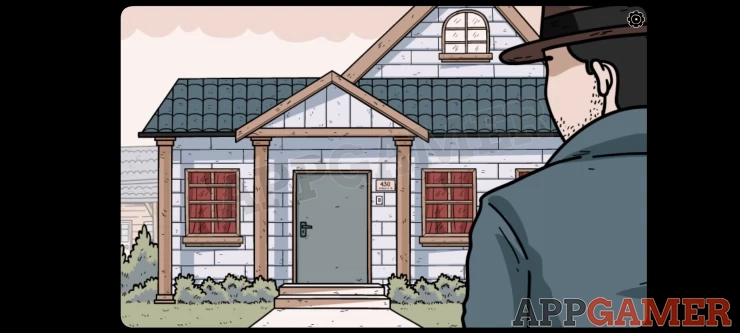
View the door and ring the bell to find Lian.
When he won't talk to you, back up and tap to view the bottom of the door. THen place the letter to slide it under.
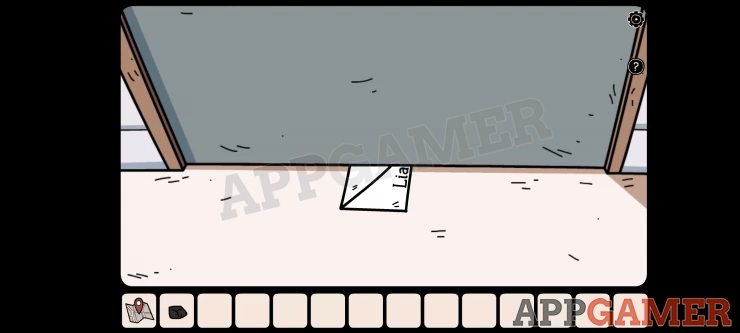
You can then go in.
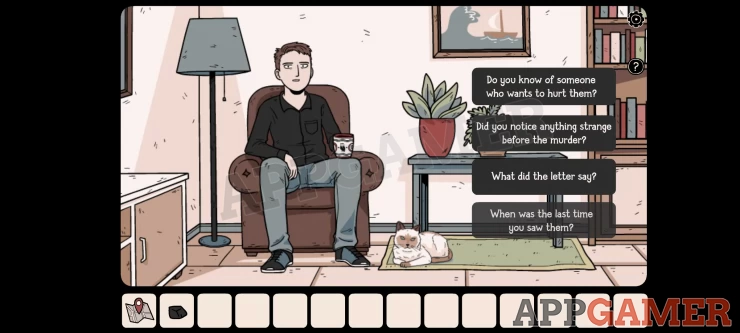
Collectible: Tap on the cup that Lian is holding. Another Owl.
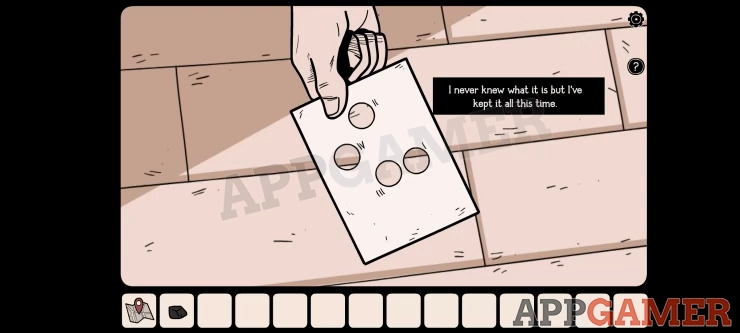
You can then go through each of the 4 questions to learn more details of the murders. On the last question Lian will give you a card with holes to collect.
Once you have this you can open the map and return to the Murder House.
Turn to the left to find the Red locked door that is next to the open chest.
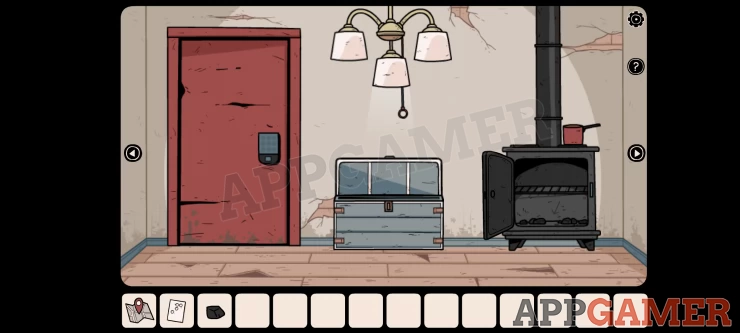
View the door lock and then use the card with holes on this to get a clue.
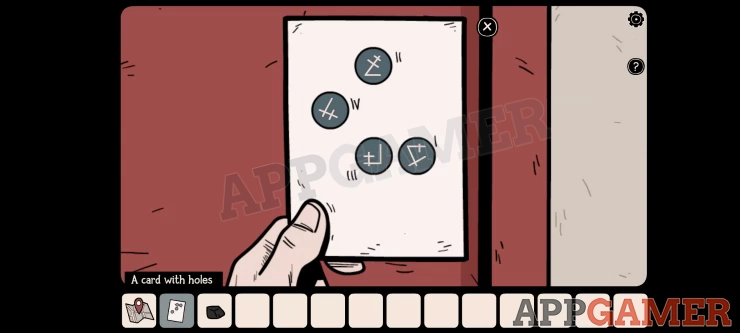
Hint: Note the Roman numerals on the card
Solution: remove the card then tap the buttons in the order of the numerals. 1 to 4Show
Tap OK and the door will open. Go in
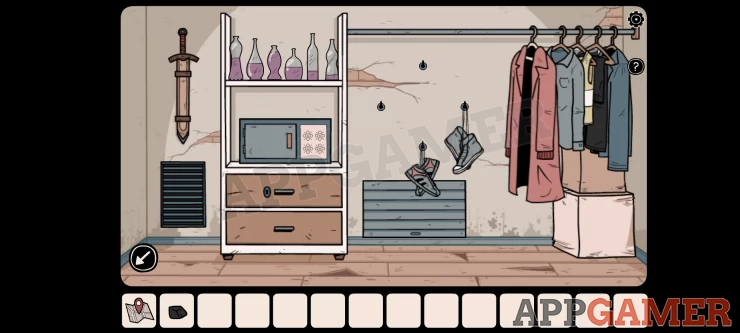
First tap on the 2 drawers and open the lower one to collect some pliers.

Now tap the clothes hanging on the rail to move each of them to the left.
There is a poster of a pirate that you can view.
And also a cardboard box to view and open, collect the paper from inside.
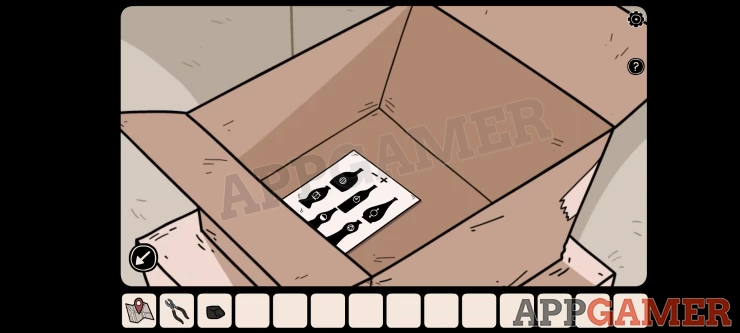
The paper is a clue for the bottles on the top shelf.
View the bottles
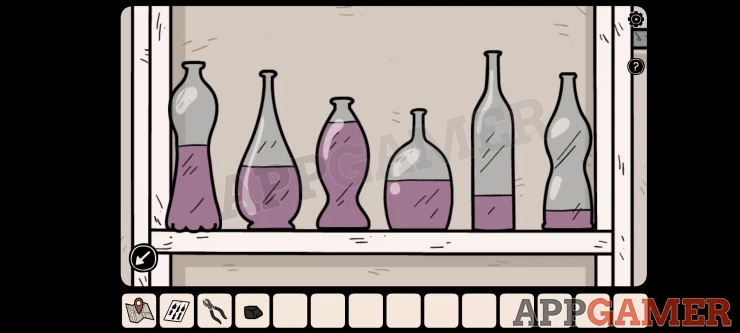
Hint: the paper has - + at the top.
Solution: arrange the bottles from the least full to the most full.Show
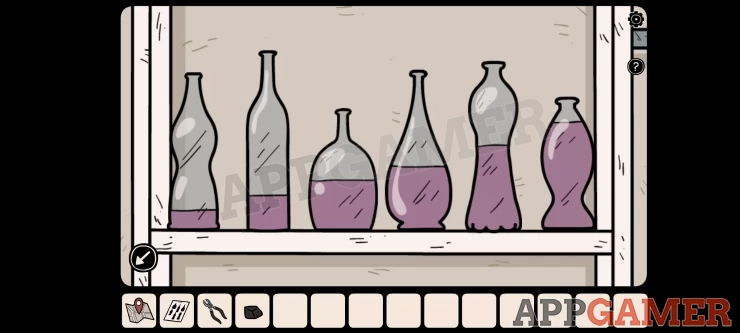
You will now see a case appear from the wall panel. View this.
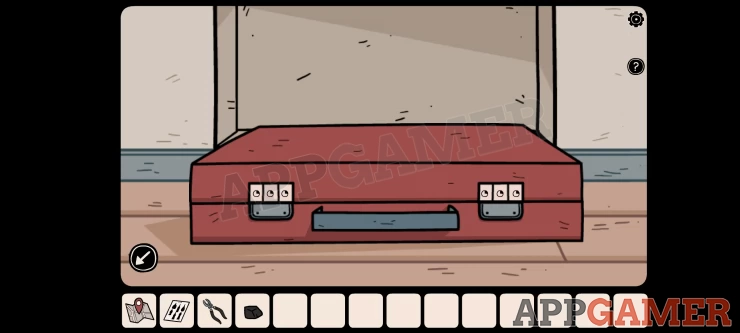
The lock requires 6 symbols.
Hint: the paper assigns symbols to each of the 6 bottles.
Solution: get the symbols from the paper and the order from the new positions on the shelf. This will vary for you.Show
Once done the case will open and you can collect a wire.
Select this in your inventory, then tap on the pliers and you will now have a Bent wire.
Next view the vent grill on the lower left of the wall. You will see a key inside.
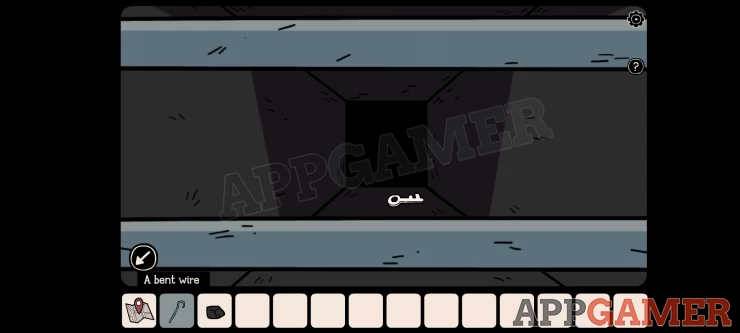
Use the bent wire and you can collect it.
Now you can view the 2 drawers again and use the key to open the top one.
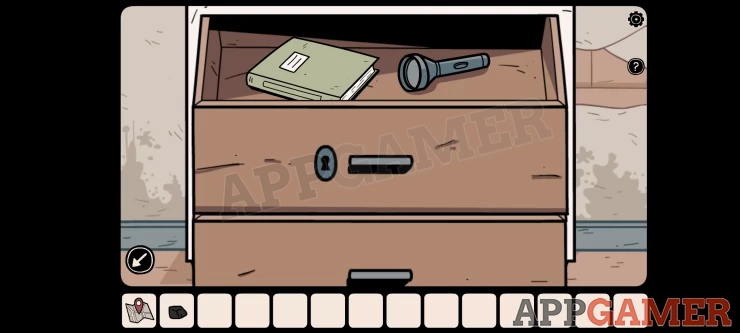
Collect a Book and a Flashlight
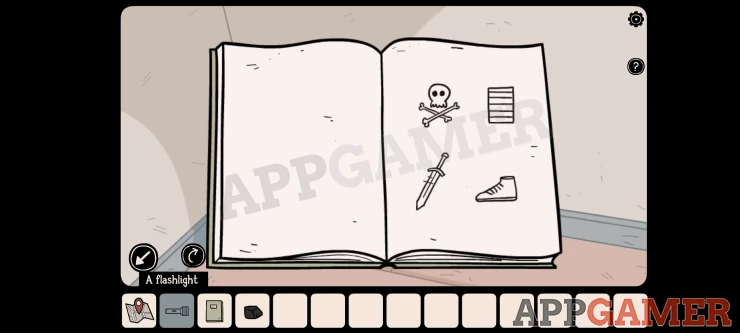
Open the book and look through the page to find a clue with 4 symbols.
Pirate Skull, Vent, Sword, Shoe
Note the positions.
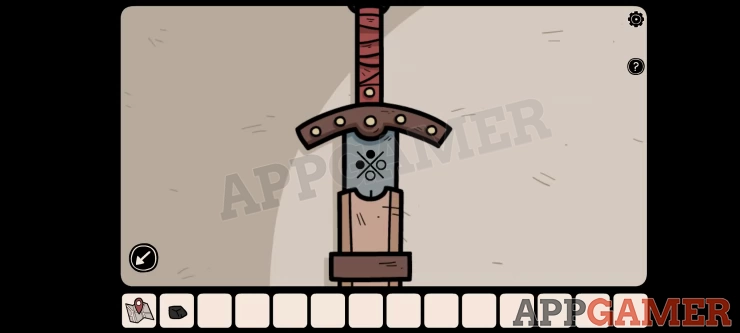
View the sword on the wall top left. Tap it to slide it up and reveal a clue. Note the positions of the black dots.
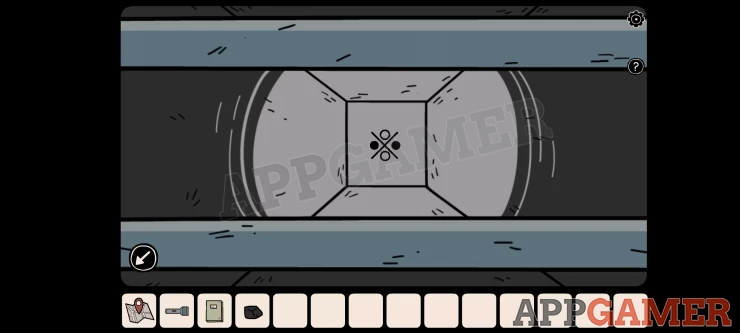
Then view the vent grill again. Use the flashlight to look inside to find the next clue. Again Note the positions of the black dots.
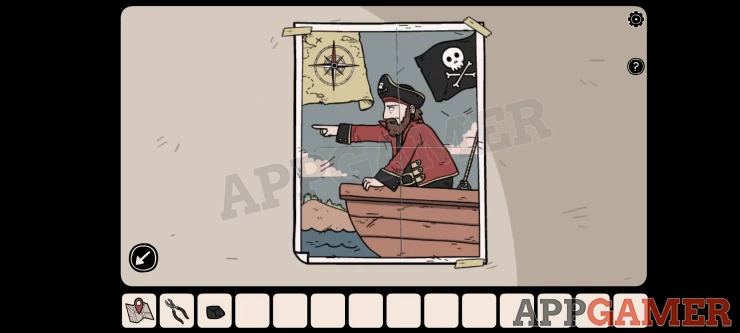
Next look at the Poster of the Pirate. This has no dots on it, but there are 2 clues. the direction the pirate is pointing and the direction of the red section of the compass. (Left and up for me but yours may be different)
Finally move the clothes on the rail back to the right and check the positions of the 2 pairs of shoes hanging from the hooks.
Now you can tap on the blue safe on the lower shelf.
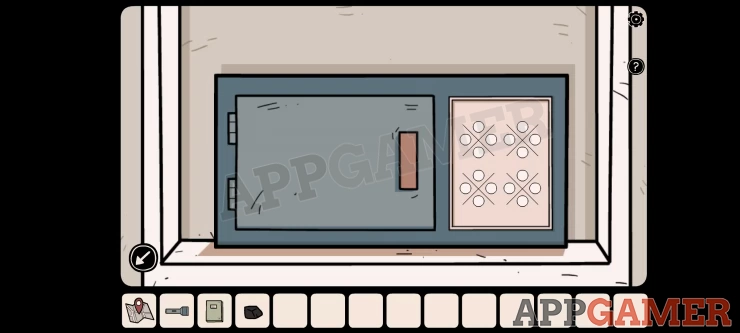
Hint: you have a clue from the book and the other items in the room to open the safe.
Solution: Use the positions of the symbols in the book and the clues of the 4 locations in the room to set the buttons on the 4 sections of the panel. Tap the buttons shown by the black dots. This will vary for each game.Show
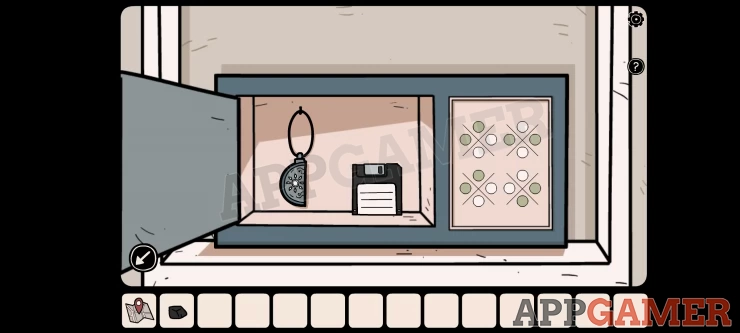
Once opened collect the floppy disk and the half of a broken medallion.
Return to the Police station and tap to view the computer on the desk.
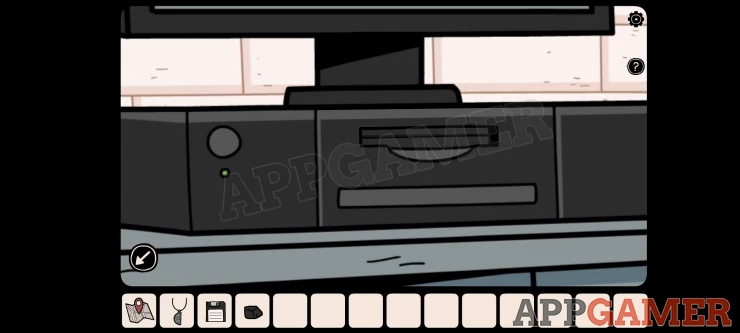
Add the floppy disk to the drive to view the contents.
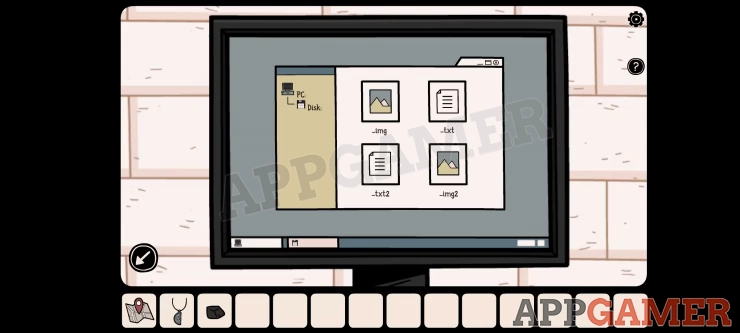
Check through the 4 files. There are 2 images and 2 text files with clues for the case. You will get the location of another friend to visit, 'Anna'.
Once done use the map to travel to Anna's House.
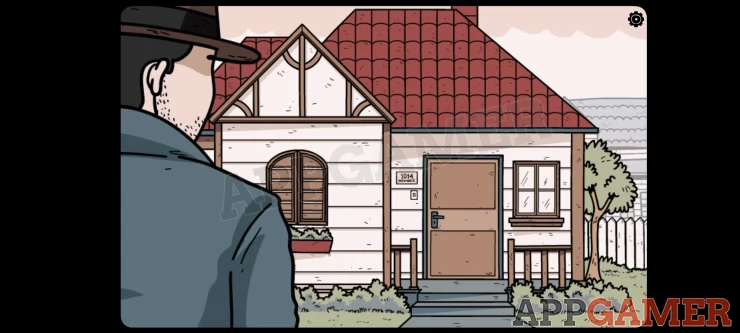
Approach the door again and ring the bell. Anna is not interested in talking to us.
Back up and Anna will appear at the window.
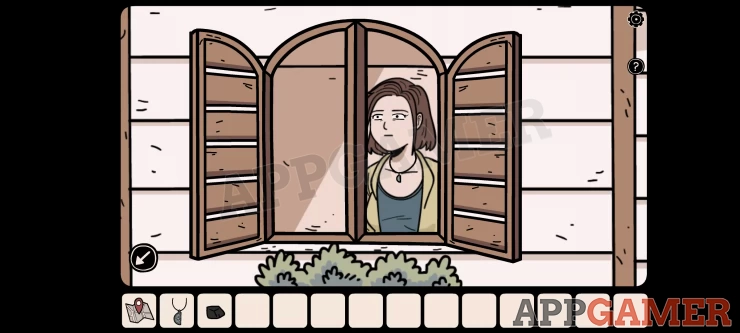
Pass the half medallion to her and she will then let us in to ask questions.
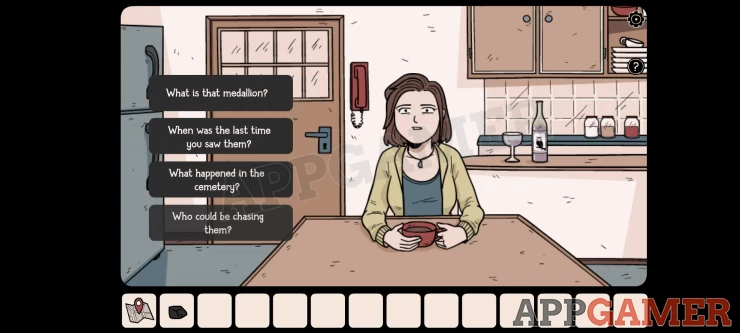
Collectible: View the bottom on the counter on the right to find another Owl.
Now you can work through the 4 questions to get more information. At the end you will have a location of the graveyard that the friends visited before the murders.
Time to travel to the Graveyard. Continue the walkthrough in Part 3
We have questions and answers related to this topic which may also help you: Show all