
Room 7 Walkthrough
More Tiny Room Collection
This is our walkthrough for Room 7 in Tiny Room Collection, a room escape puzzle game from Studio Wakaba. The seventh room of the game features many more clues to find and puzzles to solve in a living room.
Tiny Room Collection Room 7 Walkthrough
You begin in the room with some shelves to your right and some steps to the left.
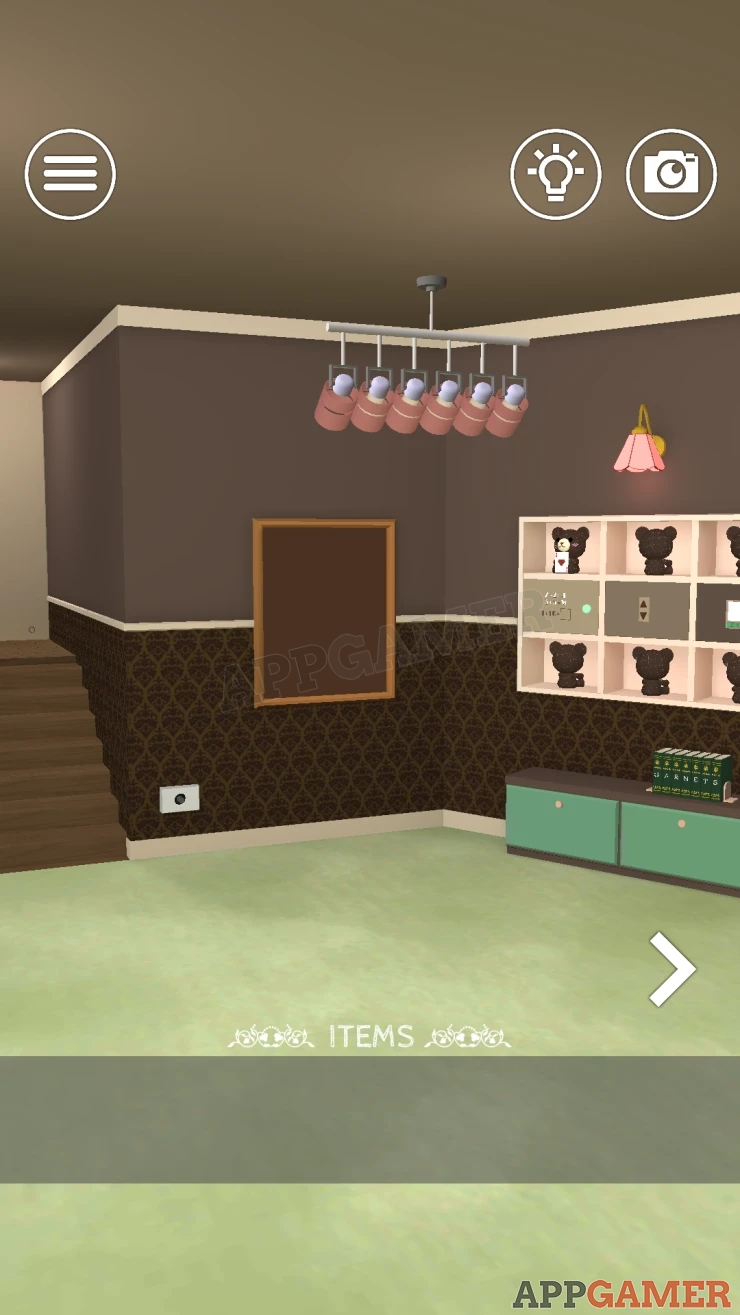
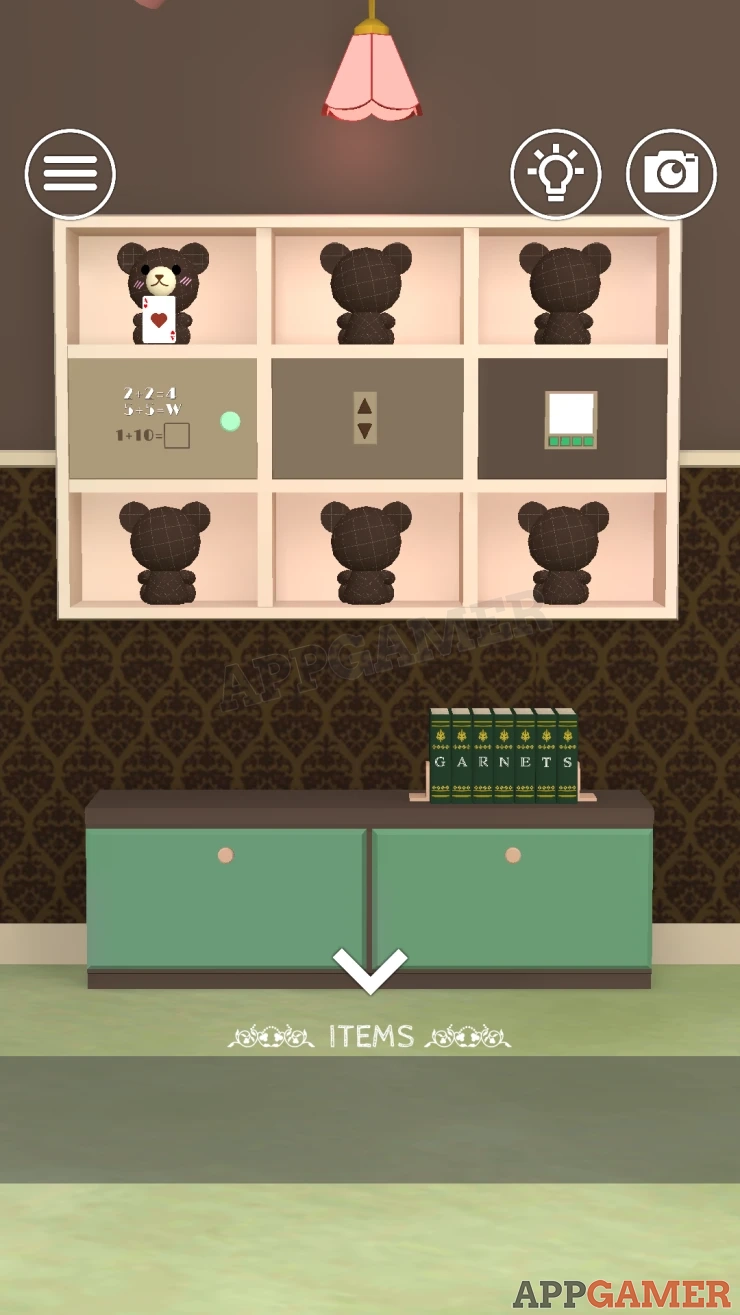
Look on the wall shelves to see some teddy bear toys. The top left one is holding a card, look at this.
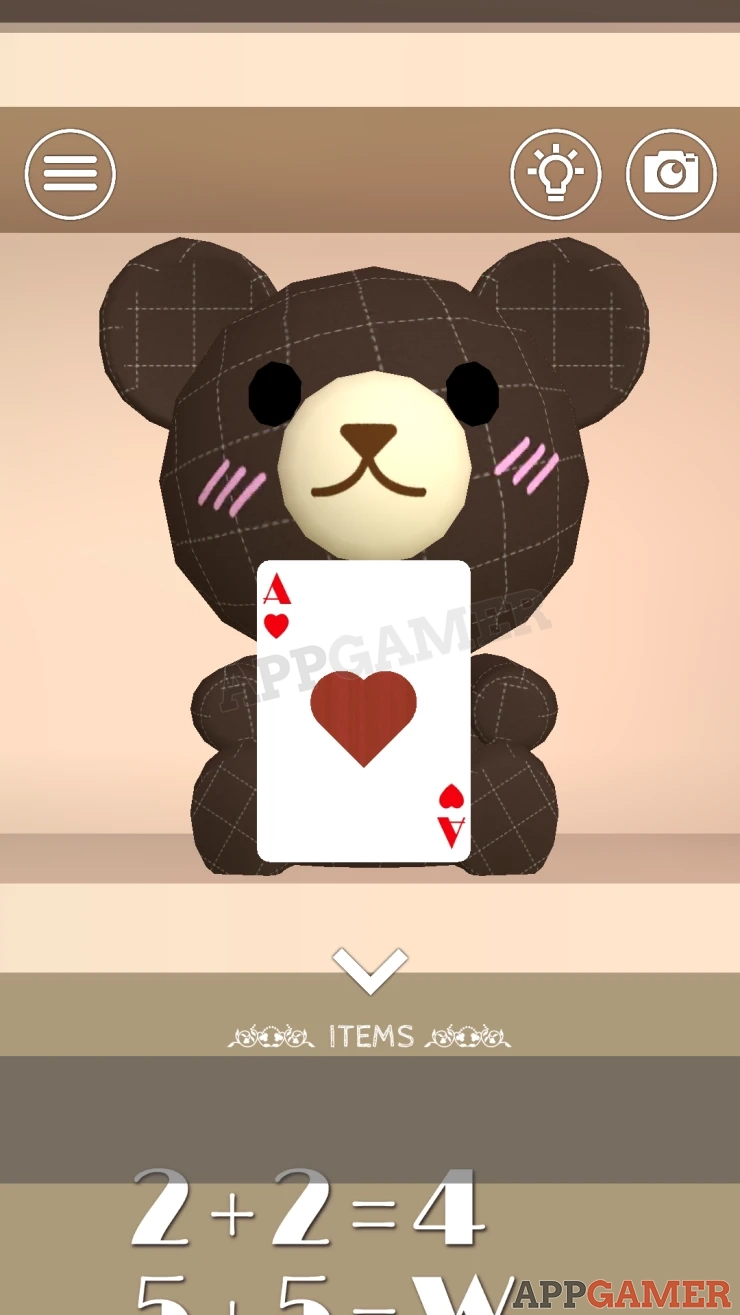
Tap on the card to collect a Heart.
Next you need to turn to the right to see the other side of the room.
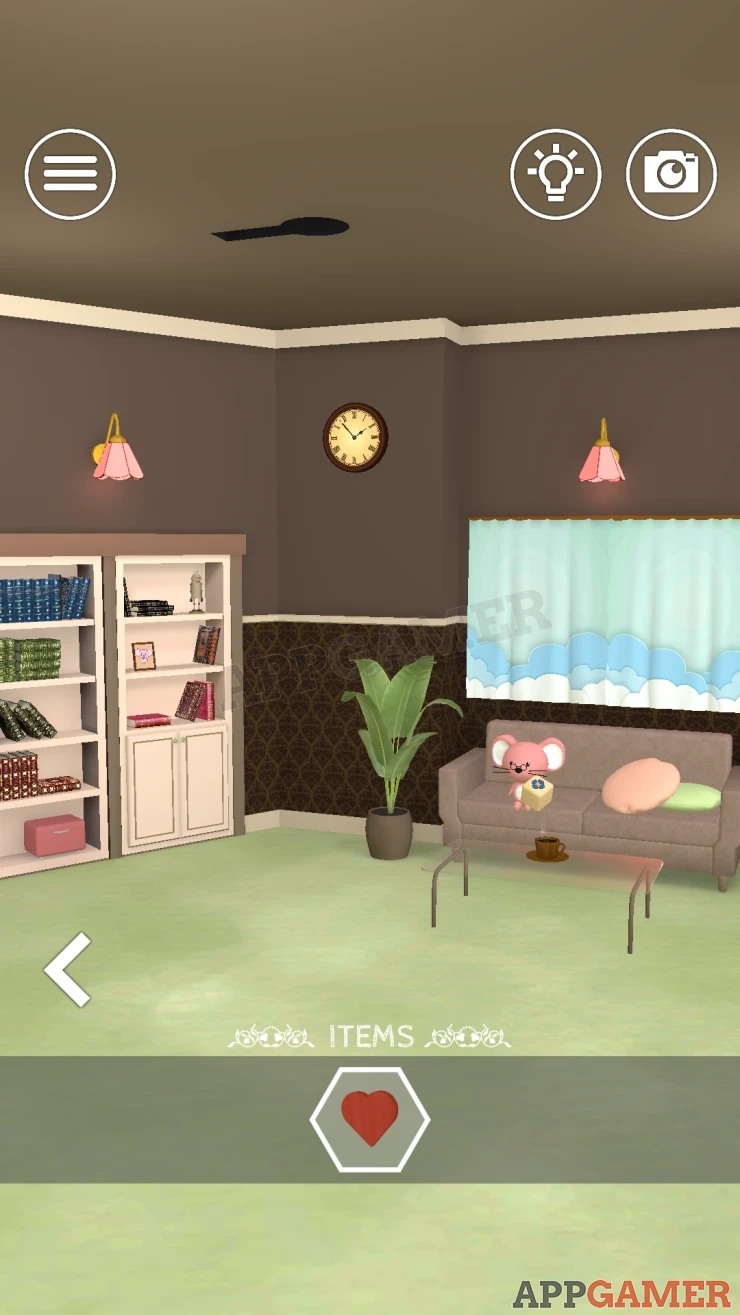
Here there are some large shelves on the left and a sofa on the right under a window.
First lets look at the large shelves and the unit on the right. Notice the photo of the mouse holding a donut.
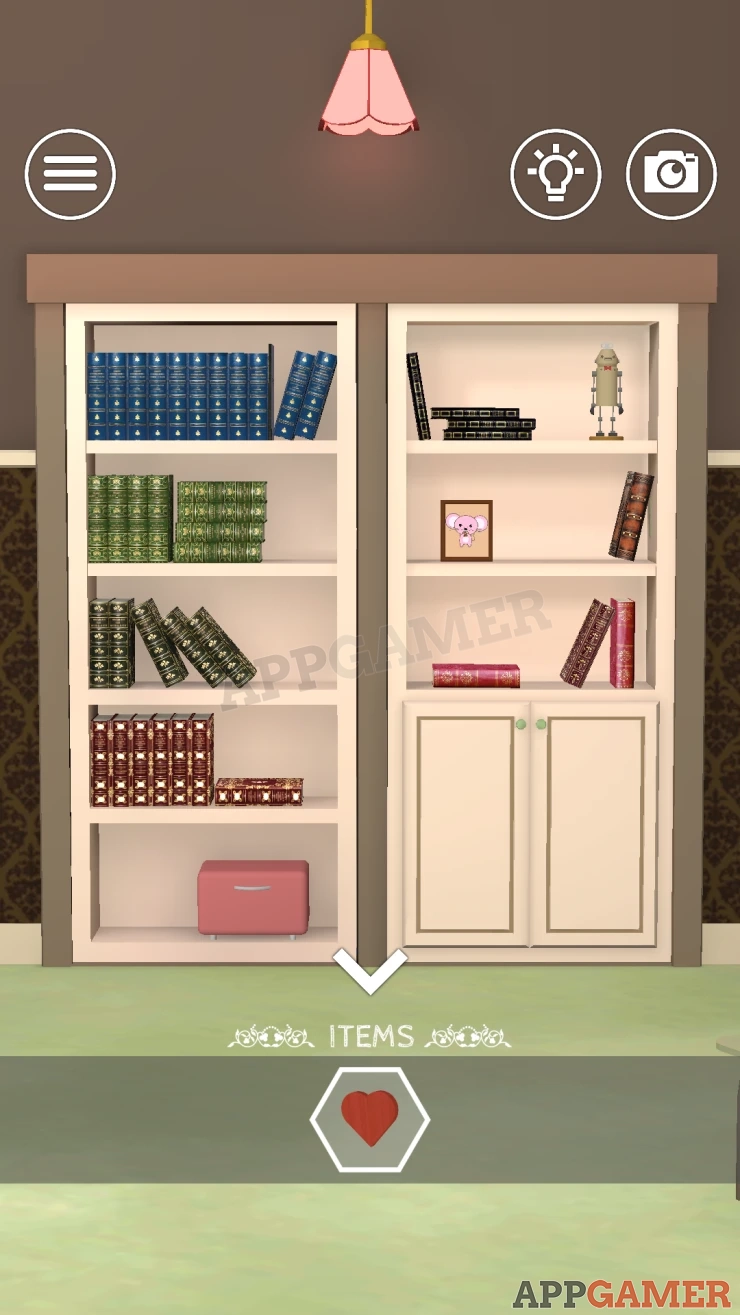
On the middle shelf is a Book that you can collect.
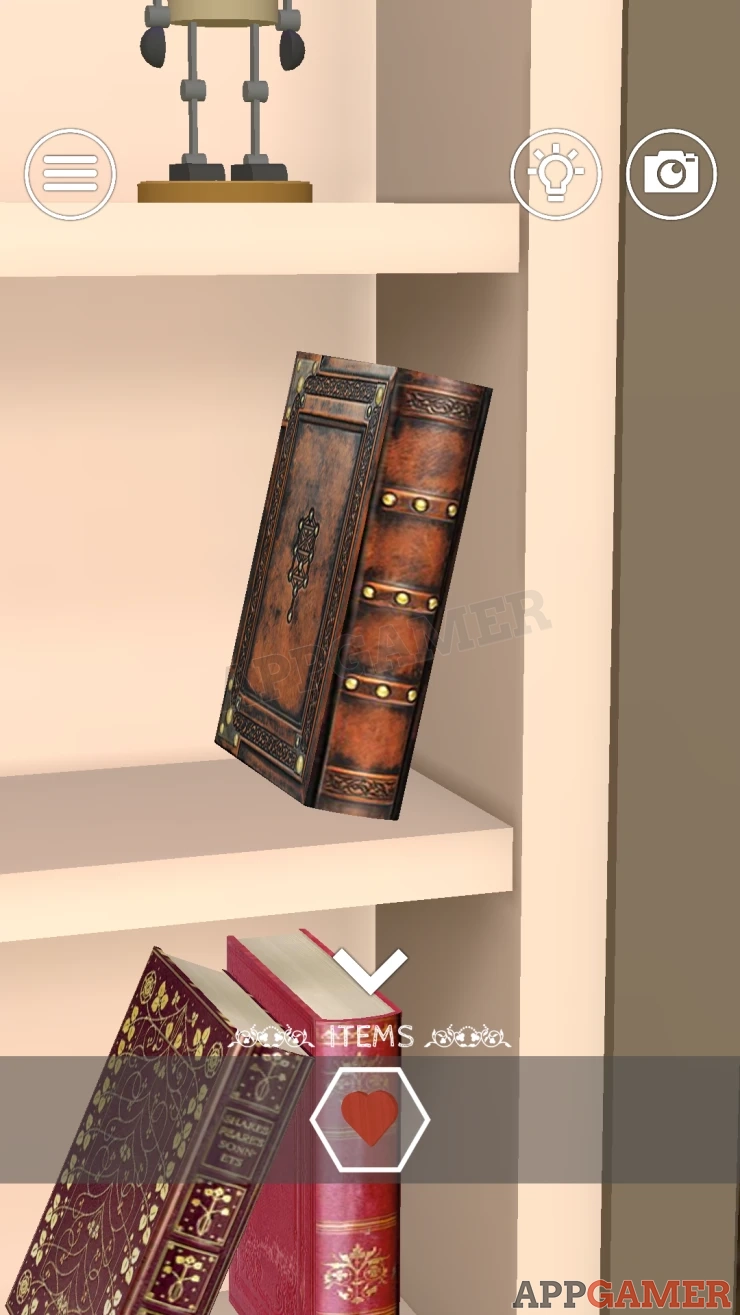
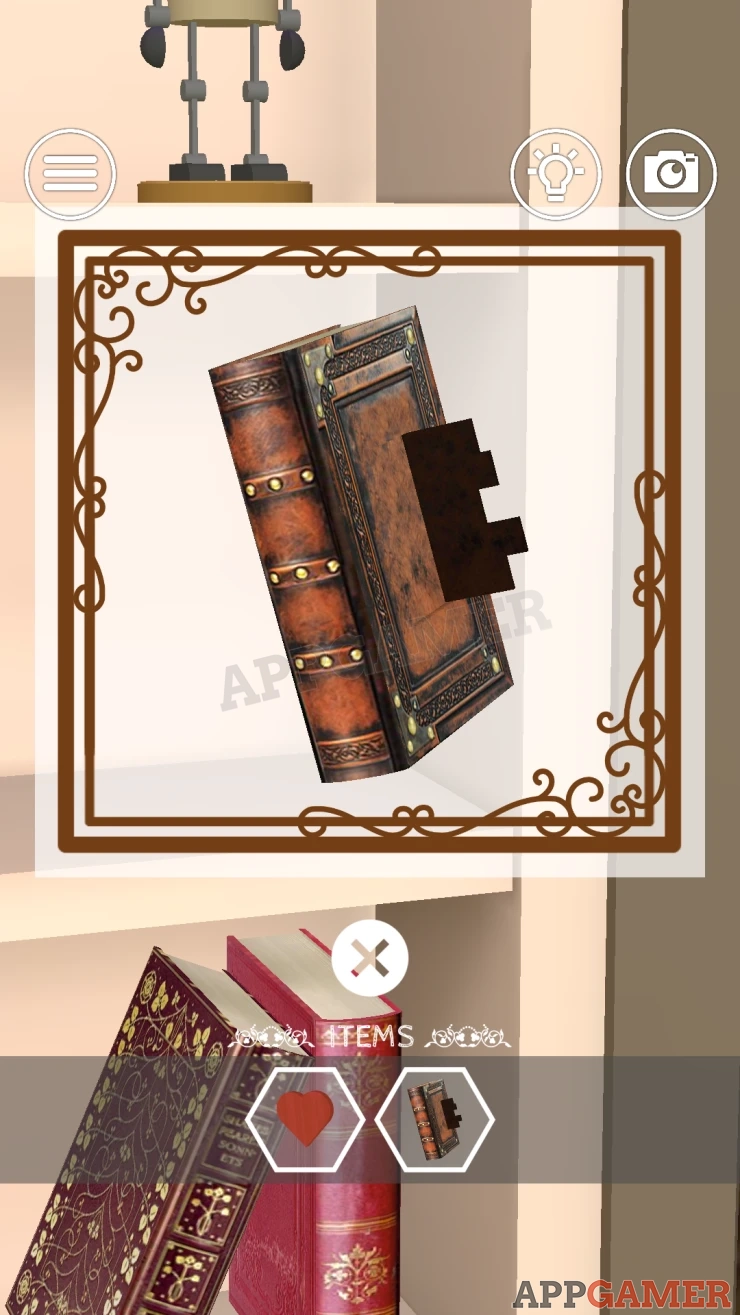
View this in your inventory and turn it around, then tap a small flap on the side to lift it.
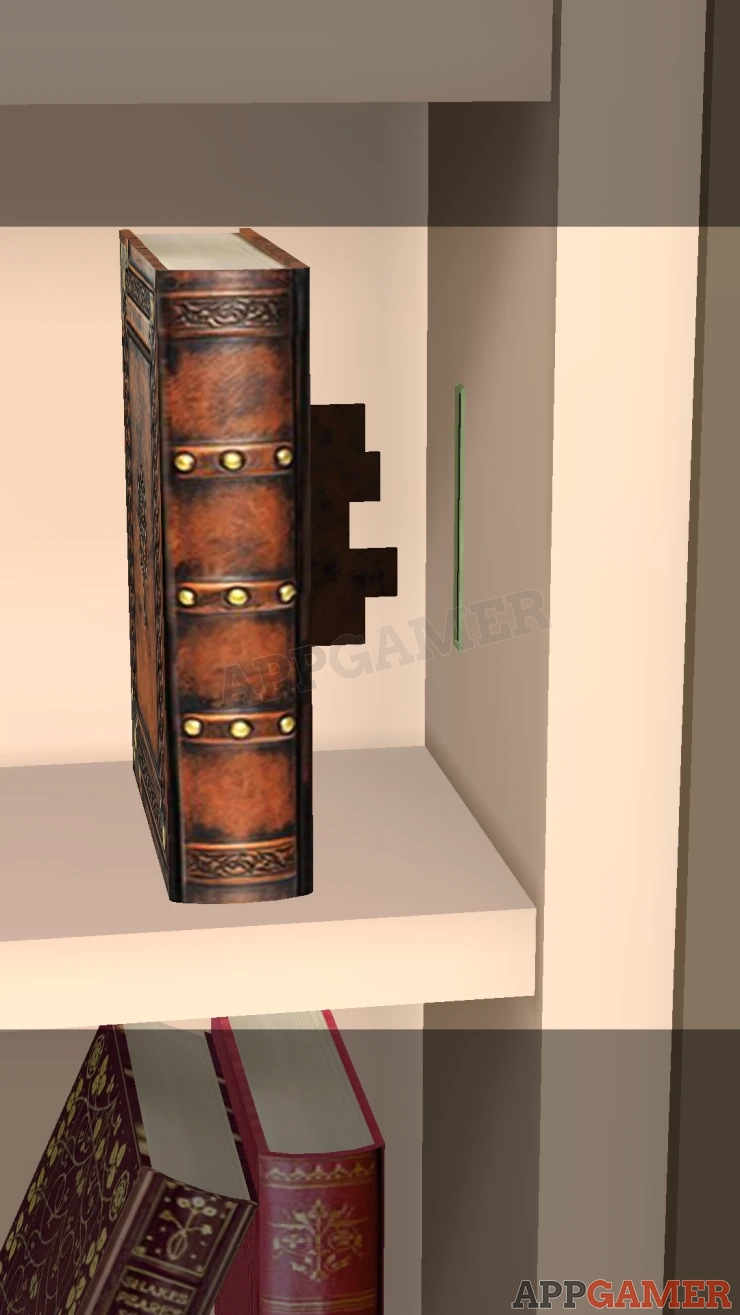
Now look on the shelf again to see a small slot to the right of the middle shelf where the book was.
Place the book here again to slot it in and a secret door will open.
Secret Gear Puzzle
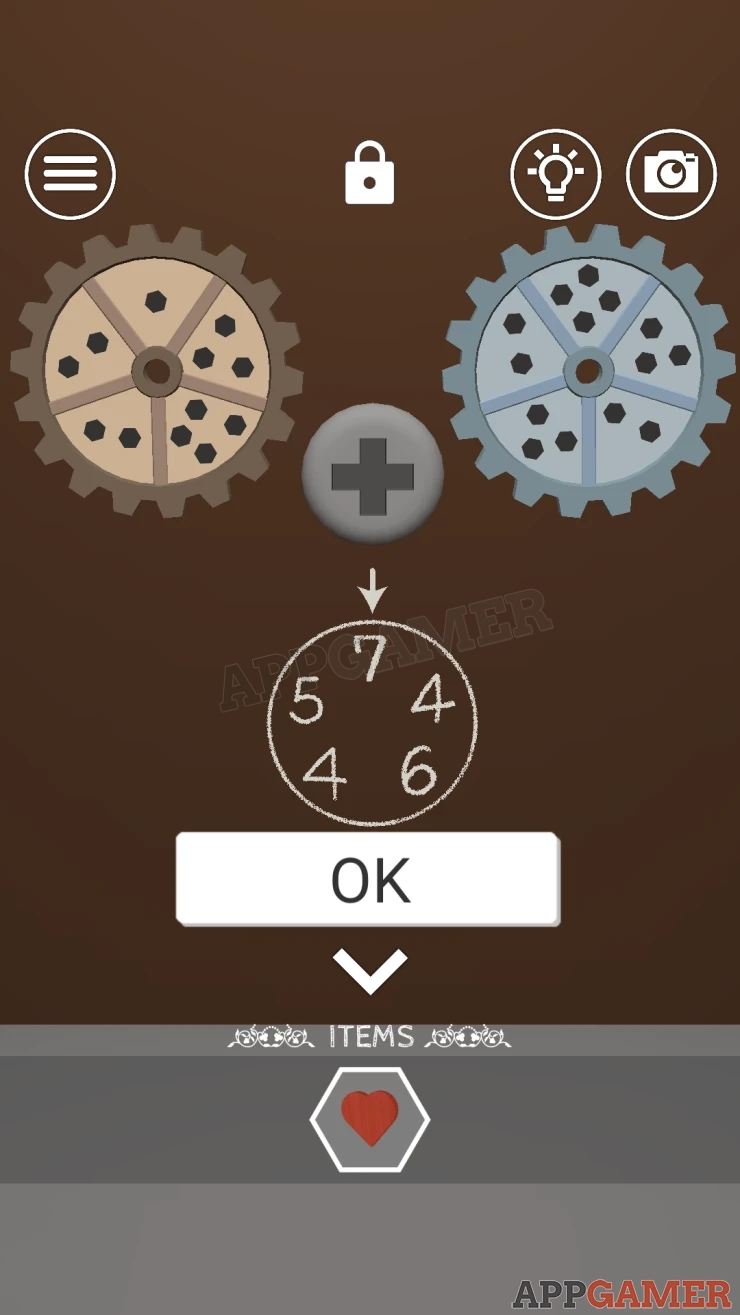
- There are 2 gear wheels that have 5 sections each. You can tap to turn them
- The sections contain different numbers of shapes.
- Below is a circle with 5 numbers.
- Arrange the gears to match the numbers below.
Solution: Turn the gears so that the numbers in the same position on each gear wheel add up to the matching position number on the circle below.Show
Code: Show
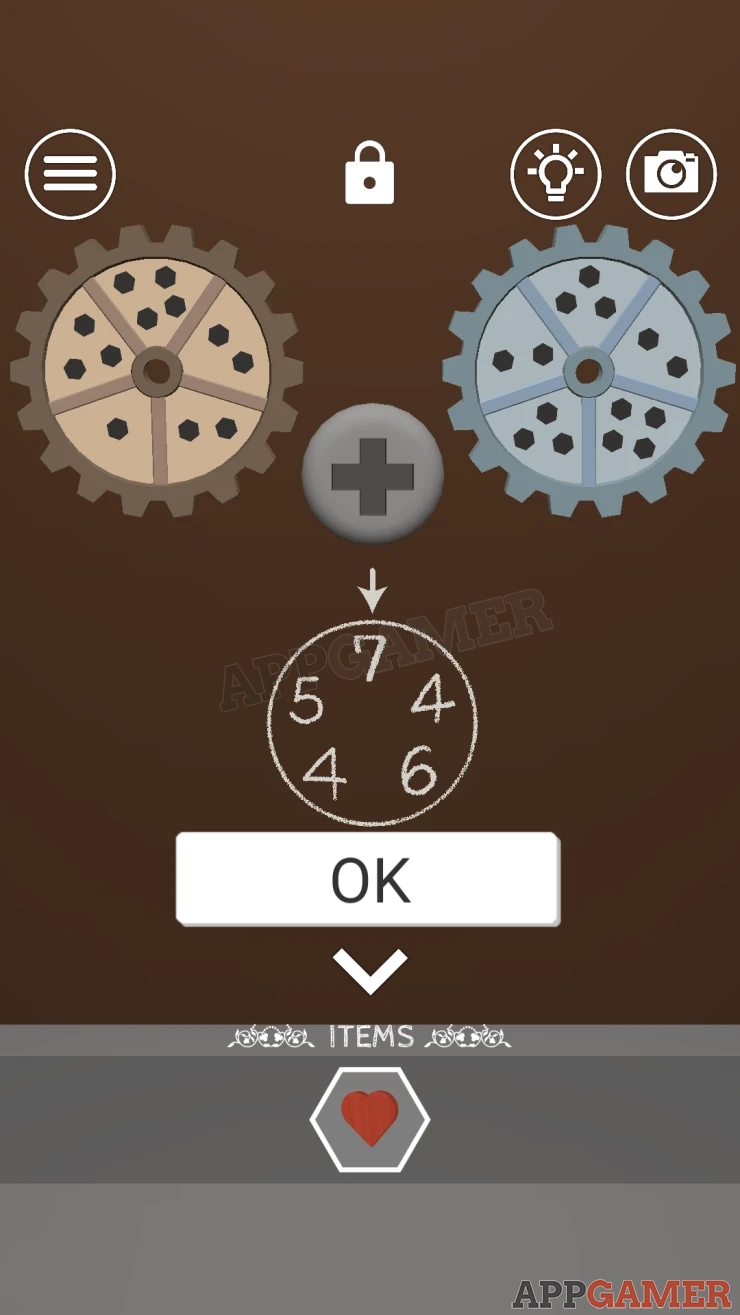
Collect the Green Gear Wheel. Notice also a small hole in the panel that opened.
Now look at the sofa on the right. And view the Mouse sitting on it.
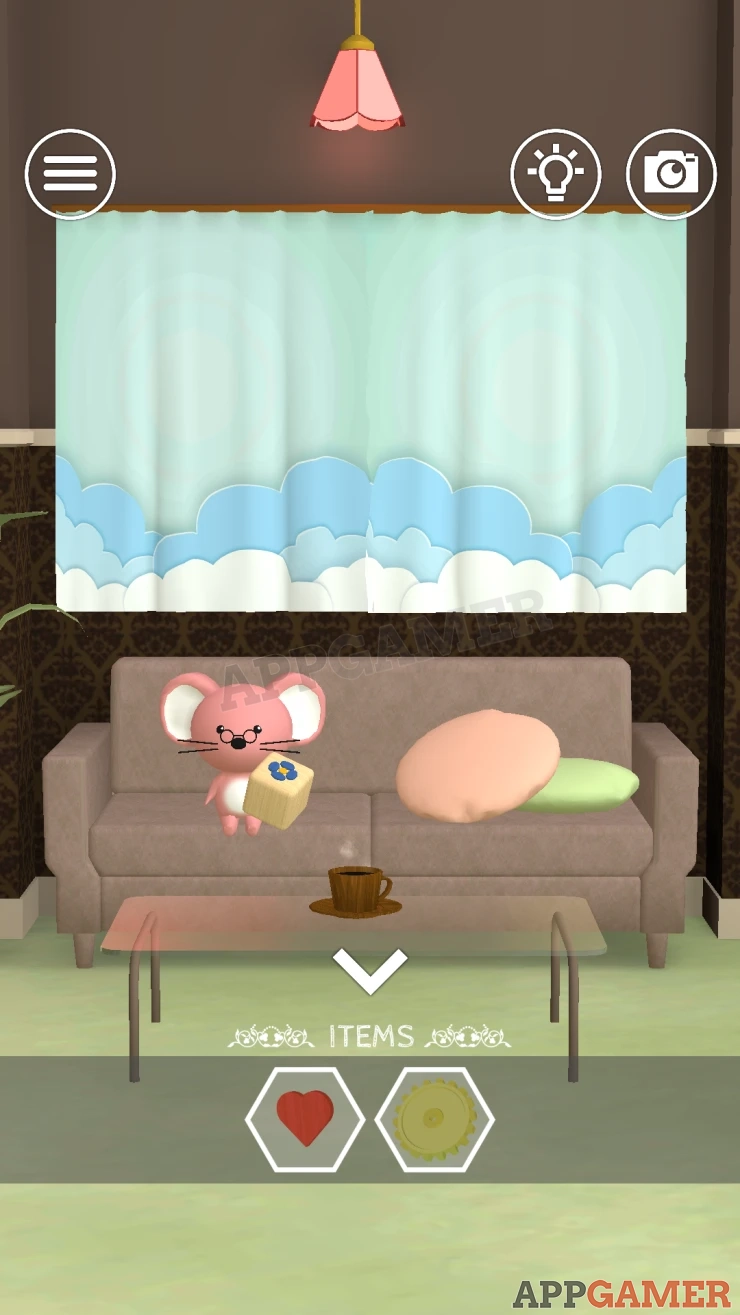
Collect the small Puzzle box from the mouse.
Mouse Puzzle Box
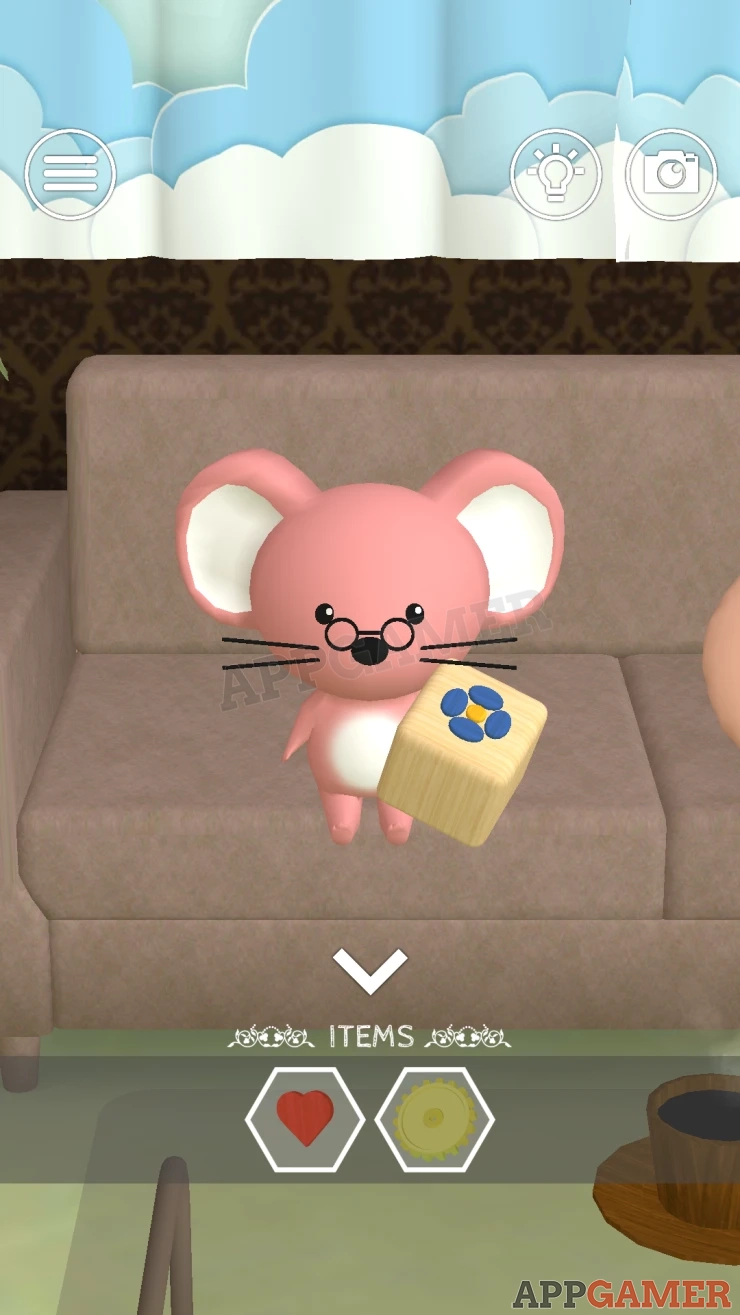
- After taking the box the mouse will show you a clue.
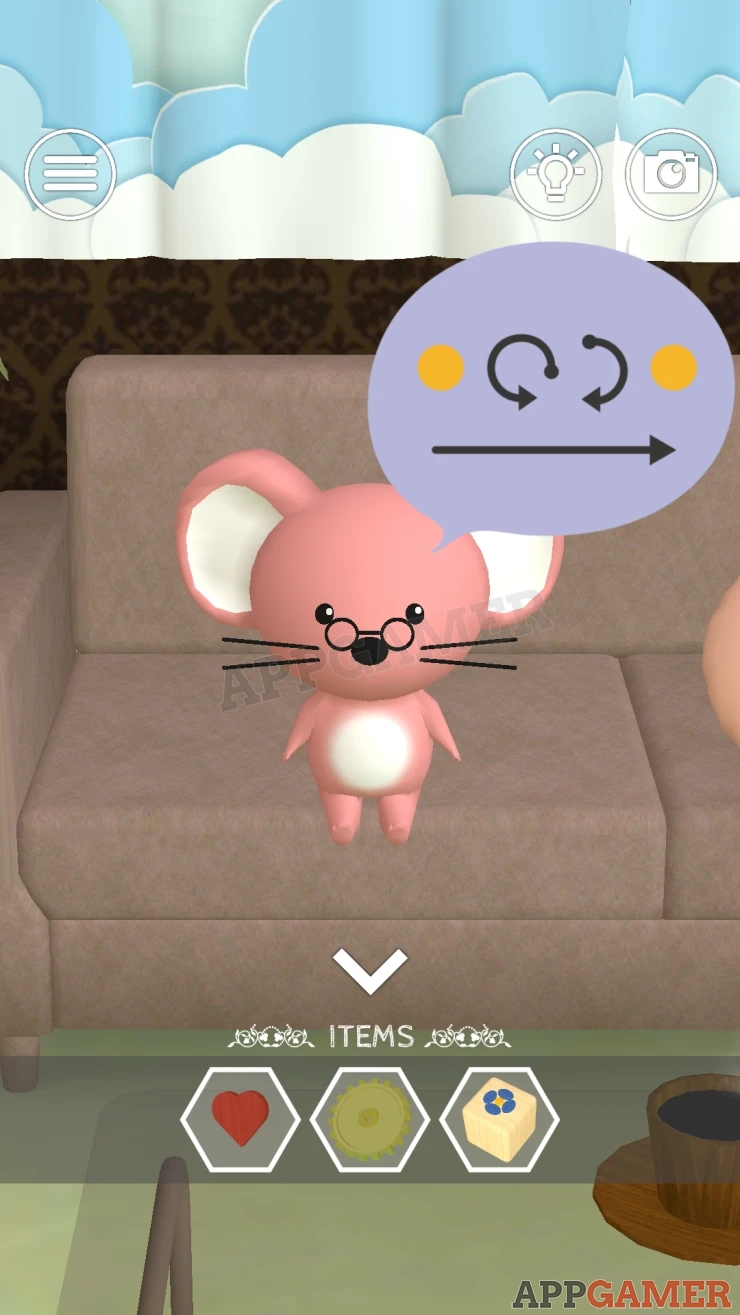
- This has a Yellow Dot, then 2 direction arrows and another yellow dot.
- Look at the box in your inventory to see a yellow button in the center and 4 blue buttons around this.
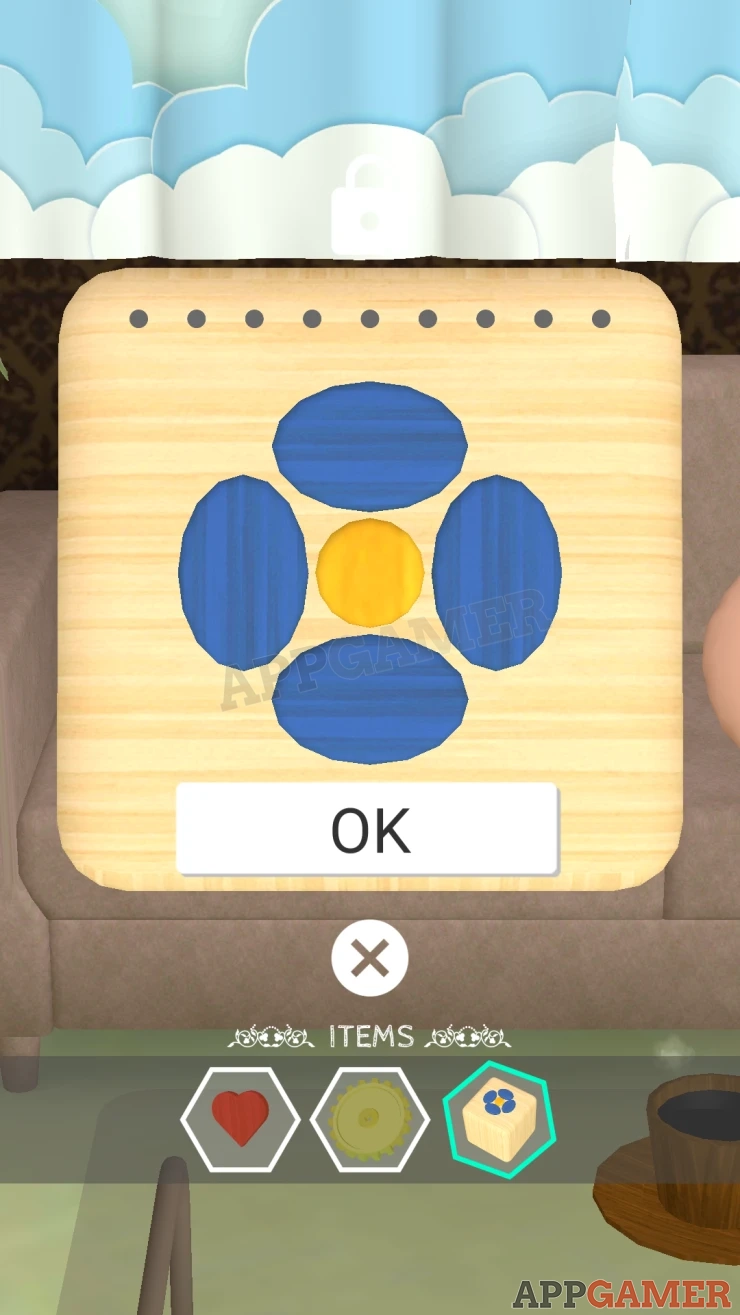
Solution: Follow the clue to tap the buttons in the right order.
- Tap the yellow button
- Then tap 4 blue buttons starting with the right side and then top, left, bottom.
- Next tap the top , left and bottom blue buttons.
- Finally tap the Yellow button again.
Collect the Donut from the box, you can then give this back to the mouse and it will give you another small box.
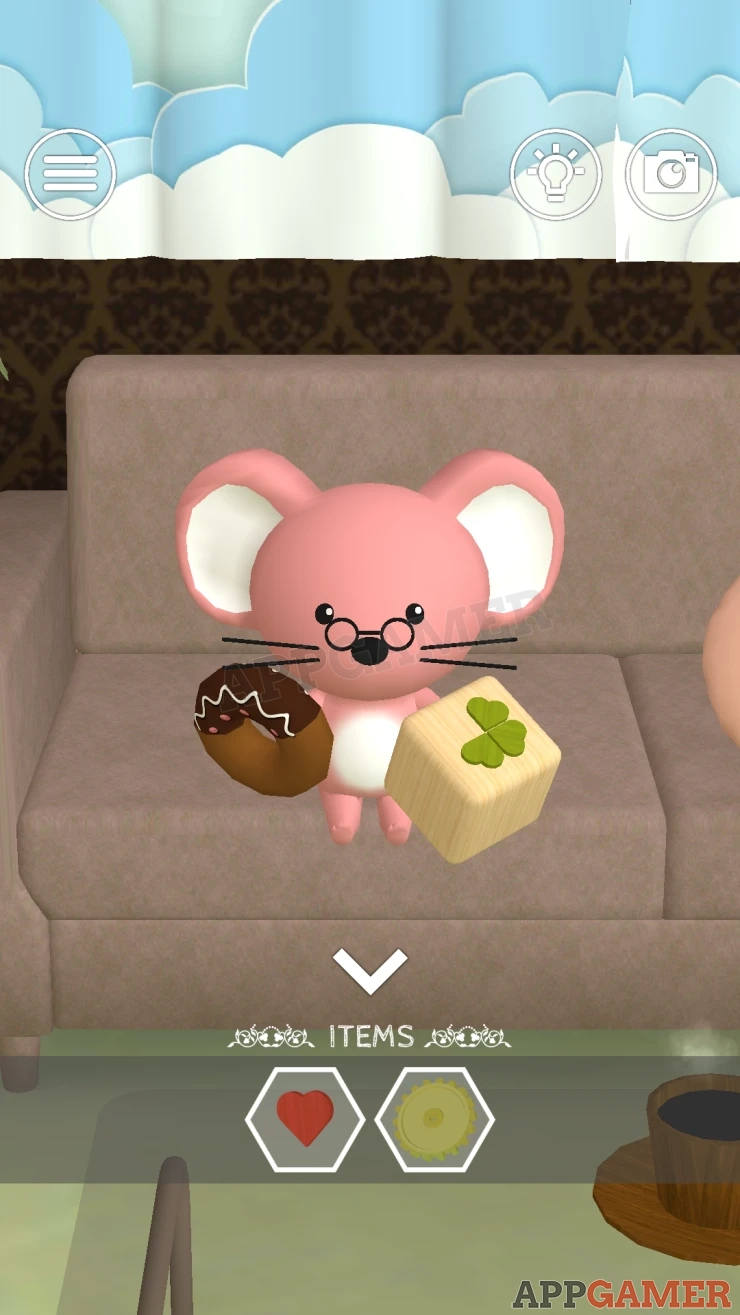
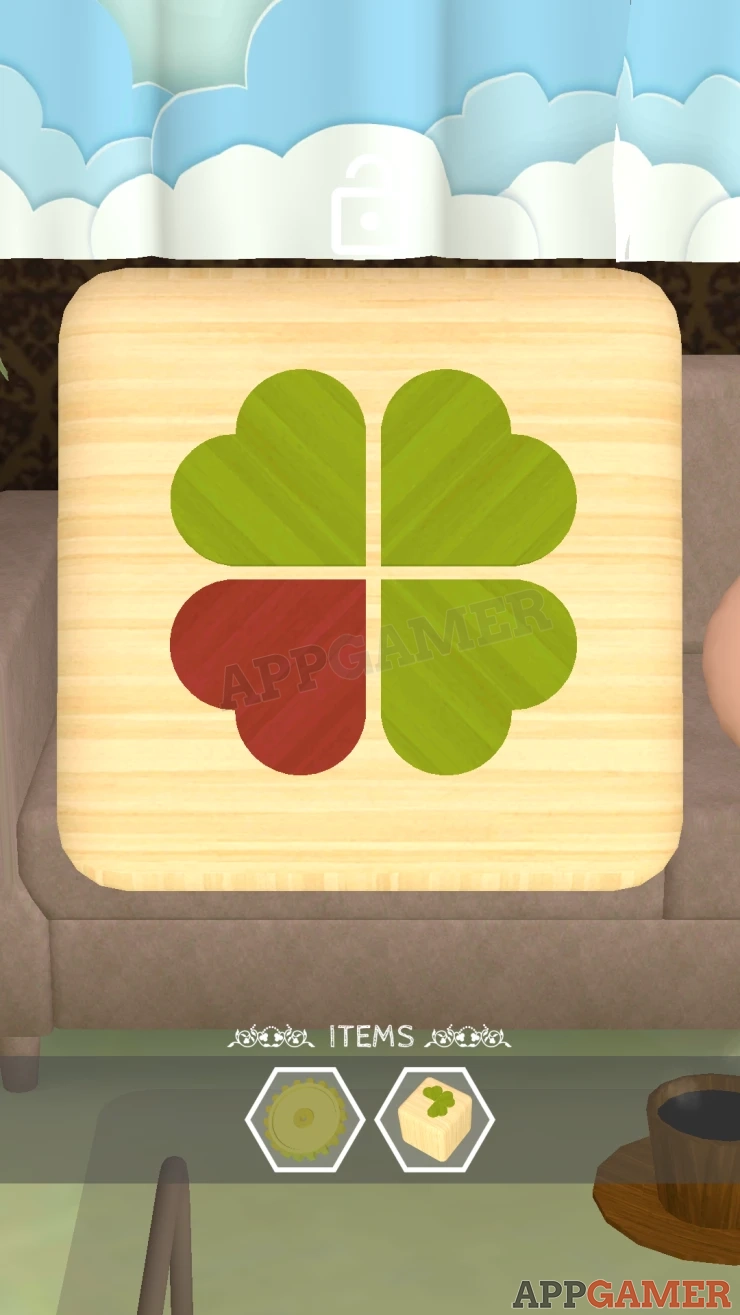
Look at this box in your inventrory to see the pattern is missing a heart shape.
Add the heart to the box and it will open, collect the Cheese.
Now give the cheese to the mouse and it will give you a Handle.
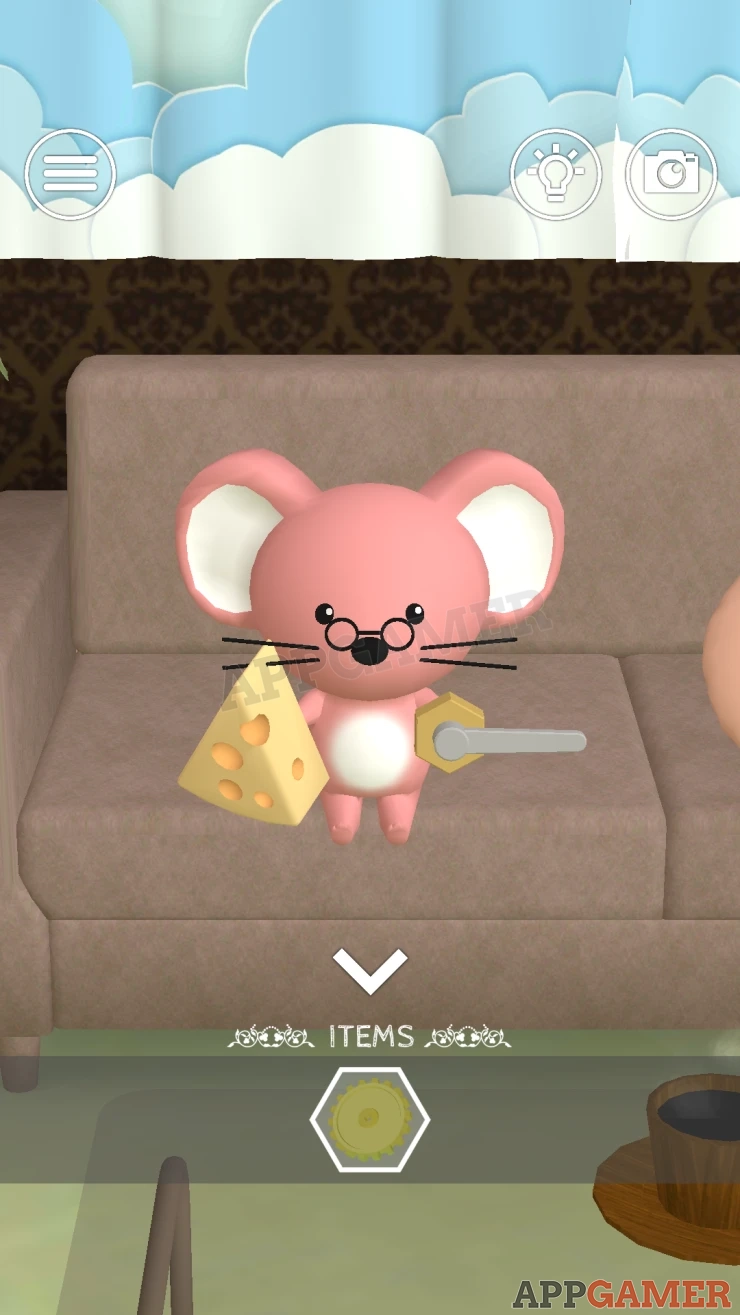
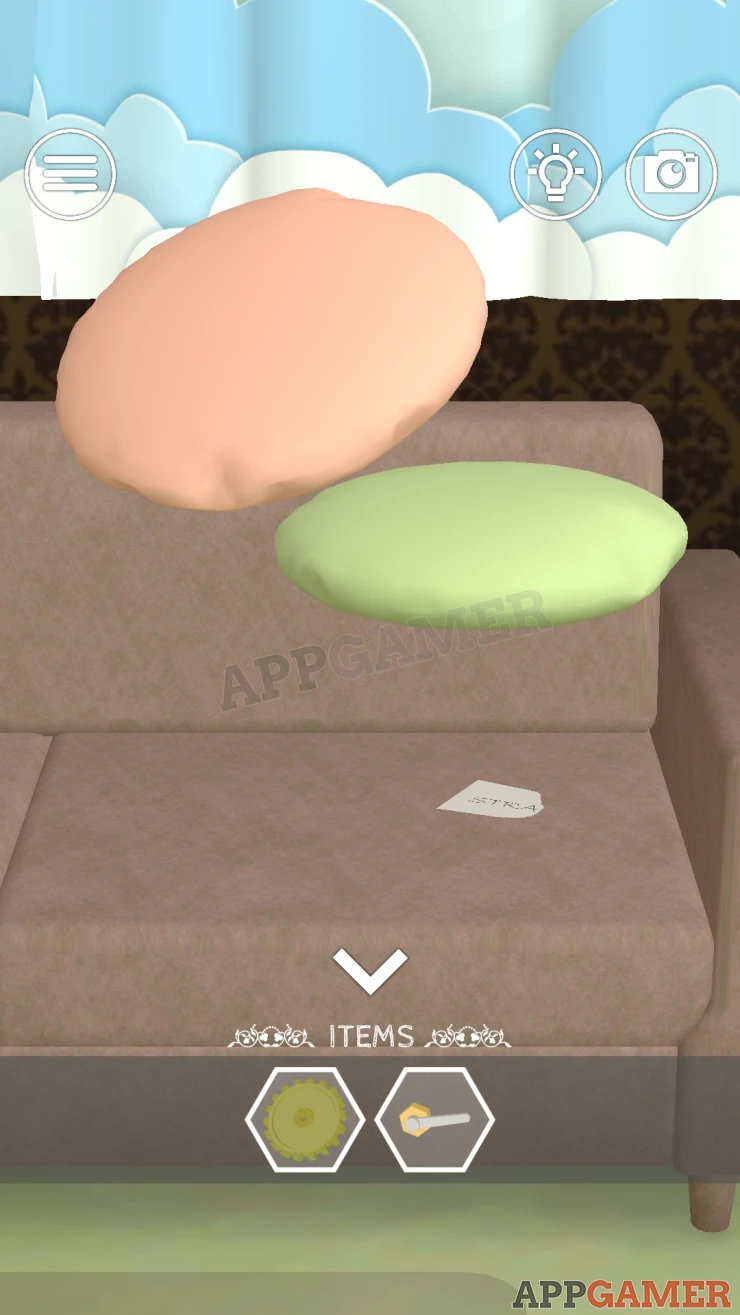
Next view the cushions on the sofa on the right of the mouse. Lift them to then collect a Paper Clue.
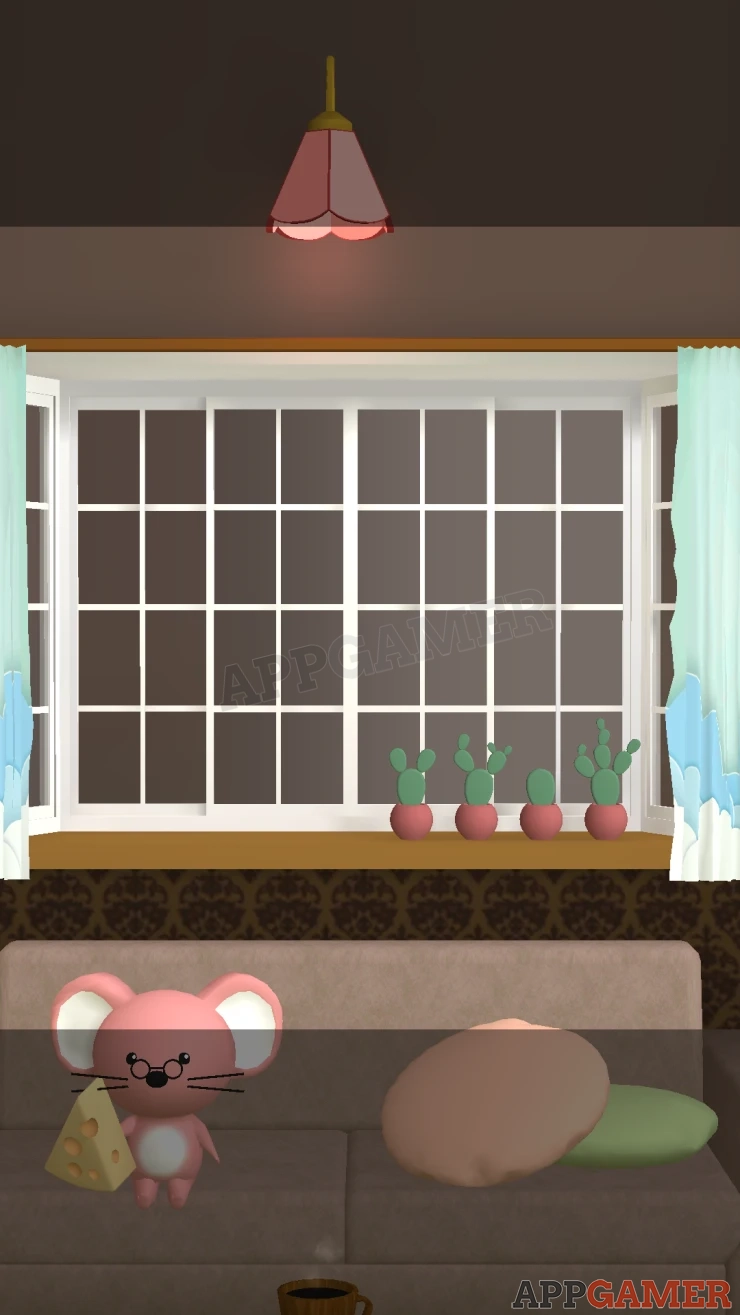
Then view the window behind the sofa, open the curtain and examine the 4 cactus plants.
Look again at the shelves to the left and look on the top shelf of the left unit.
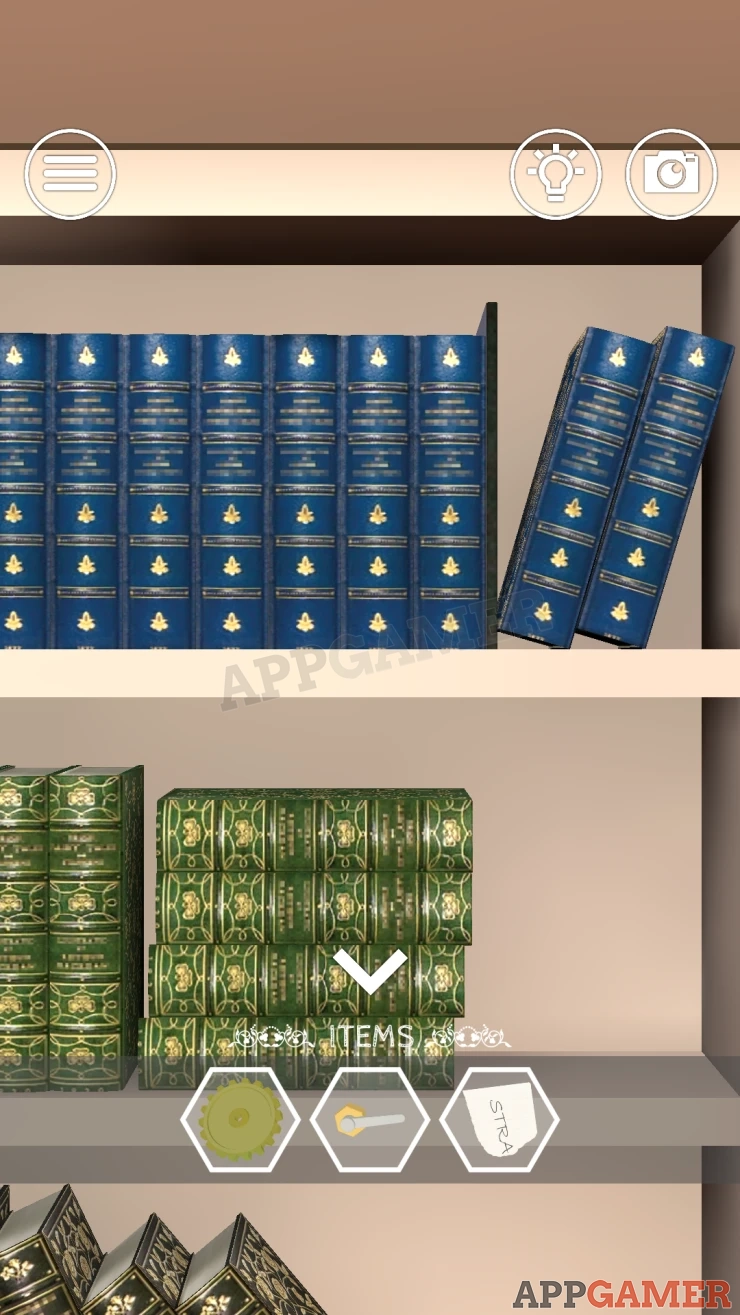
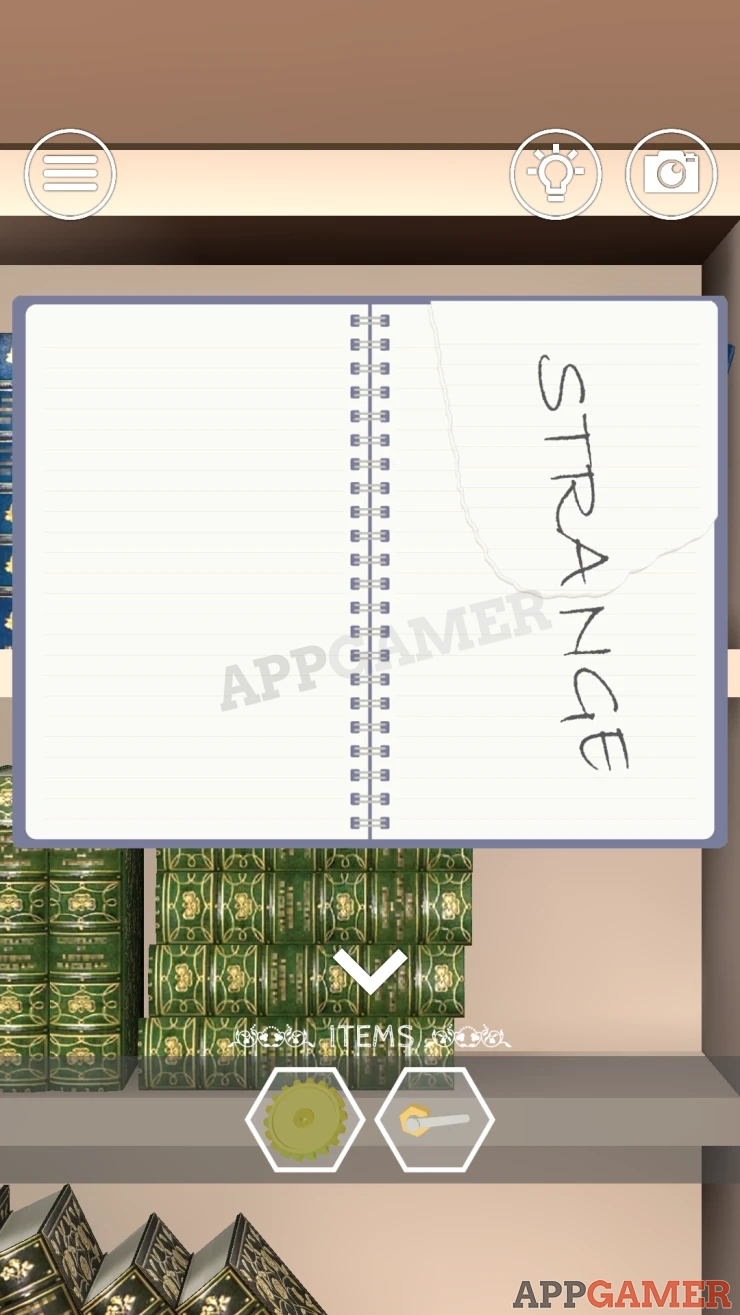
There is a thin notebook on the top shelf that you can tap on to open.
Place the paper clue on the torn page to complete the word. This is a clue.
Show
Finally look at the clock on the wall, notice the roman numerals, this is a clue.
Now turn back to the left side of the room where you started. First lets look at the set of books on the shelf on the right.
Garnets Books Puzzle
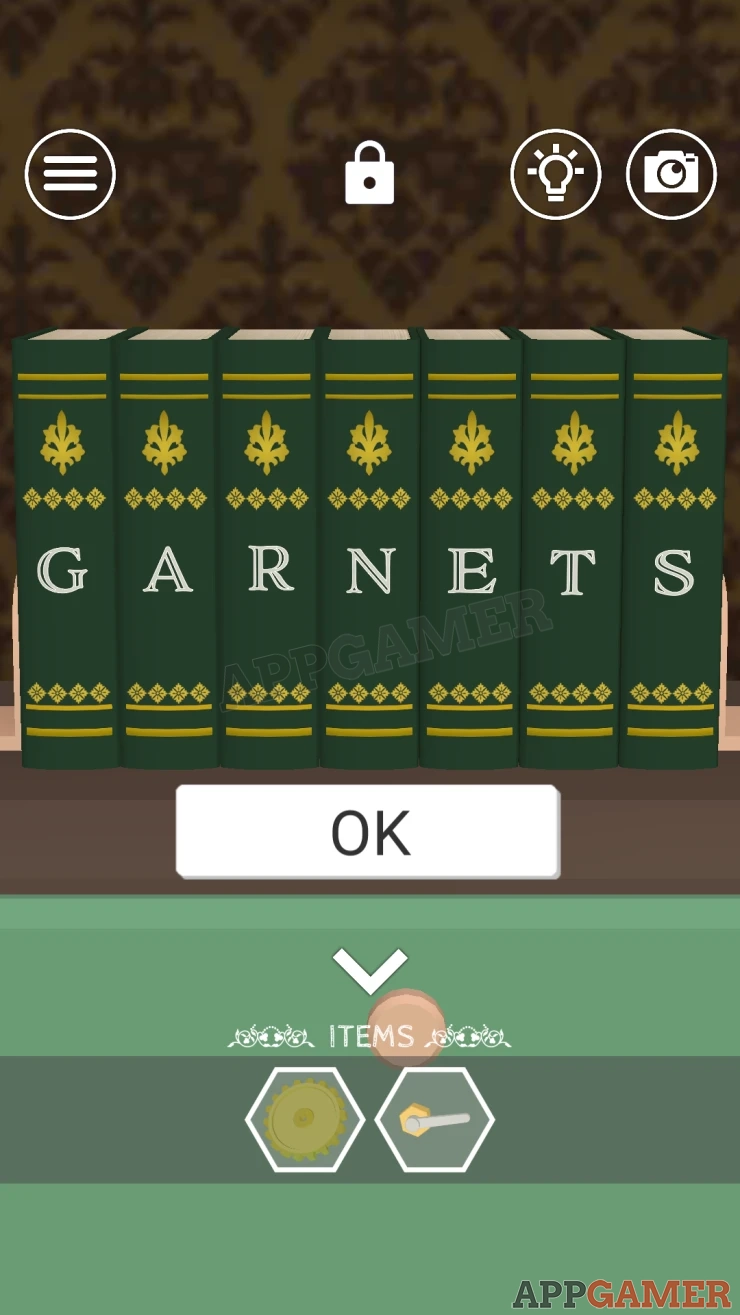
- The letters on the side spell GARNETS.
- You can tap books to switch the positions.
- Arrange them to follow a clue.
Solution: Show
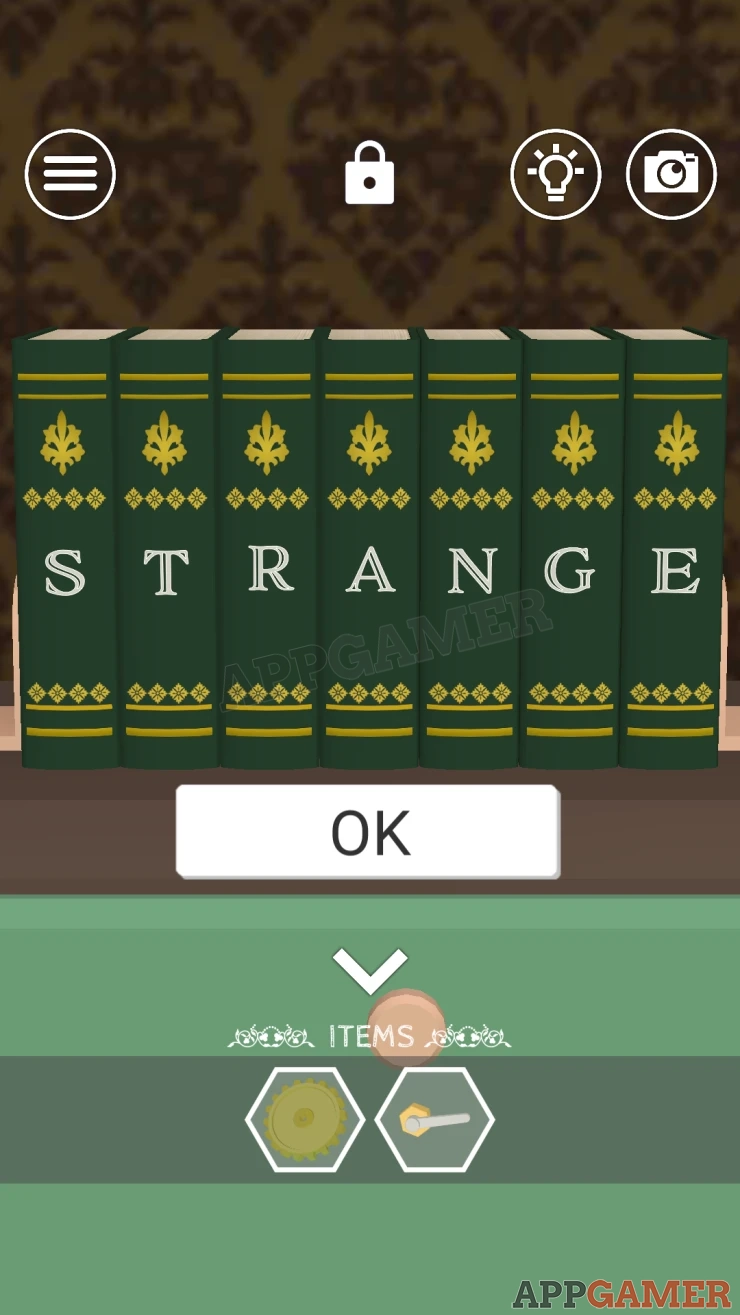
Once done a drawer opens and you can collect a Grey Gear Wheel.
Then look at the middle right shelf above this. It has a door with a panel with 4 green buttons.
Green Buttons Puzzle
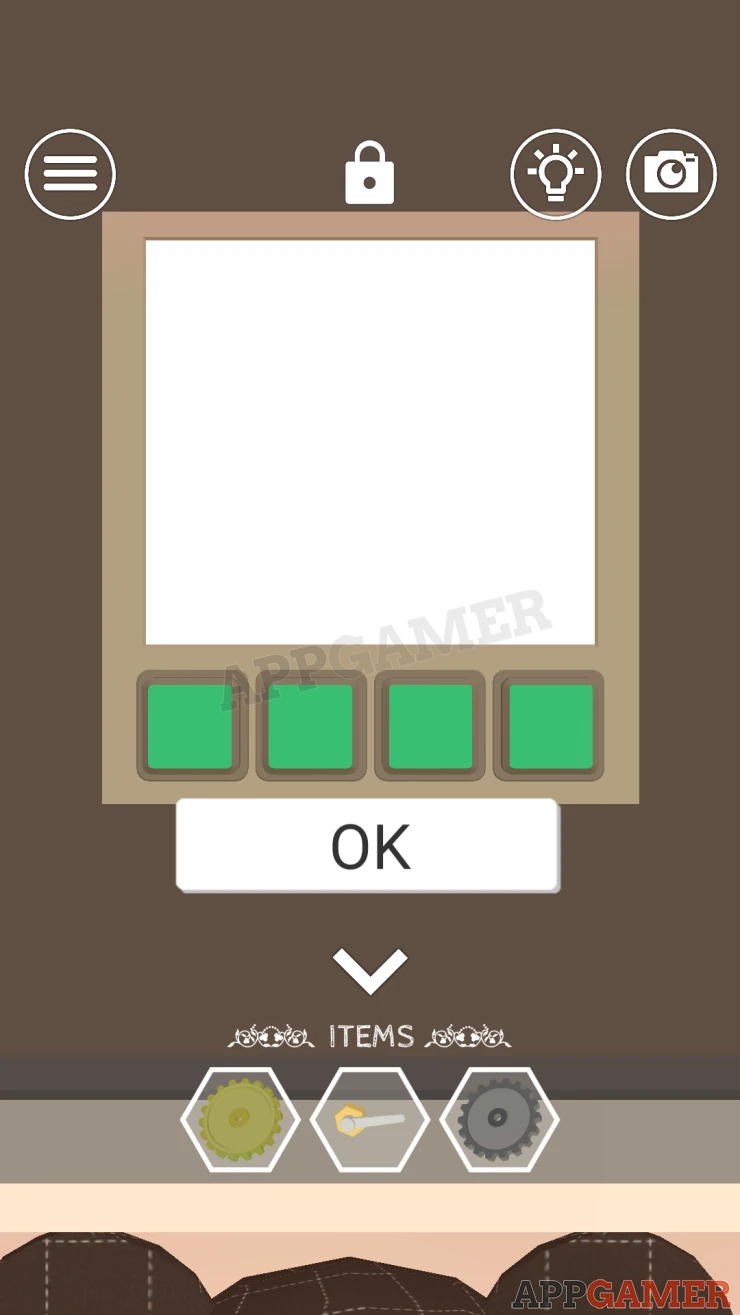
Tap the 4 buttons to change the number of green lights in the columns above.
Set these to match a clue.
Solution: Match the heights of the 4 cactus plants in the windows. Each one has levels of pads (not the total number of pads).Show
Code: Show
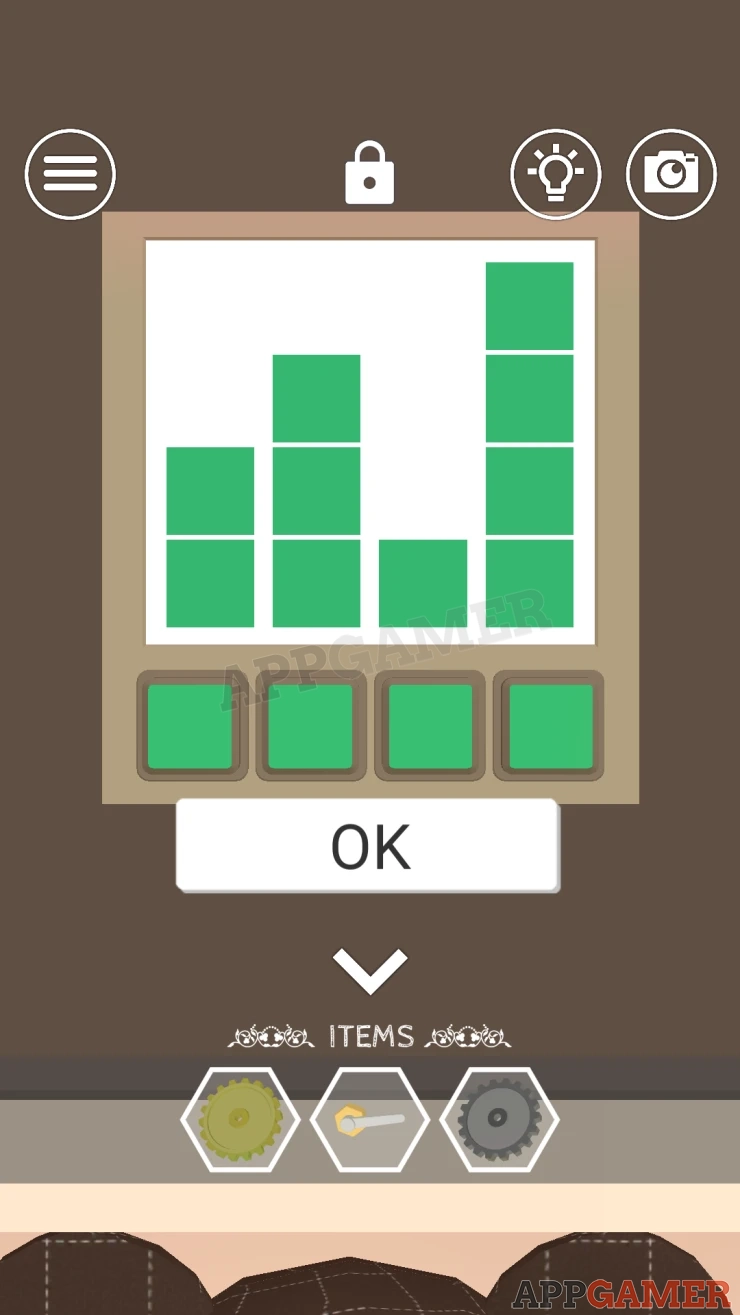
Collect the Paper inside which you can open to find a Map Clue.
Next look at the middle right shelf to see another puzzle door.
Number Puzzle
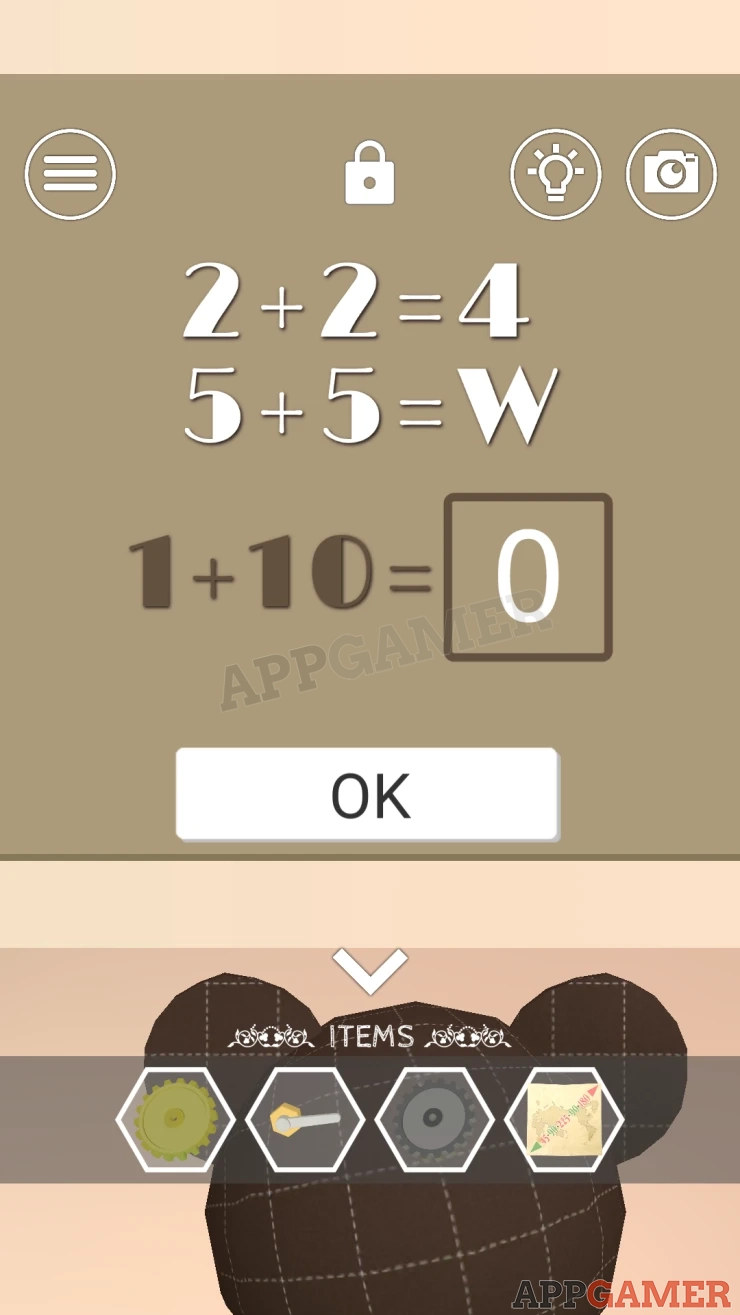
The clue for this has some sums. 2+2=4, is simple but then 5 + 5 = W, and finally 1 + 10 with no number 11 as a possible answer.
To solve this consider the numerals on the clock.
Solution: 5 = V on the clock - so V + V = W. Also on the clock 1 = I and 10 = X. Sp this gives I + X = IX. IX = 9.Show
Code: 9Show
Open the door to collect a small Knob.
Go back to the right side of the room and into the secret area behind the shelves. Place the knob on the small hole in the opened panel.
Collect the Light Bulb.
Now go back to the Left side of the room. View the 6 Lights on the ceiling, you can place the light bulb into an empty one.
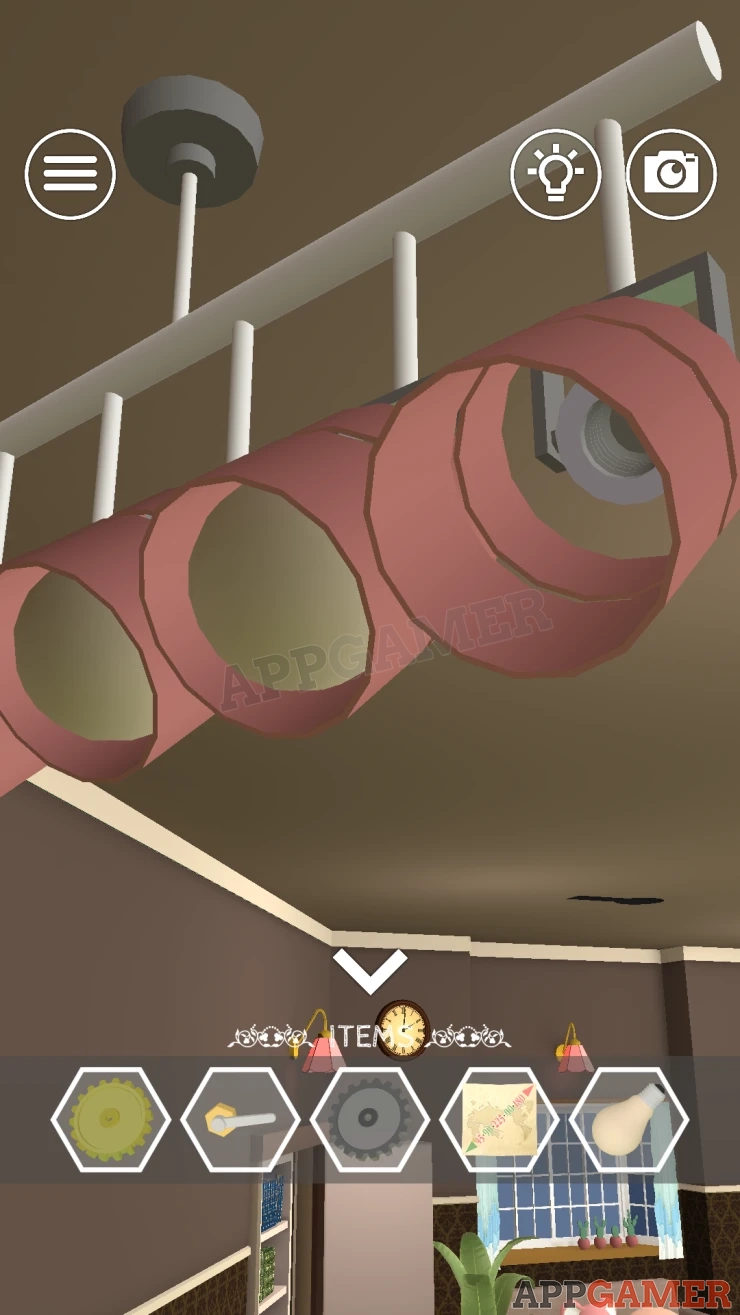
Lights Puzzle
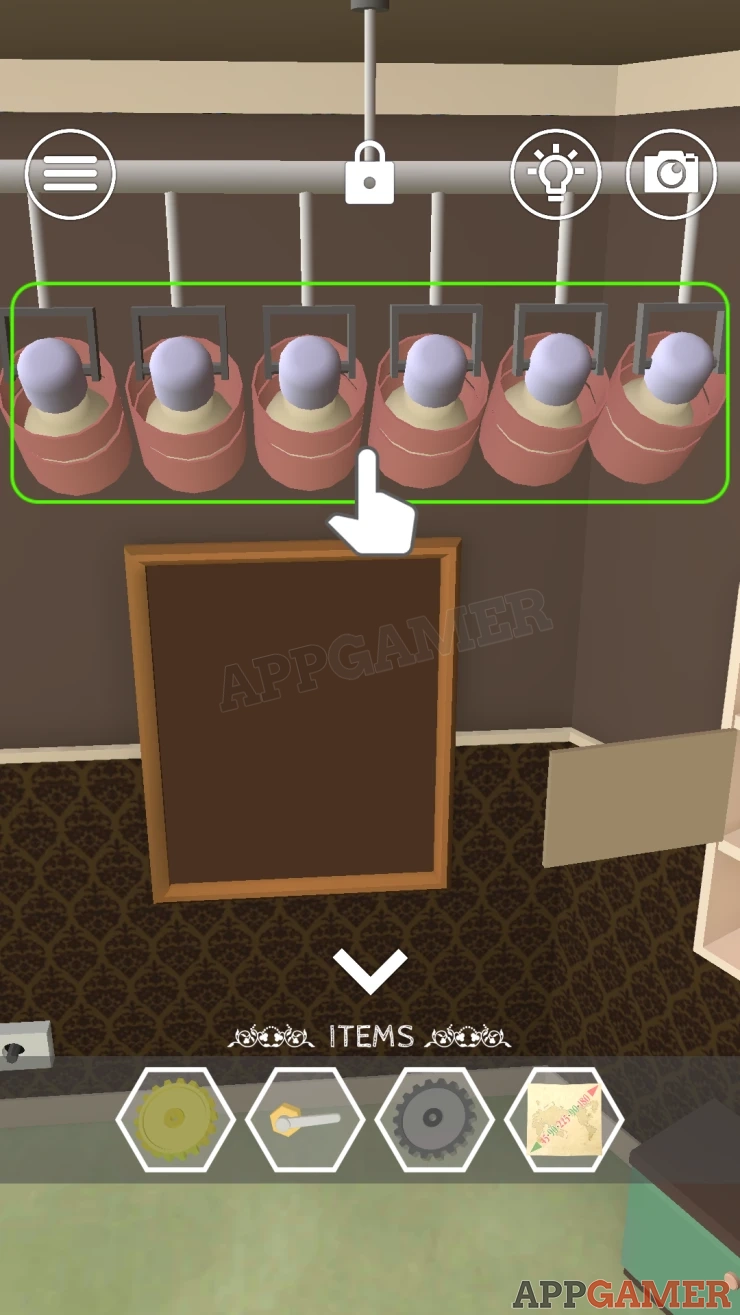
Now you can tap each of the 6 lights to turn it on, this will reveal a picture on the wall. But with all 6 light son there are some overlapping colors. Turn some lights on and some off to make a clear picture.
Solution: Show
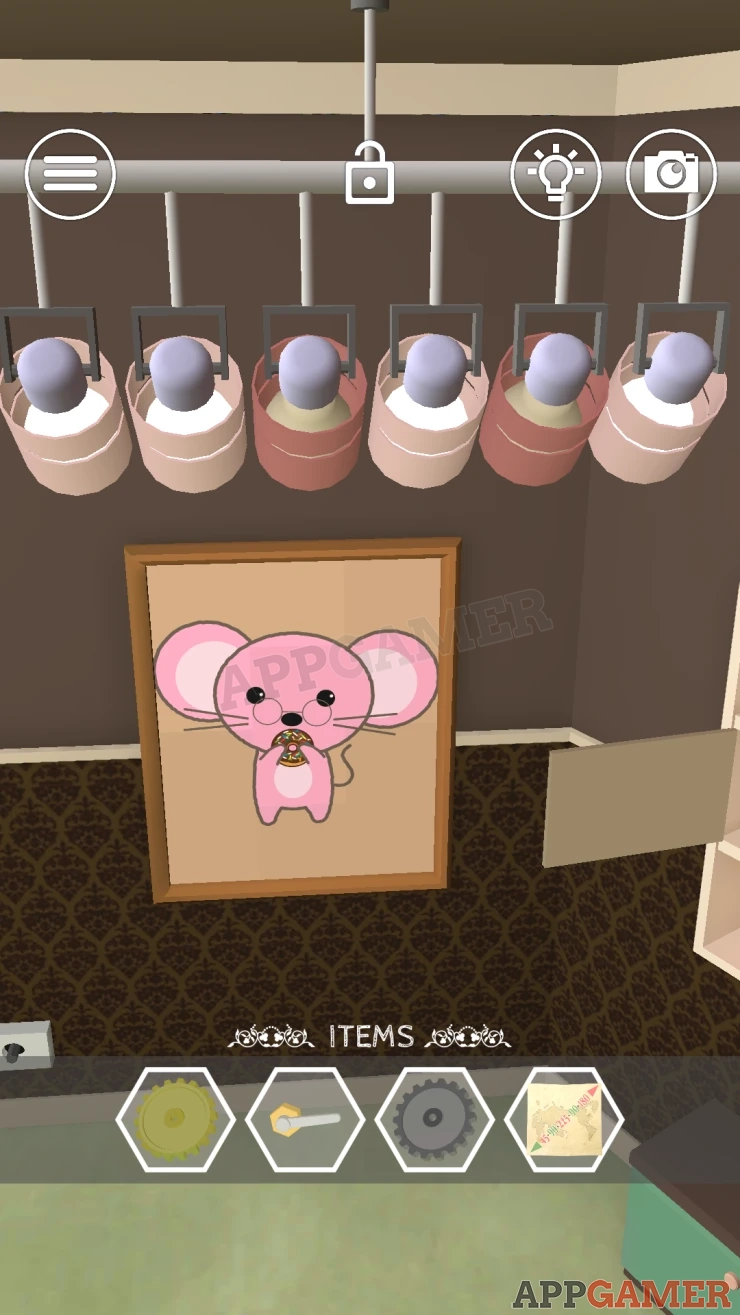
Now view the picture and it will change to reveal some gears and a clue. There are 5 symbols arranged in a semi circle.
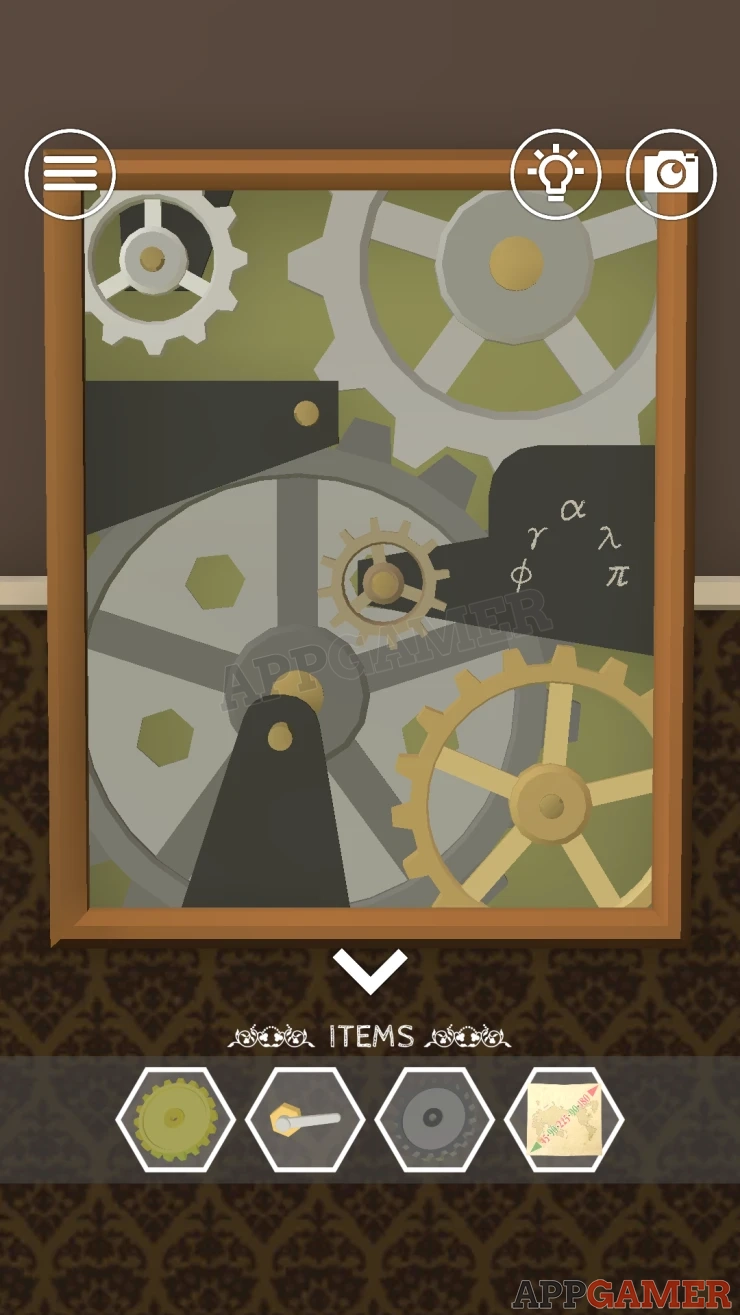
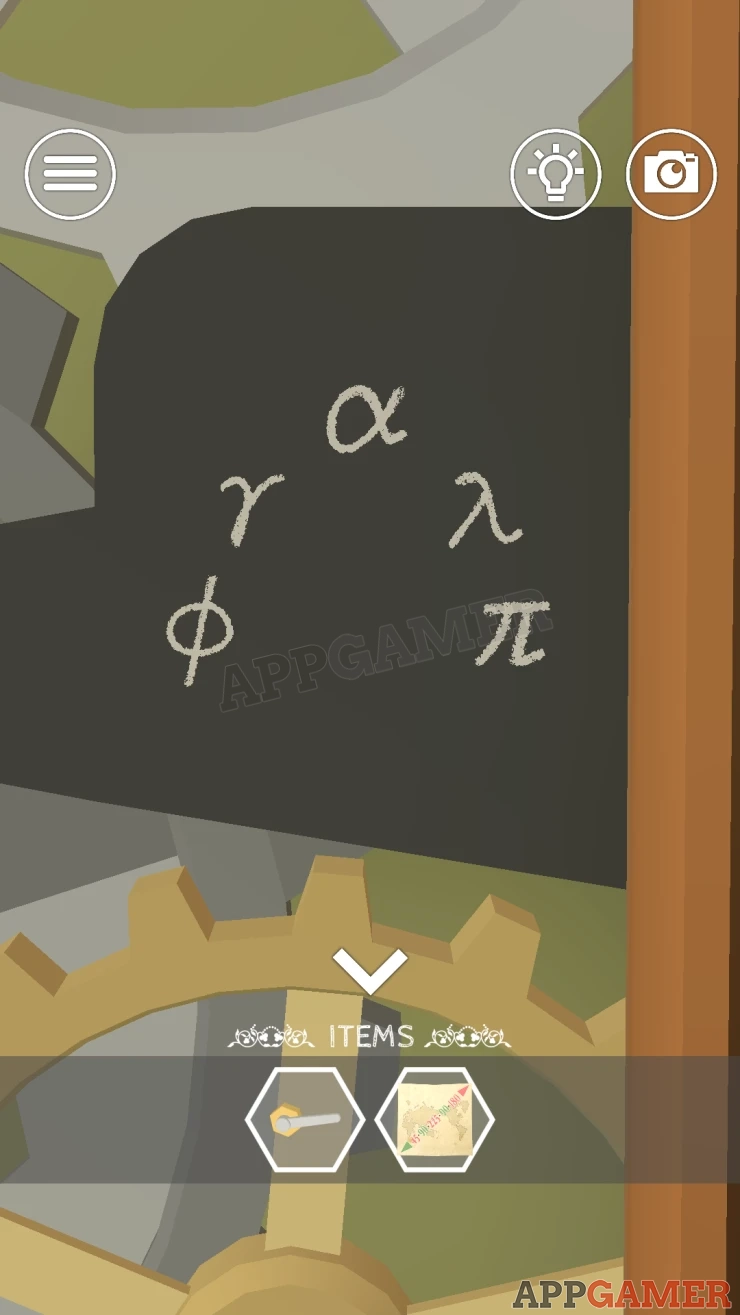
You can place the 2 gear wheels here now or wait.
Next Look on the wall at the to of the steps to see a small hole near the floor.
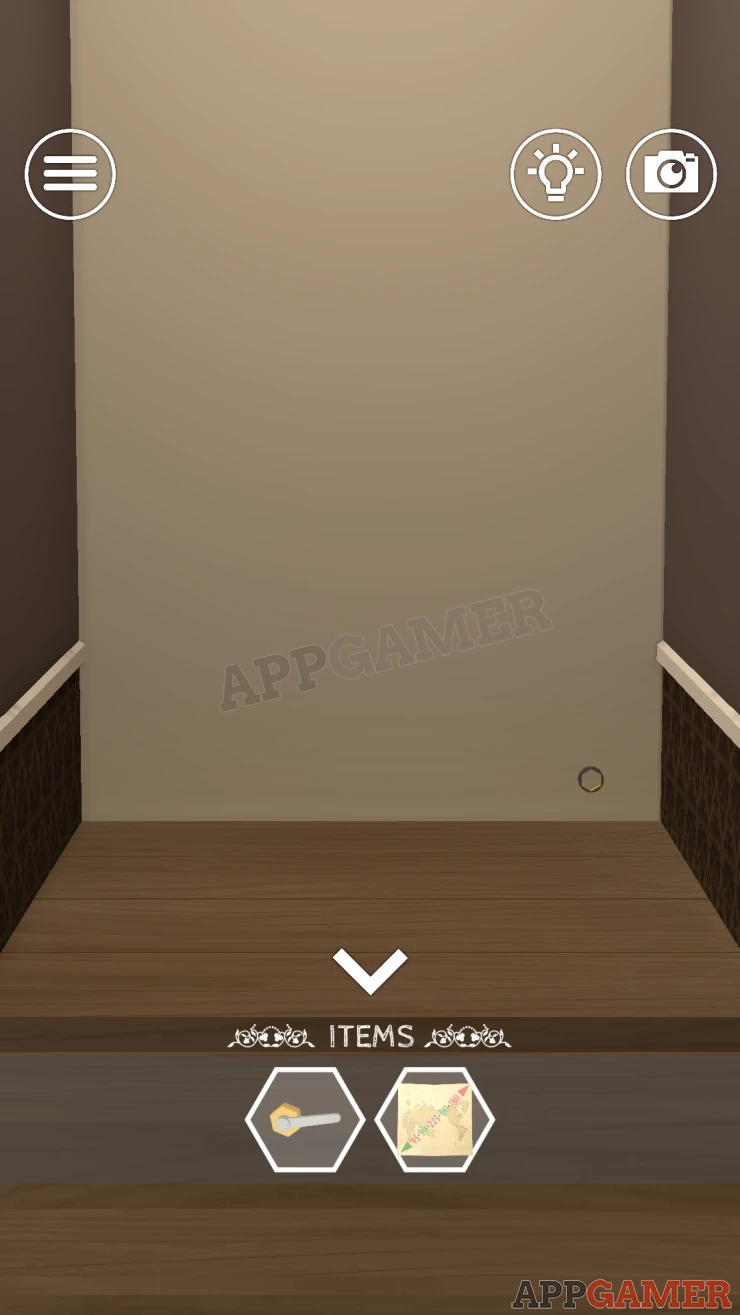
Place the handle here and tap it to open a doorway.
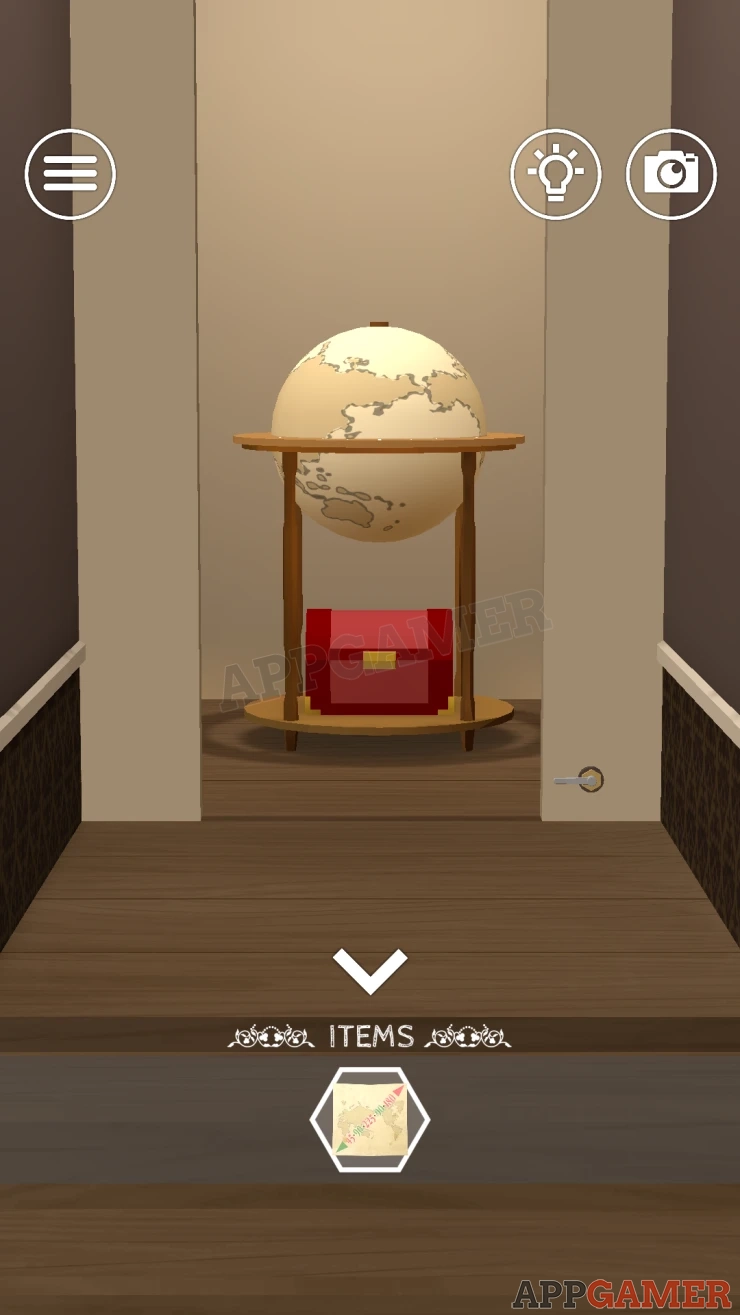
Inside is a Globe
Globe Puzzle
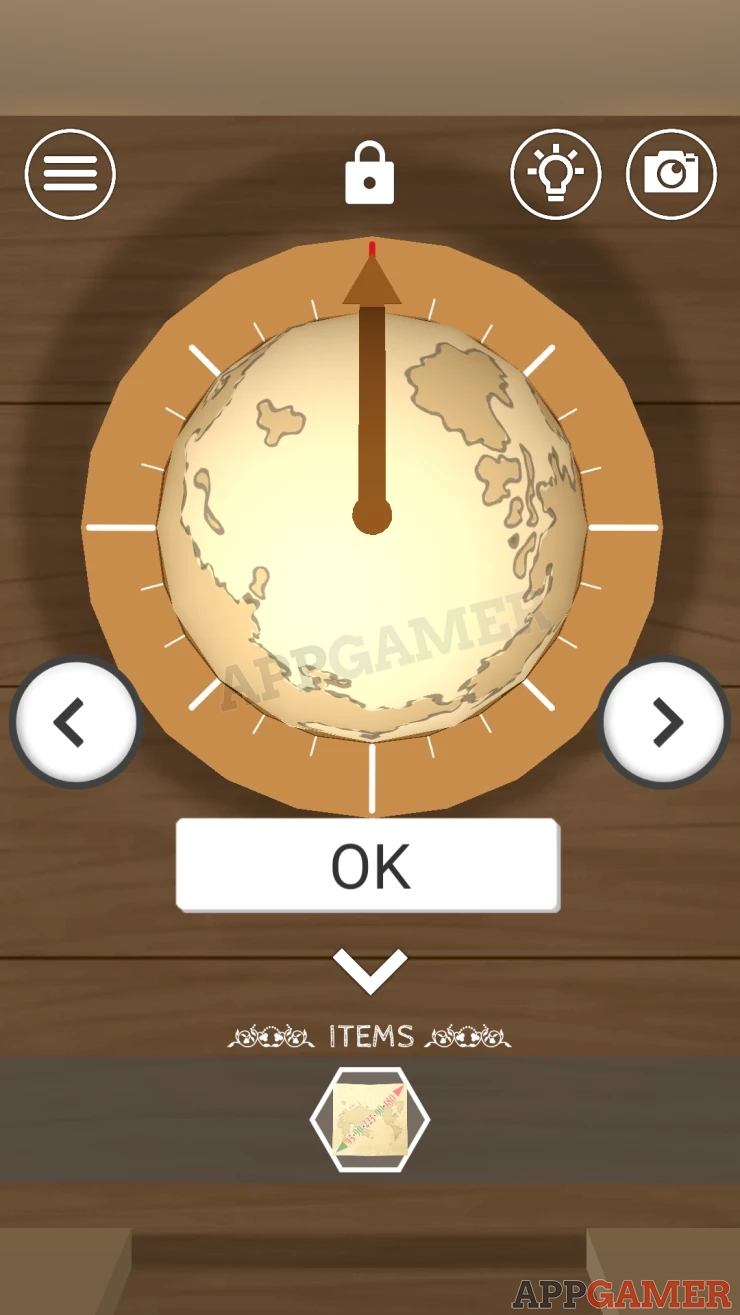
- On top of the globe is a dial with an arrow,
- Tap the left and right buttons to turn the arrow by 45 degrees at a time.
- Follow a clue to turn it in the correct order.
Solution: The map clue paper that you collected has a set of angles. The green ones match the left arrow and the red ones match the right arrow.Show
Code:
Right 45 (1 tap) Left 90 (2 taps) Right 225 (5 taps) Left 90 (2 taps) Right 180 (4 taps)Show
This opens the globe, inside is another map puzzle
Map Puzzle
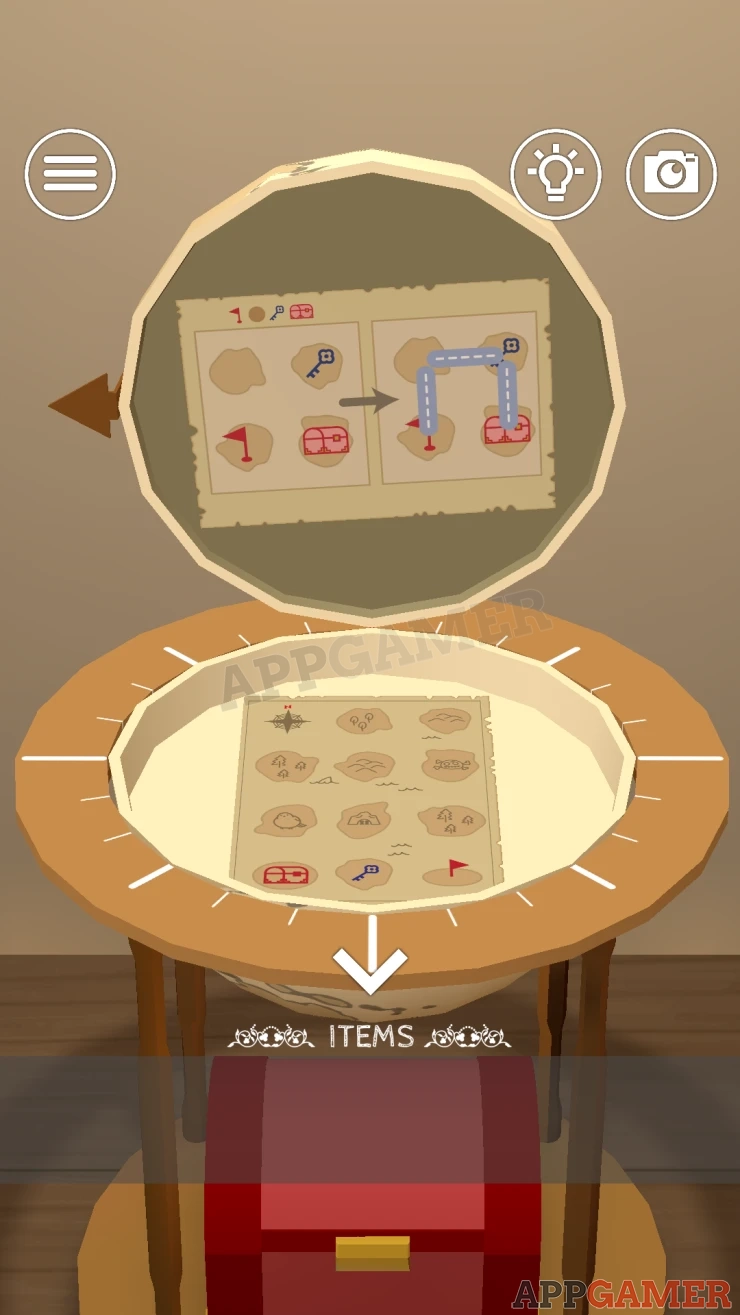
On the top of the globe is a the clue. You need to build a road from the Flag to the chest at the end.
Look on the bottom section to see the map.
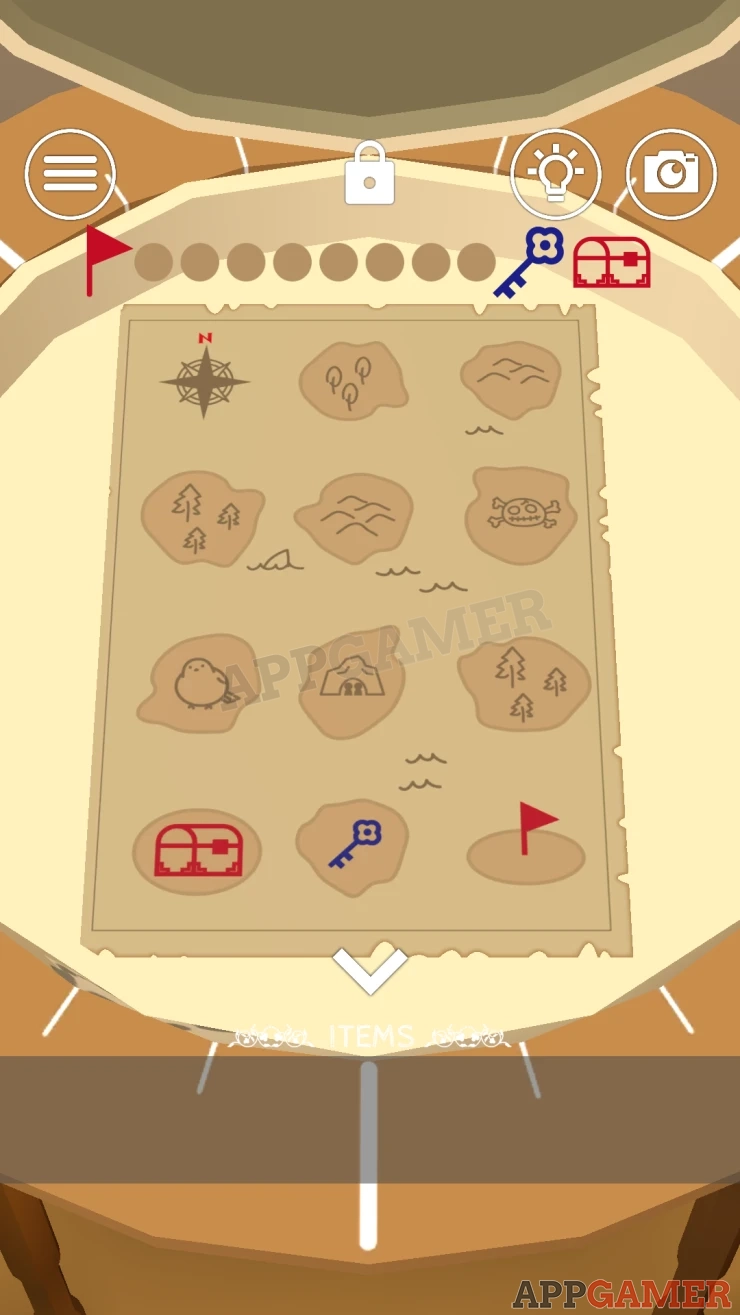
Here you need to do the same make a road of straight lines from the flag to the chest. The last 2 pieces must be the Key and then the Chest.
Solution: Show
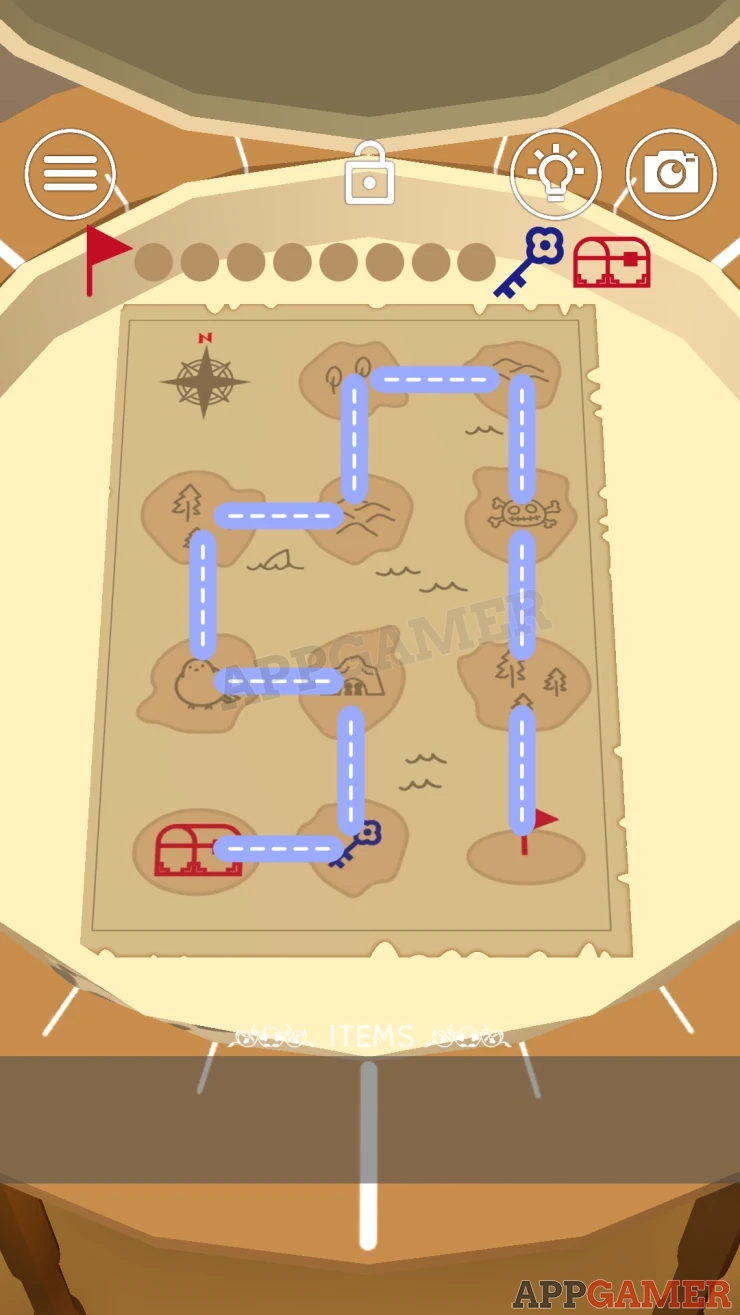
Collect the Winch handle from the box.
Now look on the wall to the right of the steps near the floor to see another hole.
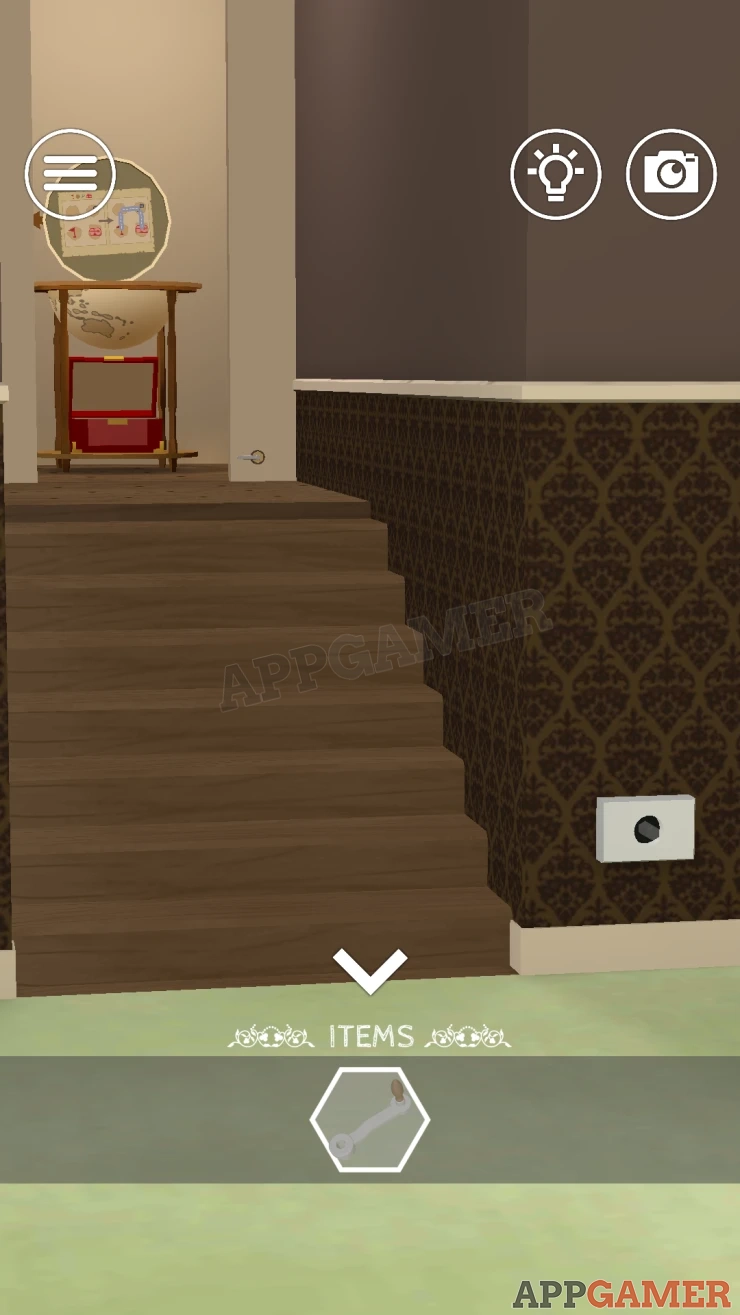
Place the winch handle here and turn it to raise the steps and reveal a device below.
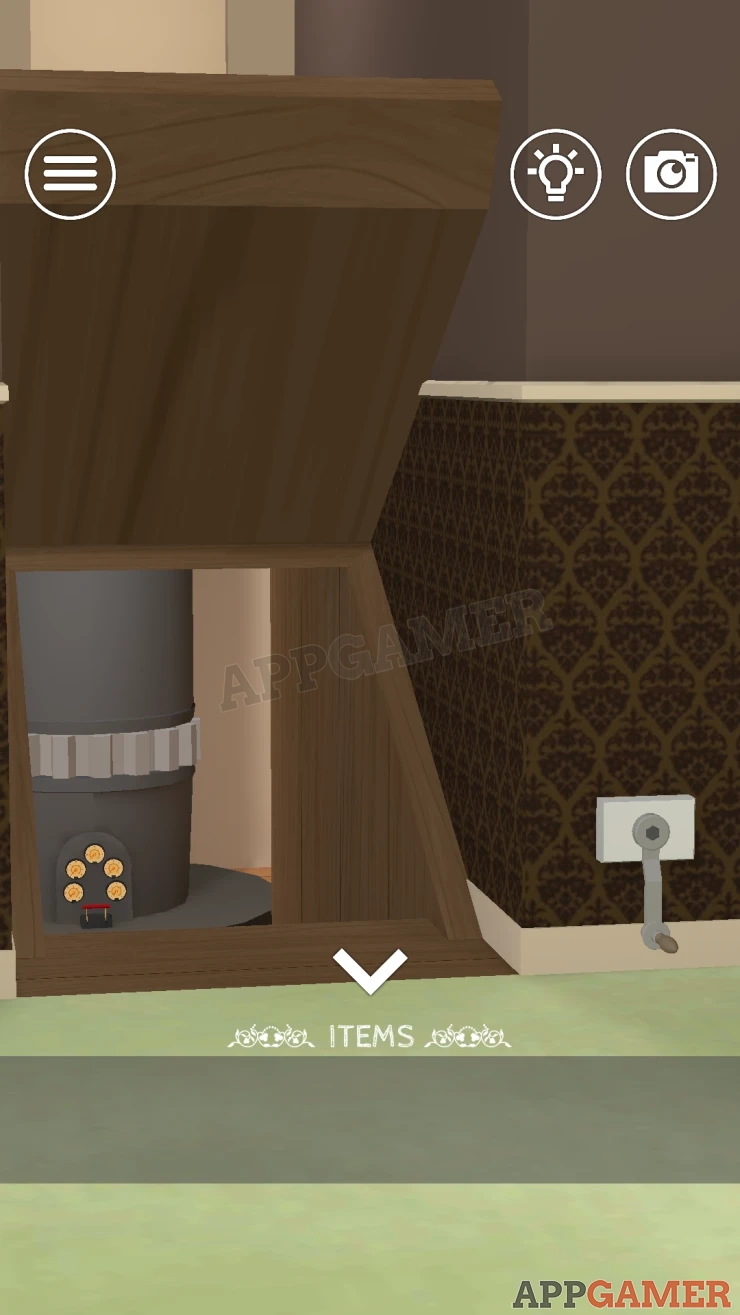
On the front are 5 dials that you can tap to set.
Use the clue from the picture area above to set the 5 dials to the same symbols.

Solution: Show
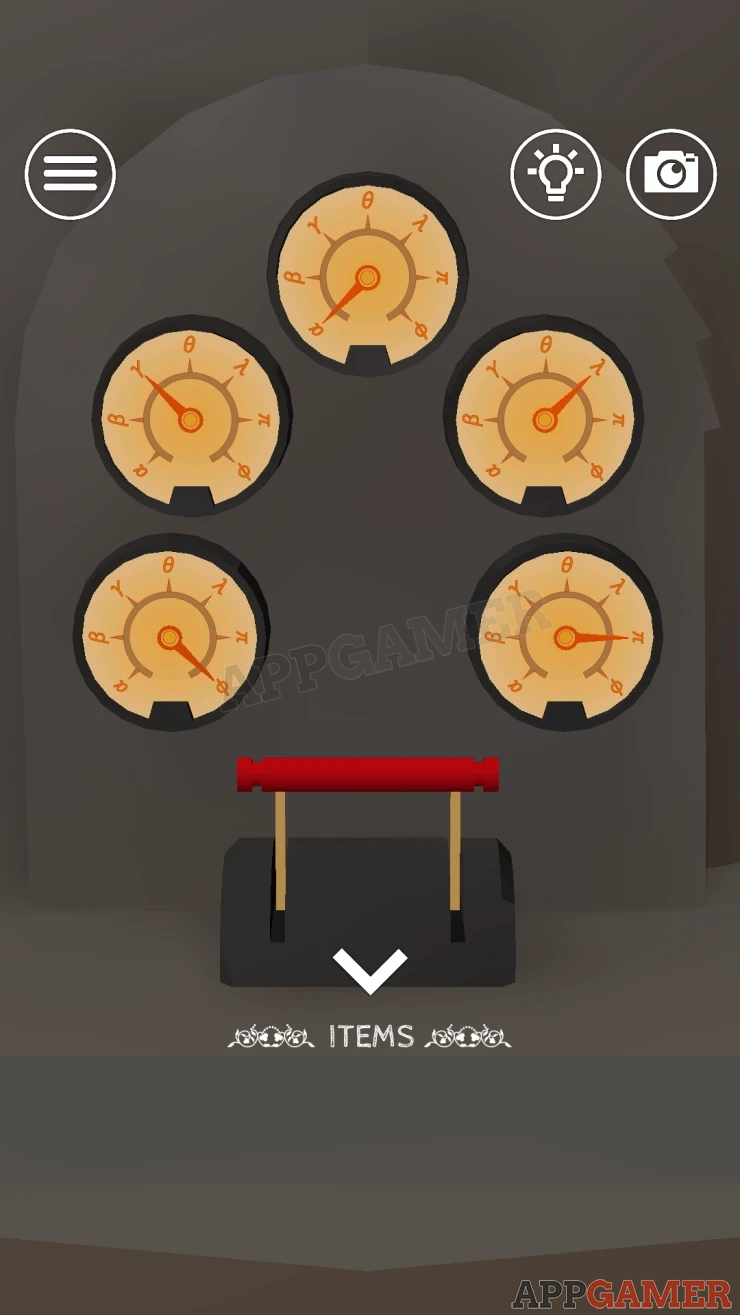
Then pull the red handle and this will start a mechanism.
Go back to the picture on the wall with the gears. Add the 2 gears to it if you have not already done so.
Next this will make the other teddy bears on the shelves turn around. Now you can see all of the playing cards. Notice the cards are numbered from 1 to 6.
Teddy Bear Puzzle
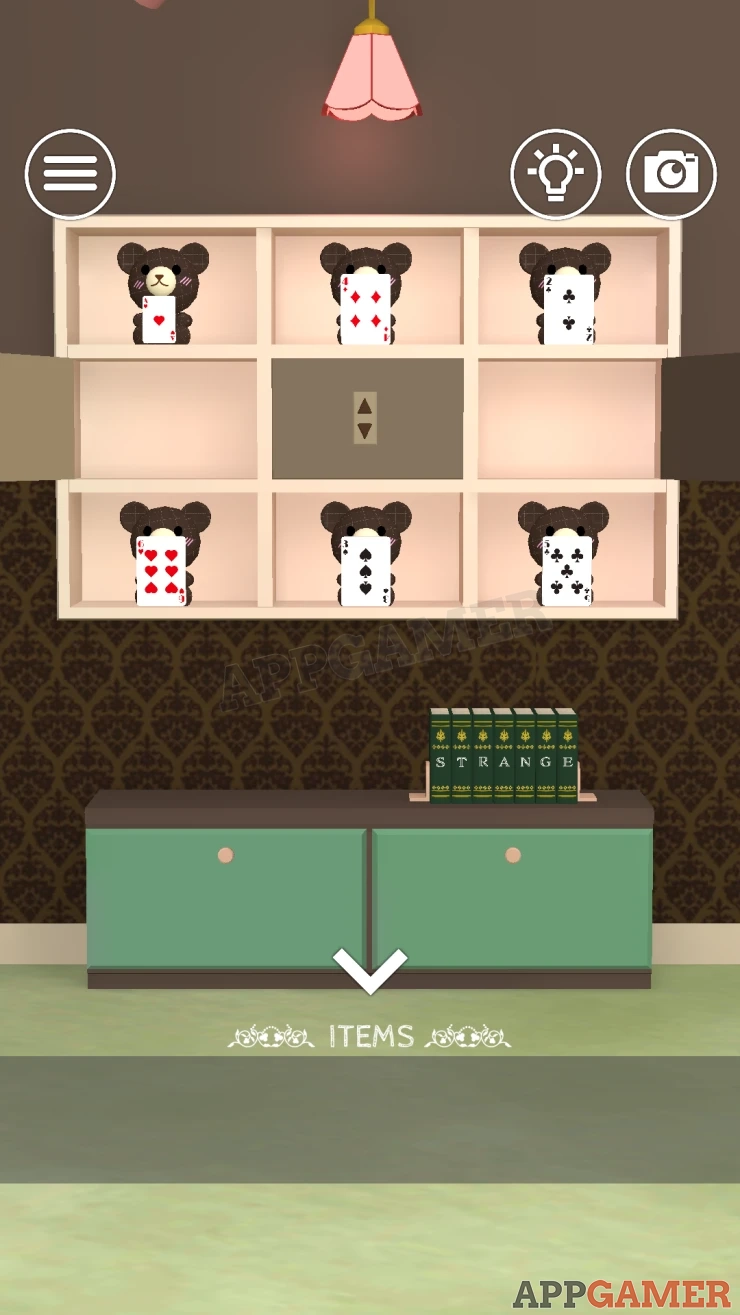
Now view the door in the center of the shelves.

This has up and down arrows
You need to tap 6 times to light up the lights above.
Find the correct order.
Solution: Look at the cards. 1 (ace) is on the top row so tap Up first. then follow the rest of the card on either the top (up) or bottom (down) rows.Show
Code: Up, Up, Down, Up, Down. Down.Show
Open the door and view the Key inside.
Tap the button on the key and it will become very large.

Now tap the large key and it will fit into the Keyhole in the ceiling. The key will unlock it and the ceiling will open.

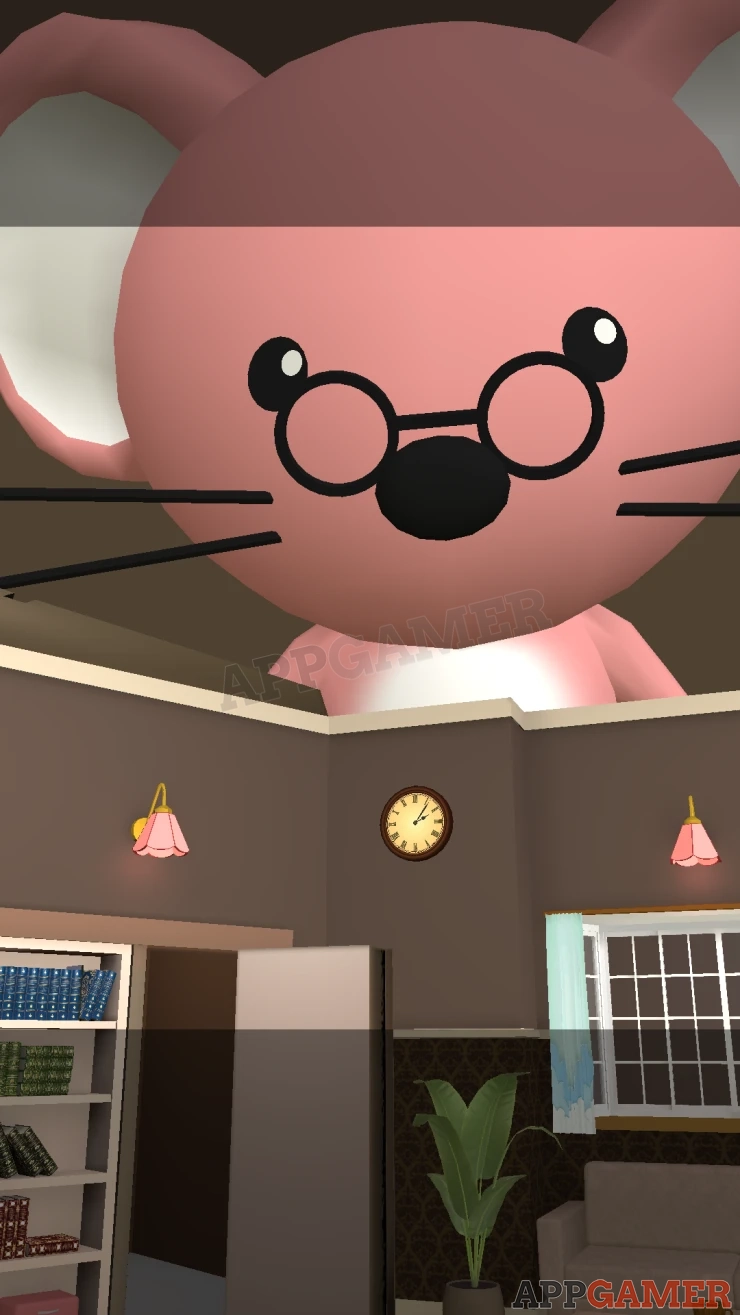
Now we see who is really setting these puzzles. This completes Room 7. Move on to Room 8
 With 20 years of experience in creating video game content for the internet and over 30 years as a gamer, Mark is now a passionate mobile App Gamer. Loving a challenge, he is always ready to get stuck in to both survival builders and puzzle solving games. He has been providing content for AppGamer since 2014.