
Room 8 Walkthrough
More Tiny Room Collection
This is our walkthrough for Room 8 in Tiny Room Collection, a room escape puzzle game from Studio Wakaba. This next room has a theme of space and the stars. Check though every area to look for important clues to help with the puzzles.
Tiny Room Collection Room 8 Walkthrough
When you start you will be on the right of the room. There is a large sphere in front of you with a screen with letters, and on the floor on the right is a red circle that is a lift to use later.
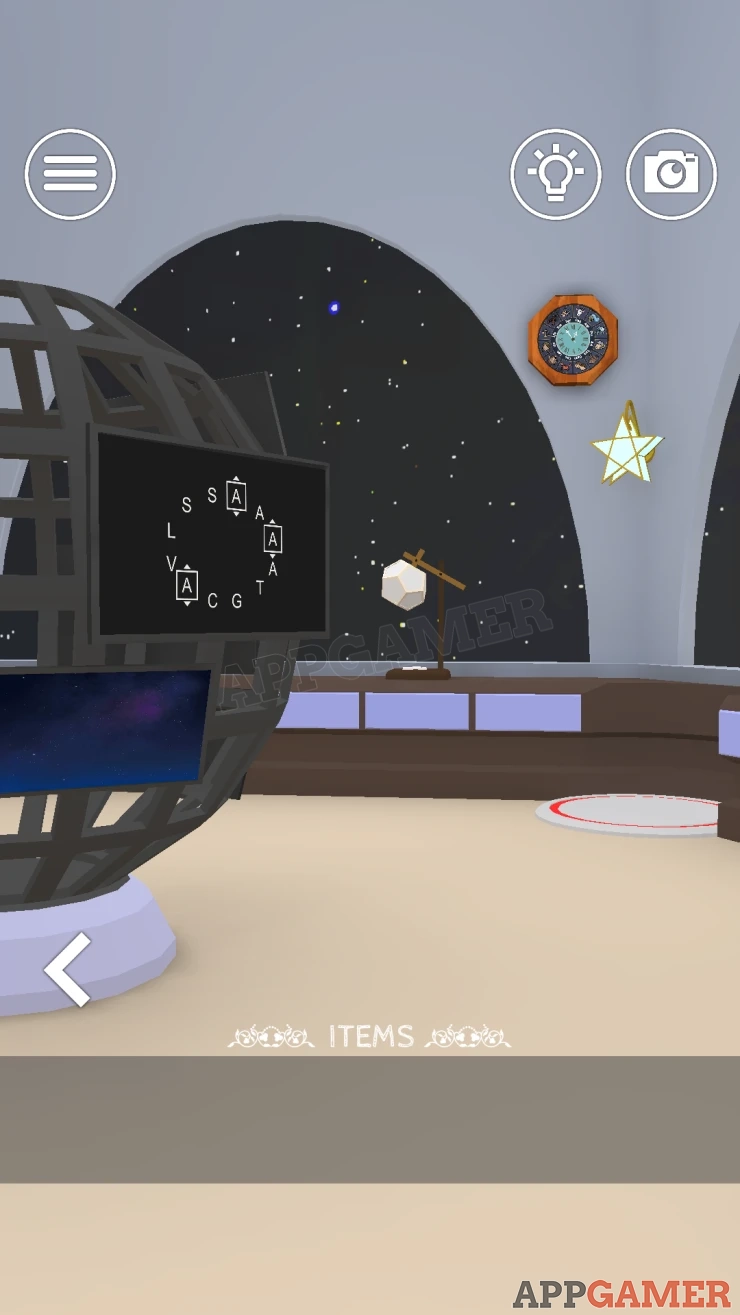
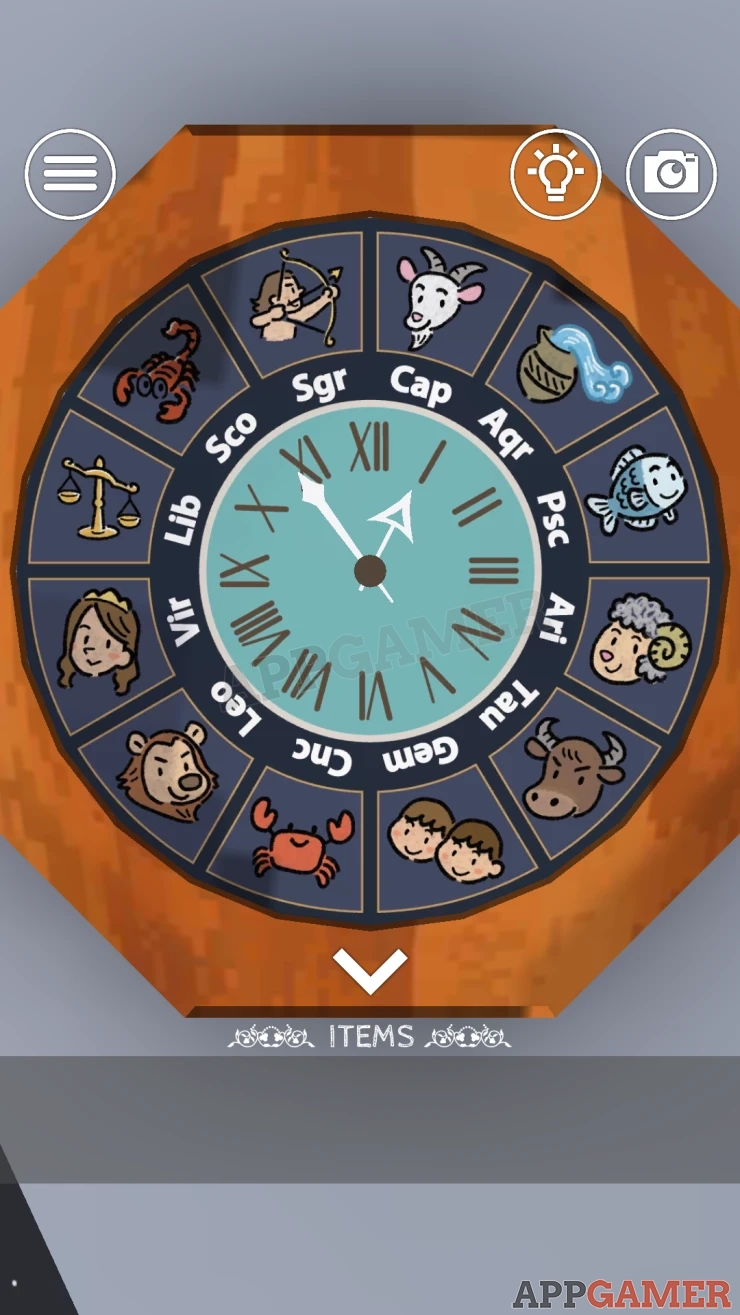
Look on the wall to see a clock that has Star sign icons arranged around it with the first 3 letters of each name.
Now look at the screen on the Sphere. This has letters arranged in a circle. Three of them can be changed.
Find the correct letters to set them to, to solve the puzzle.
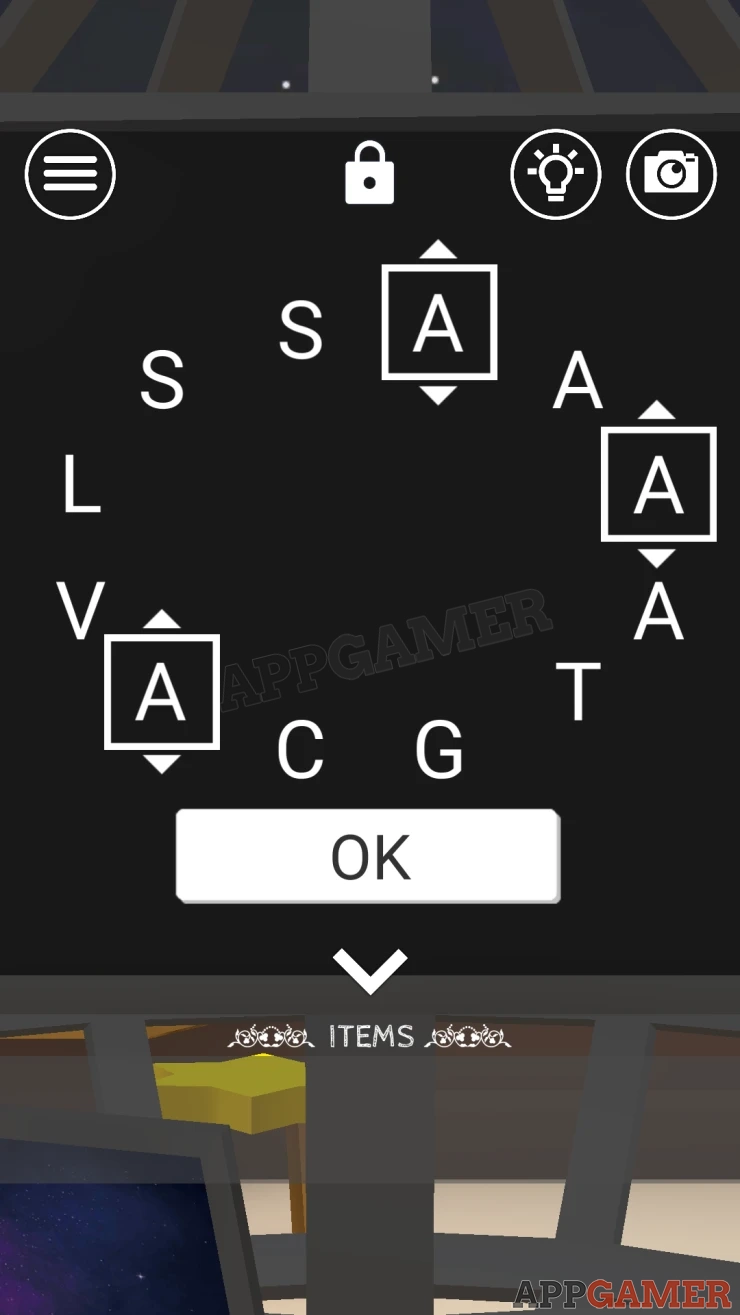
Solution: The letters are the first letter of each of the Star signs. The missing ones are C P LShow
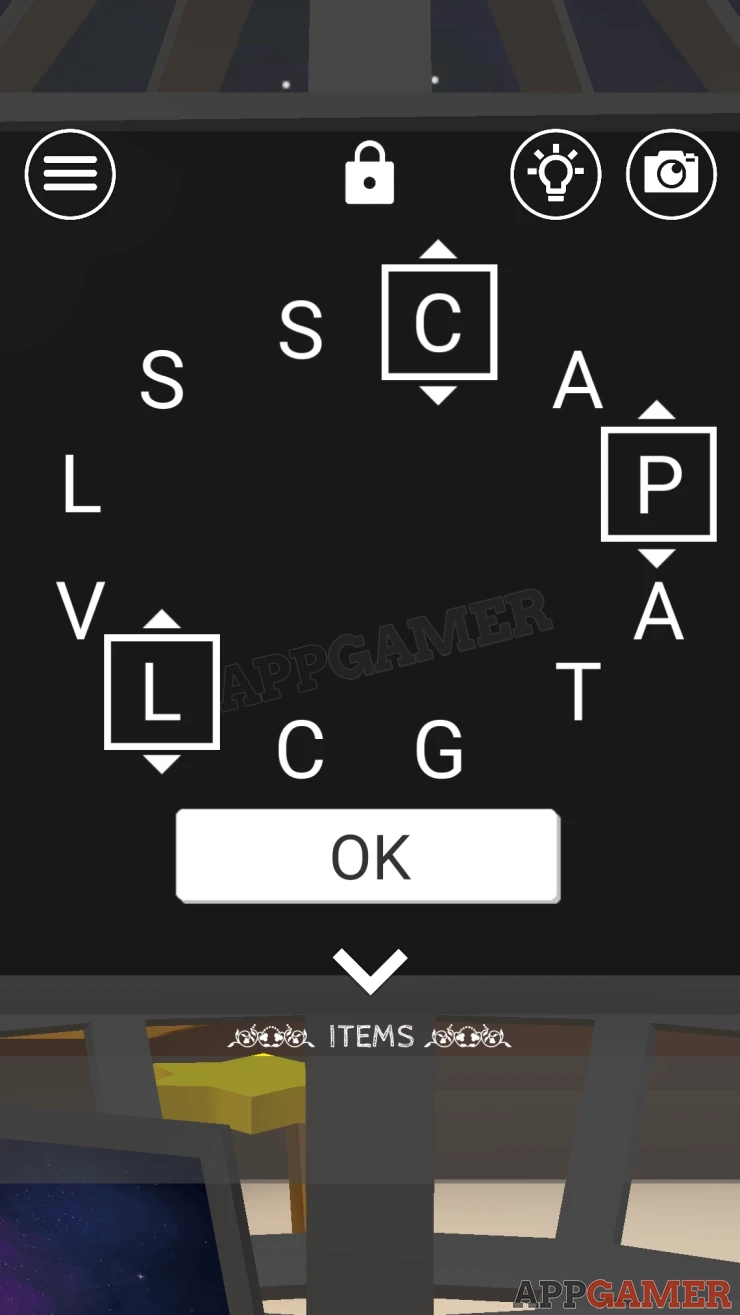
Once set you will see various other screen turn on and each one is a new clue.
Below the main screen is a small one with 6 triangles
Then if you look to the left you will see 3 more of these screens.
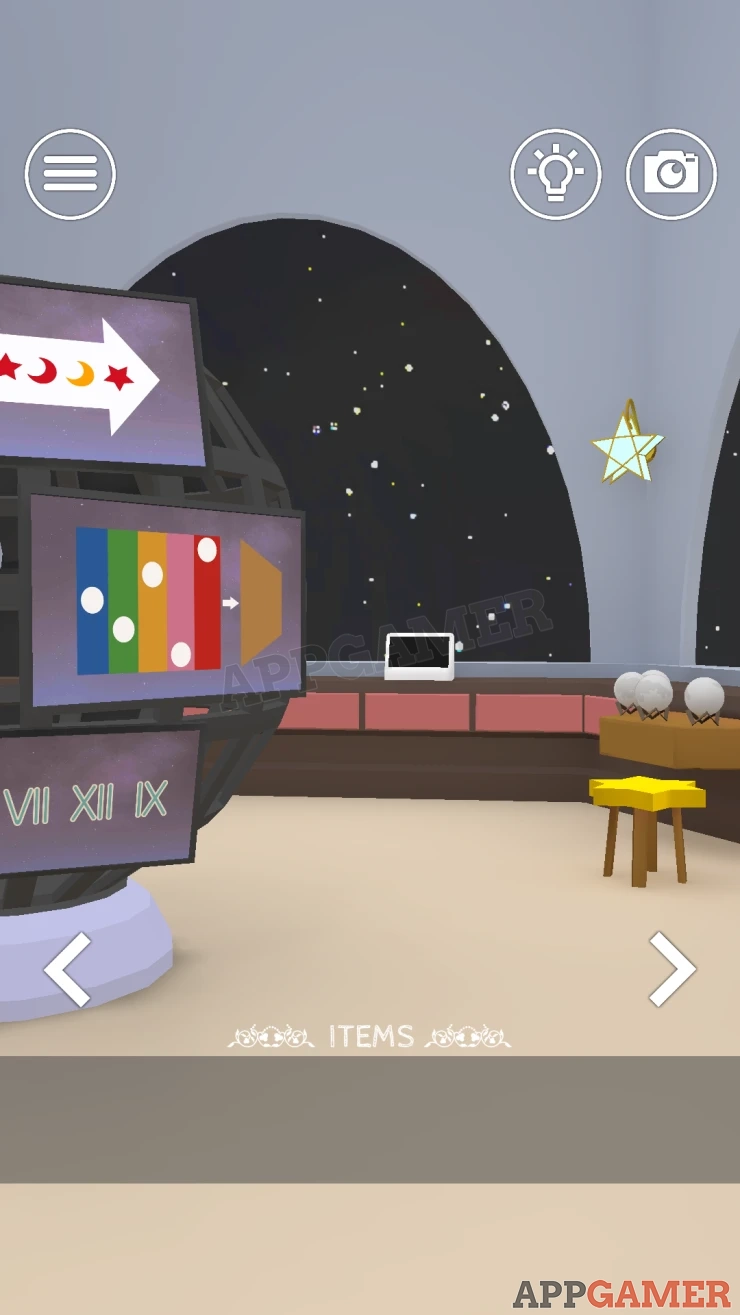
Then finally look to the left again to see 3 more screens.
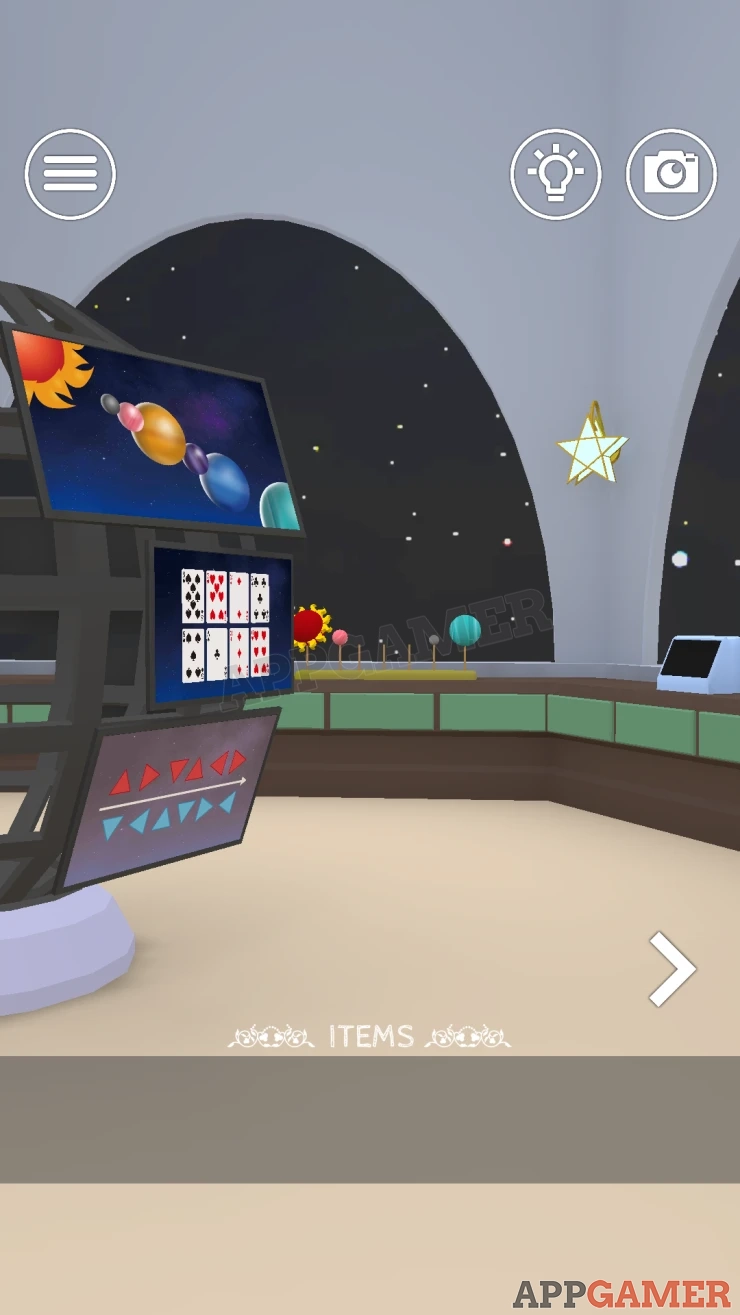
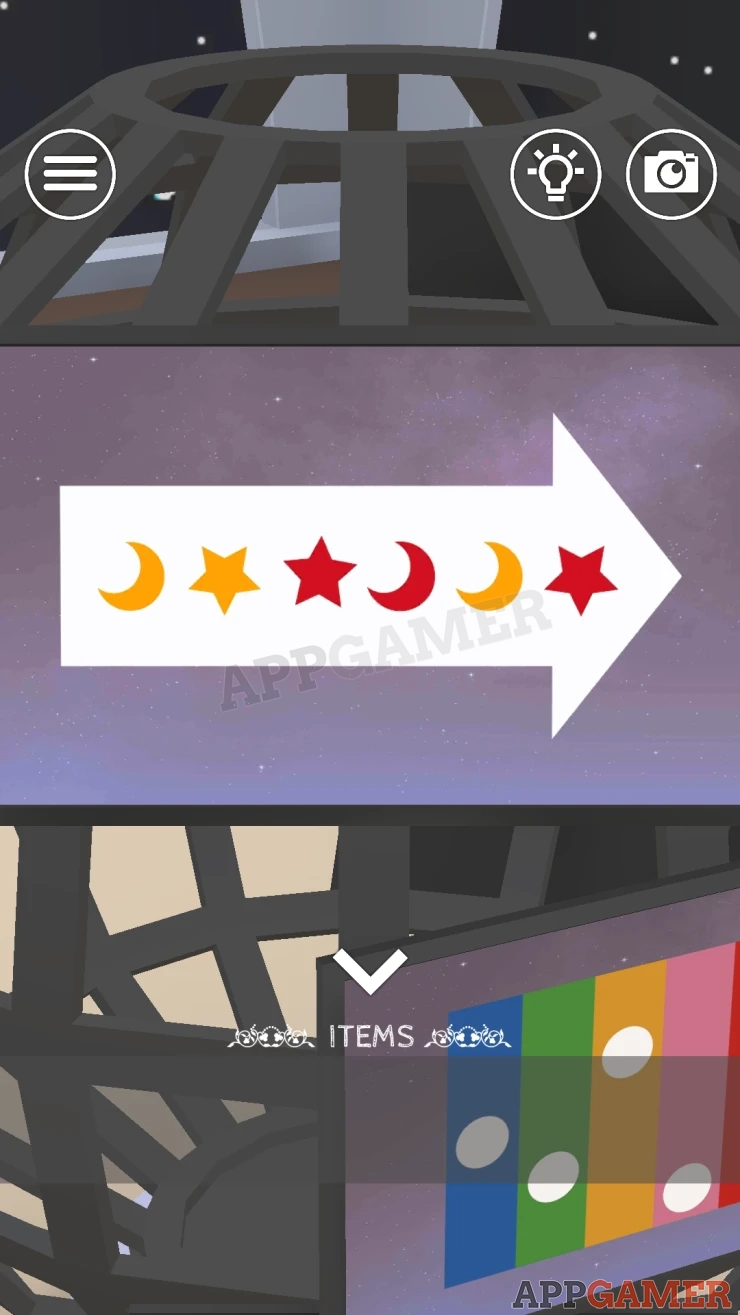
In the middle area check the screen at the top to see Moon and star symbols in 2 colors. Now go back to the right side of the room and view the lamp that is on the back counter.
Moon and Star Lamp
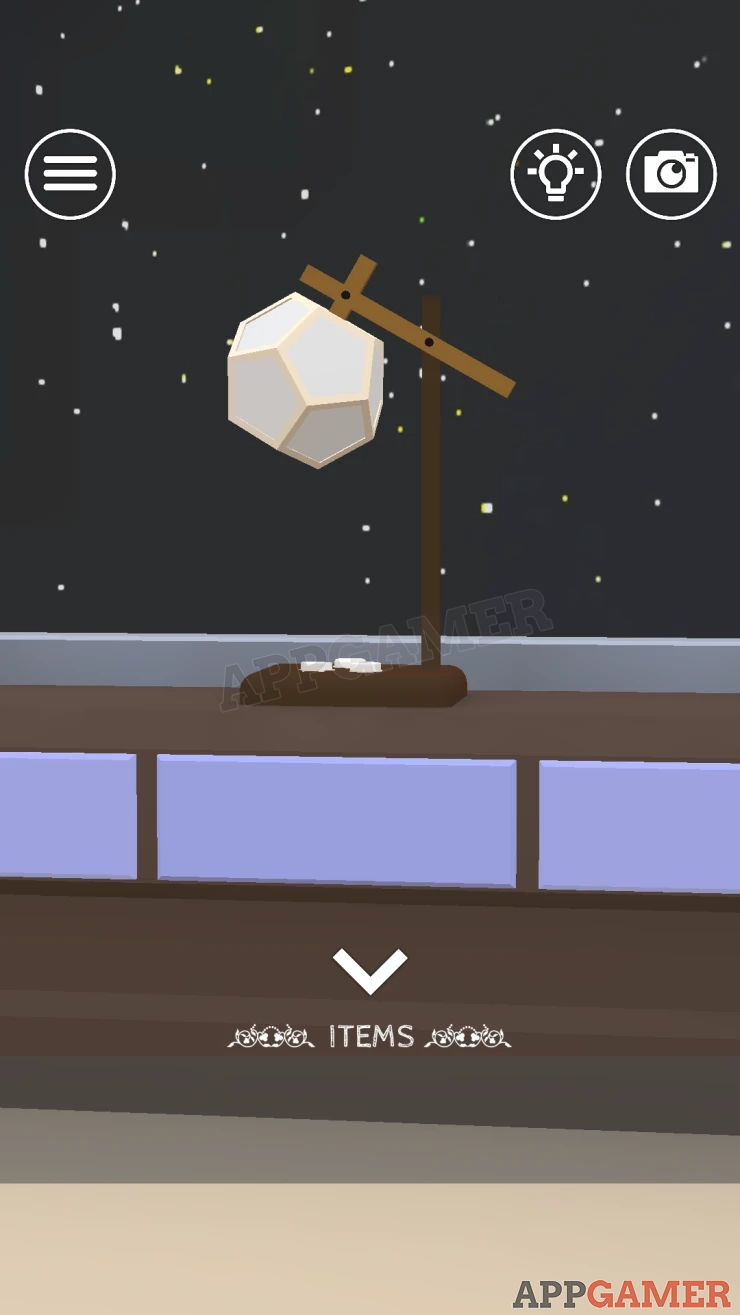
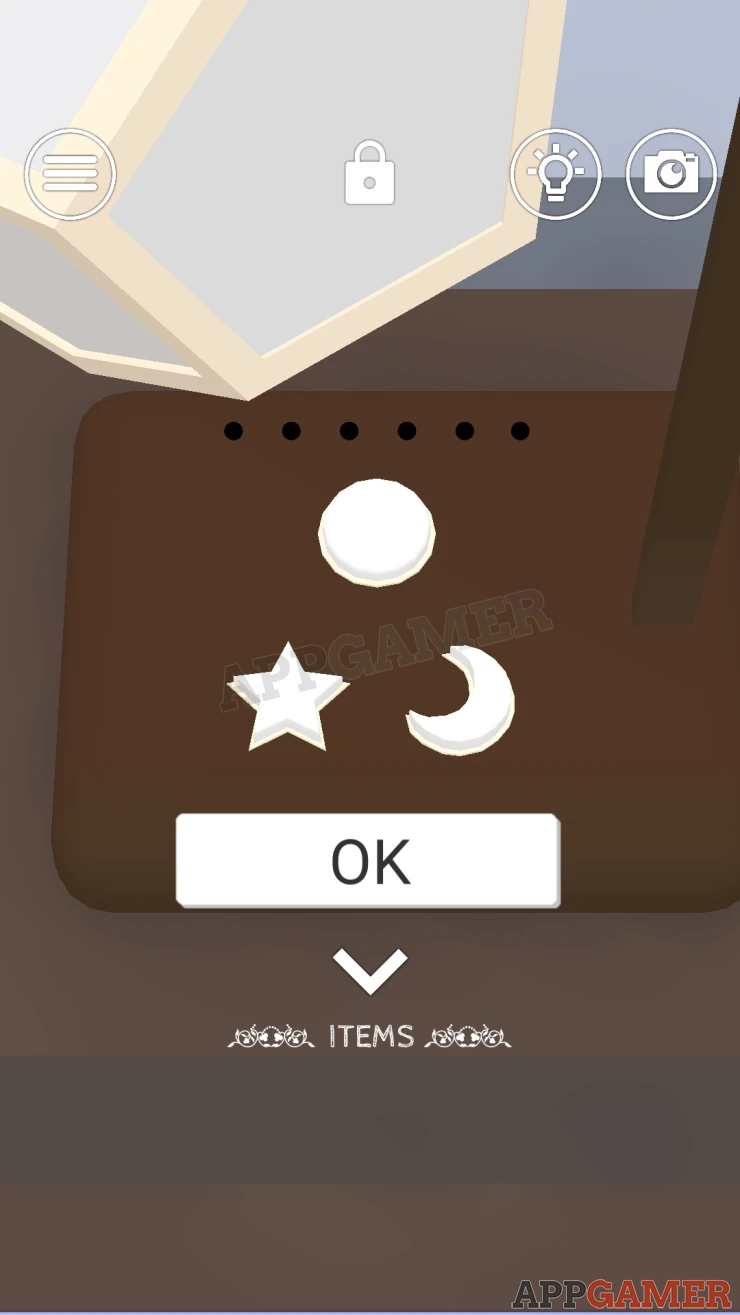
- On the base are 3 buttons. A round one, a Star and a Moon.
- The round button can be used to change the color of the lamp.
- Use the clue from the screen to tap the buttons in the correct order.
Solution:
Show
Collect the Planet Model.
Colored Balls
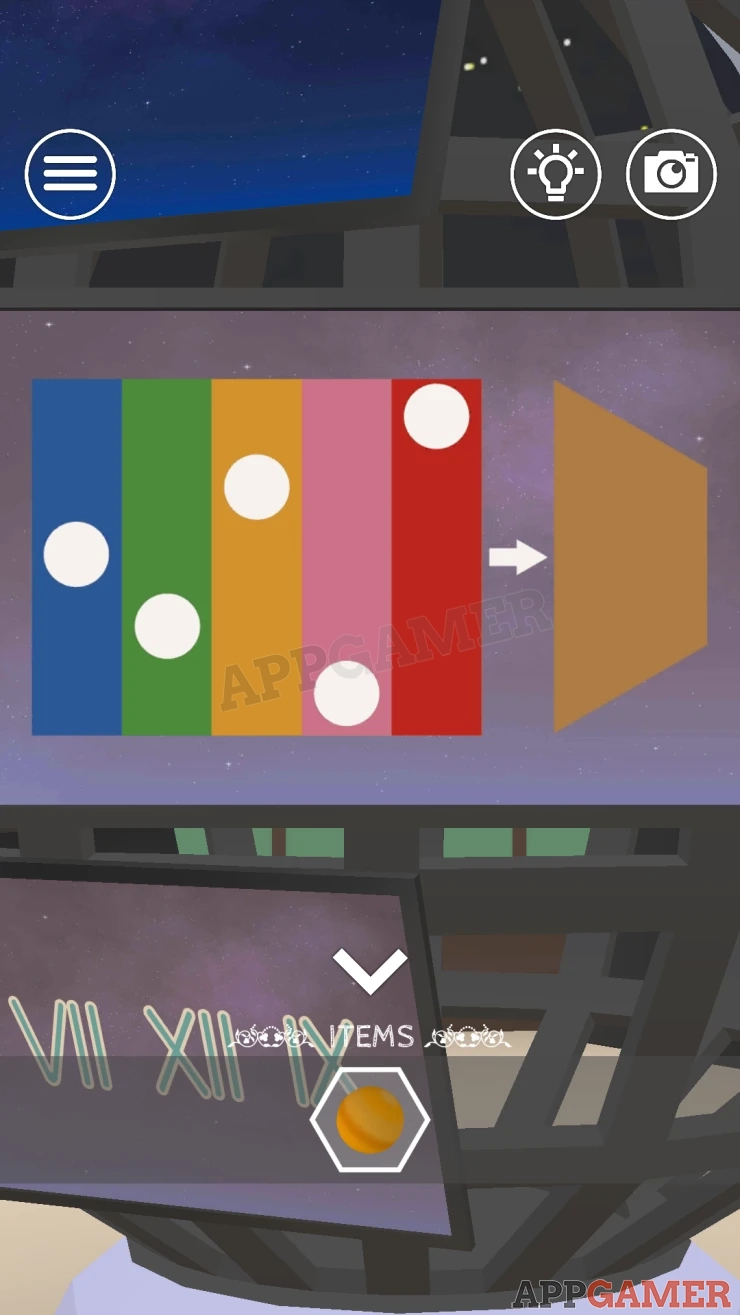
Turn to the middle area and look at the center screen to see the next clue. This has 5 colored lines with white circles on them and a trapezium shape on the right.
In the same are of the room look at a shelf on the right wall that has 5 white balls on it.
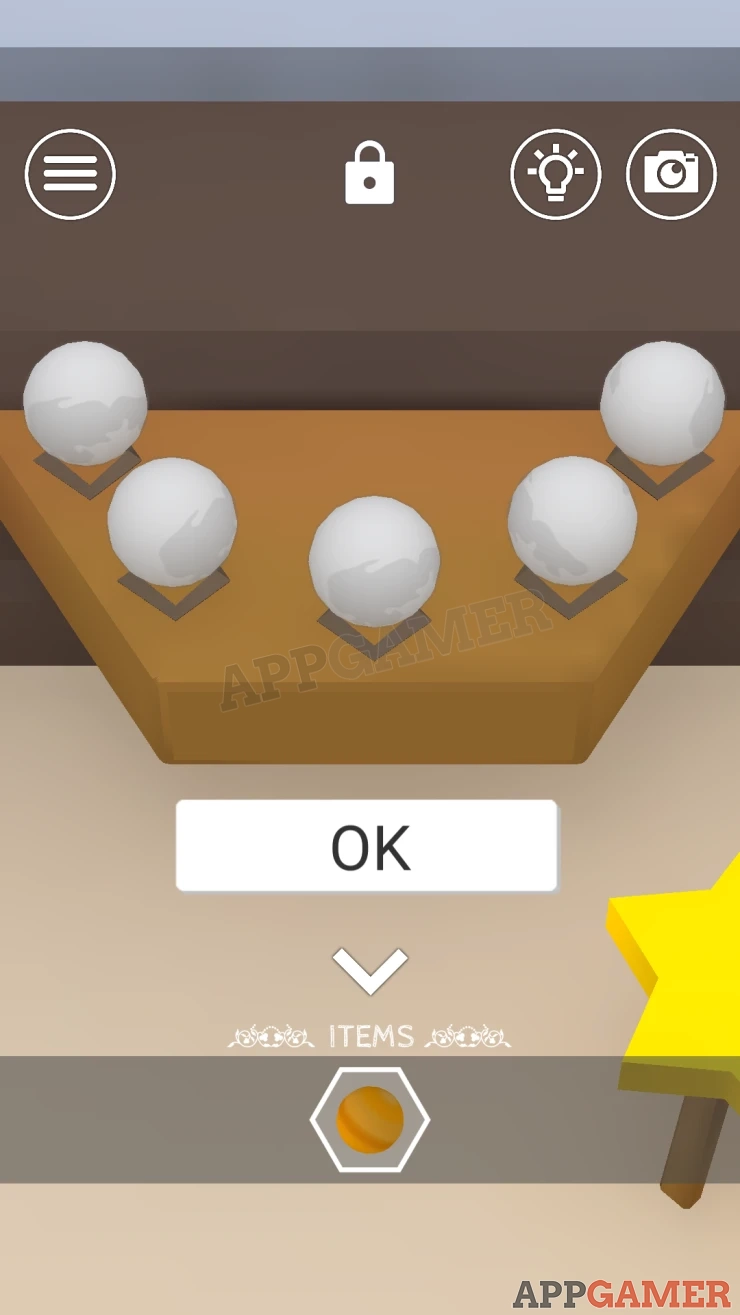
Notice that the shelf is also a brown trapezium shape.
You can tap each of the white balls to change the color
Use the clue above to set these to the correct colors.
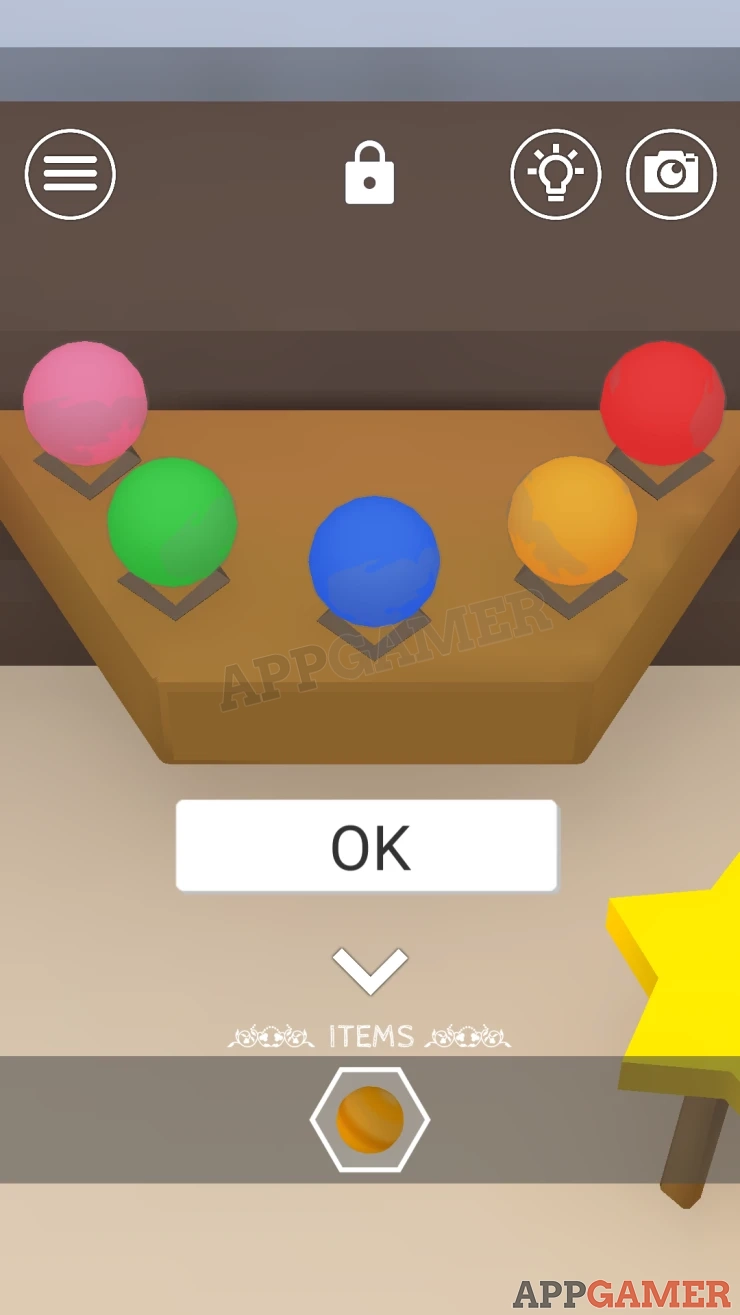
Solution: From the clue each white circle is on a different color and lined up to positions on the trapezium, e.g. the Center white circle is on the Blue line.Show
Code: Show
Collect another Planet Model.
Roman Numerals
Next look at the bottom screen on the Sphere in this area, it has 4 sets of Roman Numerals.
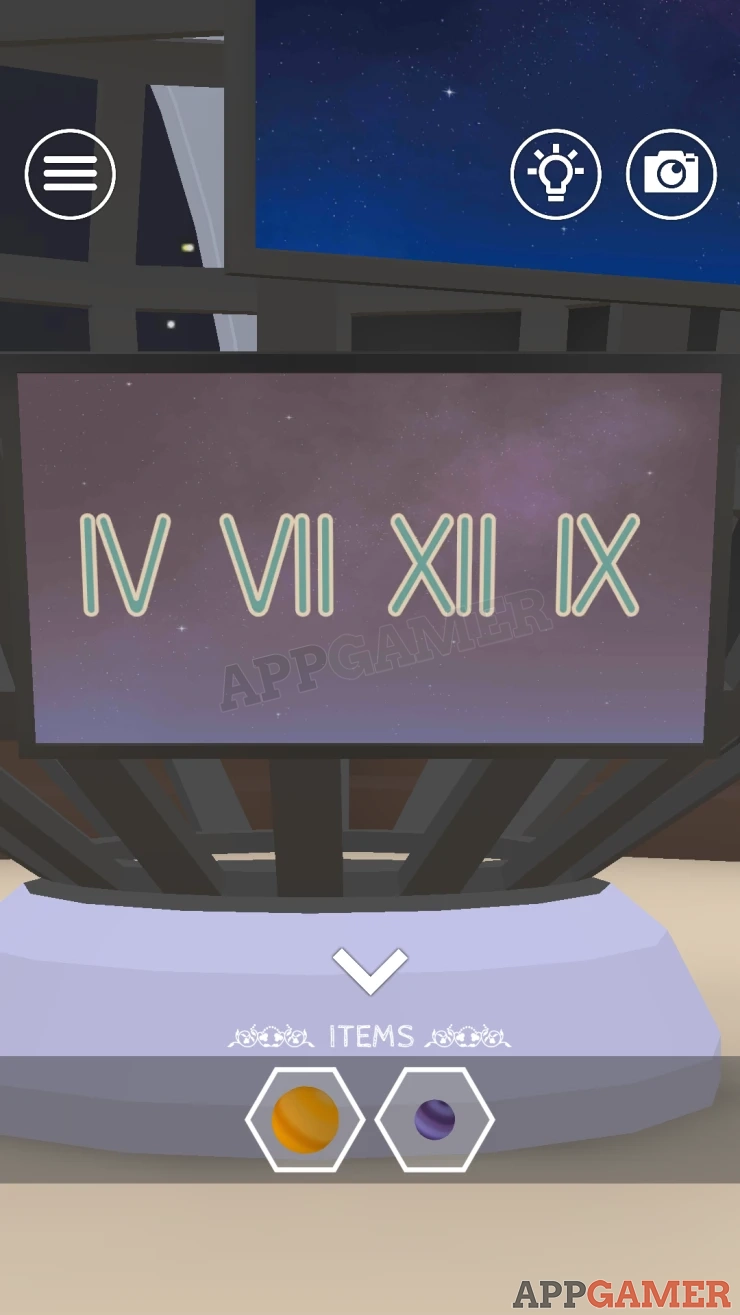
Then look as the console screen at the back of the room.
This has a further clue with the squares above with marked out areas. Below this is a 4 digit code entry.
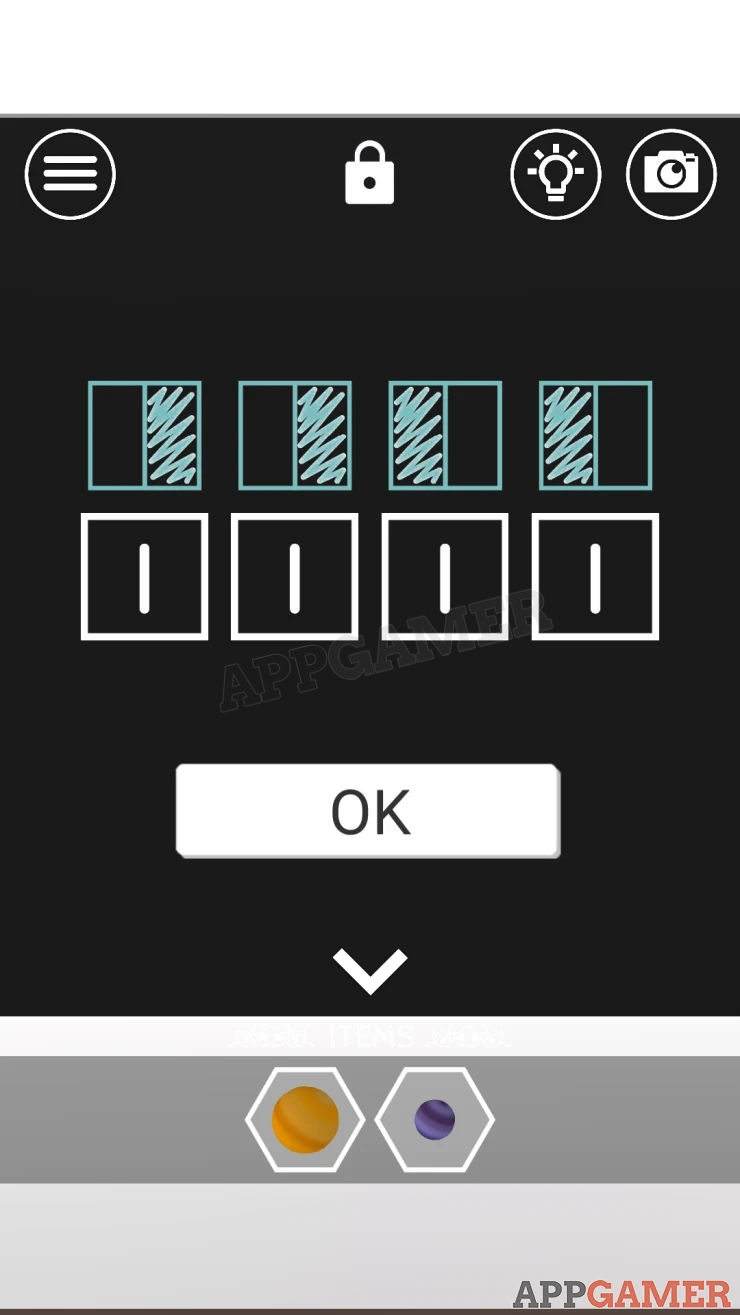
Solution: In each of the Roman numerals separate them into 2 halves and then take the numerals that relates to the shaded area on the clue on the console. This will give you 5 numbers. e.g. the first one is I V but you need the second half only = VShow
Code : V II X IShow
Collect a Cat Figurine.
Now turn to the far left side of the room, there are 3 more screens.
First look at the center screen. This has playing cards on it.
Playing Cards
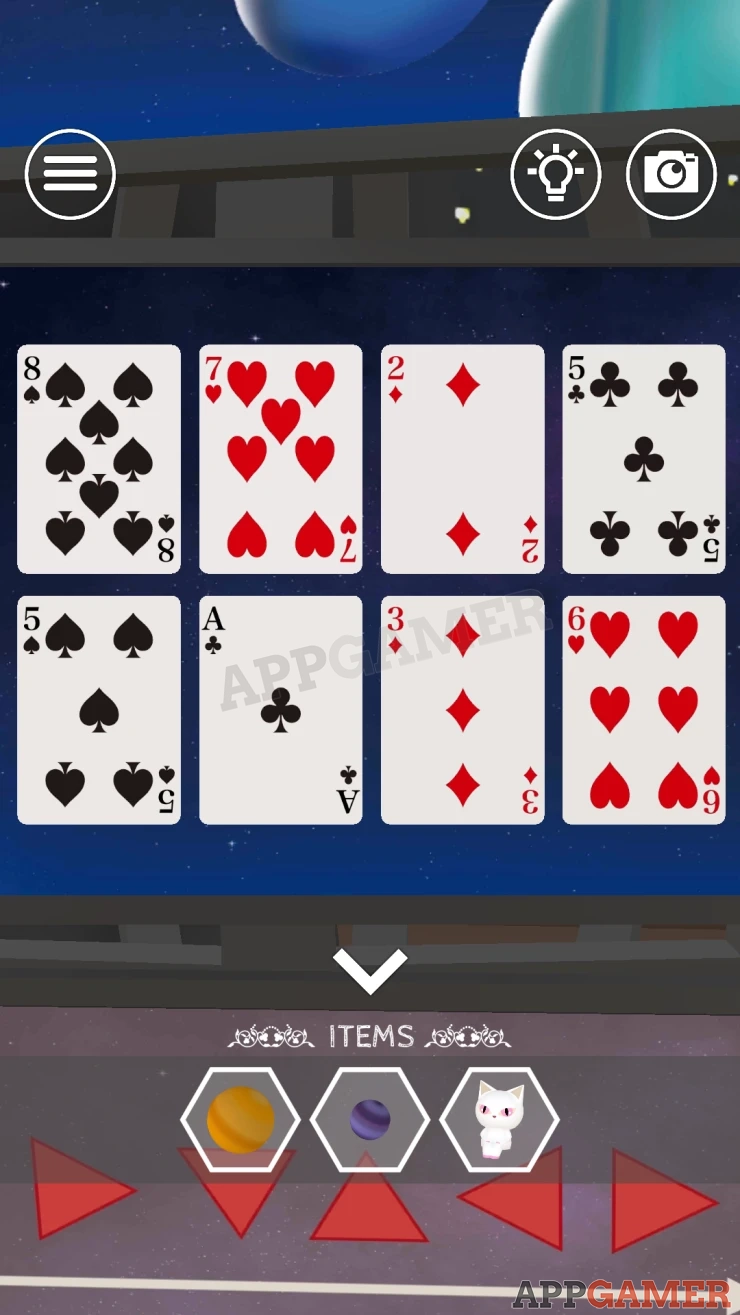
- Notice there are red and black cards
- You can tap each one to turn it over and see a letter on the back.
- Now view the console screen on the right side of this area.
- You can see the word SPACE written in red and black.
- Use the clues to get 5 digit code.
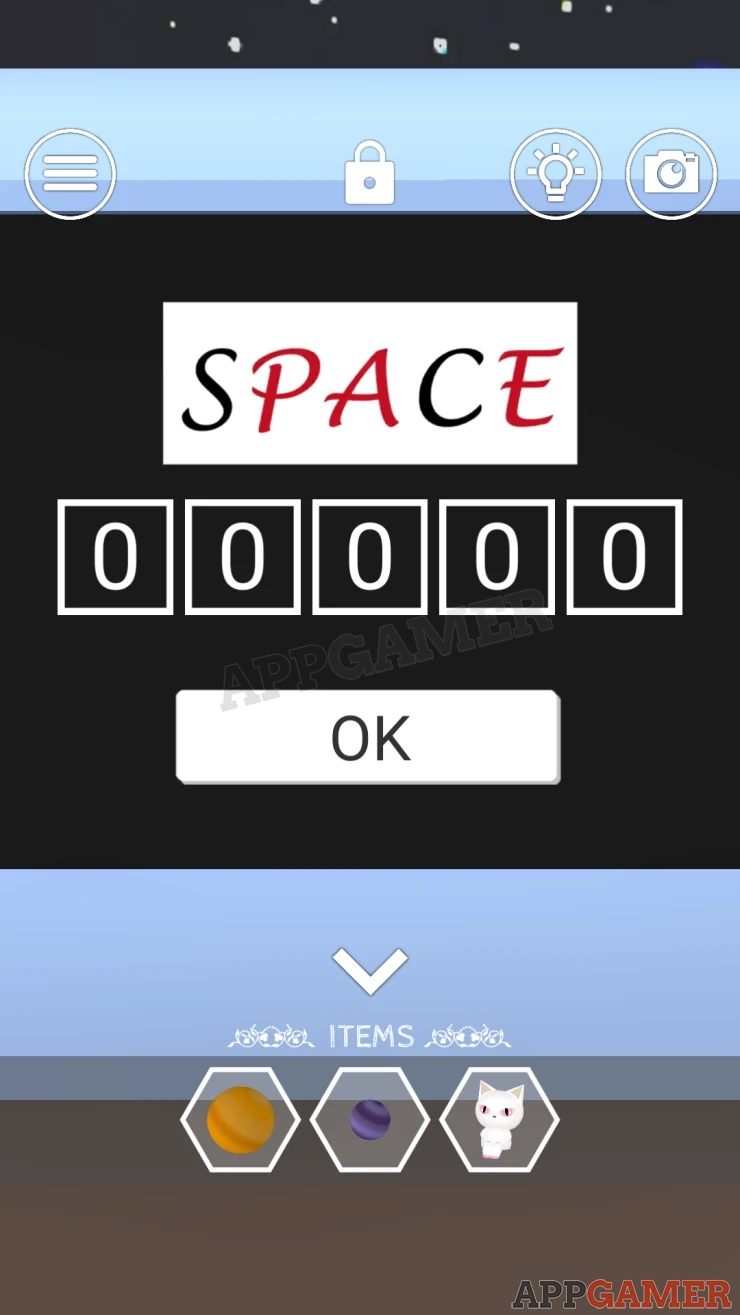
Solution: Find the card that matches each letter, i.e. the first letter needs to be a black suit and have S on the back. Repeat this with the other letters.Show
Code: 53716Show
Collect another Planet Model.
Planet models
Now look at the Top screen in this room for another clue.
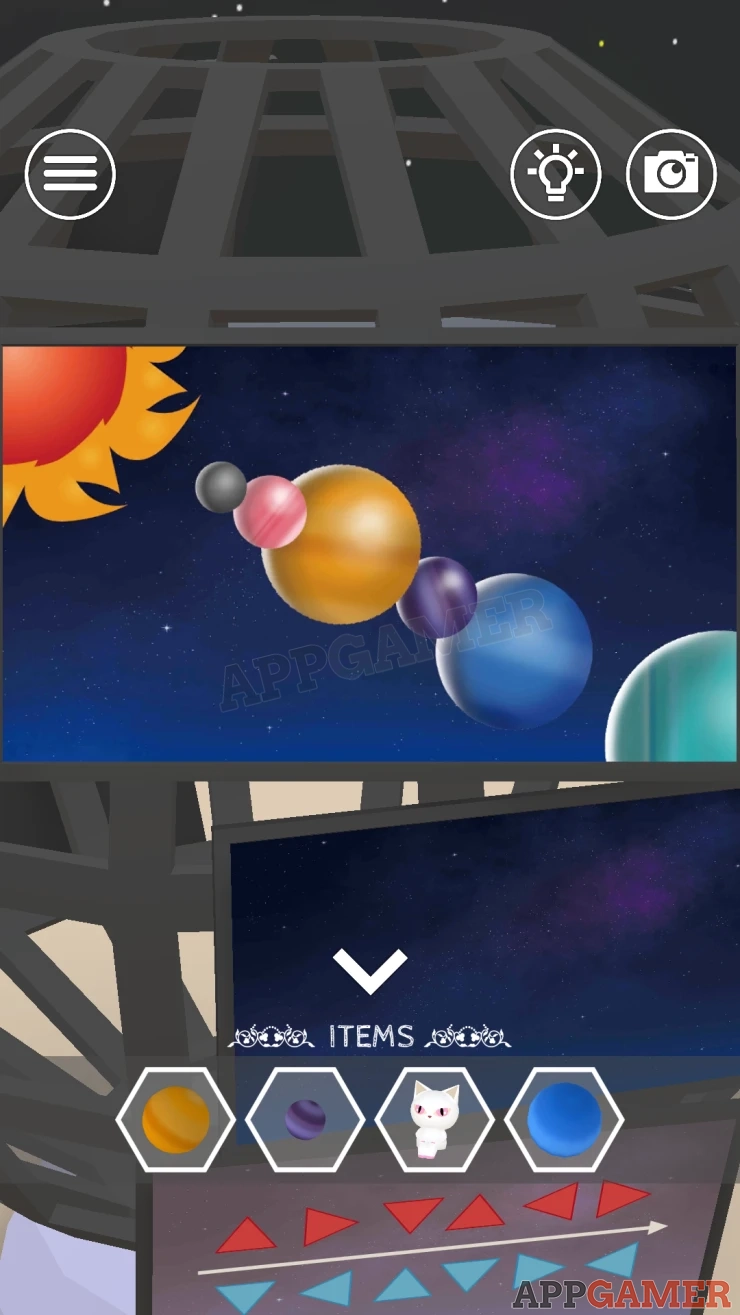
Then look at the model on the back counter in the room.
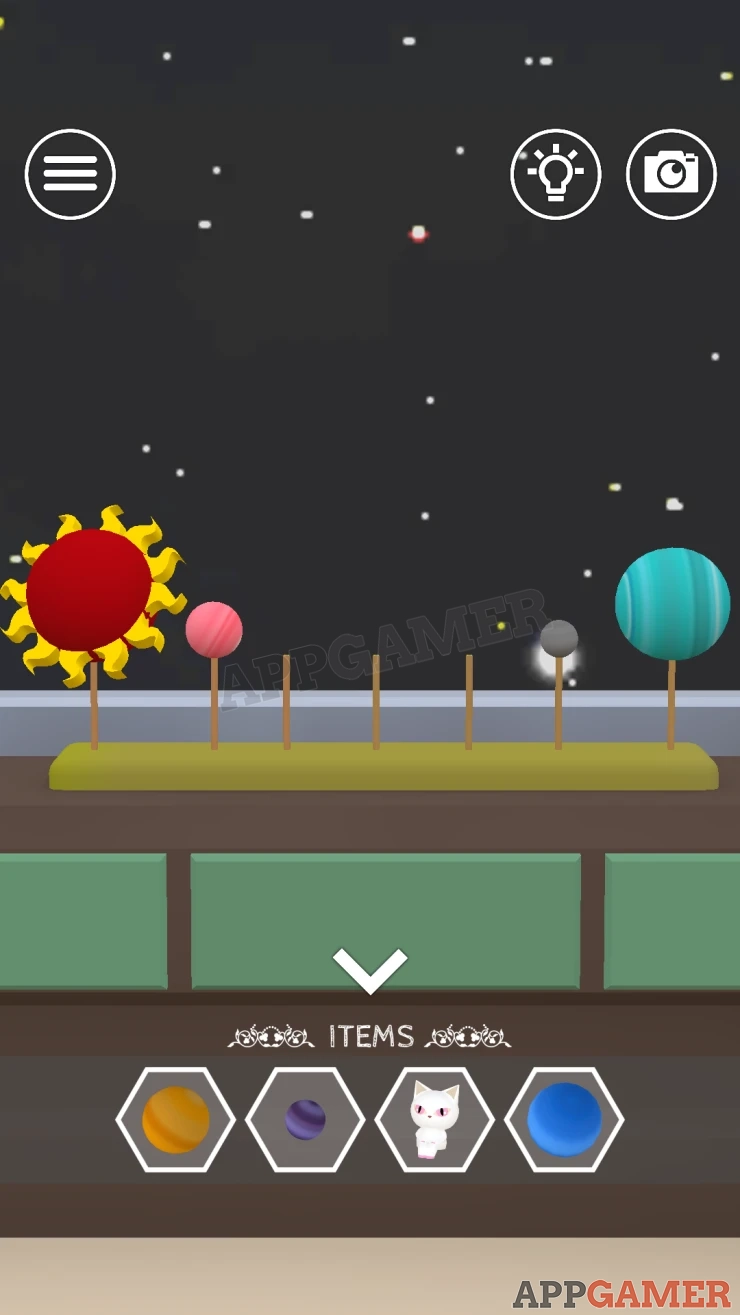
You can add the 3 planet models to it. Then rearrange them to match the clue.
Show
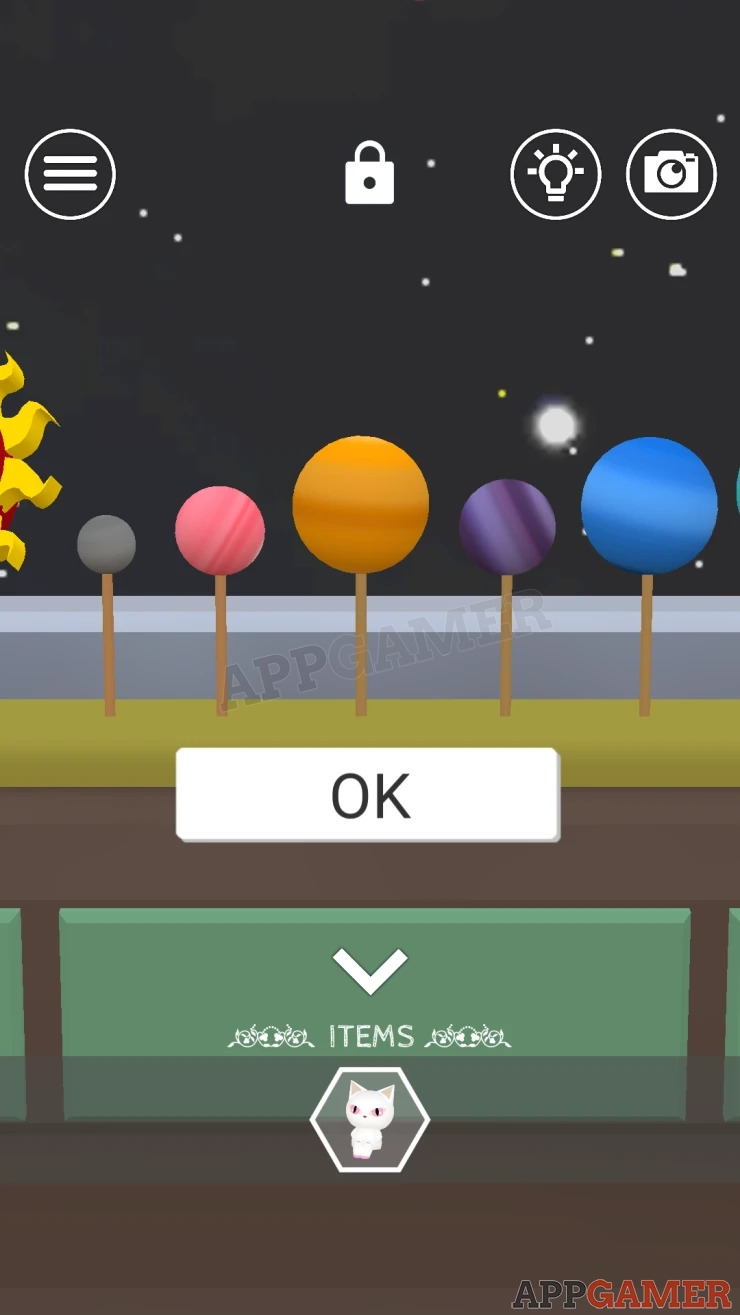
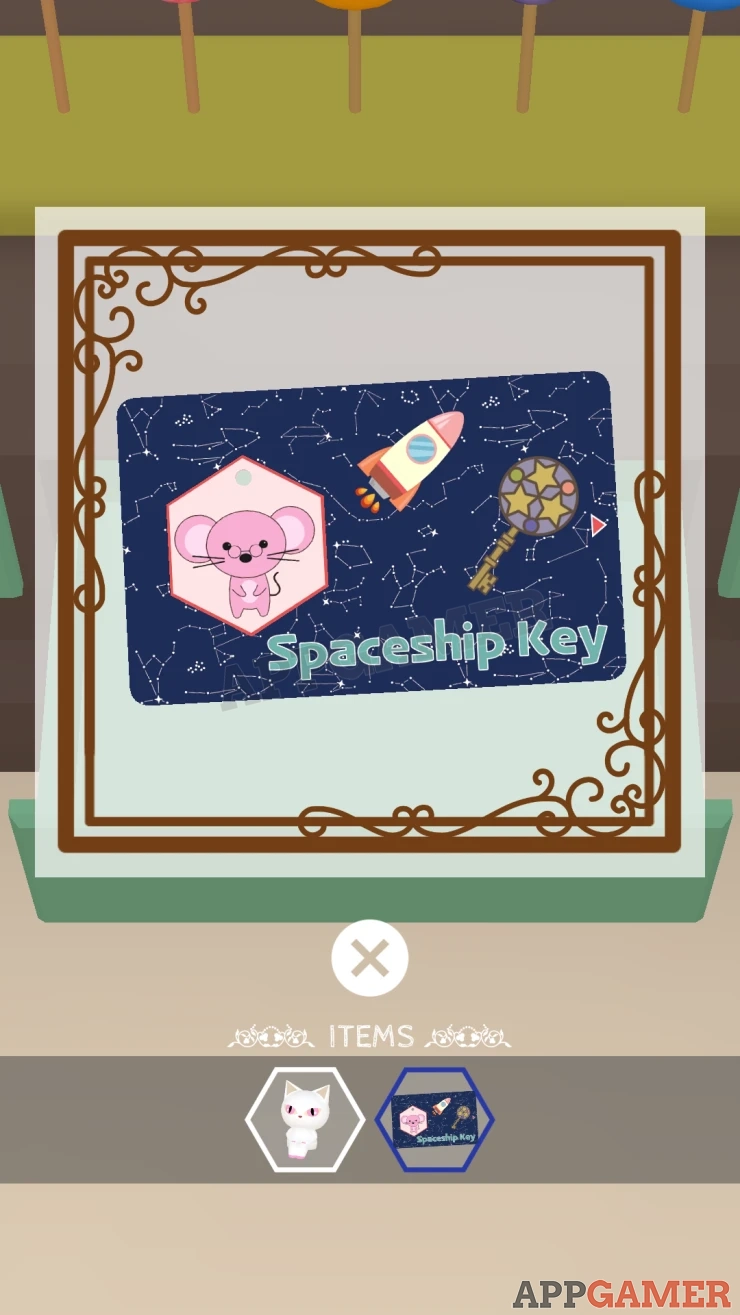
Collect the Spaceship Key with a Mouse Tag on it. .
View this in your inventory and tap it to collect both the Spaceship key and a Mouse Tag separately.
Turn back to the right side of the room and take a look at the bottom screen for the next clue that you need.
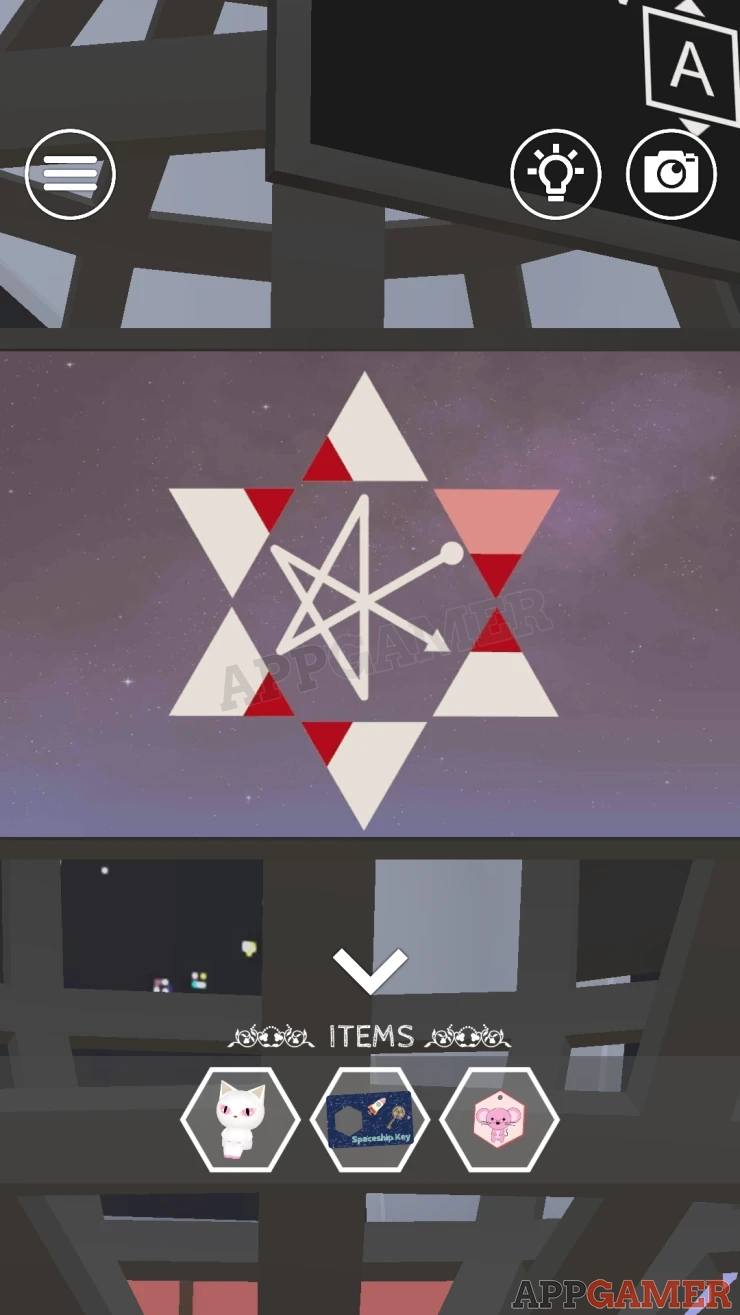
Now tap on the red circle at the back to then see a panel with a key card symbol. Use the Spaceship key here and the circle will turn blue.
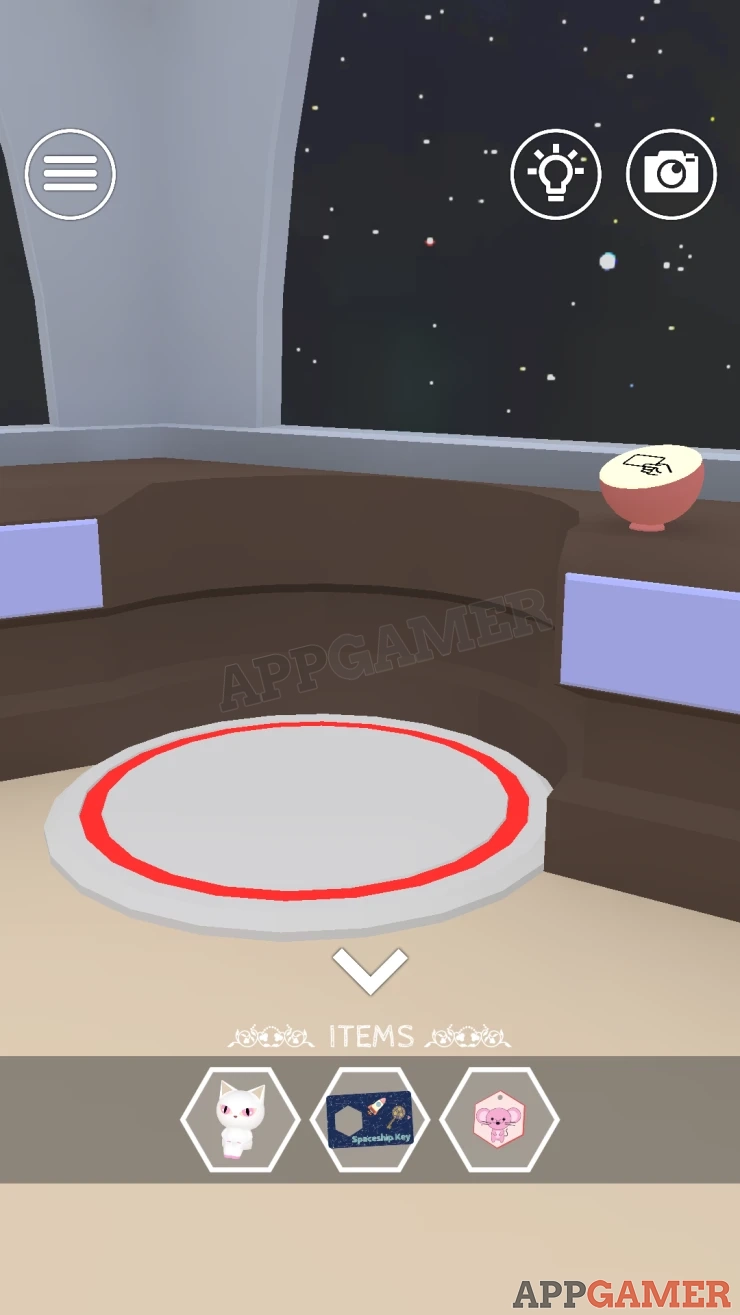
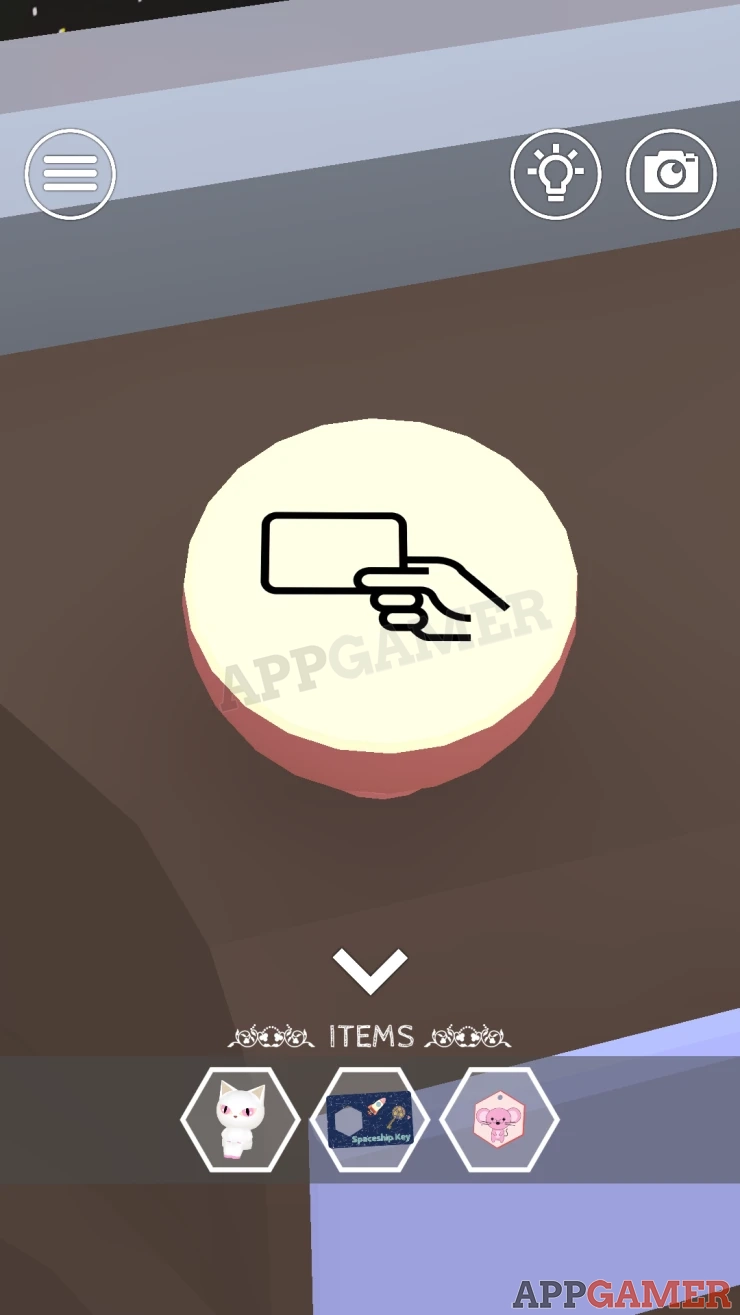
Now you can tap on the circle to travel down in an elevator to a control room.
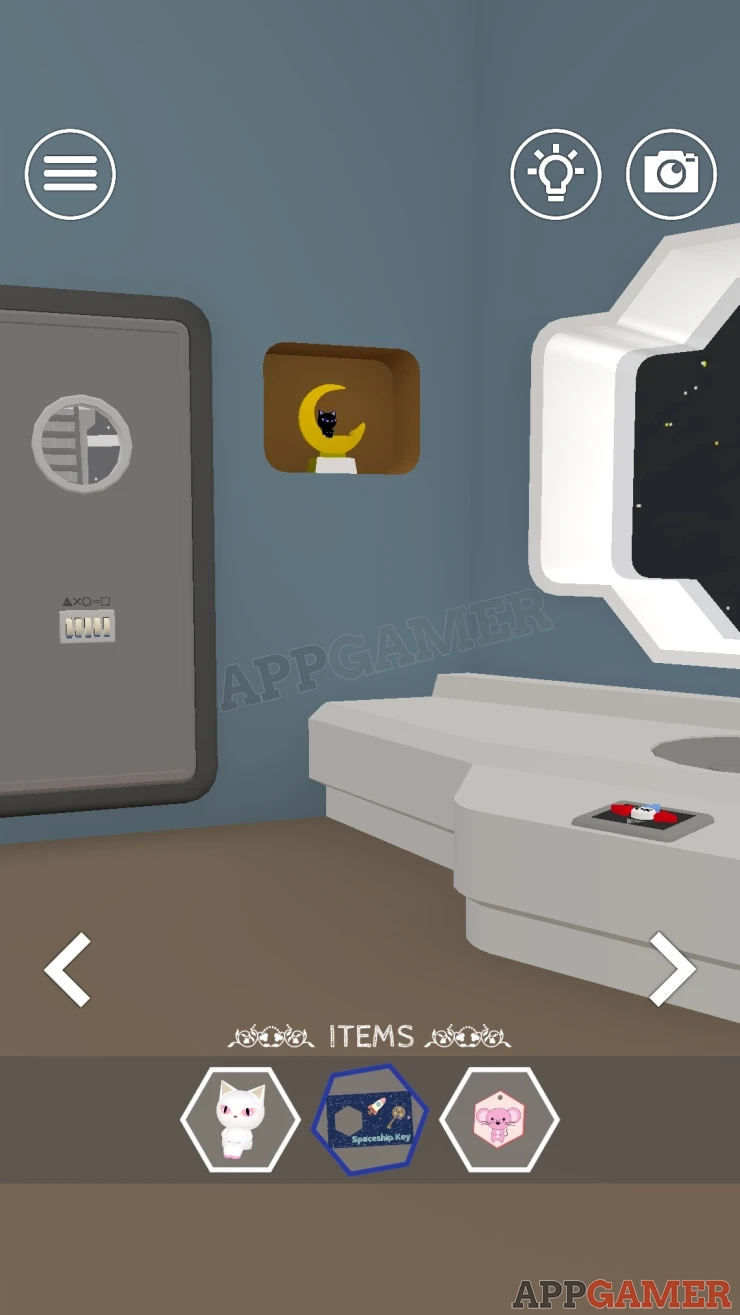
There is a grey door in front of you. First view the Crescent shaped statue on the wall. Add the white Cat figure to it.
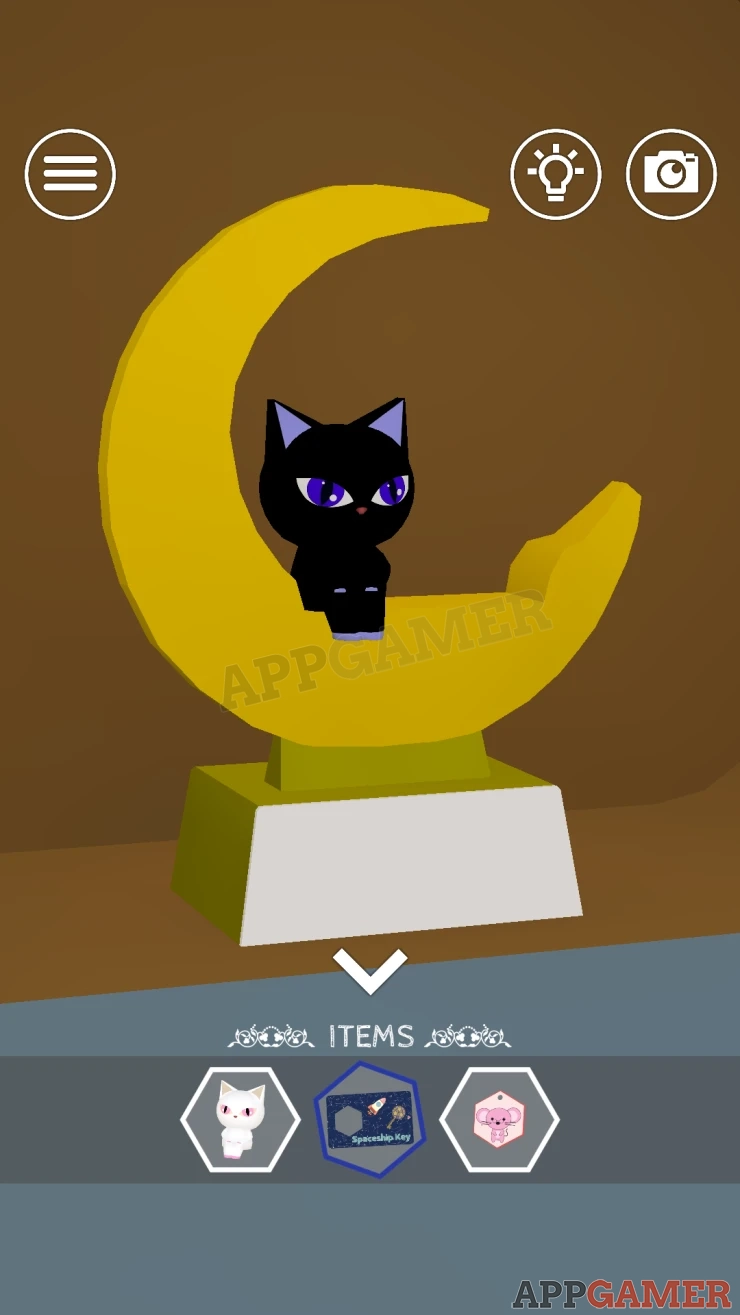
Collect a Donut.
Now turn to the right of this room. There is a table and a Mouse in a Spacesuit.
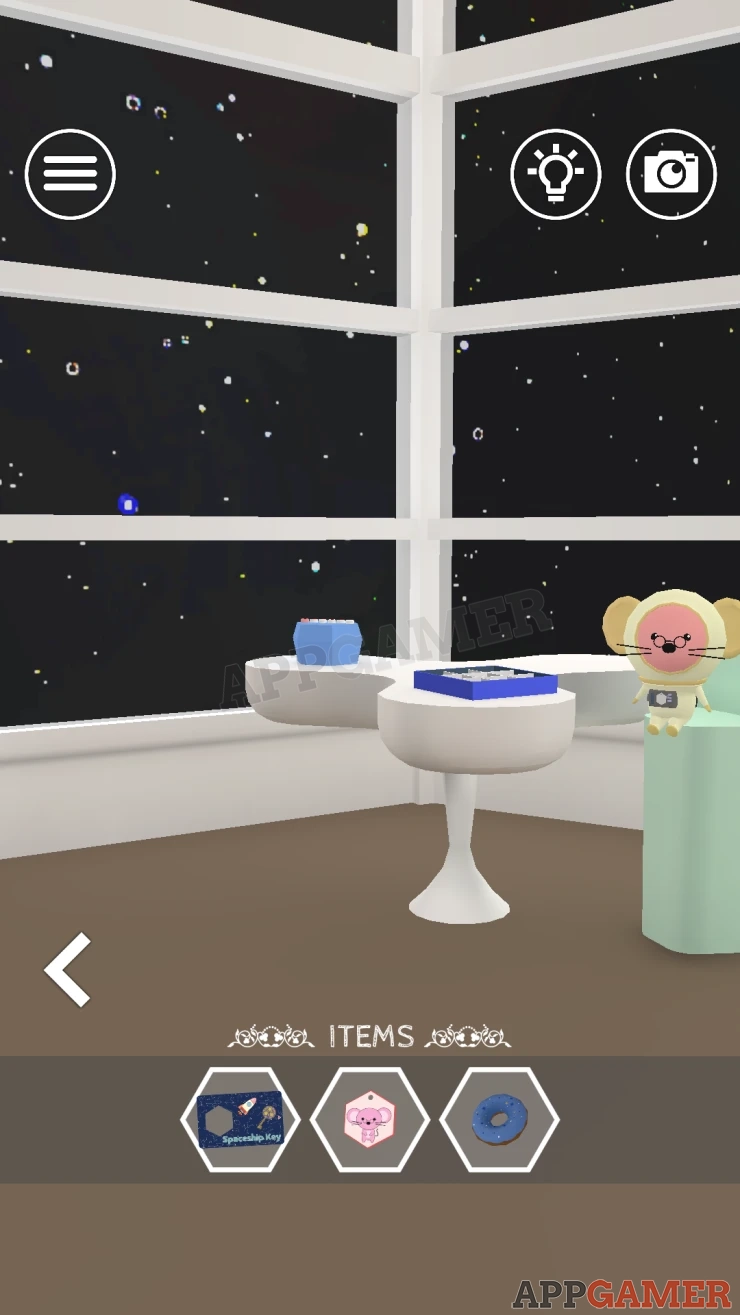
Blue Box
View the table and then tap on the light blue box on the back left.
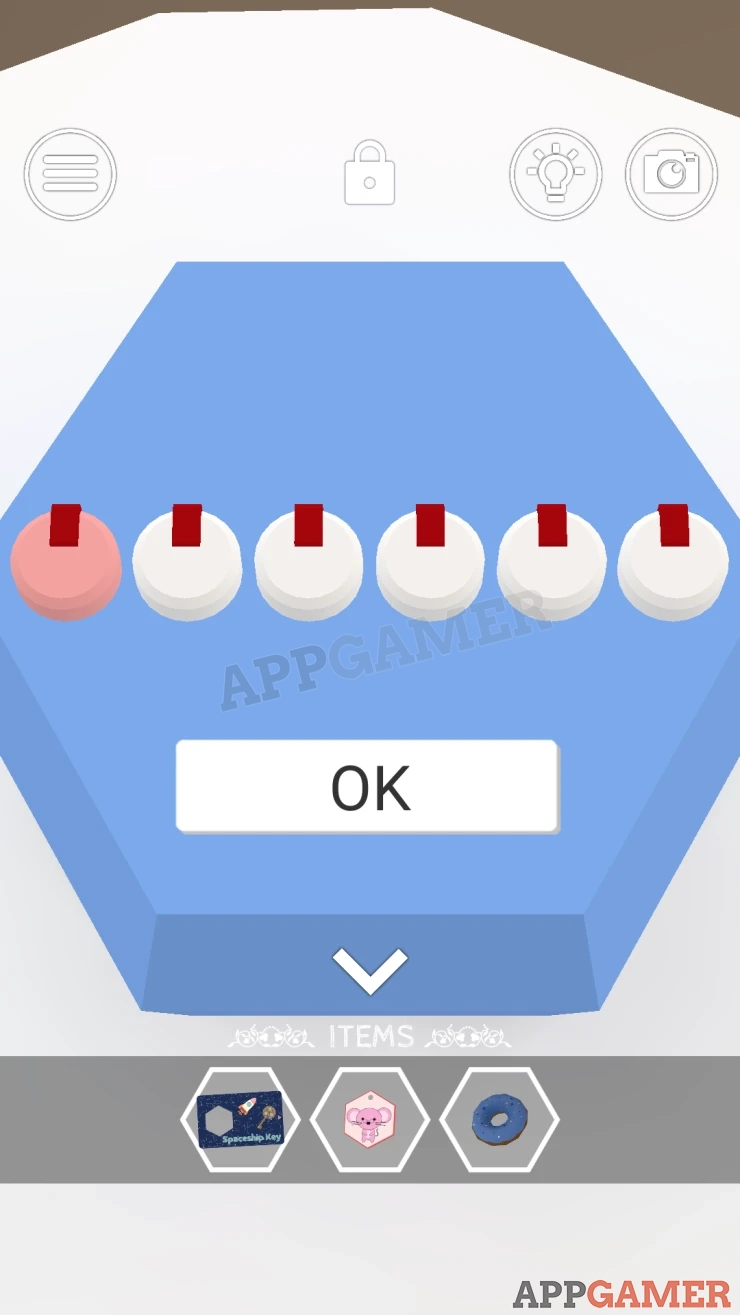
This has 6 dial switches with red indicators.
The first is pink and the others white.
Solution: From the clue with the triangles there is an arrow line that starts with the pink triangle on the upper right. Follow this around the other 5 triangles and get the direction of the 6 red points on the triangles.Show
Code: Show
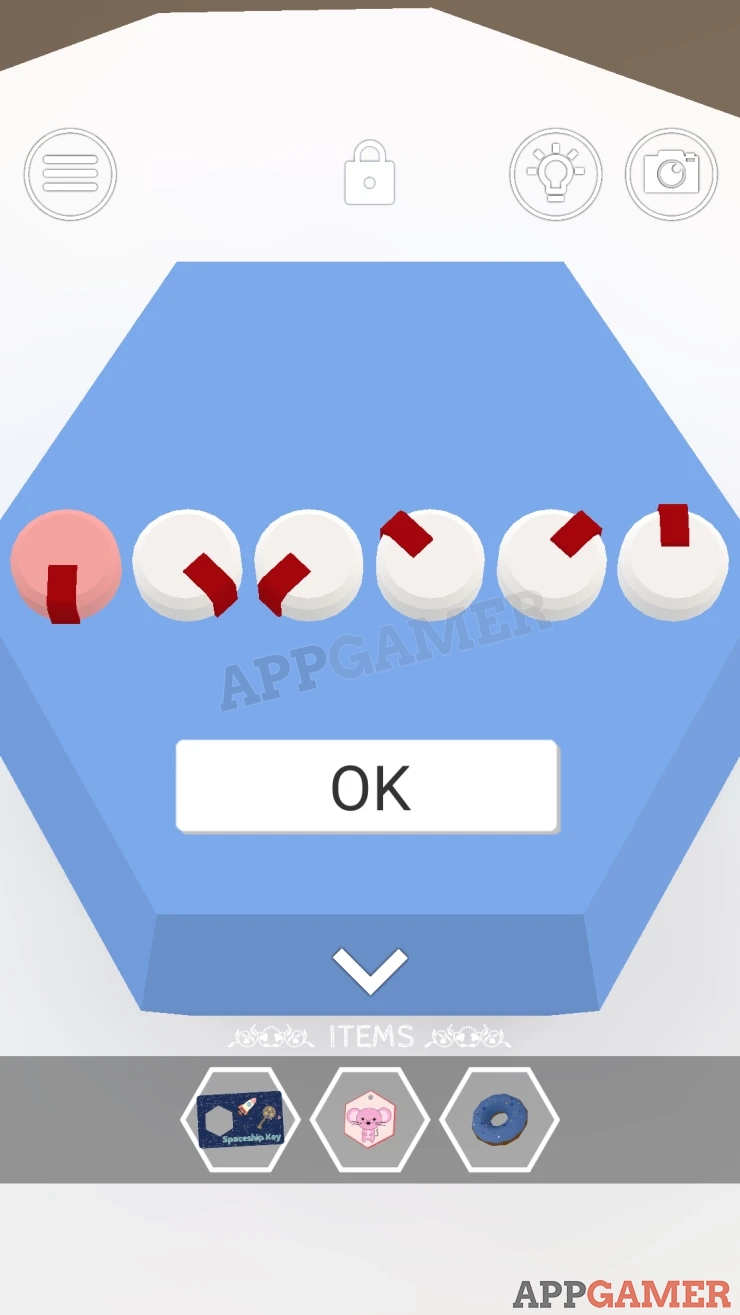
Collect a Key.
Also on the table is a blue tray with 9 Zodiac symbols on stars, these are arranged in a grid with white lines. This is another clue.
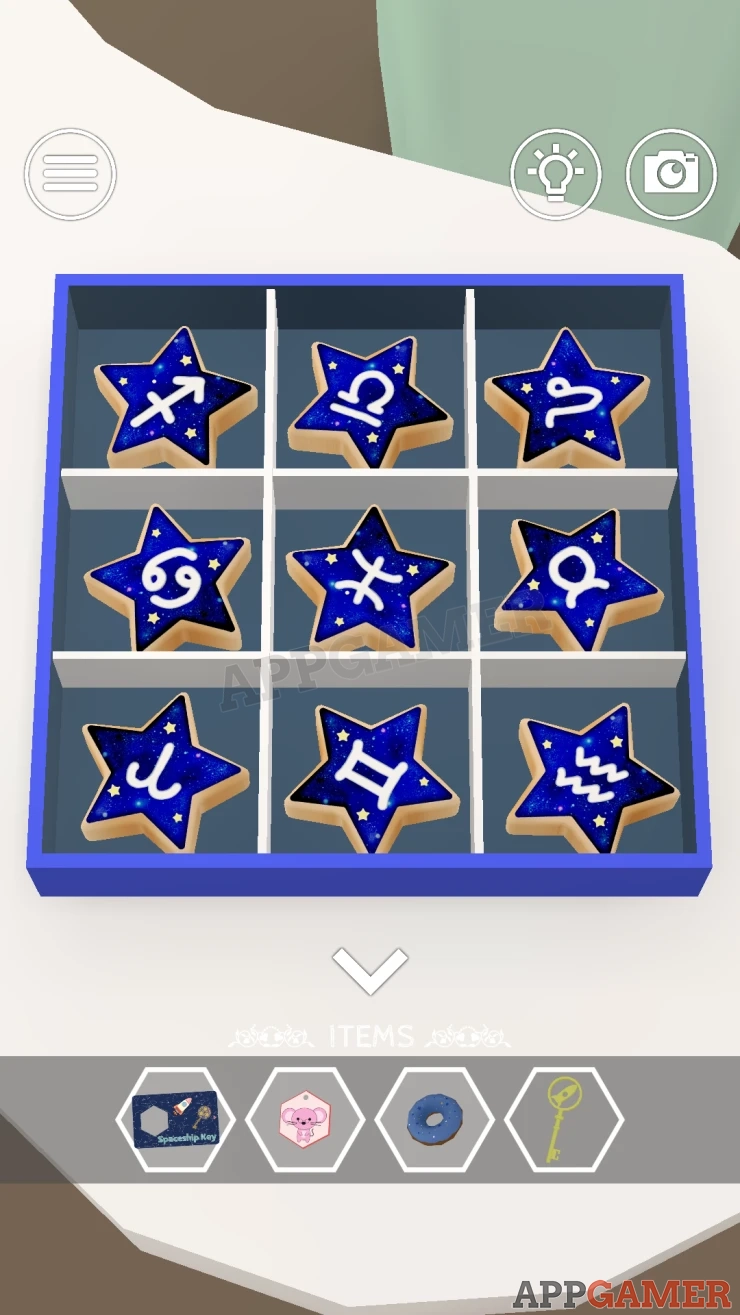
Now turn to the Left side of the room to see the elevator and some rocket models on a counter.
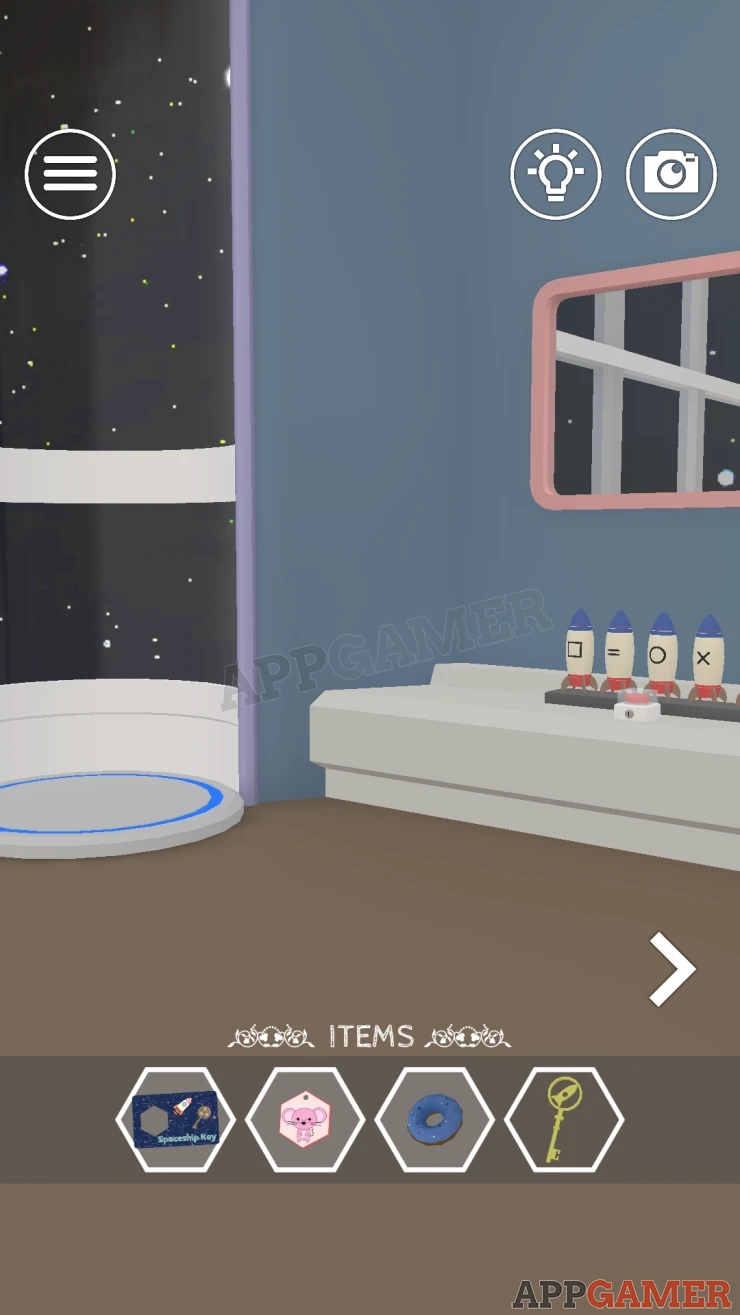
View the models and see the key to unlock a button under a cover.
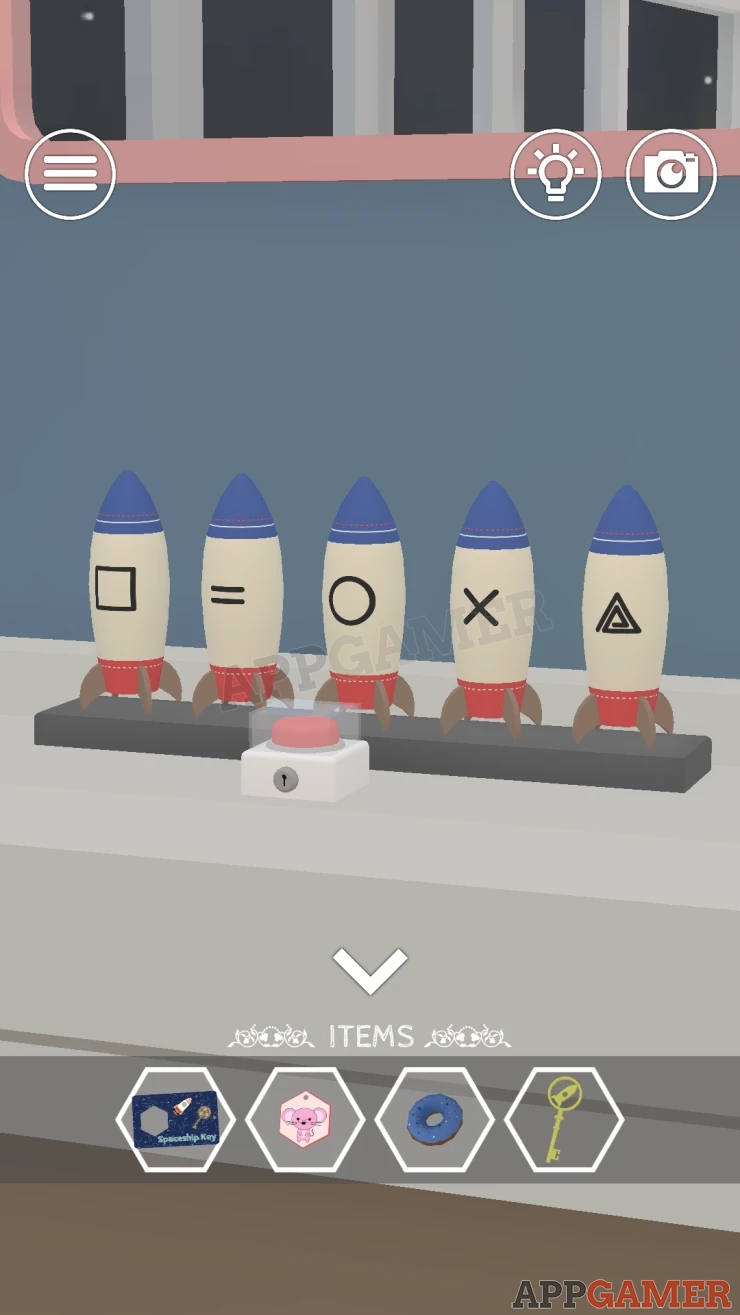
Tap the button and the model ships will fly up to different heights, notice each one has a symbol on it.
Show
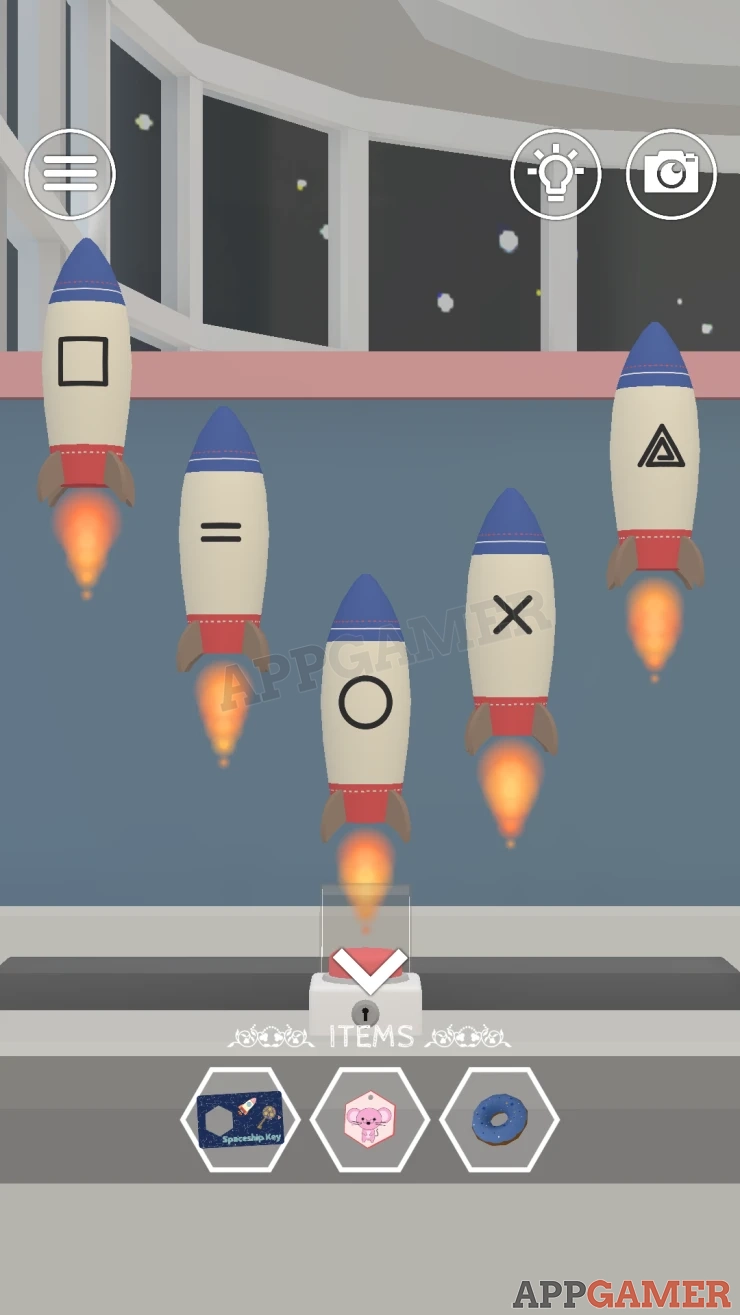
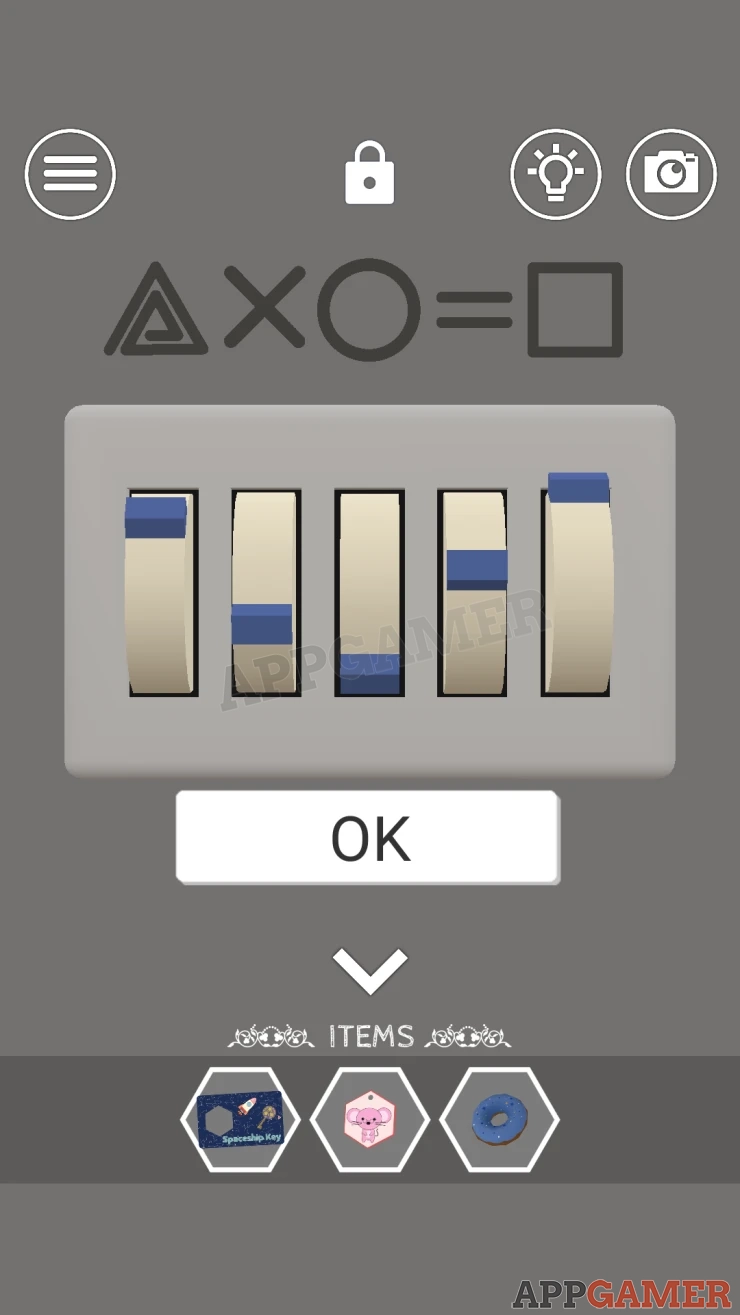
Now go back to the right to the view with the grey door. Tap on the door to see the lock.
Grey Door
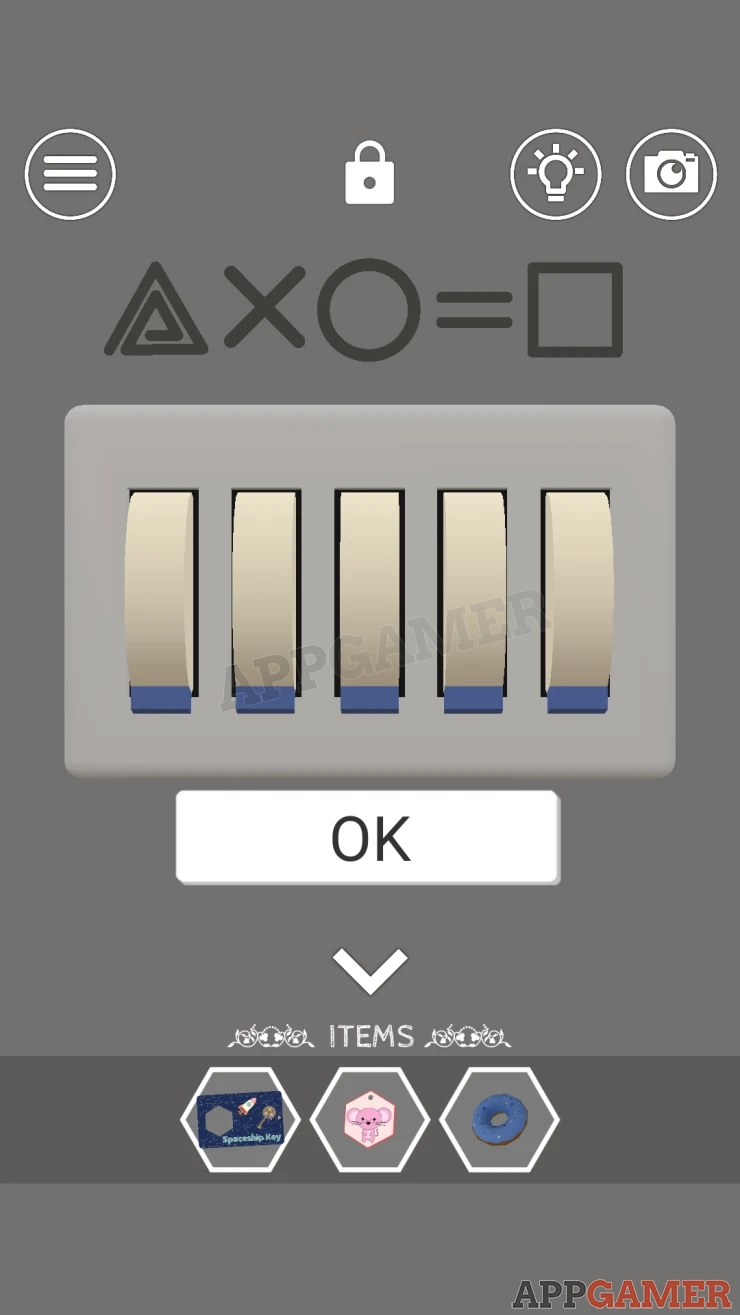
There are 5 switches that you can adjust to different positions. Above this is a clue of 5 symbols.
Solution: Match the heights of the rockets that have the same symbol for each switchShow
Code: Show
Go though the door to see the space ship.
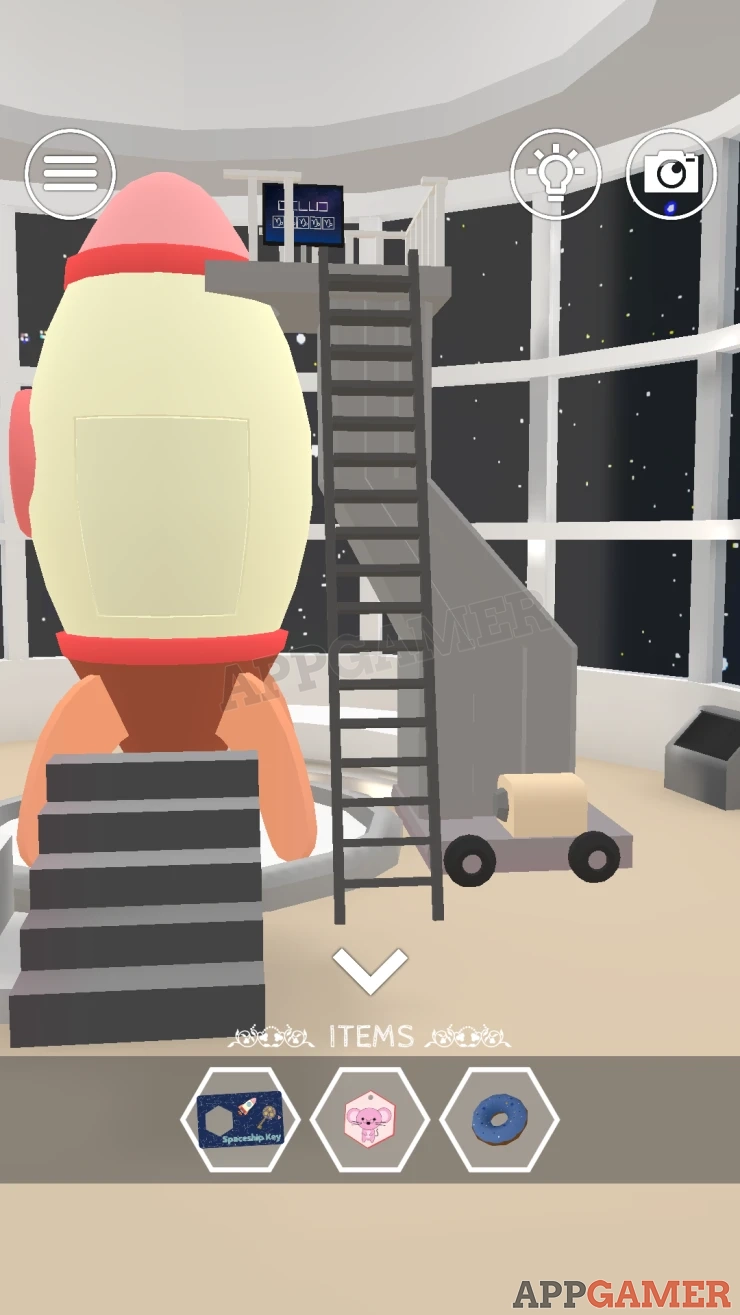
Then at the top of the ladder is a screen with a puzzle.
Rocker Screen Puzzle
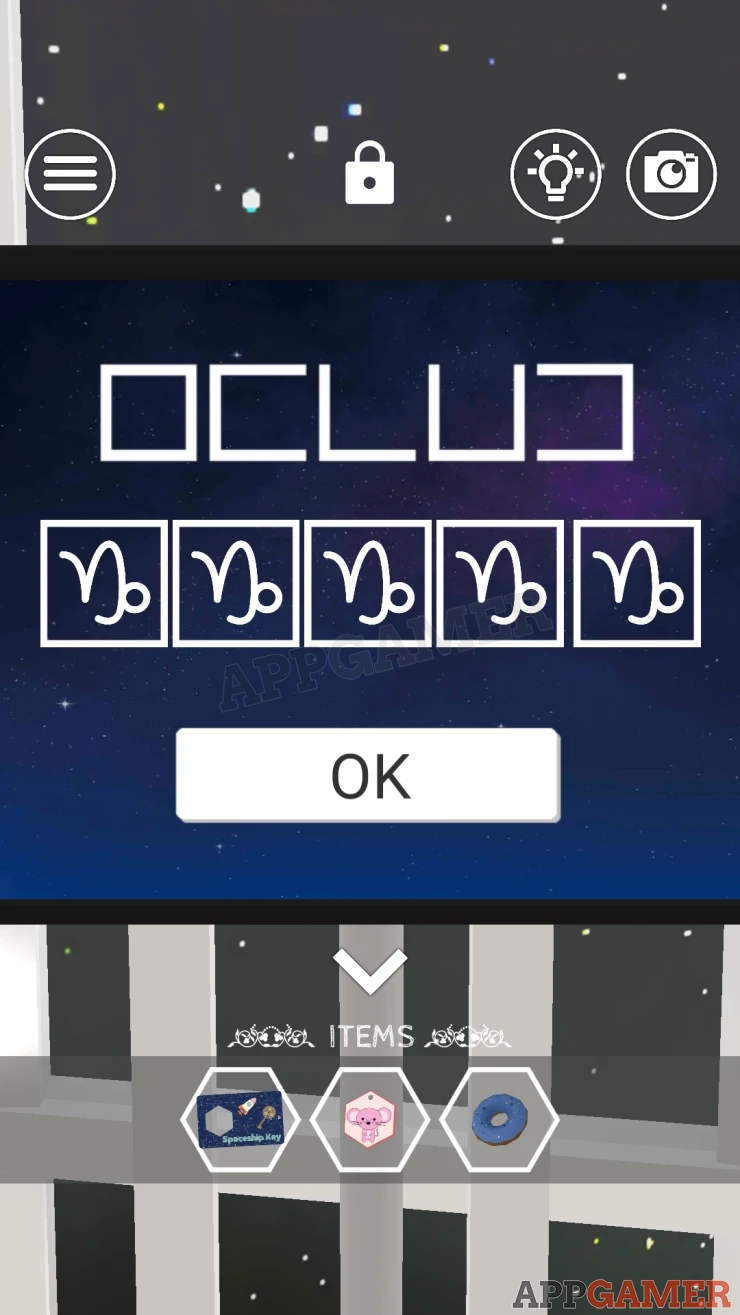
There are 5 square shapes on the screen.
Below this is the Code entry that requires 5 symbols.
Solution: The 5 clue shapes refer to positions on the grid of star sign symbols. E.g. the firs one is a full square and represents the center of the grid. Find the 5 symbols from the blue tray of stars on the table.Show
Code: Show
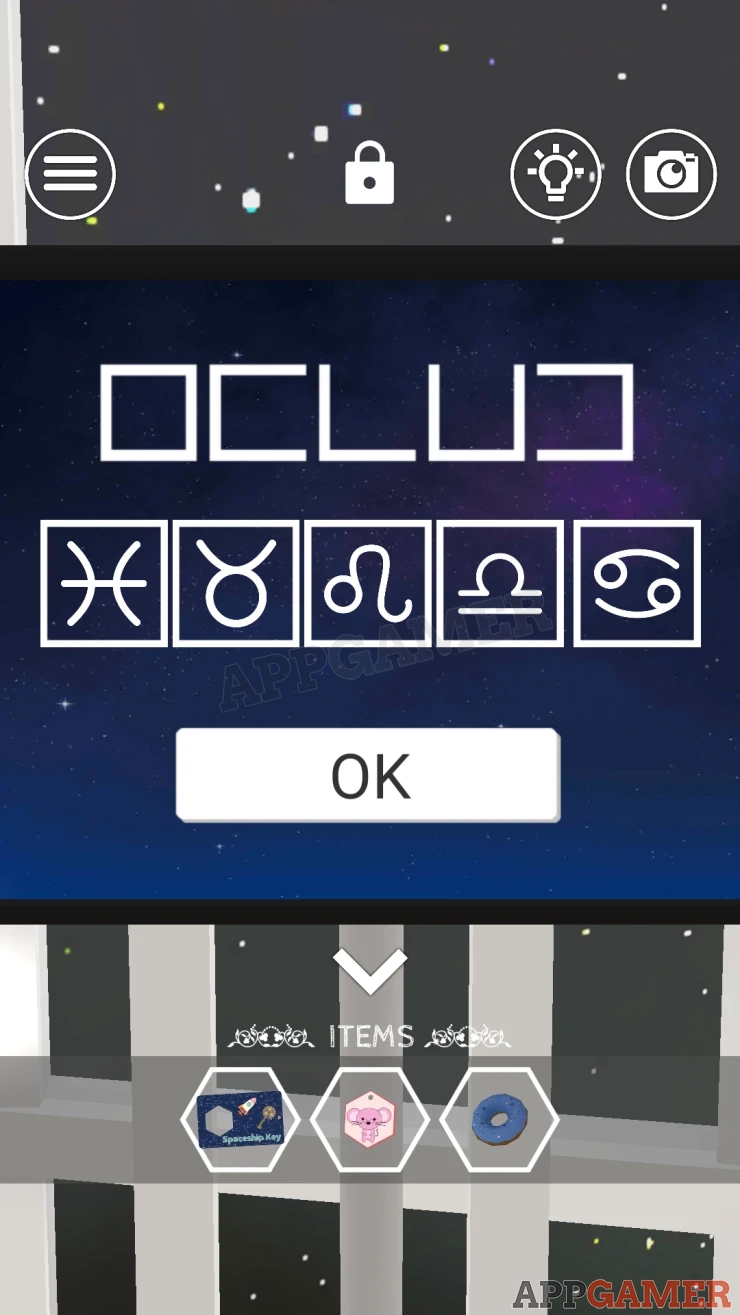
The nose of the rocket opens. Collect a Blue Arrow Button.
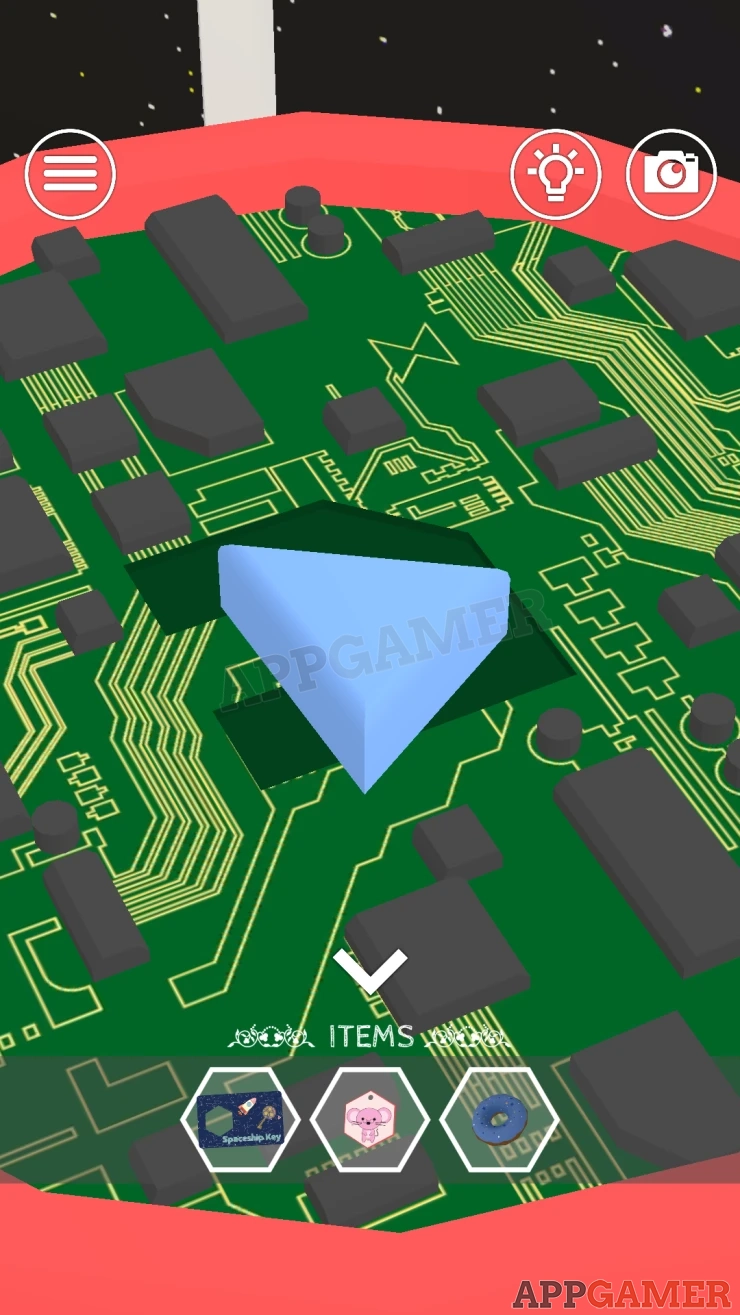
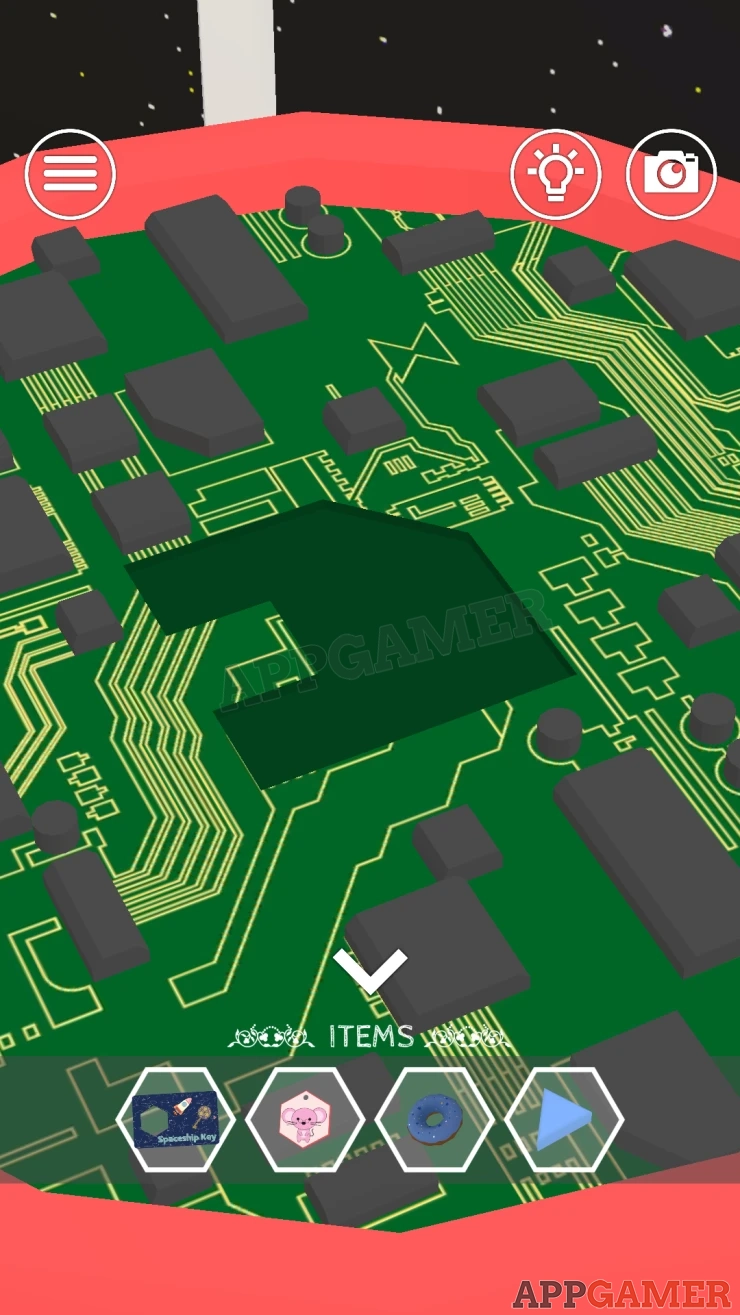
Notice the missing gap shape in the green circuit board, this is a clue.
Back up to the previous room with the car statue on the wall and then view the controls on the desk on the right.
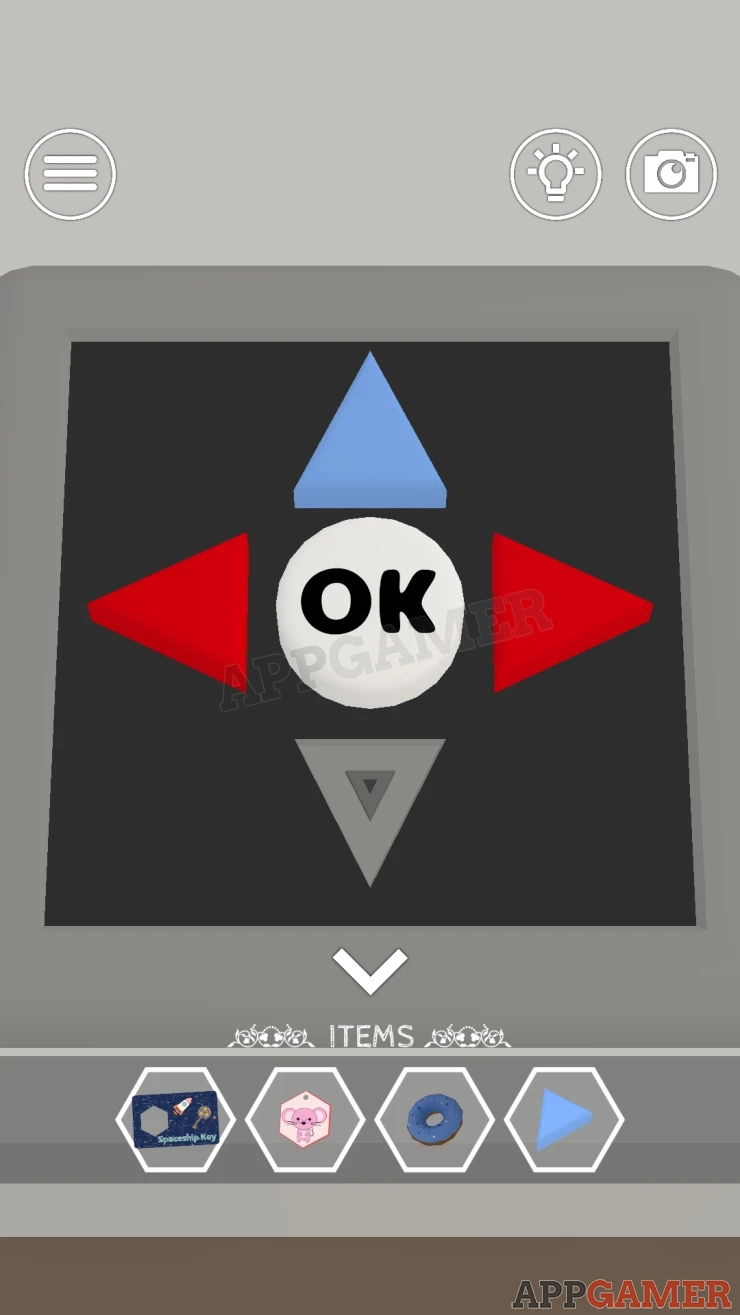
Add the blue arrow button here to complete the controls.
Arrow Buttons Puzzle
You need to tap the buttons in the correct order.
The clue for this is found on the remaining screen on the sphere in the top room. You can find this by going back up the elevator and turning to the left.
Show
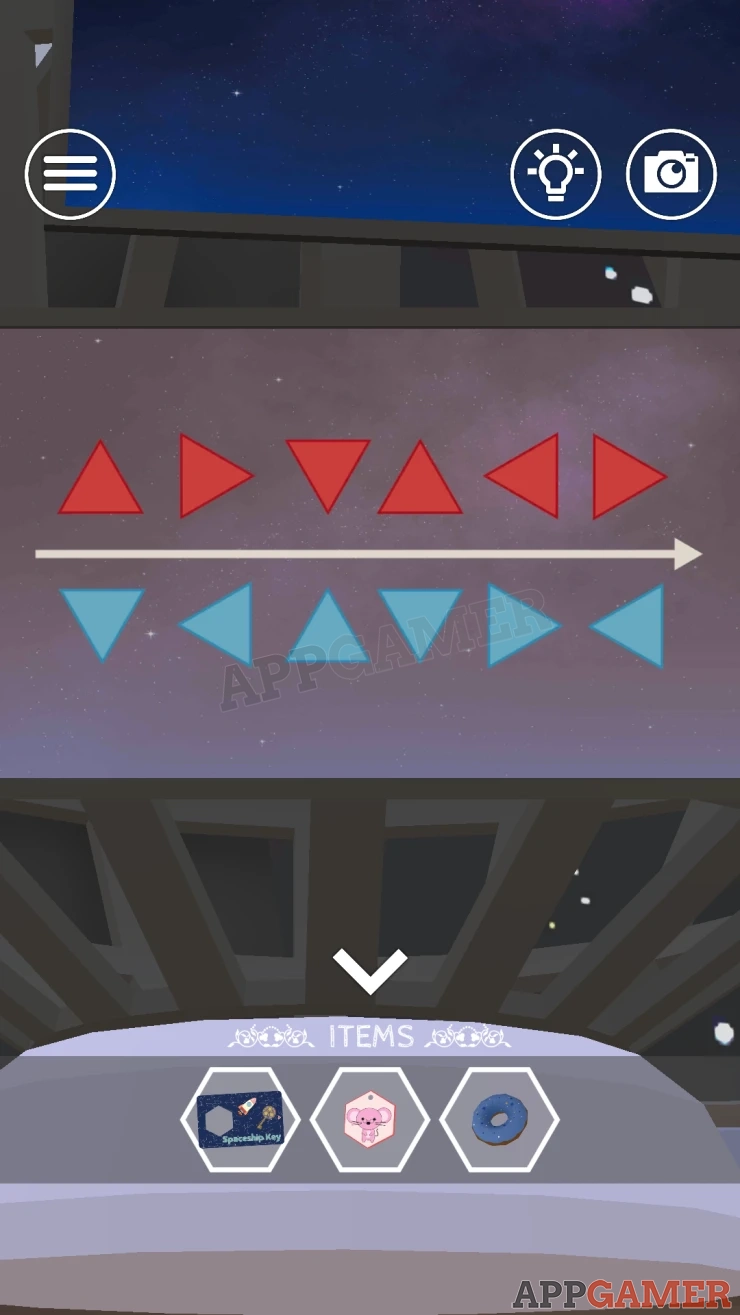
Solution: The screen shoes 2 rows of red and blue arrows. Remember that the up and down arrows on the controls are blue and the left and right arrows are red. Find the matching arrows on the screen.Show
Code: Down, Right, Up, Down, Left, Right. Then press OKShow
A small craft will rise up.
Now go to the Mouse that is on the right side of the room.

Give the mouse the small mouse tag that you have. And then also the Donut.
It will now enter the craft and fly out into space.
Space Mouse Puzzle
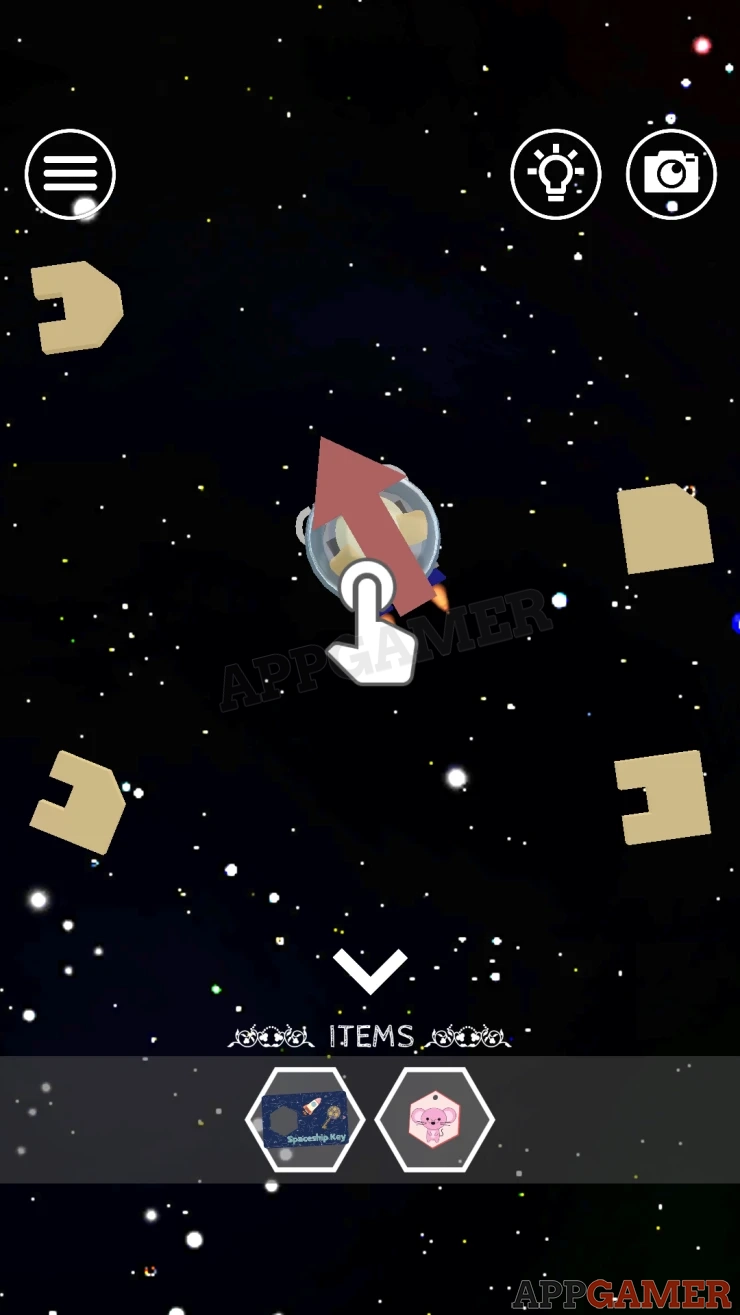
- When it spins around you will need to tap to make it fly in a direction.
- It will collect a floating piece if it moves towards it.
- You need to collect the correct piece that you need.
- If you get the wrong one you can send it out to try again.
Solution: Find the piece that matches the empty gap in the Space Rocket nose.Show
Go back to the Rocket and place the piece into the nose.

The rocket will open and you can enter.
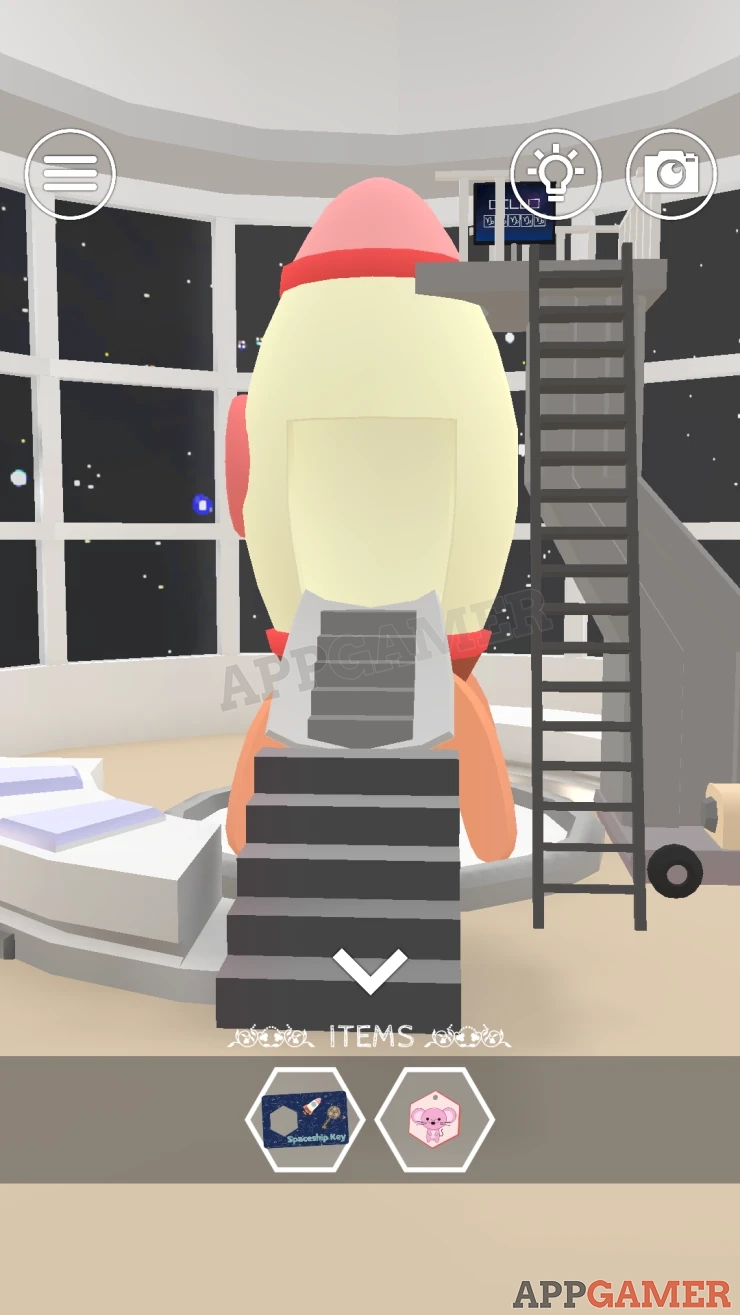
The rocket takes off and you are in the cockpit. To proceed place the Spaceship key card into the slot in the center console.
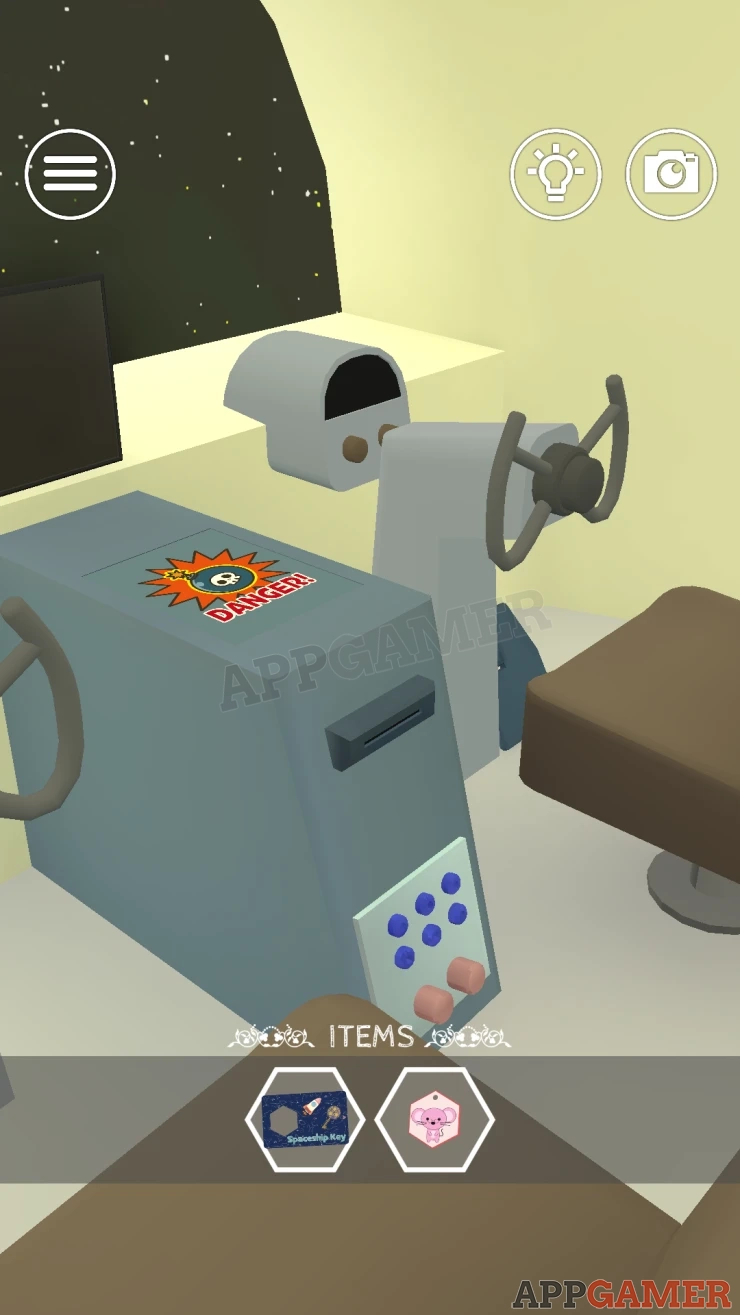
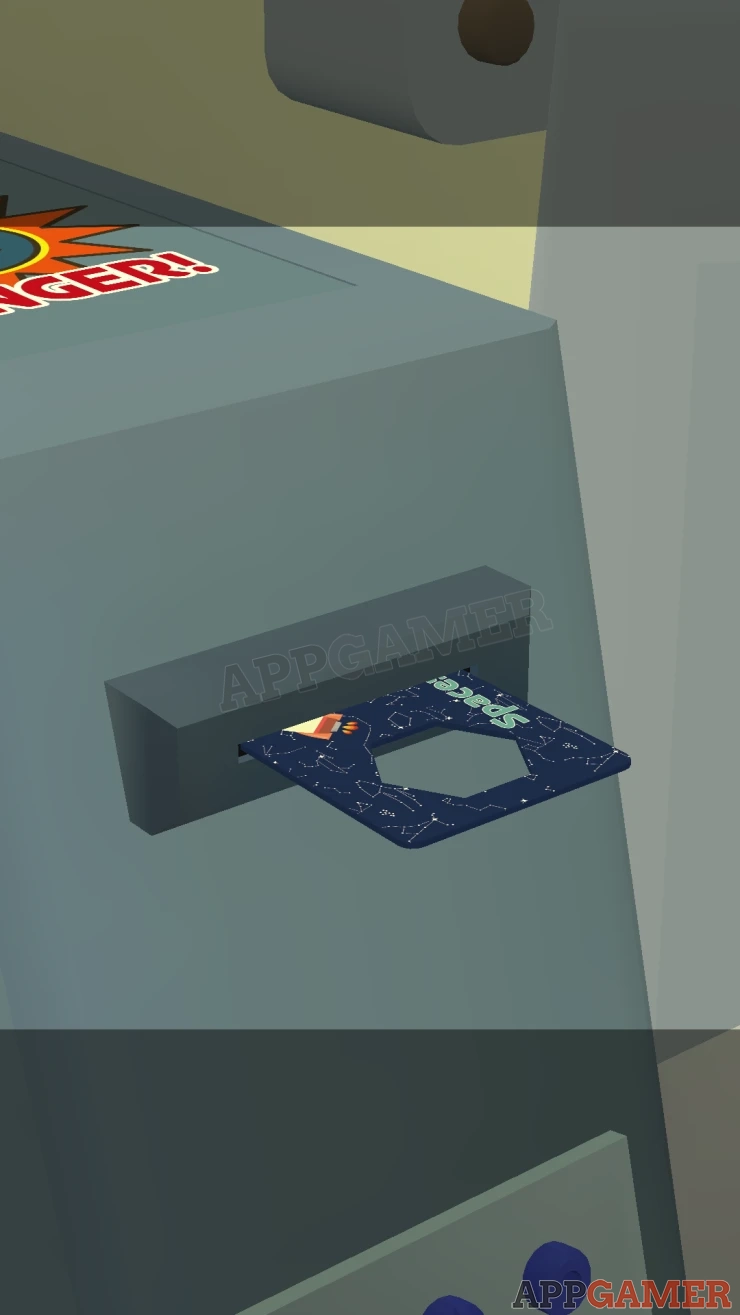
This reveals a Bomb of some sort with a timer to deactivate it.
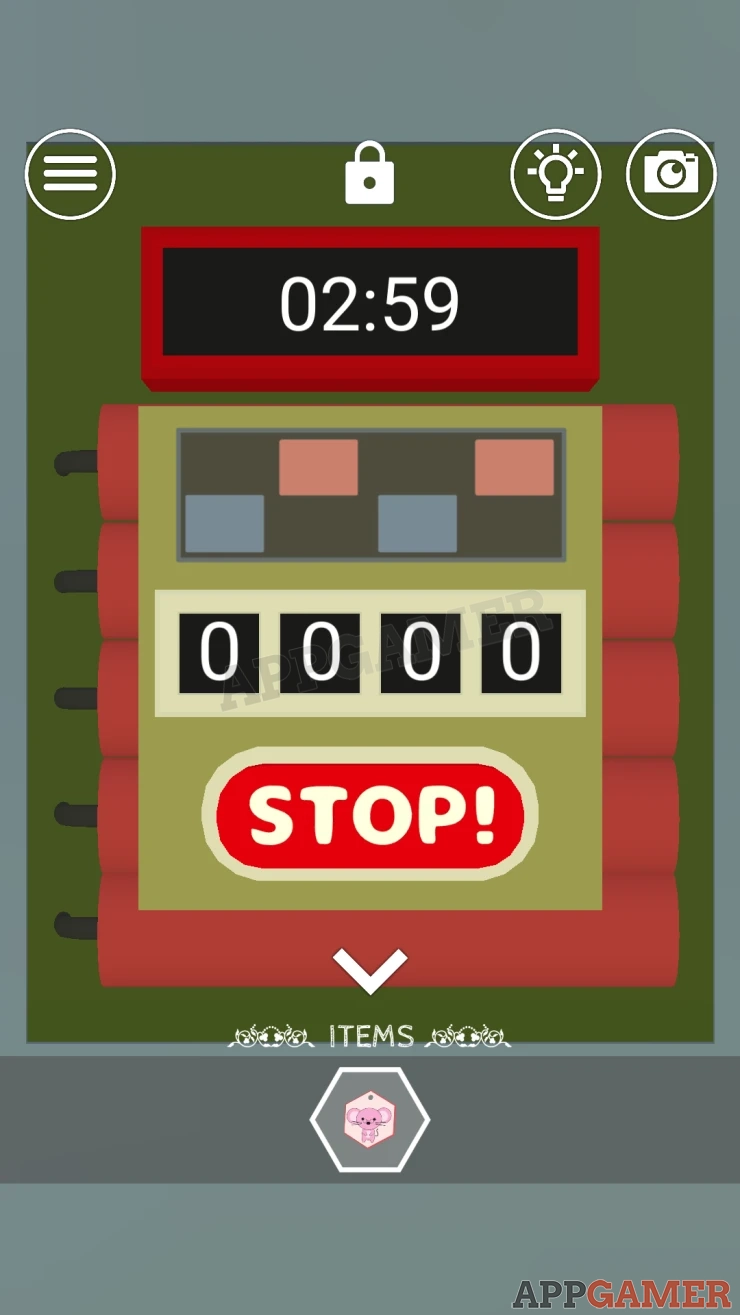
There is a small screen on the bomb with a clue of blue and red squares.
Then look on the large screen above for rest of the clue.
Notice the red and blue squares are laid out in patterns with gaps.

Solution: In the arrangements of blue and red squares you can make out numbers around the gaps. E.g. On the top red row there is a 8 0 0 8, blue is 3 8 6 2. From the clue on the bomb you only need the numbers that are in the positions shown by the small squares.Show
Code: 3 0 6 8Show
Enter the code and tap the Stop Button. The bomb will be deactivated. You can continue your journey.
This will complete Room 8. Move on to room 9
 With 20 years of experience in creating video game content for the internet and over 30 years as a gamer, Mark is now a passionate mobile App Gamer. Loving a challenge, he is always ready to get stuck in to both survival builders and puzzle solving games. He has been providing content for AppGamer since 2014.