Path to Nowhere Tier List - Best Catalyst (Support) and Endura (Tank) Characters
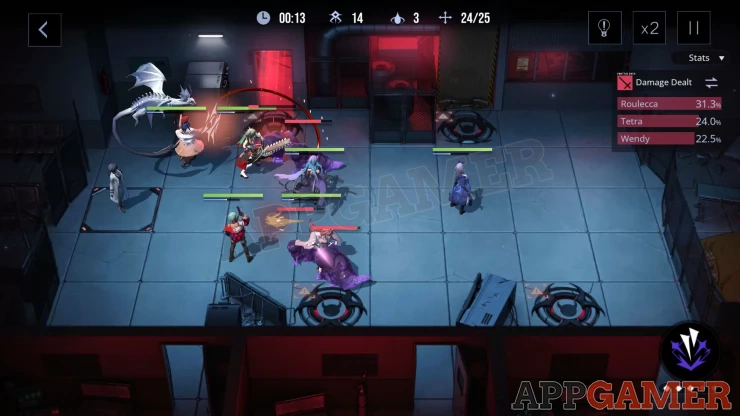
Path to Nowhere is a real-time strategy RPG where players use their authority and powers as the newly-appointed chief of an organization that captures and handles powerful entities called Sinners. Use their powers to form a combat-ready team of specialists specifically made for dealing with various threats to the city.
Best Support (Catalyst) Overview
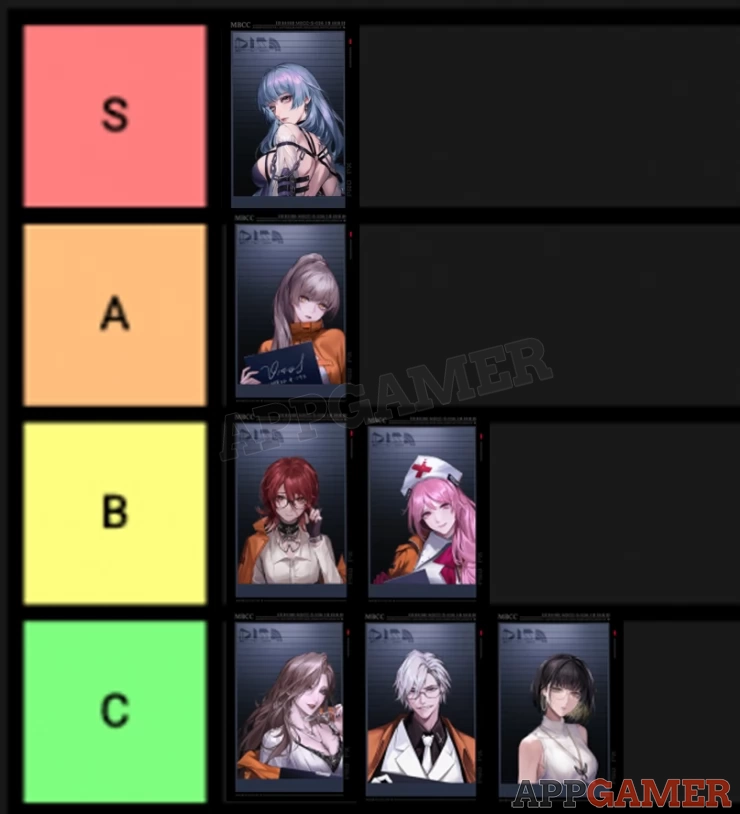
S: Hamel
A: Ariel
B: Macchiato, Anne
C: Lisa, Mr. Fox, Chameleon
Best Tanks (Endura) Overview
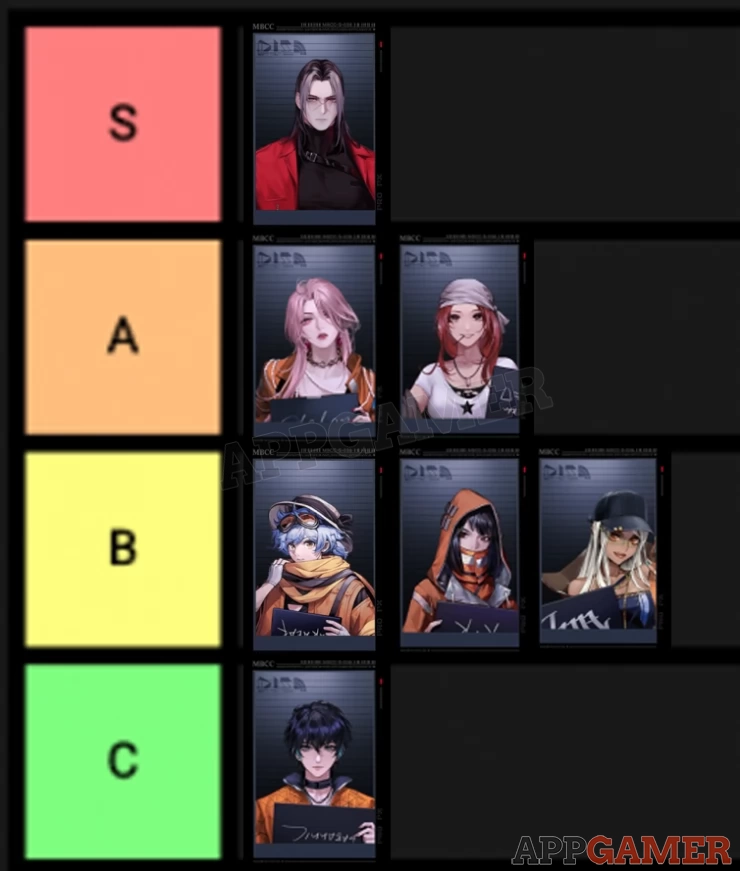
S: Demon
A: Countess Chelsea, Demolia
B: Kawa-kawa, K.K., Peggy
C: Cinnabar
More details about the S-rank and A-rank characters below.
---------------------------
Since the game’s combat system highly encourages a good combination of various characters in a team to cover each other’s weaknesses and deal with various combat situations. As such, there’s really no “jack of all trades” or best character overall. For example, an exceptional, top-tier tank might be great at defending but will lack reliable crowd-control abilities. Top-tier DPS can be glass cannons when not protected. In this tier list, we will divide the best characters in their respective roles or class. To prevent boring readers with a long wall of text, we will be dividing this tier list into three pages; two for each class. For this tier list, we will cover the Catalyst and Endura characters which are the support and tank roles in the game respectively.
Sinner Class
There are six character classes or roles in the game. Each class has their own strengths and weaknesses. Their attack range and skill types determine their role in the battlefield - specifically their actual position on the field and the characters you’ll deploy.
| Role/ Class | Description |
|---|---|
| Endura | The tanks of the game; effective in blocking enemies and absorbing damage |
| Umbra | The game’s answer to the assassin archetype; highly mobile and capable of dealing effective damage. |
| Arcane | These are the game’s mages and spellcasters, capable of dealing AoE explosive damage |
| Fury | The frontline fighters, capable of directly engaging enemies and dealing damage |
| Reticle | Ranged units that can deal continuous damage to targets from a distance. |
| Catalyst | Support units that provide healing and buffs to allies, and apply debuffs to enemies. |
About Skills
Each character has four skills: Normal ATK, Ultimate, and two Passive skills. These skills permanently belong to the character and cannot be influenced by other factors except by personal enhancements of the owner. By default, Normal ATK and Ultimate are unlocked; to unlock the 1st passive, you have to reach Phase 1 and for the second passive skill, you’ll need the sinner to reach Phase 2. You can also tap the individual skills to display more information about them, like the complete description of the skill, its effective range, and a preview of its upgrade levels, up to LV10.
It’s a good idea to at least read the skill description of the characters that you’ll use often as their effective range and skill description may also affect their ideal positions in the battlefield. The combination of these skills and how they influence the flow of battle offensively and defensively is a major factor of how characters are considered for their placement in this tier list.
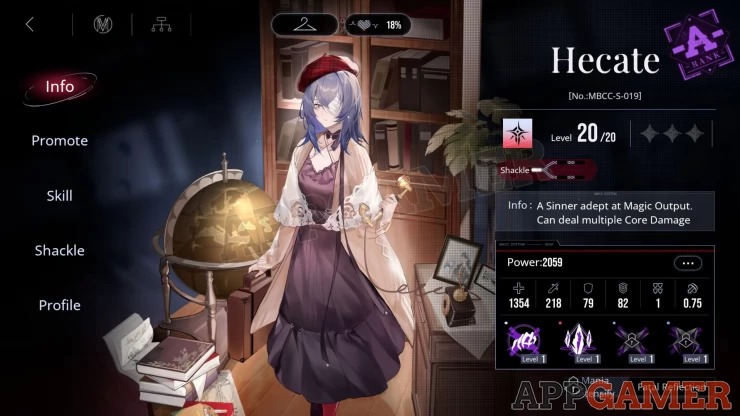
About Core Destruction
There are certain units with a red color in their role icon. This indicates that the character is capable of destroying enemy cores. Certain enemies like strong monsters and bosses have cores in them. Only characters with the red class icon can destroy these cores, temporarily stunning the enemy and rendering it vulnerable to bonus damage. Enemies with intact cores are usually hard to deal with since they’ll have damage resistance and will continue to be active with their nasty abilities. Thankfully, there are a good number of top and mid-tier units core-destroying units to choose from the tier list.
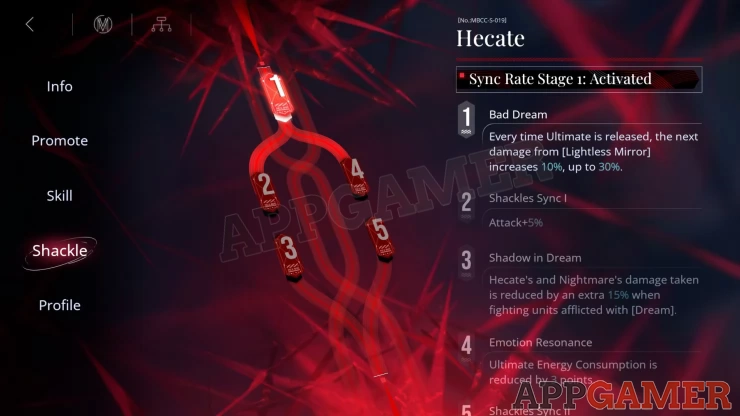
About Shackles
If you get copies of the same character, you’ll obtain their Marks. You can only use Marks of the same character to improve their Sync Rate. Alternatively, you can also generic Sinner Marks that can be used on any Sinner as a substitute for their marks. This is very useful since character marks can be extremely hard to collect since you’ll be relying on your luck to get their copies again. Take note that Sinner Marks also follow some sort of rarity. For example, Sinner Mark (A) can only be used on A-rank Sinners below. For S-rank sinners, you specifically need Sinner Mark (S).
Tier List Overview
Most of the high-tier characters in the game are SSR or SSR+ characters (highest grade), and their appearance rates in limited and permanent banners are astronomically low. If you’re an F2P (free-to-play), expect to play daily for a LONG time before you can complete your dream team - that’s even if you’re relatively lucky with your pulls. For spending players, the chances are a bit better since they’ll have more recruitment attempts though at the end of the day, all players are at the mercy of the gacha gods. One popular method of attempting to get valuable characters without spending any money is Rerolling. We will have a dedicated page for that so please check it out.
As far as our tier list goes, you’ll notice that most top-tier characters are S-rank since they’re more powerful than the A-rank or B-rank characters by default. You have the freedom to use low-tier or low-rank Sinners early on as placeholders, at least until you’re able to recruit better units or those that you personally prefer, regardless of their Tier List ranking.
We will also only provide additional details about S-tier and A-tier characters only, with some special mentions about certain characters if necessary. As we always remind players, tier lists are not definite rules dictating how overpowered or useless a hero can be. Remember, this is your game, your experience! So if you still want to use and invest in low-tier characters, then by all means, do it! It all boils down to player preference and of course the availability of characters. Use this tier list as a guide, as it is intended to be.
Best Supports (Catalyst)
Hamel
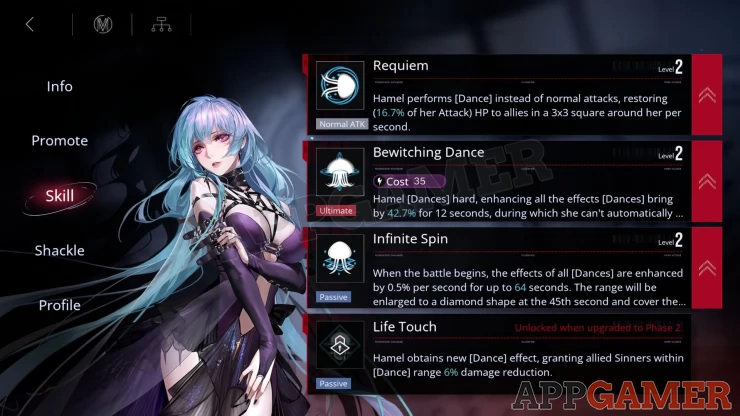
Hamel is the top-tier support unit with some interesting quirks. For example, she can’t perform normal attacks so in a way, you’ll lose some DPS output. On another hand, she can’t be targeted by enemies so you can’t use her to block an enemy advance since they’ll just ignore her or pass by her. (She can still get damaged by AoE attacks).
However, she makes up for it with her amazing dedicated support skills. Her normal attacks are replaced with “Dance” (Requiem) where she restores HP of all allies within a 3x3 grid around her PER SECOND. This healing tick is scaled on her ATK rating and of course, the skill level. Her Ultimate skill enhances the effects of her Dance (normal attacks) for a brief period of time. While the ultimate skill is in effect, she can’t recover energy automatically.
After unlocking her first passive (Infinite Spin), the effect of her dances will be improved every second as well as the range. After 90 seconds, her dance’s effect will cover the entire field. For the her second passive (Life Touch), her allies within Dance range will also get damage reduction which can be improved further by leveling up this skill.
Once you get her to Phase 3, her healing skills will become a potent AoE bane for enemies. Her dance (Requiem) will cause enemies to lose HP if they’re within the effect’s range while her Life Touch passive will apply a debuff on all enemies in range, causing them to take more damage. This reversal effect will be toggled whenever she uses her skills.
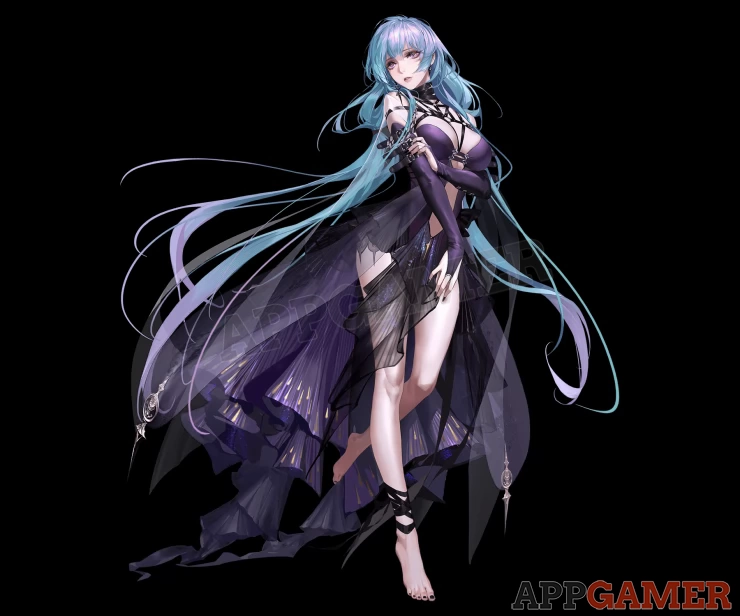
Ariel
If you don’t have Hamel or if you don’t feel like working around her quirks, then a great dedicated healer like Ariel might be up your alley. On top of increasing the Energy Recovery Speed passively, she can also attack and block enemies normally (for emergency interceptions) Her ultimate (Abyssal Glimmer) heals all allies five times within a 3x3 grid. This grid’s position can be adjusted so you can heal allies that’s not positioned near her.
Her first passive, gives her access to a very useful passive healing field that restores the HP of all allies within 3x3 squares around her every 6 seconds. Her second passive provides additional HoT (healing-over-time) to allies within her ult’s field that lasts for 10 seconds.
For her Exclusive Crimebrand, whenever she uses her ultimate, she’ll create an extra healing field around her but at a reduced healing rate. Building Ariel is worth the resources especially if you just want a no-nonsense healer in your party.
Best Tanks (Endura)
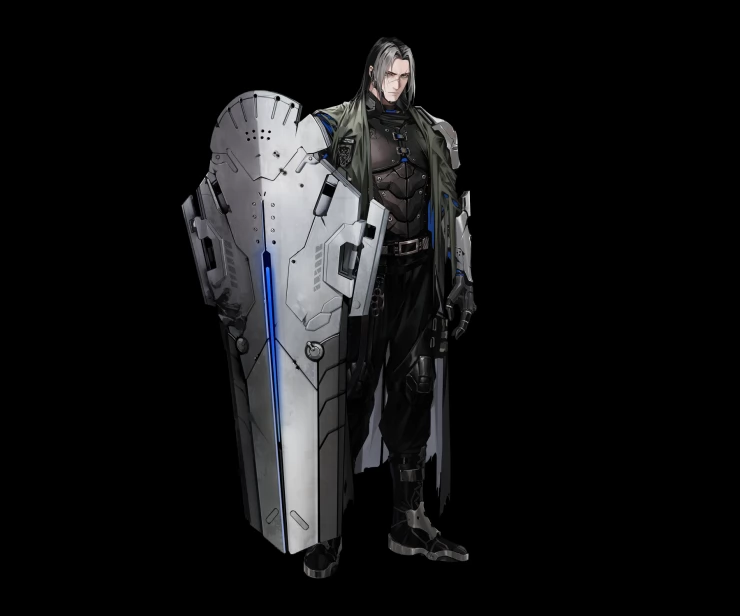
Demon
Demon is the only S-rank tank in the game so it’s obvious that he secures the top position in this tier list for tanks. However, that doesn’t mean that his ranking is without merit. His entire kit is centered around defense and he excels with it.
First, Demon innate ability boosts his max HP by 10% and allows him to block up to two enemies at once. His Mania Intensify skill also buffs all allied sinners’ ATK equal to 0.5% of their shield value.
For his skills, his ultimate grants him a shield equal to a portion of his max HP, with his allies within range getting a shield of their own equal to 35% of Demon’s total shield value. The shield lasts for 12 seconds as well, giving your party enough time and protection to weather devastating attacks or AoE damage.
His first passive grants him a shield automatically based on a portion of his max HP every 20 seconds. His second passive increases his shield’s effectiveness for every 20% HP he loses. When Demon’s HP is below 20%, the effect of this passive will be at maximum.
Finally, for his exclusive crimebrand, Demon will be able to activate a skill that converts 5% of his max HP into an equal shield value every second. Since Demon is losing HP with this skill, his second passive will also provide additional protection for him. The amount of HP that can be converted will depend on the exclusive crimebrand’s level. The HP to shield conversion will stop once the limit is reached or Demon’s HP is insufficient. This skill can only be used once per battle and will disappear if Demon is repositioned anywhere in the battlefield.
Due to these amazing and highly-effective defensive skills, Demon is currently unmatched in terms of survivability. If ever you manage to Arrest (recruit/summon) him, keep and secure that account.

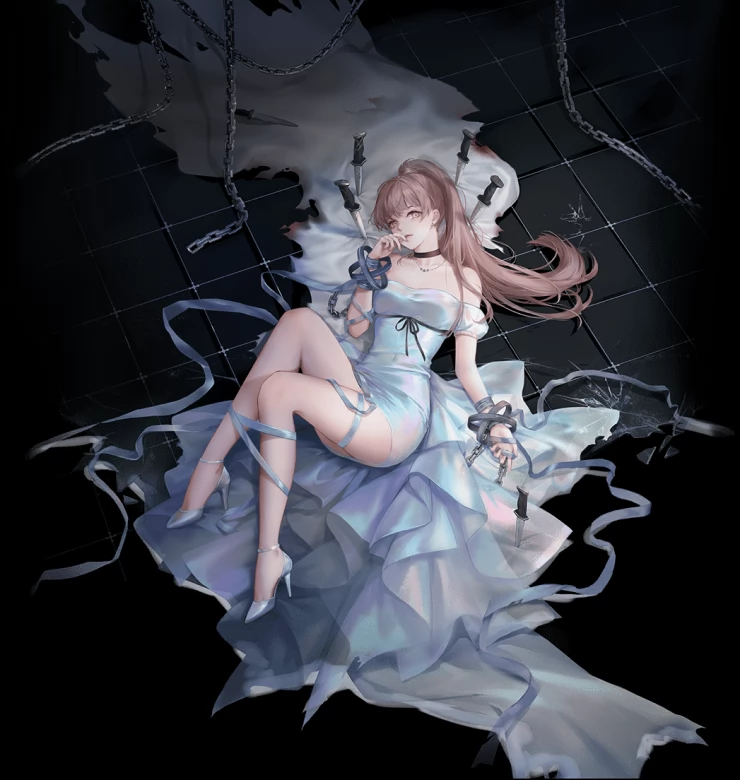
Countess Chelsea
Countess Chelsea lacks self-shielding but has another reliable gimmick of her own - summoning a crystal feline as another unit to block and attack enemies in the battlefield. First, her innate ability and Mania Intensify skills just increases her max HP. Since she lacks shields, you’ll need to position her near a support unit’s healing field (like that of Ariel and Hamel).
Her ultimate allows her to summon Sitri, a crystalline feline that occupies other space in the battlefield that can block up to two enemies. Sitri’s HP will be based on Chelsea’s max HP (88% by default, up to 120% when the skill is upgraded) and will deal normal attacks equal to Chelsea’s Normal Attack value. Sitri stays on the field for 20 seconds and you can only have one Sitri deployed at a time. This practically gives you a free unit covering two different spots. The only downside is that Sitri can’t be repositioned after summoning but you can freely deploy it to a different location when summoning it again.
Chelsea’s passive gives her and Sitri a chance to petrify enemies for 2 seconds with their normal attacks, with a 12-second cooldown. The second passive gives Sitri a 10% damage reduction. This skill also automatically redistributes or shares the HP between Chelsea and Sitri so that they’ll have the same HP percentage. The skill has a 4-second cooldown. These two skills gives Sitri and Chelsea more survivability and utility on the field.
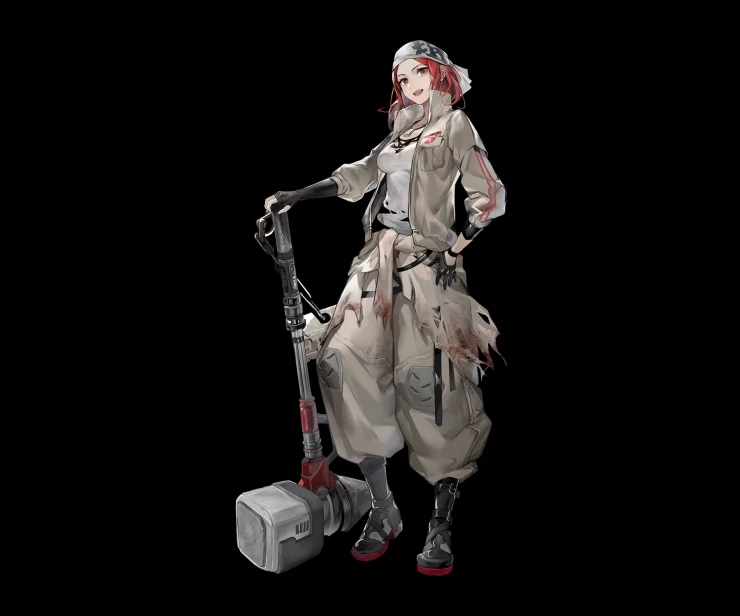
Demolia
Demolia might be a B-rank sinner but she’s a very reliable tank once you invest in her. Additionally, since she’s not that rare, it’s relatively easy to fully activate her Sync Rates/ Shackles up to Stage 5. She doesn’t have a protective shield to lessen the damage but she makes up for it with her self-healing abilities and excellent survivability. Like other Endura characters, she can block two enemies at once. Her max HP is increased both by her innate and Mania Intensify abilities.
Her ultimate, Rally, restores 30% (up to 45% at max skill level) of her max HP. Her first passive gives her bonuses to the amount of healing she receives for each enemy she blocks (up to 3 times stacked). The second passive allows her to recover a bit of HP whenever an allied sinner uses his/her Ultimate skill. Finally, she’ll shine the most after unlocking her exclusive crimeband that increases her block limit whenever her HP is higher than 60%, 50%, and 40% respectively.
----------------------
That concludes our Path to Nowhere Tier List. Please check out our online guide for the game and other articles for more Path to Nowhere content!