Hidden Escape: Murder Mystery 2 - Chapter 2 - Mysterious Package Walkthrough
More Hidden Escape: Murder Mystery2

This is our guide to Chapter 2 - Mysterious Package for Hidden Escape: Murder Mystery 2 is a puzzle adventure game from Vincell Studios. Mallory and Mark continue their adventures and investigate a futuristic murder.
After receiving the mysterious package in Chapter 1 Mark and Mallory use the VR headsets and uncover a mystery they were not prepared for.
Chapter 2 - Mysterious Package Walkthrough
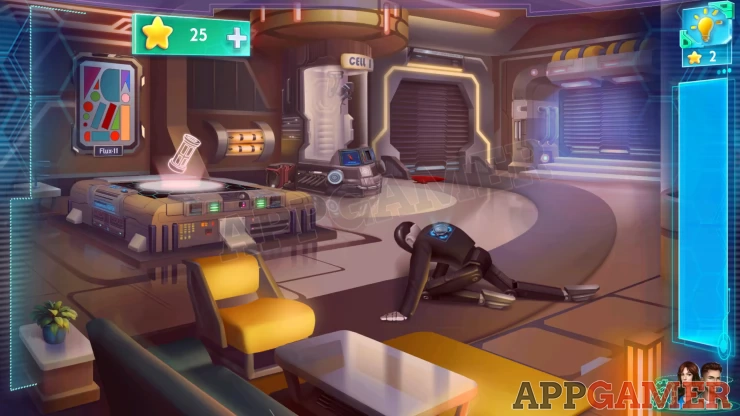
The chapter starts with you entering the VR world. There is a futuristic scene with a collapsed cyborg on the floor. Botler
Tap on the figure to see that it needs repairing
Tap on the chamber at the side of the room marked CELL I. Then tap on the drawers at the bottom to open it. Collect the Empty cell and the power tool.

Back up and use the empty cell on the large flat area on the left with the hologram of the cell above it. This will open a puzzle.
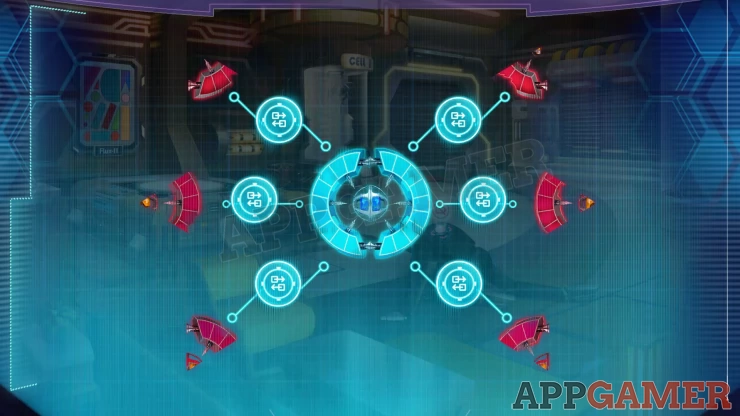
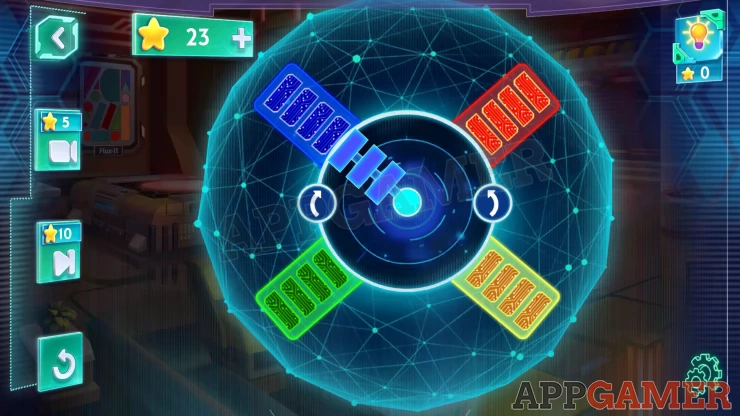
Cell puzzle
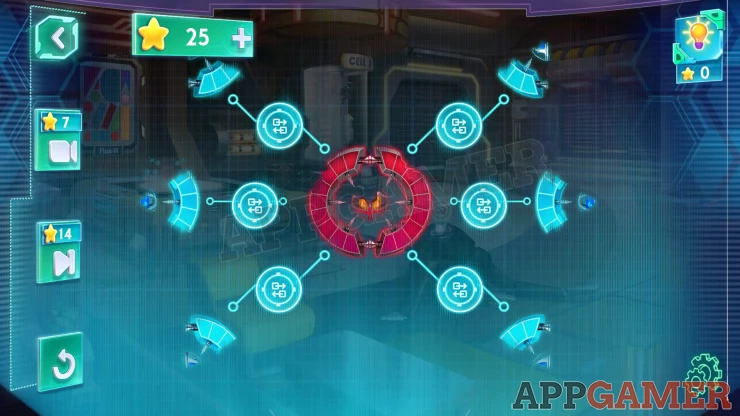
- Tap the blue circles around the center to swap the red segments for the blue ones.
- Each one will swap more than one segment. You need to have all blue segments in the center.
Solution: The easy solution it to tap the top left circle and then the bottom right circle.Show
Now return to the cell chamber and add the empty cell to the open slot on the right of the chamber. This starts another puzzle.
Cell Recharge Puzzle
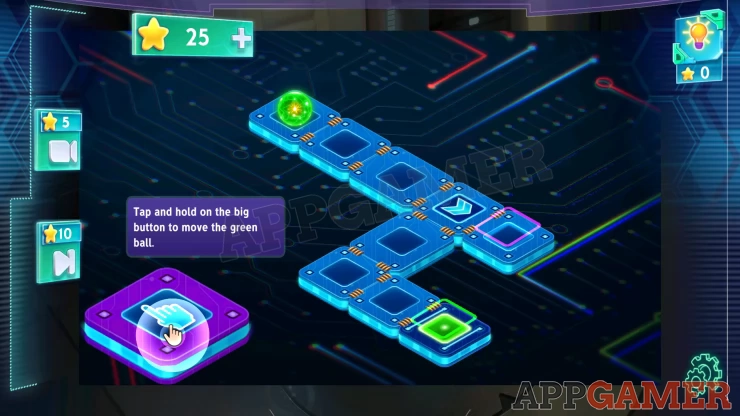
- Follow the instructions to tap the button to move the green ball.
- You also need to tap the arrow button to set the direction for the ball to that it moves towards the green square.
- After completing level 1 there are 3 more levels, these have 2 balls.
- The purple ball must go to the purple square and the green ball to the green square.
- The balls cannot pass each other.
Check the video for help.

Collect the charged cell return to view the back of 'Botler' again. Use the power tool on the screw to open the panel.
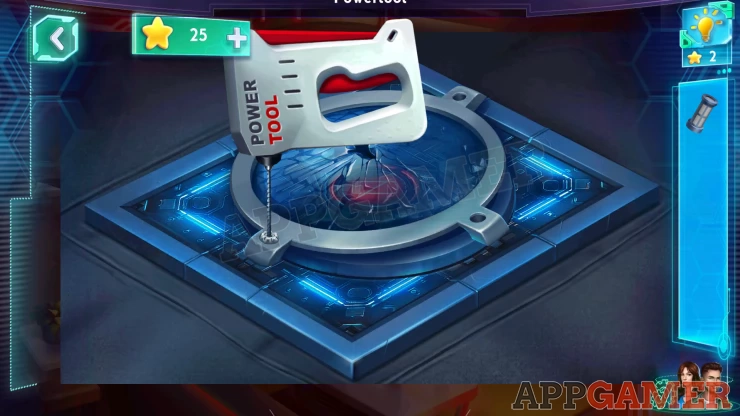
Add the charged cell, you will then need to enter a 4 digit code.
FLUX-11 Password
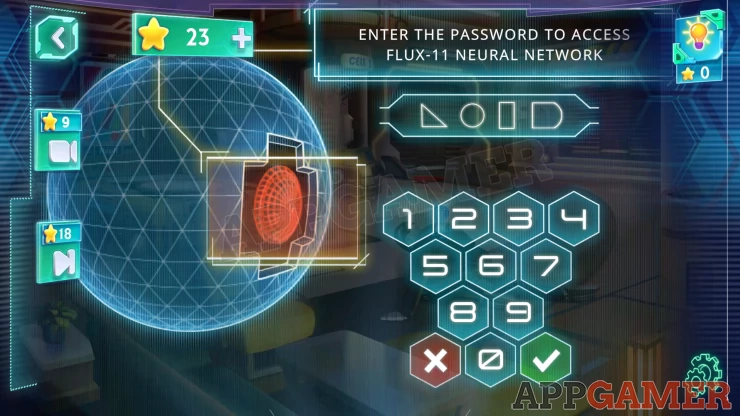
- The clue is the 4 shapes
- Look in the room for an image that relates to Flux-11
Solution: Show
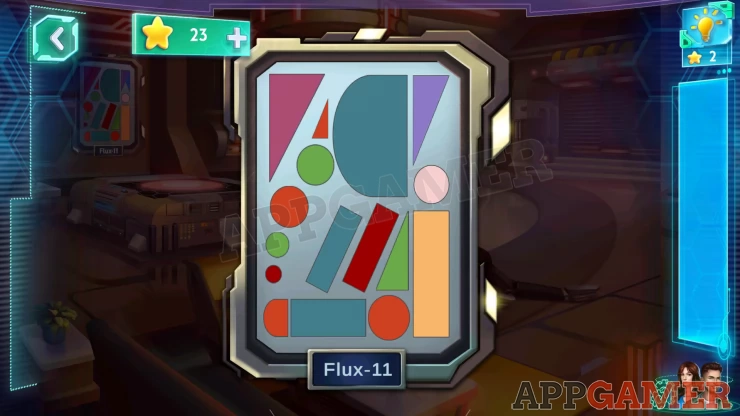
Count the number of each shape you see in the password entry.
Code: 4642Show
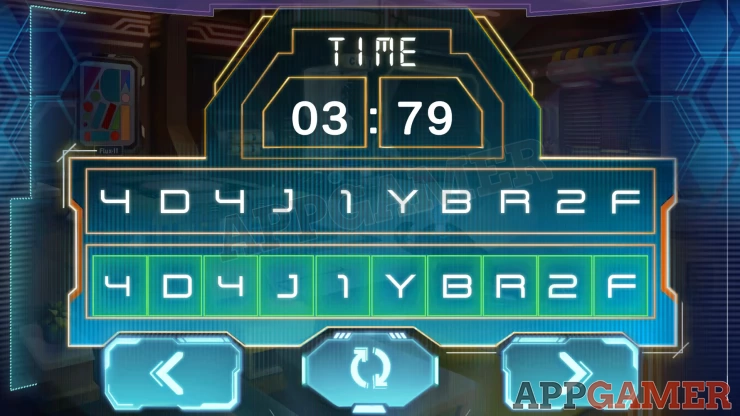
Tap on the 'Re-encrypt' button, you then have another puzzle.
Re-Encrypt Puzzle

- Use the controls to move the yellow box theft and right and then swap the characters in it.
- You need to match the lower code with the one above it.
- Once you make the first move you have 30 seconds to complete it or you have to start again.
On the next screen tap the 'Fix and Reboot' Button and you will start another puzzle.
Reboot Puzzle
- For this one use the controls to turn the center and then you can collect the colored blocks.
- Arrange the blocks so that the correct 4 blocks of the same color are in the right places.
Once done Botler is restored. Follow the conversation until it unlocks the doors to the next room. Go through.
Office Room
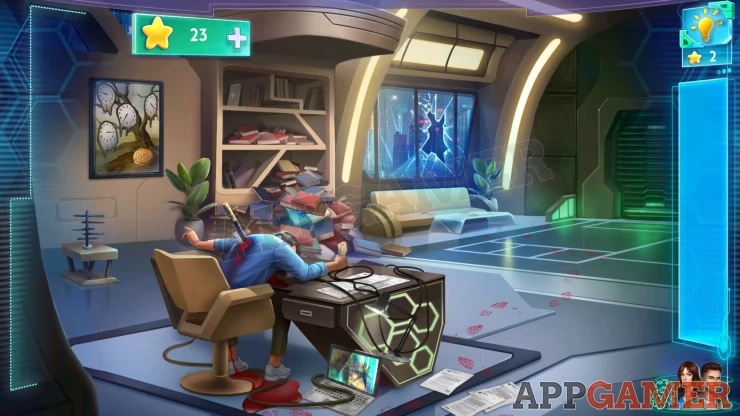
There is a glowing device under the pile of books that have fallen from the shelves. Tap on the books to move then and then collect the device that falls to the floor.
Device Puzzle
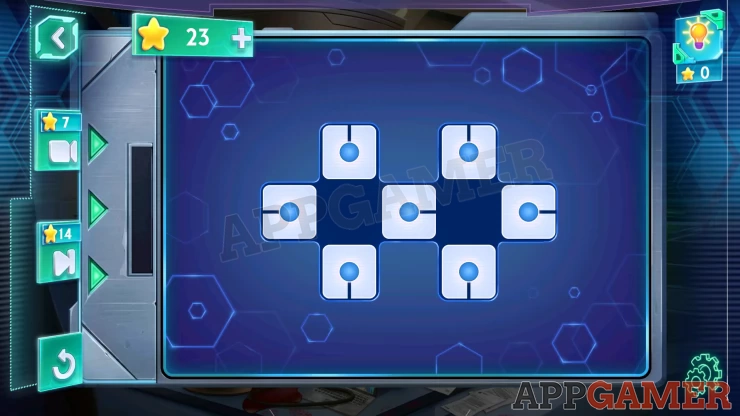
- To unlock this you need to slide the white blocks to release the blue locks.
- You will need to move some blocks to allow you to then slide others.
- There are 3 levels to complete.
- Check the video below for help.

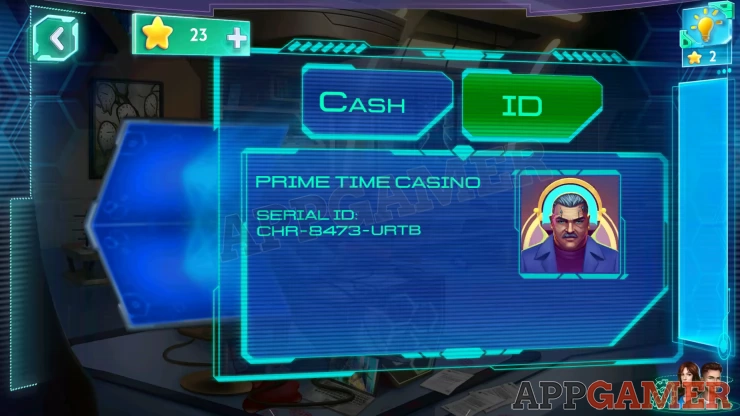
This unlocks the device and gives us a suspect.
Next, open the drawer on the desk and collect some Glue. Then tap on the body to view it.
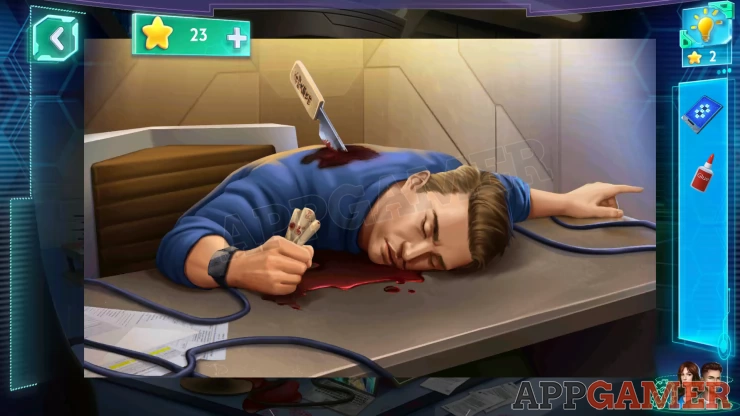
Tap on the paper in his hand to see the clue, then use the glue on the thumb of his hand to collect a fingerprint. Now tap on the painting of the clocks in the wall to view it. Note the times on each of them.
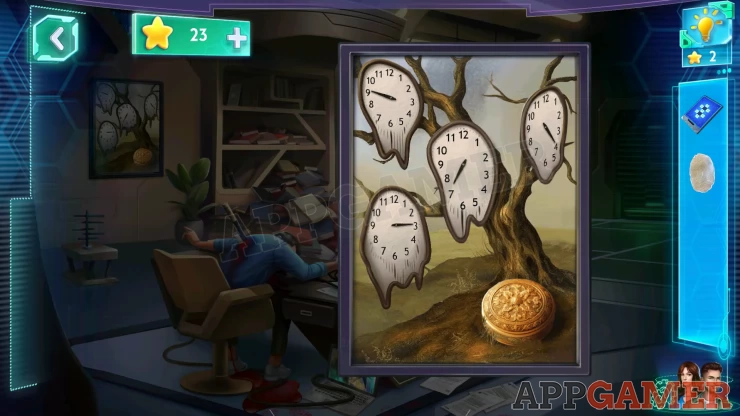
Then tap on the round gold box in the painting at the bottom, this reveals a fingerprint scanner.
Use the fingerprint on it to then reveal a secret safe.
Safe Code
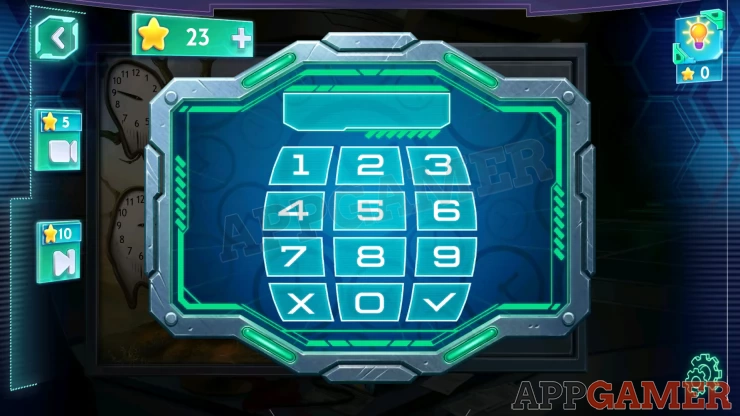
Use the number clues from the clocks to get the code for the safe.
Code: 3974Show
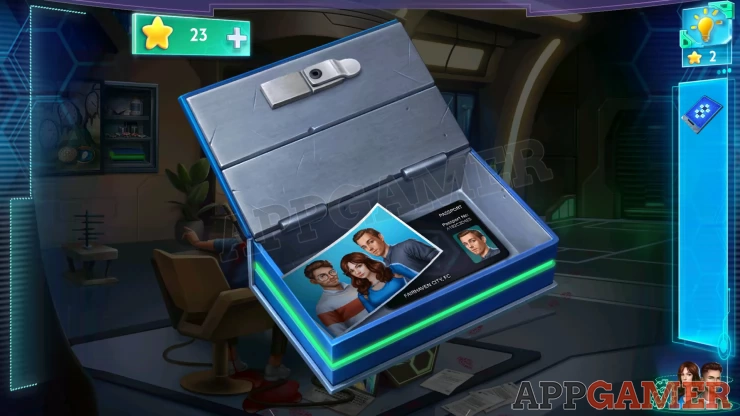
When the safe opens tap on the blue box to view it. Then view the puzzle on top.
Blue Box Puzzle
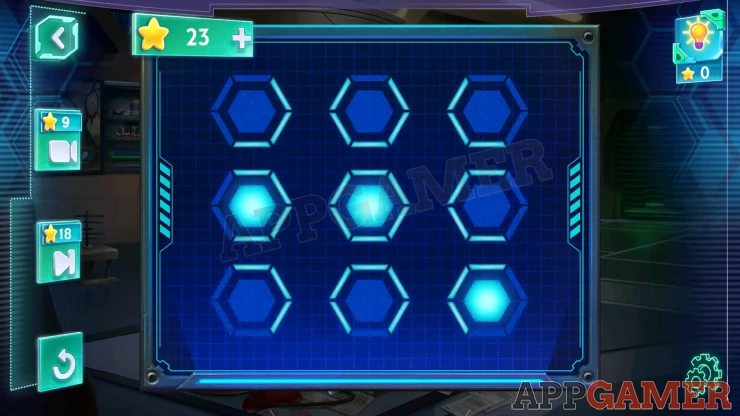
- To open the box you need to activate all of the 9 buttons (light on).
- Tapping any button will toggle the light on or off, it will also change the buttons adjacent to it.
- Check the video below for a solution

With the box open collect the passport of the victim. And also find a photo of Mallory. This completes Chapter 2
Move on to Chapter 3.
We have questions and answers related to this topic which may also help you: Show all
 With 20 years of experience in creating video game content for the internet and over 30 years as a gamer, Mark is now a passionate mobile App Gamer. Loving a challenge, he is always ready to get stuck in to both survival builders and puzzle solving games. He has been providing content for AppGamer since 2014.