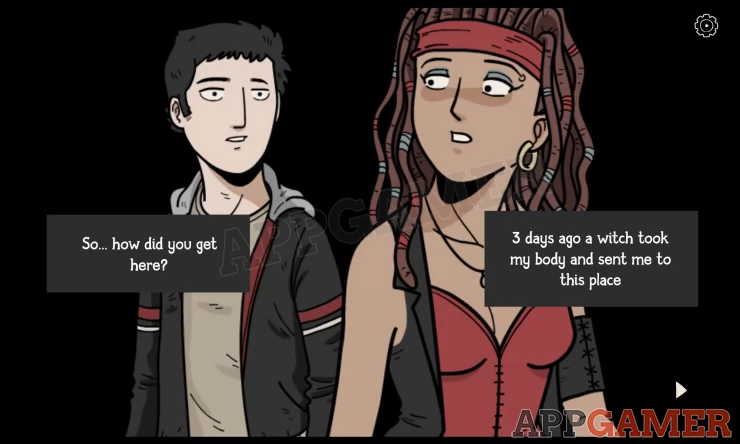
Part 2 - Bastian and Laia in the Dungeon Walkthrough
More Escape from the Shadows
Bastian and Laia - Escaping the Dungeon
There are loads areas to explore in this next part of our Escape from the Shadows walkhrough.
While you should have a good look around yourself, most of the puzzles will require a little bit of groundwork and item collecting before we can tackle them.
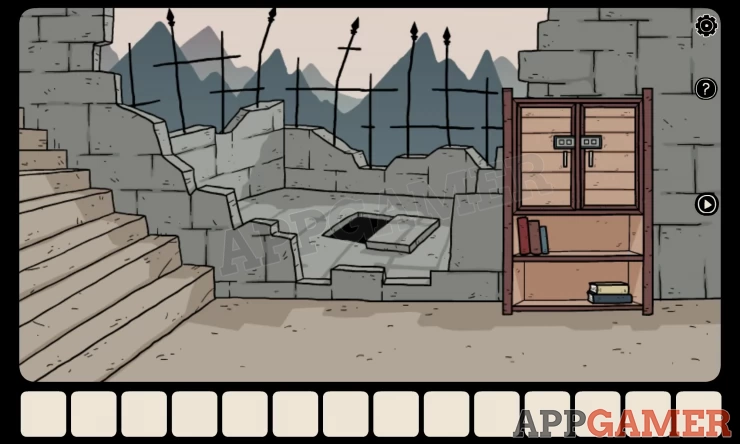
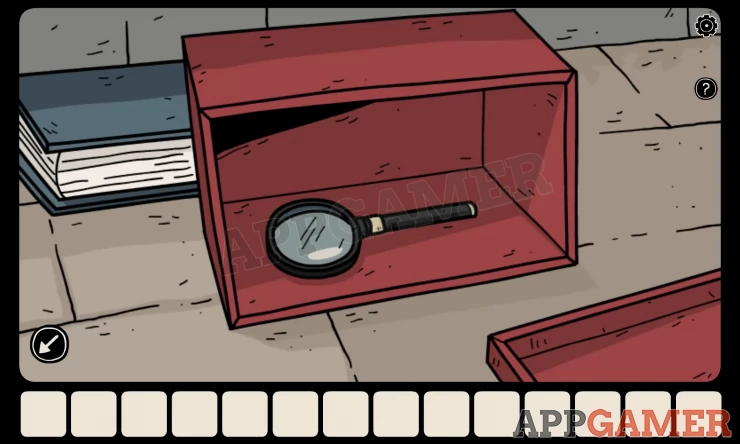
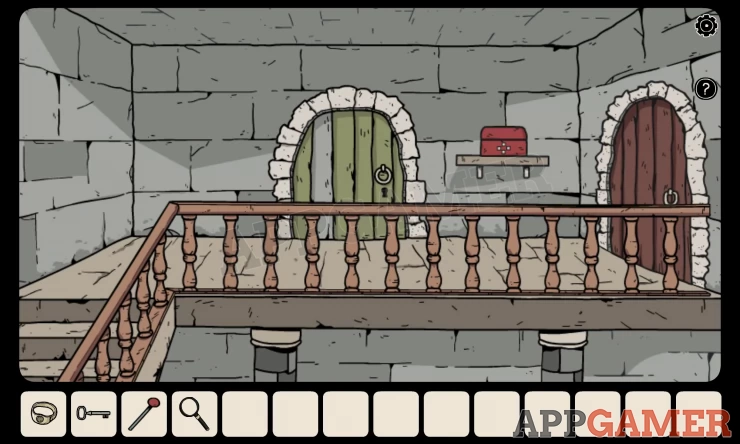
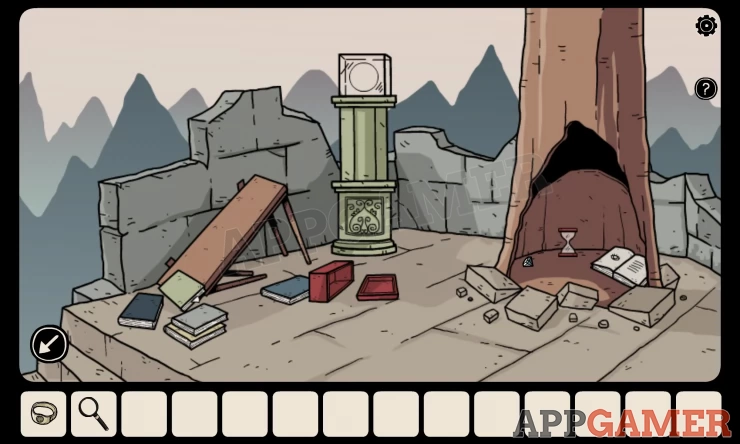
First of all head to the right and up the stairs, keep going to the top and take the magnifying glass from the red box on the floor.

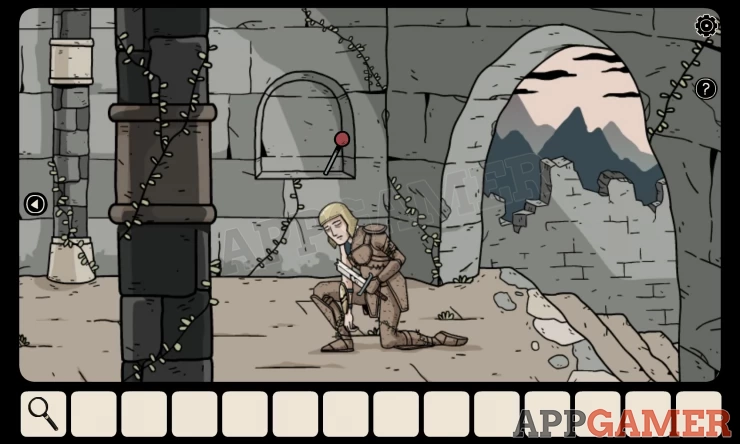
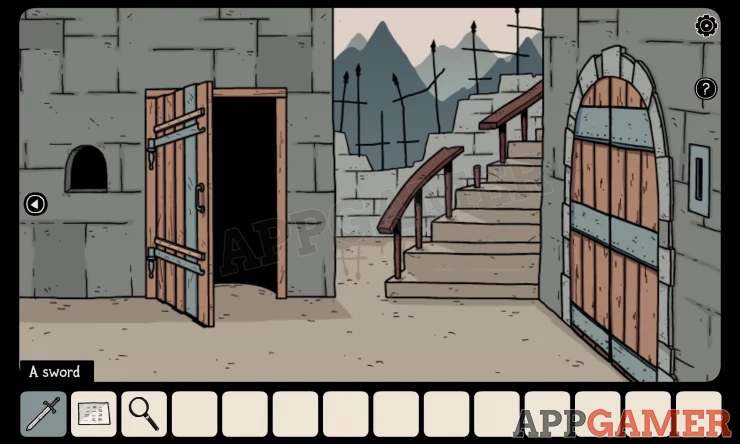
Now head all the way back to where you started in the dungeon, and head to the left, pass the knight that needs water and keep going - But remember to take the level with the red handle that is located behind the knight.
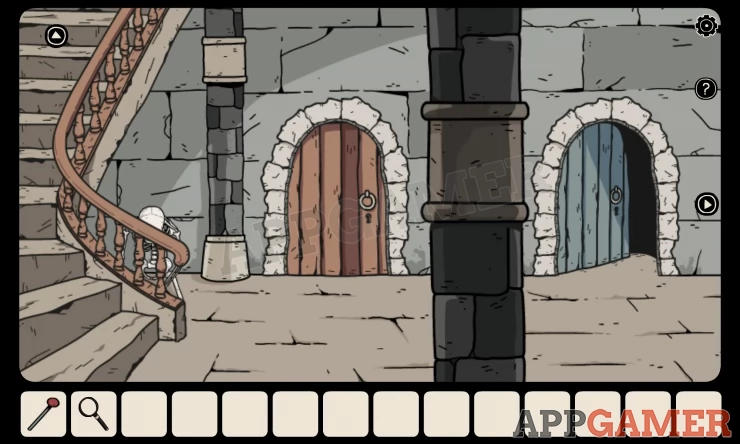
This will take you to a room with two doors.
Note the skelton in the corner of the room with the two doors, he holds a key, but we can't get it just yet.
You can open the blue door on the right and enter that room.
Entering the Blue Door in the Dungeon
Again, there are few things to look at here and possibly come back to.
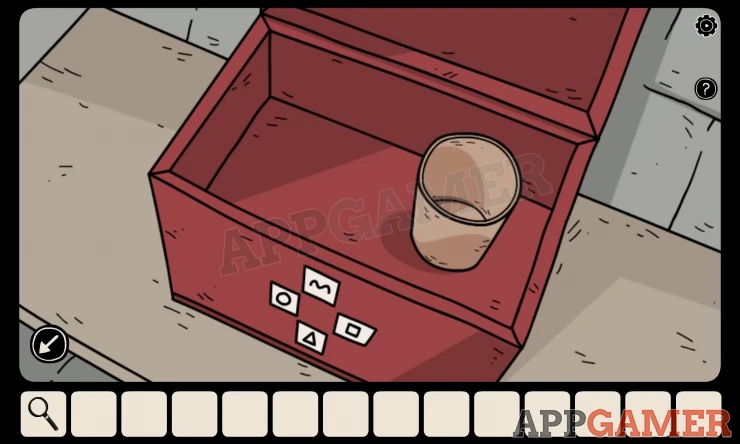
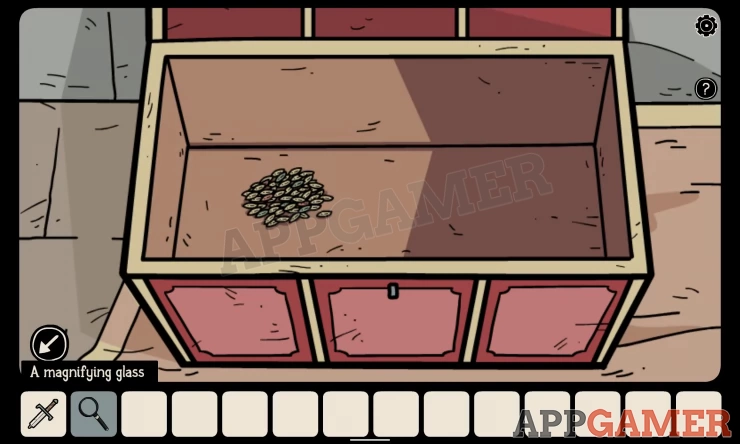
But what we can do here is open the chest on the ground.
To do this we need to tap the hands on the wall in the correct sequence.
Imagining there are three columns of arms, a left column, a middle column and a right column.
For me, the sequence was as follows.
- Top left
- Bottom middle
- Bottom right
- Top right
- Bottom left
- Top middle
This will unlock the chest. If the sequence does not work for you, try getting a hint in the game by watching an ad.
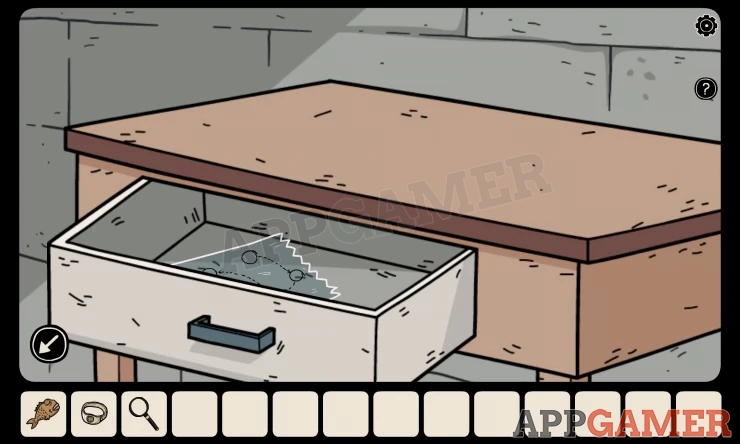
From inside the chest take the old key and the ring that is missing a gem.

You can now leave the room and head upstairs on the left and you'll see two more doors.
Unlocking the Green Door
At the top of the stairs there is a brown door which seems to be sealed by magic, so we can't open it just yet.
There is also a red box on a shelf which looks like we need to find the correc sequence to unlock it.
On the left there is a green door, tap the old key in your inventory and then click the green door to unlock it. Tap it again to open it and again to go through the door into another room.
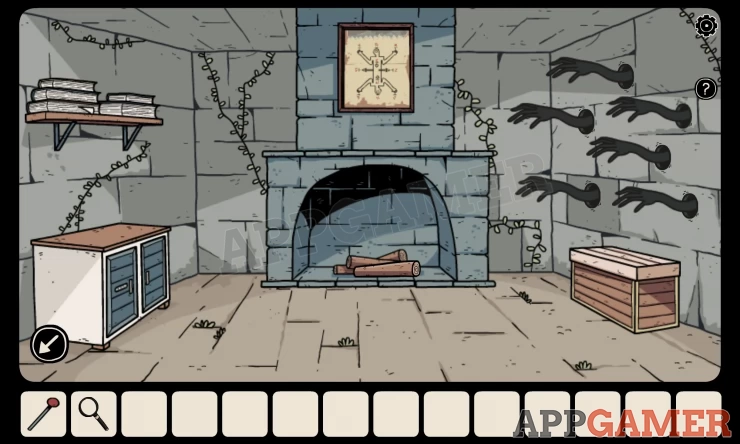
Books with Arms Room
We now enter the room that has arms coming out of books with goblins at the window.

To the left there is a rack of shelves, tap there and take the coat hanger from the top of the shelves.
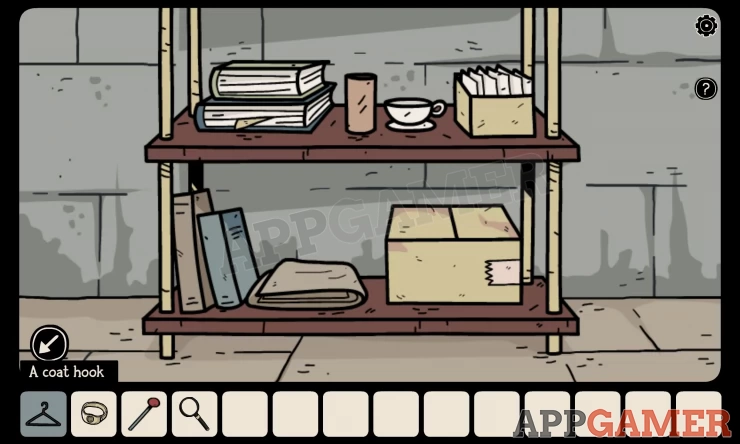
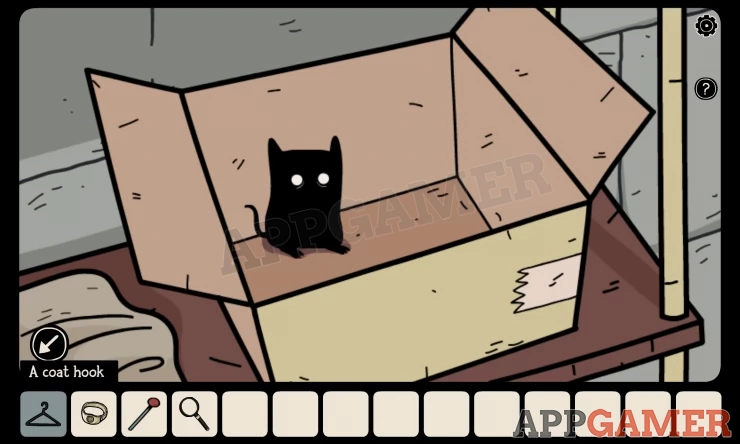
Collectible: At the bottom of the shelves there is a box that you can open to find another black cat collectible item.
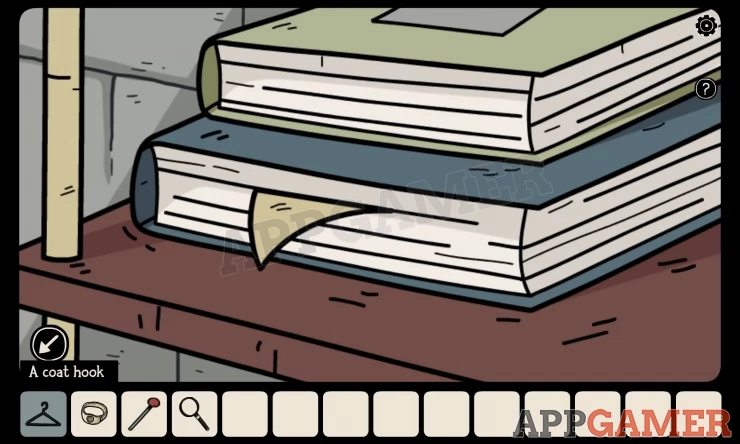
Above that there is a note sticking out of a book, tap it and take a note of it's contents. We'll come back to this information later.
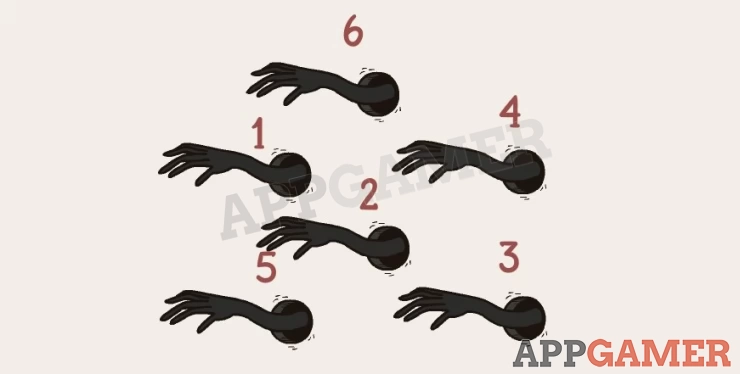
Now tap the area where there are books and arms. Note that each of the arms have a different amount of fingers pointing in the air, and there is a different symbol on each book.
For me, I have it as follows:
- 1: Three wavy lines
- 2: Sun
- 3: Star
- 4: Moon
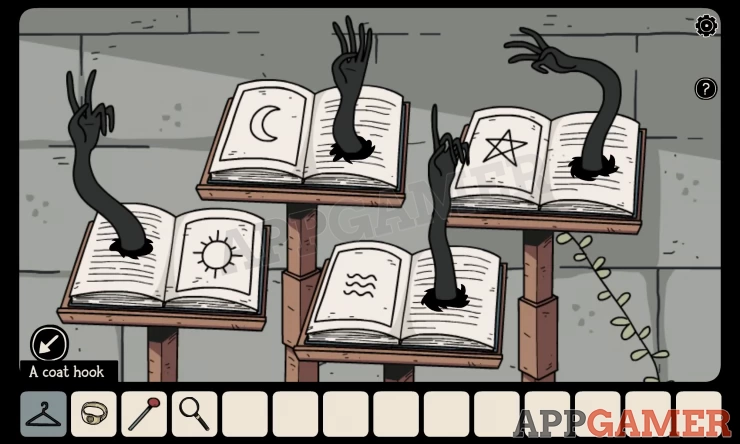
We can use this code to unlock a cupboard somewhere else, let's go there now.
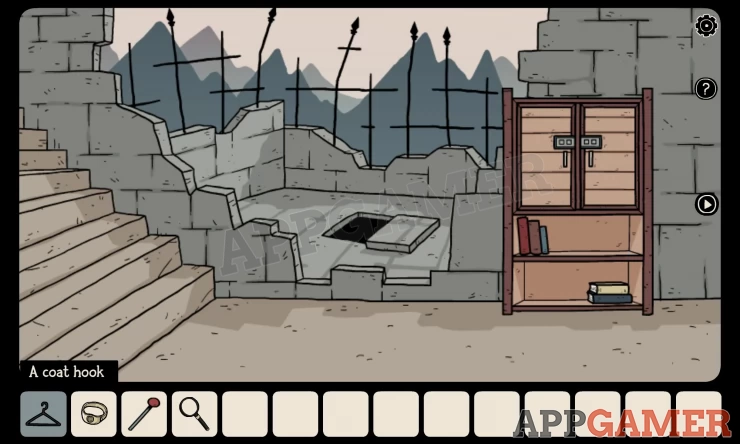
Open the Cupboard at the Dungeon Entrance
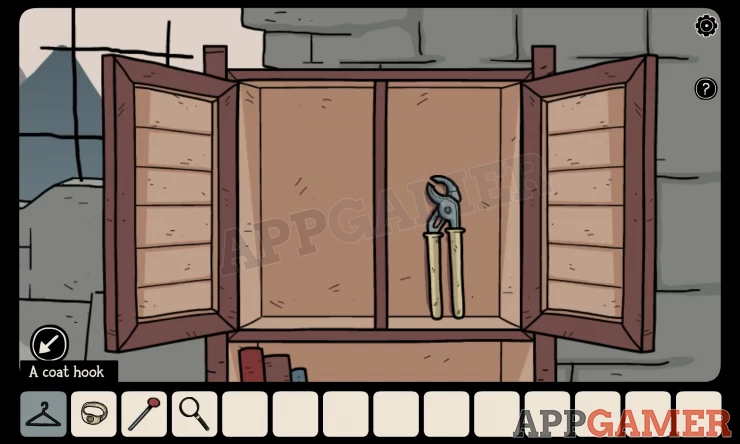
Go back to the first room where Bastian and Laia came out of the roof of the dungeon, there is a cupboard there, click it and enter the code sequence that you just got from the arms and books.
Just tap the white boxes to change the symbols as follows
- Three wavy lines
- Sun
- Star
- Moon
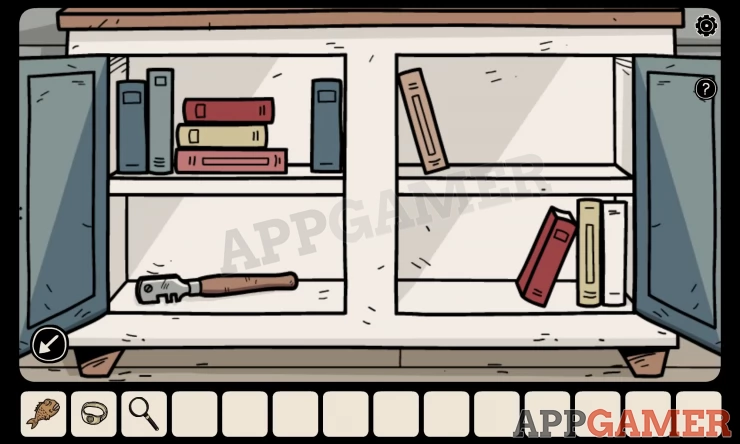
This will unlock the cupboard and you can take from it the pair of pliers.

Now in your inventory tap the pair of pliers and the coat hanger, this will give you a hook that you can use to open a door.
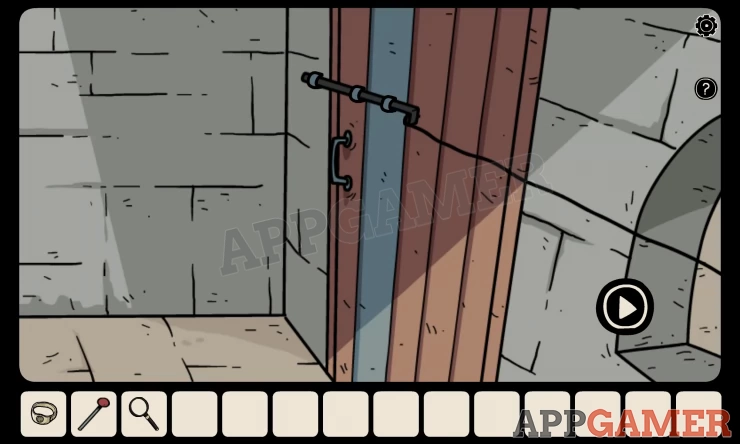
Opening the Barred Door
Head to the right, and note that there is a door that is barred from the other side.
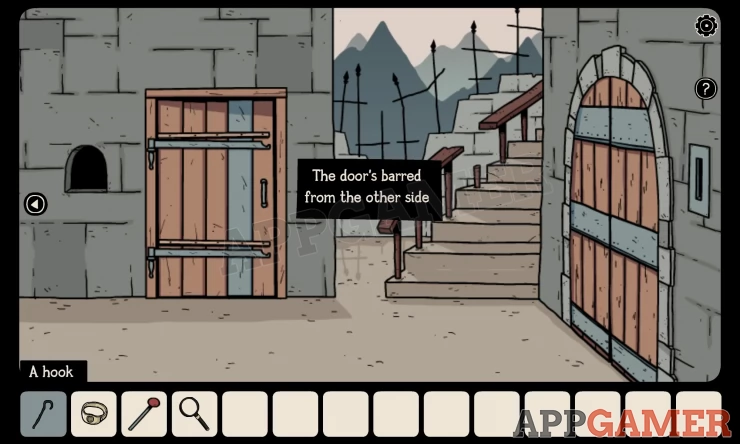
Tap the small window that is to the left of it, now select the hook from your inventory and tap the bolt to open the door.
You'll then see some more of the game story.
Enter the room that you unlocked and you can see that there are a couple of puzzles to solve.
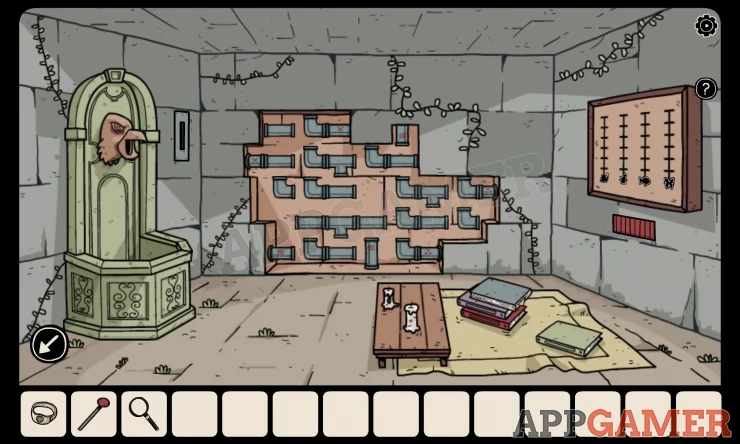
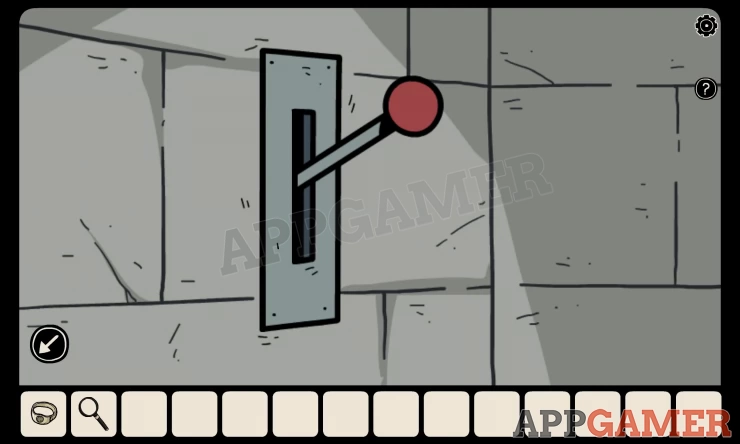
First of all, tap the lever in your inventory then tap the slot over on the left. But to get the lever to work properly you complete another puzzle.
Over on the other side of the room there are some sliders with animals, you need to know hwich slot each of the animals need to be on to complete the puzzle.
To find that information, you need to look in the notes that are sticking our of various books on the dungeon level.
Here in this room there is a note that says the fish has to be at the top marker.
At the very top of stairs where you found the magnifying glass, there is a book with a note in it thats says the butterly must be in the fourth position.
The book with the position of the snail can be found by continuing left past the knoght again and entering the blue door, on the left there are some books on a shelf, in one of them there is a note showing the snail goes to position 3.
The final note for the cat is found in the room with the arms and books and shows the cat in the 5th position.
So set the markers for the puzzle based on those notes that you found in the books.
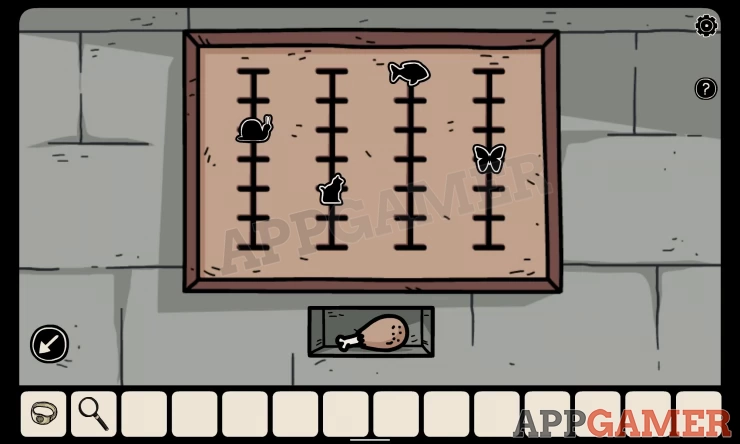
Once you have everything in the correct place, a checken leg will be revealed under the puzzle that you can take.
Feed the Goblins
Go back to the room with the arms and books that have the Goblins at the window. This is located through the green door, to the left past the kneeling knight and up the stairs.
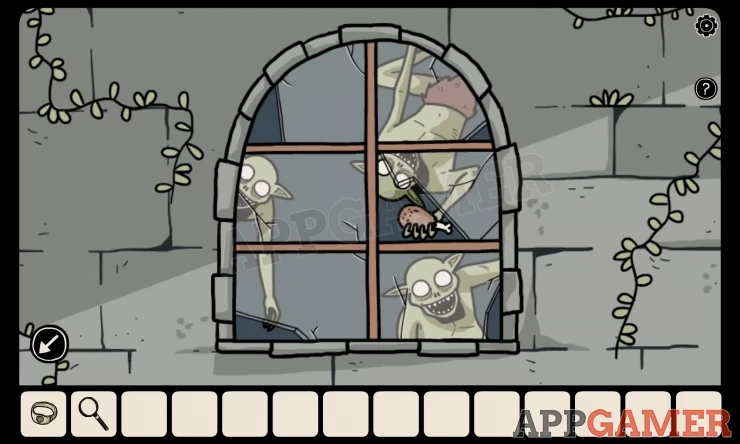
Use the chicken leg on the Goblins at the window. They will then disperse and one will come back and give up a pieces of paper with a code.
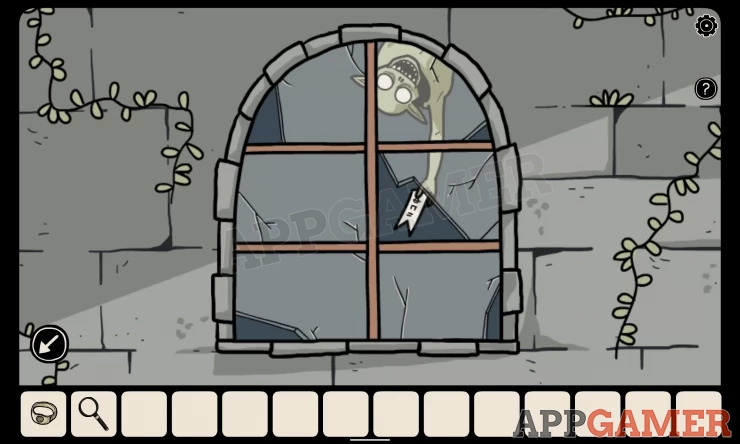
Open the Magic Door
The code is actually a spell that you can use to open locked doors, so head out of this room and tap the code you were given and then tap the brown door that is next to the green door to open it.
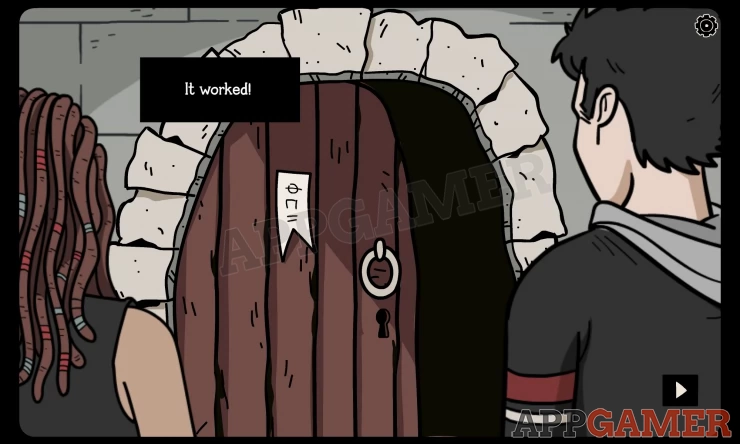
You'll then see more of the game story.
The Big Pink Bird Room
You'll now find yourself in a room with a big pink bird. Tap the bird and take the fish.
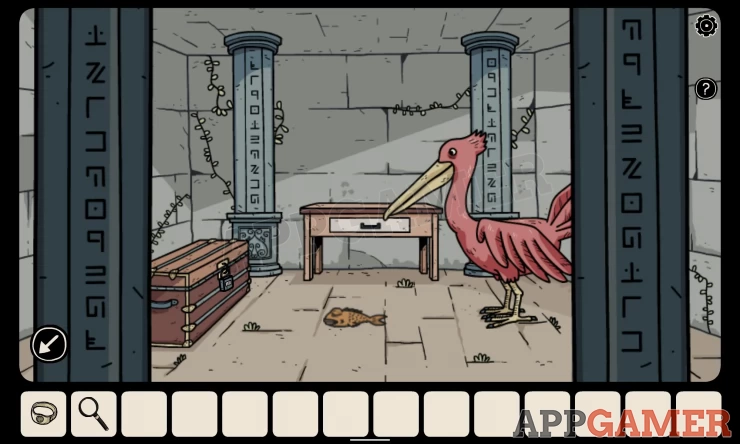
Open the drawer and take the note. You can use this note back in the room where there were arms coming out of the walls.
It's back down the stairs and through the blue door.
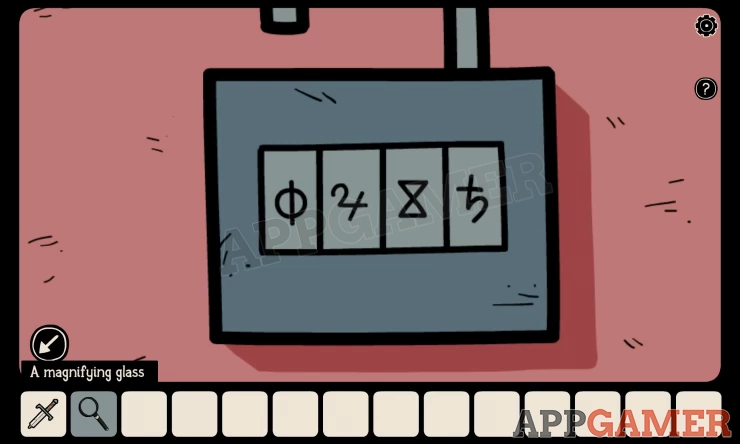
Grab the transparent note from your inventory and tap the painting on the wall.
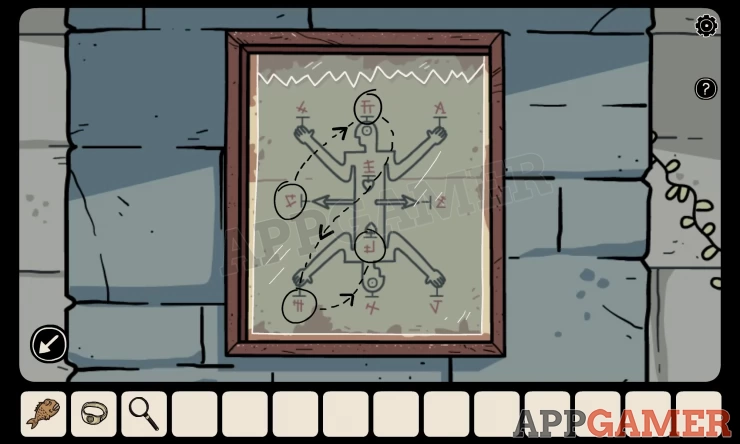
It will line up with the symbols and give you instructions on their order.
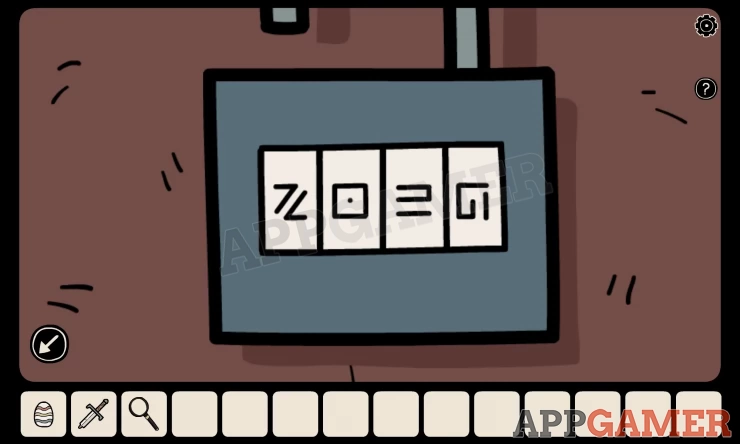
So we have the order as:
- The upsidedown J
- The Fr
- The 3 vertical lines with a horizontal line through them
- The plus on top of a minus and vertical line
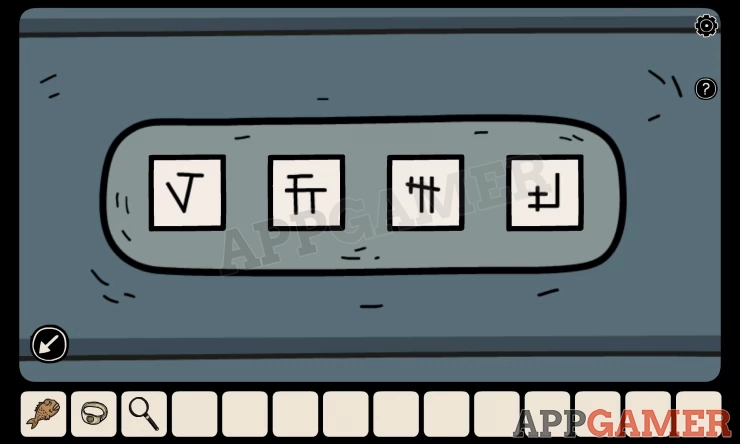
We can use this code on the blue door that is located on unit on the floor. Just tap the white boxes so the symbols match up to the ones you just found in the image.
When the door opens, you can take from it the glass cutter.
Take the pipe using the Glass Cutter.
Now you have the glass cutter you can get the missing piece of pipe that you need.
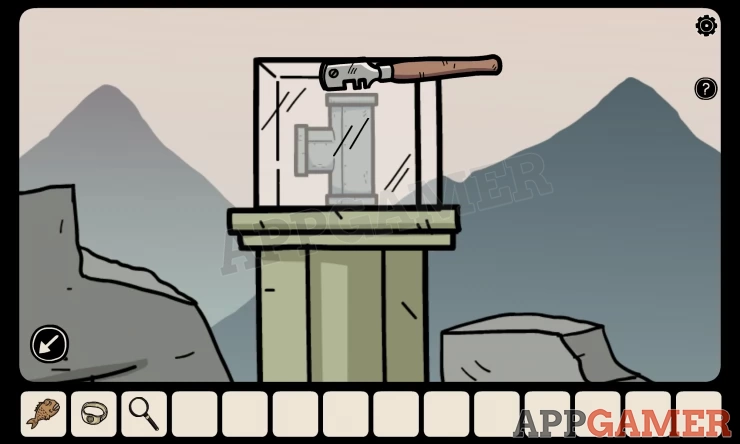
I you can't remember where the pipe is, well it as in the area at the top of the stairs on the left, where you originaly found the magnifying glass.
There is a pipe on a column behind a glass box. Use the glass cutter on the glass box to extract to pipe.
Pipe Puzzle
Now go back downstairs and into the room with the pipe puzzle. It is in the room that you unlocked via a hook through a window.
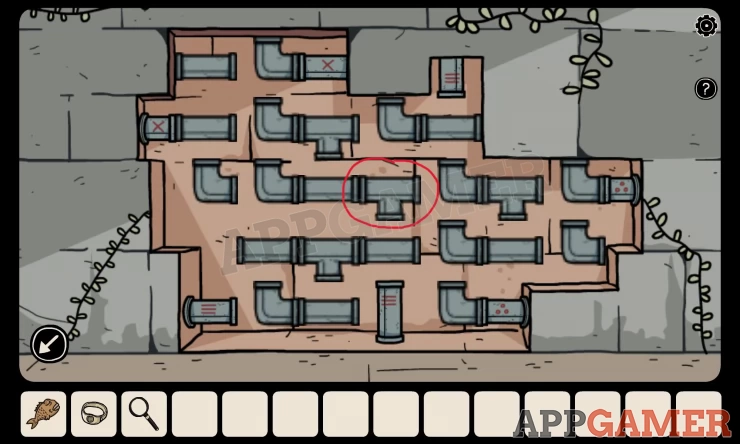
Place the pipe right in the middle of the puzzle, where you can see the obvious space.
Now you need to tap each of the pipes to rotate them so that water will flow.
You need to attach the pipes so that the same symbols go to each other. i.e. the X to the other X, the three dots to the other three dots and the three lines to the other three lines.
Once you have done that, the pipe puzzle will be compelte.
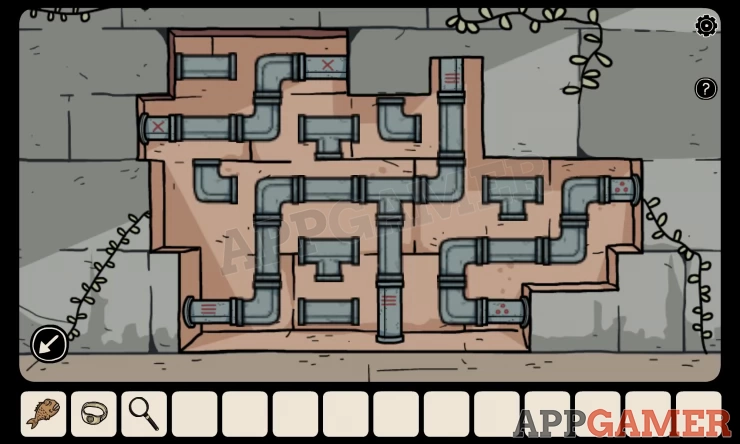
Just pull the lever again to start the water flowing and fill the fountain with water.
Now tap then fish in your inventory that you got from the pink bord earlier and put him in the fountain.
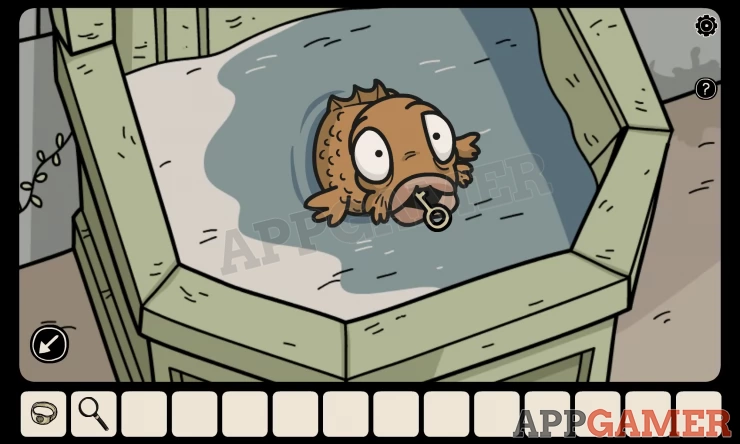
He will come back and bring you a white key.
Open the Lock in the Tree
This white key can be used in the lock in the tree. So go there now, its at the top of stairs where you just got the missing pipe piece.
Use the white key on the keyhold in the tree.
You can take the gem that is on the floor, there is also a sand timer, a red up arrow and a book with a message.
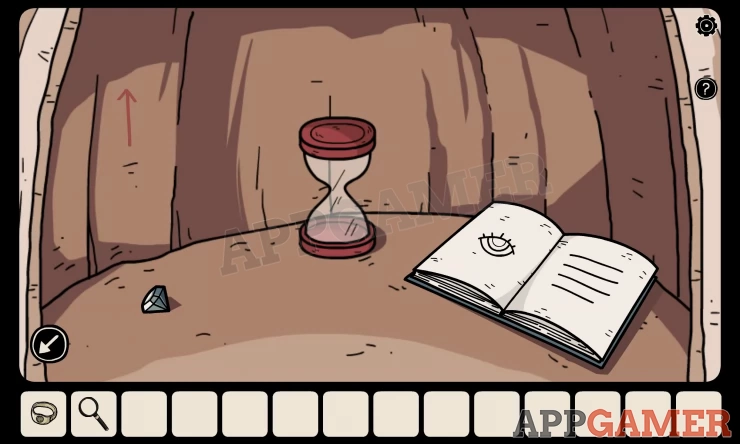
'A handful of sand was once a great desert. Come closer and know the truth'
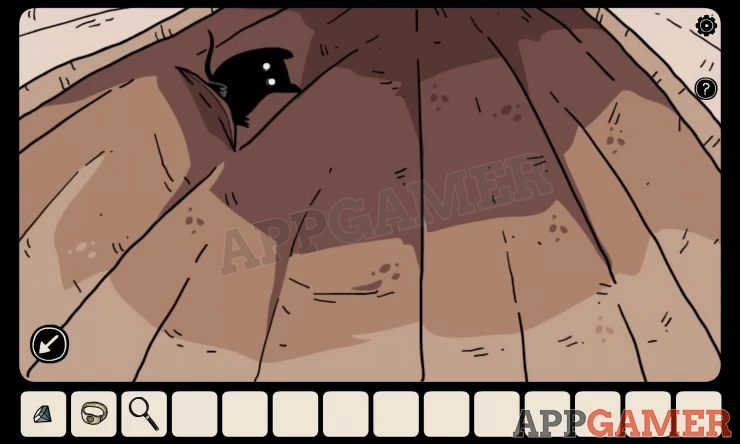
Collectible: Tap the red arrow and you'll see another collectible black cat up inside the tree.
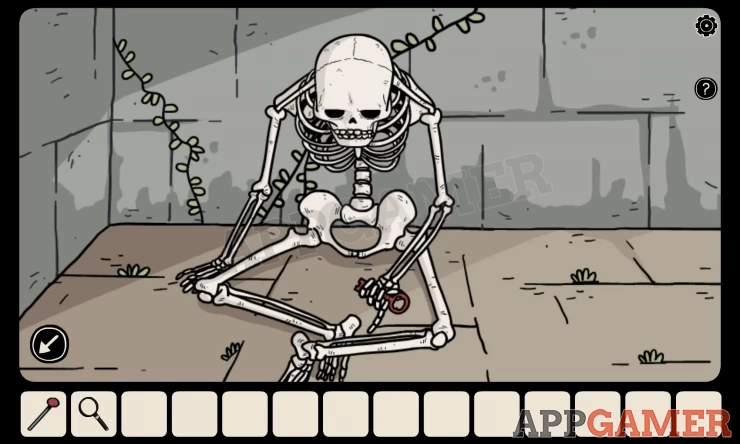
Get the Key from the Skeleton
You'll now be able to get the key from the skeleton. To do this tap the gem and the ring in your inventory to merge them together.
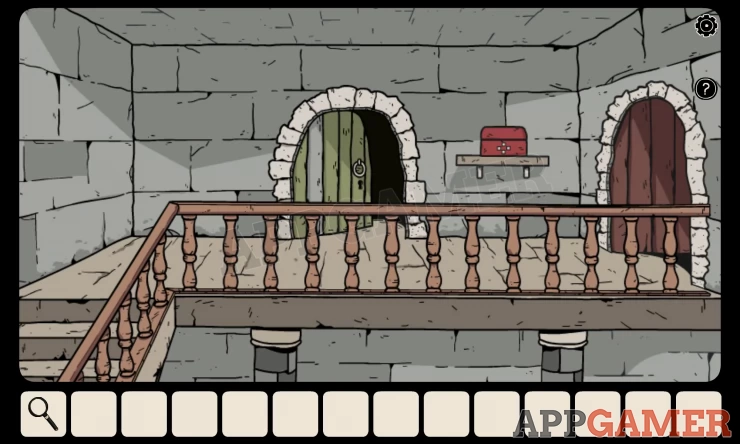
Go find the skeleton. It is sitting in a corner behind a staircase, to the left of a brown door.
Tap the skelton's hand. Tap the ring that has the gem in it and select grab, then tap the skeltons finger, then ring will go on and it will release the pink key.
Opening the Brown Door with the Pink Key
You can now open the brown door that is next to the blue door in this same area.
Simply select the pink key from your inventory and tap the brown door to unlock it, tap again to go in.
On the shelves there is a pouch at the top, take that, it'll come in handy a bit later.
Currently what you need to do now is look through the window, you'll see shadows moving around. They may look like they are moving in random, but actually each one has it's own pattern.
There are four shadows, we'll call them, top, left, right and bottom. Let's take a not of their pattens and use them in a puzzle.
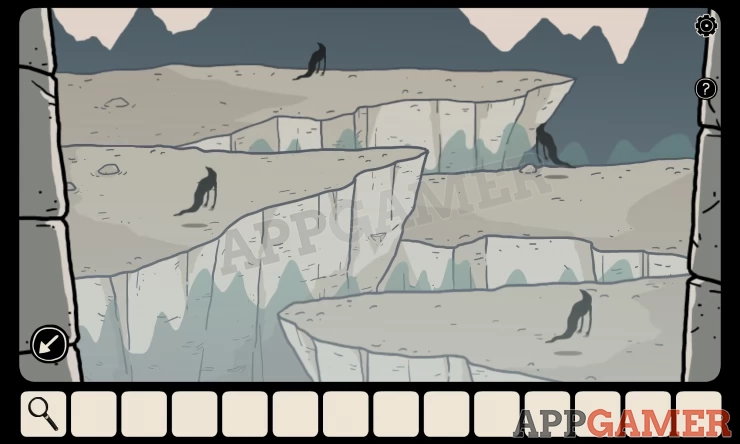
- Top - Wavy line
- Left - Circle
- Right - Square
- Bottom - Triangle
Opening the Red Box Outside the Green Door
Leave this room, hen go upstairs and you will see a red box out side the green door, tap that.
Then input the symbols based on the shadow movement patterns and their position in the window.
The red box will open up and you can take the glass.
The glass will come in very handy to help out that knight.
How to Give Water to the Knight
Now you have the glass, go back to the room with the fountain, select the glass, and then select the fountain, this will fill the glass with water.
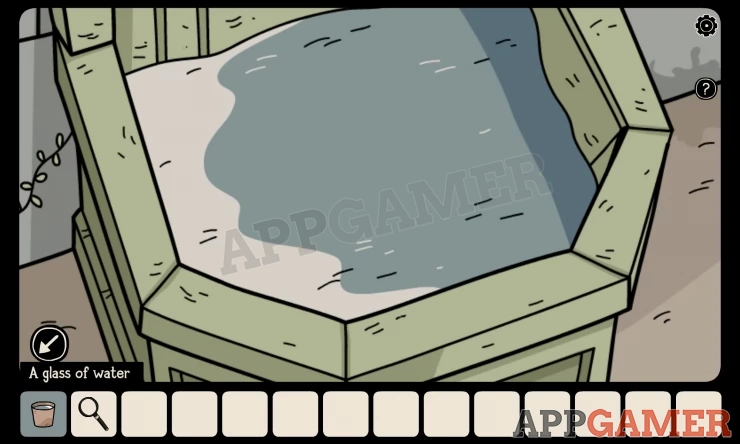
Go back to the knight, select the glass of water and then tap the knight.
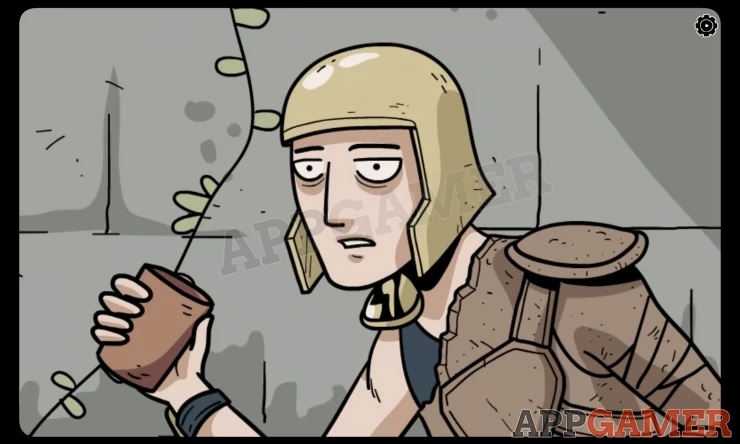
The knight turns to sand, while unfortunate for him, it's very fortunate for you as you need to sand for the timer which is located in the tree.
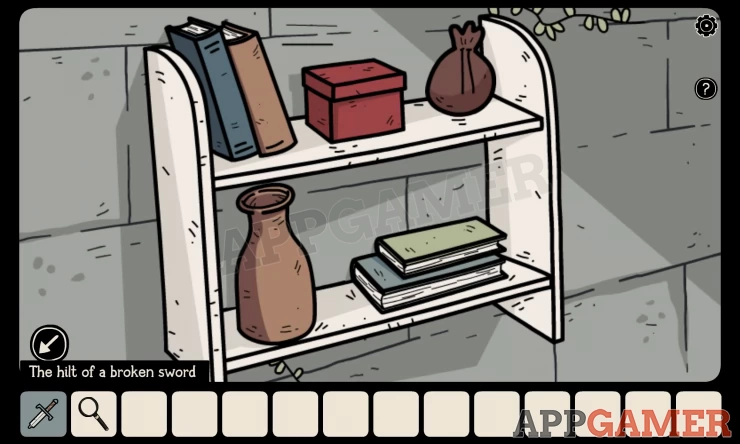
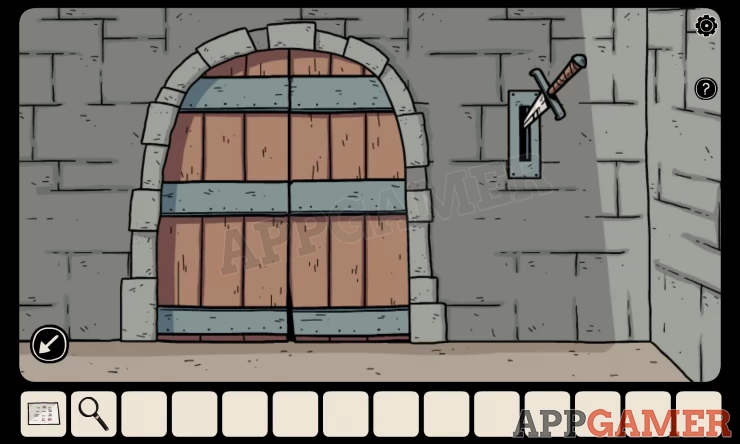
Tap the hilt of the broken sword to take it.
Use the pouch that you found earlier in the room on the pile of sand on the floor.
If you don't have the pouch, it was in the room that you opened with the key from the skeleton, on the shelves.
You should now have a pouch with sand in your inventory.
Head back to the right, up the stairs and to the tree that you previously unlocked.
Fill the Hourglass and Get a Code
Tap the hourglass that is in the tree and tap the pouch of sand that is in your inventory to fill it with sand.
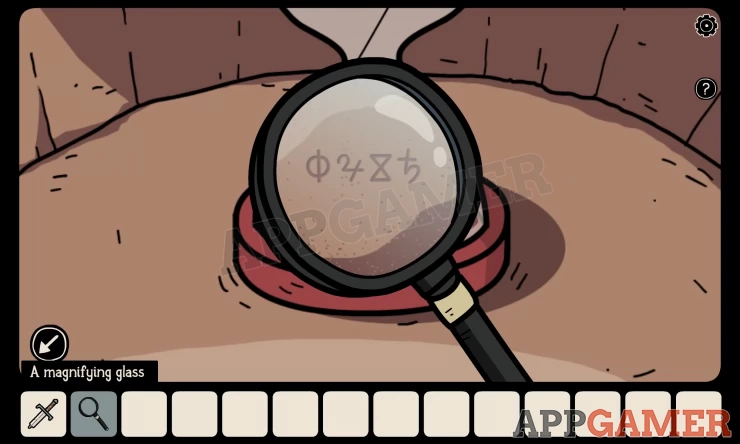
Then use your magifying glass on the filled hourglass to get a code.
I have what looks like
- A circle with a vertical line through it
- Something resembling a 4
- An hourglass
- Something like a + and hoop
Head back through door next to the skeleton, there is a red chest in the back of the room with a lock on it.
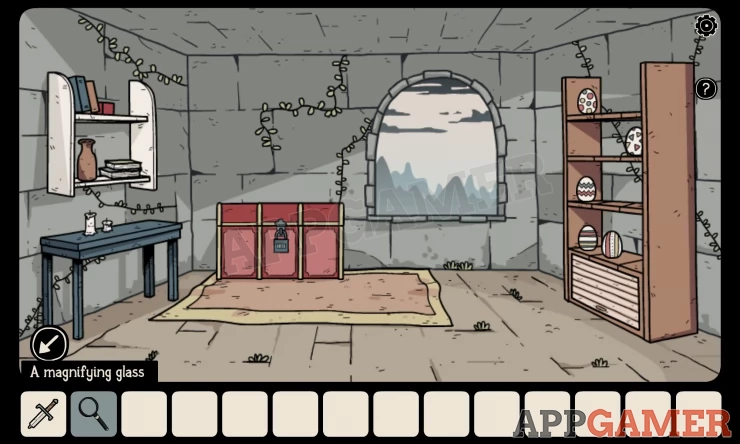
You need to match the symbols to the ones that you just got from the hourglass.
When you've done it right, the chest will unlock and you can take the birdseed.
Feeding the Pink Bird
Head back up the stairs to the left and through the magicly locked door where the pink bird is.
Use the birdseed on the floor in front of the pink bird.
The bird will eat the seed, will lay an egg, then fly away.
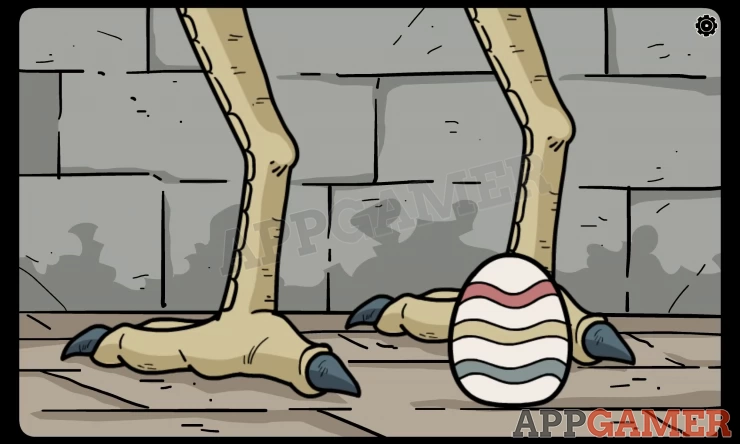
Then some symbols will light up on the columns which you need to take a note of.
Make sure you take the egg and take a note of the symbols.
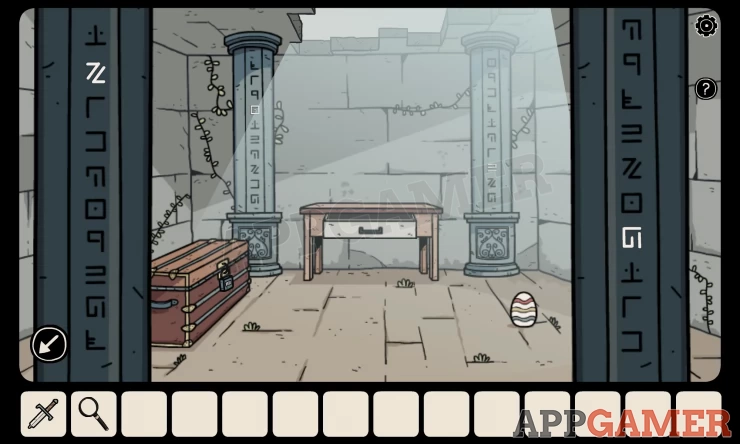
- Front left there is the back to back 7
- Back left is the square with the dot
- Back right is the three lines with one vertical connector
- Front right is the snail like line
Use these symbols to open the chest on the floor in the same room.
When done correctly the chest will open to reveal a matchbox and piece of paper with symbols that you can take.

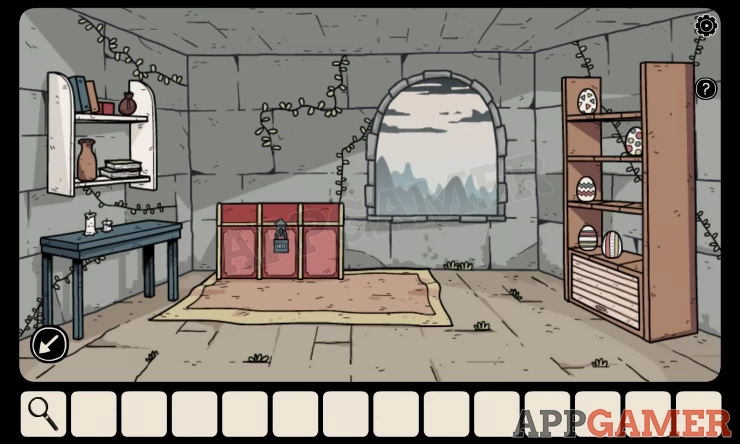
Completing the Egg Puzzle
Now you have the egg and the piece of paper from the chest, head back downstairs and through the door next to the skeleton.
You need to place the egg from your inventory onto the shelves and then arrange all of the eggs according to the pattern on the paper that you just picked up from the chest.

Just tap the eggs to move them around.
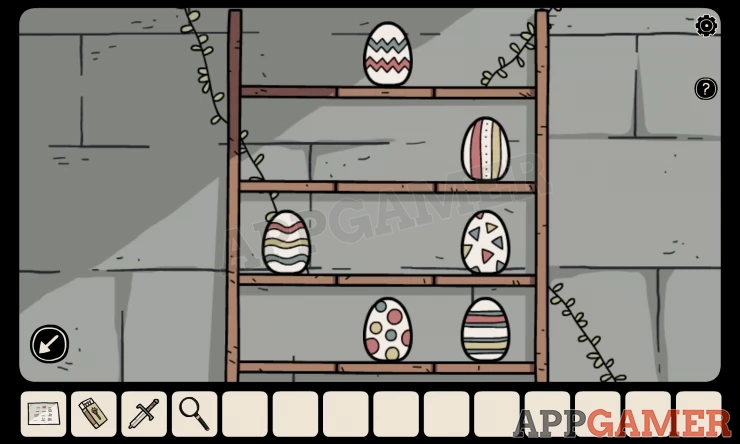
Once done correctly, you'll get the other piece of the sword.
In your inventory, tap both of the sword pieces to join them together. however it is not properly fixed yet.
Fixing the Sword
Although you have combined the two pieces of the sword in your inventory, it's still not properly fixed. Head out of your current room and then enter the blue door where there are logs in the fireplace.

Use the matches in your inventory on the logs in the firepalce.
Use the sword on the lit fire to join the sword completely.
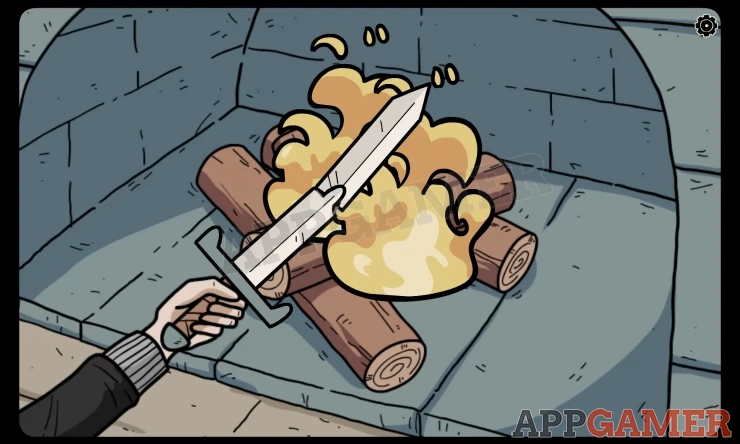
We can now use the fixed sword to open another door.
Use the Sword to Open a Door
Leave that room and head to the right, there is a door that is still locked just at the bottom of the staircase that leads to the tree.
Use your sword in the slot to the right of that door. Then click it to pull it down and the doors will open.
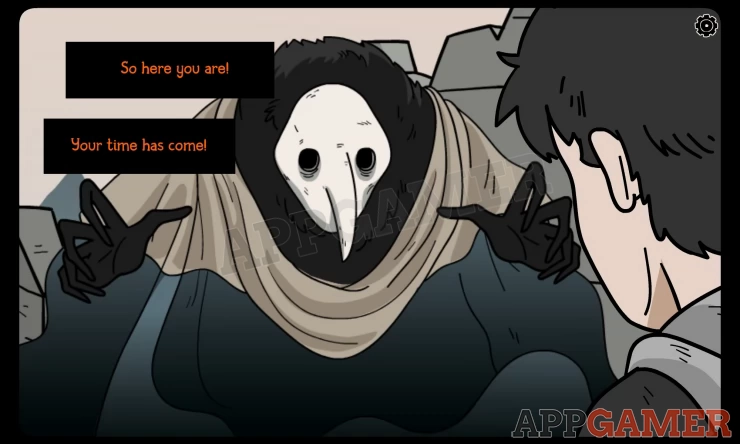
You'll then get approached and this will bring to a close this part of the walkthrough.
Summary
We've completed the game up to the part where the final door in the dungeon is unlocked with the sword, then a monster approaches from behind. To cotinue with our guide, go to part 3 of our Escape from the Shadows Walkthrough.
We have questions and answers related to this topic which may also help you: Show all
 With over 20 years of experience in the video games and web publishing industries, Richard is an expert in all things video gaming.