Amnesia Walkthrough - Part 3
More Amnesia - Room Escape Games
This is part 3 of you full game walkthrough for Amnesia - Room Escape Game.
After reaching the office in Part 2 you have now unlocked the door for the bedroom.
From the floor on the right collect a Wooden fish
View the miniature tree on the side table by the bed.
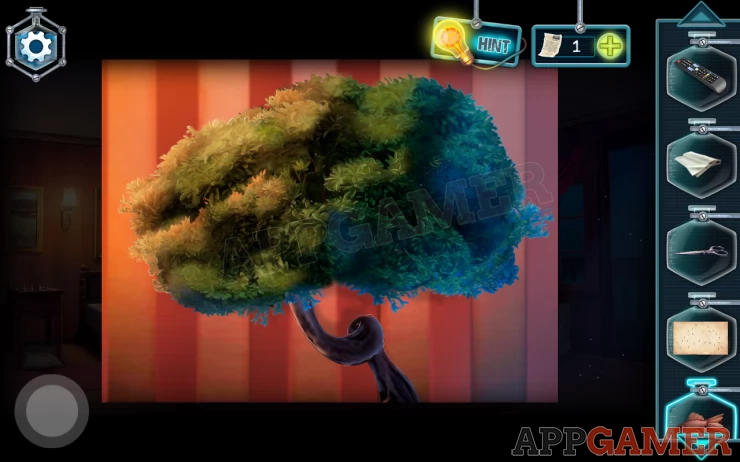
Add the photo clue to this to get a join the dots puzzle.
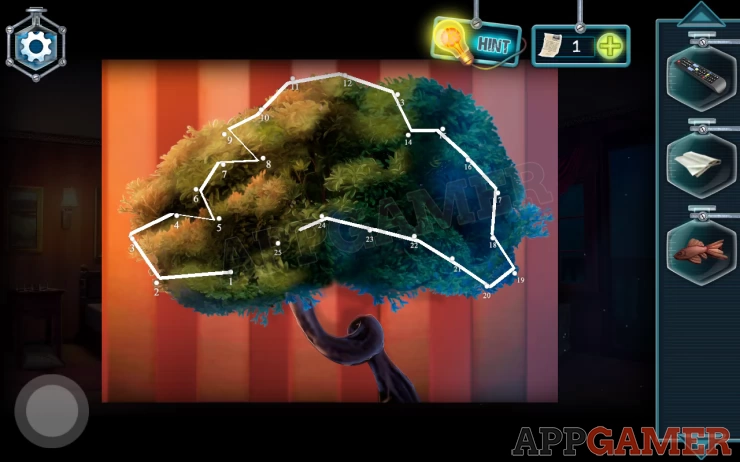
Use the scissors on the tree and draw a line with them to join up the dots from 1 to 25. The tree will now be cut.
Collect the dresser button.
Now view the chest of drawers on the right of the bed.
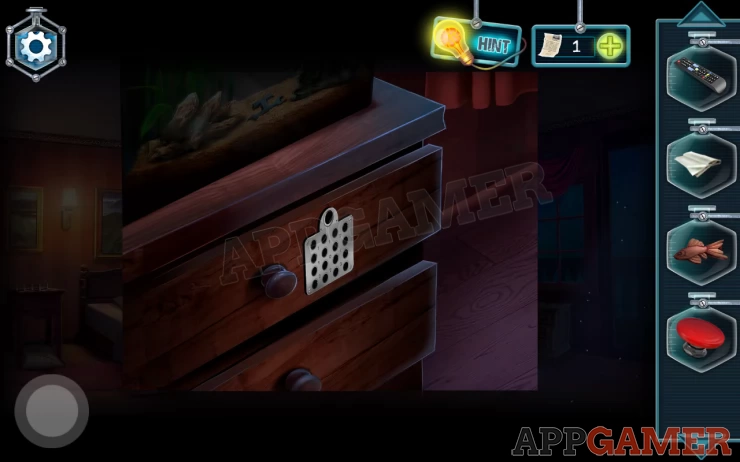
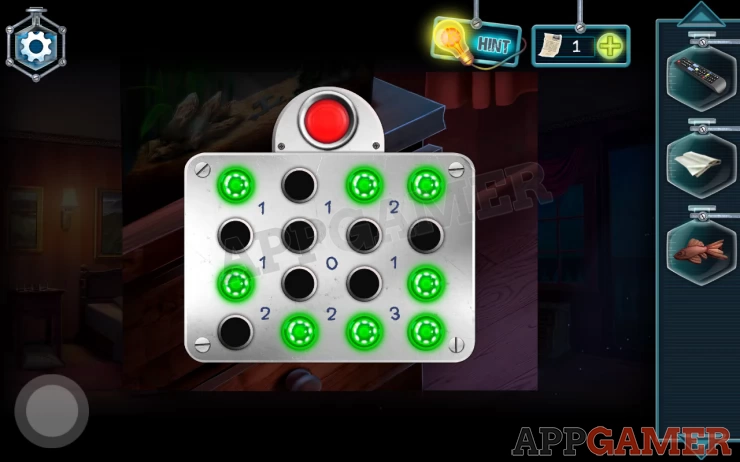
Add the button to the panel to start a puzzle.
This is a minesweeper style game. the numbers will show how many lights you need to activate around them.
When you have set the correct lights tap the button to open the drawer.
Solution: Show
Collect a rake and a flower medallion.
There is a mini lab on the right to come back to later.
Exit to the corridor and tap on the sword on the table.
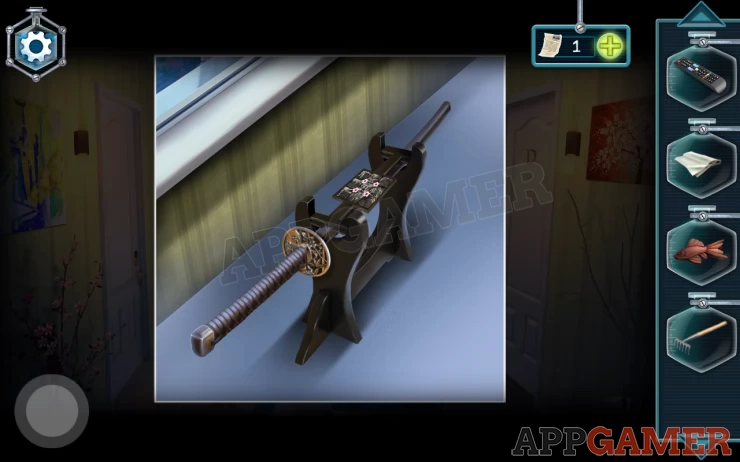
Add the flower medallion to the puzzle on top to start it.
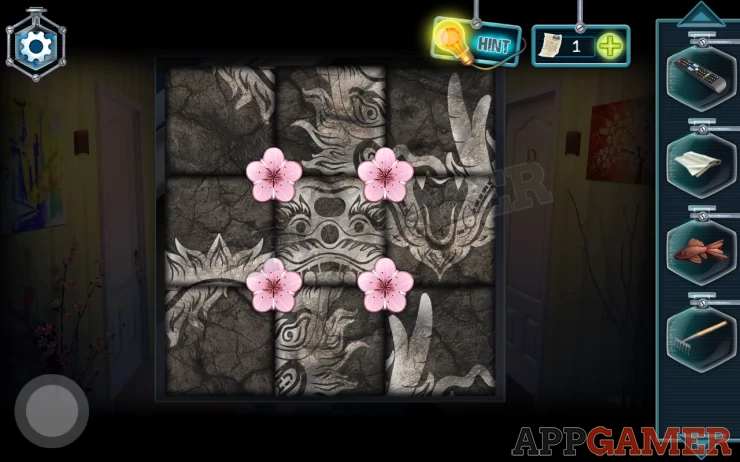
Use the medallions to arrange the pieces to form the picture.
Once done collect the Katana
Return to the bedroom and view the glass door on the right.
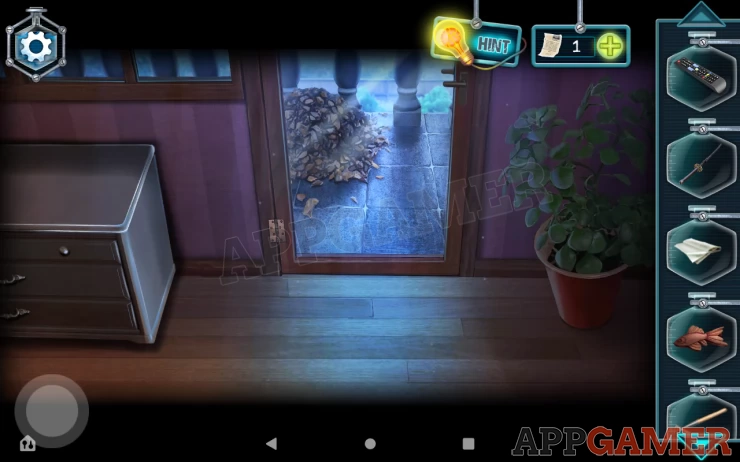
Use the Katana on this to break the glass. You can then open the door and exit onto a balcony.
Collect a pole with a hook from the end by the broken ladder
Next use the rake on the leaves to move them and collect a saw.

Then view the drawers on the left. The drawer has a puzzle lock. Add the wooden fish to the top drawer to start
Swap the blue and yellow blocks to place them in the opposite sides
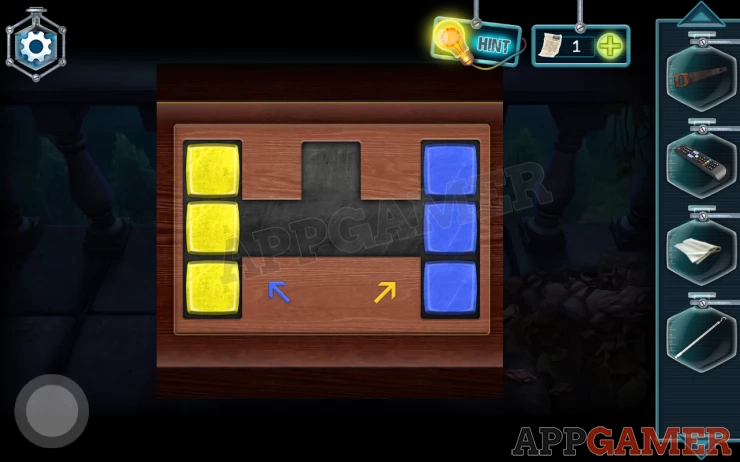
You can then collect a fishing rod.
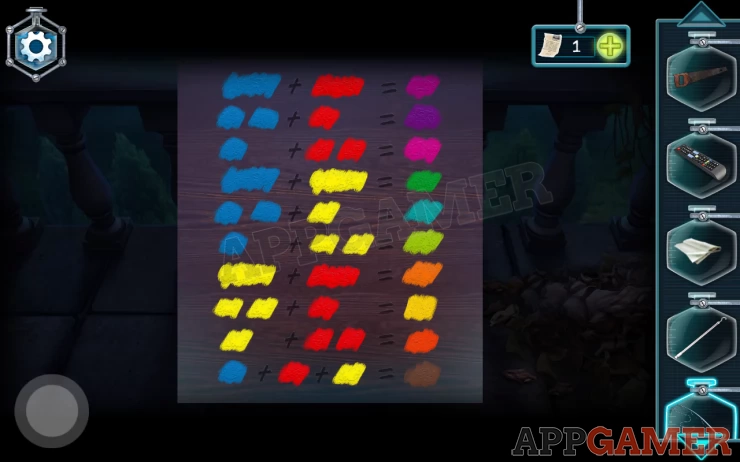
Then view the top of the drawers to see a color mixing clue.
Go back into the bedroom, use the rag on the broken glass on the floor to collect a piece.
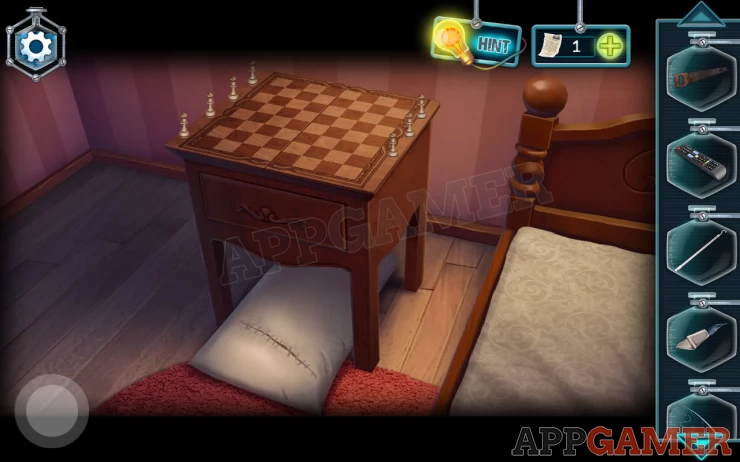
Now view the bedside table on the left. This has a chess board on top and a pillow underneath.
Use the wrapped shard (of glass) on the pillow to cut it open, collect a note with a clue.
Tap under the end of the bed to look under it.
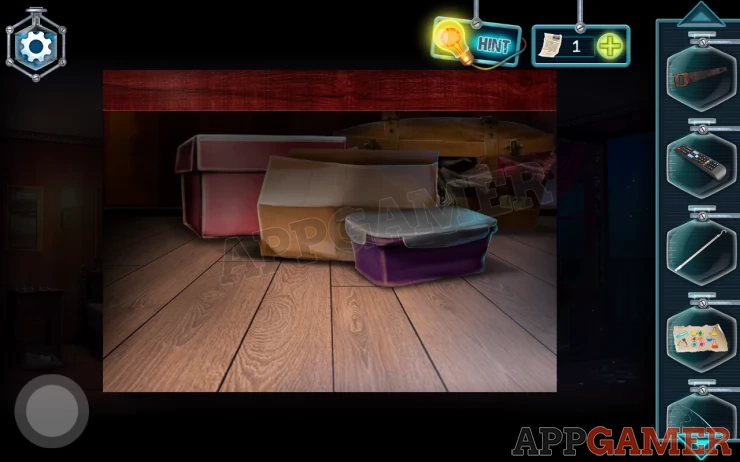
Move the items away until you see a bottle of red liquid. Use the pole to collect this.
Now check the drawer on the right again with the mini lab.
Add the red bottle to it.
Then add the note clue that you found, this has instructions on mixing. You can now view and use the min lab.
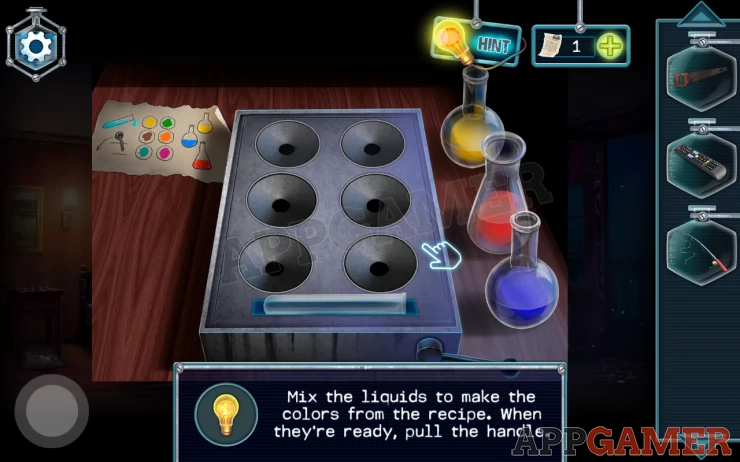
Hint: You need to mix 6 color correctly. On the balcony area is a color mixing guide.
Solution:
Top left: Y + Y + R Middle Left: B + R + Y Bottom Left B + B + Y Top right: B + B + Y + Y Middle Right: Y + Y + R + R Bottom Right: B + R + RShow
Pull the handle and collect the tube of Phosphor
Now tap above the drawers to view a dark fish tank
Add the Phosphor to it to light it up.
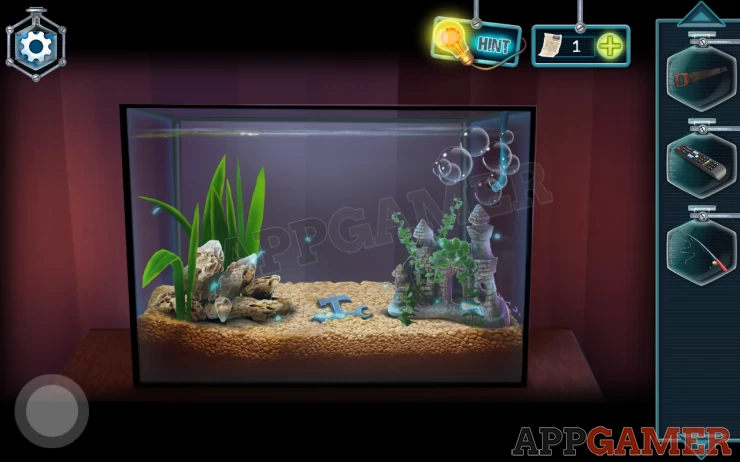
Now use the fishing rod on the tank to collect a 'Piece from suitcase'. Reel it in slowly.
Exit from the house and return to the garden.
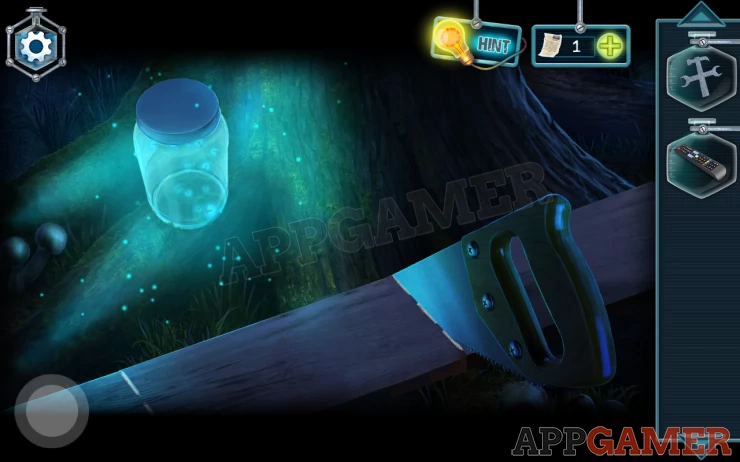
First view the large tree on the left again that we have lit up with the fireflies.
There is a wooden board here that we can cut with the saw.
Follow the instructions to line up the saw and make the 2 cuts. Collect the planks .
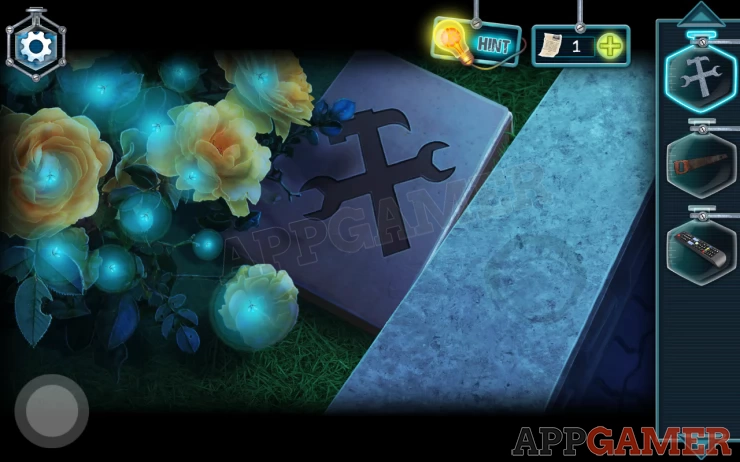
Now tap on the lower left again to see the box with the tools shape on top. Add the 'piece from suitcase' to open the lid.
Collect from it a tie cord and a hammer and nails.
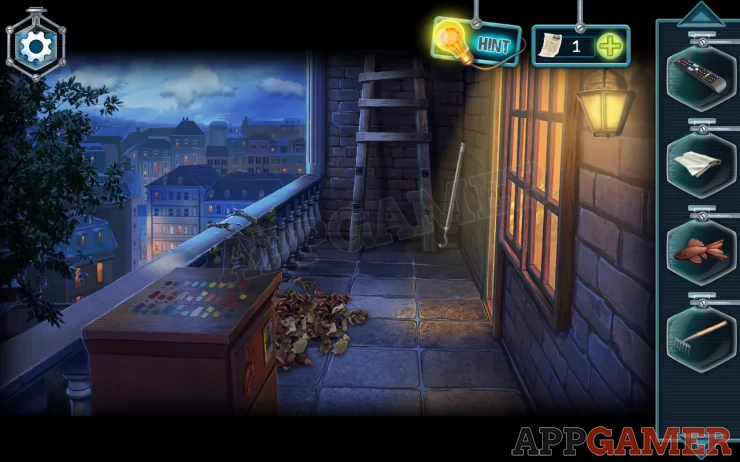
Go back into the bedroom and out onto the balcony. View the broken ladder.
Add the planks and then use the hammer and nails on this to fix it.
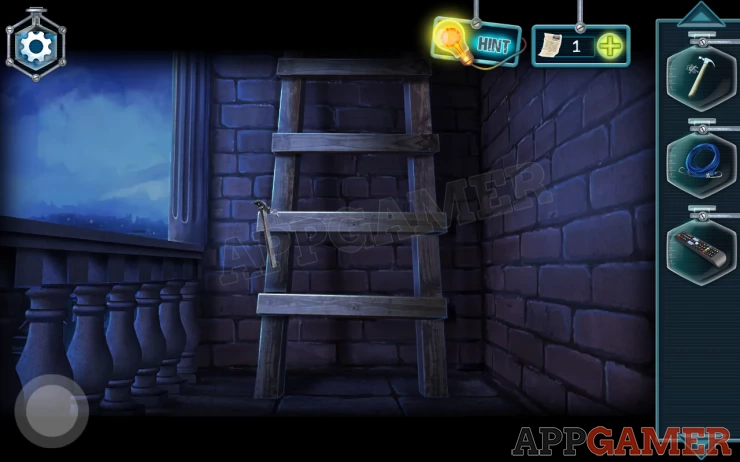
You can now go up into the attic.
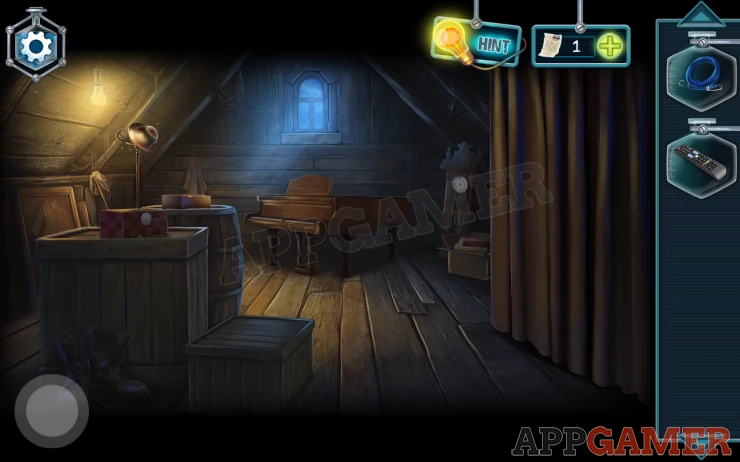
View the curtain on the right.
Use the tie cord on this to keep it out the way.
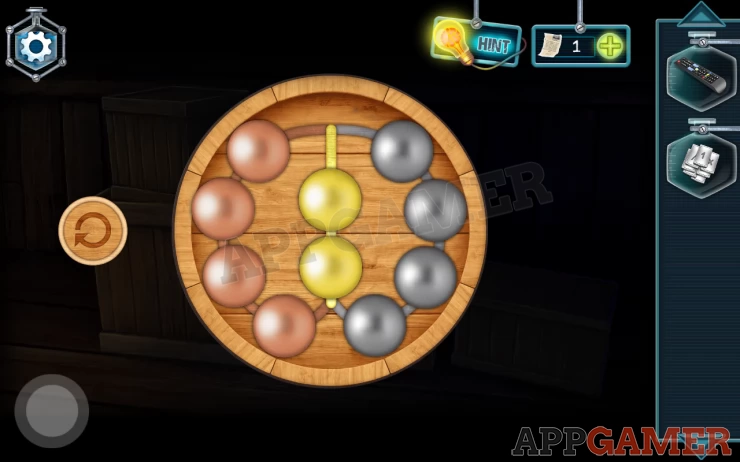
Collect the number tiles on the right and then view the box in the center to see the puzzle lock.
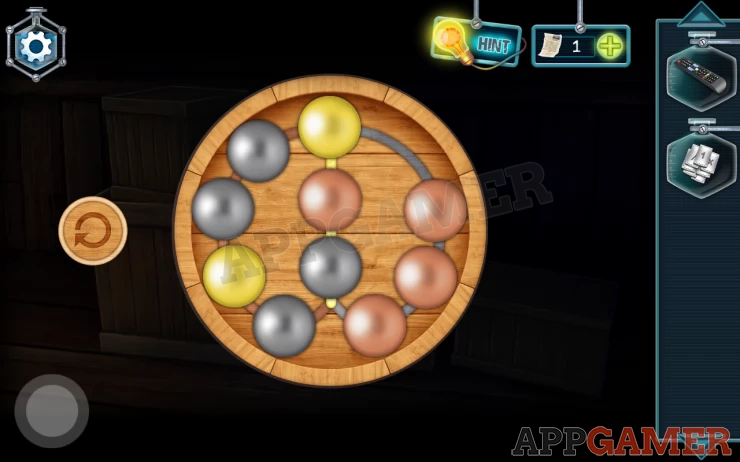
Move the balls to arrange them on the correct colored lines. Silver left, bronze right, gold in the middle.
Show
Once done collect the clock hands
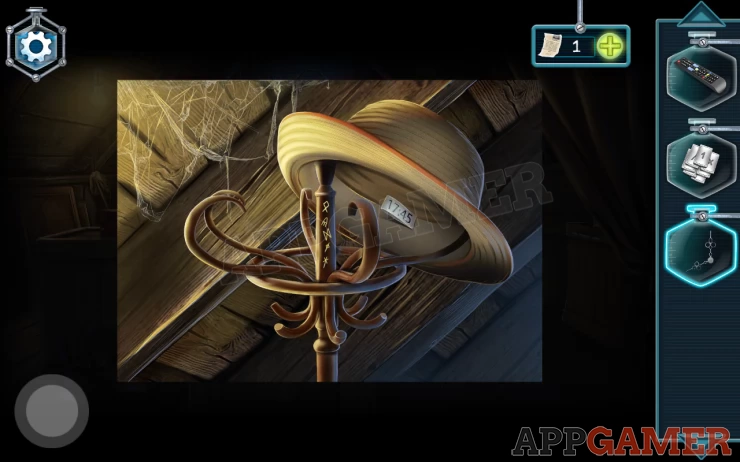
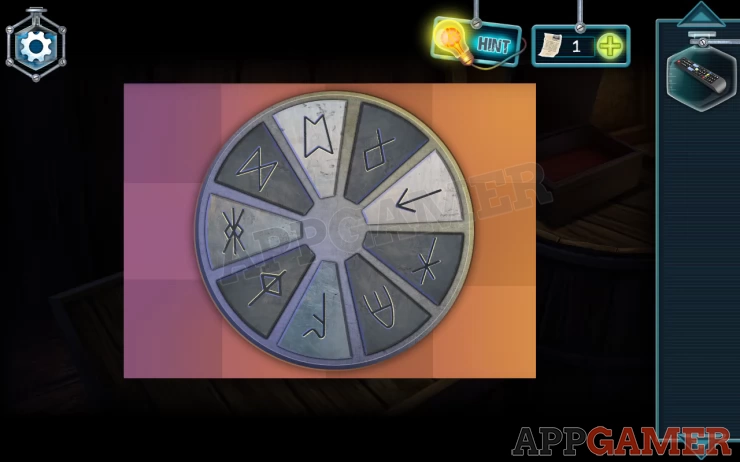
Next view the hat stand on the left.
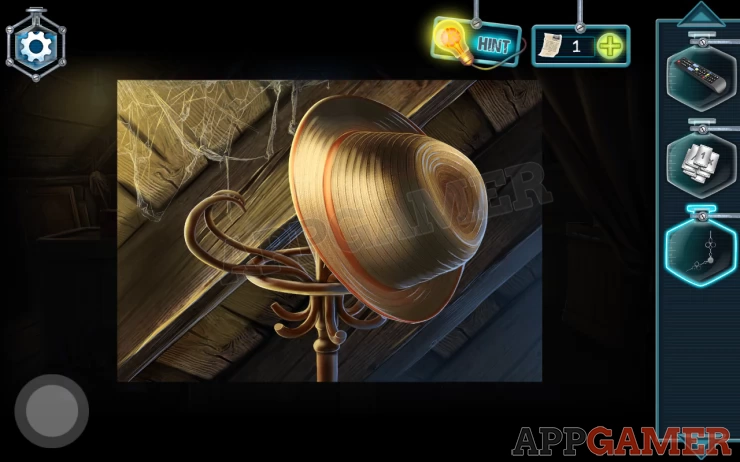
Lift the hat to see a clue on the stand (symbols) and inside the hat
Show
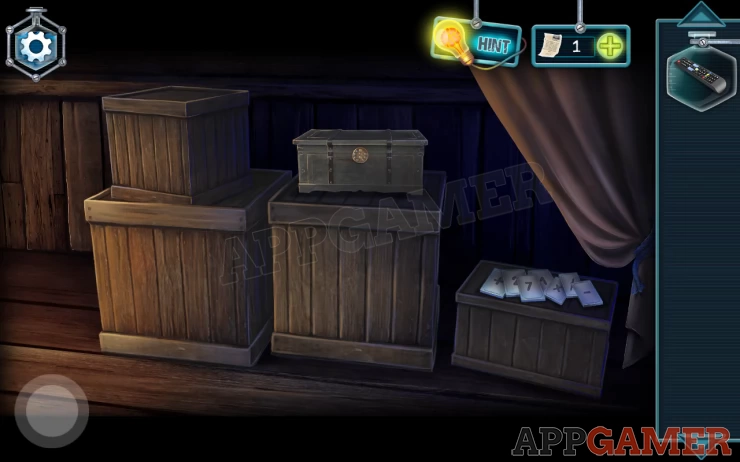
Next tap to view the top of the box and barrel to the left. There are 2 boxes here.
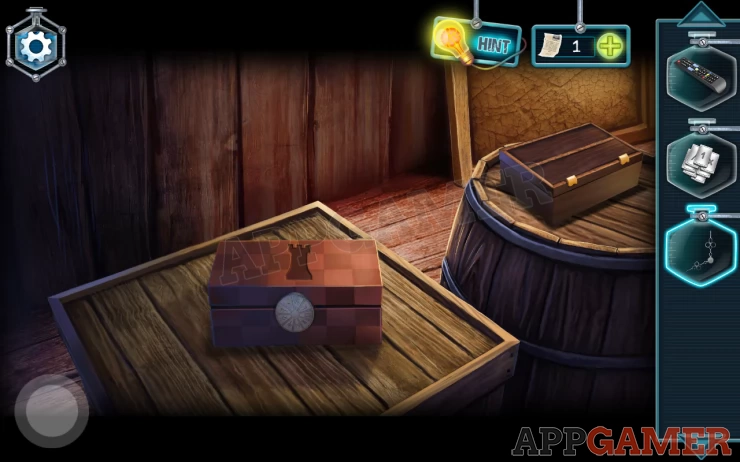
Add the number signs to the box on the back right, then view it.
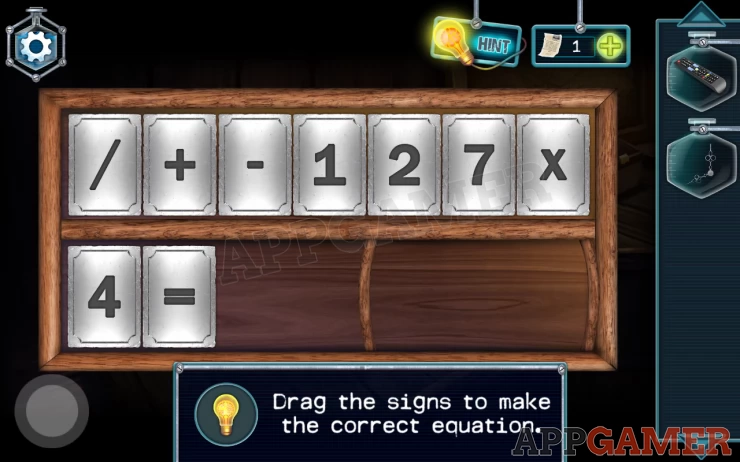
You can now drag certain signs down to the lower board to complete an equation so that it is correct.
Solution: 4=7-(1+2)Show
Collect a flower.
View the clock on the back right of the room. .
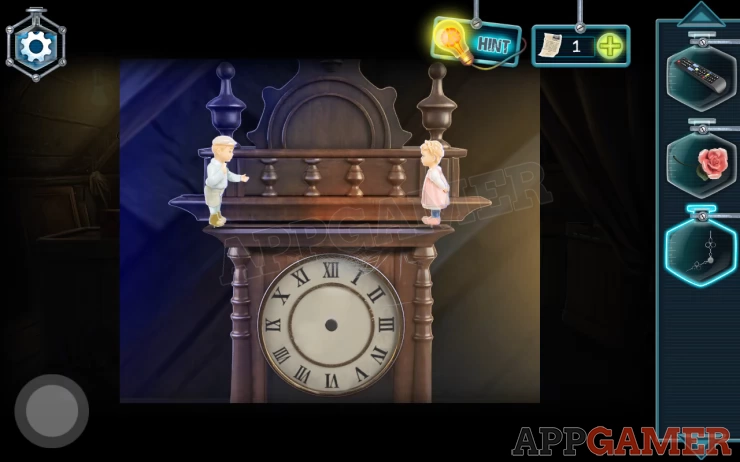
Add the hands to the face.
Now set the time.
Solution: 5:45Show
The 2 figures more together. Add the flower to the boys hand and you can then collect a chess piece. (Rook)
View the boxes on the left again and add the Rook to the box on the left.
You can then view the puzzle lock on the front.
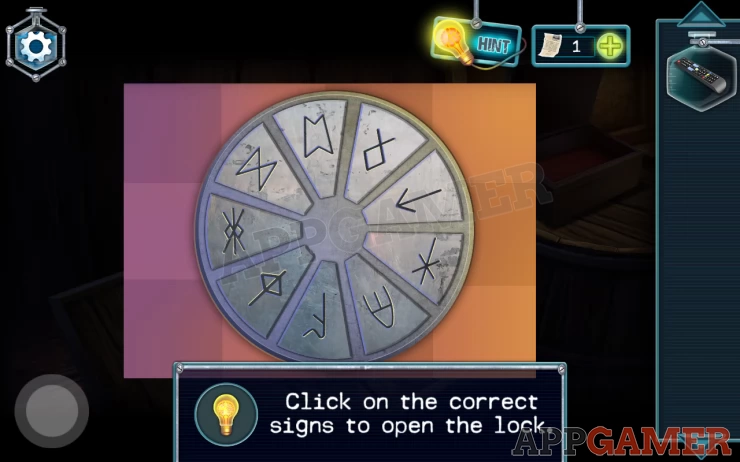
Follow a clue to tap on the correct signs.
Solution: The clue was under the hat on the hat stand. See above.Show
Collect another chess piece. (Queen)
Return to the bedroom and add the queen to the chess board on the left of the bed.
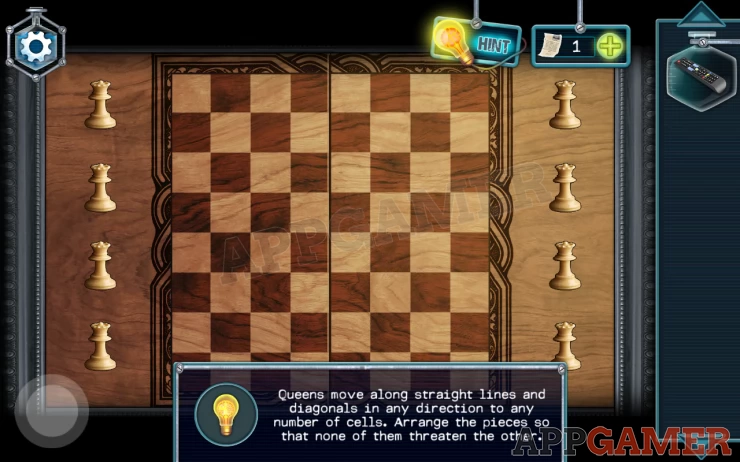
You now need to place 8 queens on the board so that none of them threaten any others.
Solution: Show
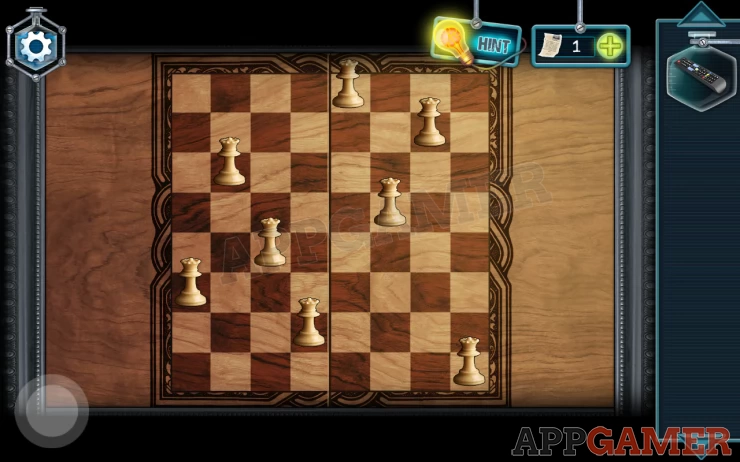
Collect a piano key
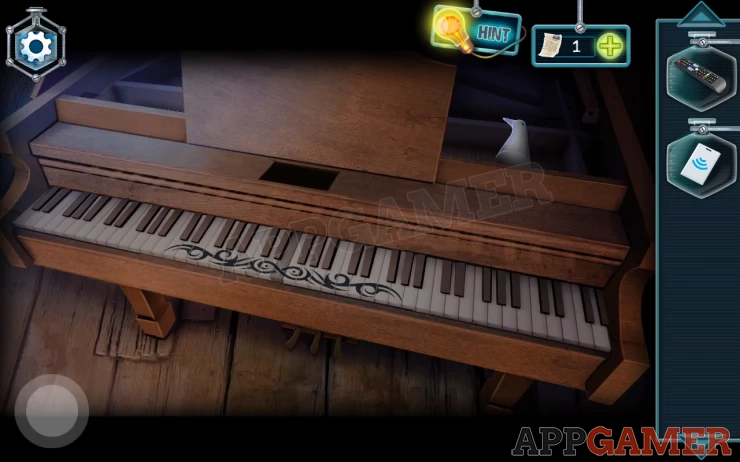
Go back up to the attic.And view the piano.
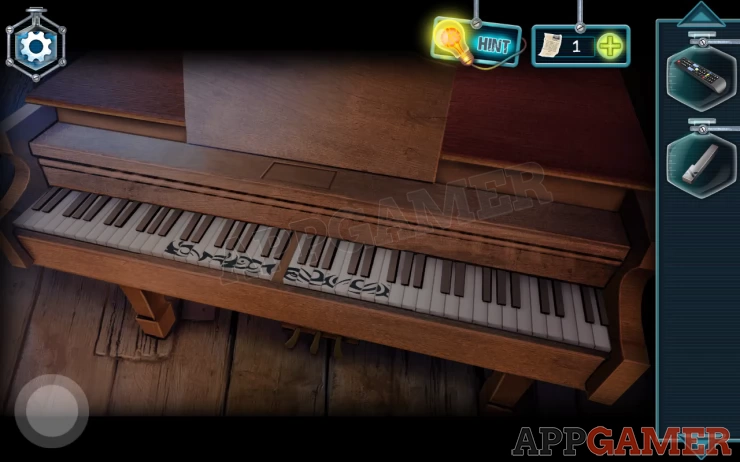
Add the key to the keyboard. Then tap to start a puzzle.
Swap pairs of key to correct the pattern on them.
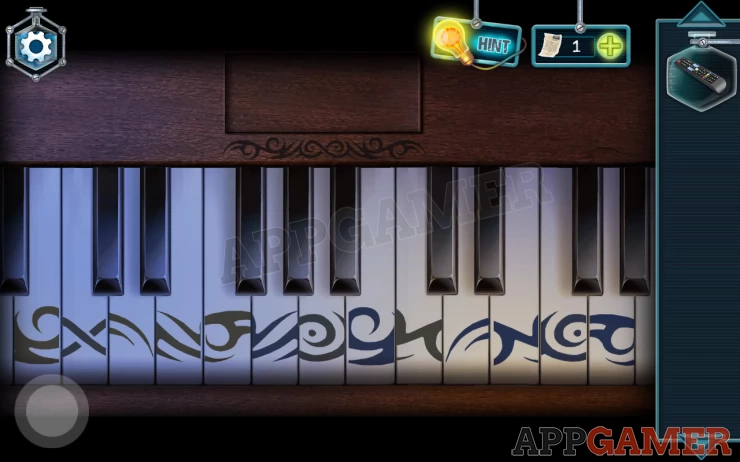
Collect a Key card
You can now also collect a dove head from the top right.
Back out and return to the office.
On the top tight shelf is a bird figure missing a head.
Add the dove head to it.
A picture moves on the right wall. Tap this to make it fall and find a panel behind with a code lock.
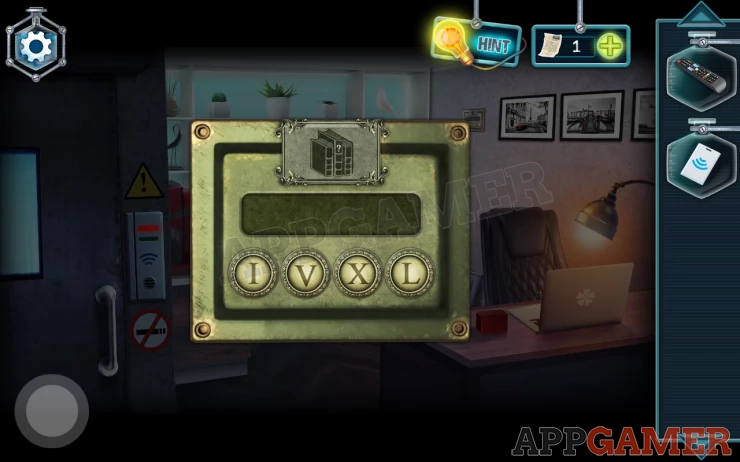
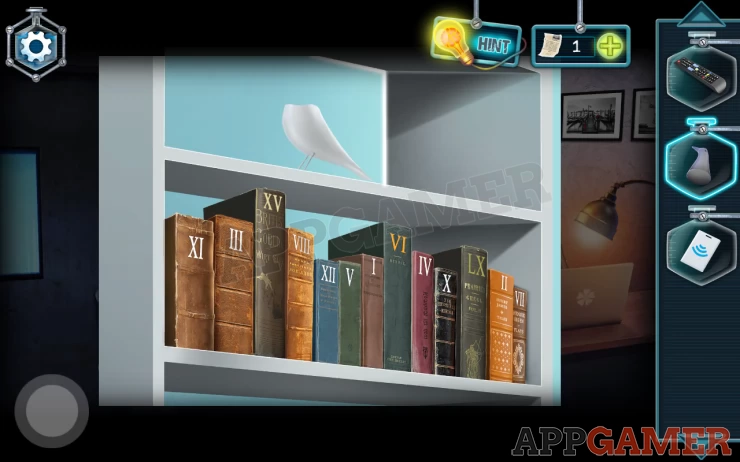
Note the clue on the top. Books with a ? on the tall one. The buttons all show roman numerals.
Solution: View the Shelf below the dove figure. The books have roman numerals on them. Check the 3 tall ones for a code.Show
Code: XV VI LXShow
The door on the far left now has a green light on the panel. Use the key card on this to open it and enter the laboratory.
Move on to Part 4
We have questions and answers related to this topic which may also help you: Show all