
Walkthrough and Guide for Legendary Tales 5
Legendary Tales 5 Guide
This is our full walkthrough for Legendary Tales 5 - Price of Power. The latest in the series of games from Five BN. This guide includes all collectible item locations as well and hints and solutions for puzzles.
Price of Power is a story of magic and struggle in a world ruled by witches. Featuring allies and characters from previous Legendary Tales games you will join the battle for freedom as you travel accrss the ruins of lost civilizations and solve the many puzzles that you encounter on the way.
Walkthrough Information
Our walkthrough is broken down into logical parts to cover each section of the game. It will help you locate the items you need, and give solutions for the puzzles you will face. Please note that the game can be confusing at times as items that you need to collect may not let you pick them up until you have found a need for them.
This means that you will need to return to areas multiple times to find items. If you are unable to pick up any item that is mentioned in the guide then you may have missed tapping on an earlier scene or item that activates the need for the new item.
Chapter 1 - Secret of the Island Walkthrough
You begin on the island of Ultima Lapis where Lucia and Ulf have found refuge following the events of Legendary Tales 4. The island is protected from the witches on the main land.
Task - Talk to Drevolets

Collection Item: Mushroom on the ground on the bottom left.
Morphing Object: Flags on top of the bomed foof of the building on the left.
Tap to view the stable building on the right side. There is a horse. Tap the hay fork and then you can use if to move the hay from the pile ointo the trough. The hose will move forward.
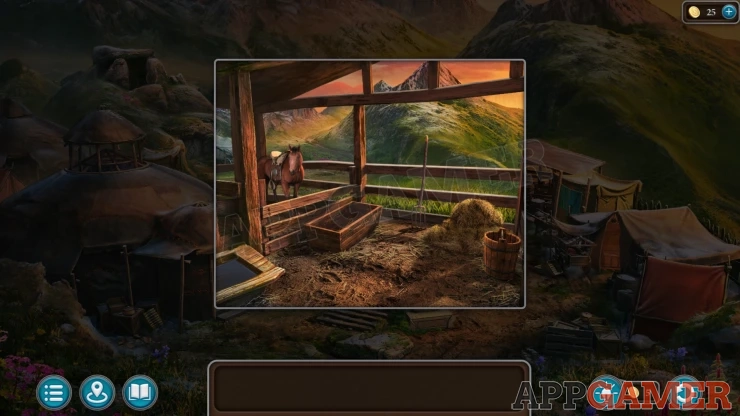
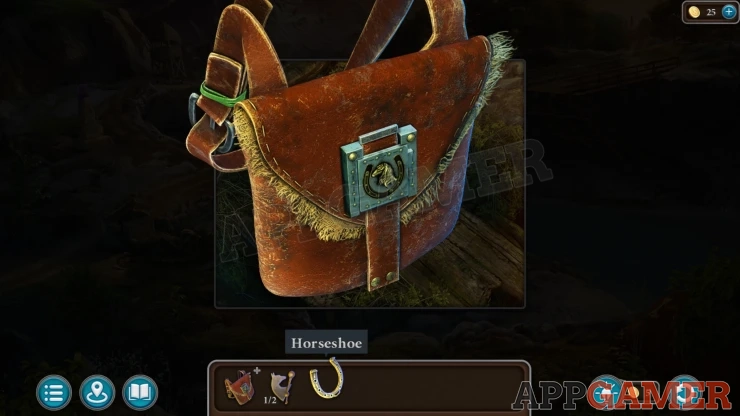
Tap the horse and you will collect a Bag.
Next tap the path that leads into the hills to move on to the next area with a broken bridge.
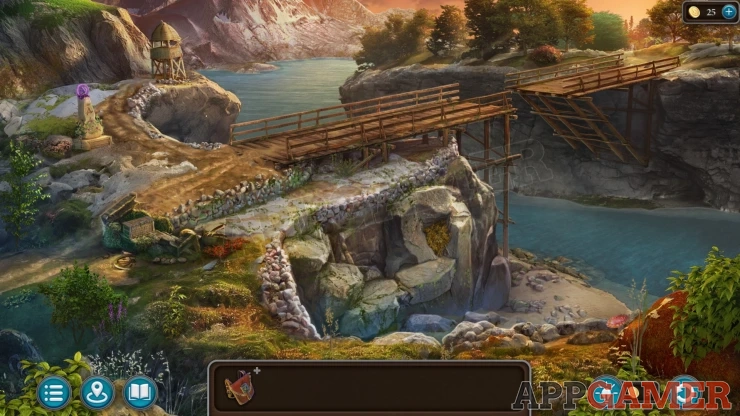
Collection Item: Mushroom on the lower right by a large red rock.
Morphing Object: Small bush next to the end of the bridge to the left.
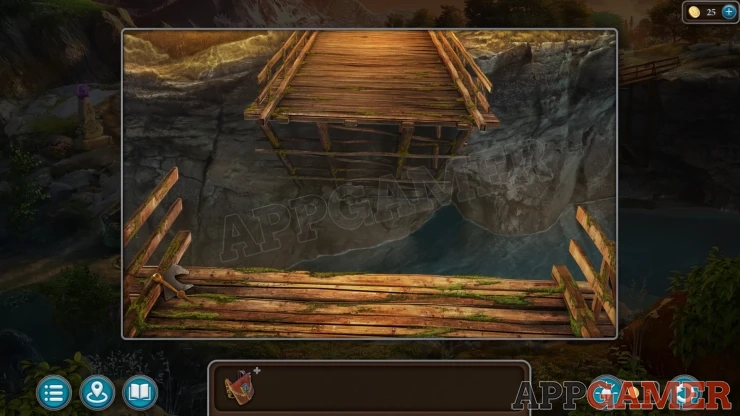
Tap to view the closest side of the broken bridge, collect a Horse (1 of 2) from the left.
Next view a chest on the ground to the left of the bridge. Collect a Horseshoe.
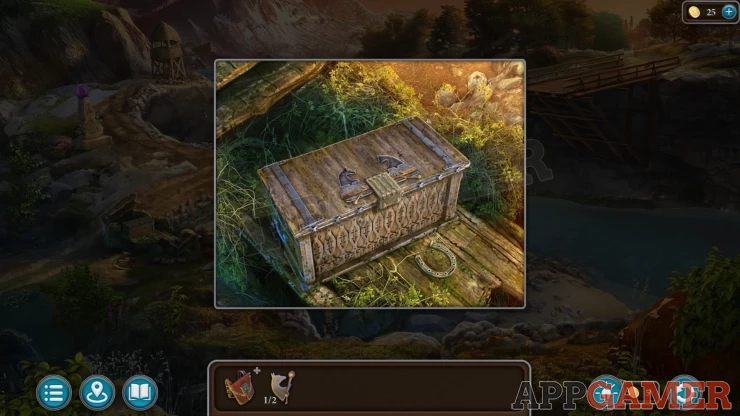
View the Bag in your inventory and use the horseshoe on the lock to open it. Collect a Key and a Slingshot from inside.
Back up to the settlement and then enter the large domed building on the bottom left.
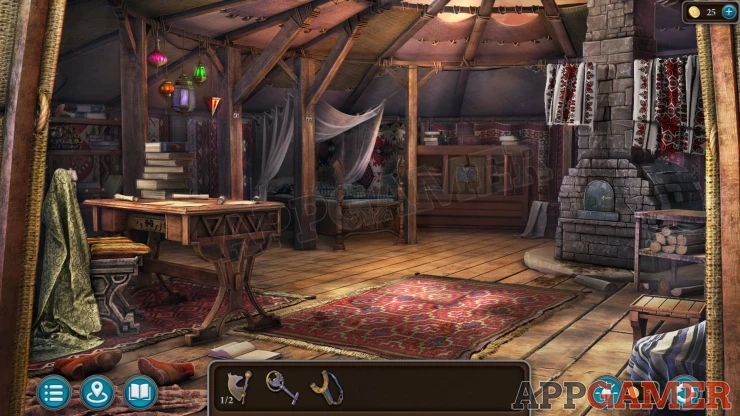
Collection Item: Mushroom on a high shelf on the upper left.
Morphing Object: Small pouch under the wood shelf on the right side.
Move the rug in the center of the floor to find a trapdoor, then you can use the key to open this.
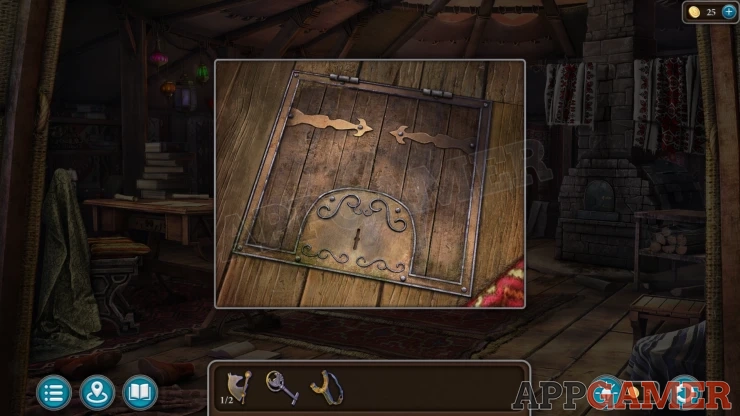
Collect a Token with Butterflies (1 of 2) and a Handle.
Then view the small door on the chimney on the right. Add the handle to this top open it and collect a second Token with Butterflies (2 of 2).
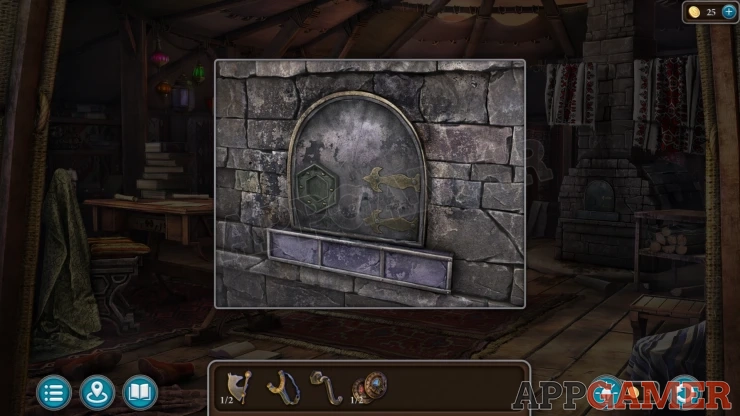
View a cabinet on the back wall to the left of the chimney, There is a locked door in the center.
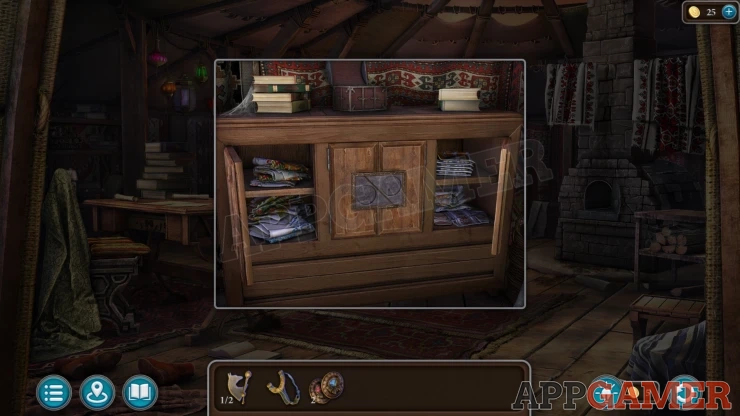
Add the two Tokens to theis to reveal a puzzle.
Butterfly Token Puzzle
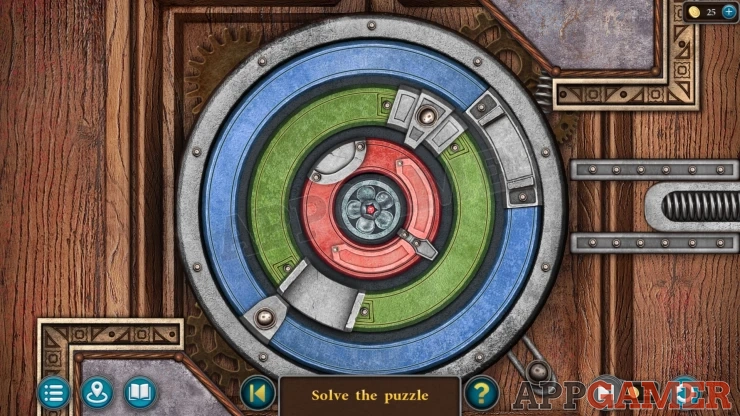
- There are three colored rings with slots in them for a lock pin.
- Each ring also has a catch that will turn other rings if they meet.
- Rotate the center ring to move the other rings. Line them all up so that the slots are on the right side.
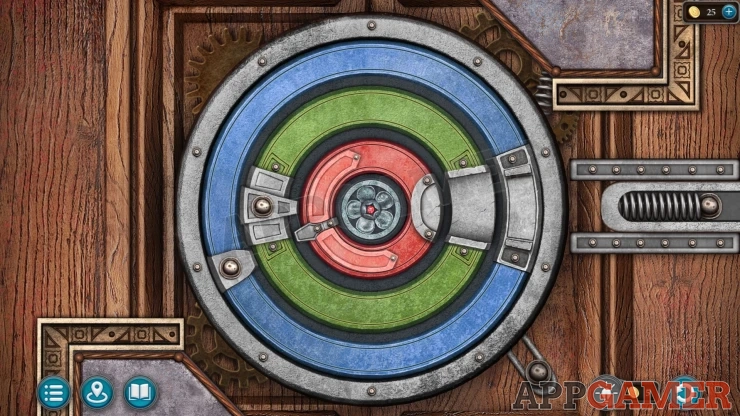
Once done the pin will move to the left and the door will open. Collect a Lockpick.
View the colored lamps hanging on the left of the room. Use the Lockpick to open the large one and collect a Detail.
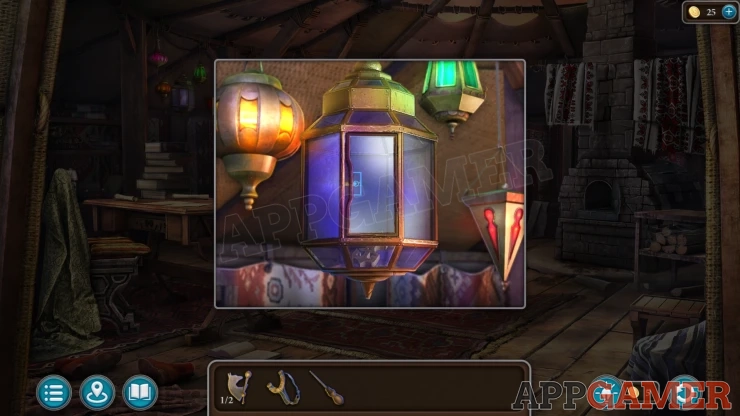
Next view the desk on the left. Add the detail to the drawer front, thne you can open it.
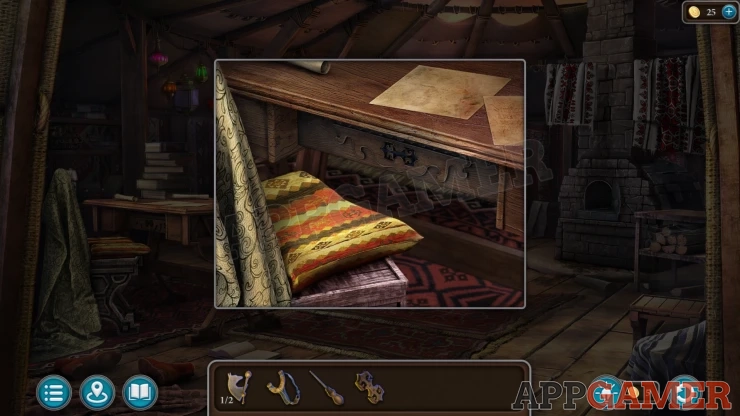
Manuscript - Werewolves, in the drawer
Collect a Knife.
Exit the building and go to the bridge again, then tap on the beach area on the lower right to move to the river Shore. There is a wrecked boat.
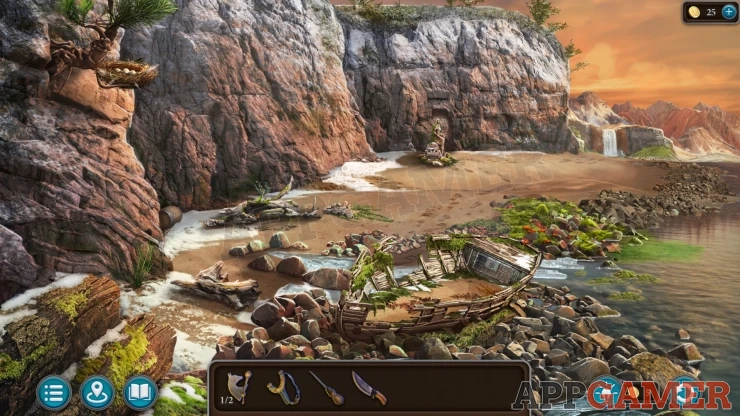
Collection Item: Mug in the stones on the lower right near the boat wreck.
Morphing Object: Box / Barrel by the cliff on the left.
Tap on the far end of the sand to move forward to an area with a Waterfall.
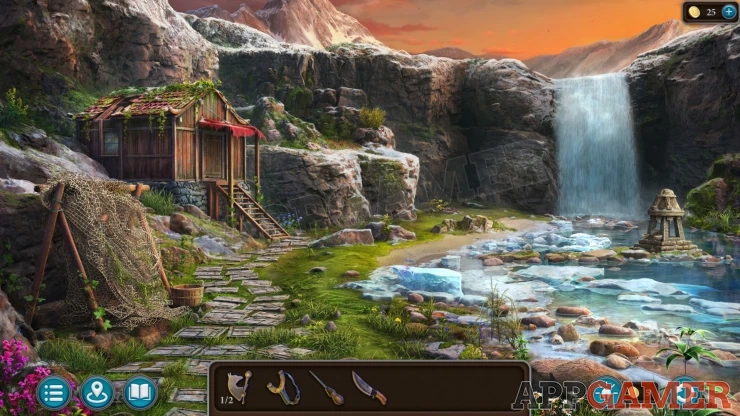
Collection Item: Mushroom on the ground near the bottom center below the large ice block.
Morphing Object: Small window on the side of the house.
View the net on the left side of the path. Use the Knife on this to cut it and then collect a Handle.
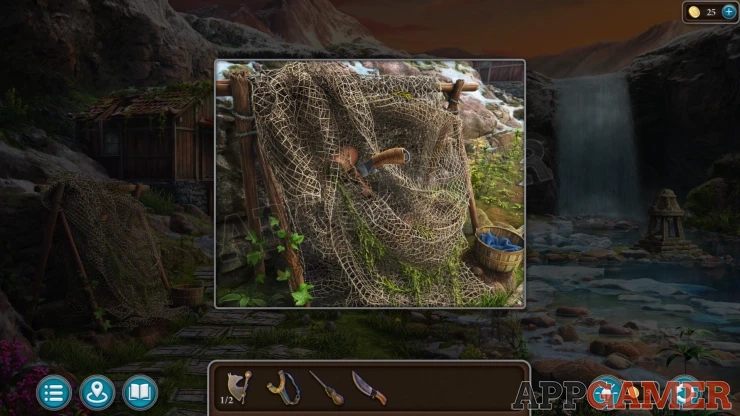
Next view the door to the small house on the left. Use the Lock pick to open the door.
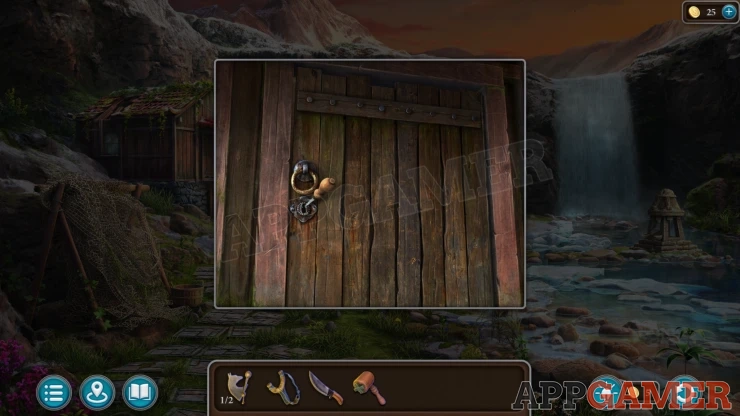
Go Inside.
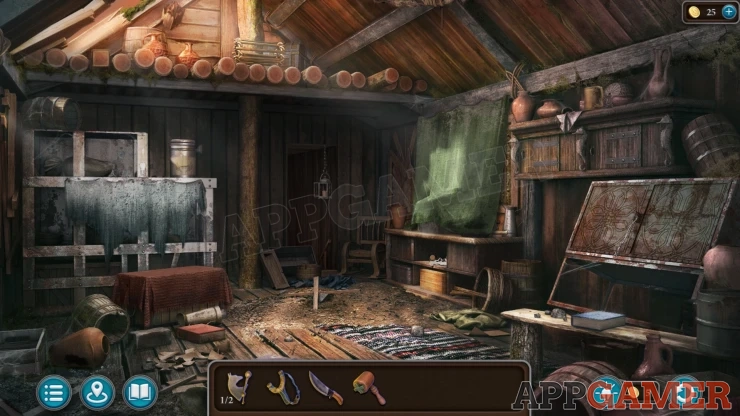
Collection Item: Mug on the high shelf on the right.
Morphing Object: Square / triangle end of a log on the top left.
View a green cloth covering a shelf on the right. Then remove the cloth. Collect a Horse (2 of 2) from the shelf.
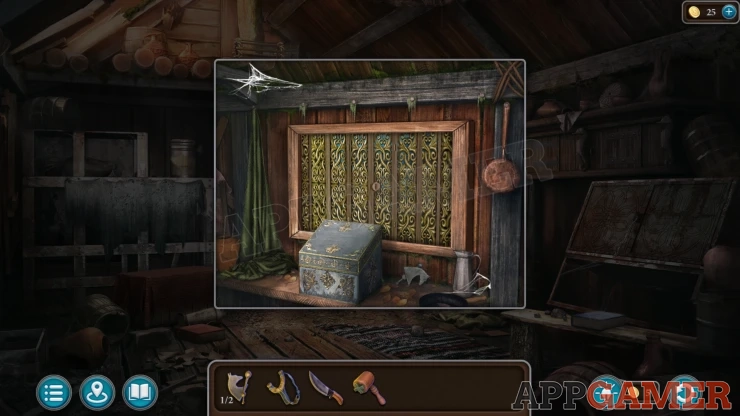
Back up to the bridge and view the chest on the ground to the left of the bridge again. You can add the two Horses to this to open it.
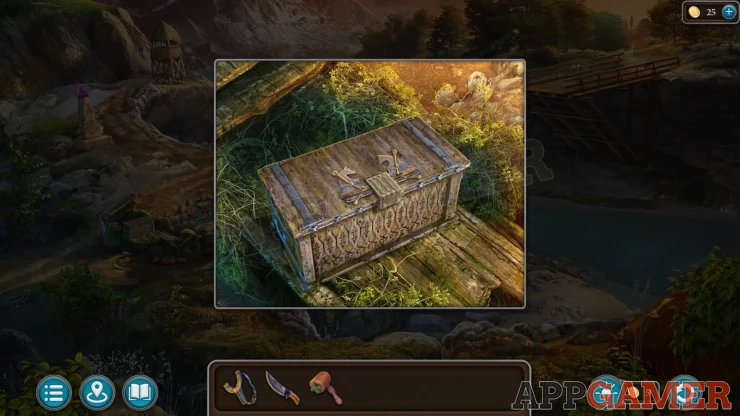
Collect some Wire Cutters and a Shell (1 of 3).
Next view a small tower at the end of the path on the top left. You wll see a trap door at the top of a ladder.
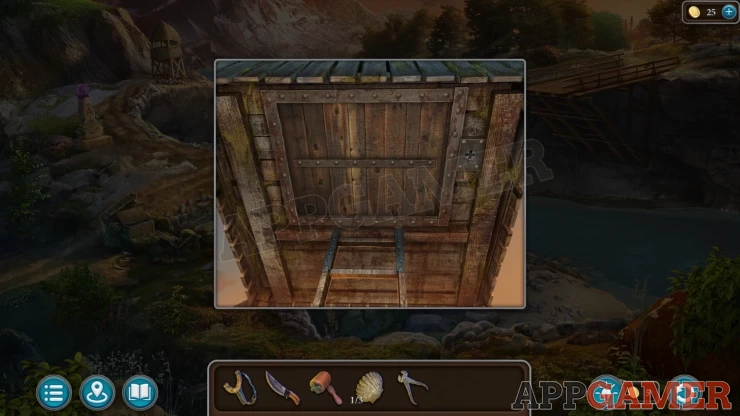
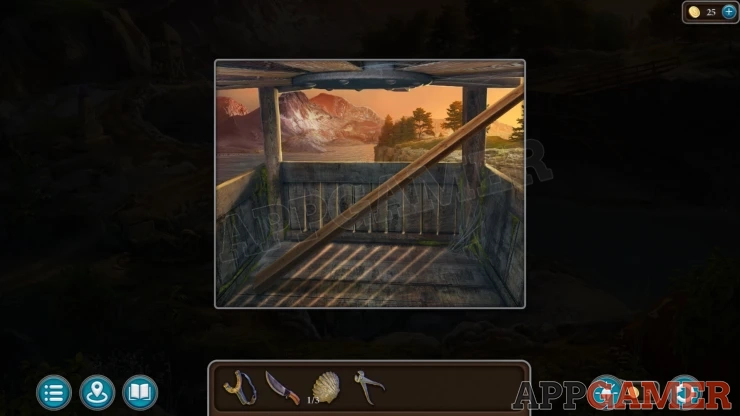
Addthe Handle to this to open the door, then you can enter the top of the tower and collect a Board (1 of 2)
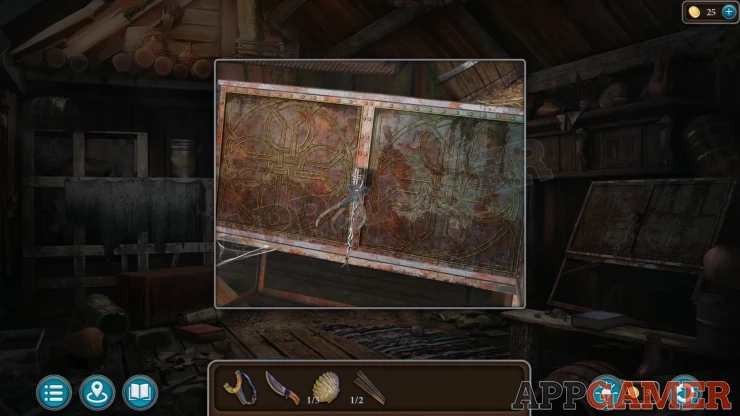
Return to the small house by the waterfall. On the right is a cabinet with two doors that are closed with wire. Use the Wirecutters on this to open them doors and then collect a Fishing Rod and a Stone Symbol (Green).
Return to the starting aree at the setltlement. There is a stone monument with a green crystal on top, view this.
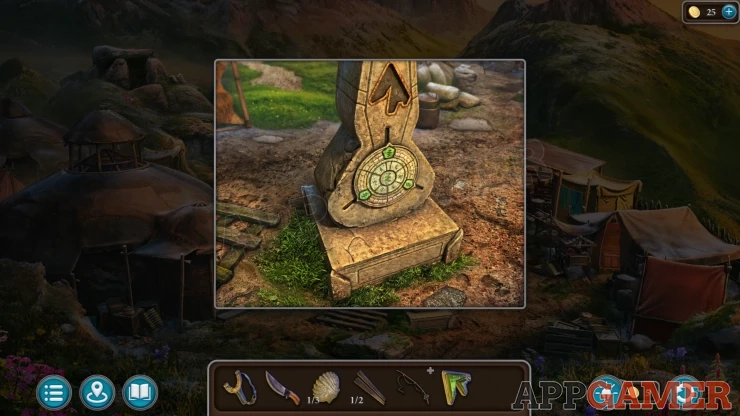
Add the Stone symbol to it to reveal a puzzle
Green Stone Symbol Puzzle
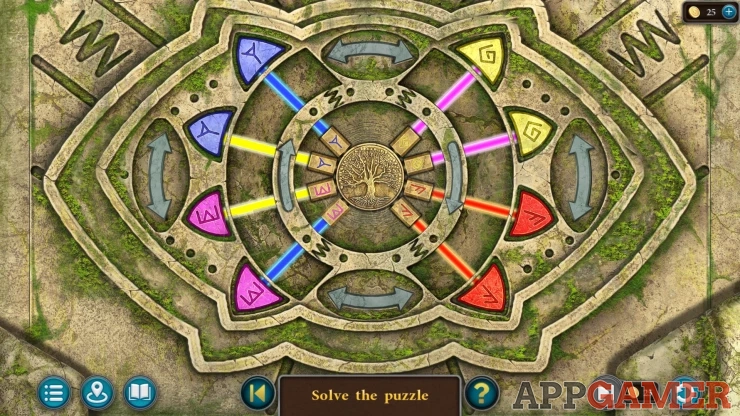
- There are eight colored lines that point out from the center. In four different colors.
- On the outside are eight colored rune stones.
- Use the central circle arrow buttons to rotate the lines around, and the outer doubler arrows to swap lines with each other.
- Arrange all of the lines to connect the correct colored runes and symbols from the center to the edge.
- The iniital layout of the lines can be different with eachg game.
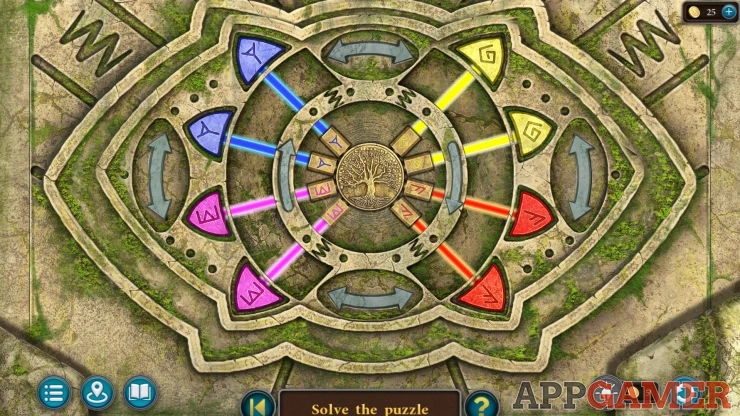
Collect a Flower (1 of 3) and a Hammer.
Go to the shore and look in the wrecked boat. On the left are some boards with nails sticking out.
Use the Hammer here to collect the Nails.
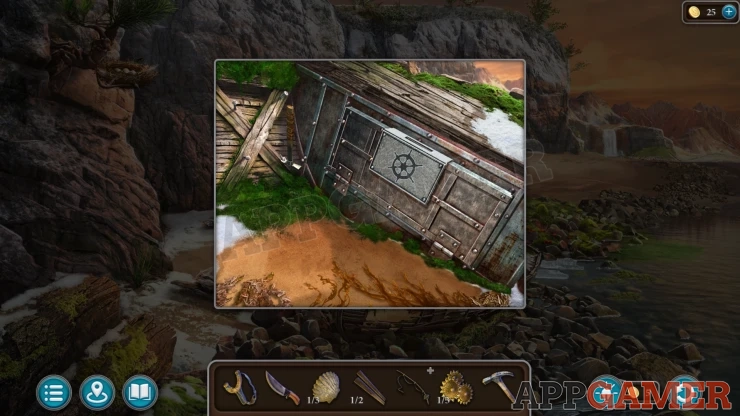
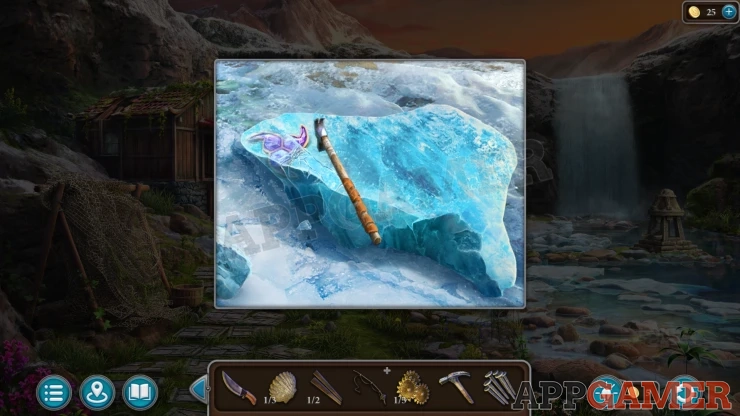
Go through to the area with the waterfall. There is a block of Ice on the ground near the center, view this. Use the Hammer on the ice to break it and collect a Stone Symbol (Purple)
Now enter the house again and tap to view a box covered by a red cloth on the left.
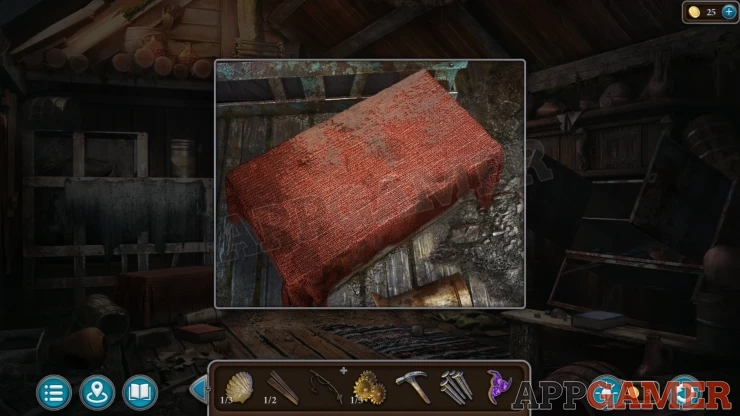
Remove the red cloth and then use the hammer to break open the box, you can collect a Crab Trap and some Matches.
Now view the darkened doorway at the back of the room, there is a lantern hanging on the right. Use the matches to light the candle, you can then see down the steps.
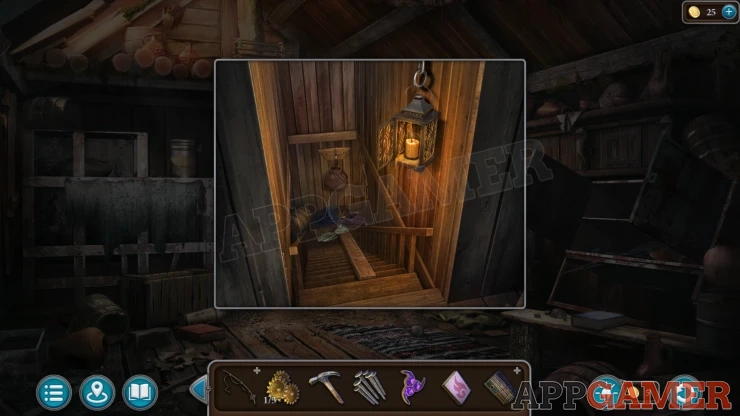
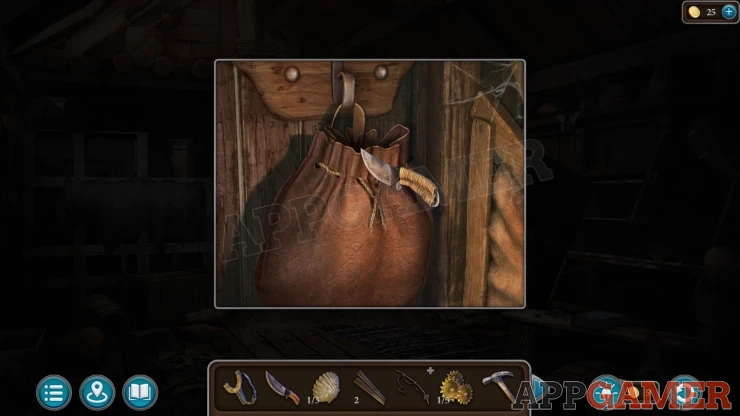
Collect a Board (2 of 2) from the steps, then view a bag hanging from a hook at the bottom. Use the knife to cut this open and then collect a Quartz (1 of 5).
Go back to the Bridge and then view another stone monument on the left with a Purple crystal on top.
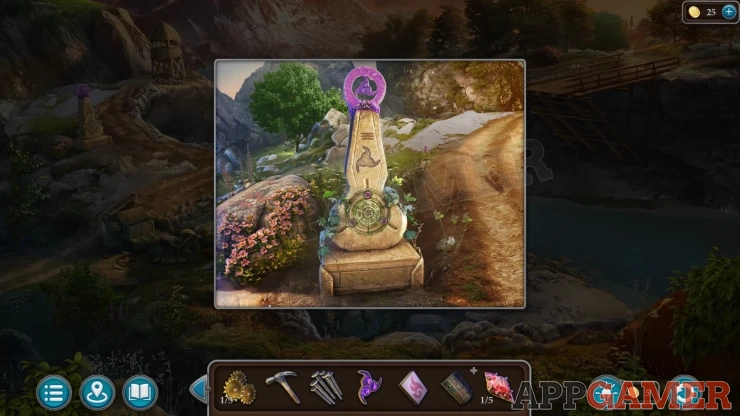
Use the Purple Stone Symbol here to reveal a puzzle.
Purple Stone Symbol Puzzle
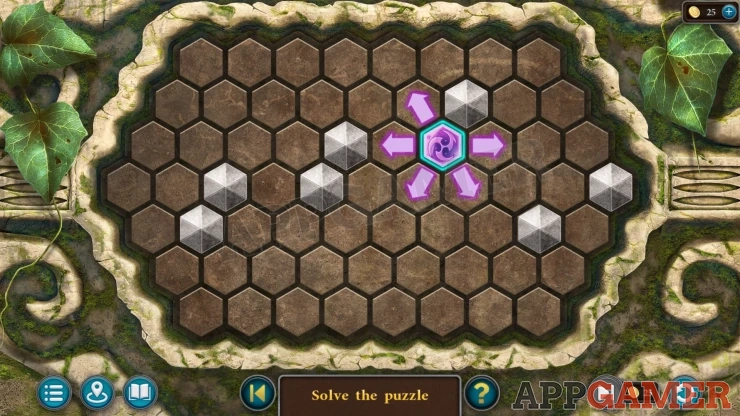
- There is a purple symbol on the grid of hexagons.
- Select a direction to move the symbol in, It will move accrssothe grid until it hit an obstacle.
- As the sybmol moves it fills in the grid.
- Direct it around the board to fill in all of the empty hexagons without geting blocked.
- The initial layout of the board can vary with each game
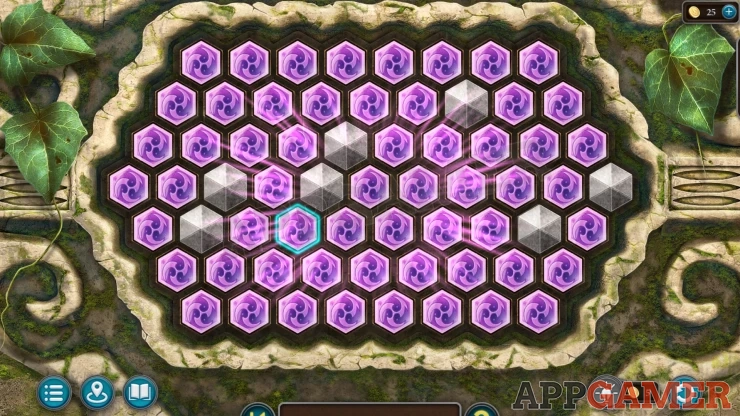
Once done collect another Flower (2 of 3) and another Shell (2 of 3).
Next tap on a bush on the rocks on the side of the bridge, you can move these to reveal a small cave hollow.
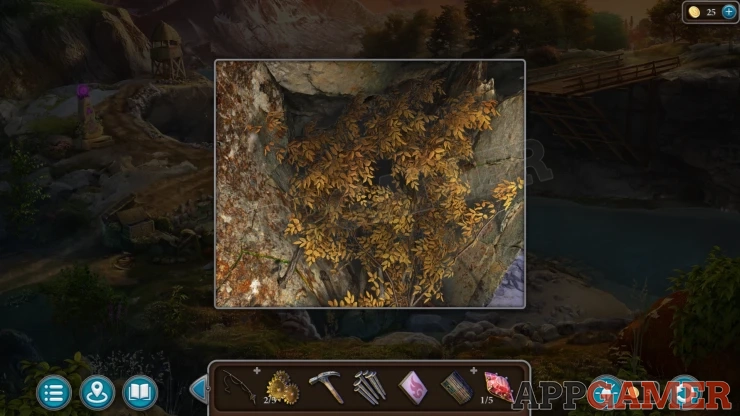
It is dark inside. Use the matches here to make a light, then you can collect another Quartz (2 of 5) and a Wrapped Stone (1 of 2).
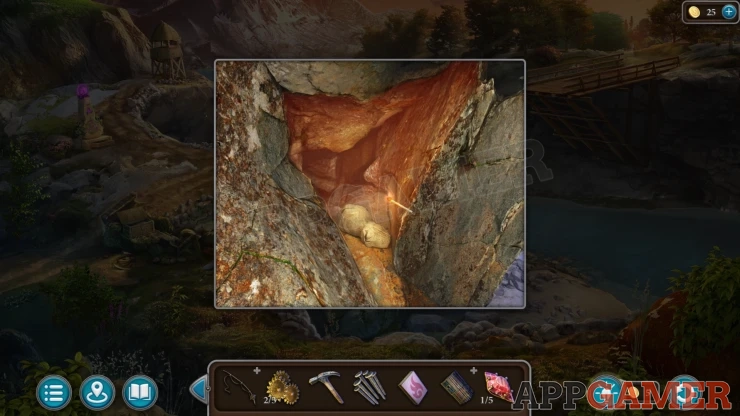
Then look on the bridge platform again. Place the two boards here and then the nails. Next use the hammer to secure the nails.
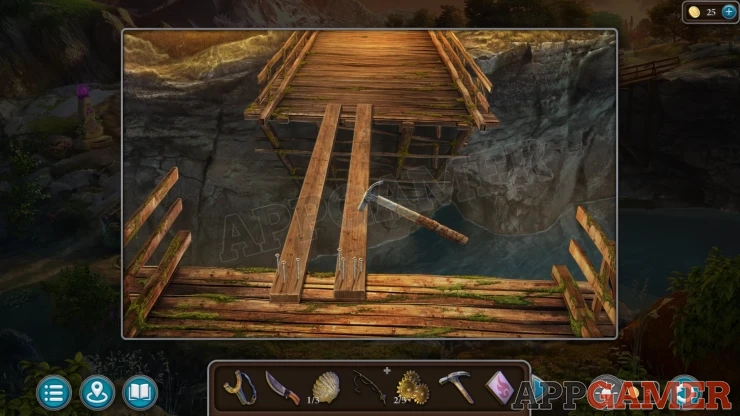
Now you can cross the bridge to the forest.
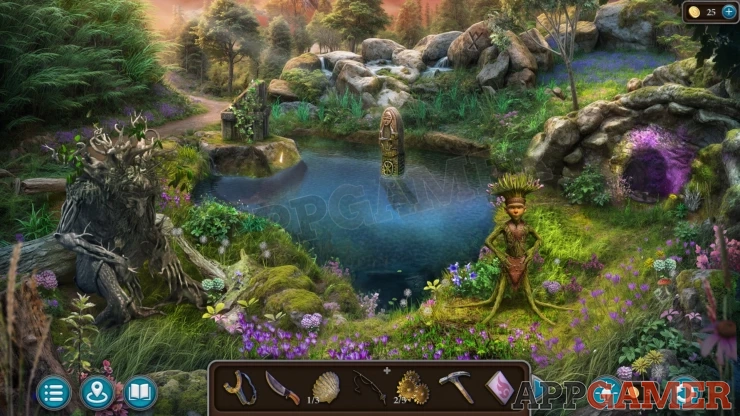
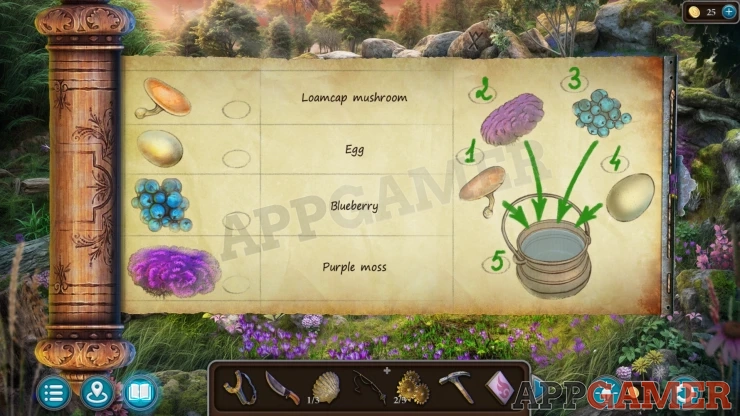
First talk to Skimroot, you will be given a Recipe to make a potion to wake up Drevolets.
Collection Item: Mushroom on the ground on the lower right.
Morphing Object: Symbol on some large boulders above the pond.
Task - Wake Drevolets Up
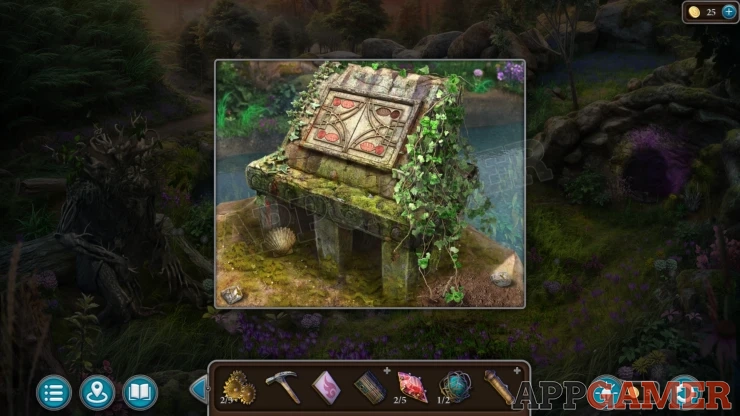
View a Stone plinth on the left side of the pond. Collect from here another Shell (3 of 3).
Then view the small hollow on the right with purple moss around it. There is a snake inside.
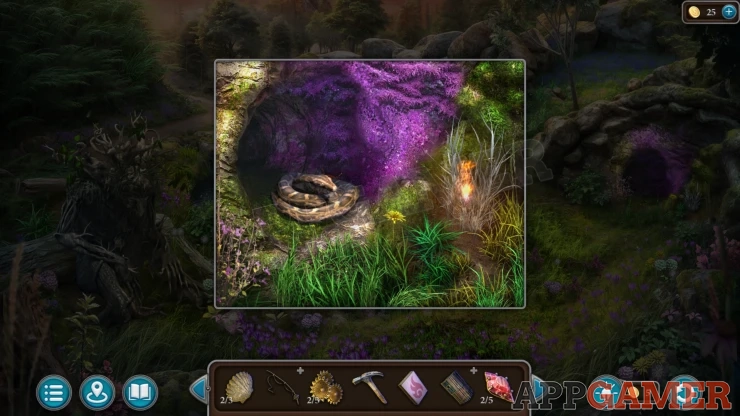
Use the matches to make a fire, the shake will leave. Collect a Steering Wheel part from the hollow, then use the knife to cut and collect some Purple Moss.
Return to the area with the waterfall. To the left of the waterfall is a rock outcrop with green moss on it, view this.

Collect a second Steering Wheel part here. You can then view one of the sttering wheel parts in your inventroy and add the secondone to make a complete Steering Wheel.

Then back up to the Shore are with the boat wreck. On the back of the boat is a panel with a steering wheel outline.

Add the Steering wheel to this to open the panel.
Manuscript: Xorhi
Collect a Magnet and a Key.
Next view a statue on the beach at the back.
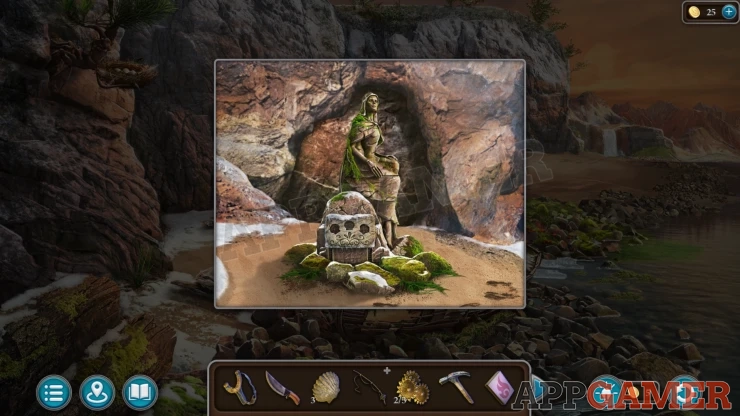
View the base and add the three Shells to it to find a puzzle
Three Shells Puzzle
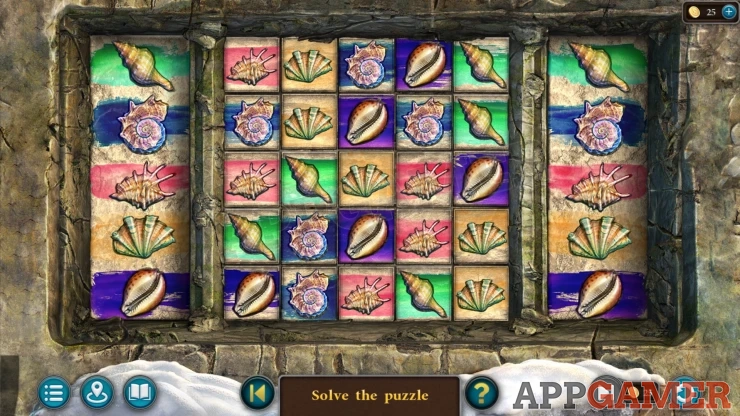
- The center grid is 5x5 of differnet shells that are jumbled up.
- On the left and right is a display of five shells.
- Slide the rows and columns on the grid to arrange the shalle into five rows that match the ones shwon on the sides.
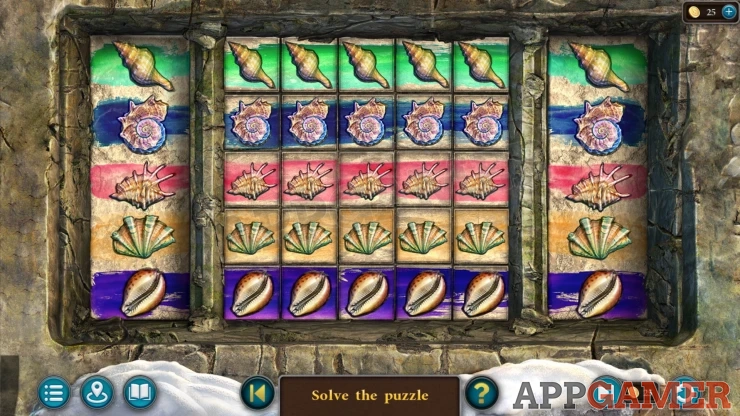
Once done a cave openes up behing the statue. Go inside.
Treasury Hidden Objects
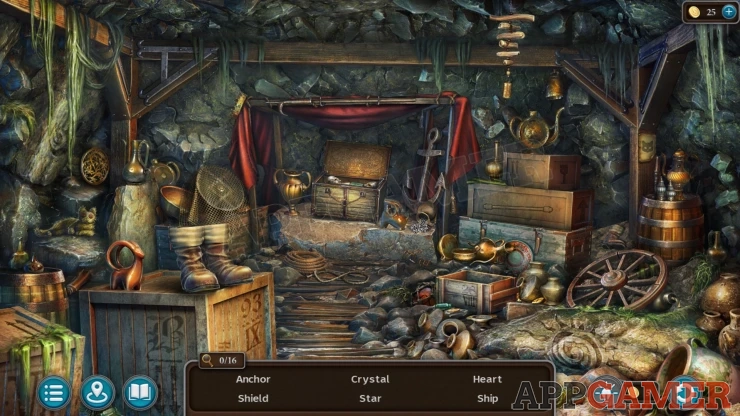
- There are 16 items to find in the treasurey cave.
- You will see six named at a time at the bottom, find any of these to then get more named items to find.
- The items may be bjects as well as symbols/drawings.
- Some items are visible on the main scene while others are inside boxes or under other objects.
Once you are done you will collect a Pike Pole.
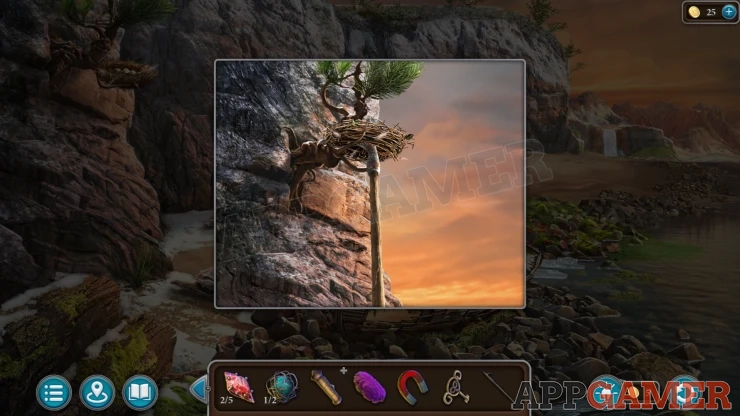
At the Shore outside the cave look on the top left to see a nest in a branch. Use the Pike pole on this to collect an Egg from it.
Now travel to the forest again and then take the path to the left of the lage to find a house under a tree at the end of the path.
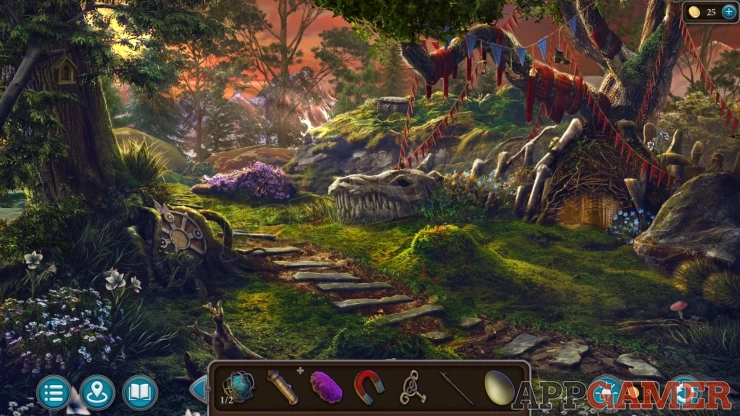
Collection Item: Mushroom on the ground on the bottom right.
Morphing Object: Birdhouse in the tree on the left.
First view the large skull on the ground, Use the hammer on this to break the teeth, then you can collect a Leaf and another Wrapped Stone (2 of 2).
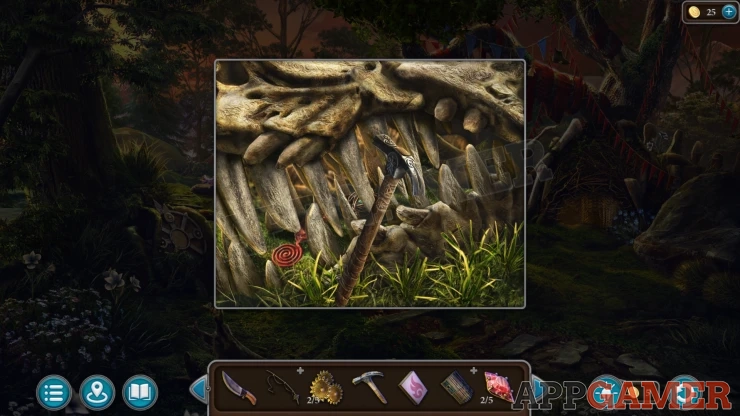
Then look up in the top of the tree on the right, use rthe Slingsjhot herew to know down and collect a Rabbit item from the rope.
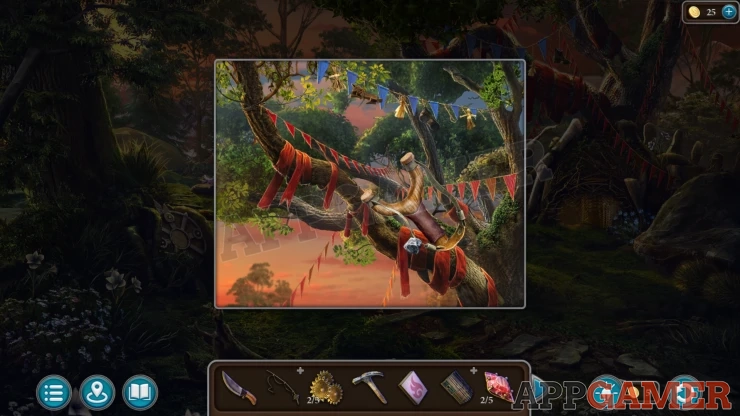
Now enter the house (Nook) under the tree.
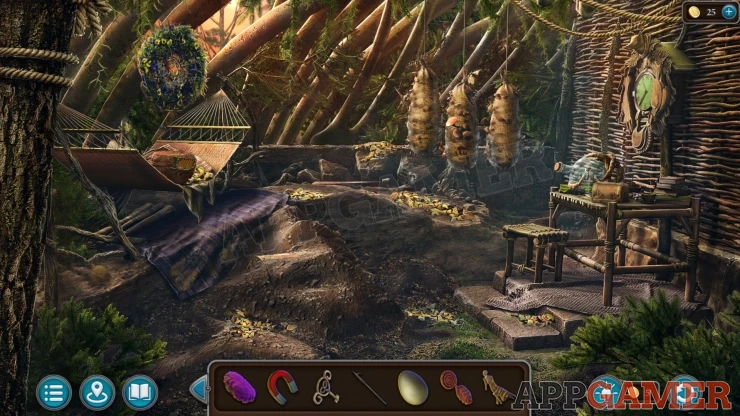
Collection Item: Mug on the table on the right.
Morphing Object: Round object on thge ground under the hammock on the left.
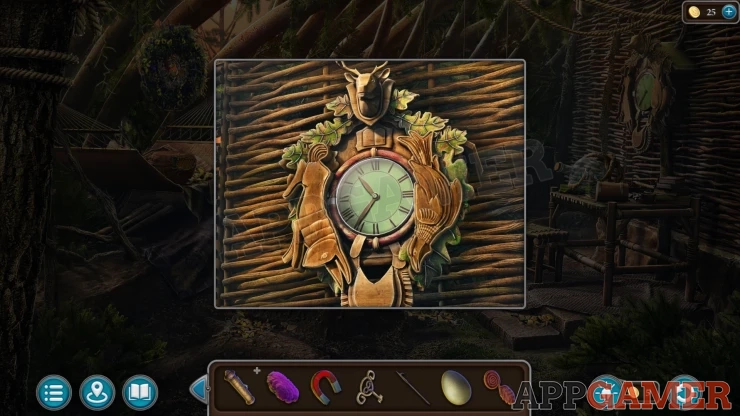
View the clock on the wall, then add the Rabbit to the left side to open it. Collect a Gear.
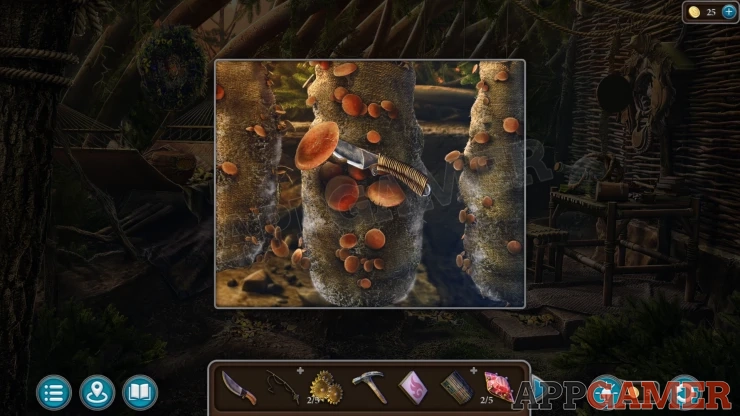
View the hanging sacks with mushrooms on them. Use the Knife here to collect a Loamcap Mushroom.
Next view the hammock on the left, there is a basket on top with a puzzle. Add the two Wrapped Stones to this to start the puzzle.
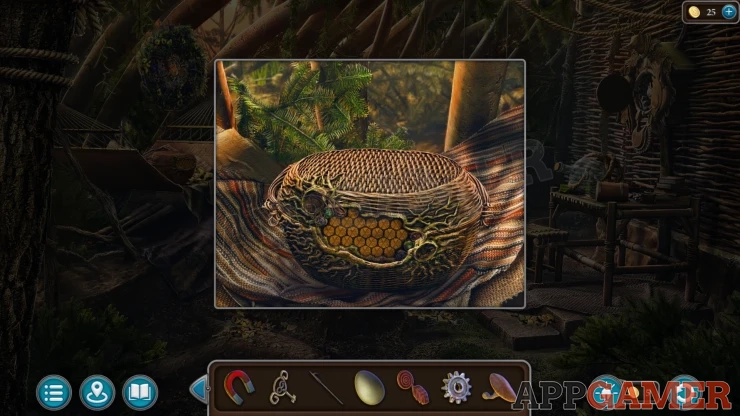
Nook Basket Puzzle
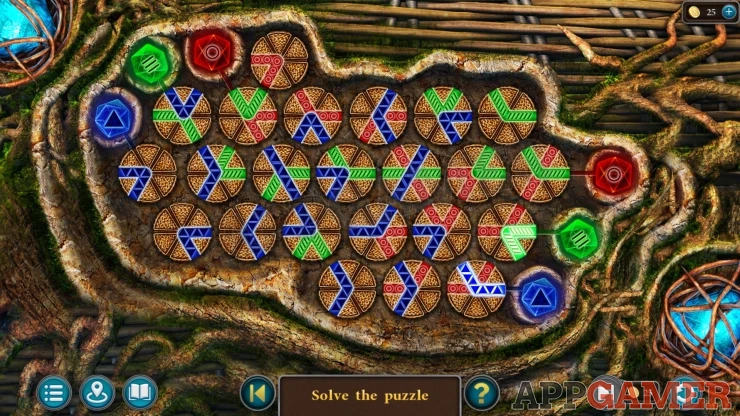
- There are the colored symbols on the top left and on the lower right.
- On the grid are circles that you can turn with colored lines.
- Arrange all of the lines so that they make a three connected colored lines between the two symbols of the same color.
Collect another Quatrz (3 of 5) and a Glove.
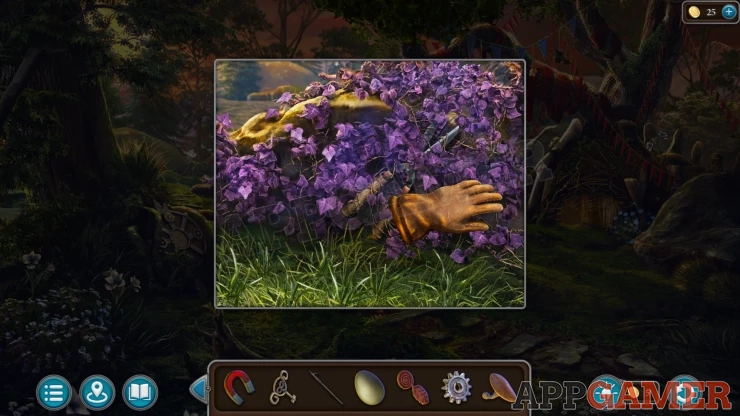
Exit the house and then look at a patch of purple vines to the left of the skull. Use the Glove on these to move them and then collect some Garden Scissors.
Back up to the pond in the forest and then view the stone plinth on the left again.
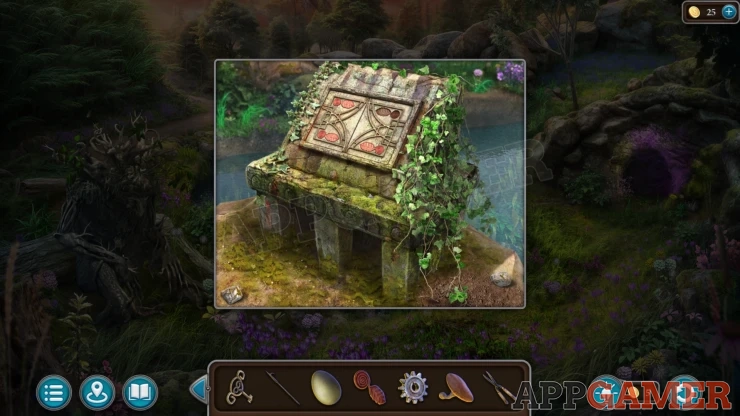
Add the Leaf to the decoration on the top to reveal a puzzle.
Forest Bee Puzzle
- The board has a Bee on it that you need to move to the blue Flower near the center.
- You can move the bee using the arrows on the board into empty paces.
- You can also use the two circle arrow buttons at the top left and right to rotate the yellow grid and the bee a quarter turn each time.
- If you rotate the bee onto a stone you willose a life, you have 5 lives shown on the right.
- Move the bee to the flower to complete the puzzle.
- The layout of stones on the board can be different in each game
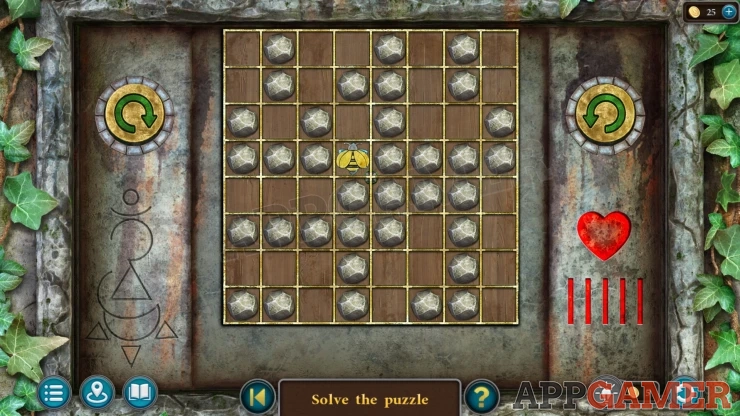
Once done stepping stones appear in the pond and you can then view the Totem statue on the center. Collect another Quartz (4 of 5) and a Fish.
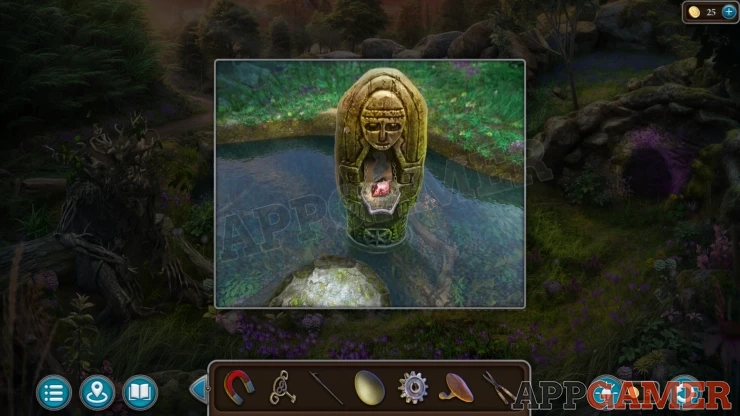
Manuscript: Xhori, inside the Totem
Next View the Fishing rod in your inventory and add the Magnet to it.
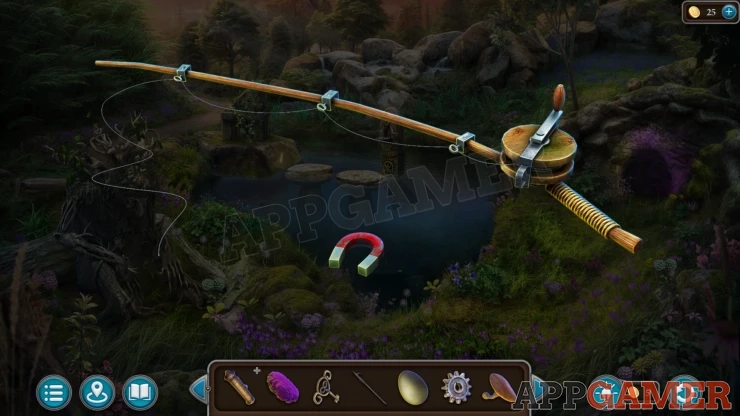
Then view the lower section of the pond and use the fishing rod with magnet on the water to collect a Box.
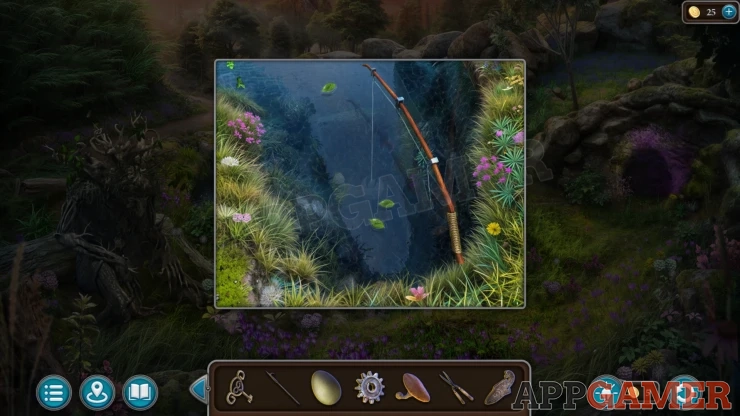
Next travel to the house by the waterfall, inside view a container on a shelf on the left. Use the key that you have to open this an then collect some Bait.
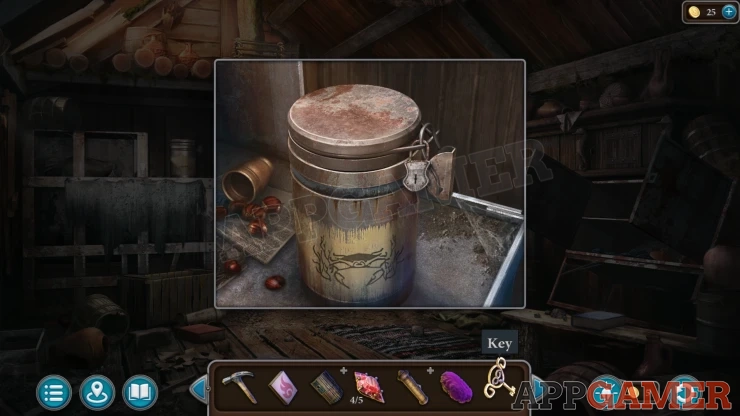
Next tap above this at a mezzanine above with a rope ladder.
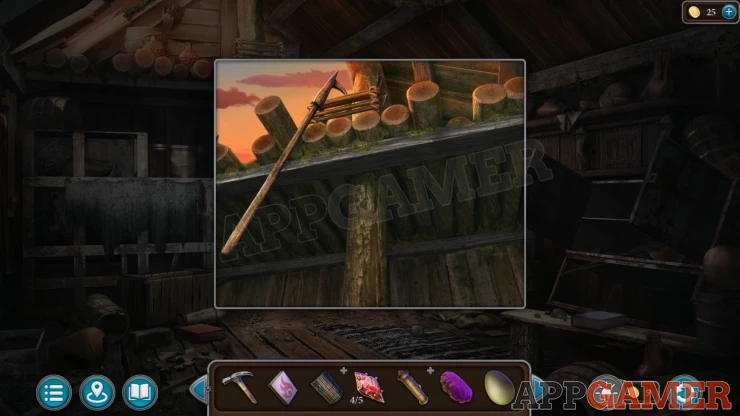
Use the Pike pole to pull down the ladder, then you can view a box on the level above.
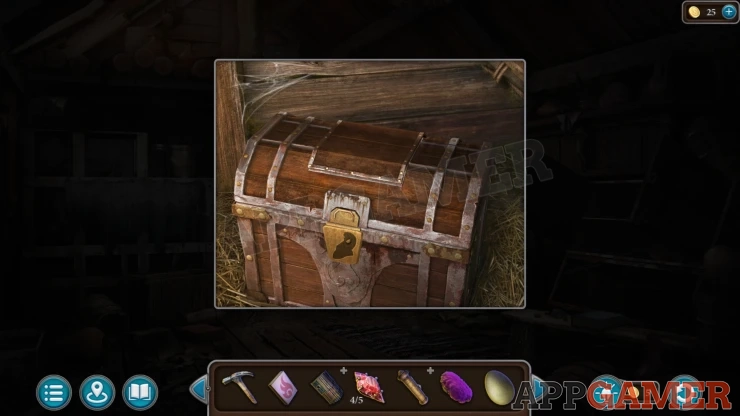
Add the Fish to the lock to open the box, then collect a Shovel and a Symbol (1 of 2).
Back up to the Shore area and then look at some stones to the right of the boat wreck, there is a small orange crab.
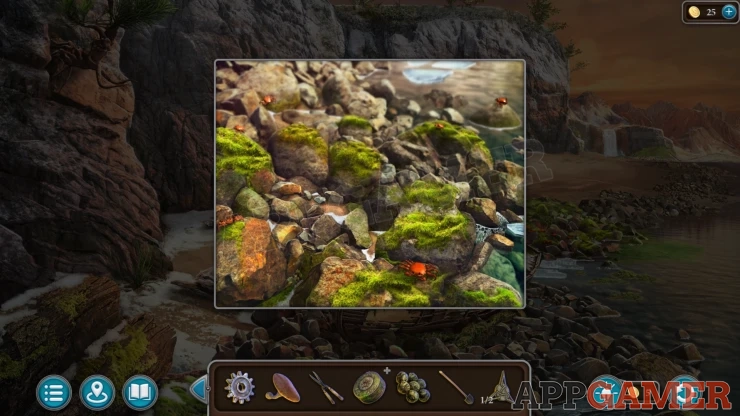
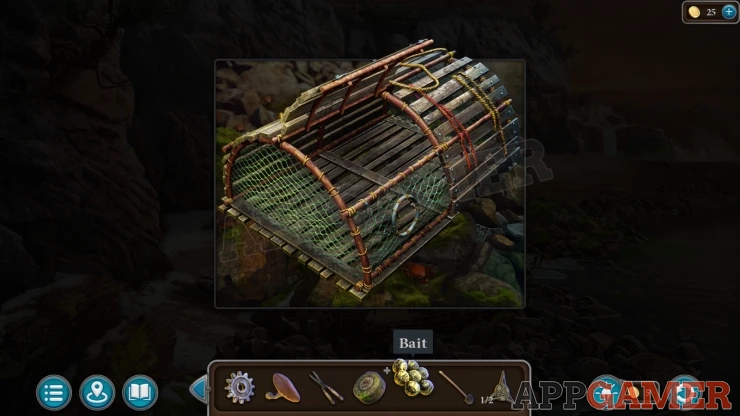
View the Crab trap in your inventory and open the lid, then add the Bait to it. You get the Trap with bait.
Place this on the stones and the crab will crawl in. Collect the Crab.
Next view an old log on the sand on the left. There is an animal inside.
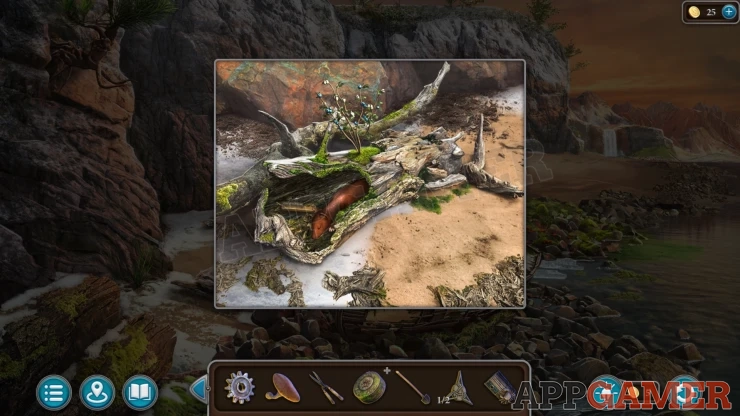
Use the Crab here and the animal will chase it. Then you can collect a Brush from the log. And also some Blueberries from the branch on top of the log.
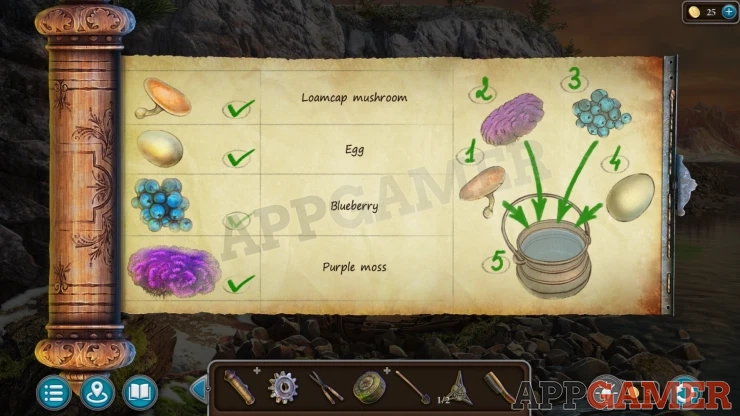
Now you can view the Recipe in your inventroy and add to it the four items that you have collected. You will collect the Ingredients.
Go back to the settlement. In the center is a cooking pot, view this.
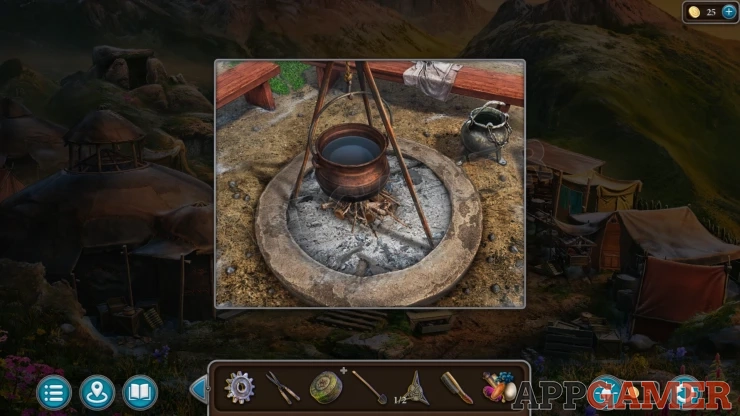
Use the Matches to light the fire, then add the ingredients to the pot. You can then collect the Potion.
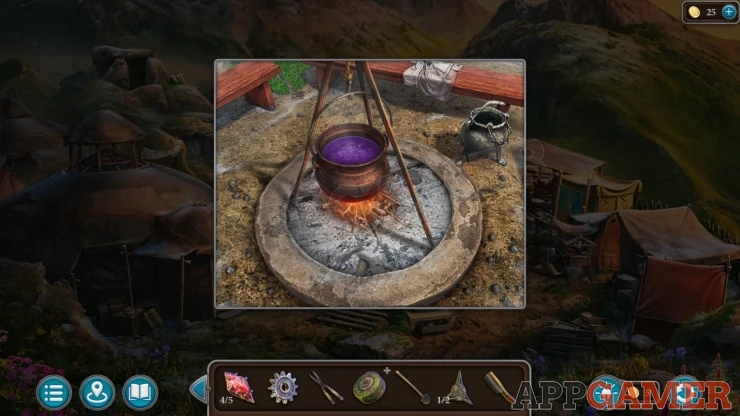
Now you can return to the Forest pond area and give the Potion to Dervolets and he will wake up.
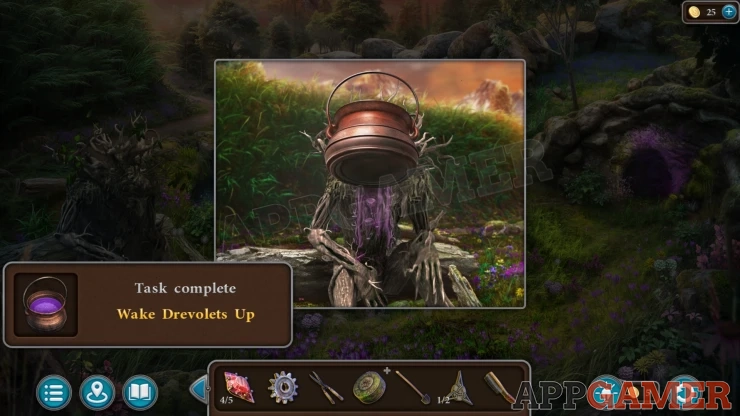
Dervolets will tell you the story and then give you a Key.
Task - Unseal the Gate
Return to the Nook house, then examine an area of dirt on the floor near to the hammock. Use the Shovel here to dig up a chest. Then use the key to open it.
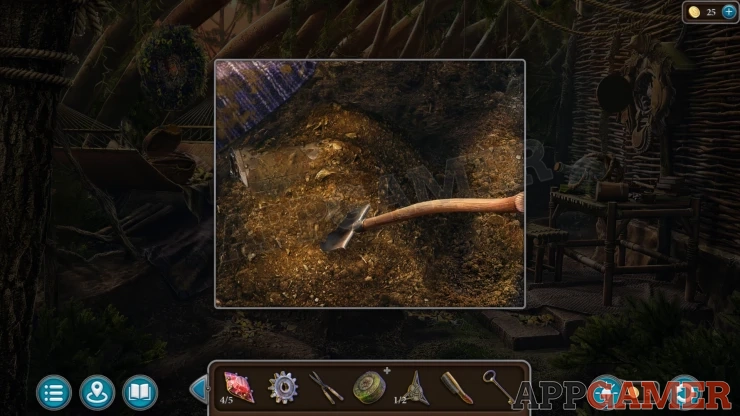
Manuscript: A Tribute to Ancestors.
Collect some Jade Dust and another Quartz (5 of 5).
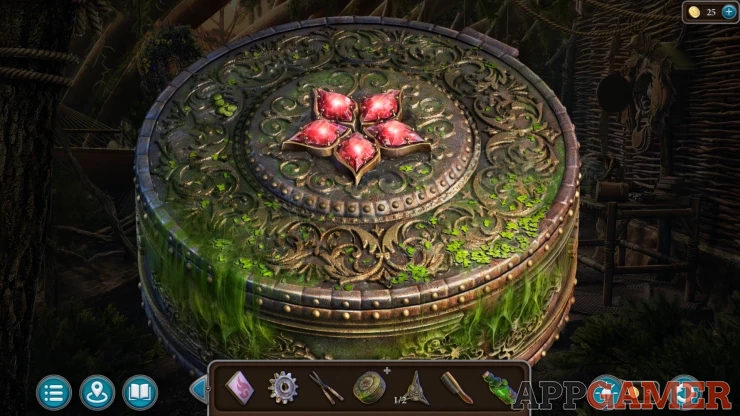
View the round Box that is in your inventory, you can add the five Quartz pieces to the lid to open it.
Collect a Key and some Tweezers.
Return to the house by the waterfall. Look inside and then view the box on the shelf on the right.
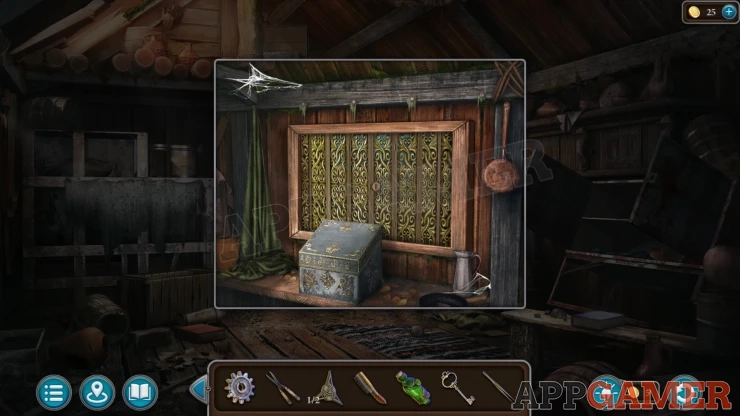
Use the key on the panel on the wall to reveal a puzzle.
Undersea Picture Puzzle
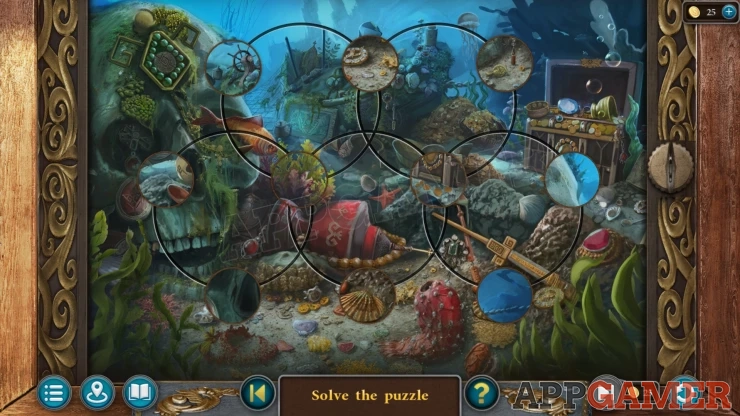
- There is an image of an under sea scene. But there are 10 circle pieces that are jumbled up.
- Tap the 5 large circles to rotate the pieces around.
- Arrange them to the correct positions to complete the picture.
Solution: Show
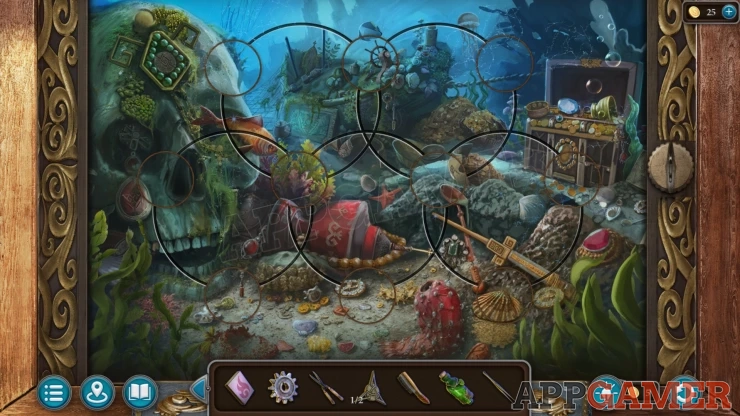
Once done the box opens and you can collect an Empty Oiler and a Hoop (1 of 2)
Now go to the Waterfall area, first look on the rocks on the left of the water fall again where the green moss is. Use the brush here to remove the moss and find a clue pattern.
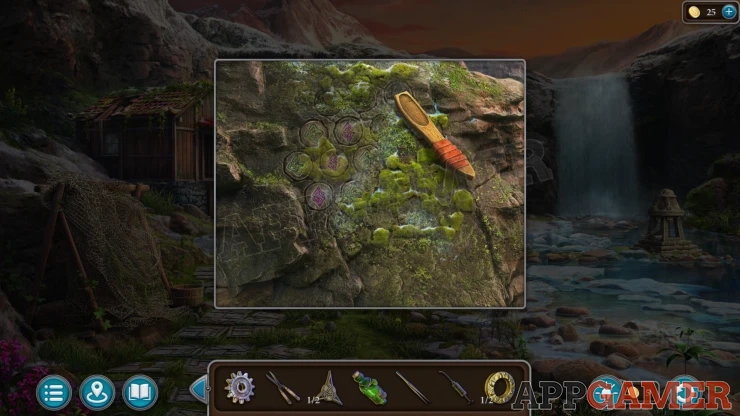
Next view the stone shrine in the river in front of the waterfall. Add the Jade dust to the two bowls.
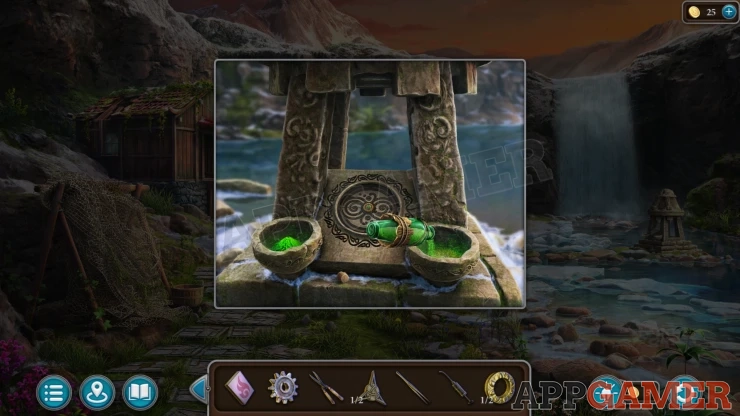
Use the Matches to light the dust, then you will find a puzzle.
Gmuri Ritual Puzzle
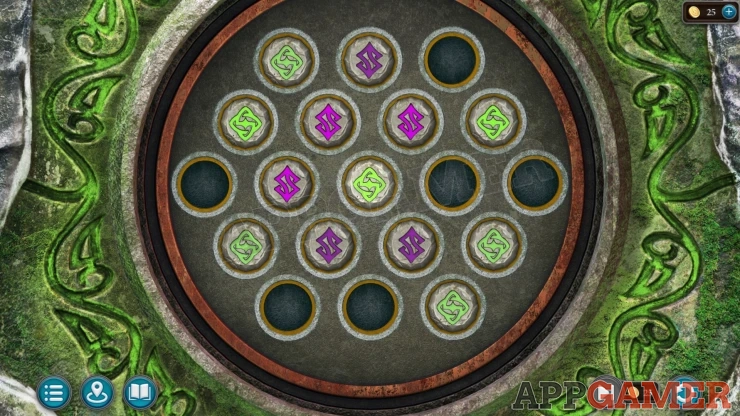
- There are green and purple symbols laid out in a hexagonal grid of circles.
- Tapping any of the circles will cause the six cirles around it to rotate clockwise.
- Arrange the symbosl to match the clue that you have seen.
- The clue can be different in each game
Solution: Yours may need to be differentShow
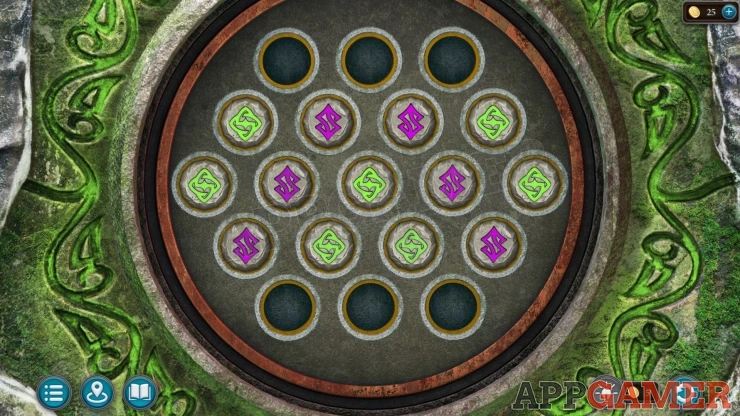
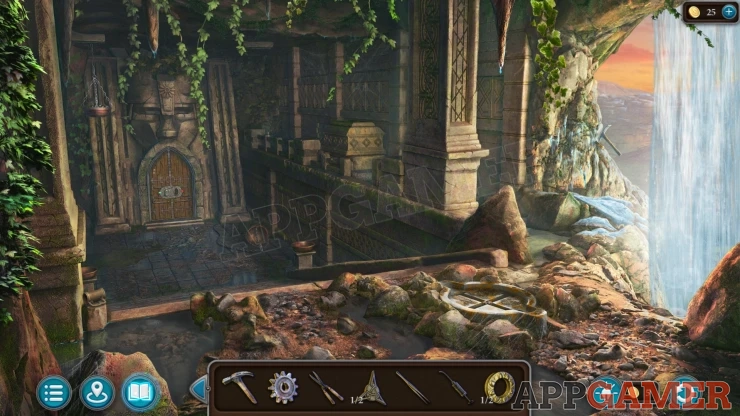
A hole opens in the cliff, go through to find a door behind the waterfall.
Continue the guide in Part 2
We have questions and answers related to this topic which may also help you: Show all