General Tips and Tricks
Fallout Shelter Guide
Future Planning
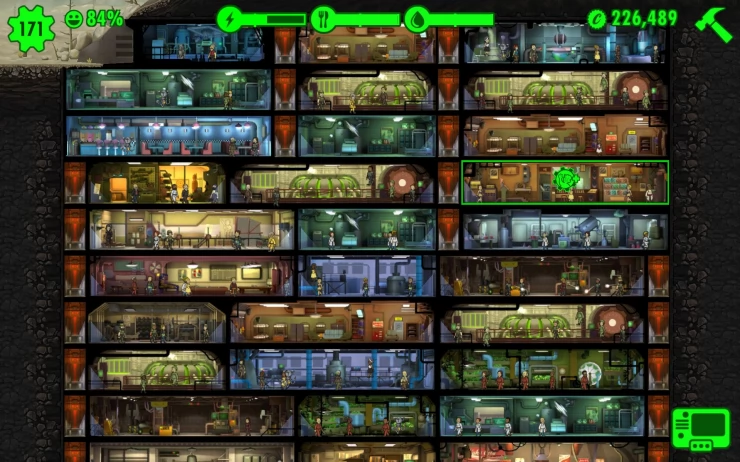
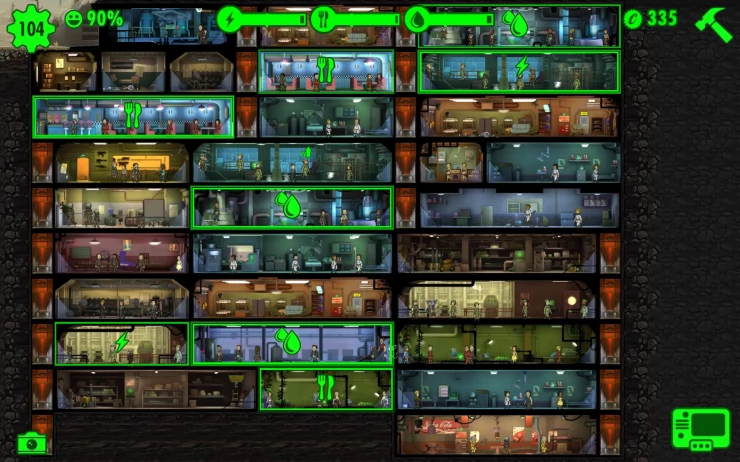
It's easy to place the rooms haphazardly in the game, especially during the early parts of it. However, in the long run, you'll need to destroy ("sell") some of your rooms so you can merge them. Merging up to three rooms gives you the most out of your production, storage, and a bit cheaper upgrade cost. It will also require more dwellers working in them for them to run efficiently.
That said, build your rooms according to your Vault's current population. Having several production rooms means nothing if you don't have enough workers to fill them.
Resource Management
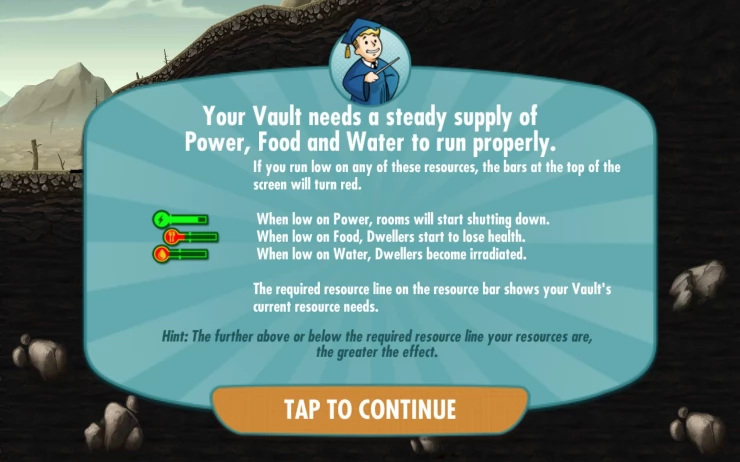
Keep an eye to your resource meters. If you can see one particular meter draining rapidly, check if you don't enough enough facilities or if your current production rooms are not producing enough resource compared to your Vault's needs. You can solve this problem by adding/merging production rooms. You can also temporarily move workers with fairly passable SPECIAL stats from one production room to the room that's suffering the shortage. However, it's still ideal to have a dedicated number of dwellers working in their respective production rooms with high individual stats and happiness level to make the most out of your production rooms.
Keep track of your dwellers and explorers
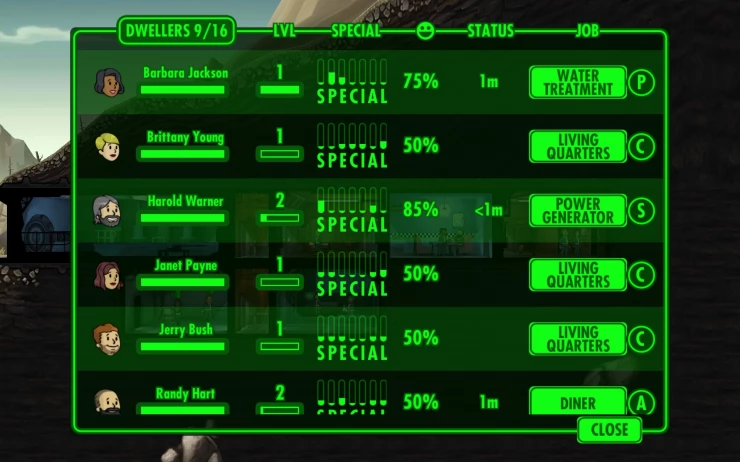
Tapping the gear icon on the top left corner of the screen will display the dweller list. In this screen, monitor your dwellers and explorers so you can recall them if they run low in Stimpaks or see if there are dwellers on "Coffee Break". You can also sort them according to level, SPECIAL stat, status, and job. Dwellers who are on Coffee Break and considered idle. They're consuming resources but not doing anything beneficial to the vault. Those who just came back from exploration will wander around the vault in this mode unless you manually assign them to a room or send them back out again. Dwellers who just been revived will be automatically in idle mode. Children who just matured into adults will also be in this default mode.
Decisions About Population
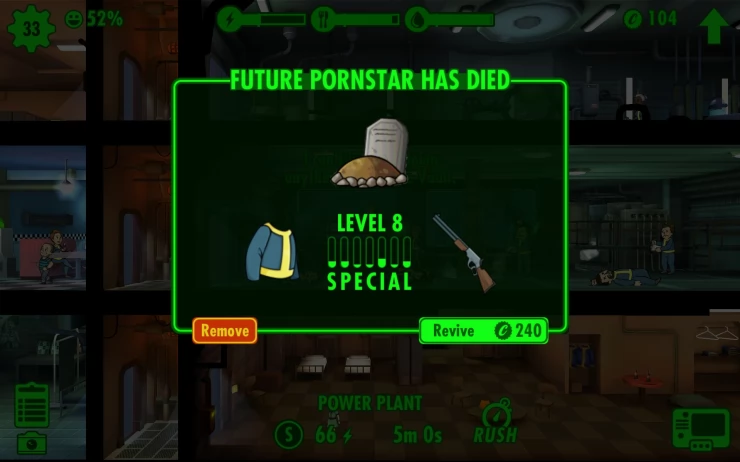
Since mating your dwellers is the fastest way to get new dwellers early in the game and increase your population, you have to be careful and avoid overdoing it. Pregnant dwellers may be able to work on production rooms but they flee and hide during incidents. Children also consume resources even if they're just wandering around. Make sure that the number of pregnant women and children in your vault is carefully monitored since it may lead to critical food or water shortages. A volatile situation like that can also make give minor incidents a huge chance in wiping out your population. If the time ever comes that your Vault is overpopulated and you have to make the cruel decision of letting some of your dwellers go for the sake of everyone in the vault, consider killing off non-essential personnel by sending them unequipped and without stimpaks to the wasteland. You can also let them die from incidents and remove them from the game instead of reviving them.
Explore as early as you can
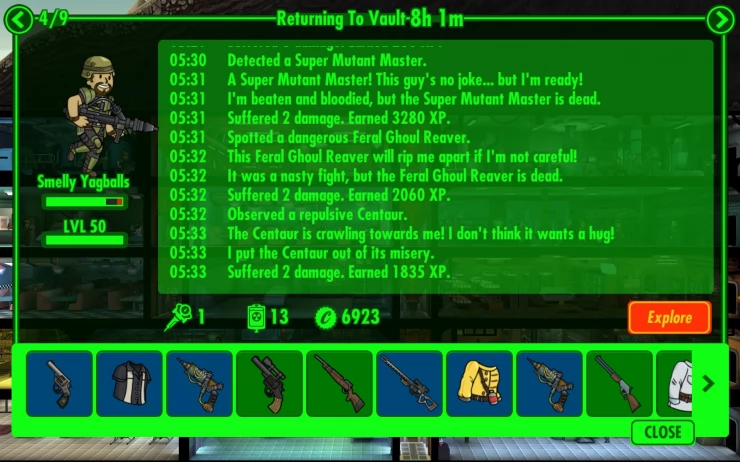
Sending out dwellers to the wasteland allows them to gather extra caps, outfits, and weapons. To increase their chances for survival, make sure to equip and supply them properly. In the early parts of the game, you need to also monitor their progress and bring them back home once they were able to collect a good amount of outfits and weapons. This way, you'll be able to gear up your dwellers to deal with immediate incidents. When you're capable of sending more capable explorers, you still need to monitor them regularly to ensure that you can recall them back to the Vault before they die in the wasteland. The longer an explorer stays in the wasteland, the better weapons and outfits he or she'll find
Arm Your Dwellers
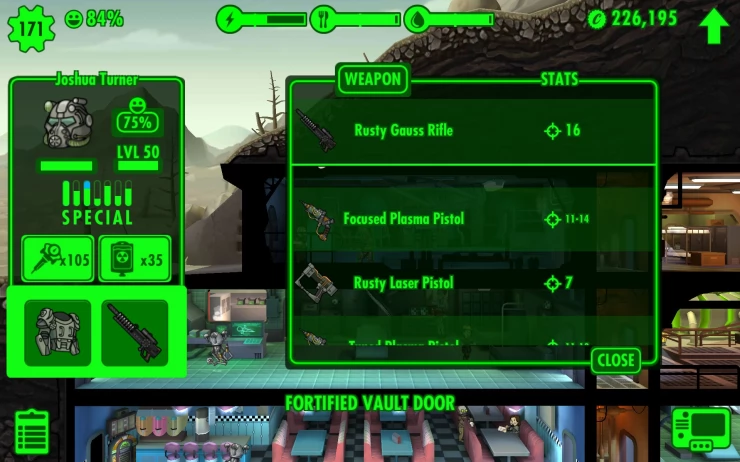
It's tempting to expand your population to unlock more rooms and expand your vault. However, refrain from doing that unless your dwellers are properly armed. Infestations and invasions can wreck havoc through a vault with unarmed dwellers. Make sure you have a good supply of stimpaks as well. Low level dwellers' health tend to drain quickly and you'll be forced to use several stimpaks in almost every incident. As you get your hands on more powerful weapons, distribute them to every dweller, preferably the high-caliber/powered ones equipped to the dwellers in the upper rooms where the invaders will usually go through. As you get better weapons, you have to replace their old, weaker guns (BB Guns, 10mm pistols, etc) with common weapons with higher firepower like Sawed-off shotguns or laser pistols.
Radio Room
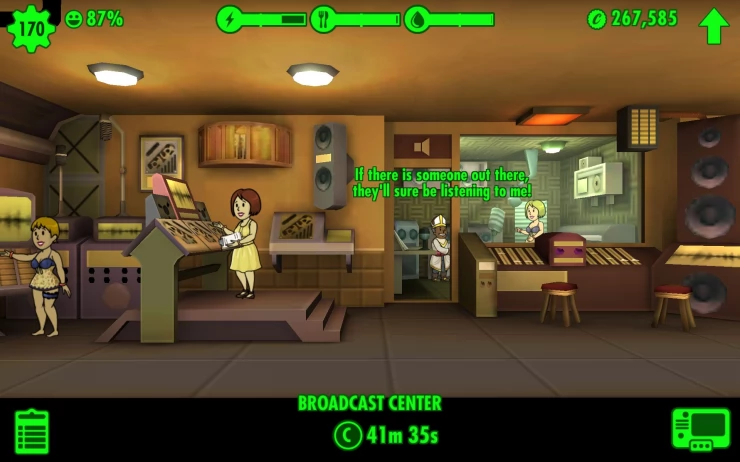
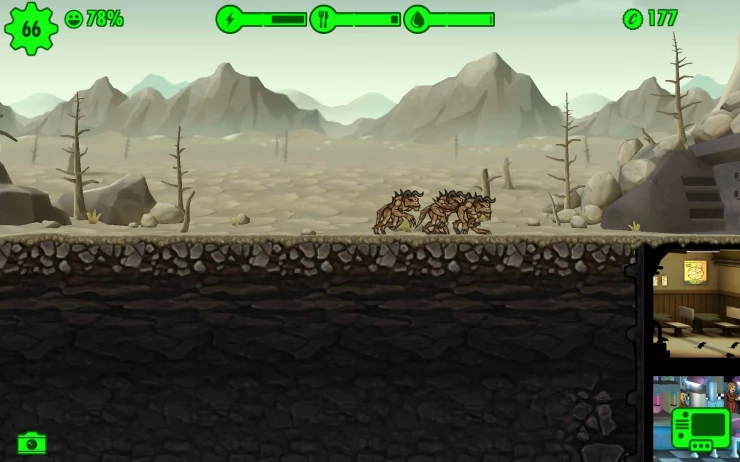
While radio rooms can help increasing your Vault's happiness level and has the chance to call in dwellers from the wasteland, the broadcasted signal may also attract deadly Deathclaws. Because of that, you must avoid building a radio room as early as possible. Once you have more reliable dwellers and equipment, you can go ahead and establish a radio room since you should be able to defend yourself from potential Deathclaw attacks.
Rush Rooms Moderately
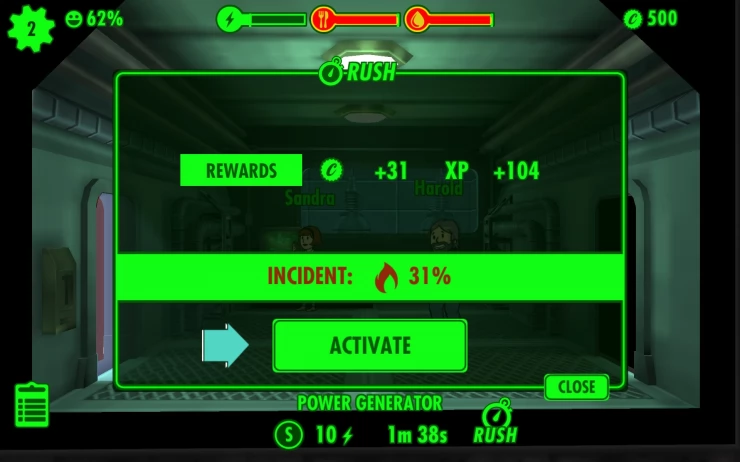
While rushing a room instantly produces its resources and resets its production cycle, there's a risk percentage that will increase for every successive attempts. Rushing when the risk is above 30% is not recommended. When rushing a room, make sure that the workers within can deal with any incidents. Fires are manageable but infestations can be deadly, especially for under-equipped dwellers.
Guard the Entrance
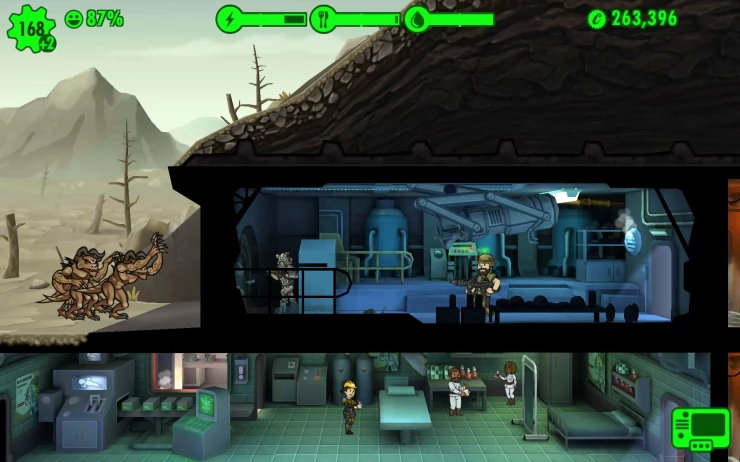
Place two adequately leveled and equipped dwellers with fairly high stats in the vault door to act as guards. They'll be your first line of defense against raiders and deathclaws. Even if they're unable to kill the invaders immediately, you can manually move them to the rooms along the invaders' path. Any moved dwellers during the incident will return to their original posts once the incident is resolved so no need to worry about relocating them as often as you need.
Complete Objectives
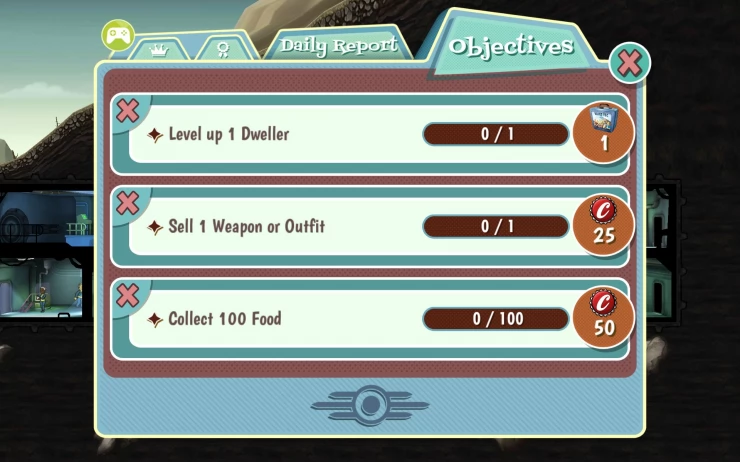
Completing objectives is the only other way to earn Lunchboxes for free or earning much needed cash. There are three objectives available at a time, and they'll only be replaced if you complete them or skip them. You're allowed to skip one objective once per day. Consider skipping objectives that you won't be able to complete immediately and you'll get a chance to get a much easier objective. You'll also earn much needed CAPS from these objectives so make sure to keep track of them and complete them whenever you can.
More efficient vault with happy dwellers
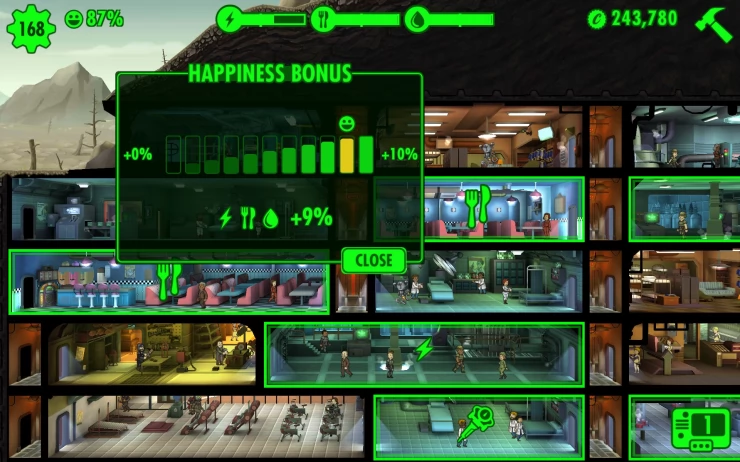
Individual dwellers' happiness affect the overall happiness of your vault. A happier population makes them work harder, giving you a production bonus up to 10%. That said, make sure they're working on a production facility that fits their SPECIAL stats, immediately revive/ remove dead dwellers, and keep your resources up.
Daily Vault Checking
When you're just starting as an Overseer and your vault is fairly new, you need to look after your vault quite often until you have enough CAPS and resources. Over time, when your vault is large and stable enough to support its entire population without the danger from shortages, you can just check it once in a while. This will allow you to collect the daily evaluation rewards, which includes a lunchbox on the seventh day of playing. However, you still need to check the progress of your explorers so that they won't die out in the wasteland.
Train your Dwellers
When your vault already has a stable resource production, you can now start training some of your personnel. Training Rooms can only increase specific SPECIAL Stats they specialize in. For starters, Weight Room (S), Fitness Room (E), and Game Room (L) should be prioritized. Since high Luck dwellers increase the probability of getting bonus caps when collecting resources, it can go well with other production-related stats. You'll need to build and merge training rooms as you expand, even needing to build two of a kind. This is the only way for your common dwellers to catch up their stats to the Rare or Legendary dwellers.
We have questions and answers related to this topic which may also help you: Show all