
Chapter 1 - Initium Walkthrough
More Boxes: Lost Fragments
Welcome to the walkthrough guide for Chapter 1 of Boxes: Lost Fragments. Another beautifully designed puzzle and escape room style game from Snapbreak.
After completing the Tutorial you have access to the mysterious doors that lead you to 4 rooms of chapter 1. Each with puzzles boxes to solve. As you complete each section the next door will open.
Boxes: Lost Fragment - Chapter 1 Walkthrough
From the main room you will pass through the first of 4 doors.
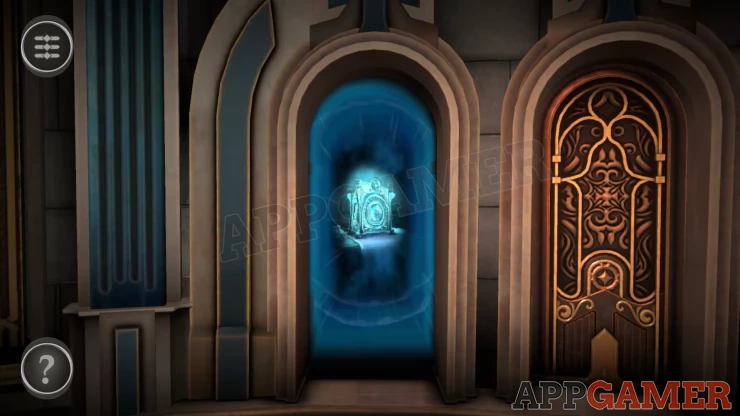
Chapter 1 - Room 1 Walkthrough
In the first room you begin with 2 boxes on a table. A large puzzle box and a smaller one.
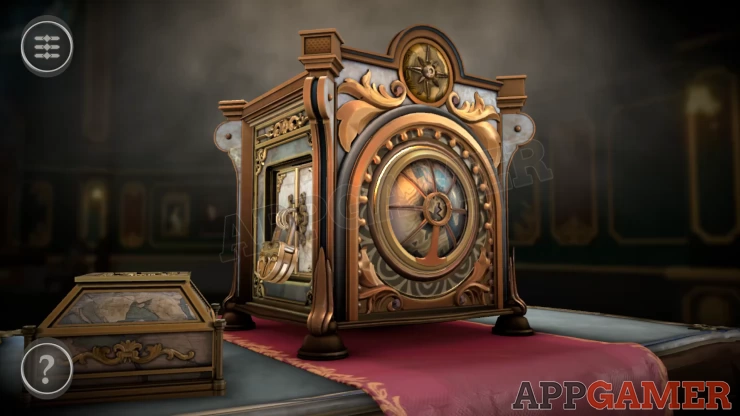
First rotate the view to see the right side of the large box, there is a small panel with a green handle.
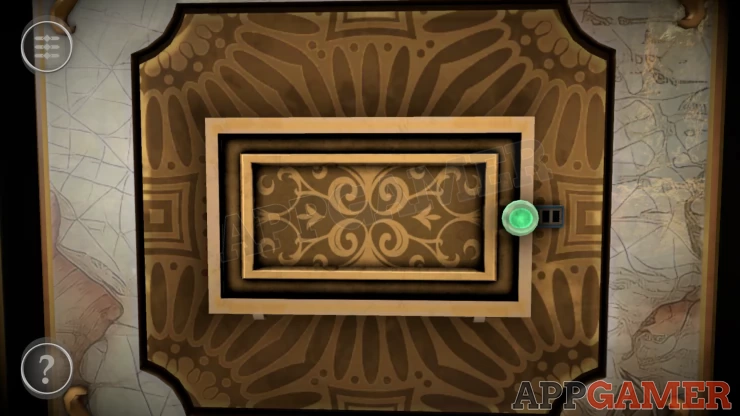
Slide the handle to the right to open the compartment. Inside are 2 circular dials. Turn these to reveal a second slider with a red button
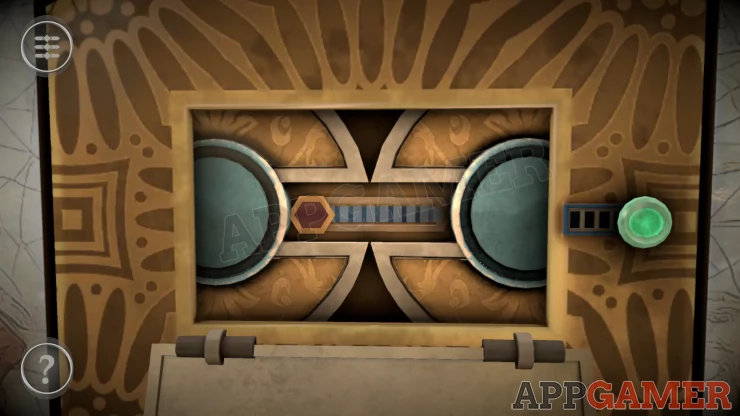
Slide this one across as well and the box will expand and direct you to another panel to open. Slide the catch on this to the left. Then slice the bottom panel upwards to open it and find a key to collect
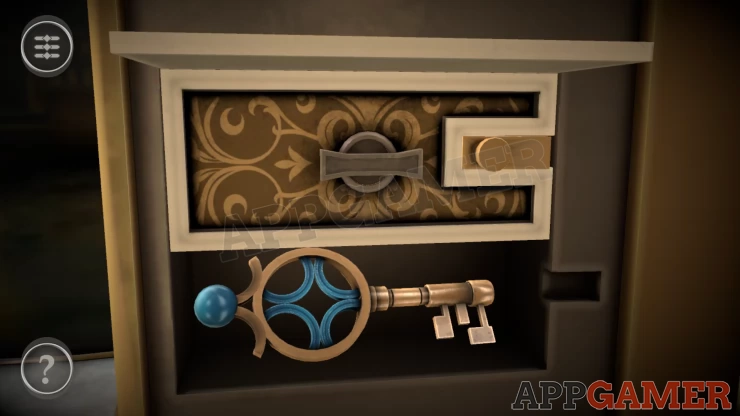
Zoom out and rotate the view to the other side of the box. There is a padlock.
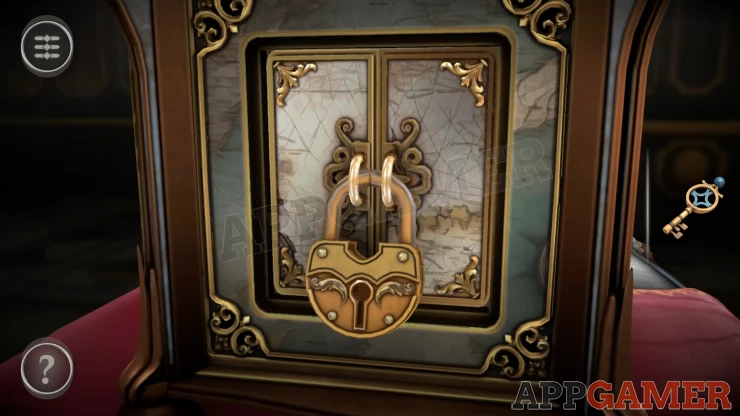
Use the key on this and turn it to open the lock. then slide the doors open. Collect the Mechanical Disk from inside.
Mechanical Disk Puzzle
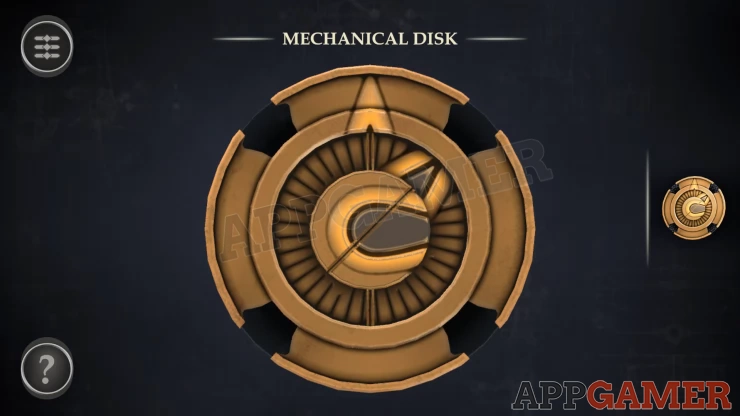
- The puzzle has 3 dial sections.
- The center 2 can be rotated by tapping them.
- Rotate each section to lines them up with the top center.
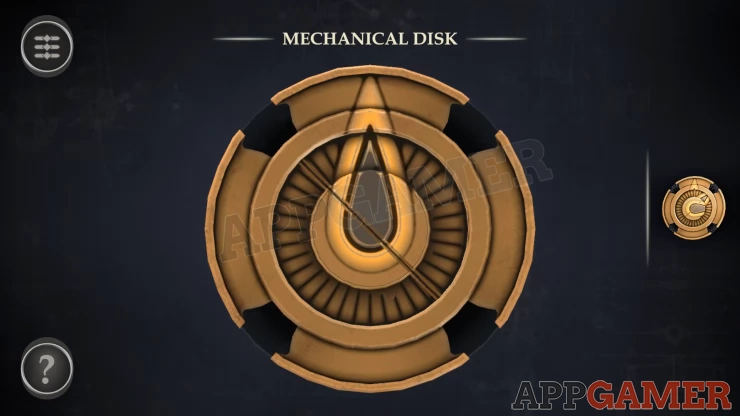
Now zoom out and tap to view the top of the smaller puzzle box.
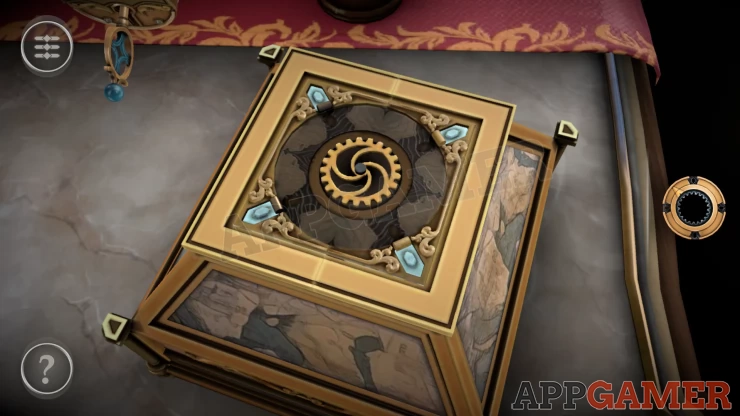
Place the mechanical disk on to the center of the top to unlock it. The top will flip over.
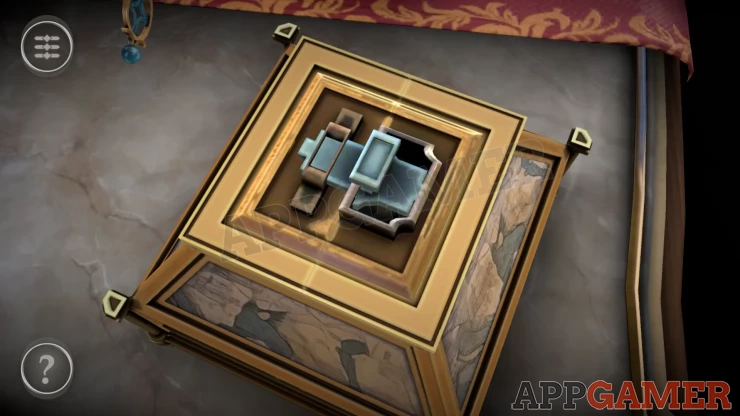
Slide the blue lever to the right and the box will open up.
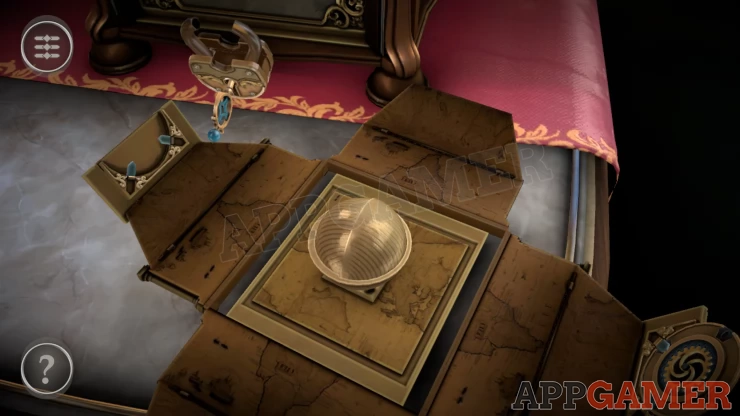
Collect the Metal Sphere from inside.
Zoom out and now view the top of the larger box, there is a hole. Place the metal sphere here and it will open to reveal an eye.
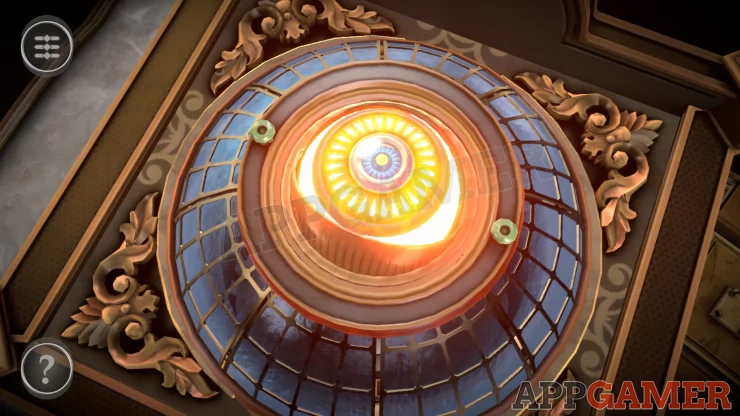
Turn the outer dial with the 3 green handles until the sphere has turned and the eye is inside the box. You will then be directed to a
side of the box with glowing circles
Circles Puzzle
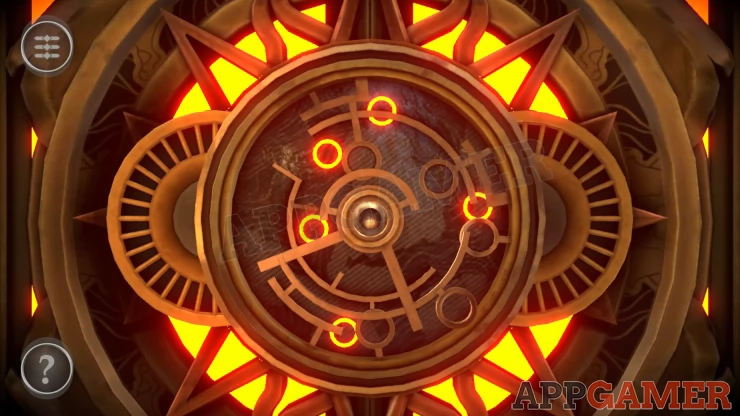
- There are 3 sections of the center puzzle that can be turned by rotating the wheels on the left and the right.
- Each section has a number of circles on it.
- Align the 2 sections so that the circles are over the glowing yellow circles on the back.
The left wheel will turn to cover 4 of the 5 circles and the right wheel will cover the other one.
Solution: Show
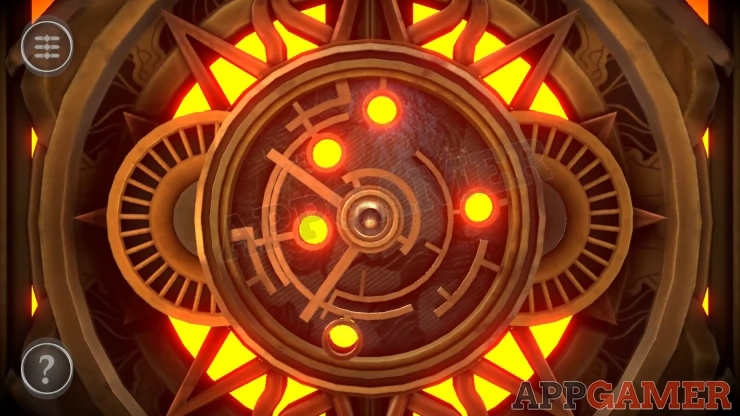
The box opens and you can look inside. There is a small door.
Small Door Puzzle
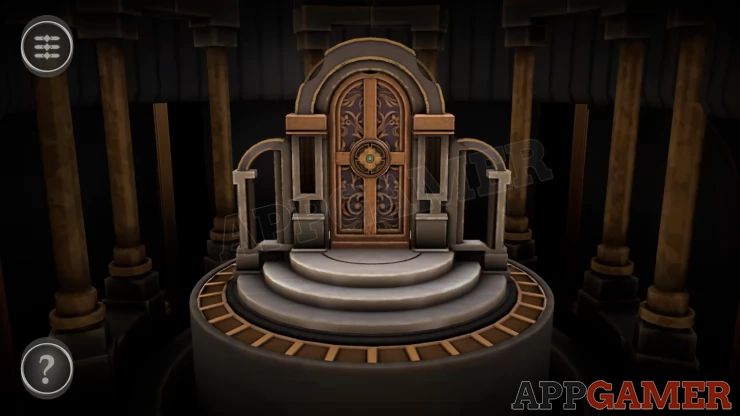
Hint: First swipe to turn the door around and look on the back side. You will see 4 symbols that are the clues.
- Look in the center of the door for a panel with 4 symbols
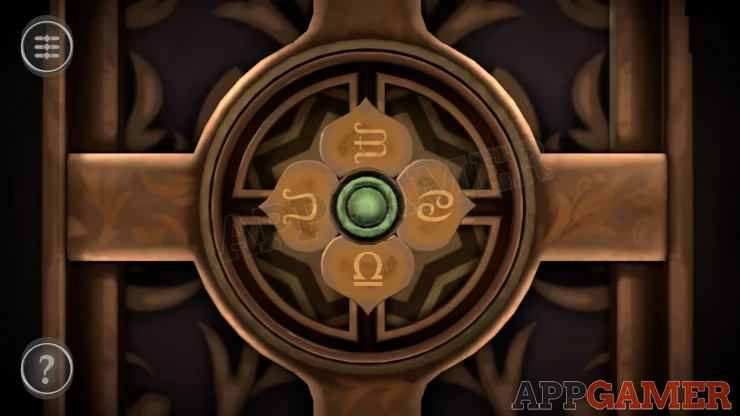
- You can slide 1 or more of these to the outer ring and then tap the green button to rotate them around the ring.
- Arrange the symbols into the correct positions and slide them to the center.
Solution: Show
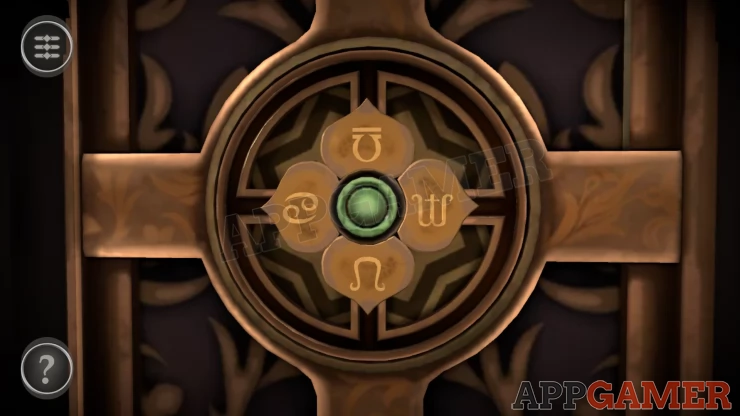
This opens the door and you can view a small statue inside.
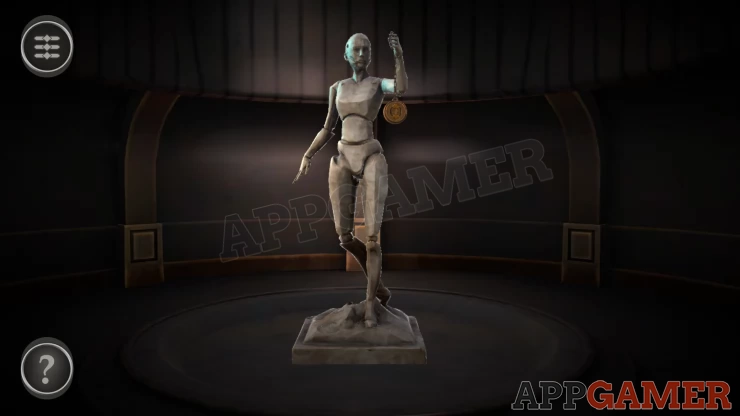
View the locket that the statue is holding, then you can open it by rotating the 2 clasps to the left and right.
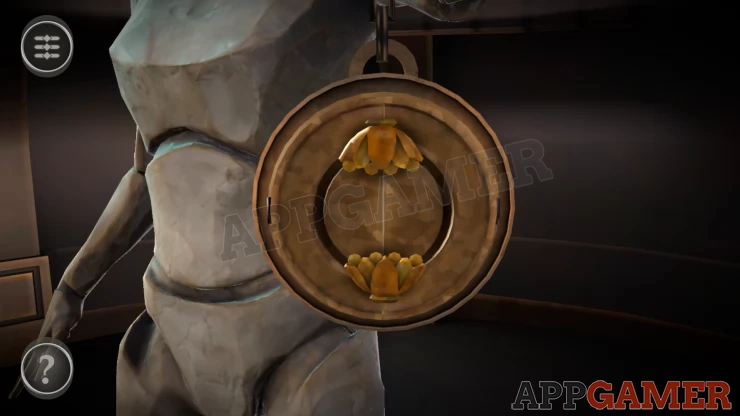
Collect the Strange Compass.
Zoom back out and turn the view to the opposite side of the large box. There is wound window with a rotating map behind it.
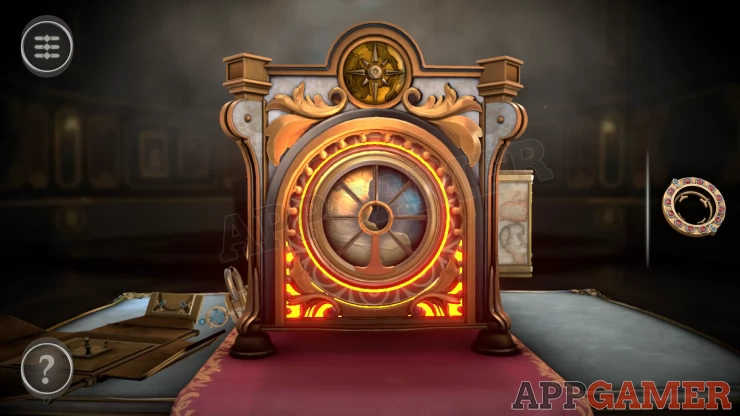
Add the strange compass to the center and the map will stop moving.
Compass Puzzle
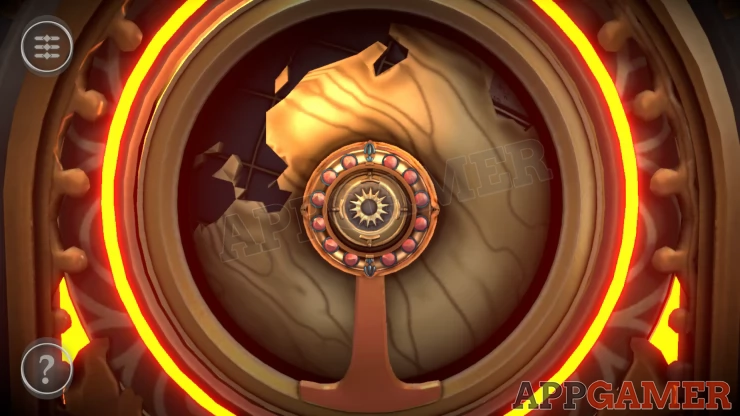
- Rotate the map under the compass to find a target compass symbol.
- Green lights around the compass will light up to guide you to the location.
Solution: Show
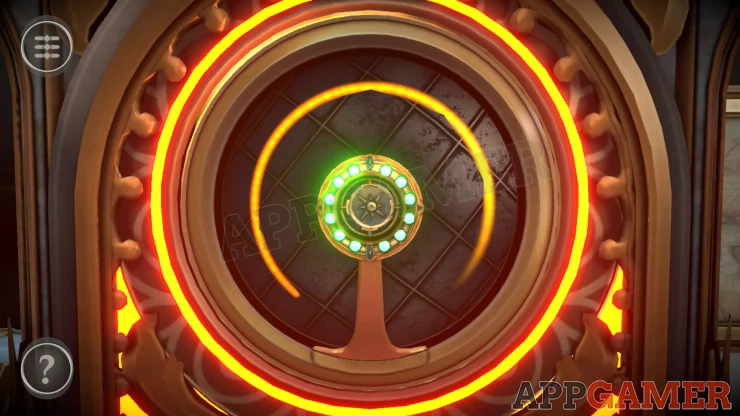
Collect the Bear Sigil Figure from inside.
This end Part 1. You will return to the main room and the second door will open.
Chapter 1 - Room 2 Walkthrough
In room 2 we have an ornate looking clock to examine.
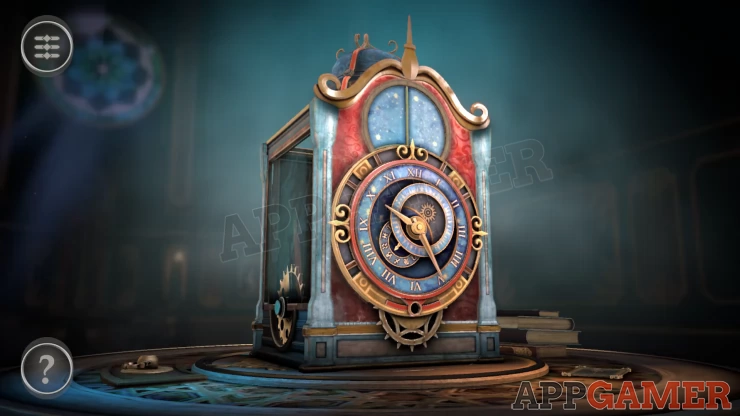
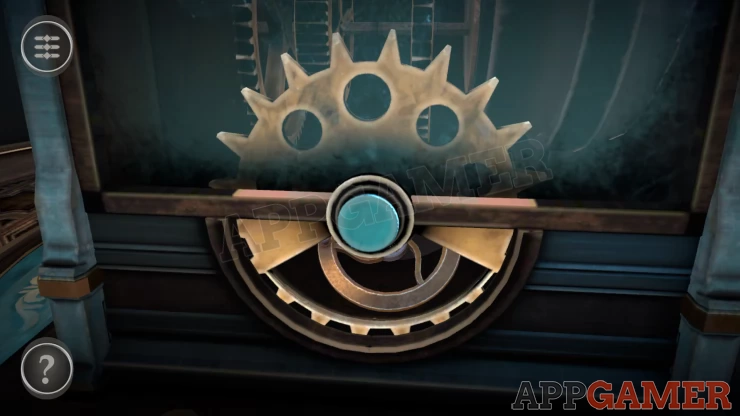
First turn to the left side of the clock. there is a rotating disk near the bottom.
Tap the button in the center to stop the disk as it reaches the top, you can then collect a Mechanical Wheel.
Now look on the table to the side of the clock, there is a small handle.
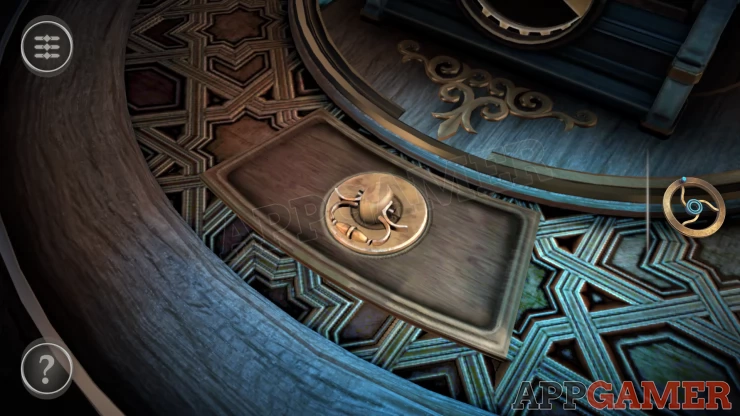
Lift the handle and a box will rise up. Then open the drawer on the front of the box.
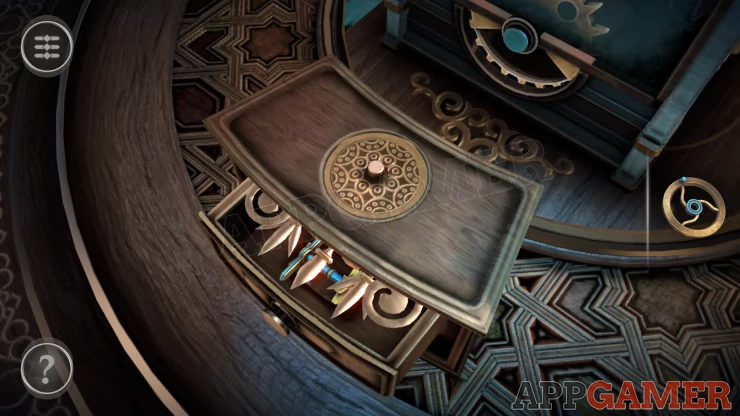
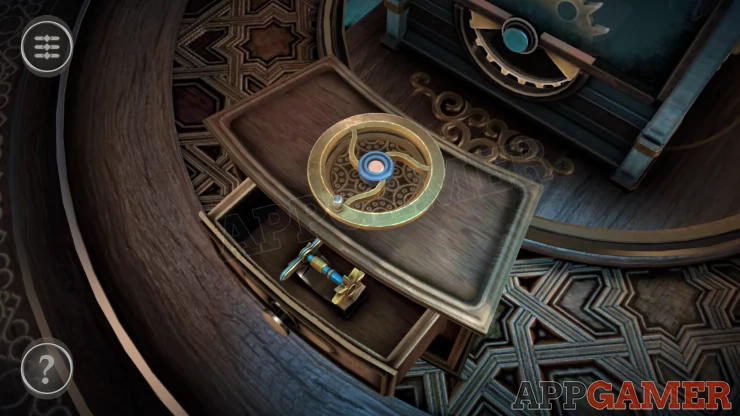
The top also turns over. Place the mechanical wheel on top of the box and then turn it, this will slide back a grate from the drawer and you can collect a Handle.
Now zoom out and then tap to look at the top of the clock.
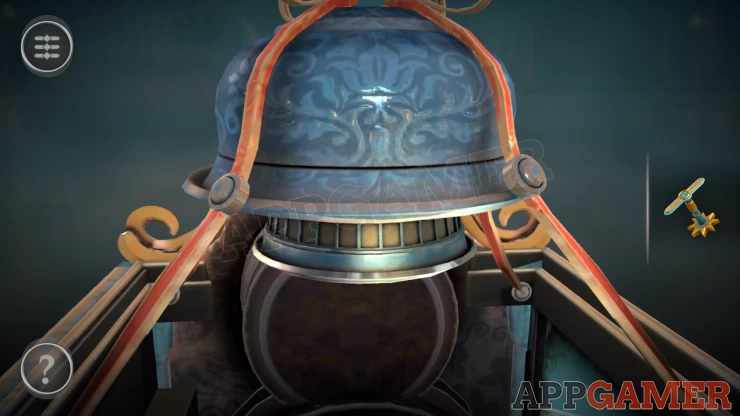
Under the blue bell is a circular dial that you can turn to the left to reveal a Small handle to collect.
Now look on the right side of the clock. There is a small pile of books.
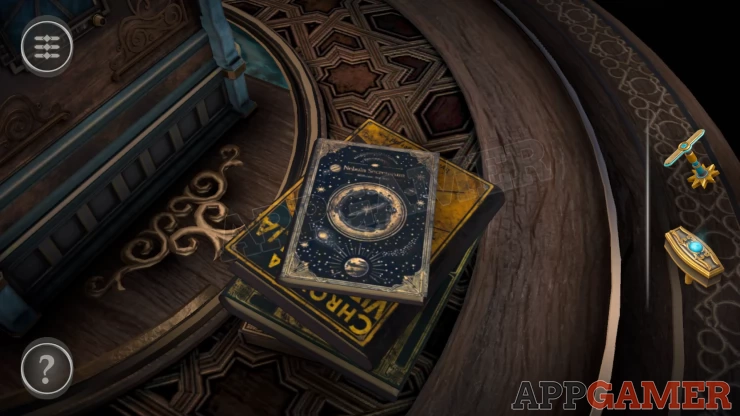
Move the top 3 books and then collect the bottom Book. Examine this in your inventory and open it by rotating the switch down and top opening the catch.
Collect a second Small Handle from inside.
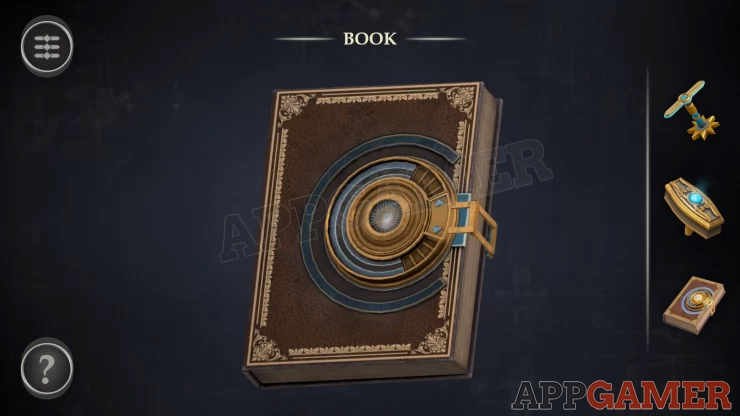
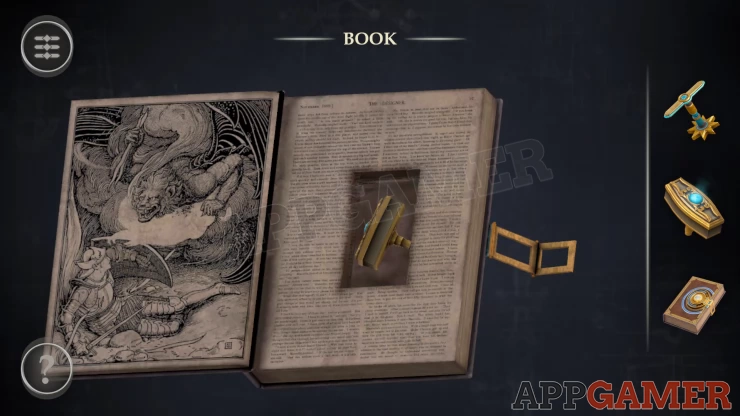
Now view the right side of the clock box, add the 2 small handles to the sliders by the square panel.
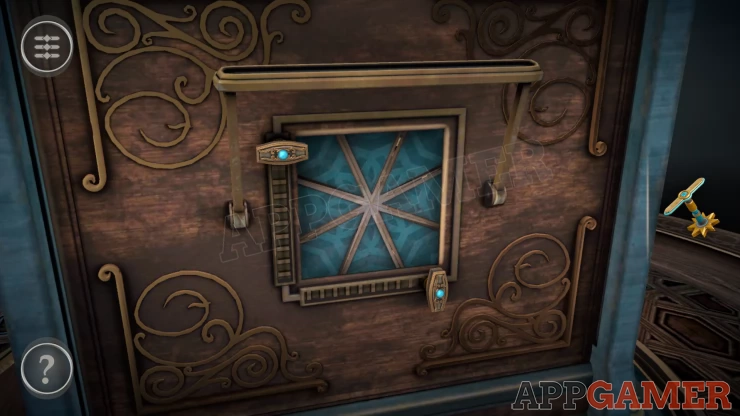
Pull the large handle down to open the outer door and then you need to set the 2 sliders to the correct positions to locate the hidden object inside.
Solution: Show
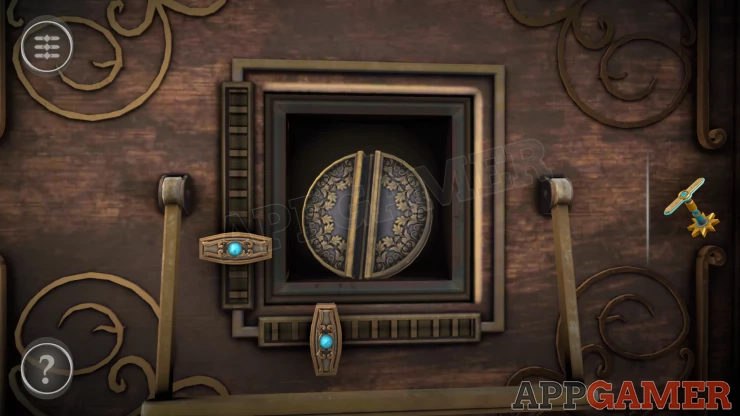
Collect the Metal Disk.
Now turn to the back of the clock. There are 2 dials, top and bottom, that you can turn.
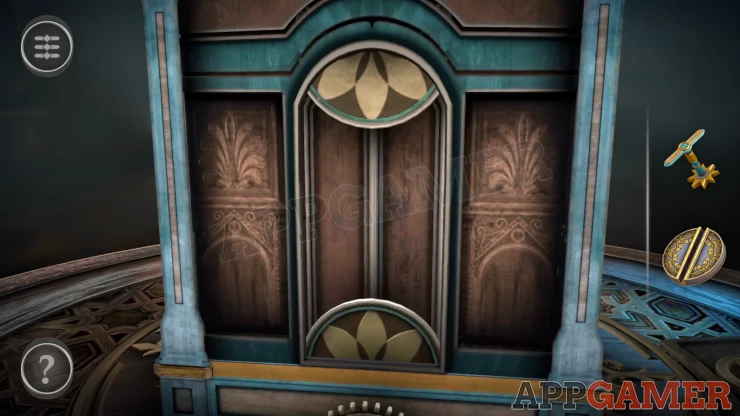
Rotate them both to find gaps in them that will hide them from view and allow the center panel to open.
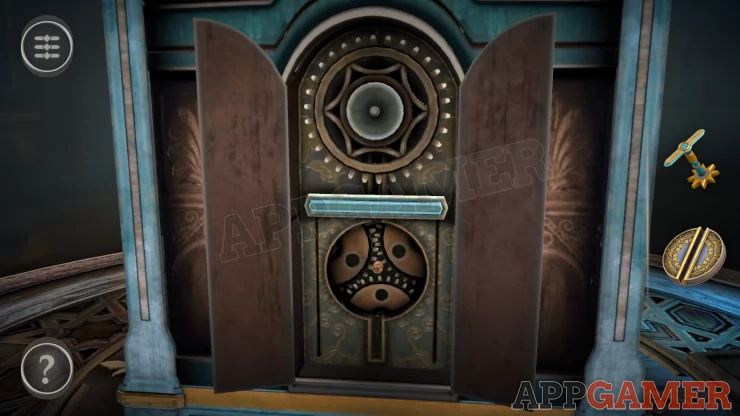
Now add the metal disk to the bottom slot and then you can pull the blue handle bar down .
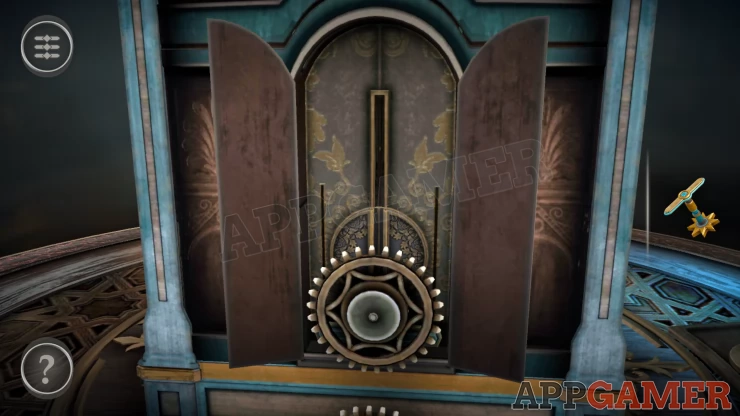
A gear wheel will lower and open a section on the table top. View this.
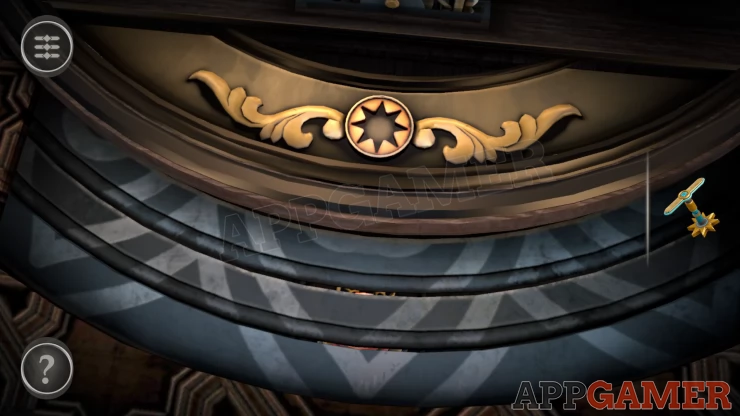
A the top is a star shaped slot. Add the other handle that you have to this and turn it. Rotate the handle until the 3 disks link up with gaps over the top of the red item below.
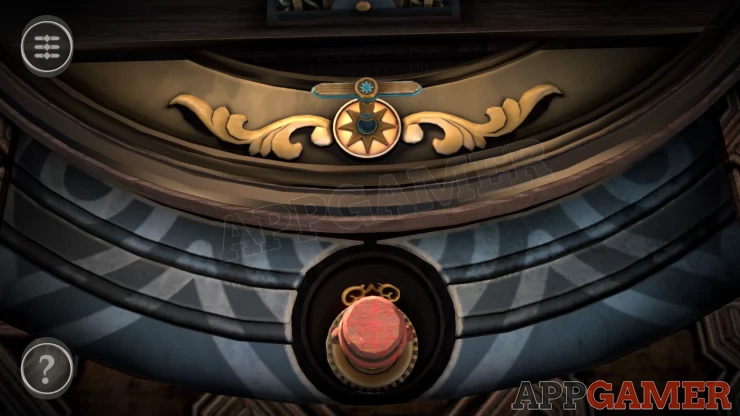
A figure of a man in red rises up. Rotate the figure to find a Small Key to collect.
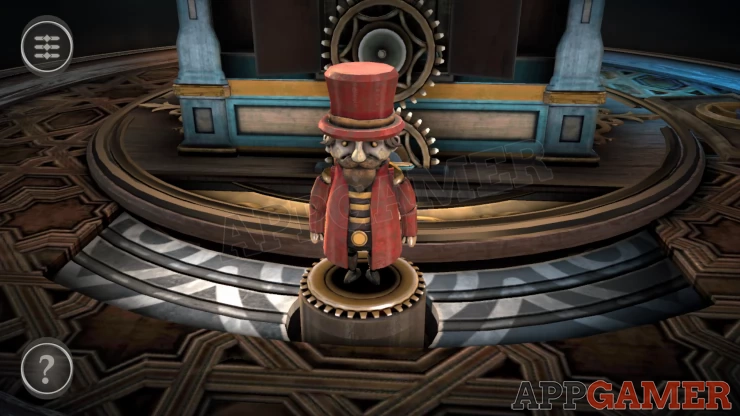
Now turn to the front of the Clock.
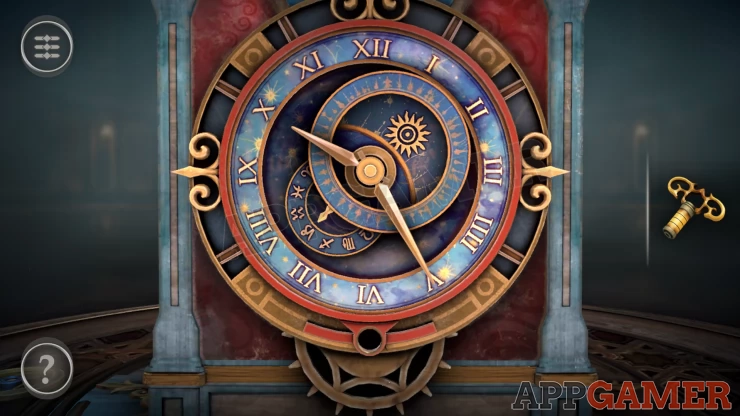
Use the small key on the key hole at the bottom. Then turn it to reveal a puzzle behind the clock face.
Clock face hammer puzzle
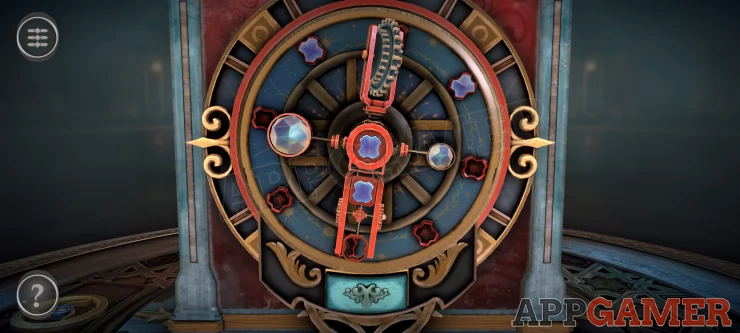
- The dial has a spinning disk with 8 red squares on it.
- Then a mechanism spinning in the opposite direction which has a small hammer device
- The blue button at the bottom will cause the hammer to swing.
- Time the hammer to hit each of the red squares as they pass.
- Hitting a square will fill it with a blue gem.
- Fill all of the squares to complete the puzzle.
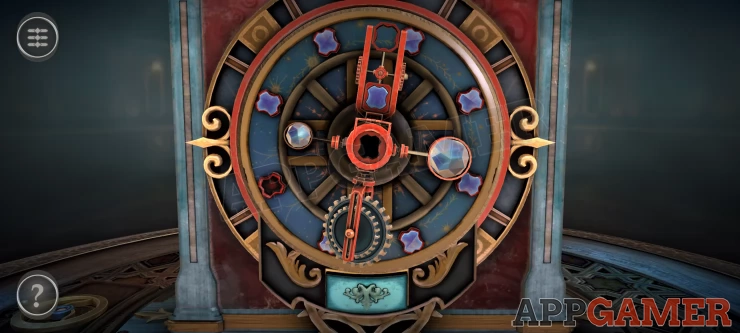
A scope descends into the room on a chain. View this and tap it to look through.
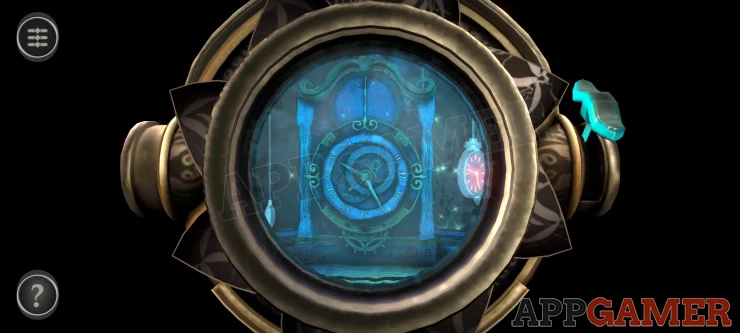
You can rotate the image that you are looking at through the scope and use the blue switch on the right to zoom in and out.
Find an image of a floating watch and examine this to get the time clue.
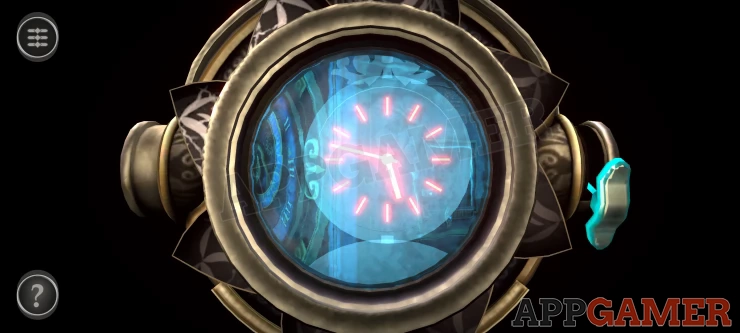
Then look around the back of the clock to see the figure in red showing a symbol on its head. Then continue around to the other side of the box to see another clue with a glowing red symbol among others spinning around a mountain.
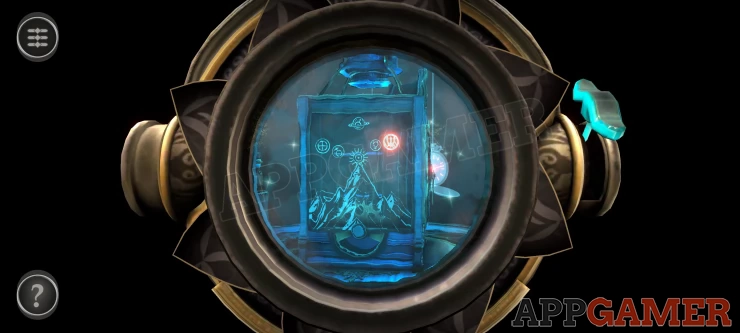
Now exit the scope view and focus on the clock face.
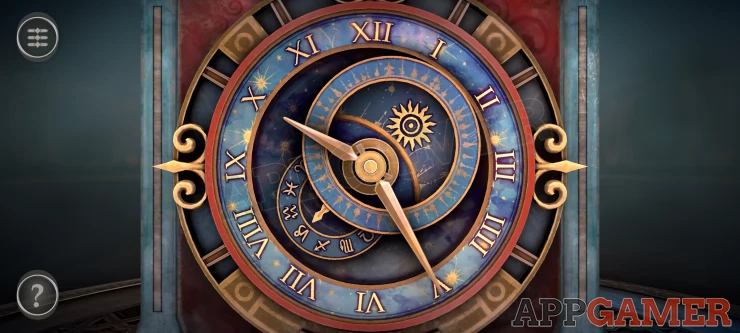
Use the clues to set the time on the clock and turn the dials on the top right and bottom left to align the correct symbols.
Solution: Show
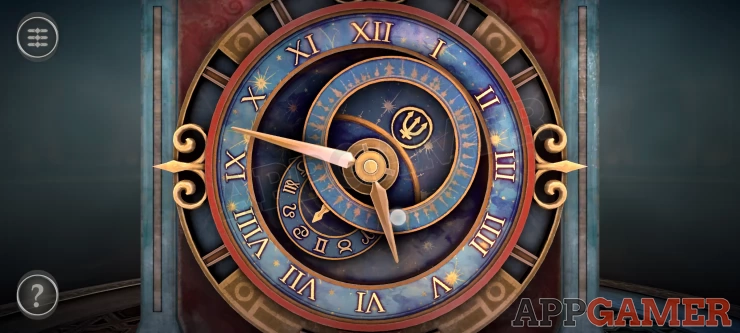
You can now collect the Ornate Hourglass Fragment. This completes room 2
Chapter 1 - Room 3 Walkthrough
Room 3 contains 2 puzzles boxes as with room 1.
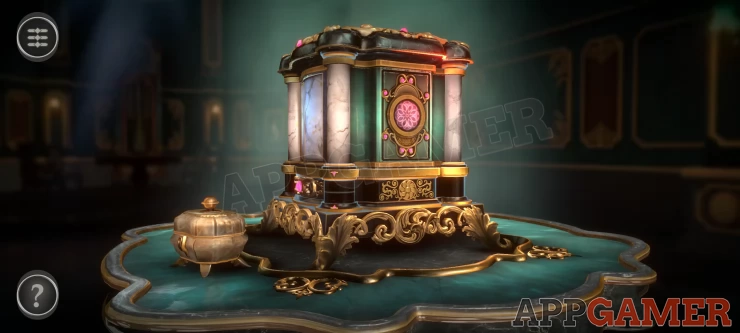
First turn to the back of the large box to see a puzzle with sliding panels.
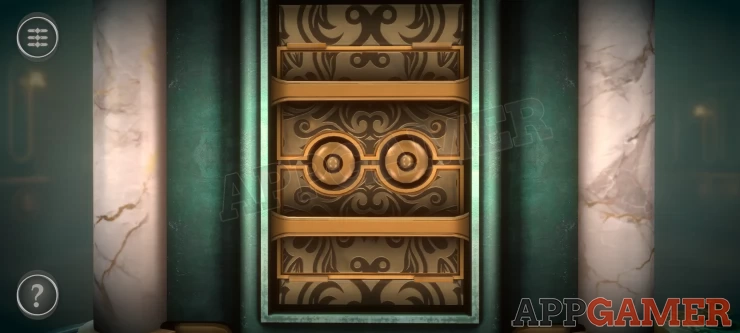
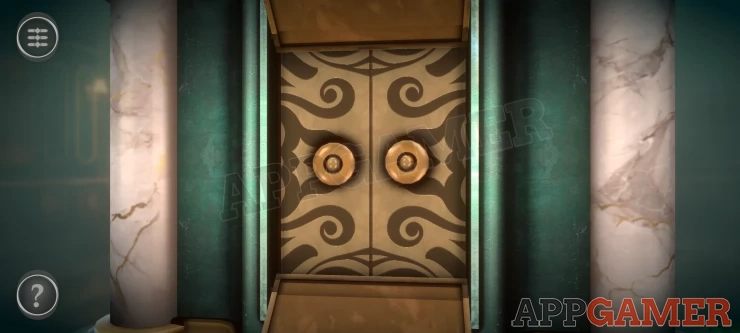
First slide the 2 narrow gold bars to the top and bottom, then you can open 2 flaps to reveal doors with the round handles.
Then slide open the doors and you can collect a Key.
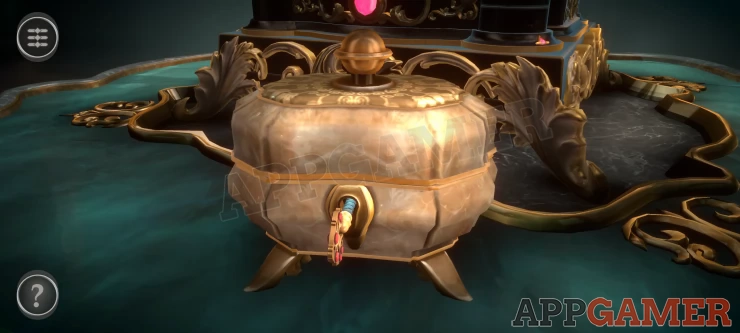
Now view the small box to see a key hole.
Use the key to open it and collect the Ornate Sphere from inside.
Ornate Sphere
View the Sphere in your inventory, this is a puzzle
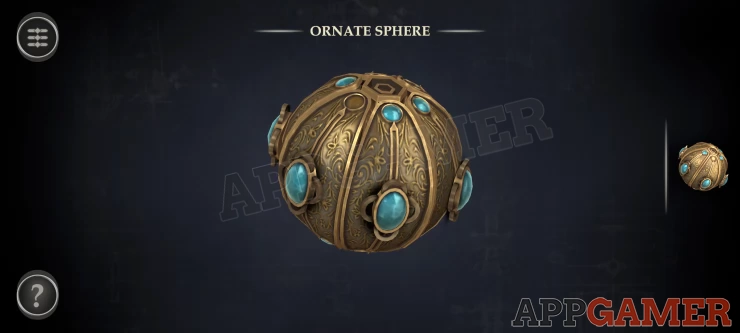
- Each segment around the sphere has a large green gem that can slide up and down.
- At either the top or the bottom there will also be a small green gem fixed in place.
- Slice each of the large gems to be next to the small gems
Show
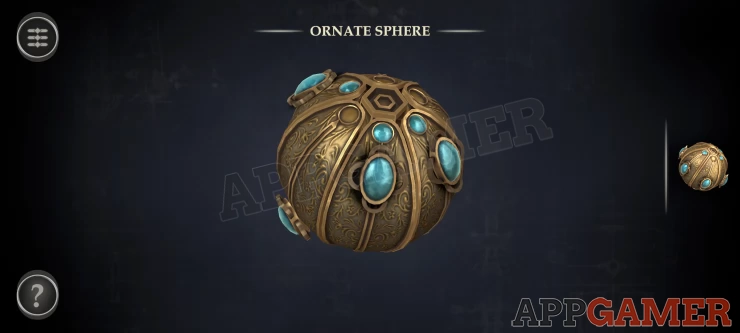
The sphere will open up and you will then collect the Tool.
Now view the front of the Large box. There is a pink flower design. Above the flower shape is a metal disk that can be rotated, tun this to reveal a small pink handle that slides to the right.
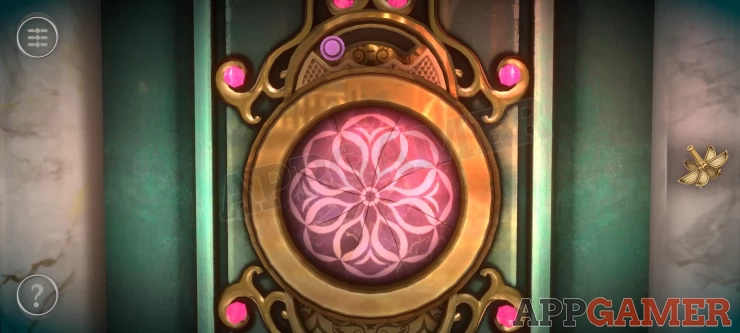
Doing this will open up the flower design panel and reveal a slot. Add the tool to the slot in the center. Then turn the tool several times until large colorful petal shapes appear.
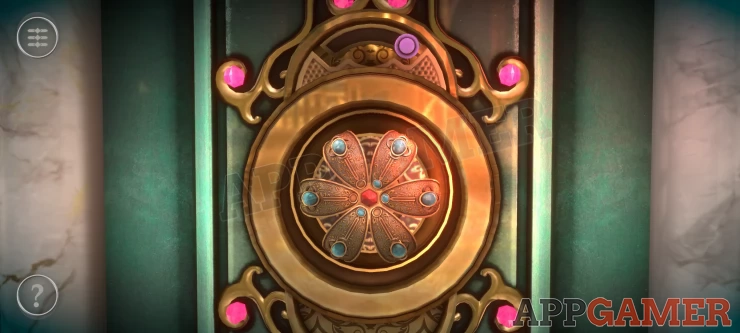
Petal Puzzle
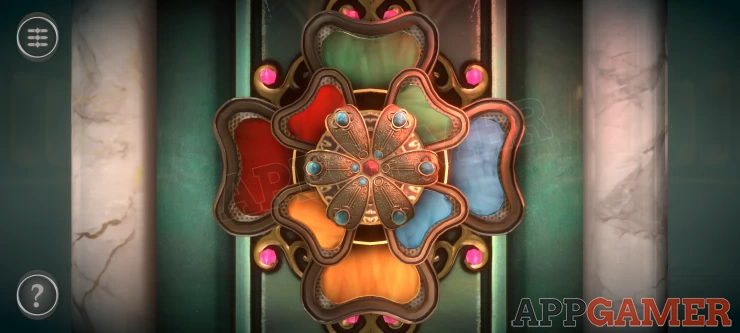
To solve this you first need to view the right hand side of the box. There are 2 large sliders.
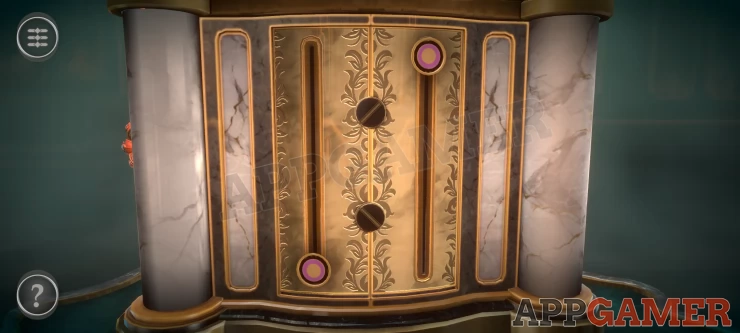
Position the 2 sliders so that the 2 center circles turn and line up the lines on them with the center line, as shown.
Solution: Show
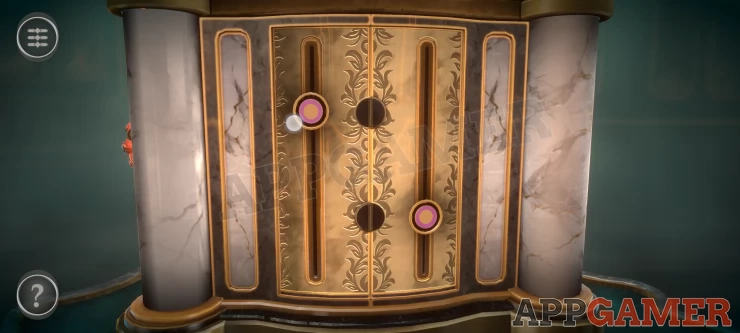
This panel will then open to reveal a clue for the front petal puzzle.
Show
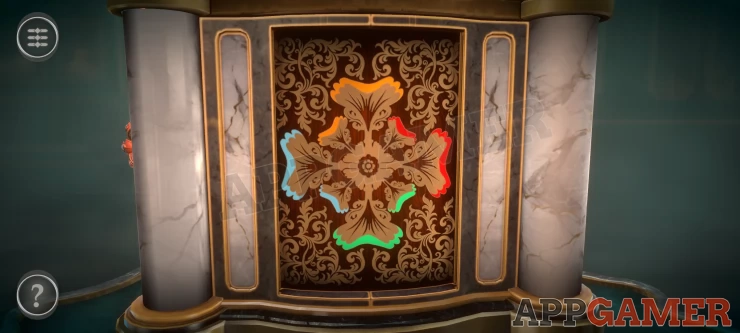
Return to the front and drag the petals around to swap their positions. Arrange them as shown in the clue.
Show
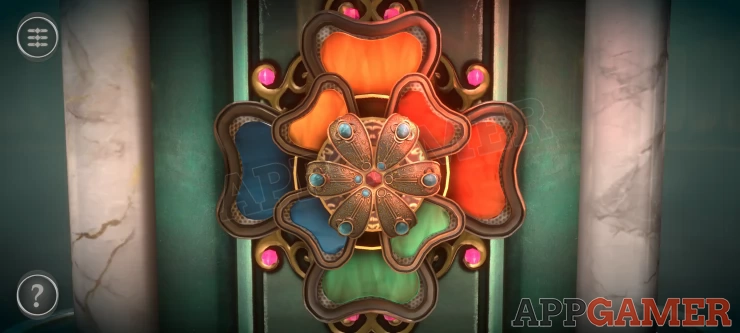
You can then collect a Small Shield
Now look on the bottom of the left column from the front of the box, notice that there are 2 small pink arrows.
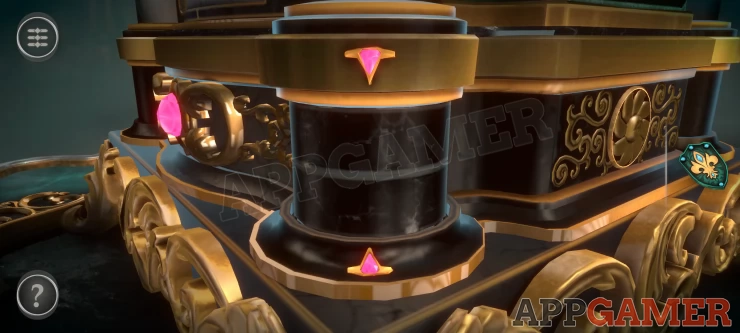
Slice the 2 center sections to find other small arrows to line up. This will open the panels.
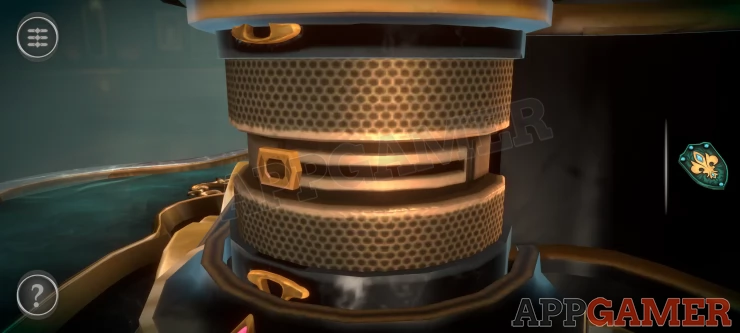
Inside slide the button to the right and a drawer will open on the front.
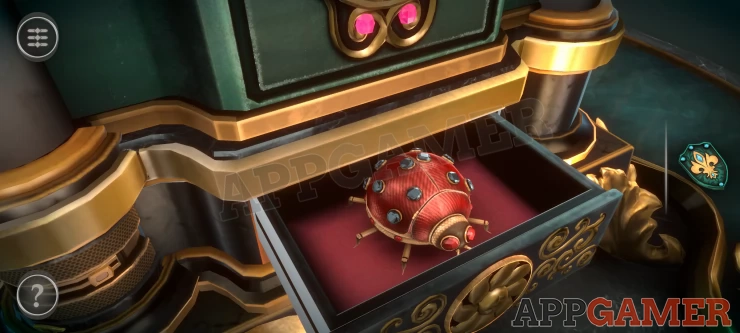
Look inside and collect the Mechanical Lady Bug.
Now look at the top of the large box, there is a slot in the center.
Top of the Box
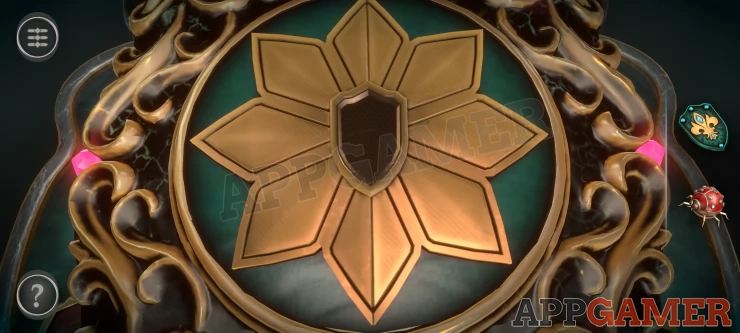
- Place the shield here and the top will open to reveal a puzzle.
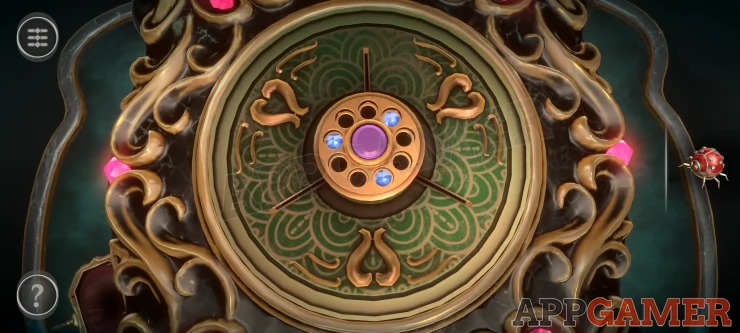
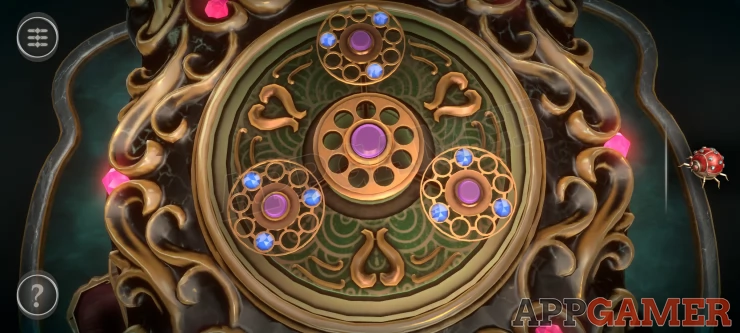
- Tap the button in the center to pop out 3 identical dials with blue gems.
- Each dial has another center button that will rotate it.
- Arrange them so that when you combine the dials again all of the spaces are filled with gems.
- The aim is to help the lady bug pass through the rooms of the puzzle.
- Use the green buttons / controls to move platforms and steps to get to the exit door.
- Rotate the platform that the Lady bug is on, this will lower a bridge to step on to.
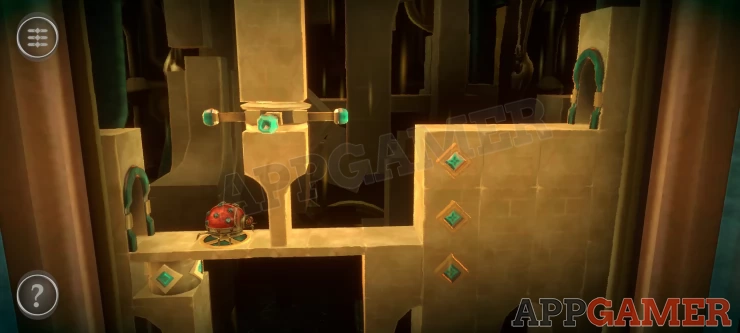
- Then use the handle above the bridge to turn it to the other side.
- Drag the column wit the 3 green buttons down to create steps.
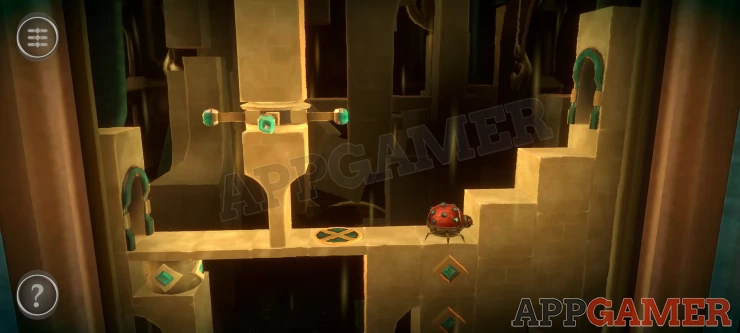
- When the ladybug move on to the fist step slide the column back up again. This completes the first room.
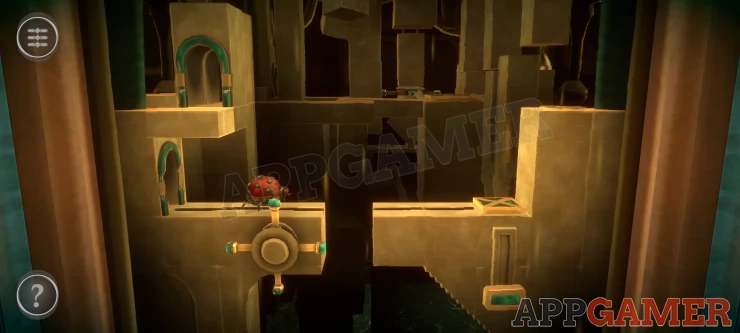
- Rotate the handle under the ladybug to turn theplatform on the far side upside down It can then walk across and up steps to the top right.
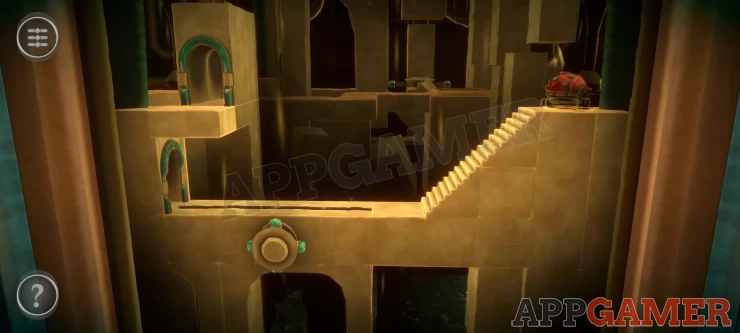
- Turn the handle again to rotate the platform back and then lift a lever on the lower right to raise up a column for the lady bug.
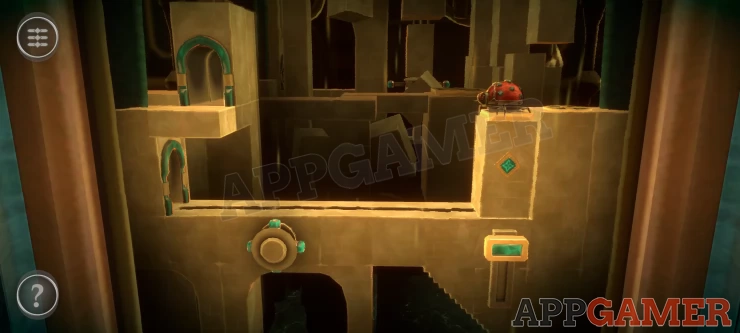
- Slide the column to the left to move the lady bug over to the door on the left side.
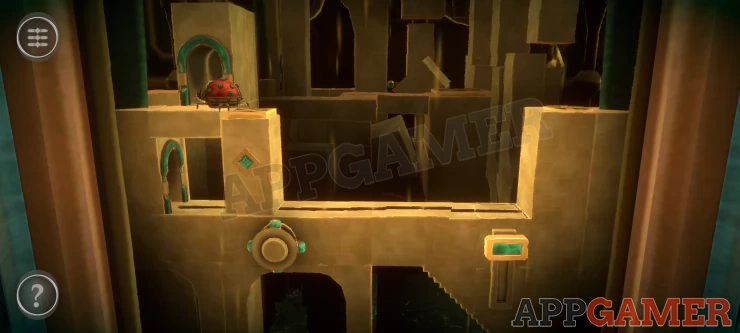
- With the lid open you need to complete the slider puzzle.
- There are 5 sliders, three that you can move directly and 2 covered ones that are attached to the other 3 to allow you to adjust them as well.
- Arrange the sliders into the correct positions. They will light up blue when set.
- Place the Model ship with stand onto the puzzle board, it will start on the right side and begin to make loops around the small circle.
- Tap the green button on the bottom right to change elements on the track to redirect the ship.
- You need to move it over to the left side circle travelling in an anticlockwise direction.
- Then direct it towards the center to complete the puzzle.
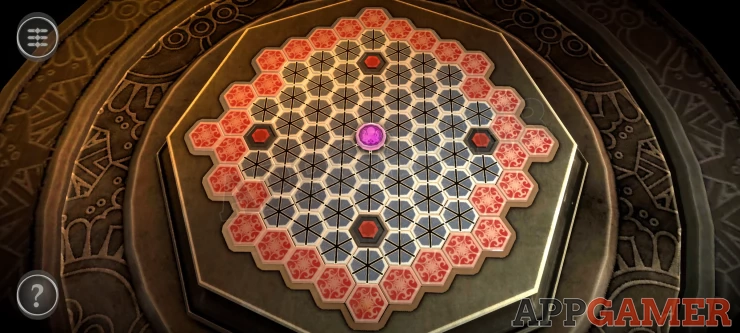
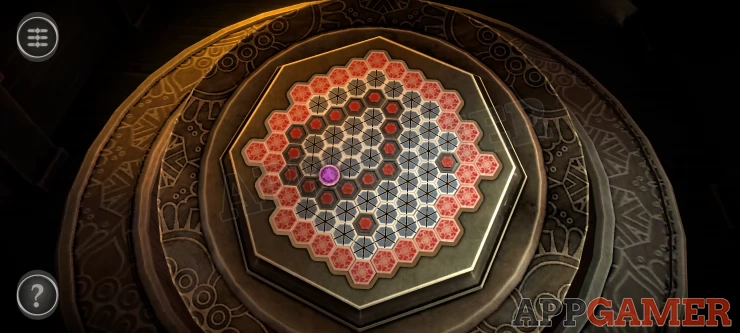
- The aim of the game is to capture the pink token and stop it reaching the edge of the board.
- You can tap any of the grey tiles to turn them over and produce a block.
- After every turn the pink token will make a move to try to escape.
- Find a way to block it from reaching one of the pink tiles on the rim of the board.
ul]
Solution: Split the dials, rotate one of them one times and then another one two times. Then combine again.Show
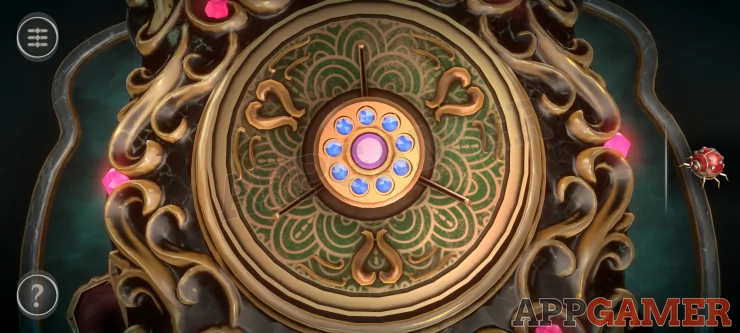
When the top turns over you will see a plate with 6 holes. Place the Lady Bug on top.
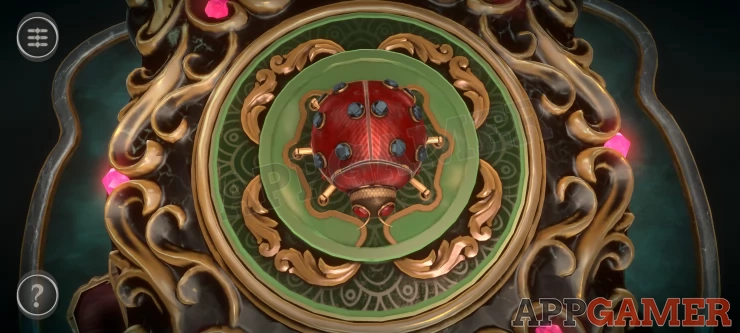
This activates a puzzle inside the box
Lady Bug Puzzle
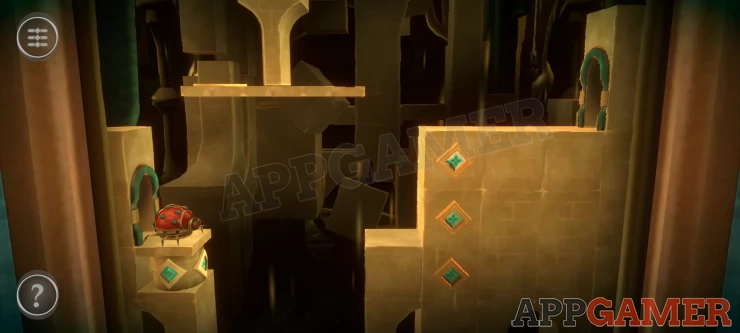
Part 1:
Part 2:
The Lady Bug will pass through the second room and collect an owl figure. Then move on to the third room.
Part 3:
The lady bug exits and you can collect the Owl Figure Fragment.
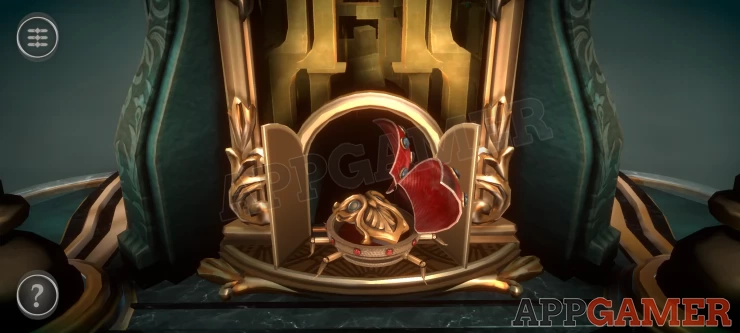
This completes Room 3
Chapter 1 - Room 4 Walkthrough
In room 4 we have a large chest
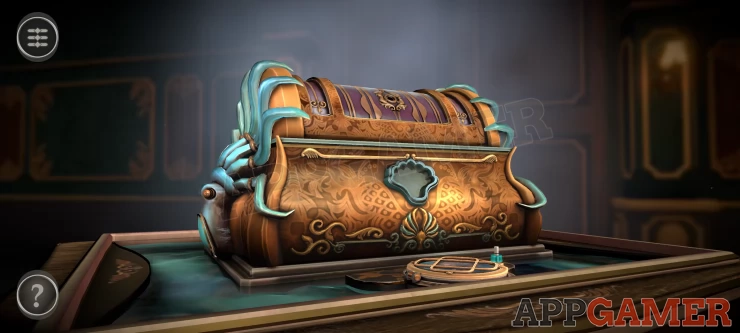
First look at the octopus on the left side of the chest. Tap the right eye and you can collect a Metal Figure.
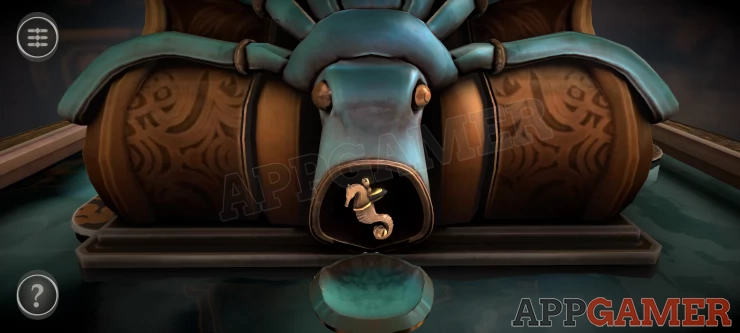
Now look at the Octopus head on the right side of the chest. Tap the eye on the left to pull up an Anchor for you to collect.
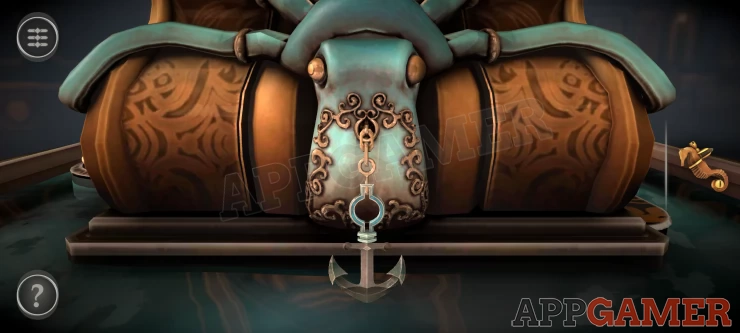
Now look at the small compartment that is on the front of the chest in the water.
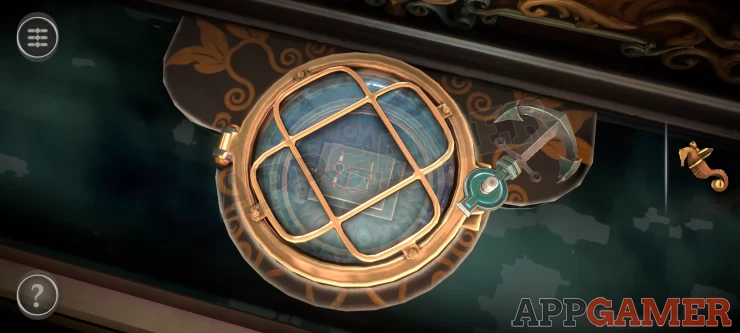
Place the Anchor on the blue catch on the right side, you can then turn it and open the hatch.
Collect the Model Ship.
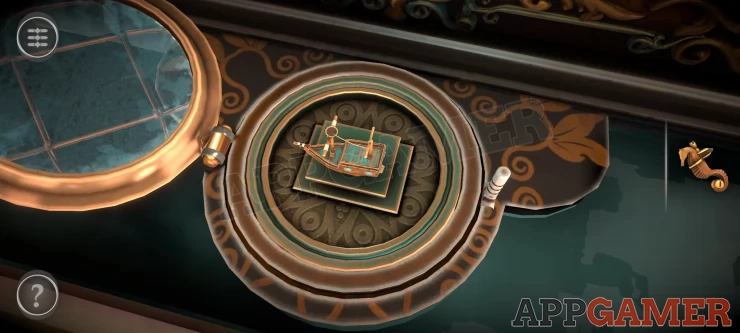
Next turn to the back of the chest and view a panel in the center.
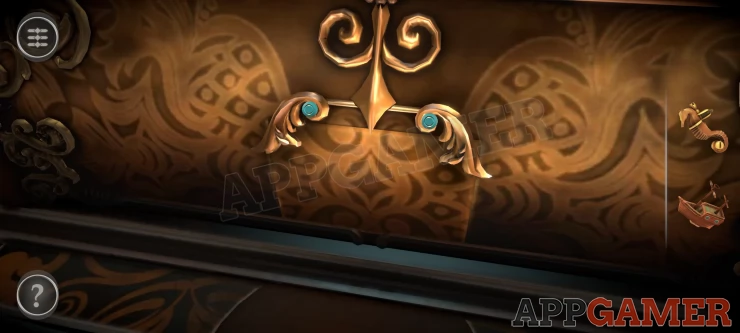
Rotate each of the wings catches upwards to release a compartment, then collect the the Clam Shell from inside.
Turn back to the front of the chest and place the clam shell into the slot in the middle. It will open to reveal a Pearl to collect.
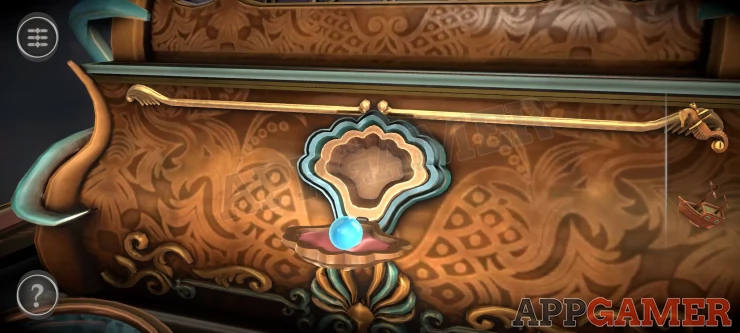
Now view the lid on top of the chest. Place the Pearl into the hole.
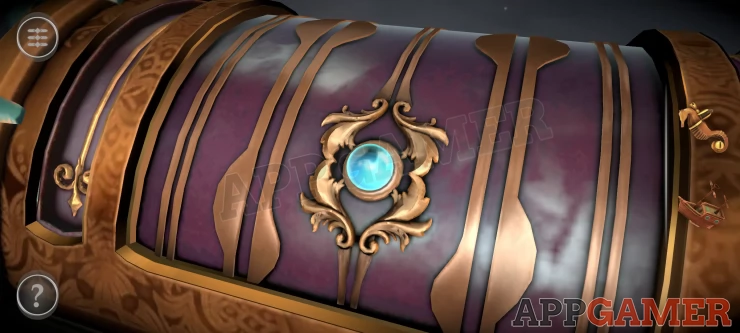
Slider Puzzle
Solution: Show
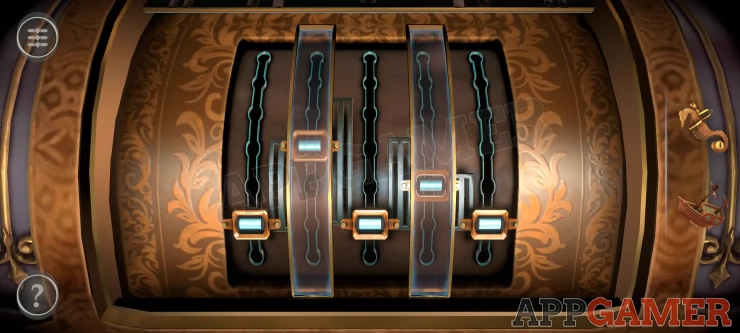
Next you can view the card inside the opened chest and then examine the puzzle inside the opened lid of the chest.
First view the Model Ship in your inventory. Turn it around to find a slider on the other side.
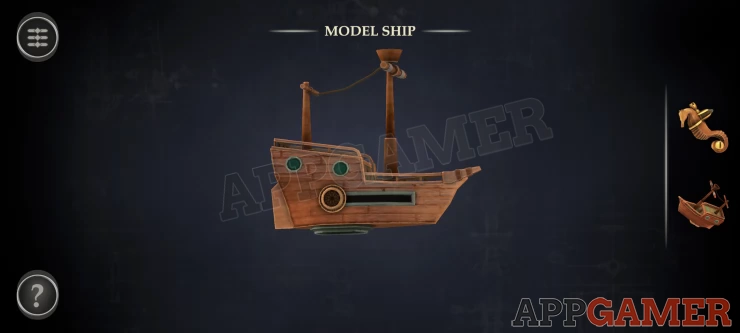
Slide this and a stand will pop out from the bottom. You will collect this Model ship with stand.
Loop puzzle
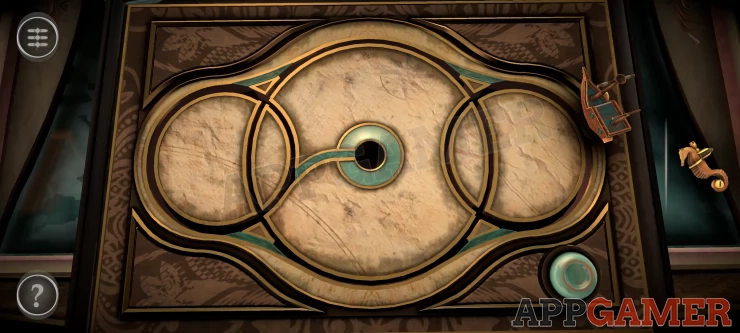
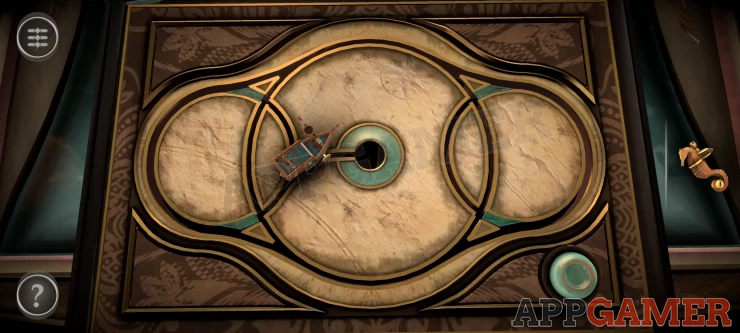
A large glass case with a Model ship in it will appear now.
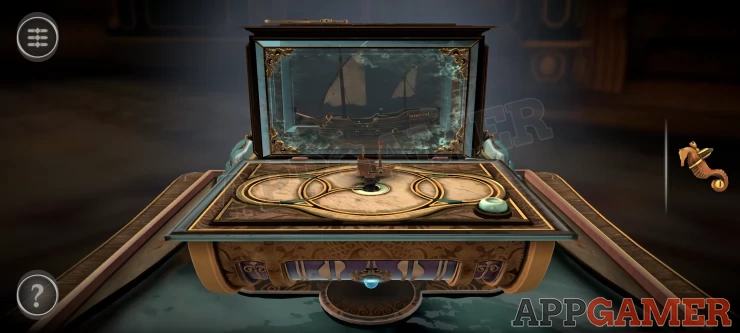
Look on the right side of this to see an open panel.
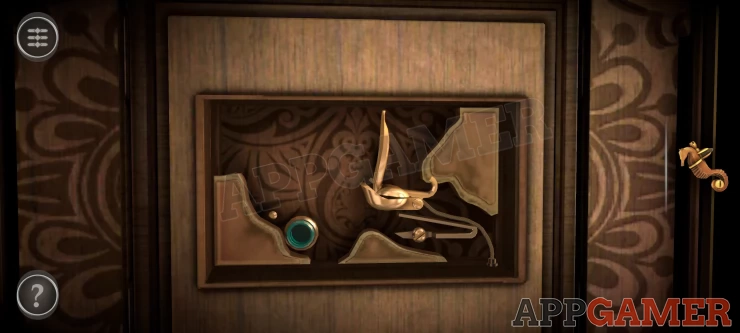
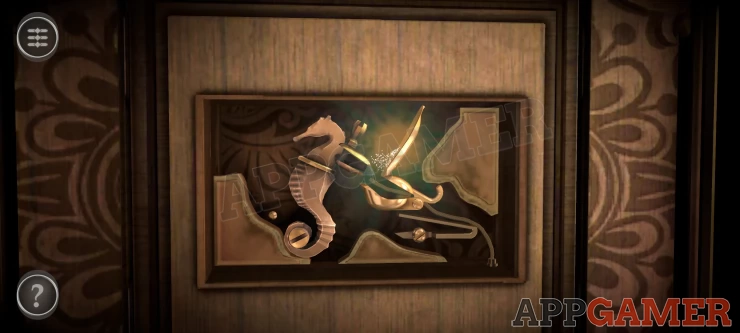
Place the Metal Figure inside this and then you can drag it to the left and release to strike a flint, light the fuse and fire the ships cannon.
Now view the Model ship.
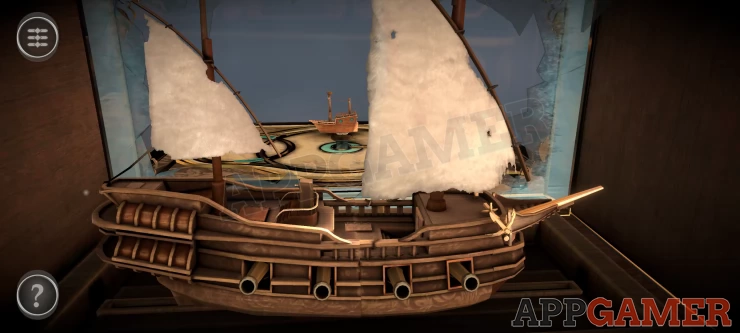
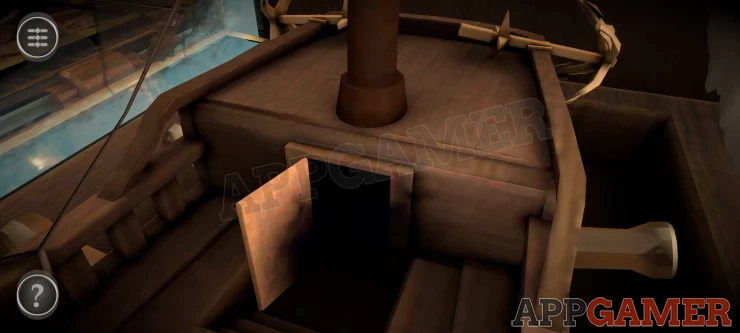
Swipe down on the spar on the front of the ship to lower it and open a door inside, you can then tap the door to travel inside the ship and find a table.
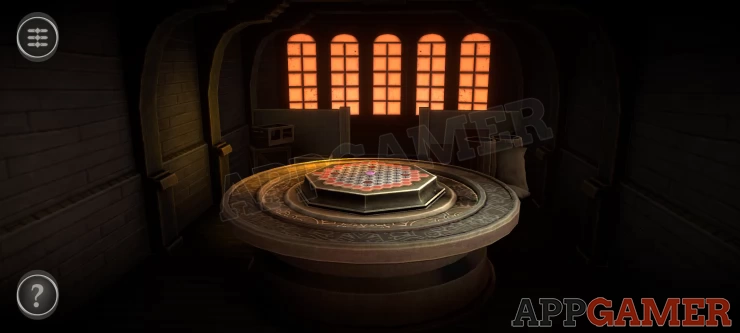
Ships Table Puzzle
Once done the table will turn to reveal a Ship Helm to collect.
Zoom back out until you are looking at the model ship again. Then view the helm area in the center.
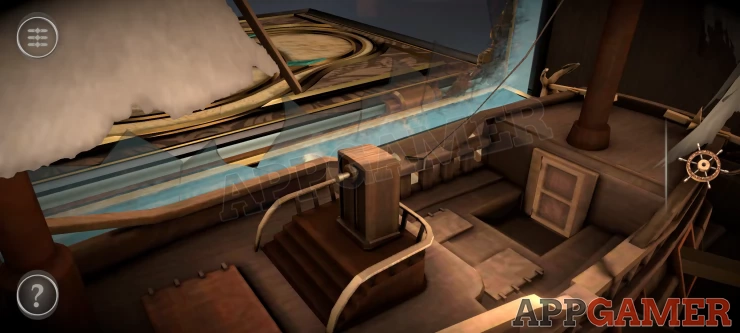
Place the ship helm wheel here.
Turn the wheel until the ship splits open and you can collect the Prism Fragment.
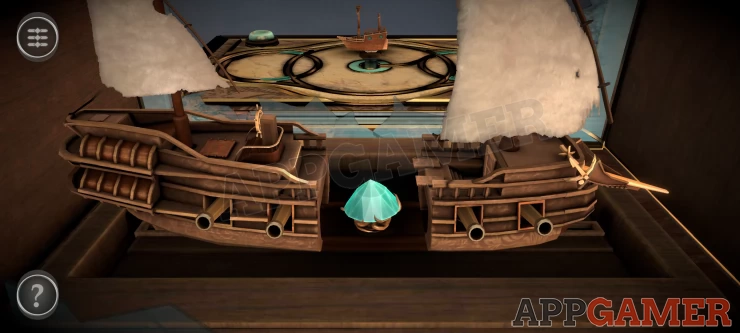
This completes Room 4
Use the Fragments
You are now back in the main room and have 4 fragments. Turn to the side room and first view the clock on the left.
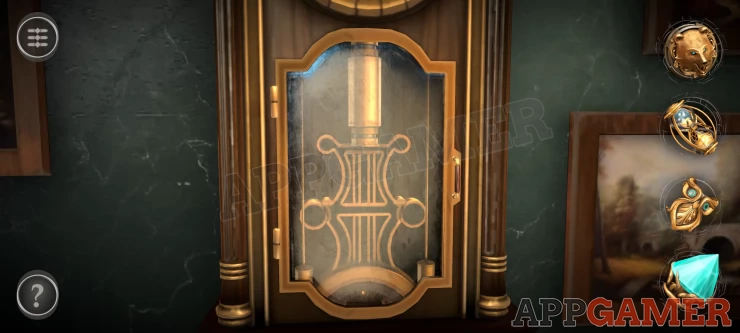
Open the glass door and then drag down the center weight and then release to open up and compartment at the bottom, you can then place the Ornate Hourglass inside.
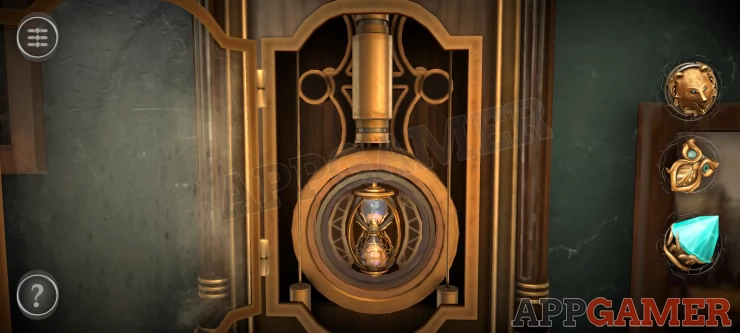
The clock starts moving and a secret panel opens up on the opposite wall. View this wall.
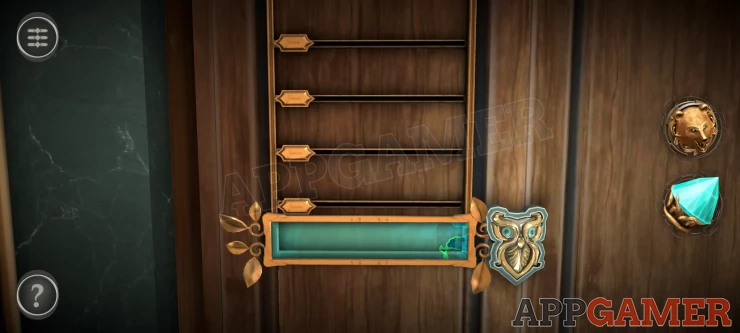
Place the Owl Figure into the slot on the right.
You can now see markings on the blue bar next to the owl to show pointers where the 4 sliders need to be adjusted to. Move the owl up and down to let you set all 4.
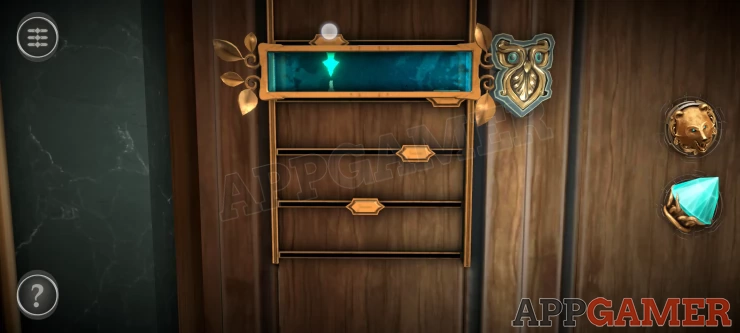
Another panel opens to the right with a switch for you to pull down.
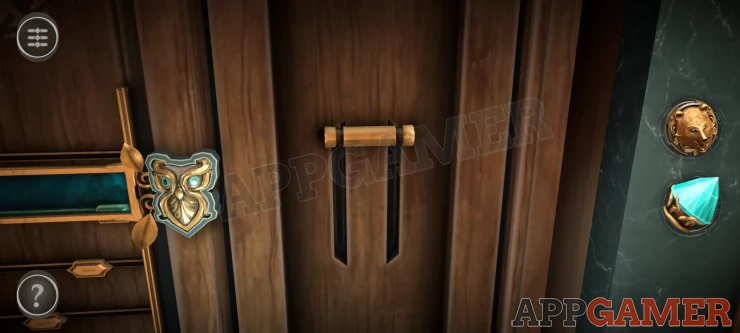
This then creates a small table in front of the suit of armor.
Now view the round shield on the armor and turn the large outer ring to move the 4 spokes out and open a hole in the center.
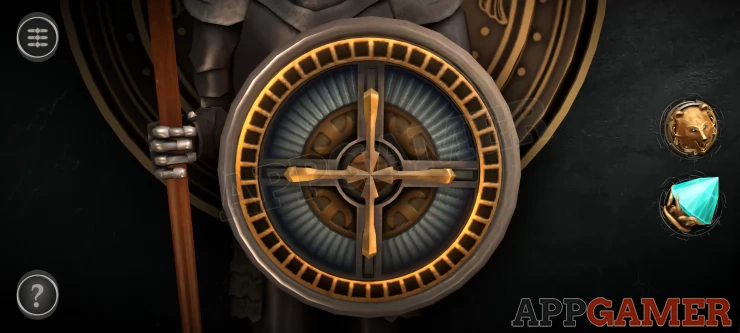
Place the Bear Sigil in the center.
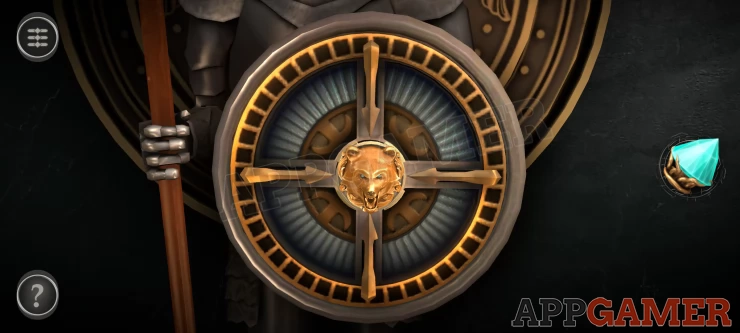
The shield moves and you can then open small doors on the breast plate of the armor.
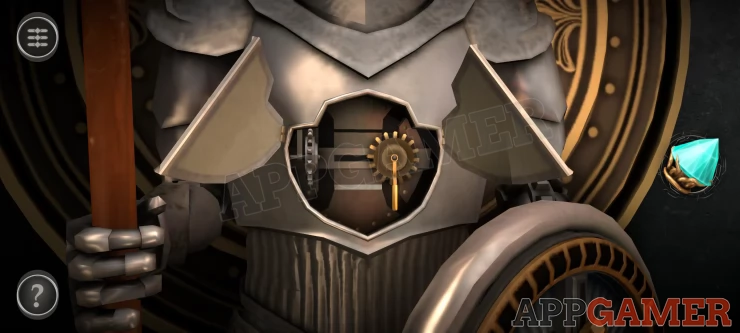
Drag the moving gear to the left to engage it. The wall will turn around and reveal a large painting.
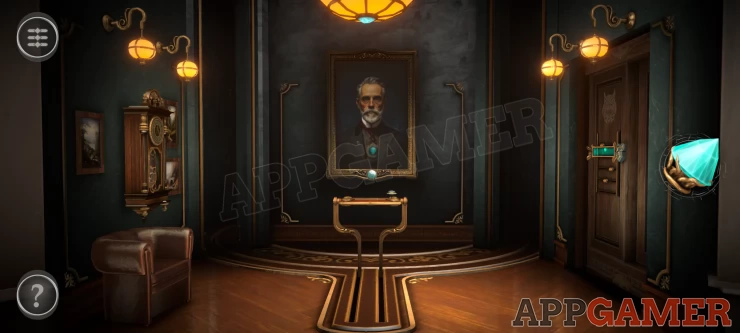
Now view the small table in front of the painting.
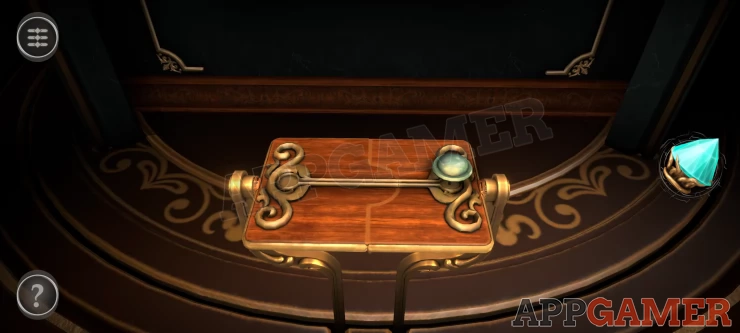
Slide the button to the left to move it and turn it over. There is a beam of light. Place the Prism onto the light beam, this is directed at the painting and will reveal a hidden necklace.
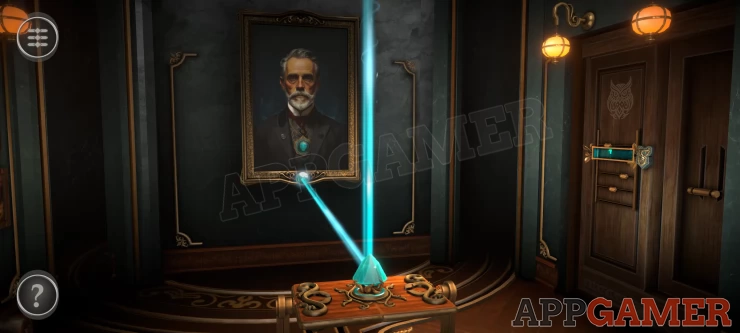
Collect the Token fragment from the necklace.
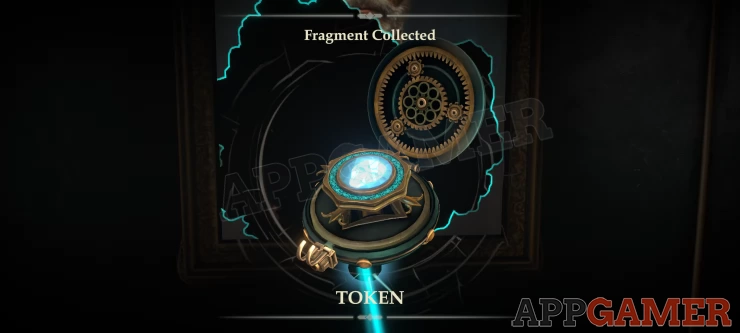
The Token can now be use on the pedestal in the center of the room to unlock the next Chapter.
Continue the guide in Chapter 2
 With 20 years of experience in creating video game content for the internet and over 30 years as a gamer, Mark is now a passionate mobile App Gamer. Loving a challenge, he is always ready to get stuck in to both survival builders and puzzle solving games. He has been providing content for AppGamer since 2014.