
Full Game Walkthrough
More Unwanted Experiment
Welcome to our Full game walkthrough for Unwanted Experiment, an escape room mystery story game from Dark Dome.
The game is set in the familiar Nowhere Town and follows Eric Dorian as he tries to escape after he has been abducted by a mysterious scientist. Follow the walkthrough below for help, explanations are given to solving puzzles, but remember that in some cases the codes can vary for each game so may be different to the ones given here. The methods for getting the codes will be the same though and are described fully.
There are two possible endings for the game which you can also find all the details for below.
Unwanted Experiment Walkthrough
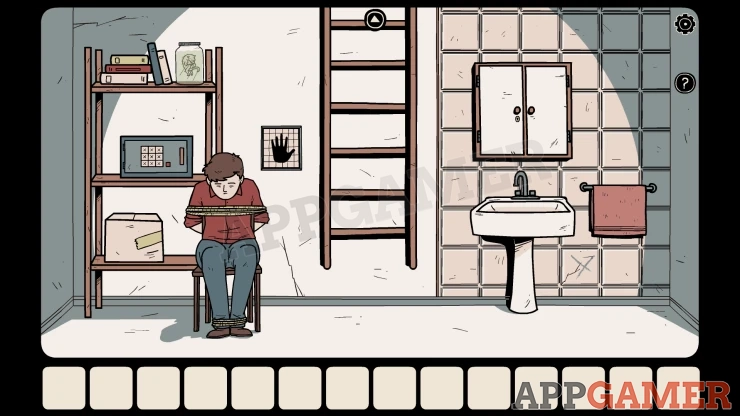
You start, tied to a chair in a basement room of the house. There is a ladder up and a sink on the right. Tap on Eric to wake him up.
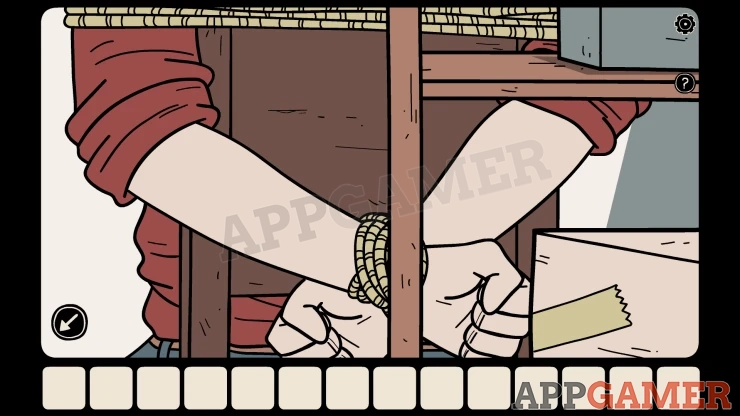
Next you will see his bound hands. Tap until he manages to break free.
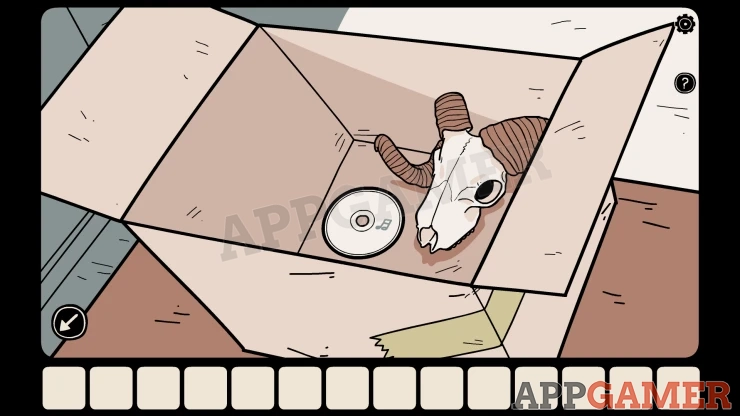
Look in the cardboard box on the shelf on the left, collect from here a Compact Disk.
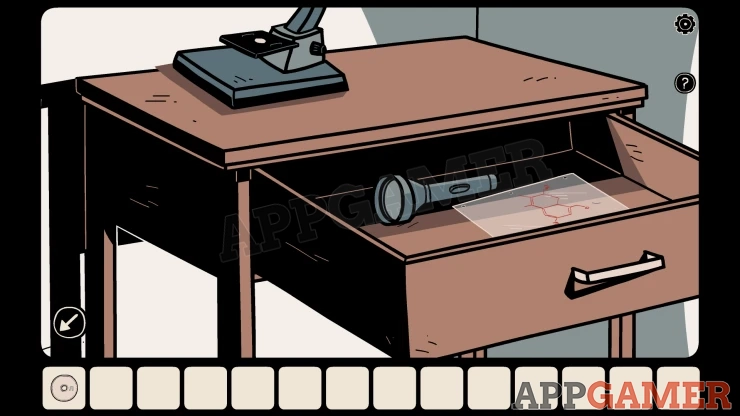
Turn to the left to see the next view. View the table on the right and open the drawer. Collect a Flashlight and a Sheet.
Next look at the 2 sets of photos on the wall above. These are all pictures of some sort of mutations. Notice that in each photo there is a symbol.
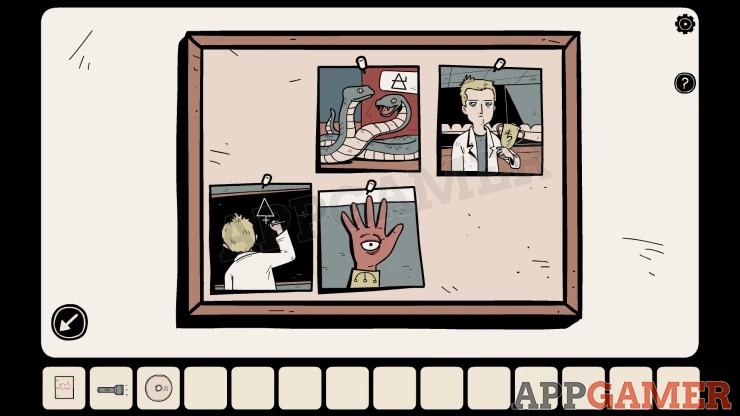
Now turn left again. Here is a locked door with a barred window with a padlock on it. There is also a box on the table that requires 4 symbols to open it. Turn left again.
View the dart board and collect the Dart, then notice the box on the table below. This needs 4 numbers to open it.
Now look at the shelves on the right.
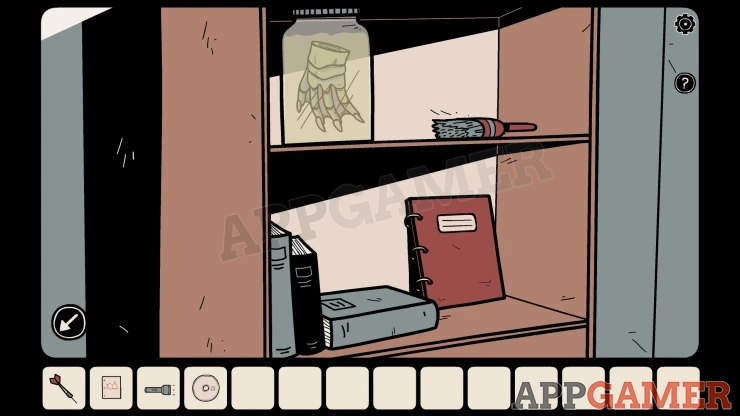
Collect the brush from the shelf and then look at the red folder on the lower shelf. Open it to look inside.
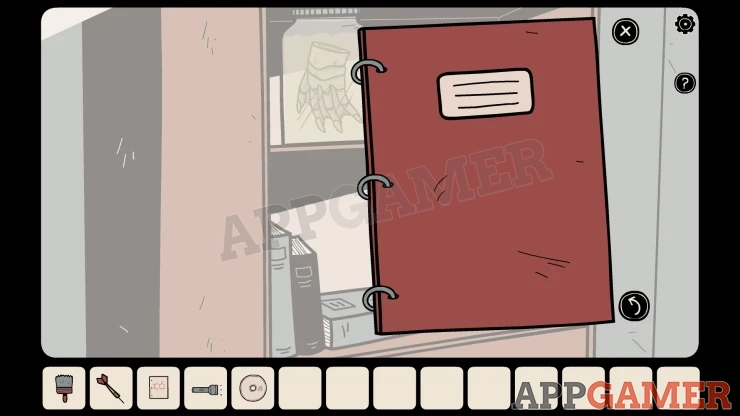
This folder has a number of pages in it with clues. To begin though you need to Select the sheet in your inventory and choose 'Grab'. then you can add it to the folder to see a transparent page that you can move to the left or right. This is a clue.
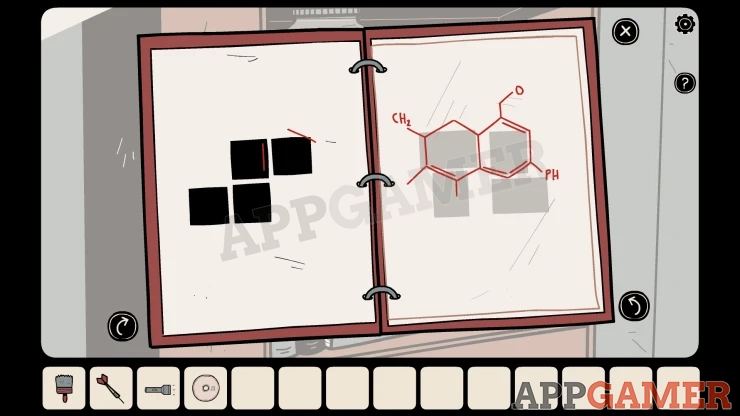
- On each side the 2 hexagon shapes on the sheet will over lap 2 of the dark squares.
- On each side you will see there are a number of lines inside the hexagons that also overlap the dark squares.
- There will be 1, 2, 3 or 4 lines in each case.
- Remember the positions of the squares for each number.
Now turn again to the wall with the photos, notice that the layout of these will match the layout of the dark squares in the folder. You can view the photos that are in the same places as the squares you found for numbers 1, 2, 3 and 4. Then get the symbol from each one.
Turn left again to the wall with the locked door. Look at the box on the small table.
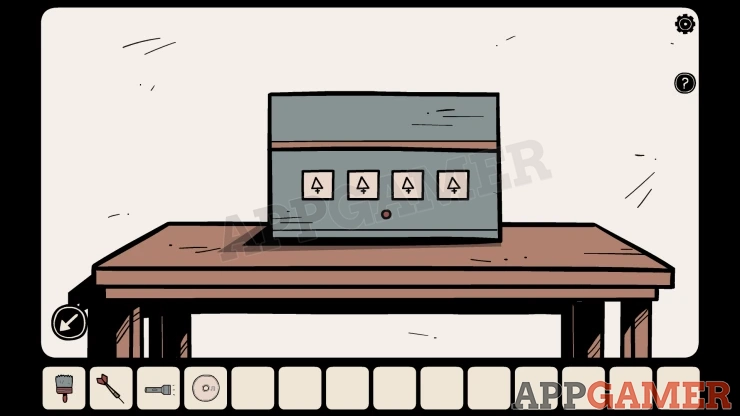
Enter the code using the 4 symbols from the correct photos for your game.
Solution: This may be different for your game, check the photos that you see.Show
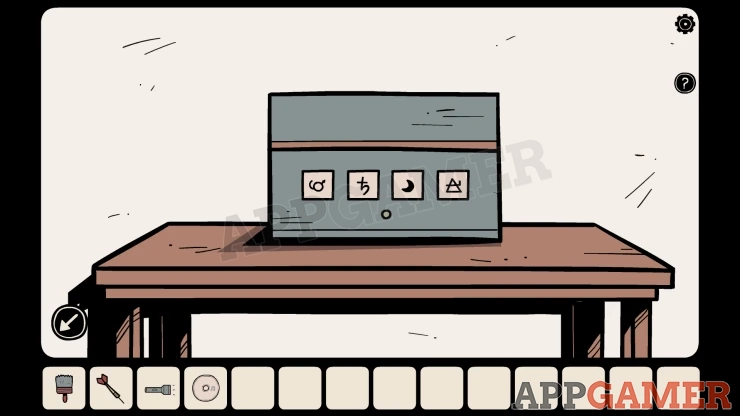
Collect a Fuse and a Yellow Key.
Tun back to the initial view with the sink and view the cabinet above the sink. Use the yellow key to open this and you can collect a Spool of thread and a Glass for chemical mixtures.
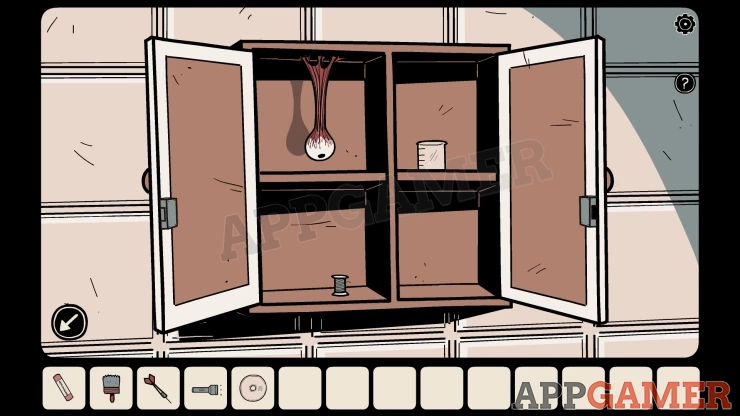
Next go back and view the red folder again to find more clues.
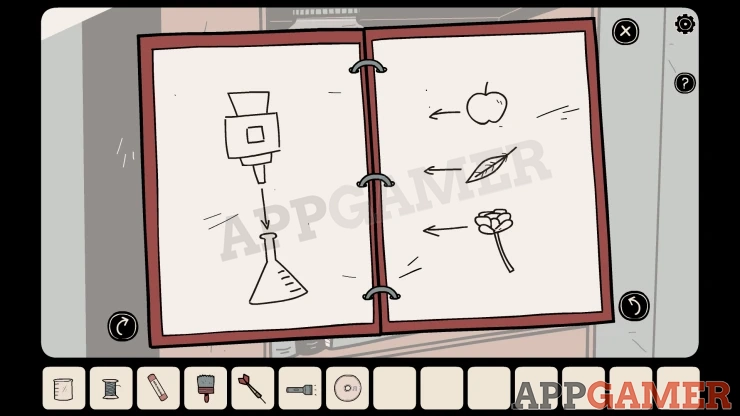
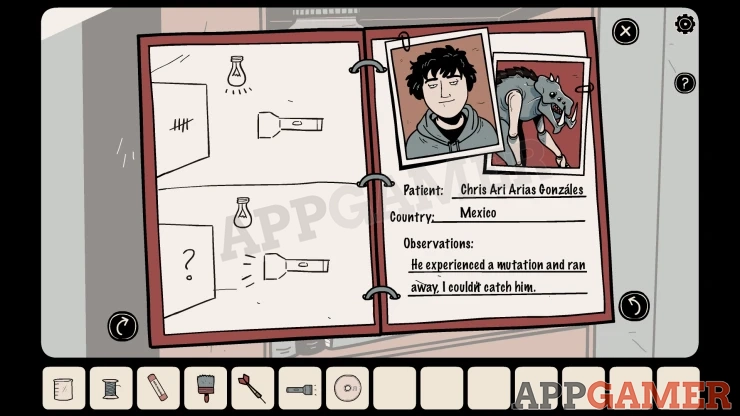
On the last page you will find the detail and photo of Chris who has apparently been mutated.
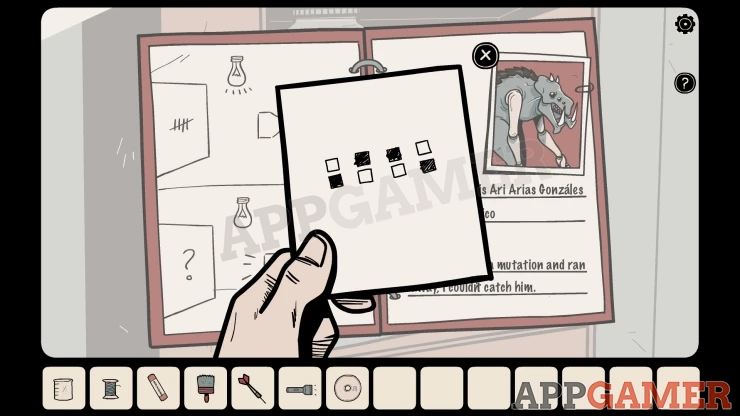
Tap the photo to look on the back for a clue. A pattern of squares.
Show
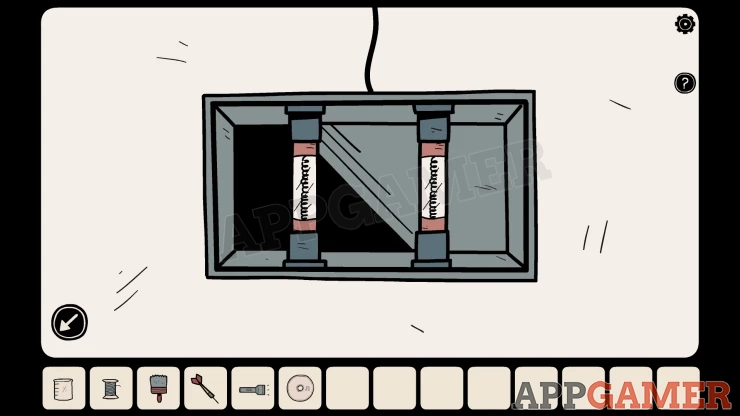
Turn around to the opposite wall (with the photos) and look at a small square hole on the lower left. Add the fuse here.
Next view a panel above this on the left and open the door to see some buttons with lights above.
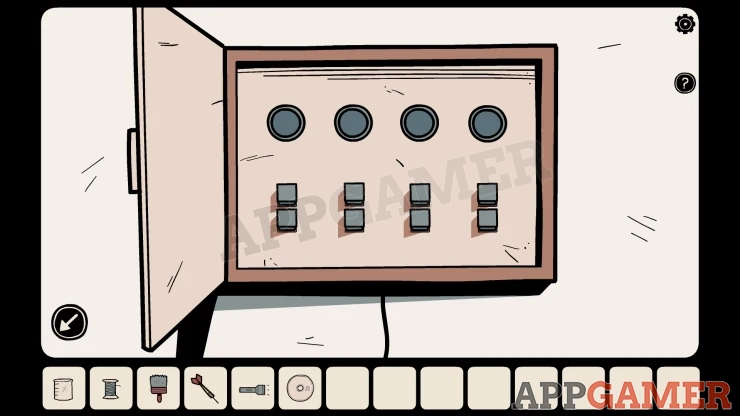
- The pattern of 8 buttons below match the clue on the back of the photo.
- Press the correct button in each pair as shown on the clue. (i.e. Tap the bottom button of the left pair.)
- When you tap the button the light above will flash a number of times. Count the number of flashes.
- This will give you 4 numbers.
Now turn to the left to see the door with the padlock on the top window. View the lock.
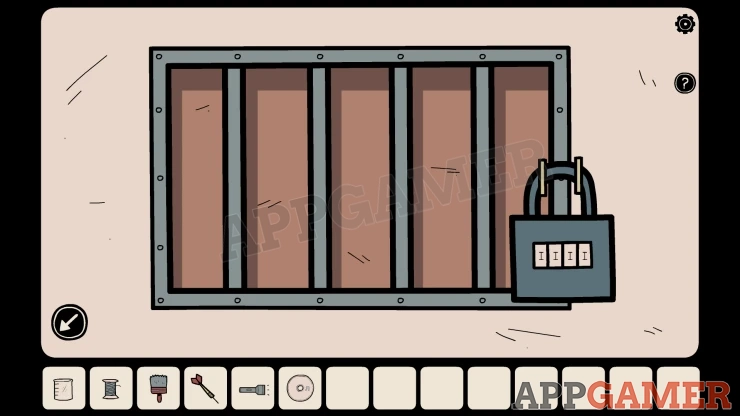
Use the numbers from the clue above as the code.
Code: 5423 (this may be different for you)Show
Open the window in the door and you can look through to see another captive chained up. He is beginning to mutate. Tap to talk to him and he asks for the antidote.
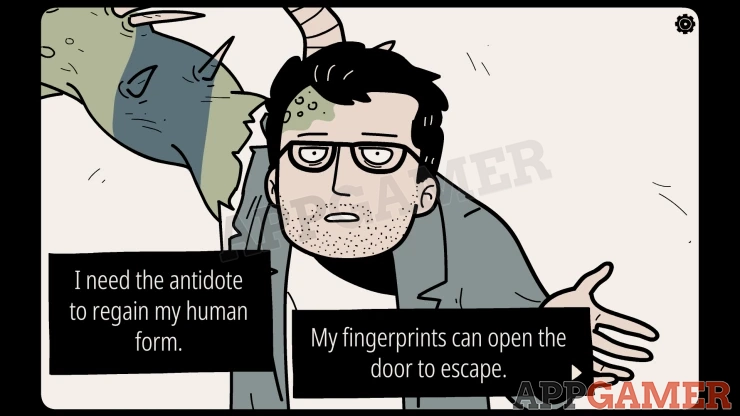
If you can help him he will be able to help you escape. But before he can give you a password you need he fully mutates and can no longer talk.
Tap on him again and he will raise a finger and trace out shapes with it. This is the next clue.
The order of the shapes can vary with each game.
For me they were: Triangle, Circle, Wavy line, SquareShow
Turn back to the wall with the Dart board and view the red box below it. This box needs 4 shapes to open it. Use the ones from the clue above in your game.
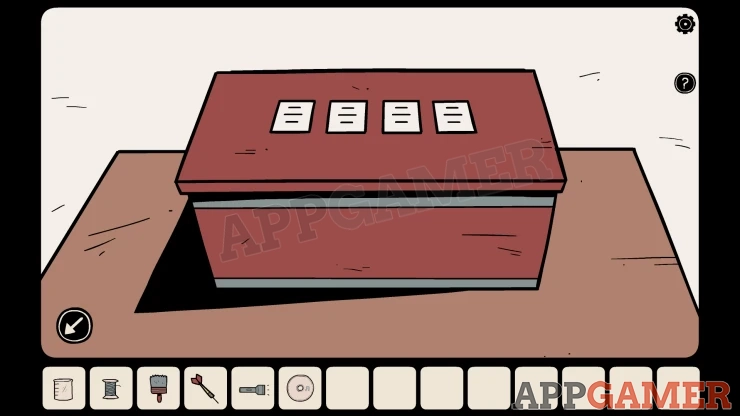
Collect the Scissors, a Blue key and a Sweet.
Turn to the right to the door again and view a small box on the wall to the left of the door with a light bulb on it.
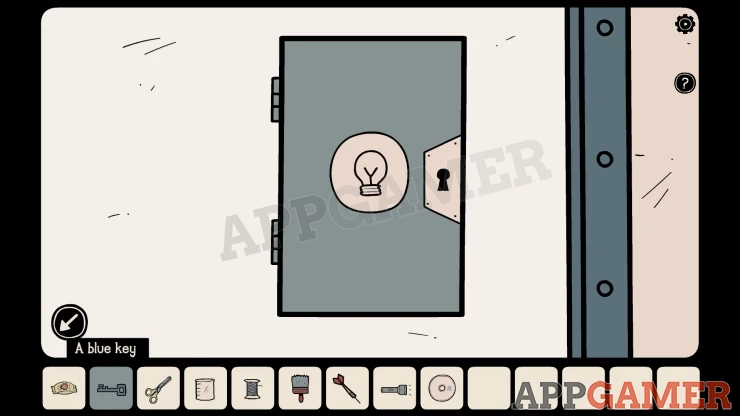
Us the blue key to open this and then flip the switch to turn on a light inside the cell. Look inside the cell to see another clue now on the wall on the right.
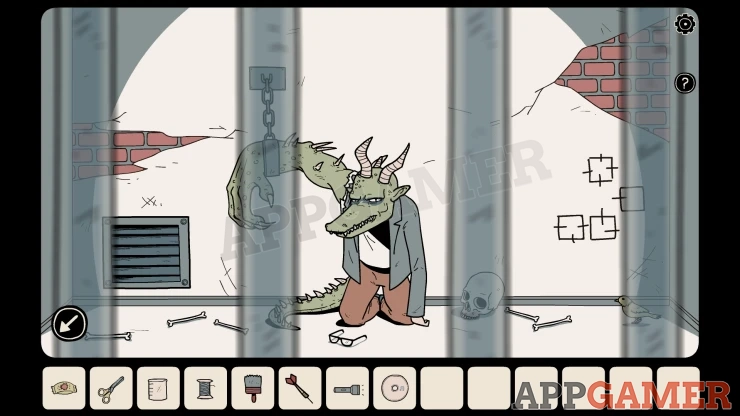
- There will be four squares that have lines on them
- These will be arranged in a pattern, it will vary with each game.
- There will be 1, 2, 3 or 4 lines on the squares.
- Remember the positions and order from 1 to 4.
Now you can turn to the opposite view with the ladder. On the left are some shelves with a safe in the center. View this.
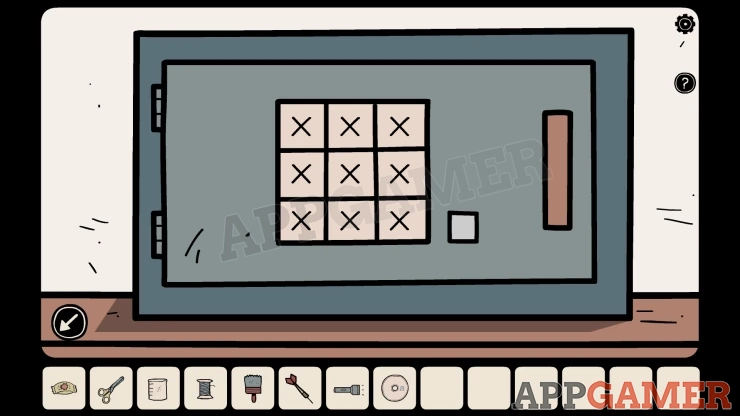
There are 9 buttons in a 3x3 grid, this will match the arrangement of the 4 squares on the wall in the cell. Press the 4 buttons indicated by the clue in the cell in the order of the number of lines.
You can then collect an Apple, some Bread and a Paper with a clue.
Next look at the books on the top shelf above the safe.
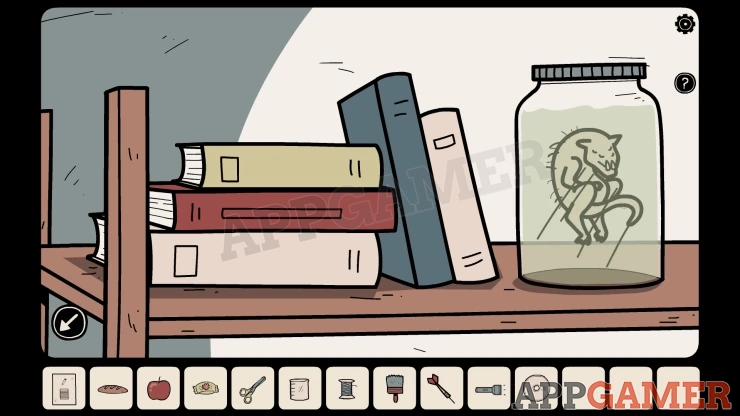
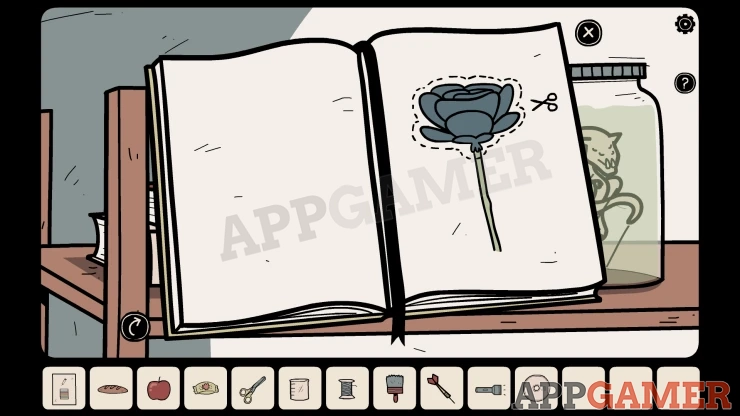
View the Yellow book of Flowers and open it. Then use the scissors to cut out and collect the Paper Flower.
Return to look inside the cell and use the Bread on the bird that is in the bottom left. The bird will eat it and then fly away, leaving a feather behind.
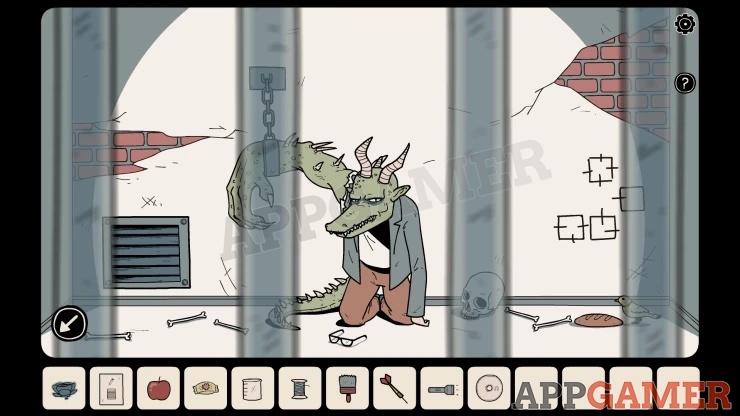
Select the gum in your inventory and choose the Chew option. You will get Chewed Gum. Now add the thread to this and you will get a Piece of chewed gum on a string.
Use this item on the feather in the cell and you will collect the Feather.
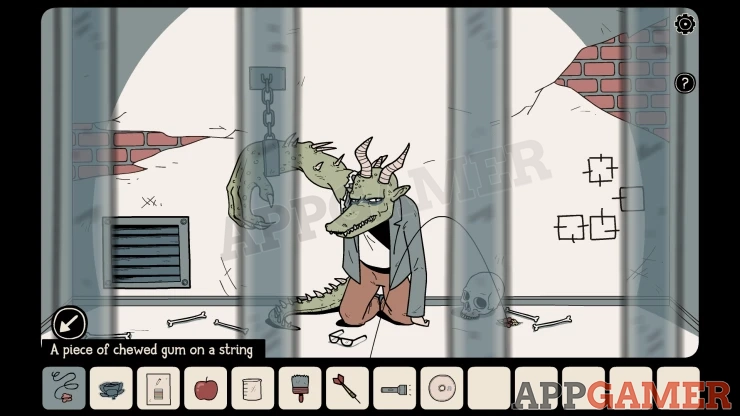
Now turn again in the room to find the wall with the photos, then view a table in the center with 3 glass flasks on it.
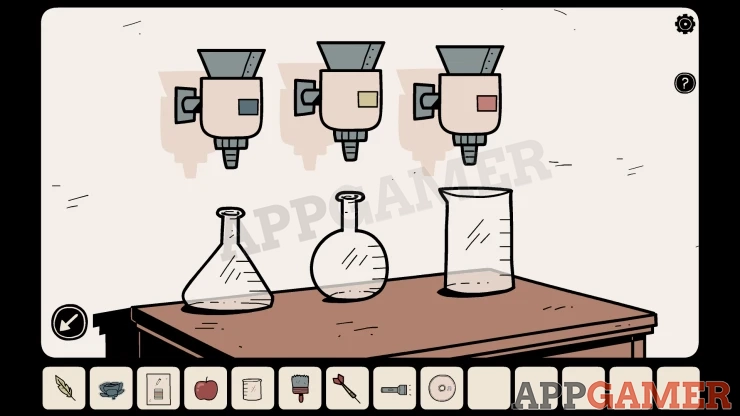
Following a clue from the red folder we need to add 3 items to the flasks using the juicers above them.
Add the blue Paper flower on the left, the yellow feather in the center and the red apple on the right. You will see 3 liquids. Then add the Glass for chemical mixtures to the table as well.
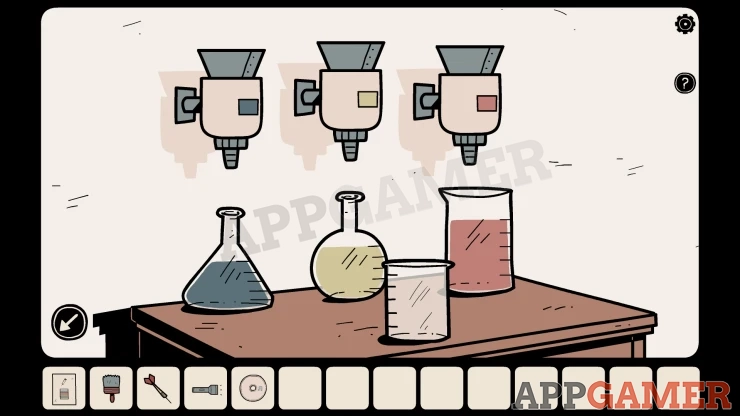
We can now use these 3 liquids to make an antidote. First view the paper clue. Tap the correct color liquid to add it to the glass container. Start at the bottom of the rows of colors on the paper.
For my game this was, Yellow, Blue, Yellow, Red, Blue.
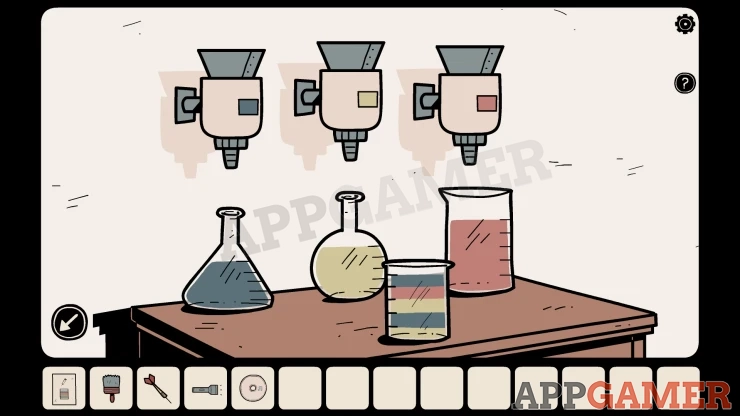
You then collect the Antidote. Select this in your inventory and add the Dart to it. You will get a Dart with antidote.
Go back to the cell and use this dart on the mutated creature. It will turn back into Alex.
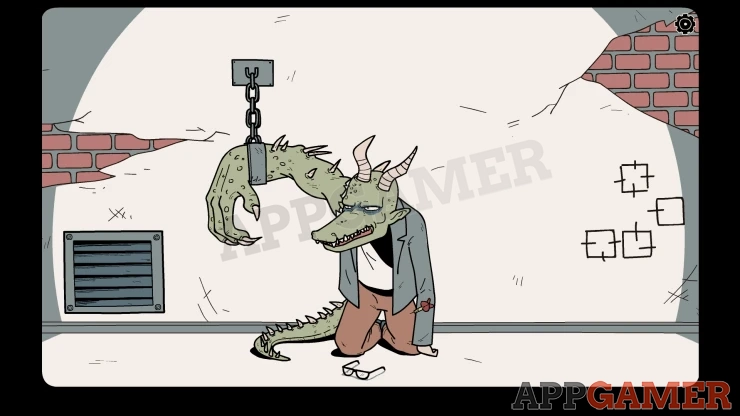
You are now able to play as Alex inside the cell and can now switch between Eric and Alex to help them both to escape.
Inside the cell collect the Dart from the floor.
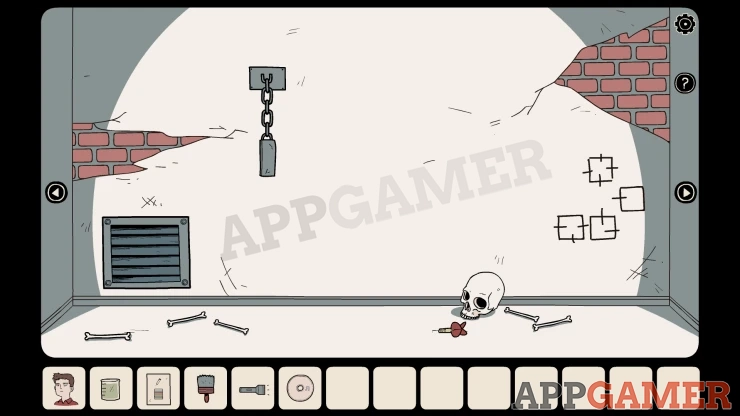
Turn left to see the bed, view the pillow and move it to collect a Coin.
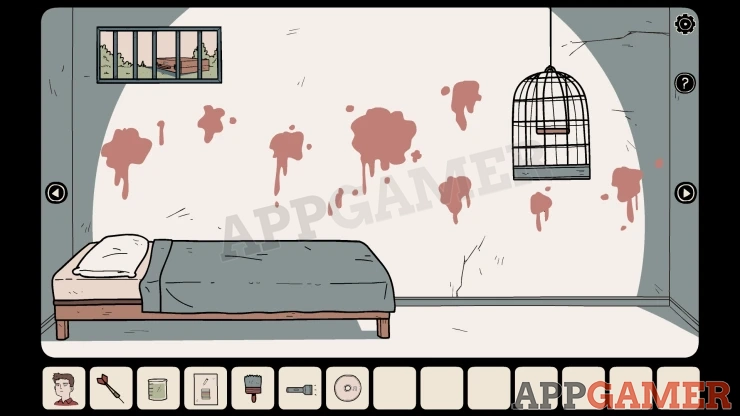
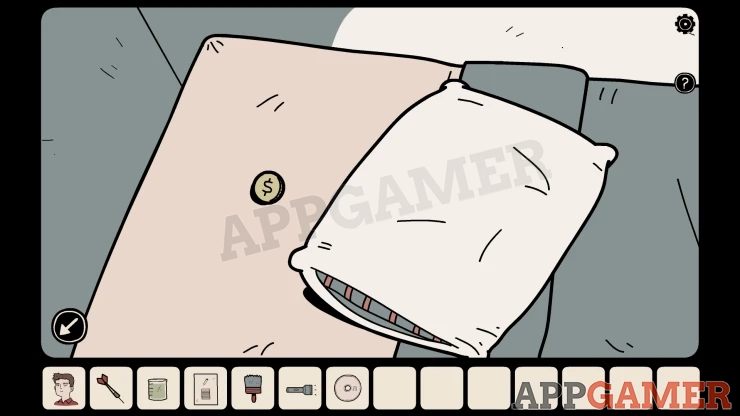
There is a case outside the window but we cannot open this yet.
Turn left again to see numbers marked on the wall. We saw a clue for this in the red folder before. The clue tells us to use the flashlight on them.
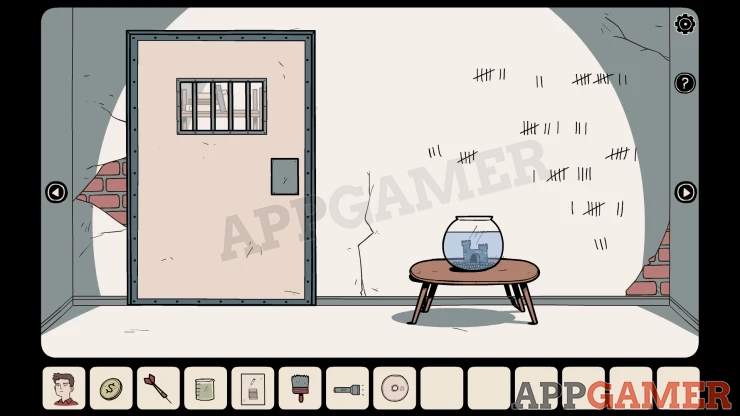
First tap the face on the left of the inventory to chance to Eric and then you can go to the cell door and use the light switch to turn off the lights inside the cell.
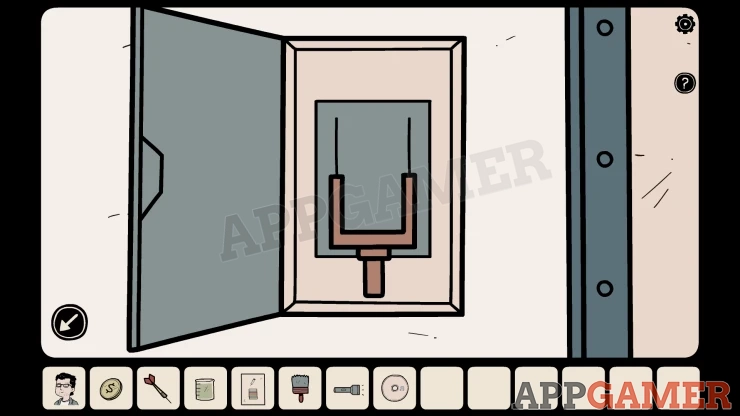
Switch back to Alex and then use the flashlight on the wall with the numbers.
You will see 4 of them circled, and a musical symbol, this is a clue.
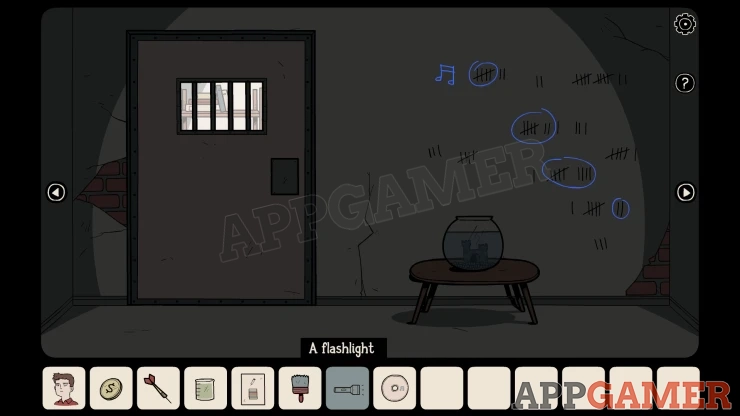
Use Eric to turn the lights back on then return to Alex in the cell, turn left again.
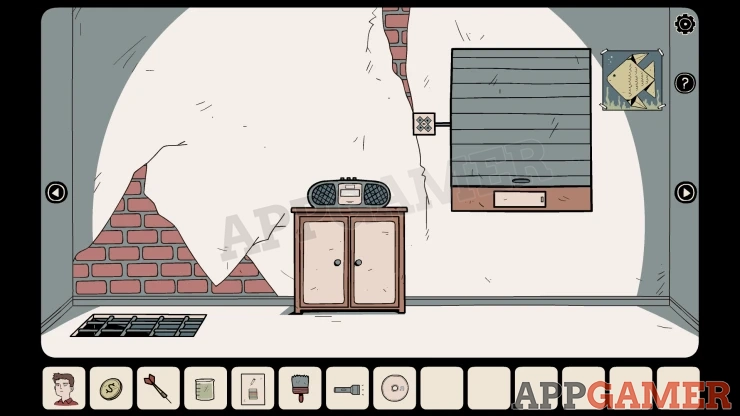
View the cabinet with the stereo on top and open the doors.
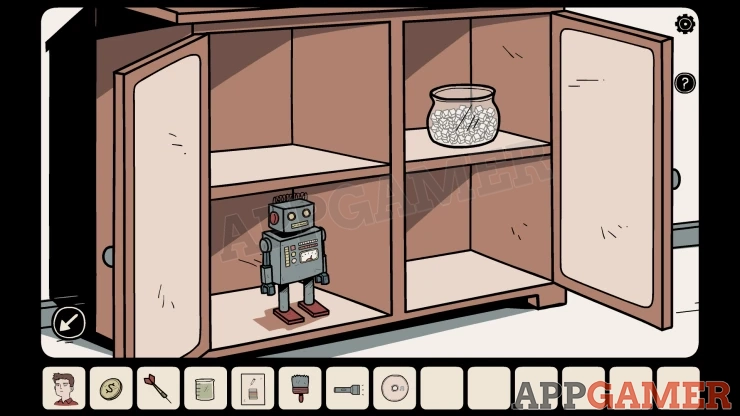
Tap on the robot toy and then turn it over to see the back. Open the compartment and collect the Battery.
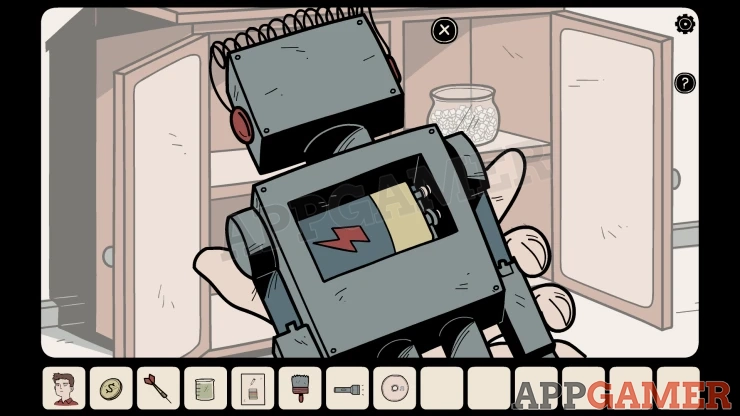
Next view the stereo on top. Open the compartment on top and add the CD to it.
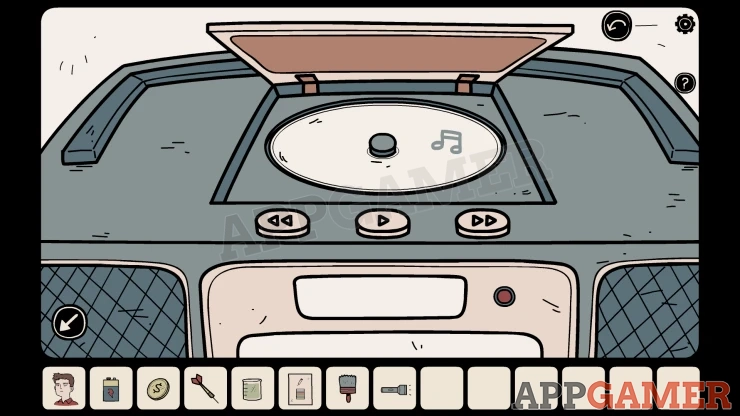
Then tap the arrow on the top right to view the back of the stereo. Open a compartment on the left and place the battery inside.
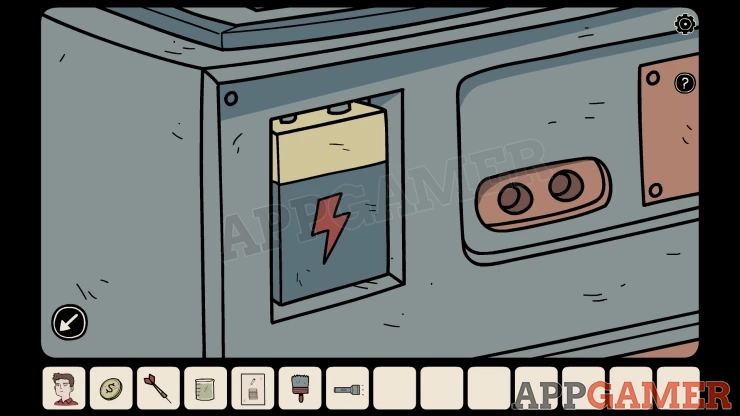
Now you can use the buttons to choose tracks on the CD and play them. You will need to have the sound on to hear it. It might also help to turn off the background music of the game in the settings.
Each track will play a different sound that you can identify. Each is a short sound effect or animal noise.
Play the 4 tracks that you have the numbers for from the wall. These can vary for you mine were: 5 7 9 2. This will give you a clue to 4 items.
For my game this resulted in: Bell, Laugh, Guitar, FrogShow
Switch to Eric and then turn to the left to see the shelves with the red folder on them. Look at the two drawers below.
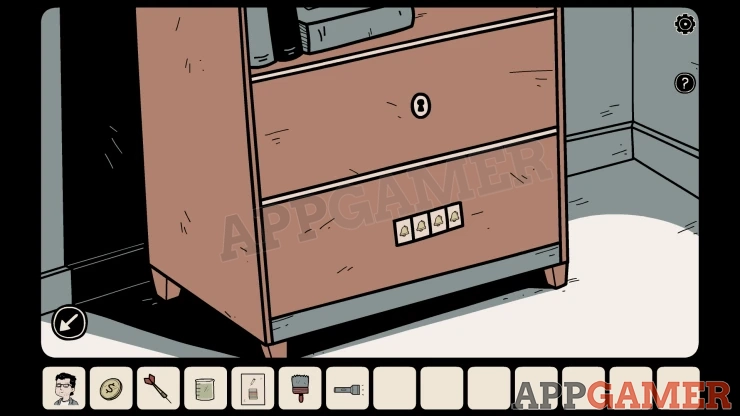
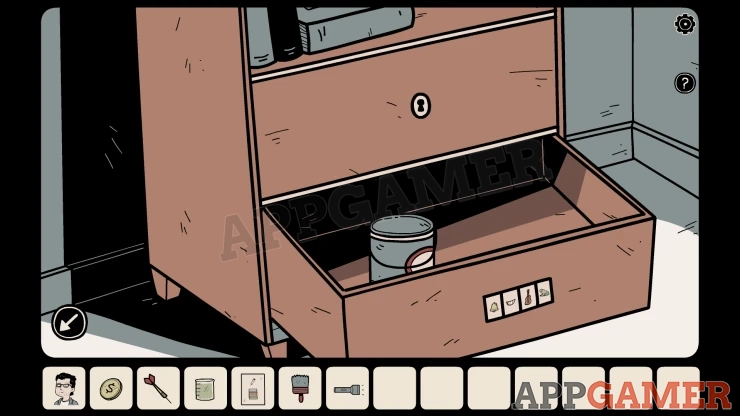
View the bottom drawer and you can use the clue of the 4 items from the stereo sound to set the symbols and open it. Collect a tin of Paint Thinner.
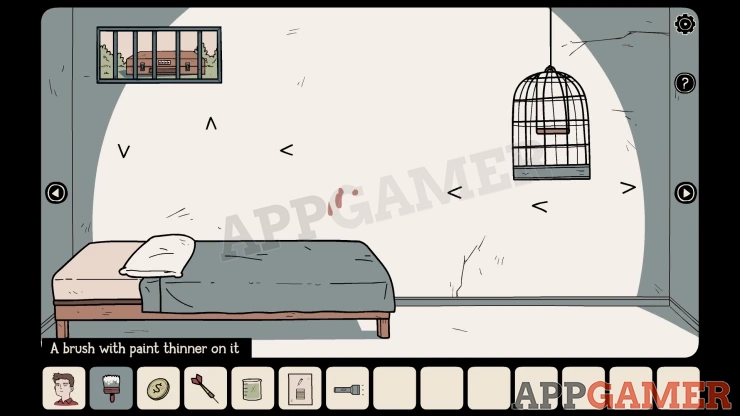
Switch to Alex and turn to face the bed in the cell. On the wall are some spot of red paint.
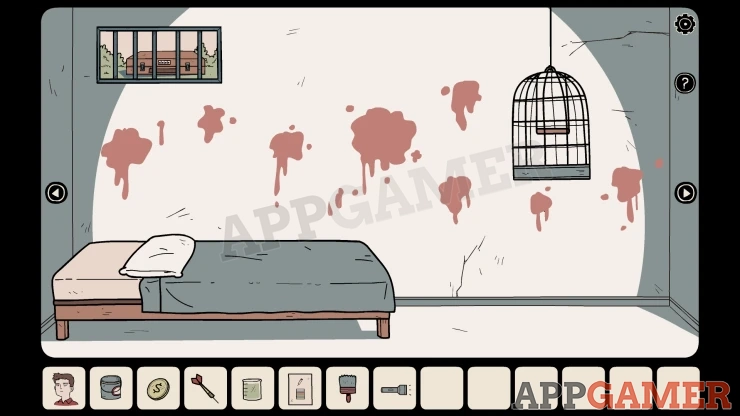
Combine the paint thinner with the brush to get a Brush with paint thinner on it.Then use this brush on the paint spots to clean them all off, you will find 6 direction arrows. These can vary for each game.
Show
Switch to Eric and view a closed shutter on the wall to the left of the shelves. There is a panel on the right with arrow buttons.
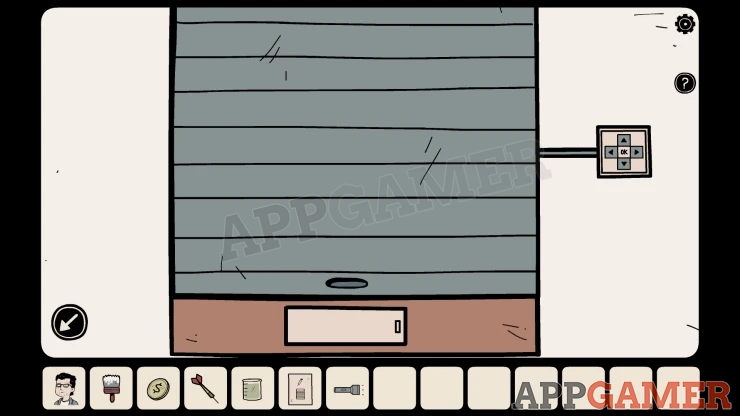
Tap the arrows as indicated on the wall in the cell in your game and then Tap OK to open the shutter. You will now see a puzzle with rings.
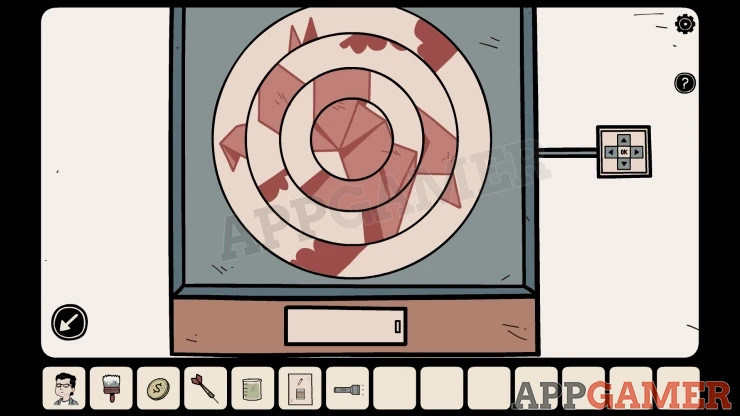
Tap each ring to rotate it to complete the image.
The center is fixed so start from the inside out.
Solution: Show
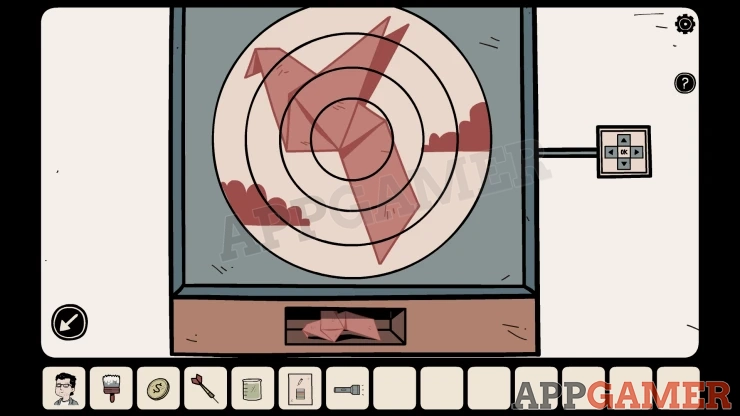
Collect the Origami Bird.
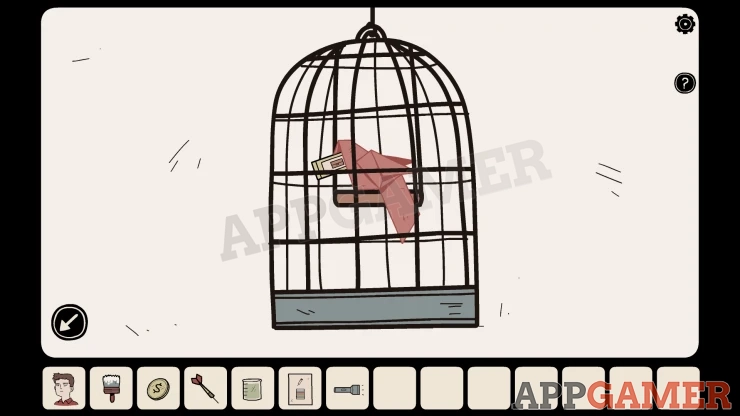
Switch to Alex and view the bird cage that is to the right of the bed, Add the origami bird to it. The bird will then pick up a Yellow Microscope slide for you to collect.
Switch to Eric and turn around to see a table with a microscope on it view this.
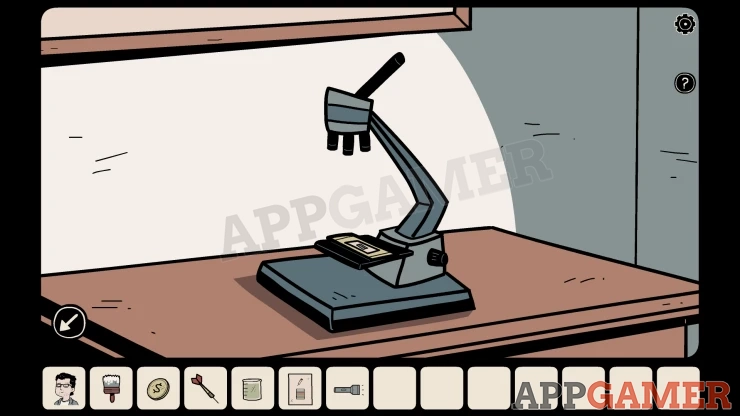
Add the slide to it and then look through the viewer. You will need to adjust the focus using the control on the right.
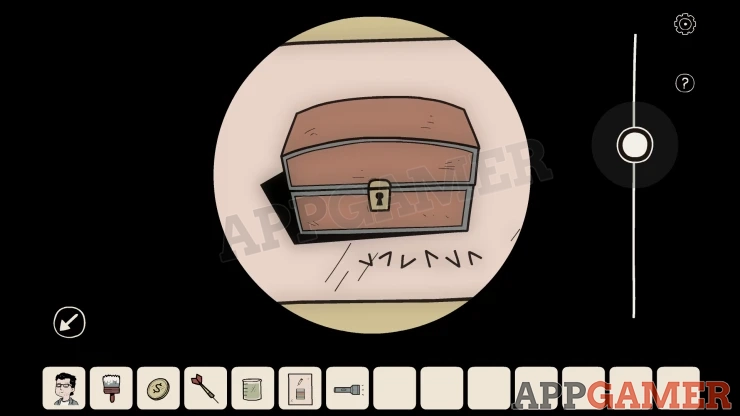
You will see 6 more direction arrows. They will be different for each game. These ones will be diagonal (NW NE etc). remember these.
Switch to Alex and turn around to find another closed shutter. View this.
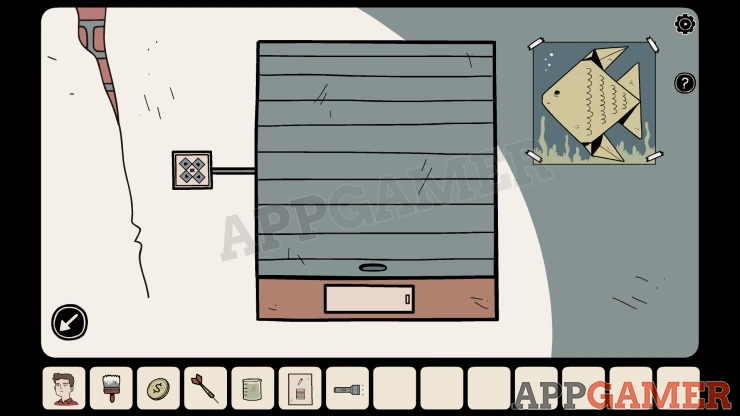
Use the button panel on the left to enter the arrows again and press OK. This will open the shutter for another puzzle.
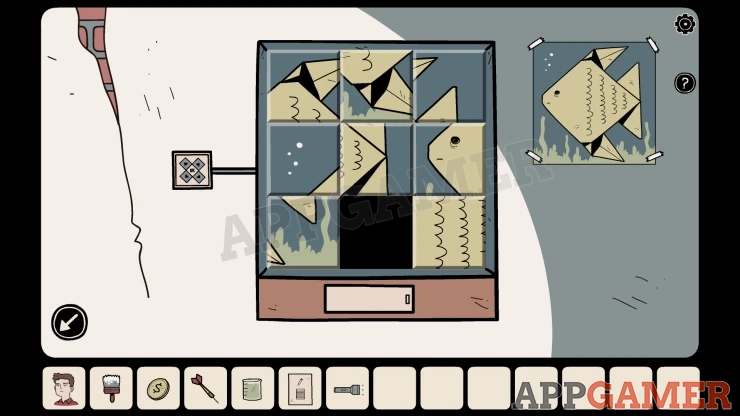
For the Fish puzzle you need to slide the tiles to create the image shown on the right.
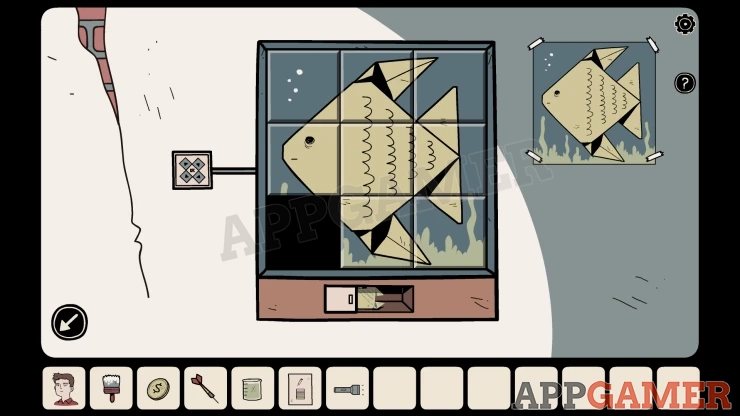
Collect the Origami Fish.
Now turn to the right to see a fish bowl. Add the origami fish to it.
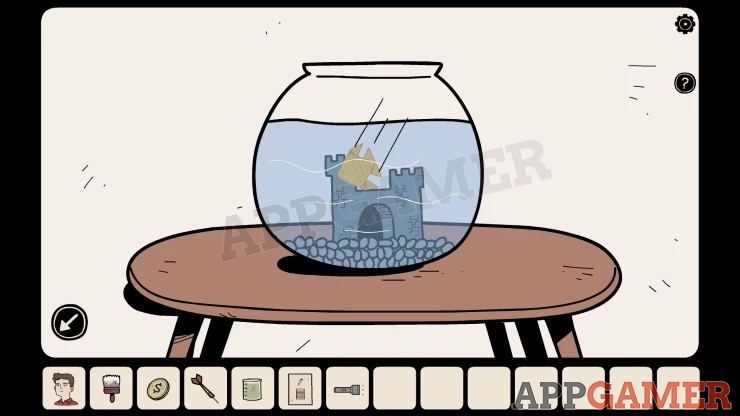
The fish will then let you collect a Pipe Valve.
Switch to Eric and turn to face the wall with the sink, on the bottom right below the sing is a tile with an X shape. View this.
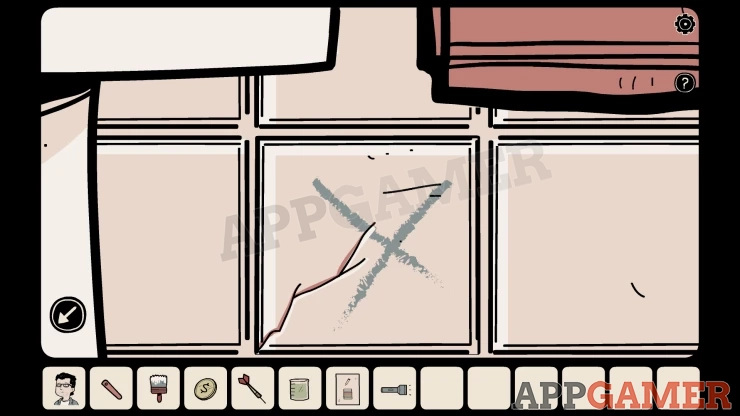
Tap the tile to remove it and there is a pipe behind it. Use the pipe vale on this to place it and then you can turn the water on.
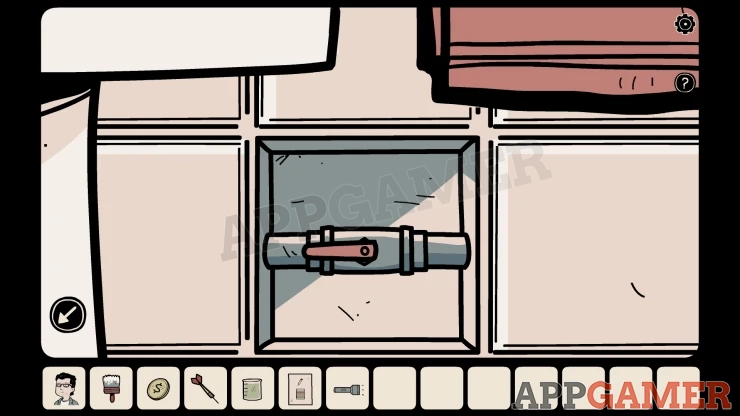
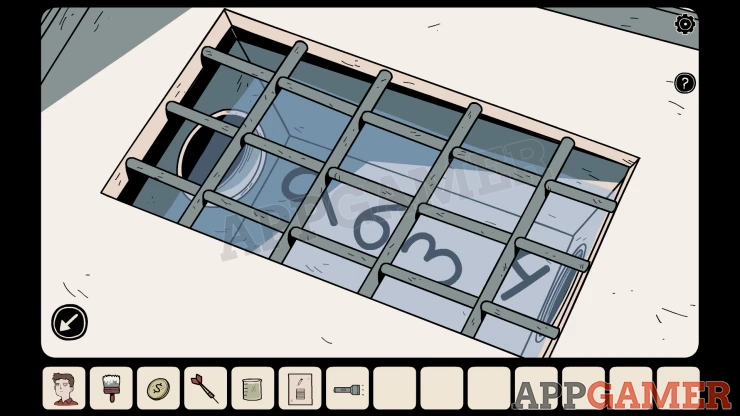
This will show you water washing away some rubbish to reveal a clue number. You can then switch to Alex again and view the drain in the floor to get another look at this to see the numbers. This can be different in each game.
Turn around in the cell and view the small window above the bed. If you see the monster then you will need to look again after it goes away.
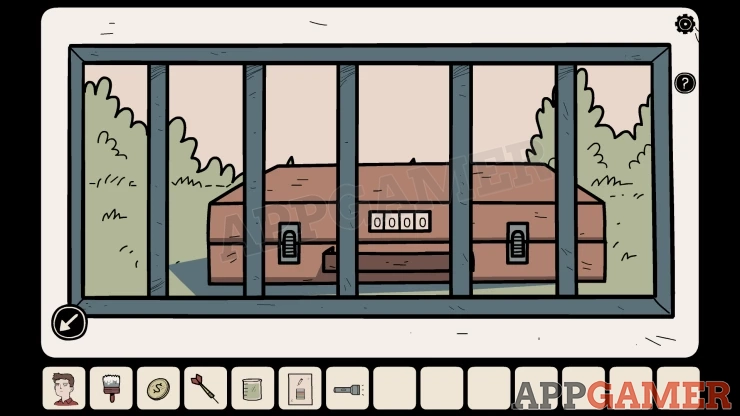
Tap on the case you can see and then you can use the code from the drain to open it.
Collect a Scalpel and a Pink Key.
Switch to Eric and turn to the shelves with the red folder again. You can use the key to open the top Drawer. Collect another Glass for chemical mixture and a second Paper with a mixture recipe.
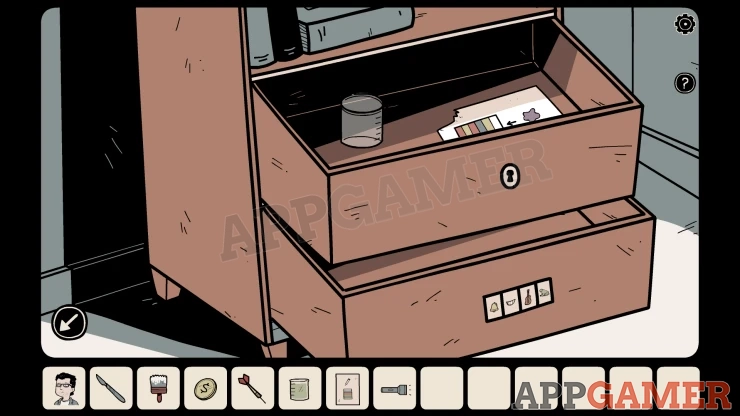
Turn around to the table with the chemicals again and place the glass jar on the table.
Now use the recipe sheet of paper to make a new mixture. As before follow the colored rows on the paper from the bottom up.
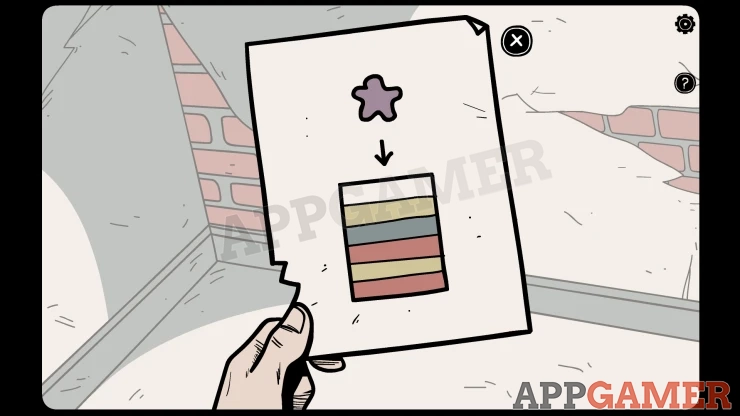
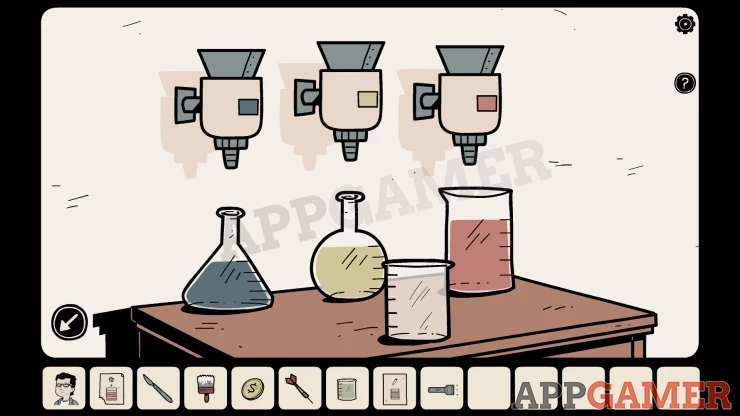
You will collect a Purple strange solution.
Turn to the left to see a cupboard with a Strange substance growing on it. Use the purple strange solution on this to remove the growth.
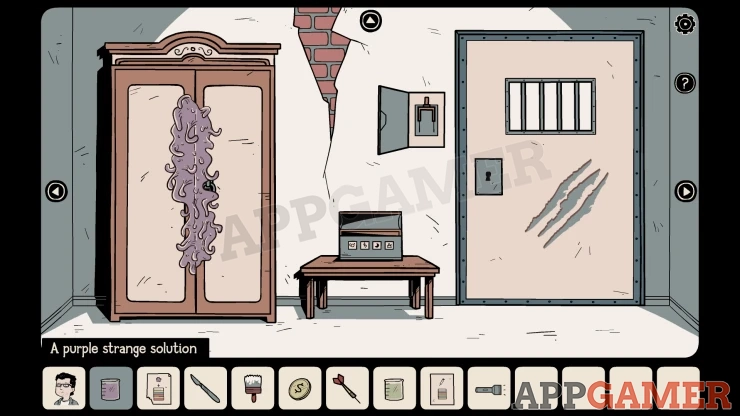
Then you can open the door and look inside.
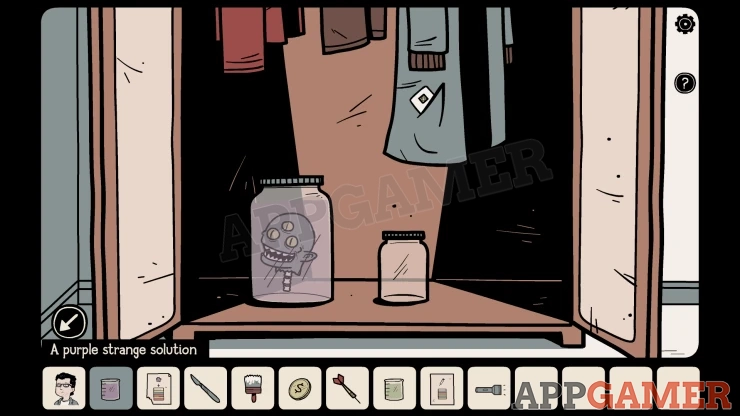
Collect the Empty Jar, and a Magnetic Card from the coat pocket.
Turn to the right again and now look at the drawer below the 3 chemicals. Use the Magnetic card on the slot to open the drawer.
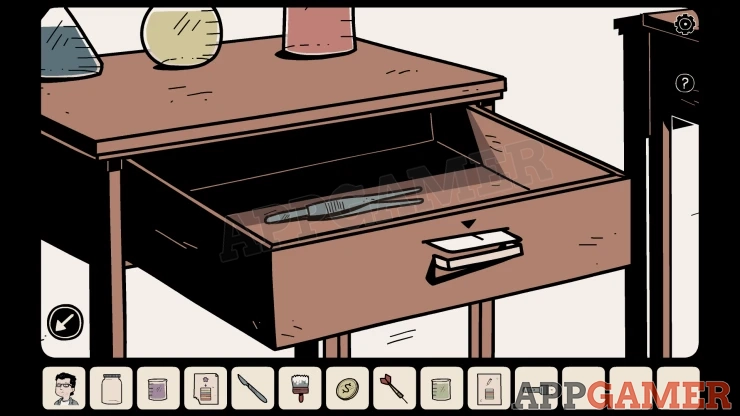
Collect a Pair of Tweezers.
Next turn to face the ladder. Then tap the up arrow to look up to the ceiling. You will see a fly on the right.
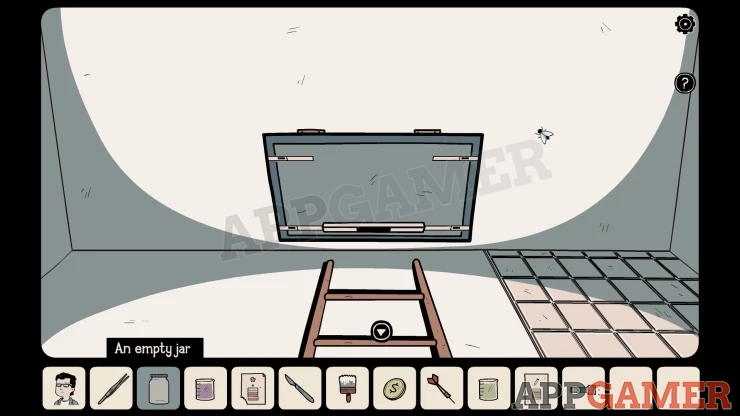
Use the Empty jar on the fly and you will get a Jar with a fly inside.
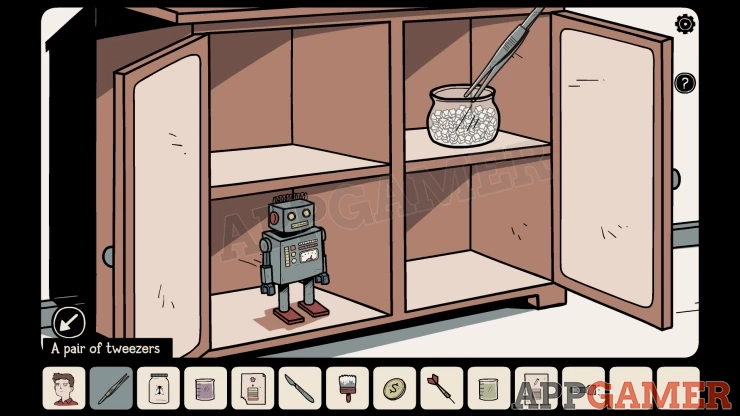
Switch to Alex and turn to the cabinet with the stereo on top again, then look inside the cabinet. Use the Tweezers on the bowl to collect a Tiny Sugar Cube (in the tweezers).
Turn to the left to see a vent cover on the wall on the left. View this and use the coin on it to open the cover.
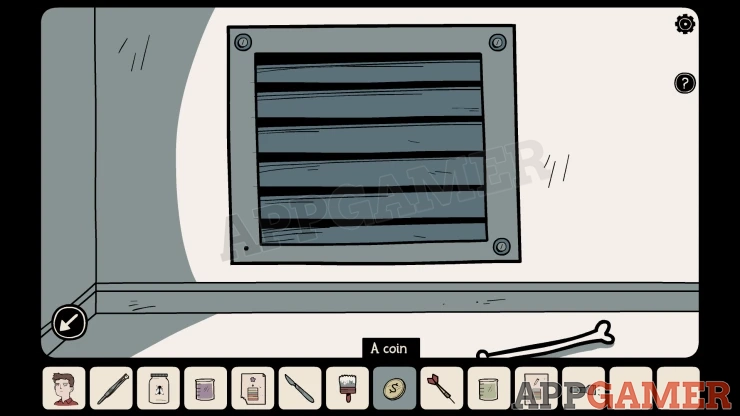
Inside is a spider on a web. Place the jar with the fly on the ground. Then open it.
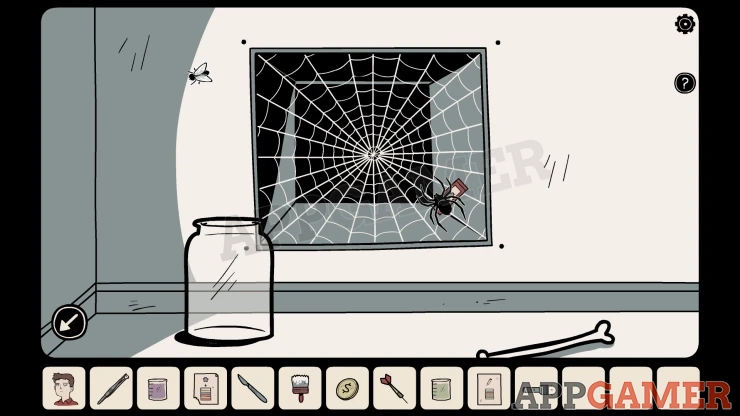
Then pace the sugar cube onto the web. The fly will go to the sugar cube and the spider will go to the fly.
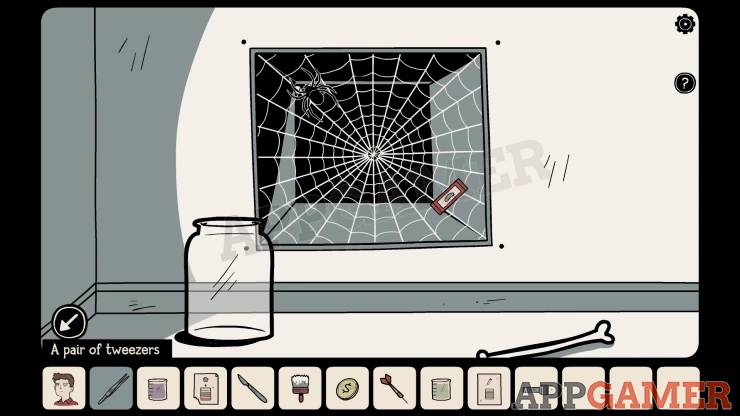
Now you can collect the Red microscope slide.
Switch back to Eric and go to the microscope. Take the Yellow slide back and place the red slide on the microscope.
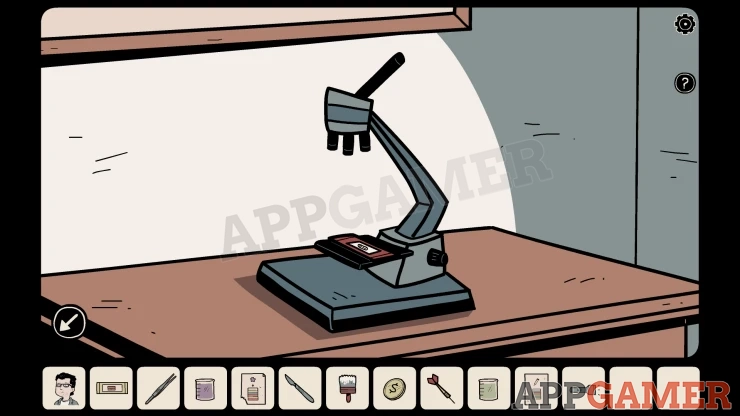
Look through the microscope and adjust the focus to see a creature. Then use the scalpel on the creature to cut it open. If you see a message bout not being able to see well enough you need to adjust the focus a little more.
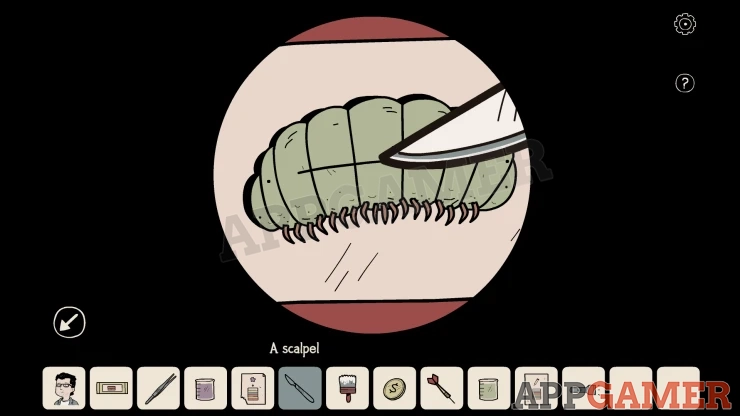
Next use the Tweezers to collect a Tiny Key.
Place the yellow slide back on the the microscope and view it again. Focus to see a tiny locked box on the slide.
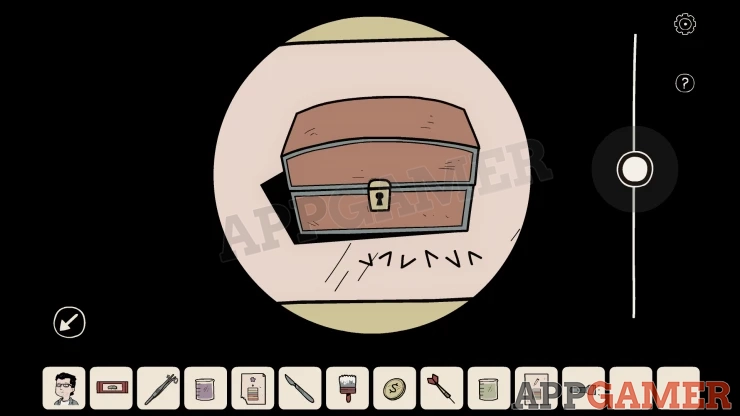
Use the Tiny Key (in the tweezers) to open it and then use the Tweezers again to collect a Tiny Seed.
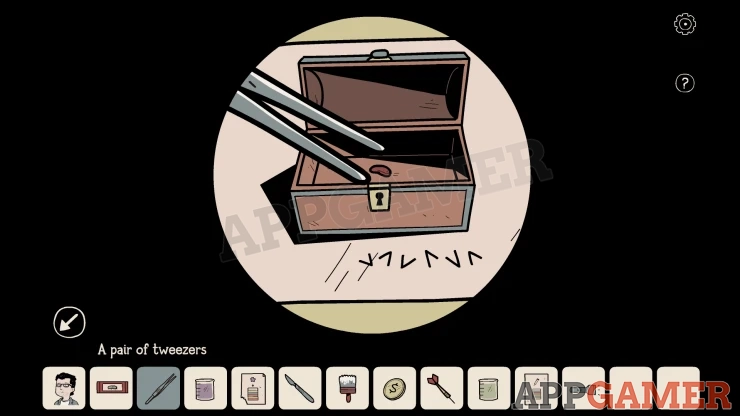
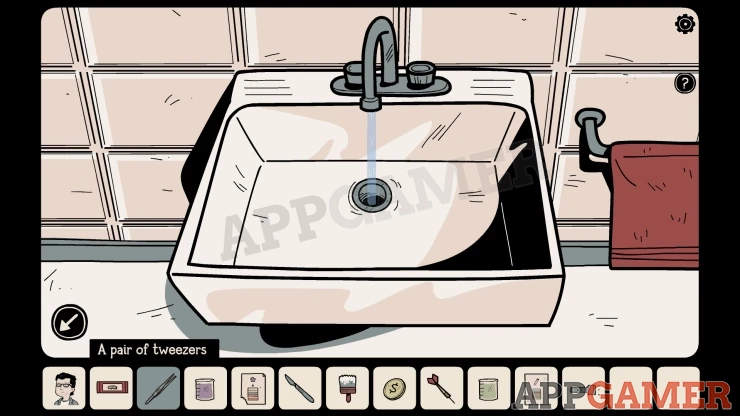
Turn right to see the sink, then look inside. There is a key at the bottom of the drain. Use the Tweezers to drop the tiny seed into the drain. Then turn on the water.
The roots grow and then you can collect the Red key from the bottom of the sink.
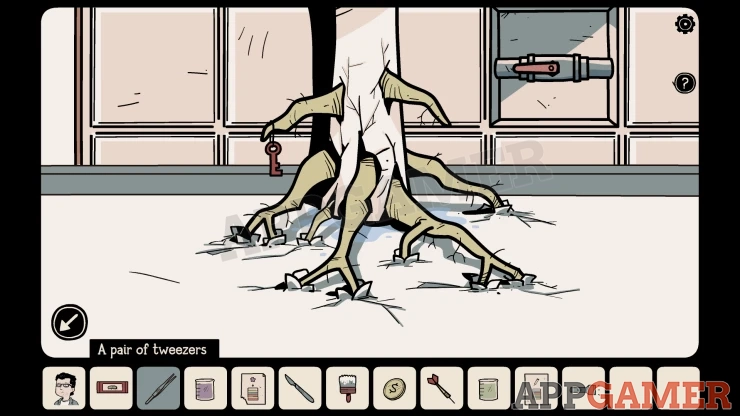
Turn back to the cell door and use the Red Key now to open it.
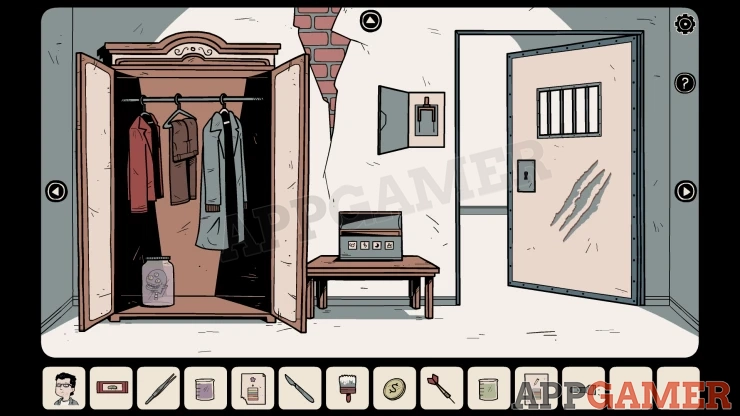
You have helped Alex escape the cell and now you can both escape.

There are 2 endings to experience from here. The bad ending will then let you retry to complete the game with the good ending.
Bad Ending
To see the bad ending, switch now to Alex and turn to the Ladder. Tap on the hand print sensor by the ladder and the hatch above will open.
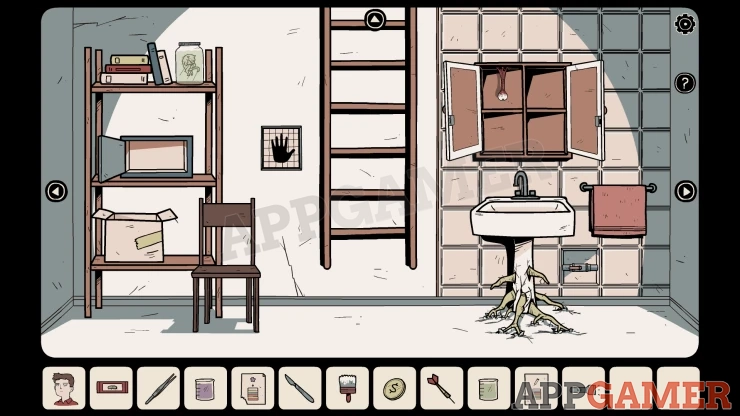
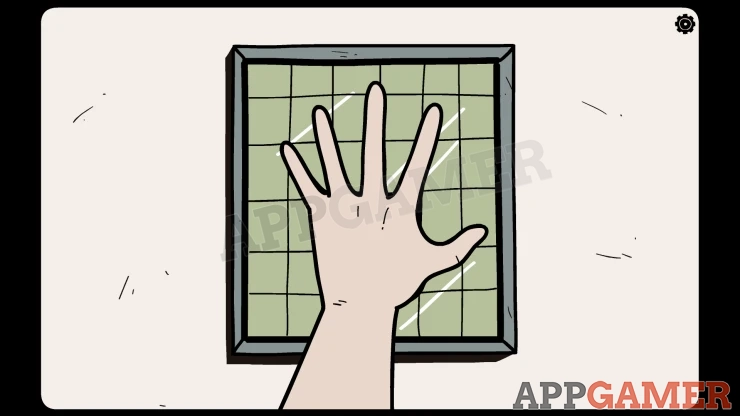
You escape together but the scientist is waiting for you. He turns into a monster and captures you again.
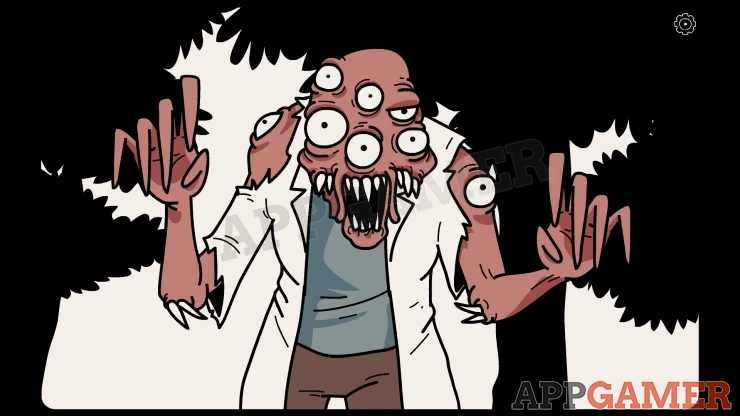
You are now the next unwanted experiment.
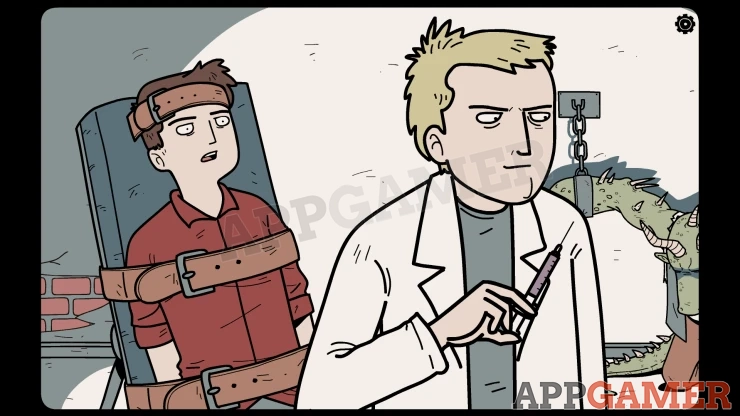
Tap continue after the bad ending to return to the basement.
Good Ending
Before using the hand scanner to open the hatch. Combine the Dart that you should have picked up again with the original green chemical mixture in the glass container.
This will give you again a Dart with antidote.
Then use Alex to touch the hand scanner and open the hatch.
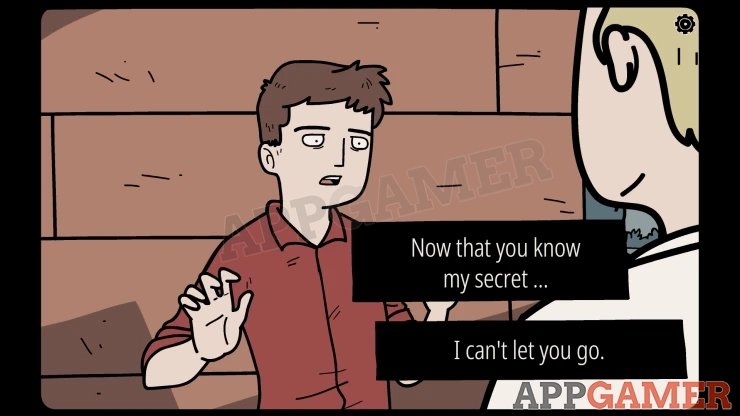
Go up the ladder to escape. You will be caught by the scientist, but this time when he turn into a monster you have a few seconds to use the Dart on him. He will turn back into a human form.
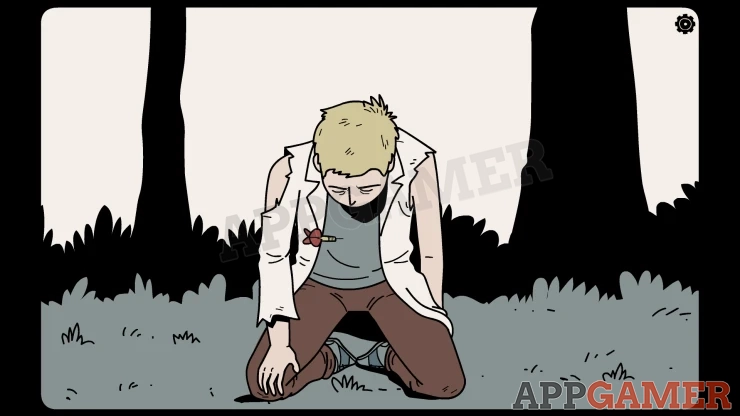
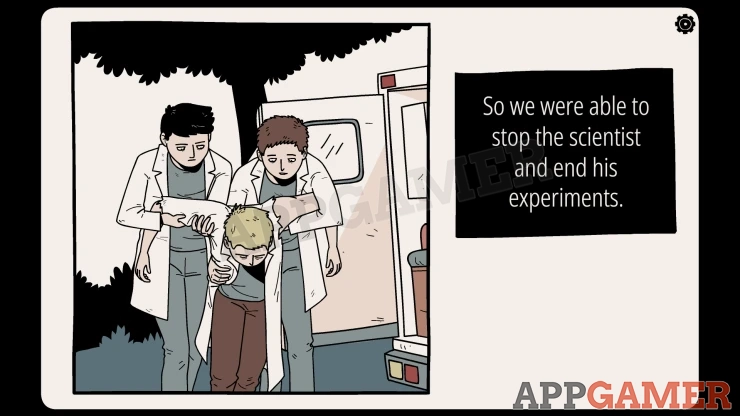
This completes the main game. You can move on to the Premium Content guide if you have it unlocked in the game.
We have questions and answers related to this topic which may also help you: Show all
 With 20 years of experience in creating video game content for the internet and over 30 years as a gamer, Mark is now a passionate mobile App Gamer. Loving a challenge, he is always ready to get stuck in to both survival builders and puzzle solving games. He has been providing content for AppGamer since 2014.