
Escape From Prison Levels 151 - 160
More 100 Doors - Escape from Prison
This is a walkthrough for another set of 10 levels of 100 Doors Escape from Prison. An escape room game from Peaksel Games.
This guide is for levels 151 - 160. For the previous levels check the page for Levels 141-150.
Level 151 - Guyanese Cell
Guyana
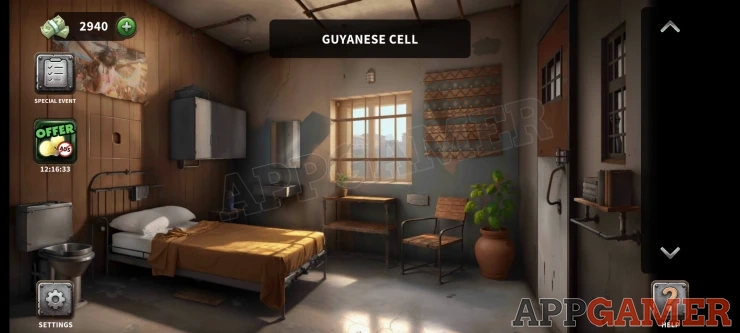
Collect a Can of Oil from the back corner of the room behind the bed. Then collect a Wrench from the small window on the far right above a shelf. View the door on the right to see the lock.
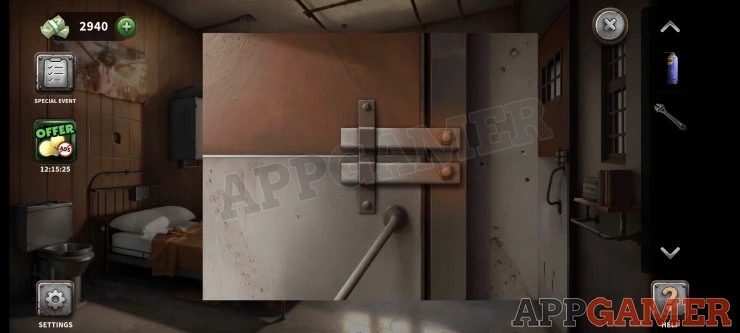
Use the Oil here to clean it and then you can use the wrench to remove the bolts. Go through to the next room.
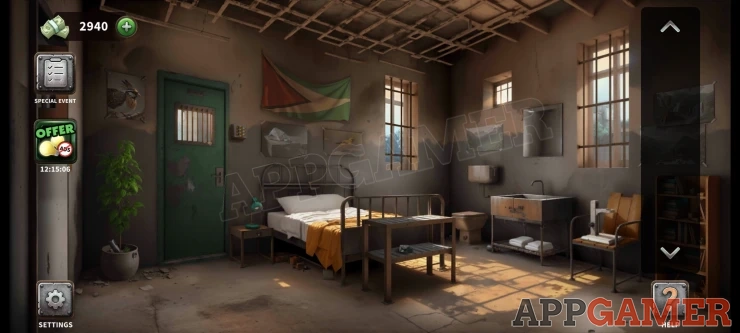
Collect a green crystal from the shelf at the end of the bed. Then also find a laser tool body from the plant pot to the left of the green door and a Laser tool head on the floor under the sink on the right.
View a white stand on the chair on the right, add to this the 2 laser parts and the crystal.
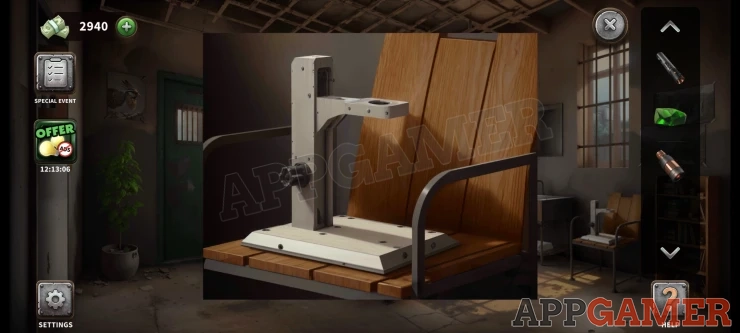
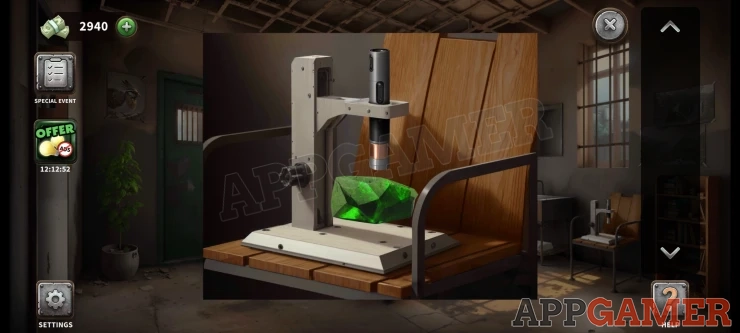
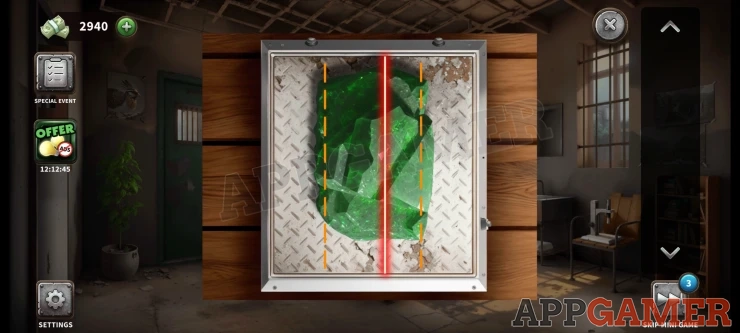
You now have a mini game to cut the crystal. As the red laser line moves over the crystal tap the screen to make a cut on the yellow dotted cut lines. You will need to make 8 cuts, when these are done correctly you will collect the Emerald.
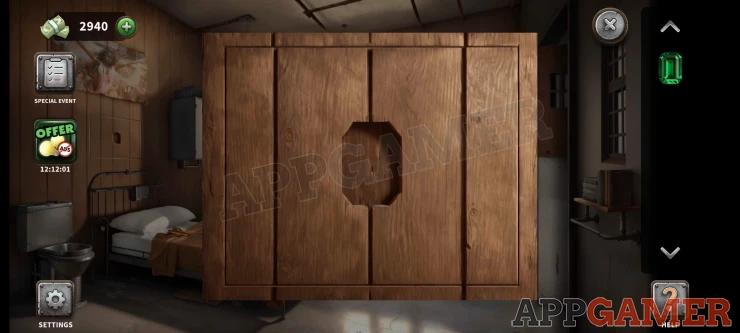
Go back to the first room and view a cupboard above the bed, there is a hole. Place the emerald into the hole to open the cupboard. You can then collect a Knife and a wire frame.
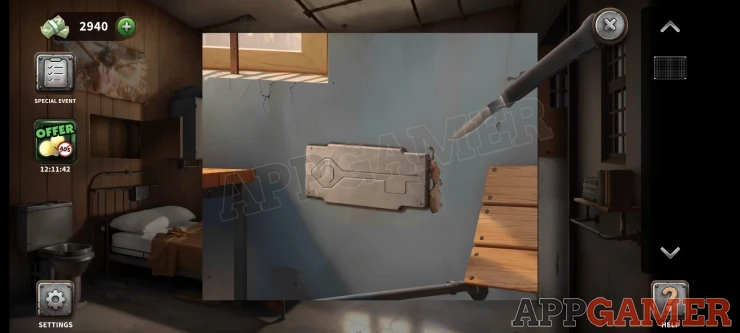
Look on the back wall and view a panel with a key under the window. Use the knife on this to cut it and collect the key plate.
Tap under the bed to find a board. Add the key plate to it and then the wire frame.
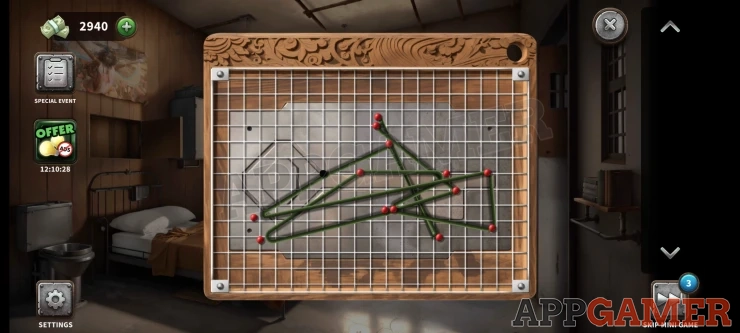
Move the red dots on the frame to then make the green lines trace out the shape of the key. There is a black dot that is fixed. This may not need to be perfect to compete. Once you have the out line tap to collect the key.
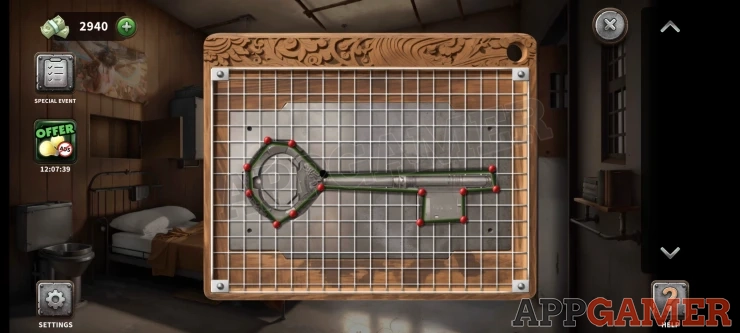
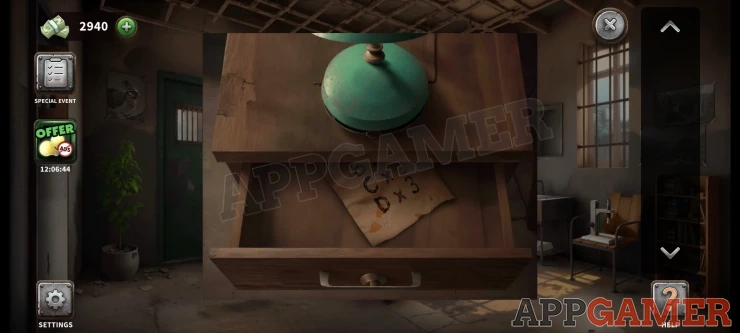
Go though to the second room and view the night stand to the left of the bed. Use the key to open the drawer.
Collect a paper with a clue.
View the key pad on the green door. You can now use the clue to tap the buttons int he correct sequence.
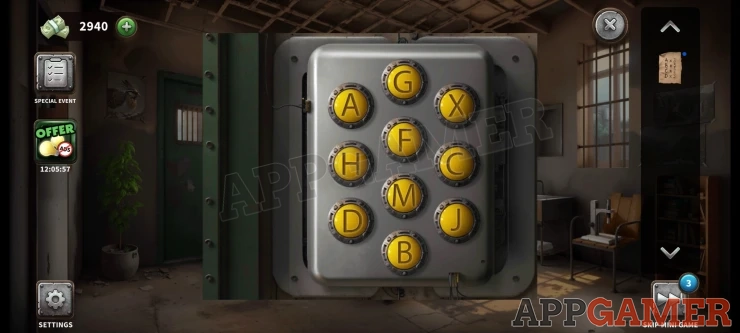
Solution: Tap A 4 times, B 5 times, c, 2 times, D 3 times.Show
The door opens and you can Escape.
Level 152 - Sao Tomean Cell
Sao Tome and Principe
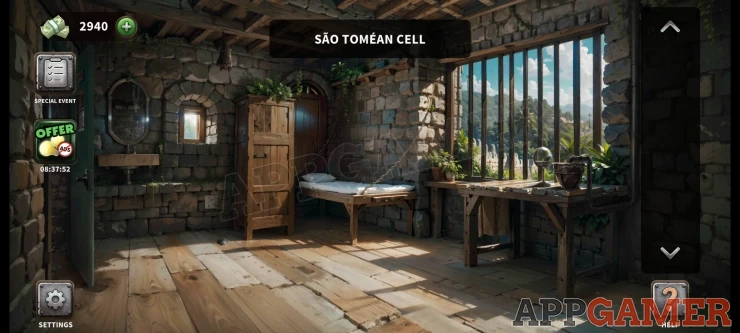
Collect a paper clue from the wall above the bed. And another one from the wall below the small window on the left.
Then collect a gear wheel from the floor below the small window.
Tap the green door on the left to move to the next room.
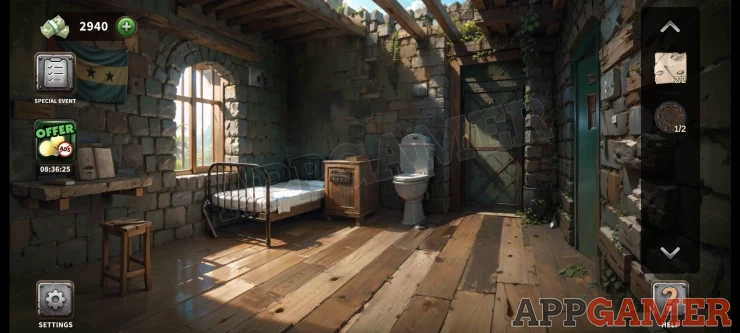
Collect a spoon from the floor on the back right corner of the room and a pipe from the end of the bed by the window. Then collect a book from the shelf on the left and a toothbrush from the stool on the left.
Collect another gear wheel from the floor by the toilet.
View the book and you can add the 2 pages to it to complete the clue.
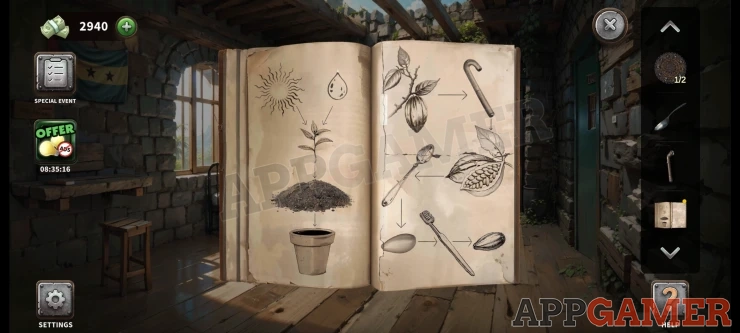
Look at a panel on the wall above the toilet to see a clue name.
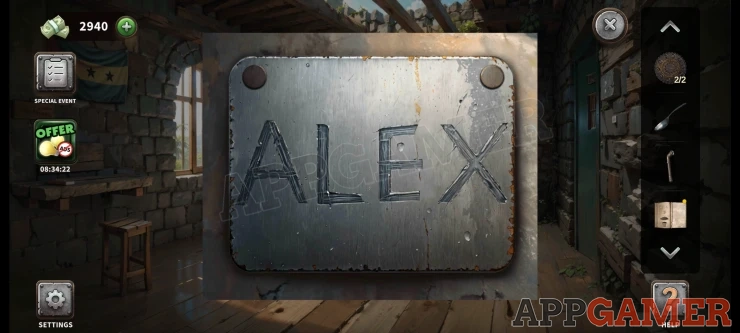
Now view a metal panel on the left wall above the bed. Add the 2 gears to this.
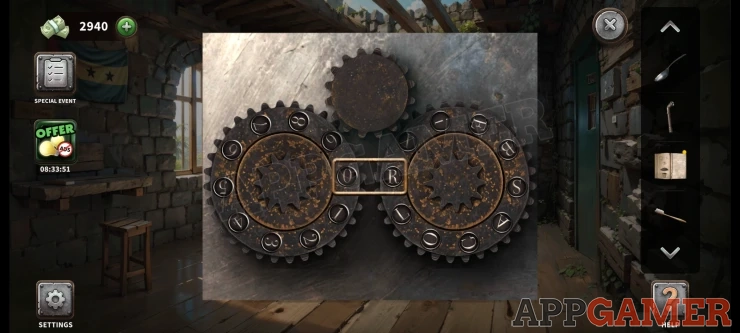
Turn the gears to line up the letter of the word and get a number for each one. This will give you a 4 digit code.
Code: 6931Show
Now view the small cabinet by the bed, it has a code lock. Use the code from above to open it.
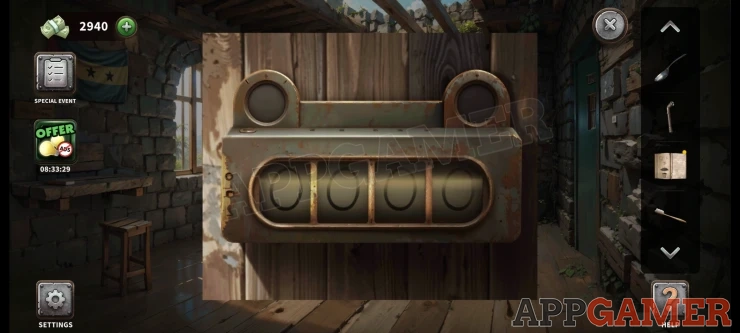
Collect a seedling and a bag of soil. Theng go back to the first room and view a pot on the table by the window.
Add the soil to it and then the seedling, this will start a mini game with pipes.
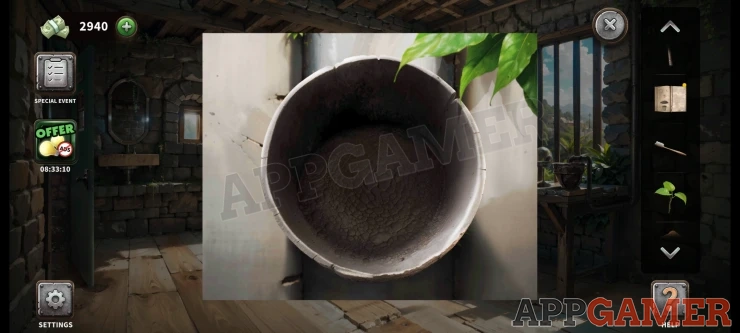
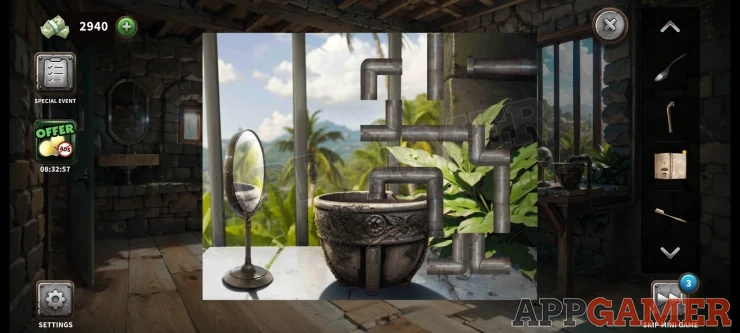
Tap to rotate the pipes to connect them together.
Solution: Show
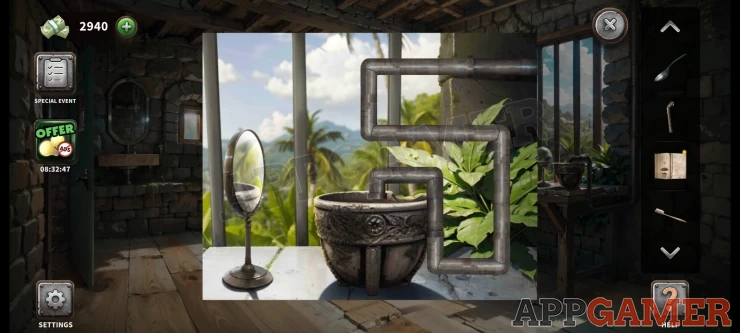
Once done the plant grows and you can collect a cocoa bean.
View the bean in your inventory and use the pipe on it to break it.
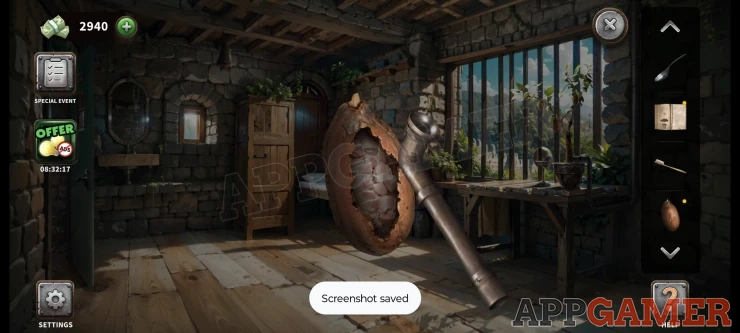
Then use the toothbrush to clean it, followed by the spoon to collect some seeds from it.

Now view a bat that is hanging from the ceiling.
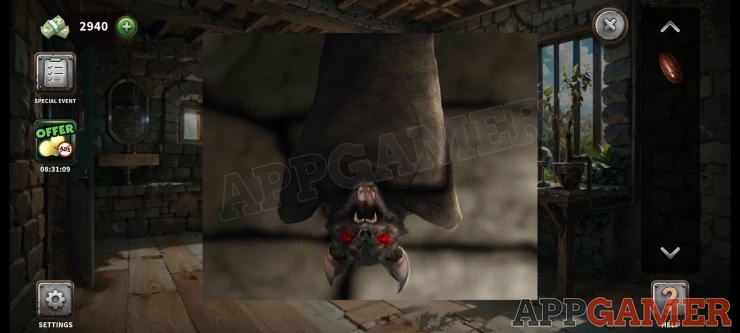
Give a seed to the bat. You can then collect a Key. Go through to the second room and use the key on the locked door, you can now escape.
Level 153 - Swazi Cell
Eswatini
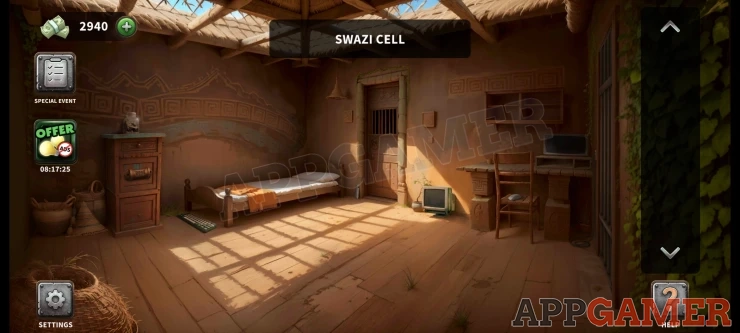
First collect a Jar of insects from the cabinet on the left.
Then collect a Keyboard from the end of the bed, a USB stick from by the door. And then collect a Mouse from the chair on the right.
View the screen on the desk, add to it the , keyboard, mouse and USB stick, this starts a mini game.
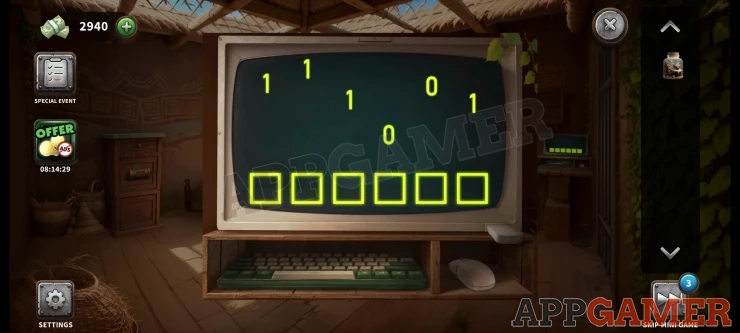
Binary numbers will drop down. Tap the screen when they land in the boxes to capture them. Once you have captured all six you complete the game.
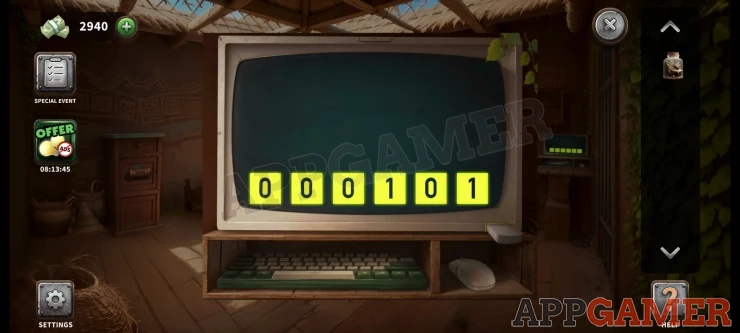
The gate on the right opens go though to the next room.
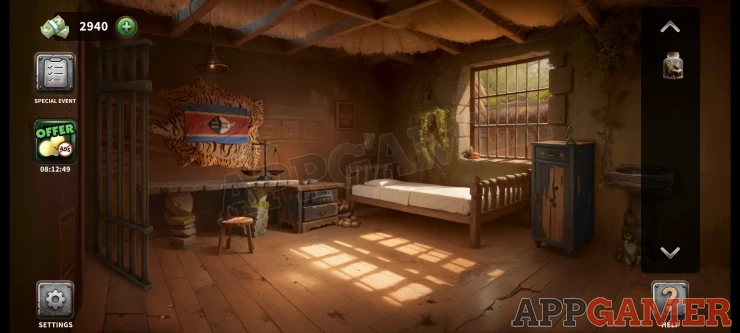
Collect a Chess piece from the stool. And another from the cabinet on the right.
Then collect the Carrots from the window, and Potatoes from the sack by the bed.
Collect a paper clue from above the head of the bed. Then view the cabinet on the right to see a crack in the door. Use the jar of insects on this and they will destroy the door so you can access the cabinet.
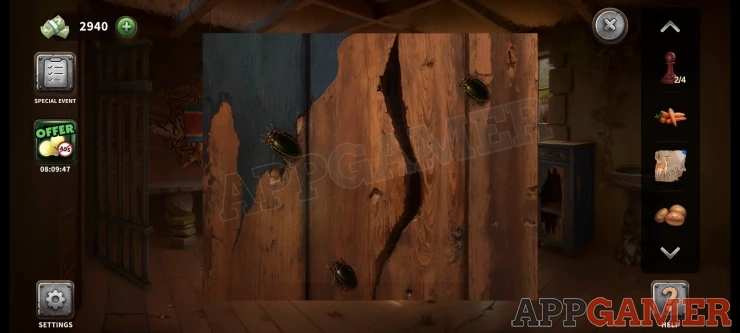
Collect a Cabbage and another paper clue.
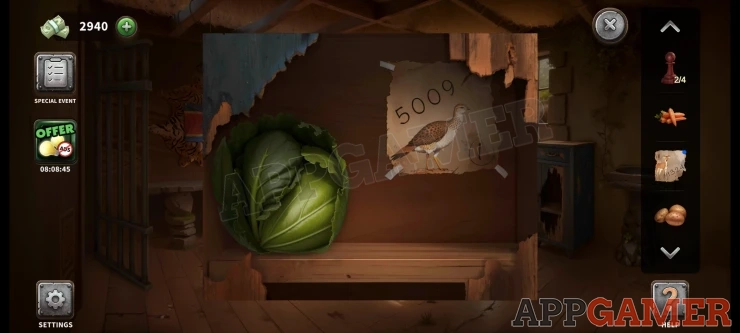
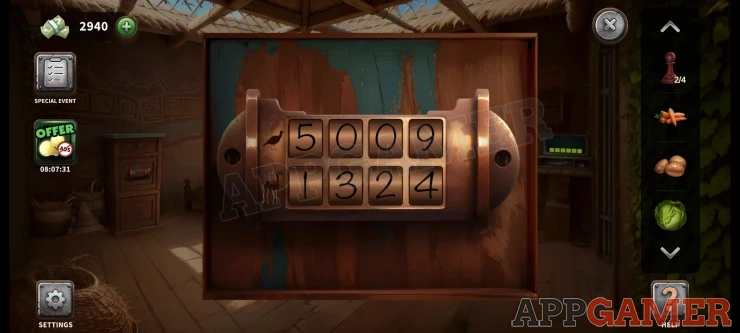
Go back to the first room and view the cabinet on the left, You need 2 codes to open this. Use the codes seen on the 2 clues with the matching animals.
Show
Collect the Onions and 2 more Chess pieces. Then return to the second room and view the scales on the table. Add the chess pieces on the left and the vegetables on the right.
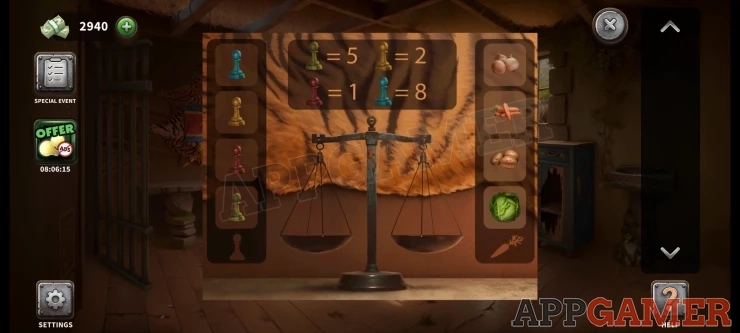
Now you can place each of the vegetable in turn onto the scales and then use the different weight chess pieces to work out what each vegetable weighs.
Onions = 2 Carrots = 1 Potatoes = 8 Cabbage = 5Show
View the nightstand by the bed to see a code lock on the drawer. The clue is the vegetable symbols above.
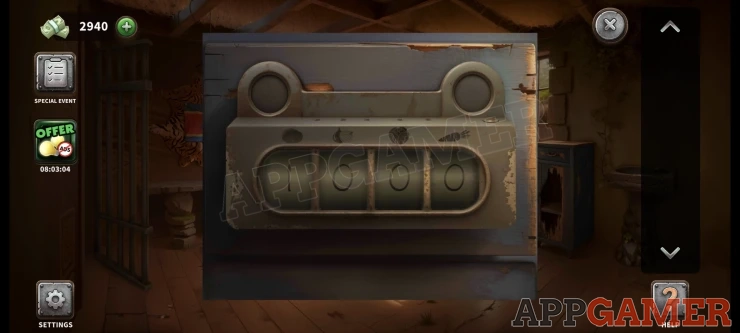
Enter the code from the weight.
Code: 8251Show
Collect a Key.
Go back to the first room and use the key on the door. You can now escape this cell.
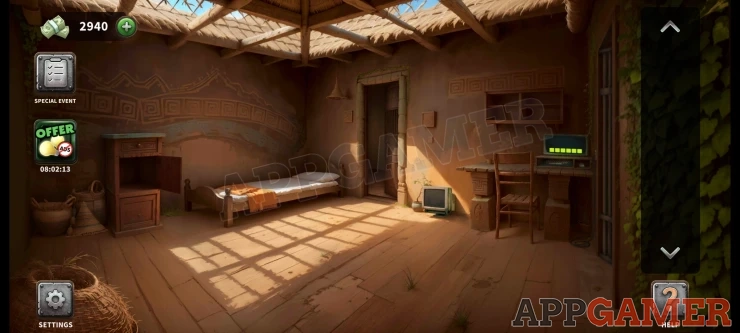
Level 154 - Burundian Cell
Burundi
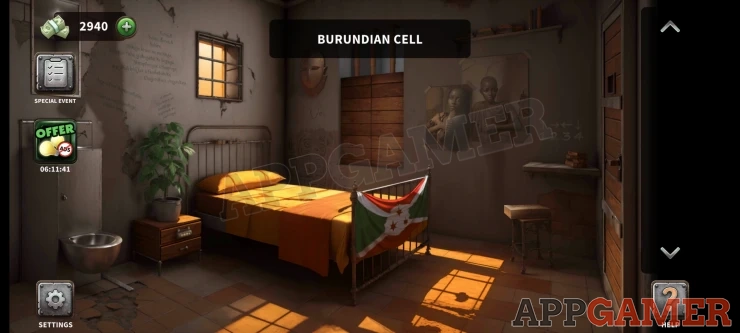
Collect a metal bar from the ground on the lower left.
Move the pillow on the bed and collect a metal hook. (1 of 3)
View the wooden cabinet on the wall and then use the metal bar to open the door. Collect a Red ball (1 of 4) and another metal hook (2 of 3)
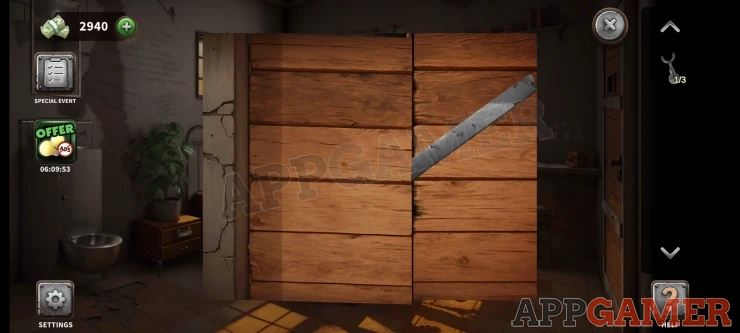
Notice the writing on the wall on the right it is a clue. Then view the nightstand by the bed, the drawer has a lock with 4 arrows.
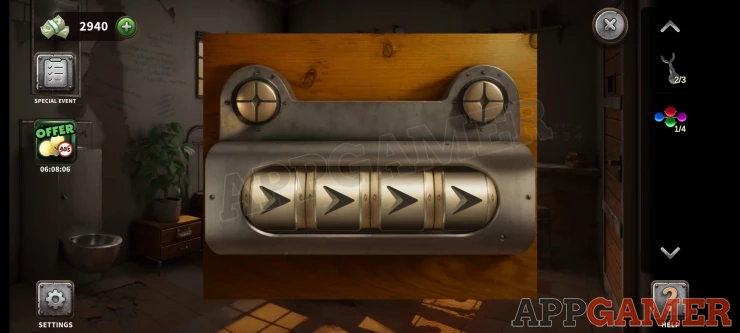
Tap the arrows to change the direction, set these according to the clue.
Up, Right, Left, DownShow
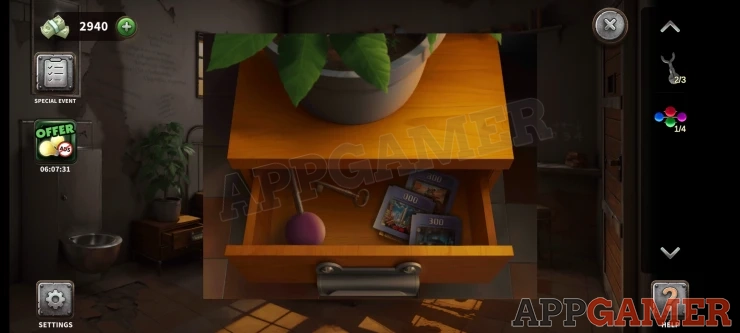
Collect a Purple ball (2 of 4), a Key and some Cartridges (1 of 4)
View the door on the right wall and use the key to open it.
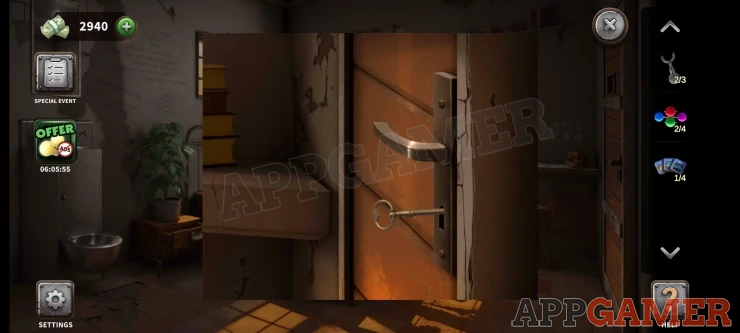
Go through to the next room.
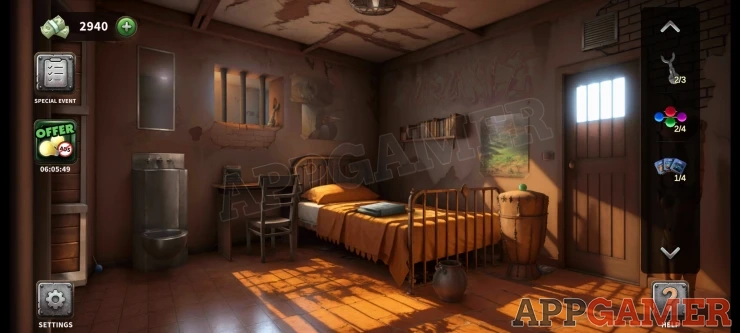
Collect a blue ball from the floor on the left and a green ball from the drum on the right (4 of 4), then also collect another Cartridge from the floor by the drum (2 of 4).
Collect another metal hook from the small window with bars. Then move an object on the small desk and then you can collect another Cartridge (3 of 4).
Go back to the first room and tap on the stool on the right to see a puzzle board. Add the 4 ball piece and the 3 metal hooks to start the game.
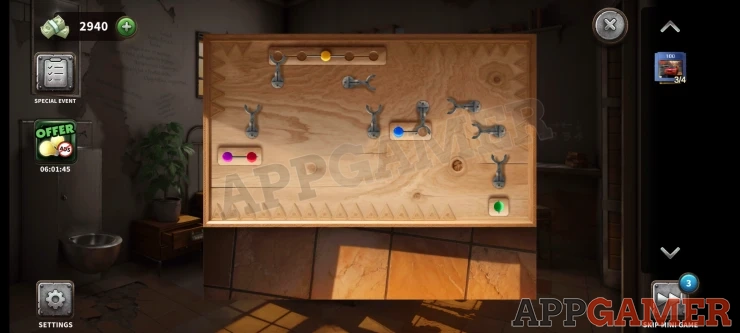
The 4 colored balls are places around the board.
Tap the hooks to rotate them. If the land on a ball they will collect it and any that they are attached to.
Find a way to move all of the balls to the top row with the yellow one that is already there.
You can move the pink and red ones together easily
Move the green one up to the side of the blue one next and then you can move them both together to the top.
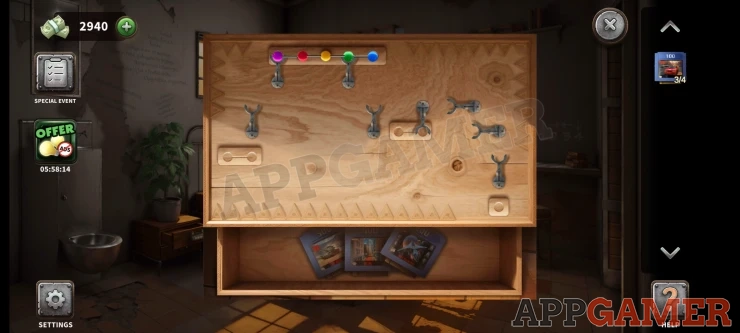
Once done you can collect one more Cartridge.
Go to the second room and view the box on the bed, you can add the four cartridges to this to play another mini game.
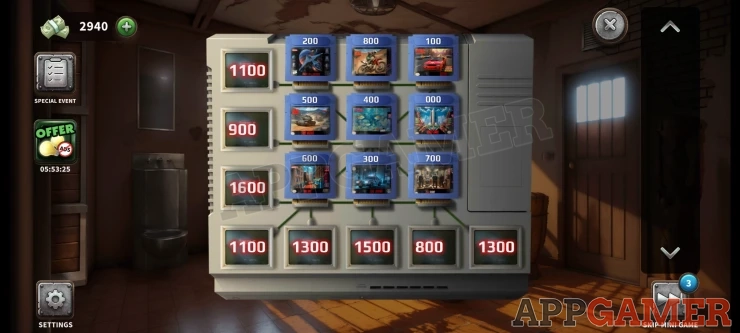
Each cartridge has a number. Tap pairs of the cartidges to swap their positions.
You need to make each row, column and diagonal add up to 1200.
Solution: Show
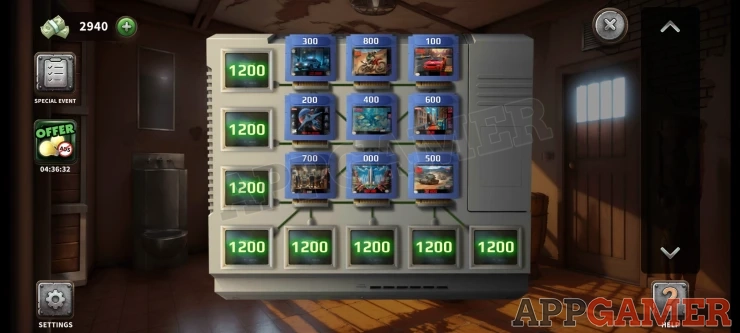
Once done the door is open and you can escape the cell.
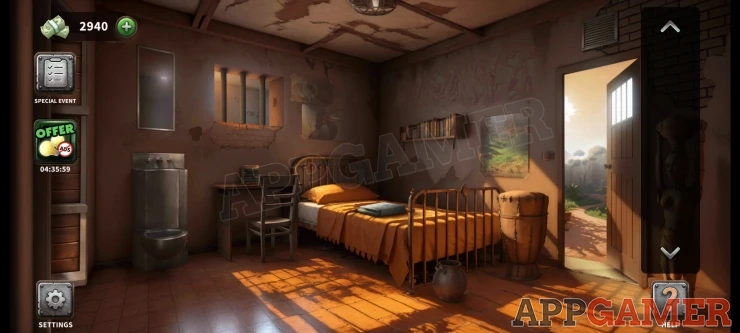
Level 155 - Eritrean Cell
Eritrea
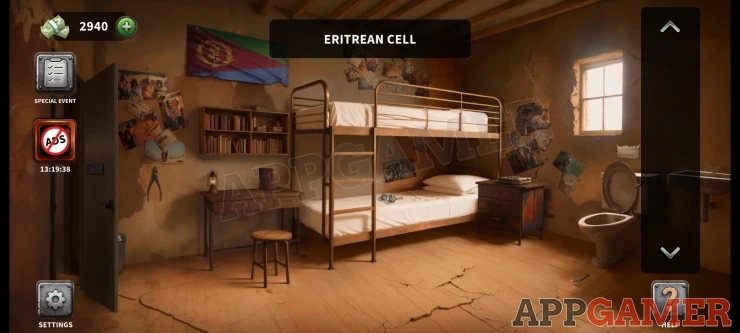
Collect some pliers from the wall by the door on the left. And then collect some glasses from the lower bed.
Collect a torn paper clue from above the toilet on the right. Then also collect a key from the floor below the toilet.
Tap on the desk on the left to see a locked book. Use the key to open this. This is a clue.
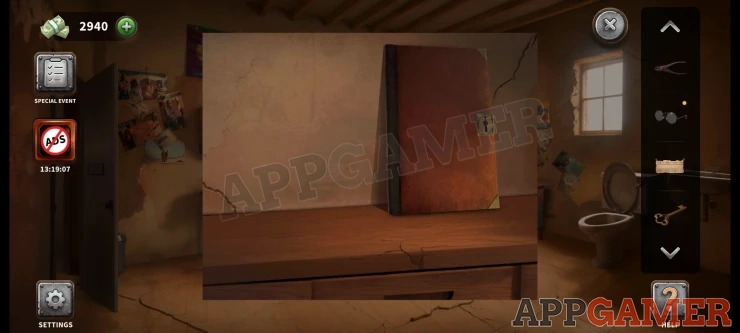
View the glasses in your inventory and use the pliers on this. This will let you collect a lens from the glasses.
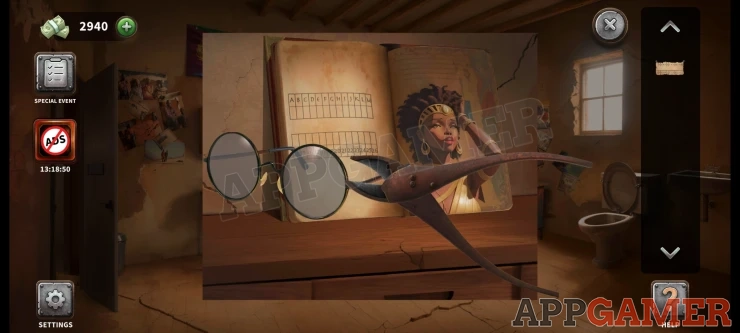
Use the glass lens on the book to cut off a page you will collect this paper clue.
Tap the door on the left to go through to the next room.
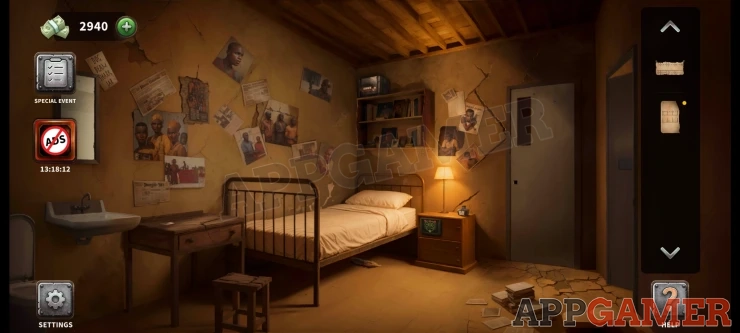
Collect a feather from under the bed. And an Ink bottle from the night stand by the bed. Then also collect another paper clue from the wall by the mirror on the top left.
Tap on the night stand to see a puzzle.
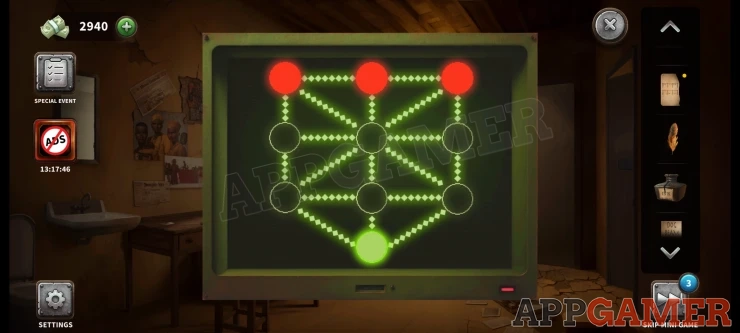
- Select a red dot and then a position to move it to on the grid.
- You can move all of the red dots one at a time.
- The green dot will move automatically after each turn you take.
- You need to trap the green dot in the bottom of the board so that it cannot move any more.
Solution: Show
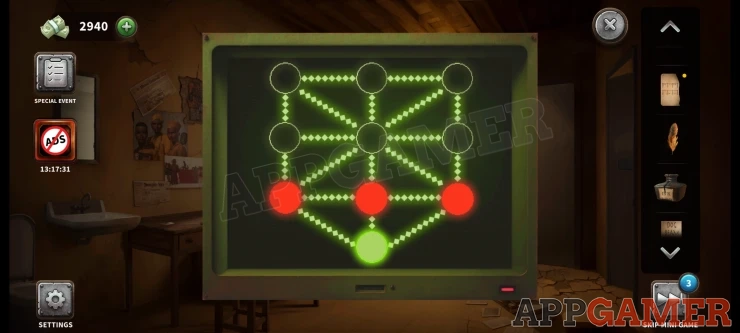
Once done you collect another paper clue.
View the small desk on the left. Place on it the small and large papers, the feather, and the ink.
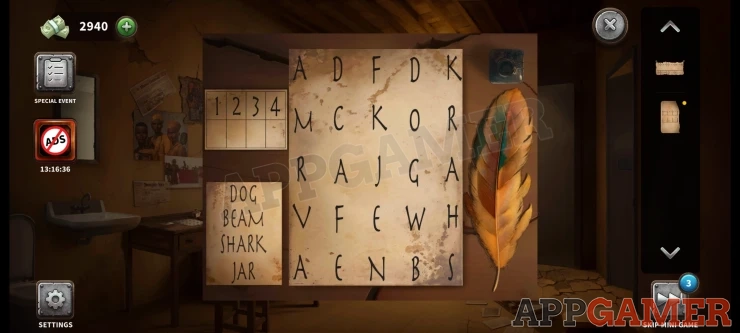
This is now a word search puzzle. There are 4 words written on the small paper.
Find these in the the letters on the large paper. Tap and swipe to draw lines on to the words.
When you do a code word will appear on the top left.
Solution: Show
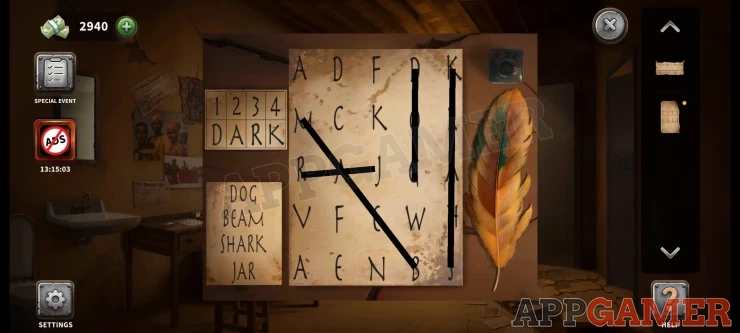
Next view a box on the top of the shelves above the bed. Use the code word to open this.
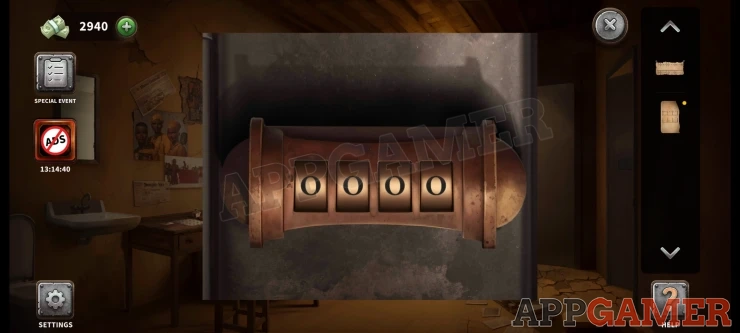
Collect some wooden blocks.
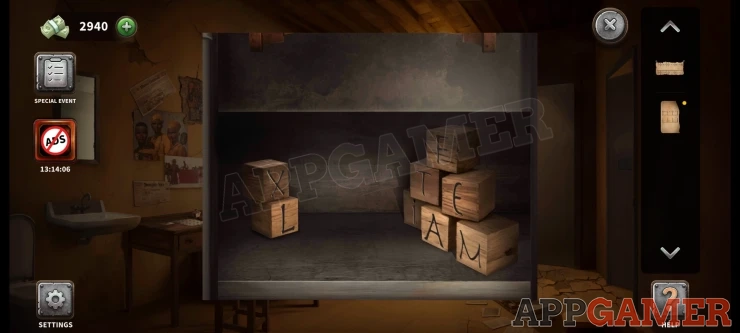
Go back to the first room and view a box on top of the night stand on the right.
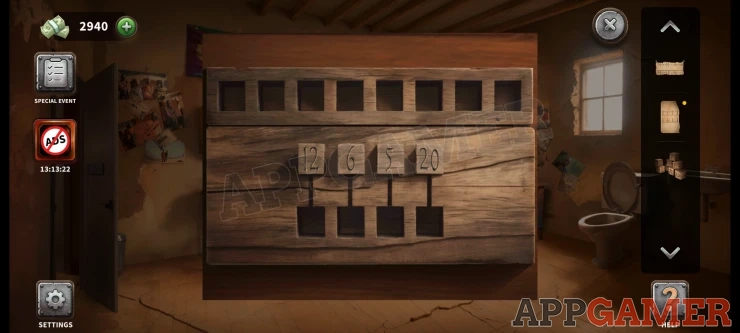
Place the blocks here and then view the large paper in your inventory and add the torn paper to it to complete the clue.
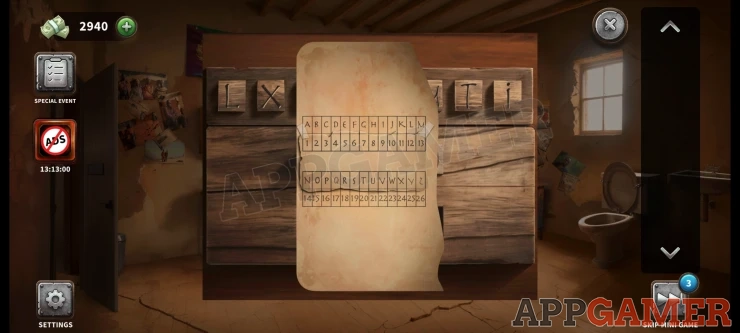
Now you can use the 4 numbers shown on the box and the clue on the paper to select 4 letter blocks.
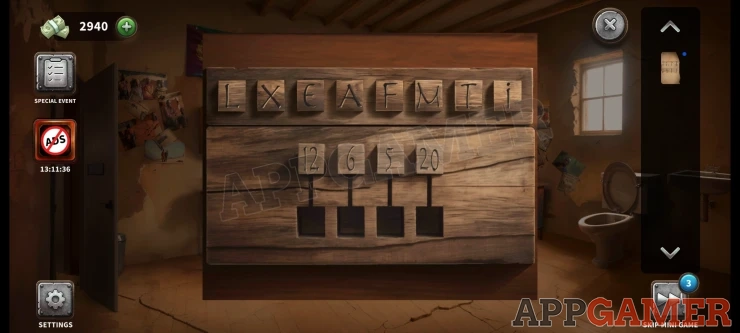
Solution: L F E TShow
Collect a Handle. Go back to the second room and use the handle on the closed door. You can now escape the cell.
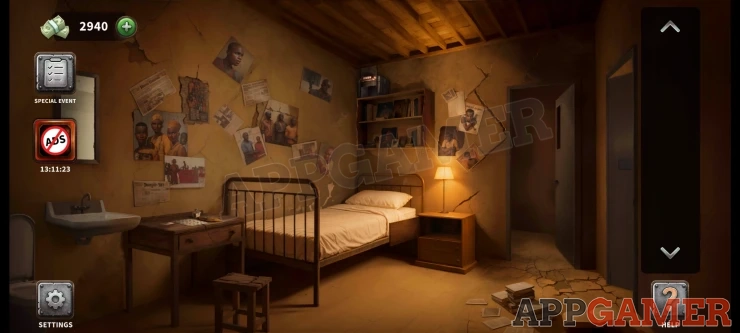
Level 156 - Botswanan Cell
Botswana
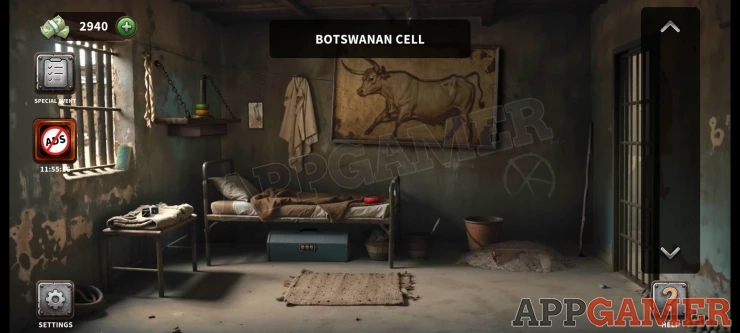
Collect a sponge from the window ledge and then a Red hoop from the bed.
Next collect a Paint brush from the pot at the end of the bed and a large stick from the corner by the door.
View the small bench under the window, notice the clue on the dice and then collect a Key.
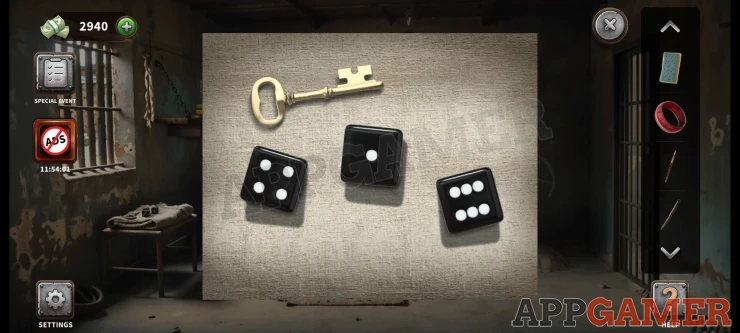
View a blue box under the bed with a combination lock.
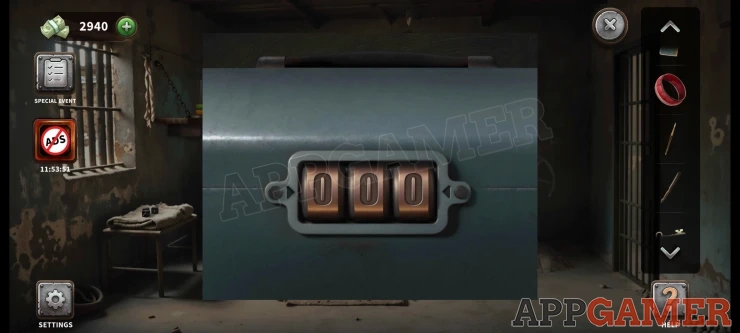
Use the clue from the dice to open it
416Show
Collect a brush head. Then view this in your inventory and add the large stick to it to make a broom.
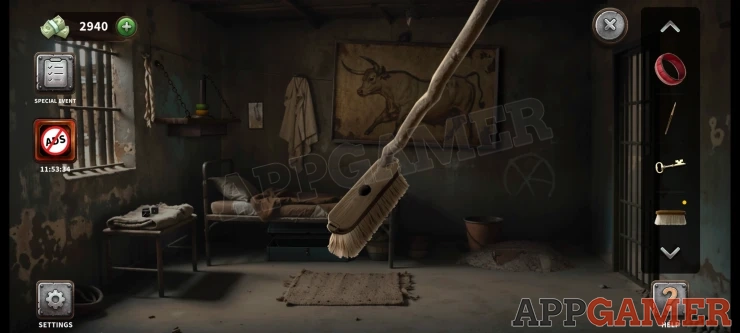
Use the broom on the pile of dust on the floor on the right to uncover a box. Now use the sponge on the front of the box to clean it, then you can use the key to open the box.
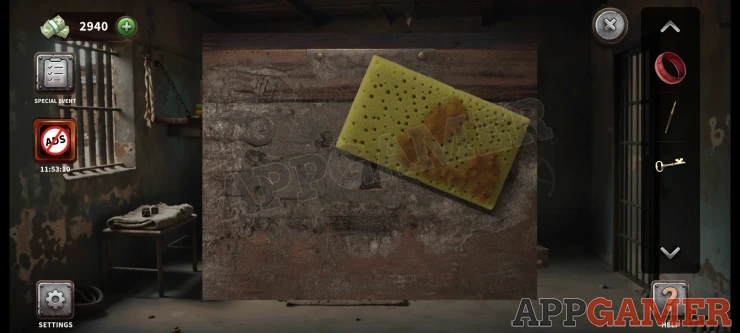
Collect the blue hoop and the clue paper.
Next view the shelf above the bed. Place the 2 hoops onto the toy and then use the clue to arrange them. Tap pairs of hoops to swap their positions.
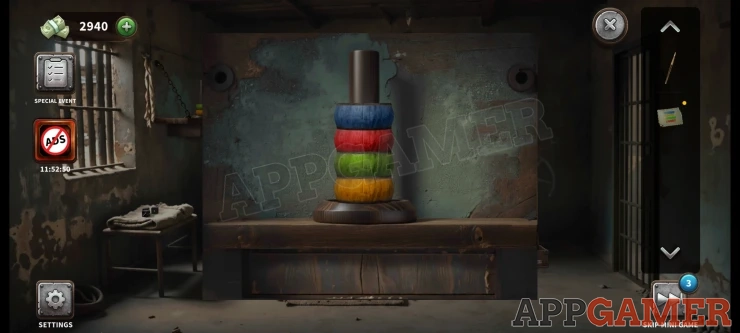
Once done you can collect an ID pass and a Knife. Tap on the door on the right and use the ID pass to open it.
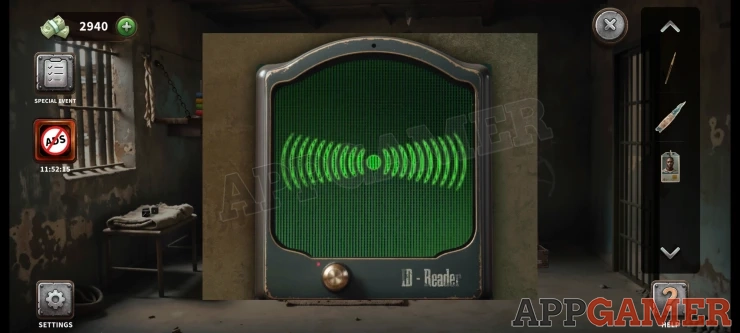
Go through to the next room.
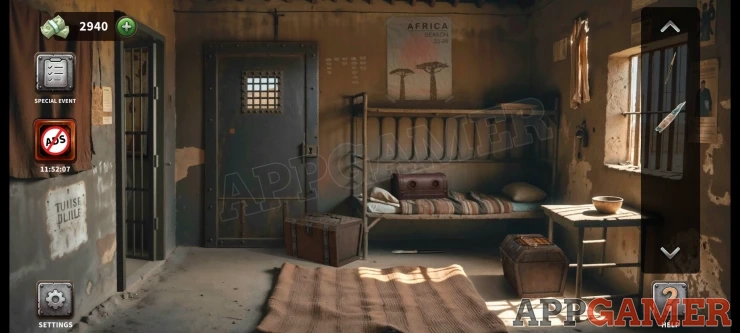
Collect another paintbrush from under the bed.
Now view a chest by the table under the window on the right. This has a puzzle lock.
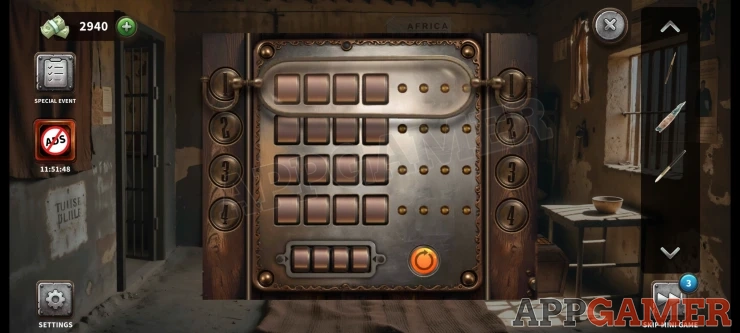
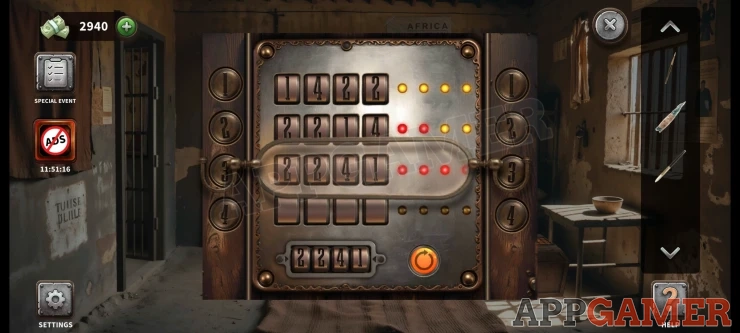
- Use the number buttons to enter four digit codes e.g. 1234. The puzzle will show lights to tell you if you have correct numbers in the wrong positions (yellow) or correct numbers in the correct position (red).
- Find the correct four digit code to open the box.
- After four guesses you will need to reset the puzzle.
Solution: 2241Show
Collect a puzzle piece (1 of 3). Then view the poster on the wall above the bed, use the Knife on this to cut it open.
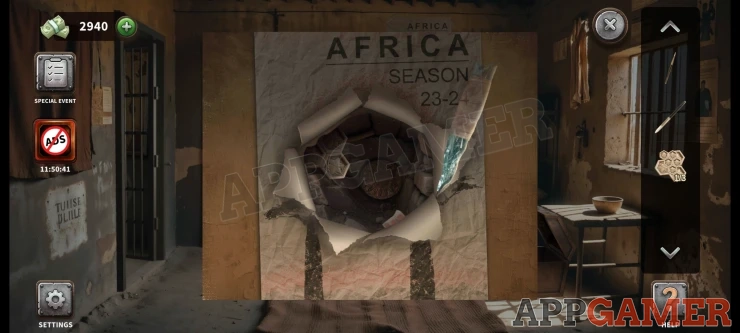
Collect a round token (1 of 2) and another puzzle piece (2 of 3)
And then also look on the on the wall to the left of the poster to see another clue.
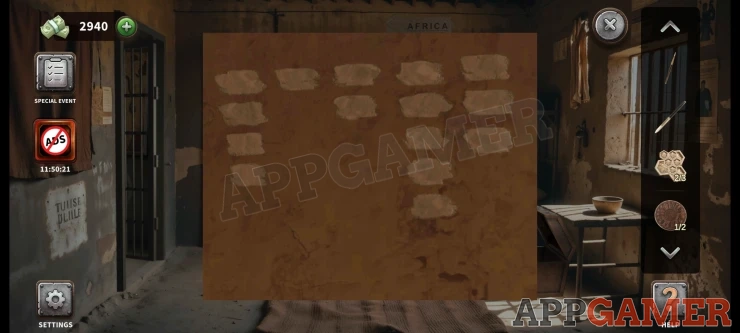
Go back to the first room and view the Picture on the wall. Add the 2 paint brushes to it.
Select the large brush and tap the lower line of the bull to draw it in. Then use the smaller paint brush to draw in the rest of the outlines.
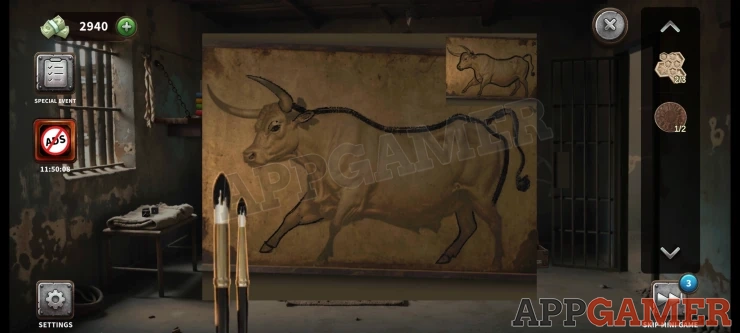
Once done the painting falls and you can look inside a hole. Collect a round token. (2 of 2)
Go back to the second room and view a box on the bed.
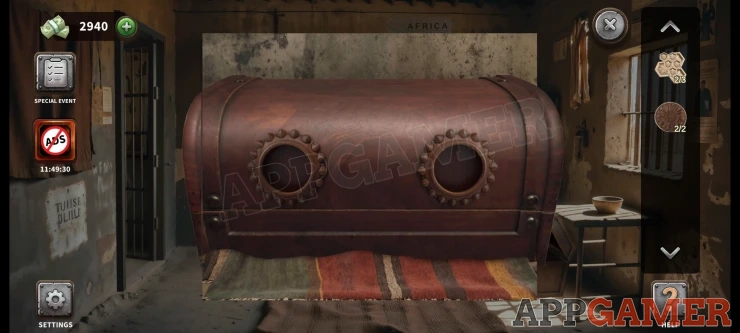
Add the 2 tokens to it to open it, collect the final Puzzle piece (3 of 3). Now you can look at the large chest by the door. Add the 3 puzzle pieces to it to start the puzzle.
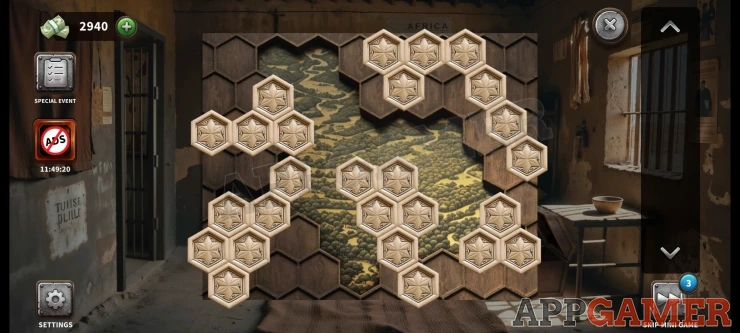
Arrange all of the pieces to fit into the gaps in the board. Once done you can collect the Lock pick.
Tap to view the lock on the door and add the lock pick to it to start the puzzle.
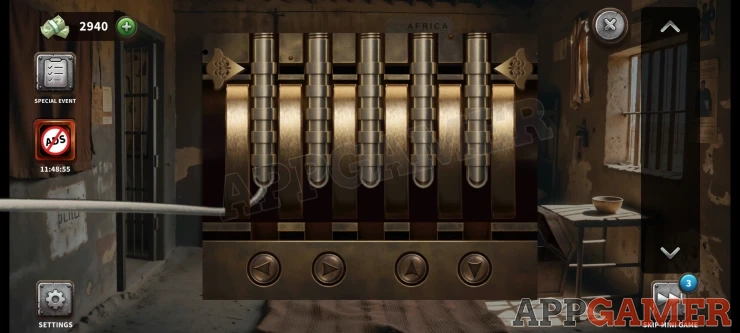
Use the buttons at the bottom to move the pick and lift or lower the 5 pins.
Set these according to a clue to open the door.
Solution: Follow the clue on the wall to the right of the door.Show
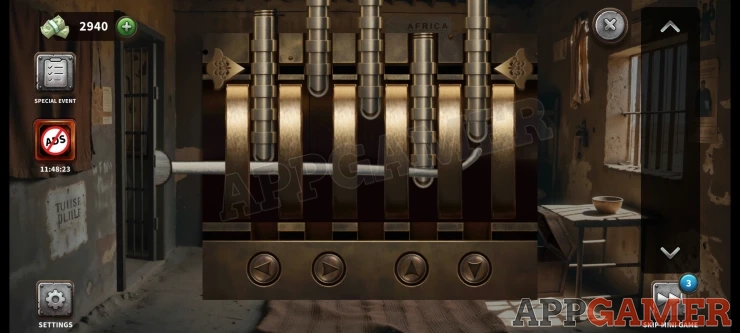
The door opens and you can escape this cell.
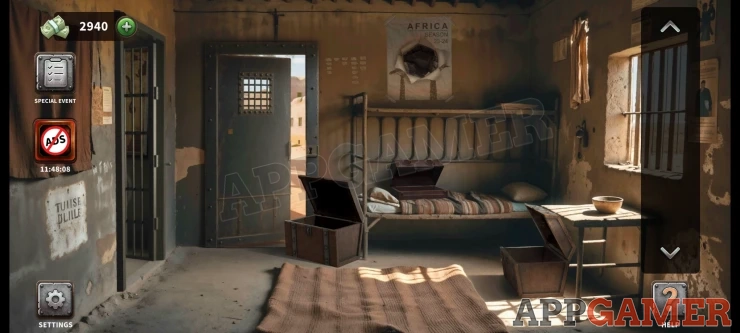
Level 157 - Armenian Cell
Armenia
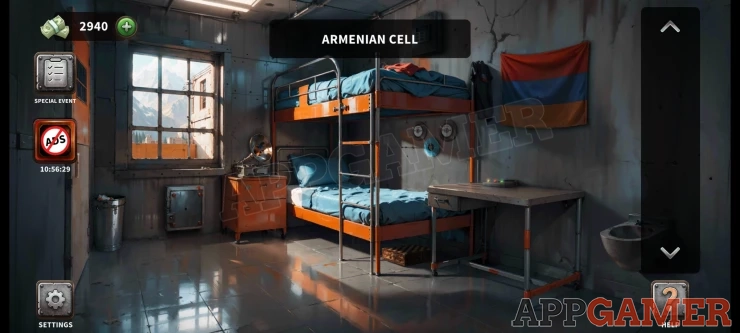
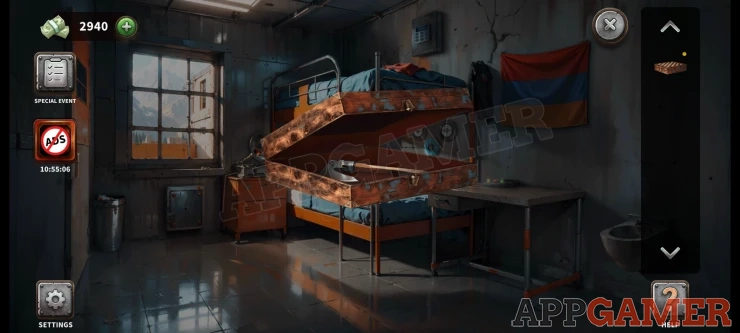
Collect a chess box from under the bed. View the chess box in your inventory and open it to collect an ax.
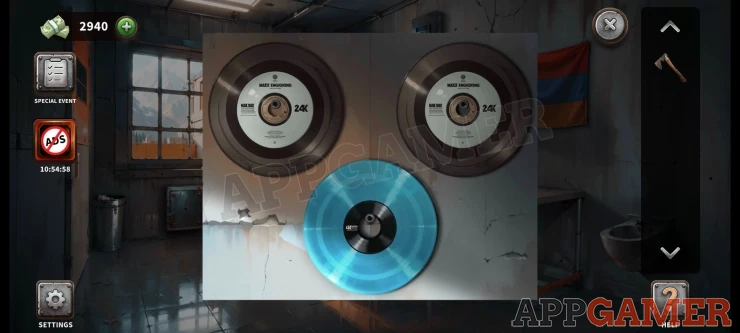
View 3 disks on the wall above the lower bed. Collect the blue disk.
Now place the blue disk onto the record player by the bed. You will see a 4 digit code. Then view a wall box above the top bed.
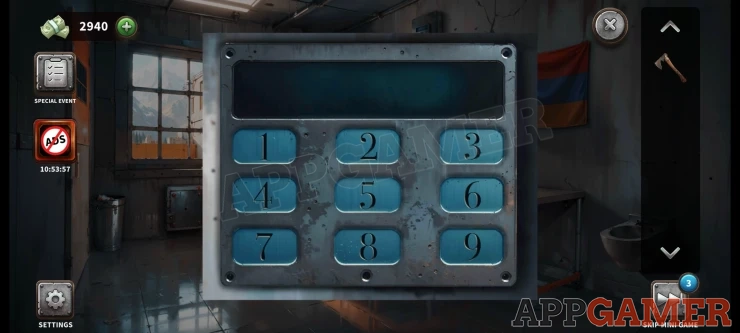
Use the 4 digit code to open this. You will find a puzzle game.
Code: 7475Show
Tap the chickens at the top to lay a colored egg. You need to get the correct color egg into the matching colored nests.
Tap any of the wooden beams below the chickens to adjust it and make a path for each egg to reach the correct nest.
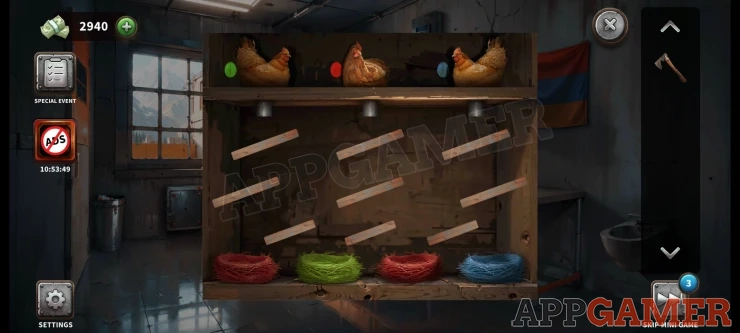
Once done you can collect a feather
Open the small cabinet below the record player and collect a Rubber glove.
Use the rubber glove on the bin on the left to collect a hoop.
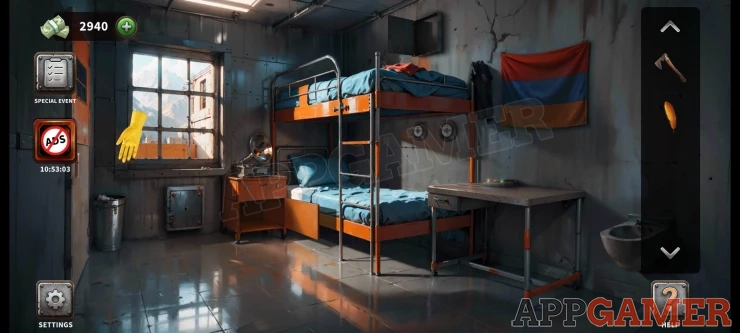
Tap on the table on the right to see a puzzle game.
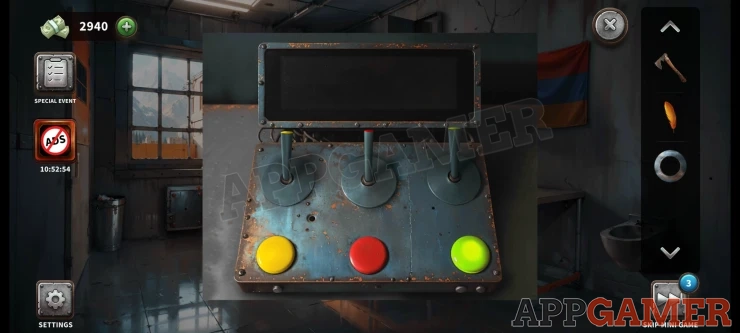
- Tap the colored switches to see a tick and a cross.
- You need to tap then in the correct sequence to complete the puzzle.
- Use trial and error to work it out.
- If you make a mistake and get a red cross then you need to start again.
Solution: Yellow, Green, Red, Red, Green, GreenShow
A drawer opens, collect a round handle.
View a safe door under the window and add the Hoop to it, then also add the round handle.
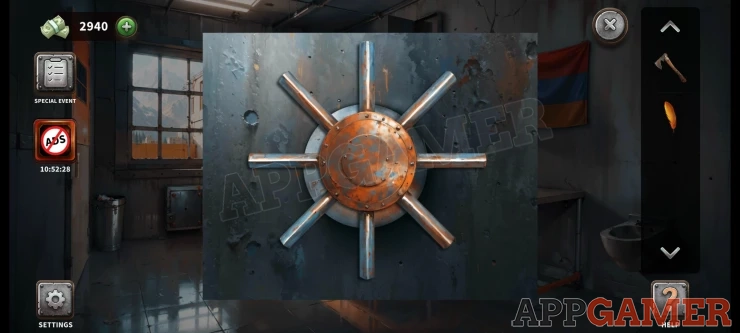
The door opens and you can collect a Door Handle. Now view a door on the far left. Add the door handle to it.
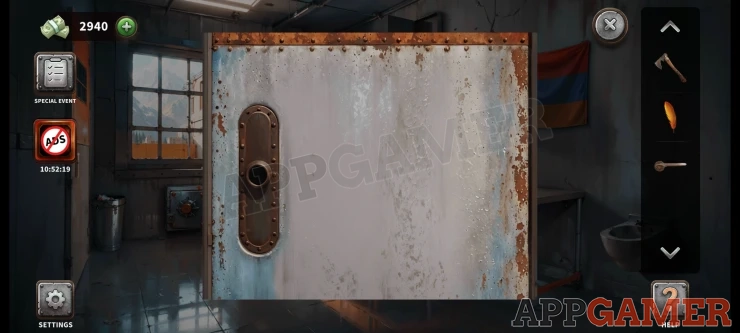
Go through to the next room.
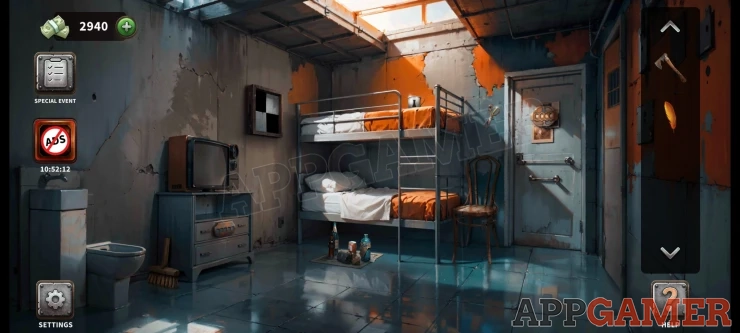
Collect a brush from the floor by the toilet. Collect a white mug from the top bed. And some scissors from the wall by the door.
View the pillow on the lower bed, use the scissors here to cut it open.
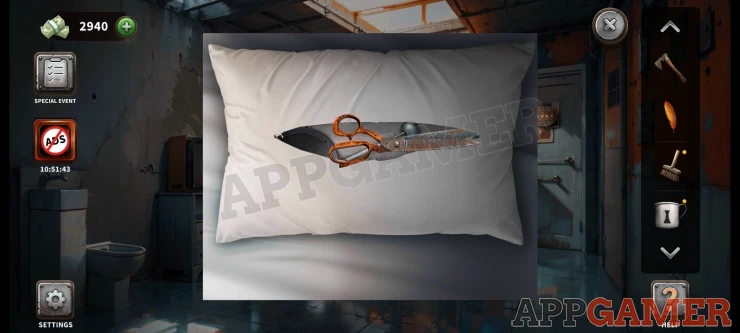
Collect an Antenna. View the TV and add the antenna to it. You will then see a code word on the screen.
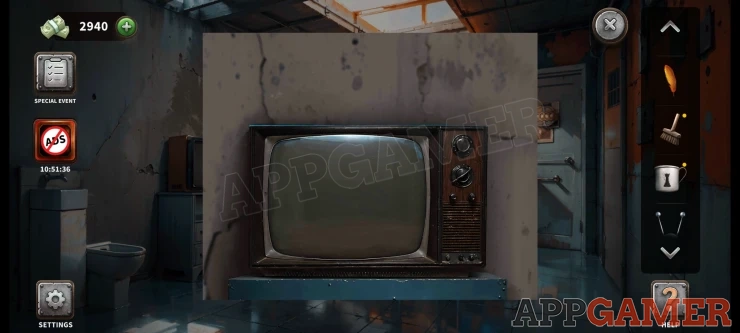
View the drawers below the TV to see a code entry. Use the letters from the TV screen to open it.
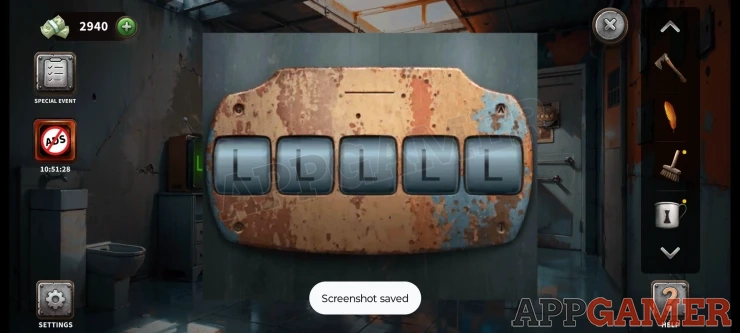
Collect a black mug.
View the 2 mugs in your inventory to see chess piece symbols. You can also tap to see the ones on the other sides of the mugs.
You will then have 2 symbols for black and 2 symbols for white.
Now view a back and white picture on the wall. This also has mugs with chess symbols on them.
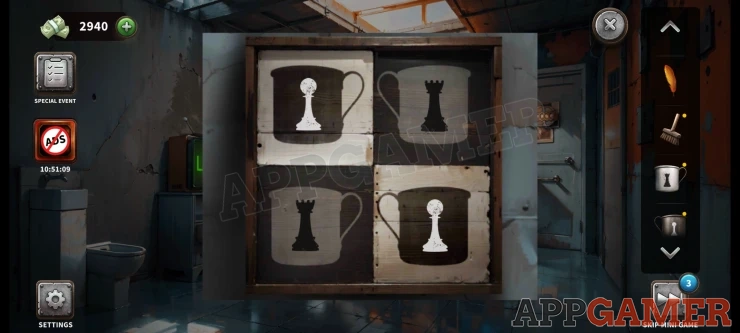
Tap the 4 mugs to change them. Copy the ones that you have seen on the mug. Remember also the directions of the handles.
Once done collect some Duck tape. Next use the Ax on the wooden chair by the door, you will collect a leg.
Now view the brush head in your inventory. and add to it the chair leg and the duck tape. You then get a broom.
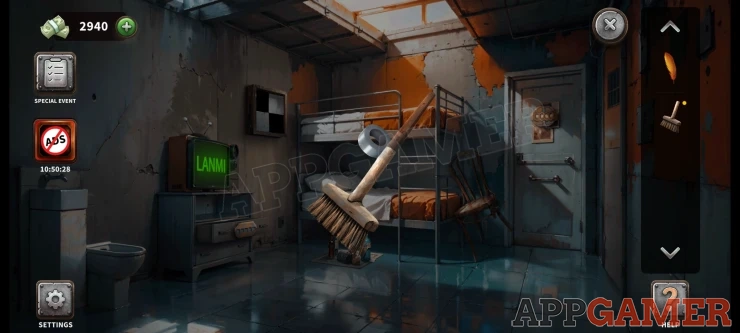
Use the broom on the rubbish on the floor to clear them away and you can then view a paper on the floor.
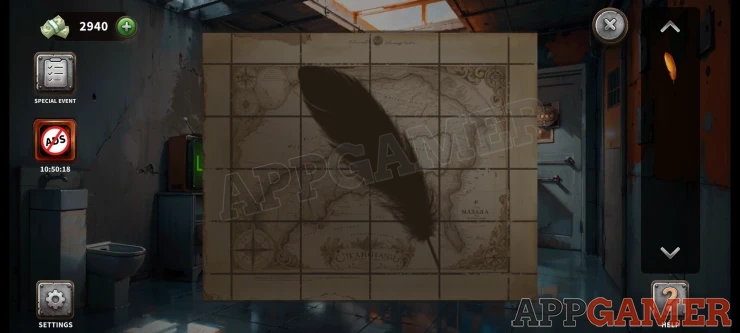
Add the feather to it to start a puzzle.
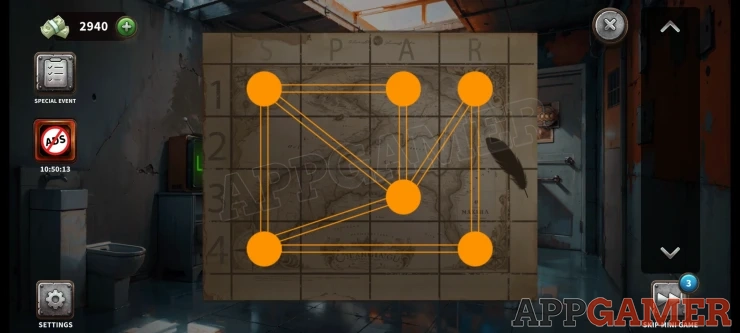
Tap points on the grid to draw lines between them. Complete the lines without having to cross over the same line twice.
Hint: Start in S1
Once done you will see 4 numbers on the map.
View the door by the beds to see a code entry.
Use the code from the map.
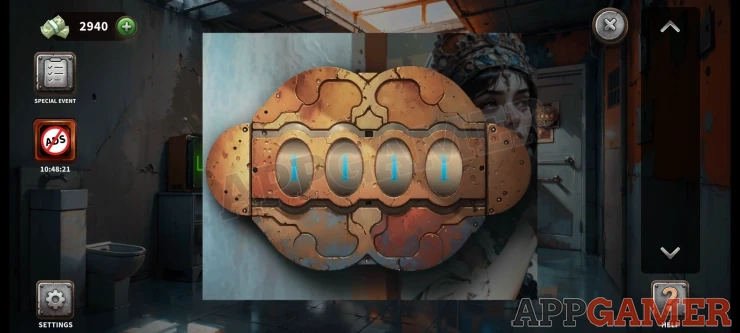
1989Show
The door opens and you can escape this cell.
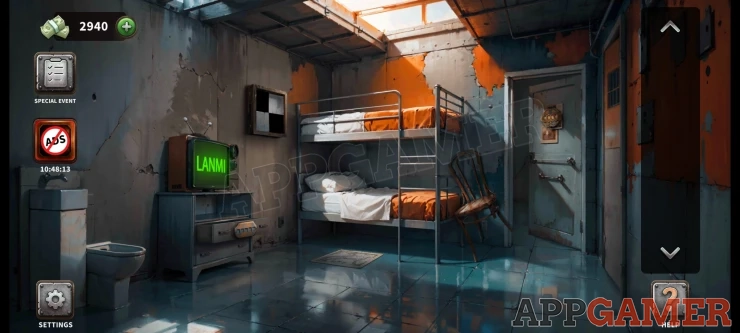
Level 158 - Central African Republic
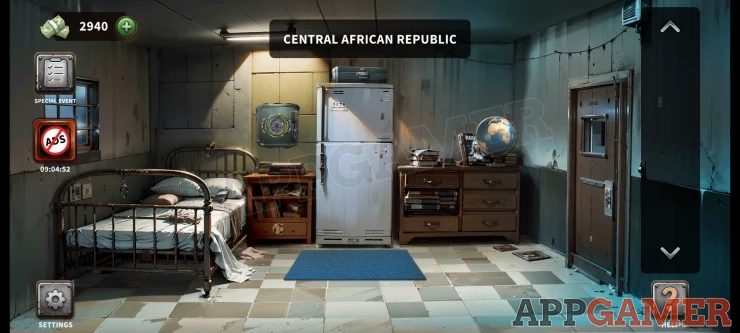
Collect a mobile phone from the bed.
Open the freezer at the top and collect a wine bottle.
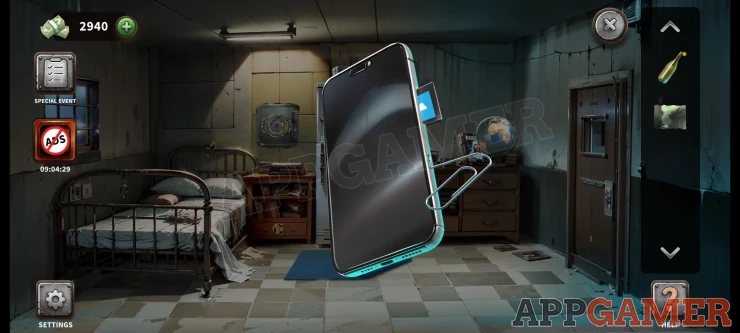
Lift the corner of the blue rug and collect a picture piece and a paper clip.
View the mobile phone in your inventory and use the paperclip on it to eject the memory card.(1)
Now view a safe on the wall to the left of the fridge, this has a puzzle.
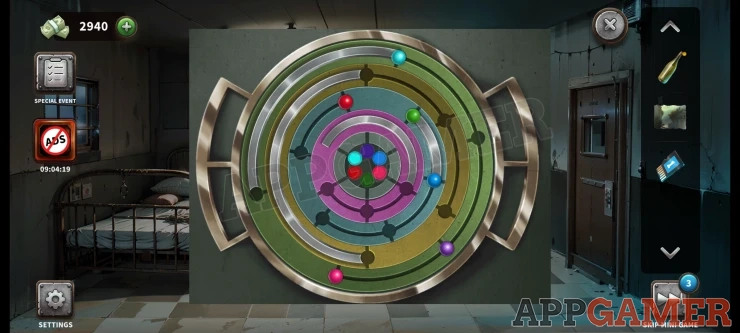
- Rotate the rings on the board to move the colored balls.
- You can tap them to them pass them between rings.
- Move all of the colored balls to the collect spot in the center.
- Be careful to match the red and pink balls correctly.
Solution: Show
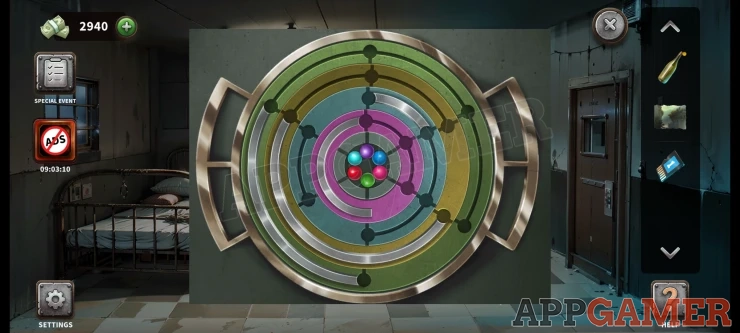
Once done you will collect another memory card (3)
Now view the bottom drawer on the nightstand. There is another puzzle.
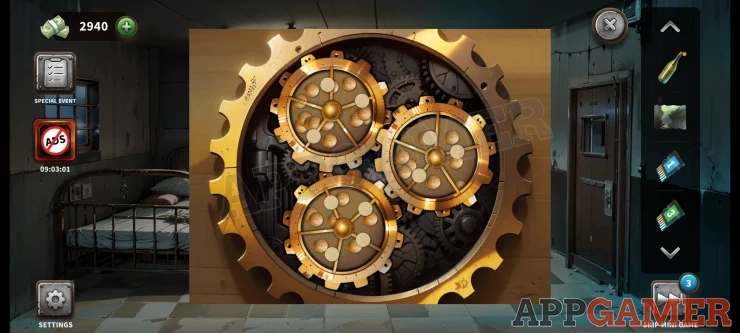
- There are 3 dials with circles on them. You can rotate these.
- Behind each dial are some other fixed circles.
- Rotate the 3 dials until the circle on the dial all cover one of the circles on the background.
Solution: Show
Collect a corkscrew. View the wine bottle and use the corkscrew to open it.
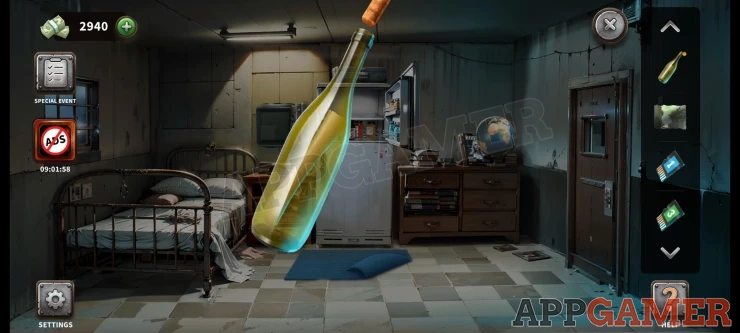
You will get a paper with a color clue.
Blue Red Yellow GreenShow
View the globe on the right and tap it to turn it and find a 4 digit code.
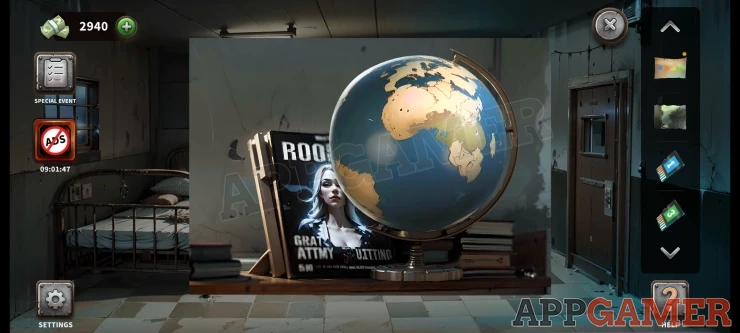
1321Show
Now view the case on top of the fridge. You need the code and colors to open this.
Solution: Show
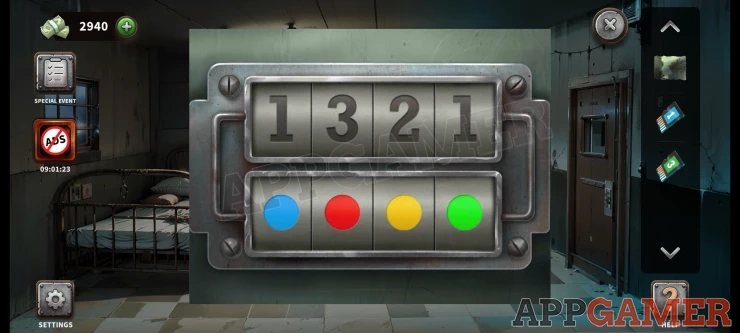
Collect a memory card (2)
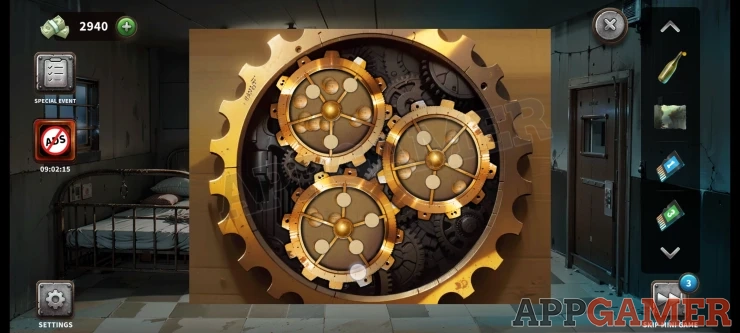
Now you can view the door on the right. Add the 3 memory cards to it.
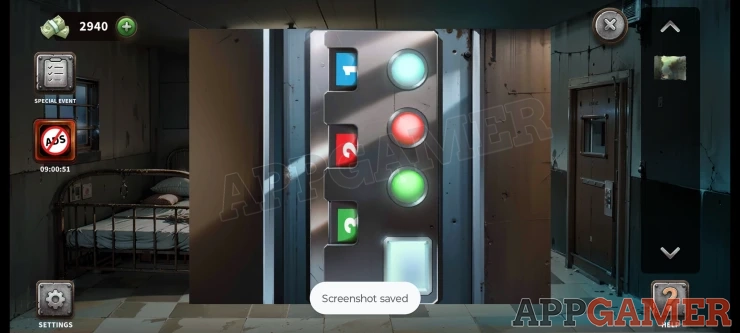
Go through to the next room.
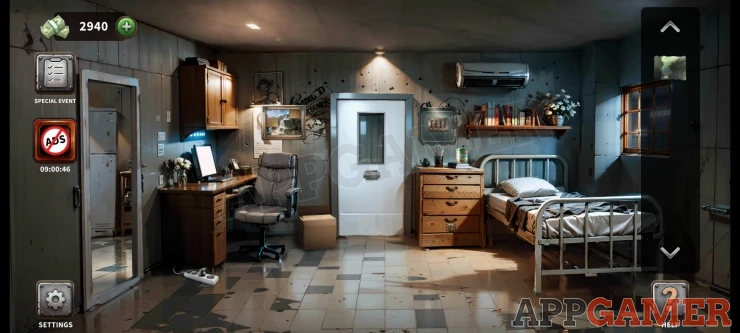
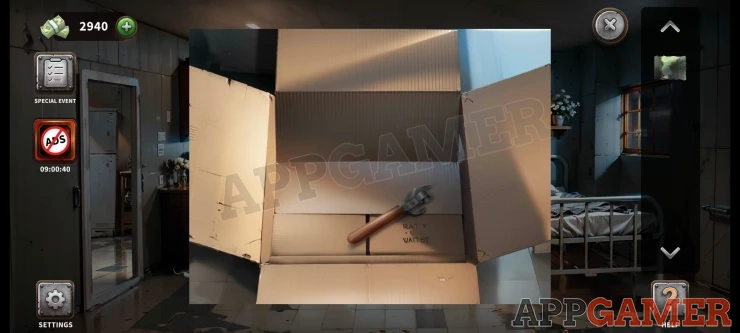
View a cardboard box by the door. Collect a tin opener.
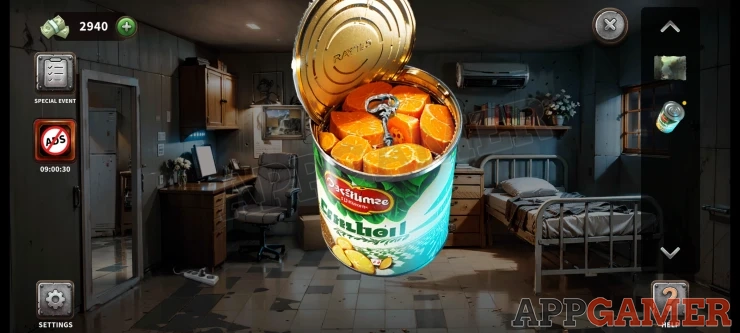
Collect a Tin from the drawers by the bed. Then view it and use the opened to open the lid. Collect a key.
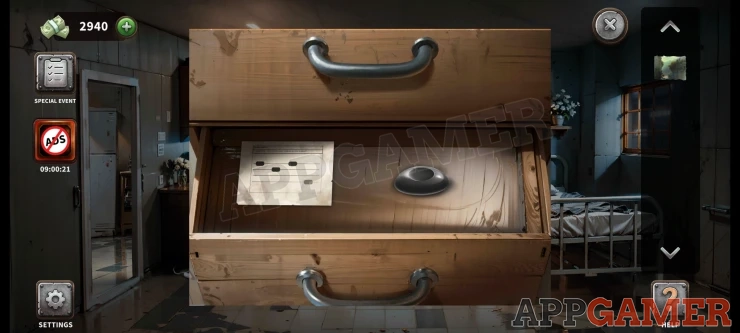
View the bottom drawer by the bed and use the key to open it. Collect a paper with a clue and a knob.
Now view a panel to the right of the door.
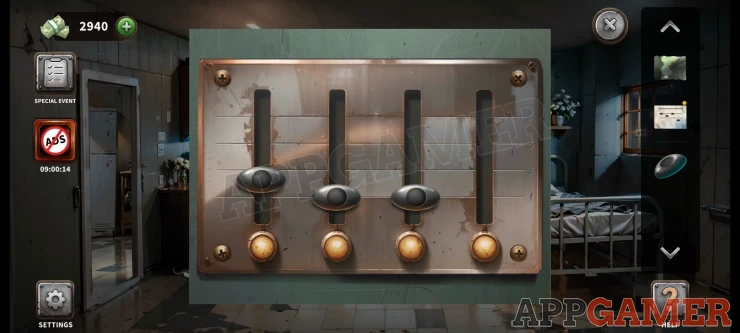
Add the knob to it and then use the clue on the paper to set the knobs to the correct positions.
It took me a bit of fiddling to get it to accept the positions. keep adjusting them by small amounts if it doesn't work
Solution: Show
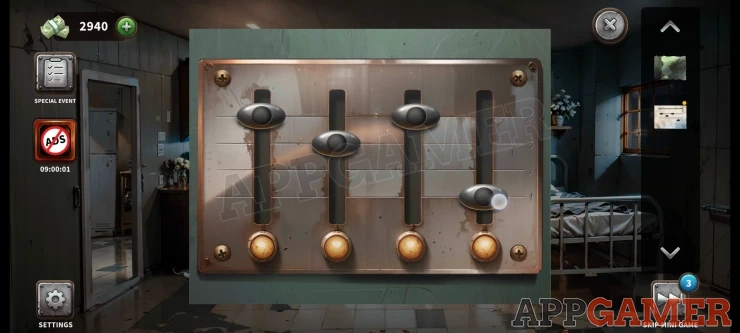
Once done collect another picture piece.
Now view a painting on the wall to the left of the door. there are 2 pieces missing.
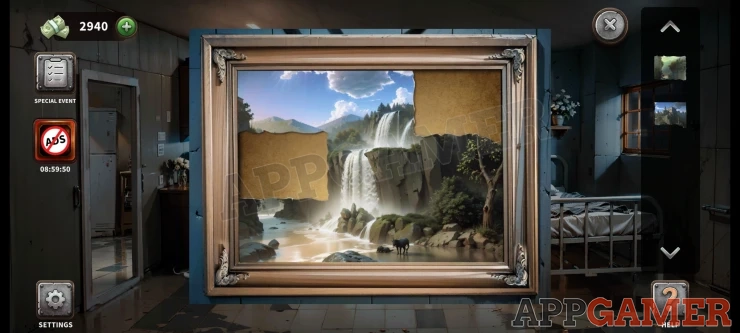
Add the 2 pieces to it and then you can collect a switch. Next view the power supply on the floor. Add the switch to it and you can turn on the computer.
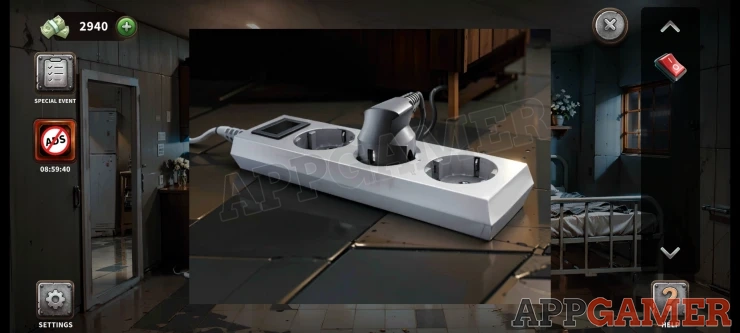
View the screen on the desk to start another mini game.
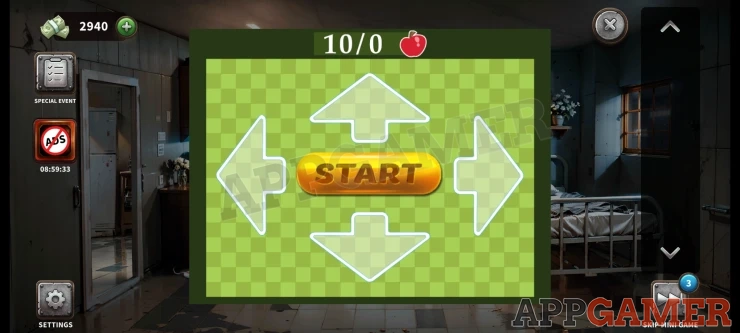
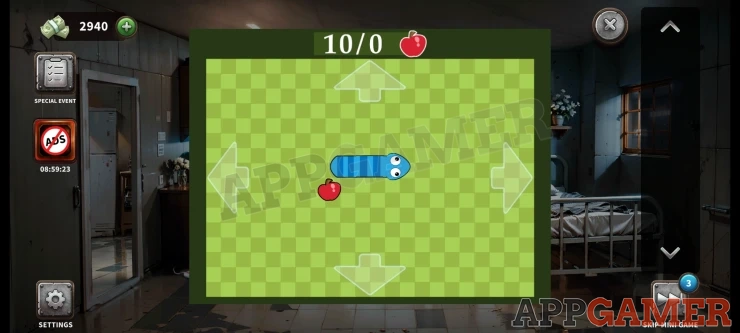
- This is a snake game.
- use the arrows to direct the snake and collect the apples and avoid the rocks.
- Eat 10 apples to complete the game.
You will then see an Exit code. Tap on the white door to see the code lock. Enter the code from the game.
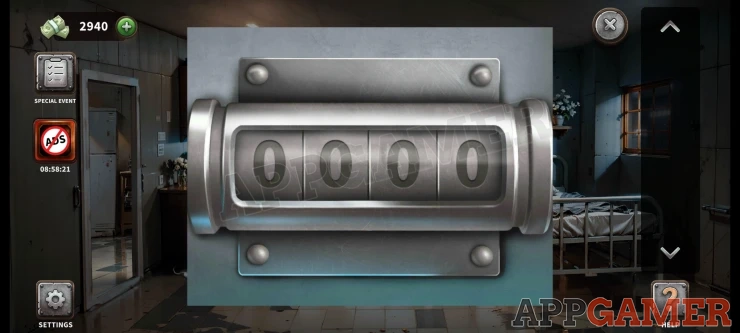
Code: 7747Show
The door opens and you can escape this cell.
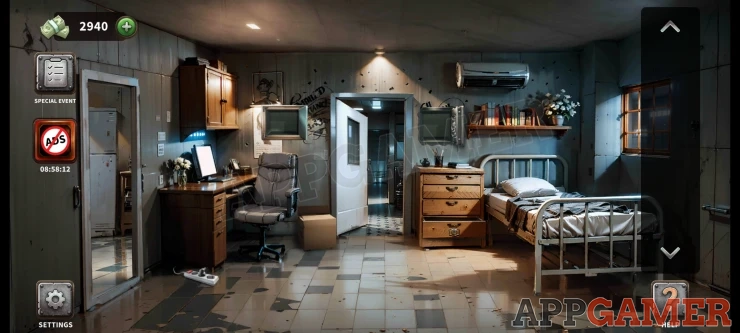
Level 159 - Maldivian Cell
Maldives
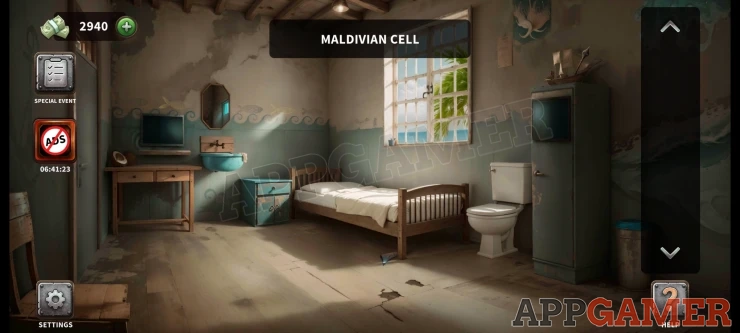
Collect a Weapon piece from the floor by the end of the bed.
Then also collect a spear piece from the model ship on the cabinet on the right.
Tap the screen on the cabinet on the right to see a puzzle.
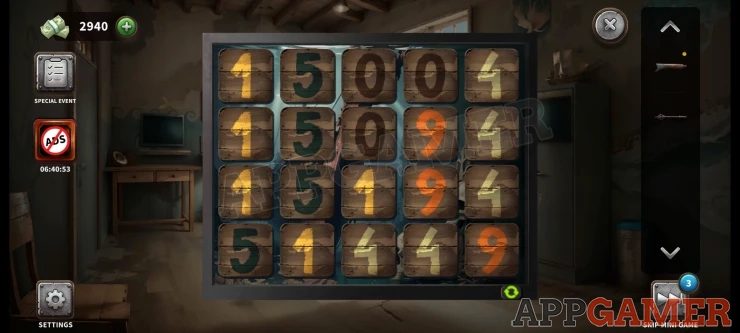
There is a grid of numbers. You can make the numbers disappear from the board by drawing a line through at least 3 of them that are nest to each other, either left/right, up/down or diagonal.
Remove them all from the board to complete the puzzle.
Solution: Remove all of the 0's, Then all of the 9's, Then all of the 1's, then all of the 5's and all of the 4'sShow
Collect a Weapon Stock and a Bank card.
View the weapon piece in the inventory and add the weapon stock to it. Then also add the spear piece. You will get a spear gun.
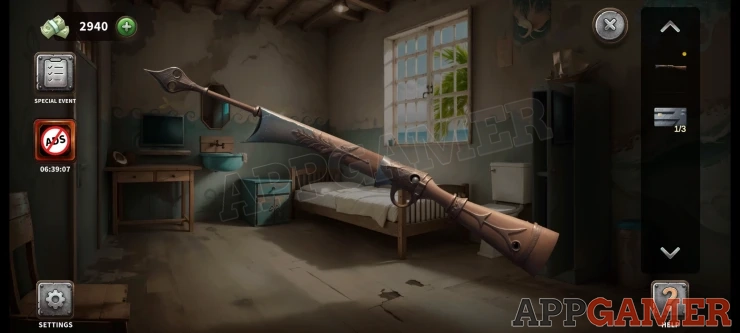
Now view another screen on the table on the left. Add the spear gun to it to start a puzzle
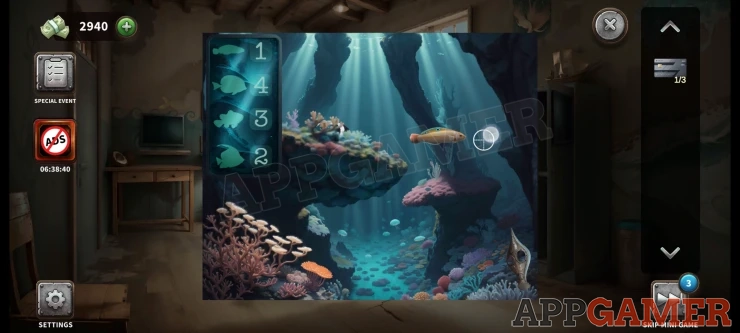
- Drag the target on the screen and release it when you want to shoot at a fish.
- Lead the fish a little to make sure you hit it.
- Keep shooting fish until you have completed all of the targets needed that are shown on the left.
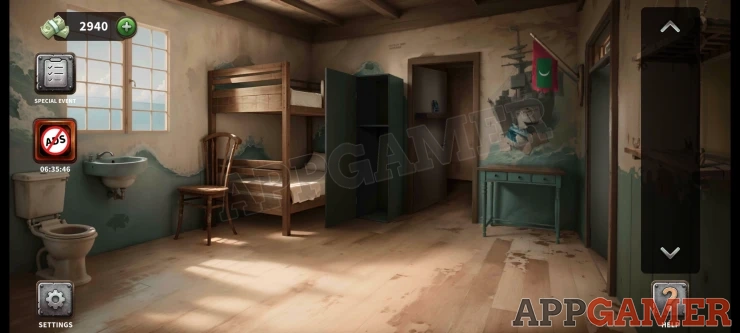
Once done the door on the left opens, go through to the next room.
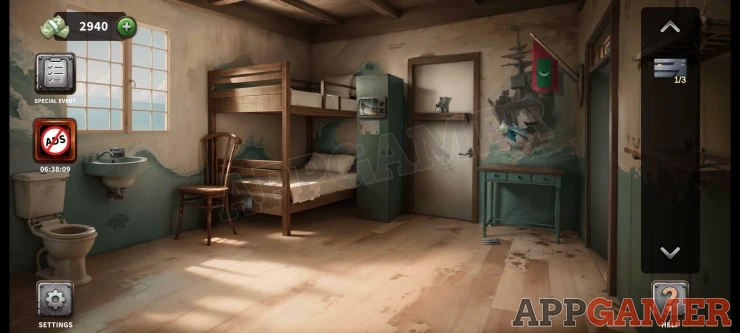
Collect another bank card from the sink on the left. And another one from the floor on the right.
Collect a square token from the end of the lower bed. And another one from the wall above the desk on the right.
Now view another screen on the tall cabinet by the bed.
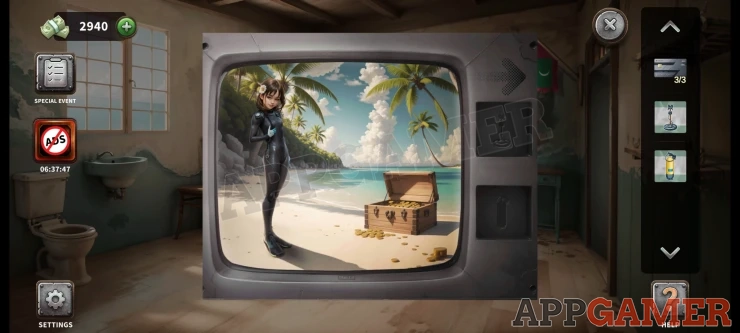
Add the 2 tokens to it to start another puzzle game.
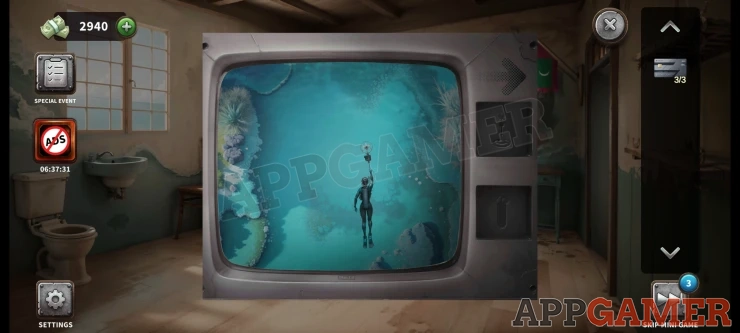
Drag the diver around with the metal detector. Move it carefully until the indicator turns green.
Solution: Show
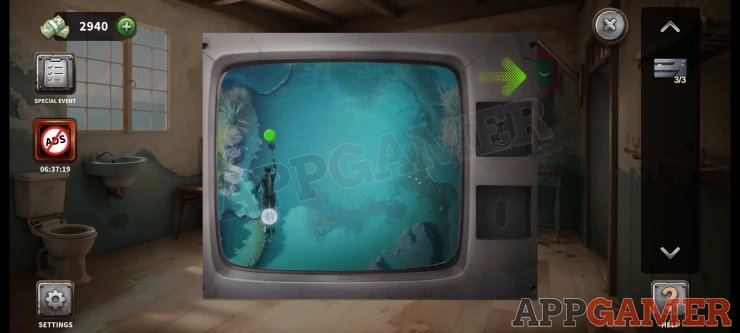
Once done press the green arrow to open the cabinet and then collect the Card reader.
Now view a shelf on the white door. Place the card reader onto it.
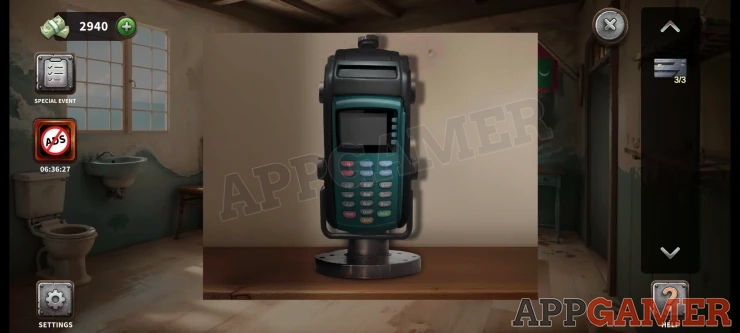
Use the 3 cards on the card reader and you will start another puzzle.
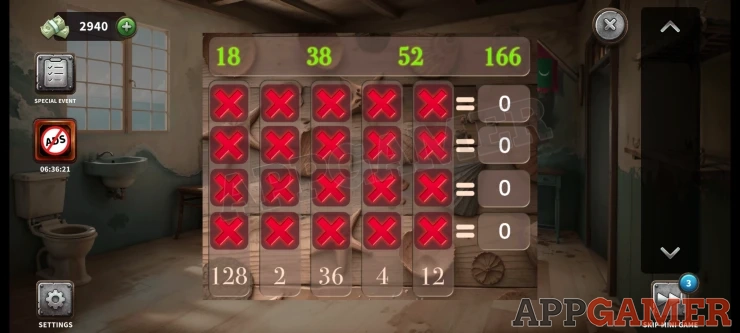
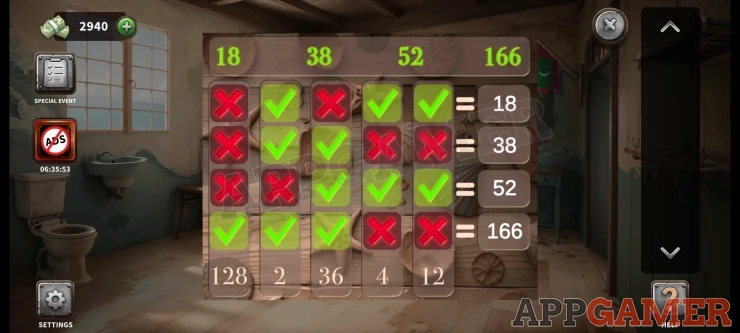
This is a maths puzzle.
The 4 numbers at the top are your targets.
Tap the X symbols to turn them to Ticks. This will select and add the number at the bottom of the column to the total for that row on the right. Select the correct combination of numbers for each of the 4 rows to add up to the different numbers shown at the top.
Solution: Show
Once done the door opens and you can escape the cell.
Level 160 - Tongan Cell
Tonga
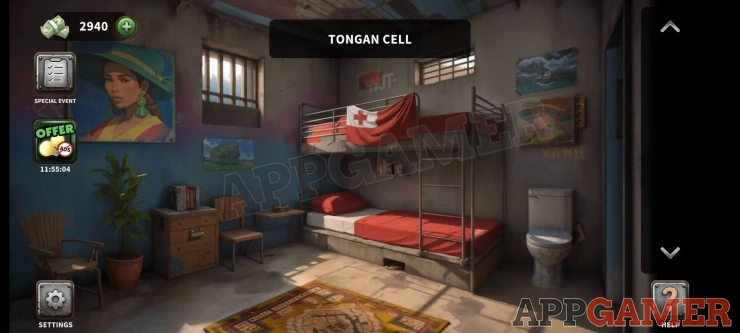
Collect a block (1 of 4) from the small shelf by the bed.
Collect a tube of red paint from the chair on the left of the room and a yellow paint tube from under the bed.
Collect a red sheet from the wall above the top bed and then also a paper clue from the side of the toilet on the right.
View the paper clue in your inventory and then add the red sheet to it, this will reveal a code.
Show
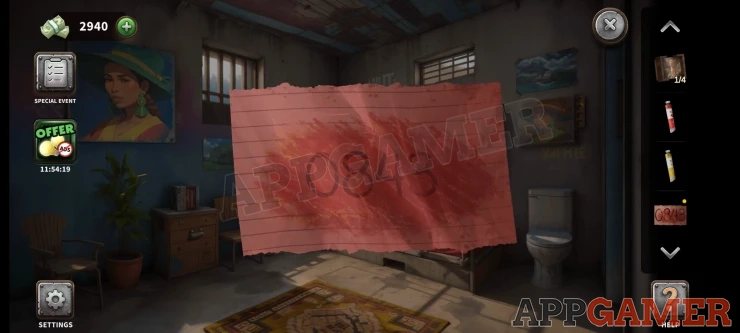
Now view the drawers to the left of the room to see a code entry. Use the code from the clue.
Code: 0843Show
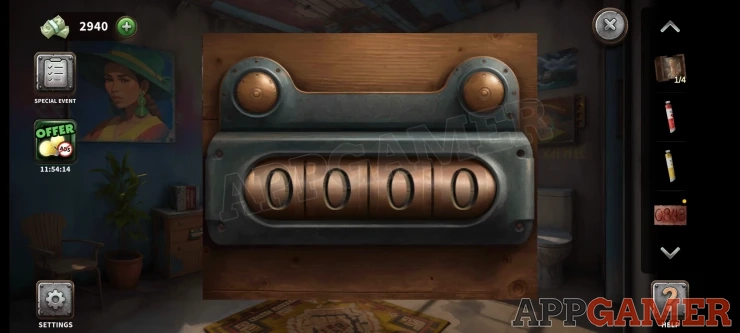
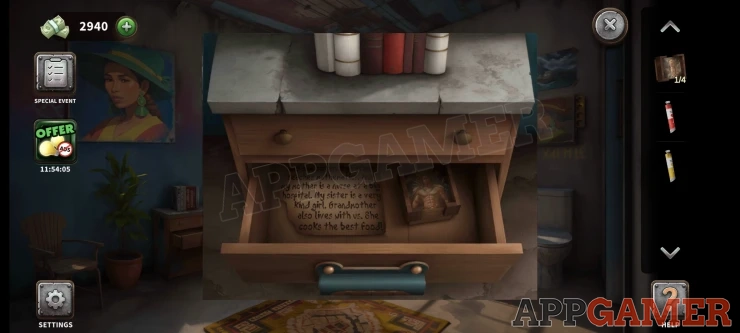
Collect another paper clue, with writing on it, and another block. (2 of 4)
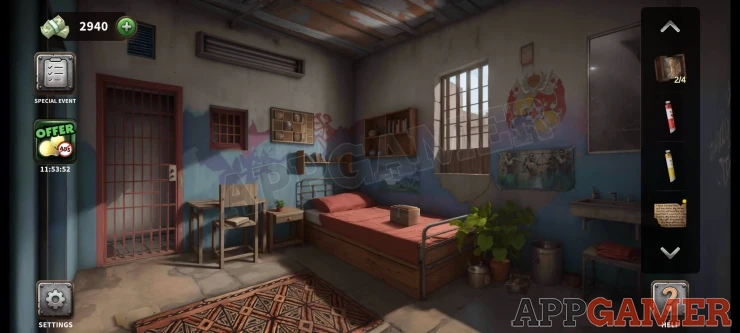
Now tap the door on the right to move through to he next room.
Collect another paper clue from the chair. And then one more paper clue from the floor on the left under the corner of the rug. This one has holes in it.
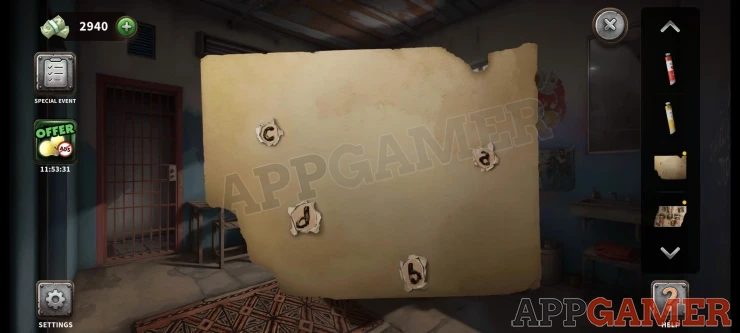
View the Paper clue with the writing on it in your inventory and then add the last one with the holes to it to see a clue.
Show
Now view a box on the bed.
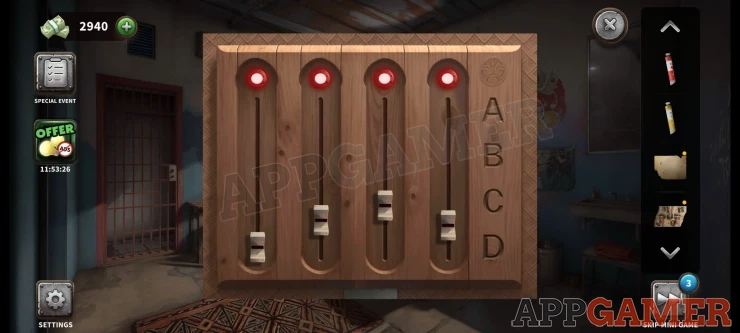
Set the sliders according to the clue on the paper. This is a trick though as you need to set the sliders to the positions of the letters on the paper clue and not the letters themselves.
Solution: Show
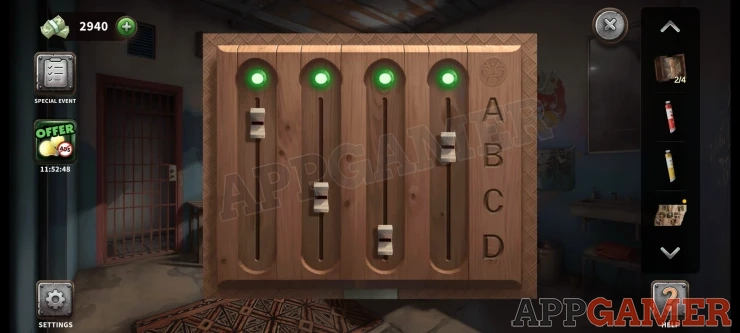
Collect 2 more tubes of paint and another block (3 of 4).
Collect another block from the floor on the right. (4 of 4).
Now vie a panel on the wall above the bed.
Add the 4 blocks to this to start a puzzle.
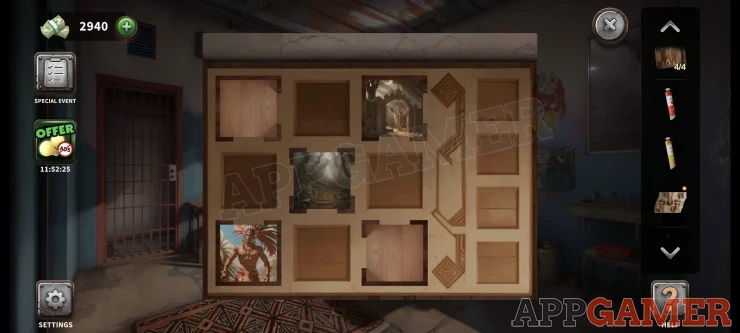
- View the paper clue with the pictures on it to see a story board with images and arrows directing between them.
- You need to recreate this using the blocks on the board.
- The blocks must be lined up to connect them as part of the story board by the gaps around the edge.
- You can also use the 2 empty blocks to continue the flow of the story.
- Find a way to fit them all in the correct order.
Solution: Show
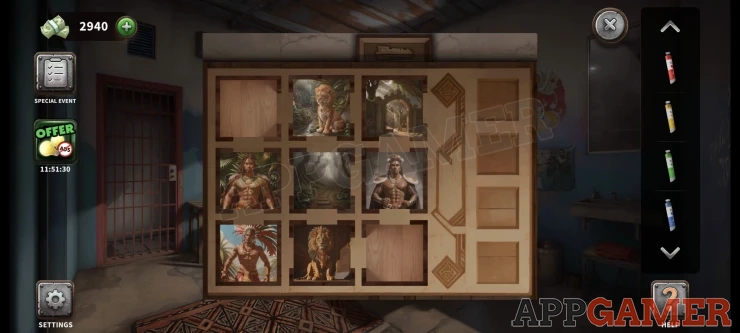
You can now collect a Key piece.
Go back to the first room and view the painting on the wall above the toilet.
Add the 4 paints to it to start the puzzle
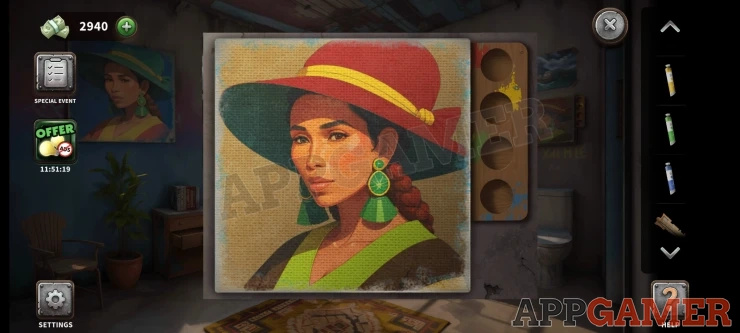
Select a paint color an ten tap on the parts of the picture that need the color changing.
Match this painting to the one that you can see on the wall to the left.
Solution: Show
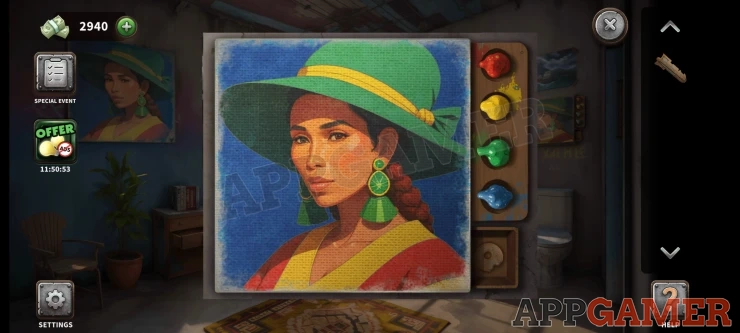
Once the colors are correct you can collect another key piece.
View this second key piece in your inventory and add the other piece to it. You will get the Key.
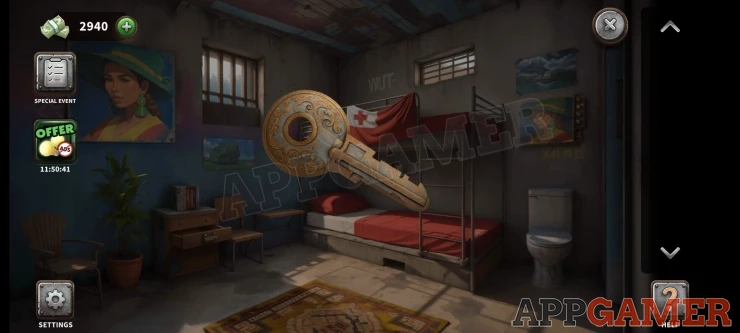
Go back to the second room and use the key to open the door. You can now escape the cell.
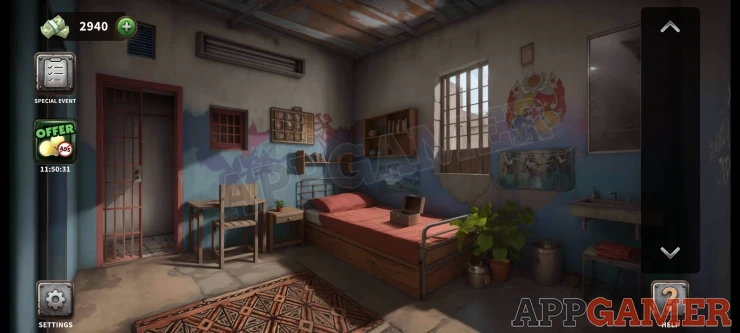
This completes all of the current 160 cells in 100 Doors Escape from Prison. If more levels are added we will add them to the guide.

We have questions and answers related to this topic which may also help you: Show all
 With 20 years of experience in creating video game content for the internet and over 30 years as a gamer, Mark is now a passionate mobile App Gamer. Loving a challenge, he is always ready to get stuck in to both survival builders and puzzle solving games. He has been providing content for AppGamer since 2014.